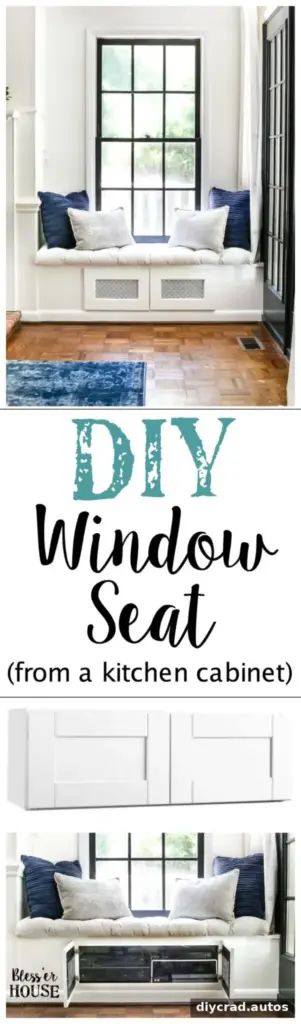
A DIY window seat can add useful storage, extra seating, and a comfortable reading spot to a living room. Starting with a ready-made kitchen cabinet makes the project more manageable than building every part from scratch. This guide explains how to create a built-in-style bench around a 36″ × 12″ × 12″ cabinet, with a framed base, finished sides, and a painted top.
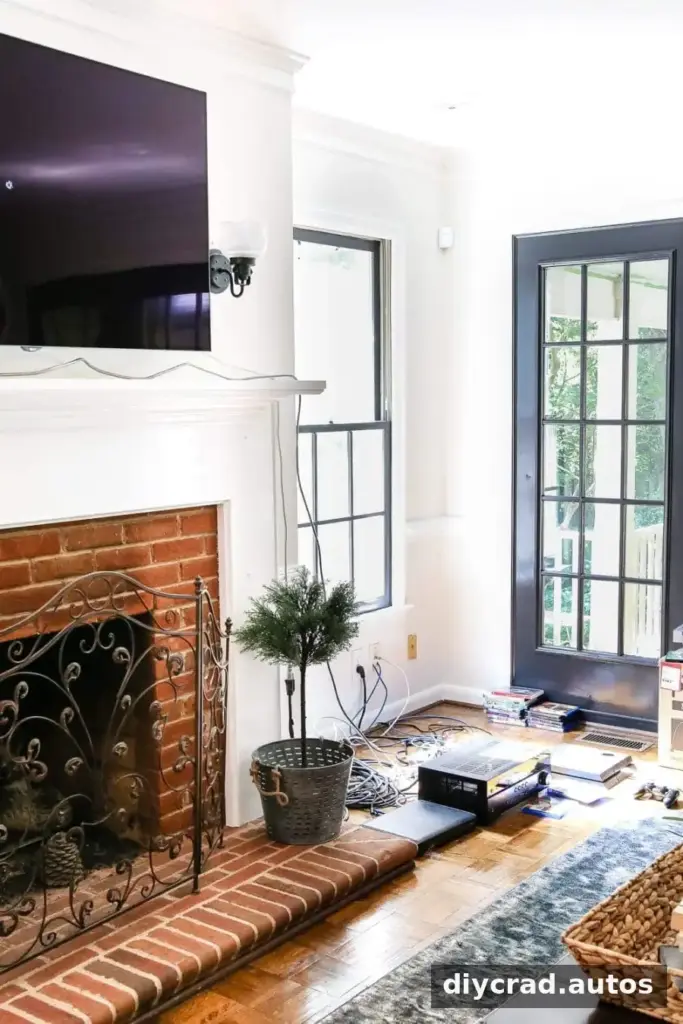
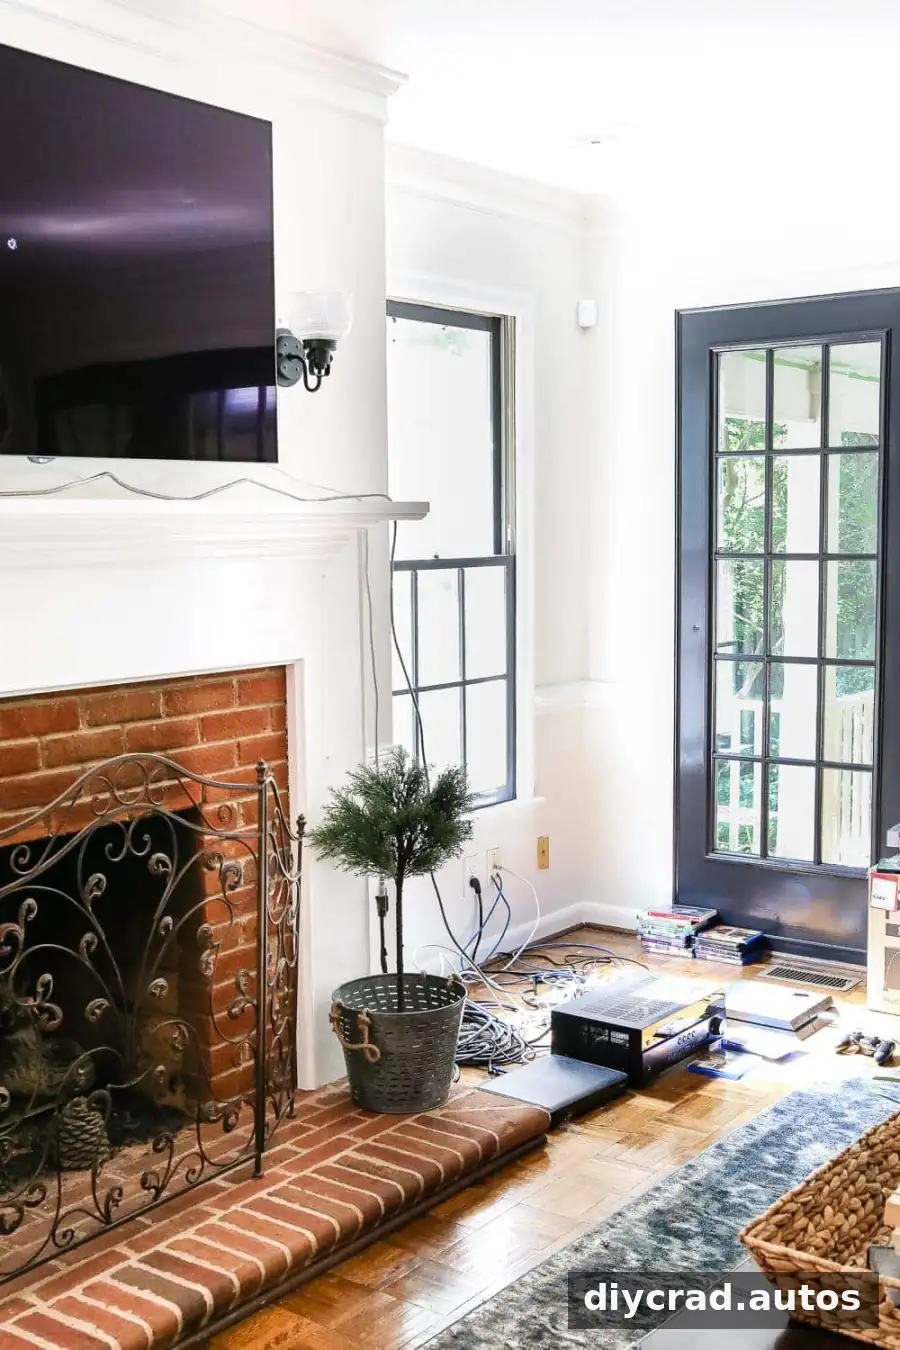
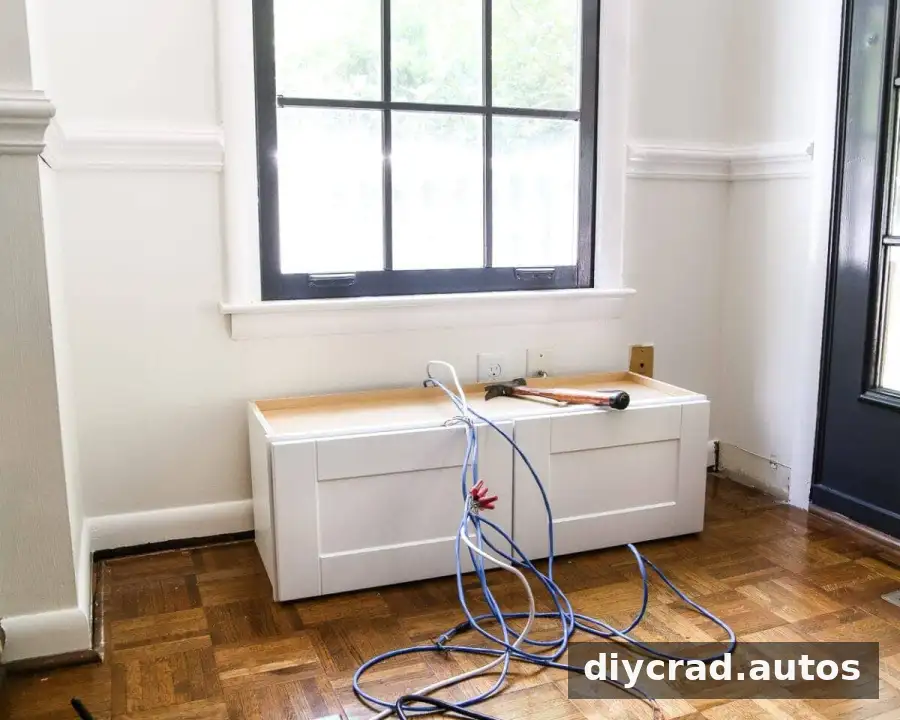
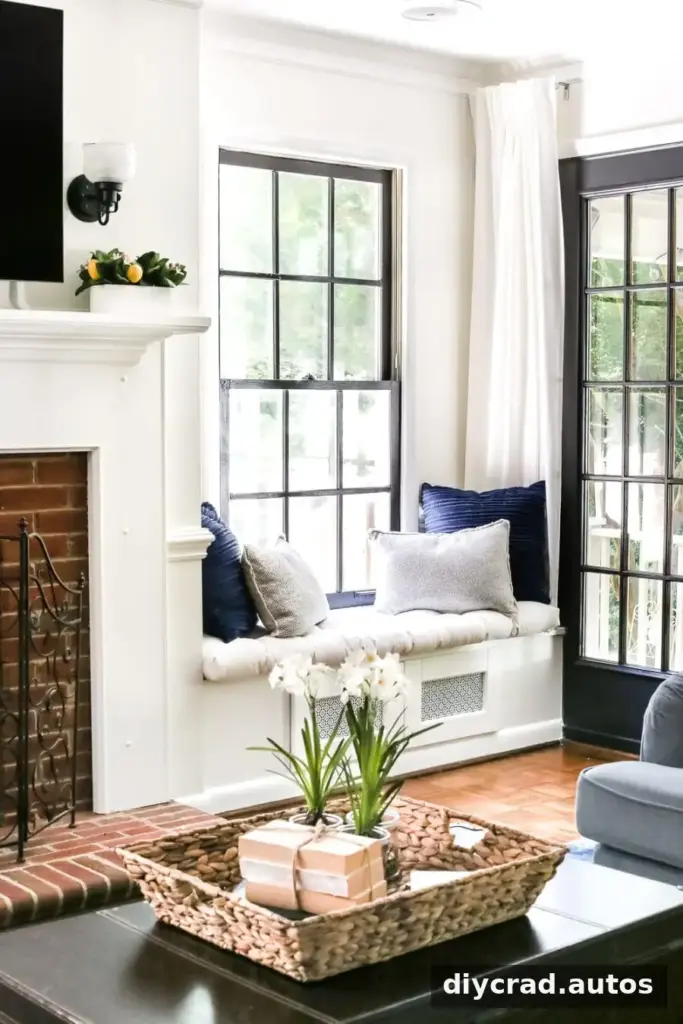
The cabinet can also provide a discreet place for media equipment when a TV is mounted above a fireplace. Before building, measure the available space carefully and consider how cords, ventilation, and access to the equipment will work. In this example, the opening was two inches too narrow for two cabinets, so one cabinet was used instead.
Materials and Tools for a DIY Window Seat
Gather the materials and tools before starting. Check the dimensions of your nook and cabinet first, as the lumber and panel cuts depend on the space.
- One kitchen cabinet, measuring 36″ × 12″ × 12″
- Four 2″ × 4″ × 8′ boards
- One ¾″ × 2′ × 4′ sheet of pre-primed plywood
- Wood baseboard to match the room and quarter-round molding
- One 1″ × 12″ × 6′ board and one 1″ × 10″ × 6′ board
- Tape measure, pencil, square, small crowbar, and hammer
- Circular saw and jigsaw
- 1½″ carpentry nails and 1¼″ finishing nails
- Caulk, wood filler, and fine-grit sandpaper
- Primer, paint, and a paintbrush
- Manual staple gun and staples
- Two aluminum sheets and sheet-metal snips
Allow about eight hours for the project, as in this example, and set aside additional time if you need to adjust the design or paint more than one coat.
How to Build the Window Seat
1. Prepare and measure the nook
Use a small crowbar to remove the existing baseboard and quarter-round molding. If you plan to reuse the quarter round, remove it carefully and set it aside. Measure the nook’s width and depth, and note any uneven walls or obstacles before cutting wood.
2. Build the supporting base
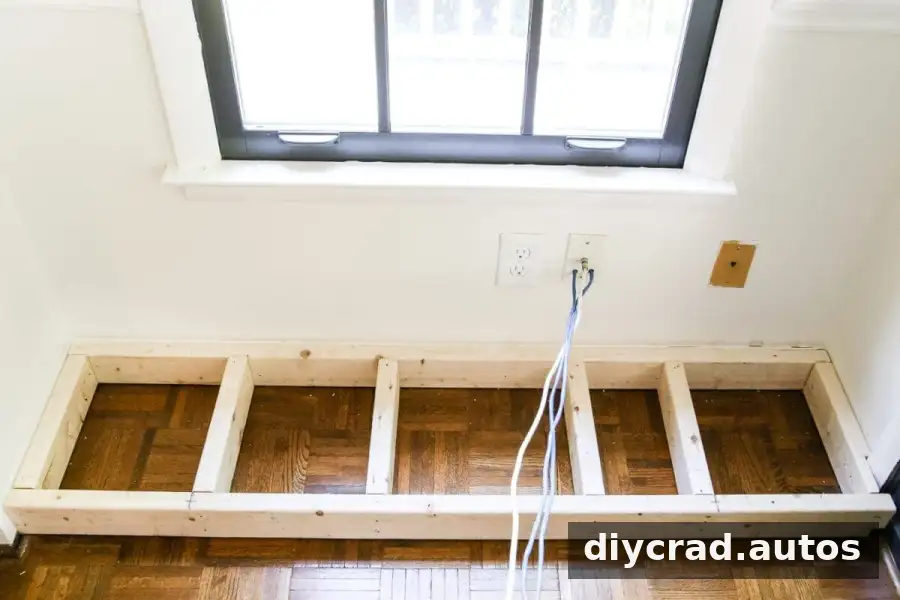
Cut two 2″ × 4″ boards to fit the width of the space. Add cross braces between the front and back boards to support the cabinet. Position and secure the base against the back and side walls. A square tool helps keep the frame aligned.
3. Fit the cabinet and add braces
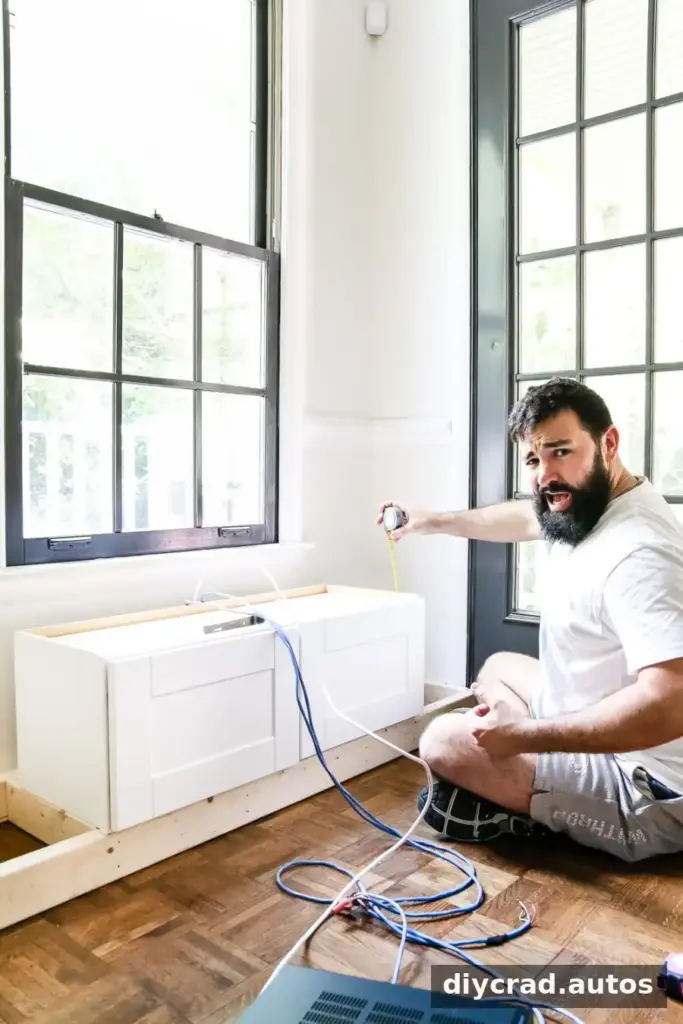
Place the cabinet on the base temporarily to check its fit and height. Use those measurements to cut additional 2″ × 4″ braces. If the cabinet will hold electronics, prepare openings in its back for cords before installing it. A jigsaw can also be used to open the cabinet-door panels so remote signals can reach equipment inside.
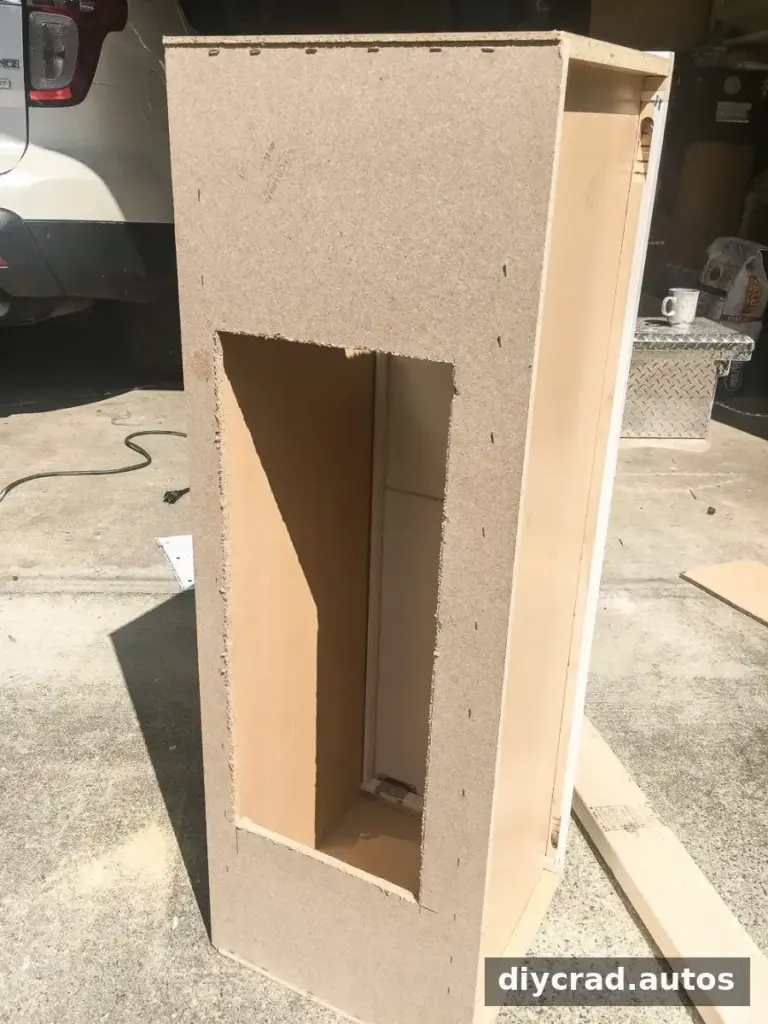
Make any cuts in a suitable work area, and secure the cabinet parts before using a saw. Keep openings only as large as needed for cables or signal access.
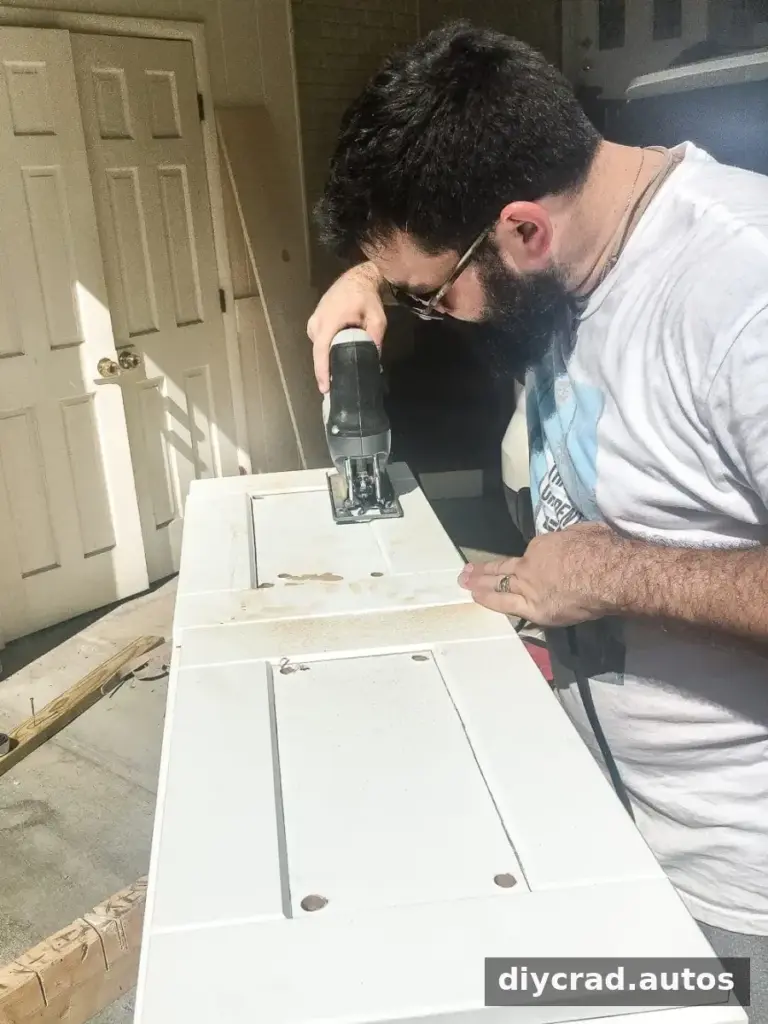
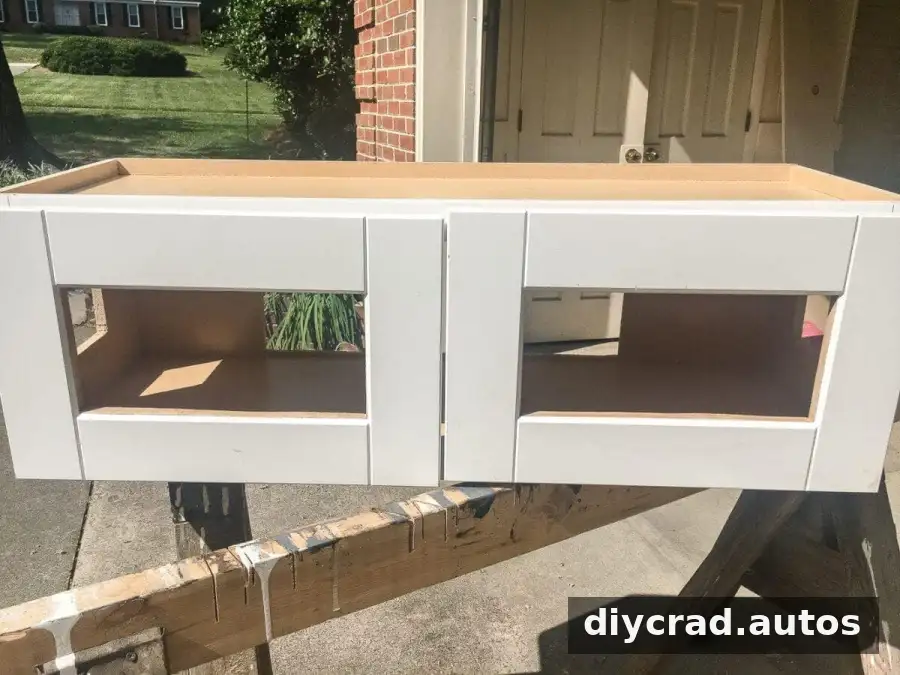
Return the cabinet to the base, then fasten the braces to the frame and cabinet area. Check that the assembly is stable before adding the side panels.
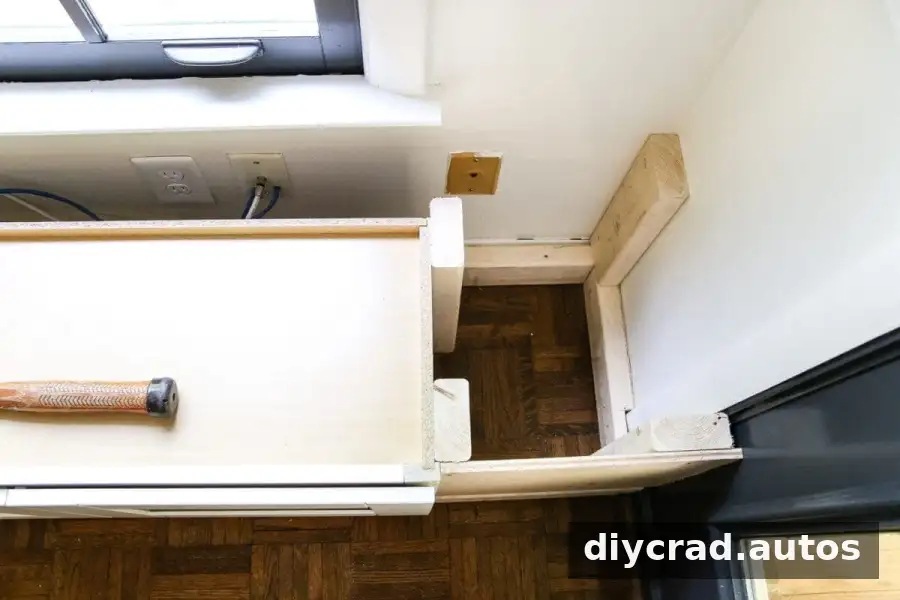
4. Close the sides and support the back
Measure the gaps between the cabinet and the walls. Cut plywood panels to fit, press them flush against the front braces, and nail them in place. Repeat on the opposite side. Add two 2″ × 4″ braces along the back wall to support the seat top.
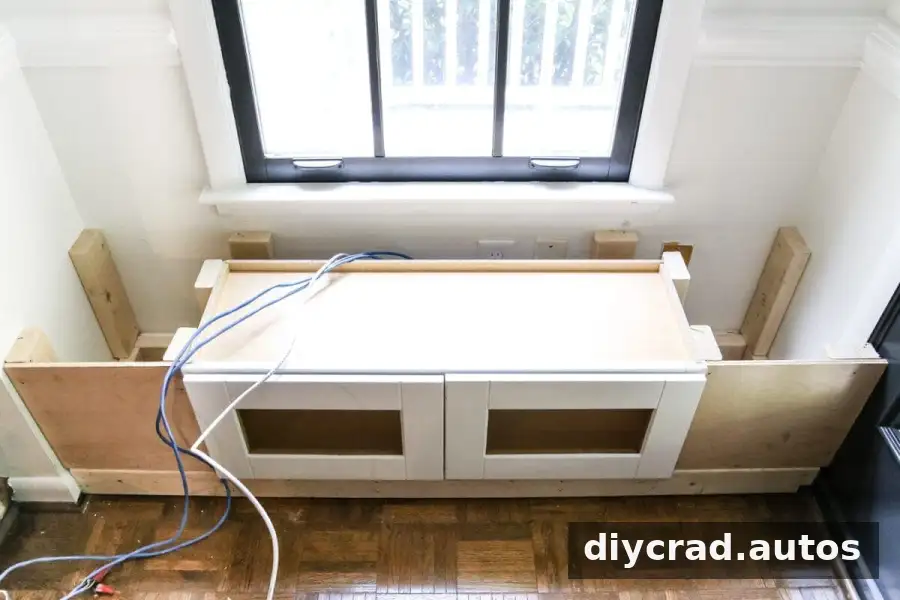
5. Install the trim and top
Fit a matching baseboard strip to the front and reinstall the saved quarter-round molding. Measure the full seat width, then cut the 1″ × 12″ and 1″ × 10″ boards to cover the cabinet and supporting frame. Check the fit before fastening the boards.
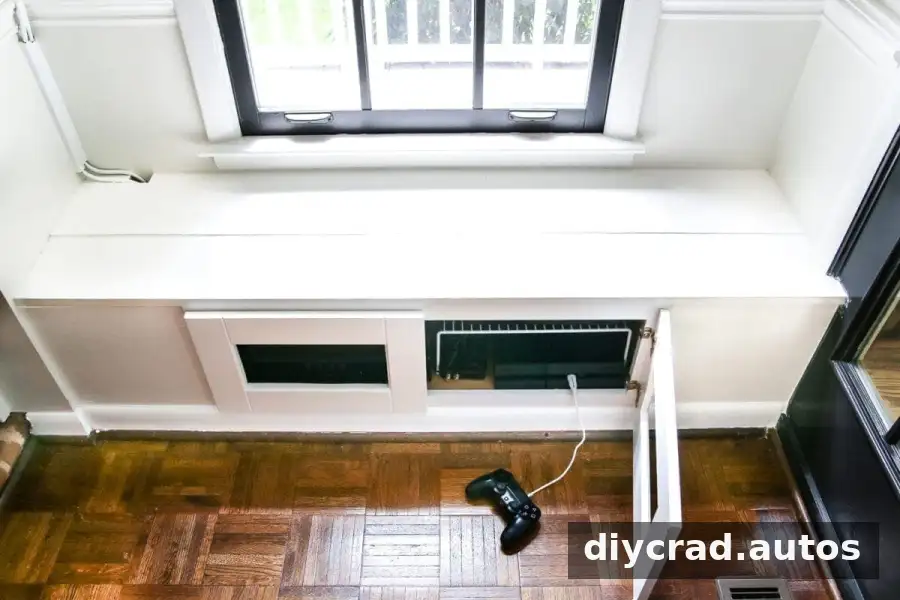
6. Fill, sand, and paint
Caulk visible gaps, fill nail holes with wood filler, and sand the repaired areas smooth. Apply primer and paint suited to the room’s trim. Let the finish dry according to the product directions before adding cushions or using the bench.
7. Finish the cabinet doors
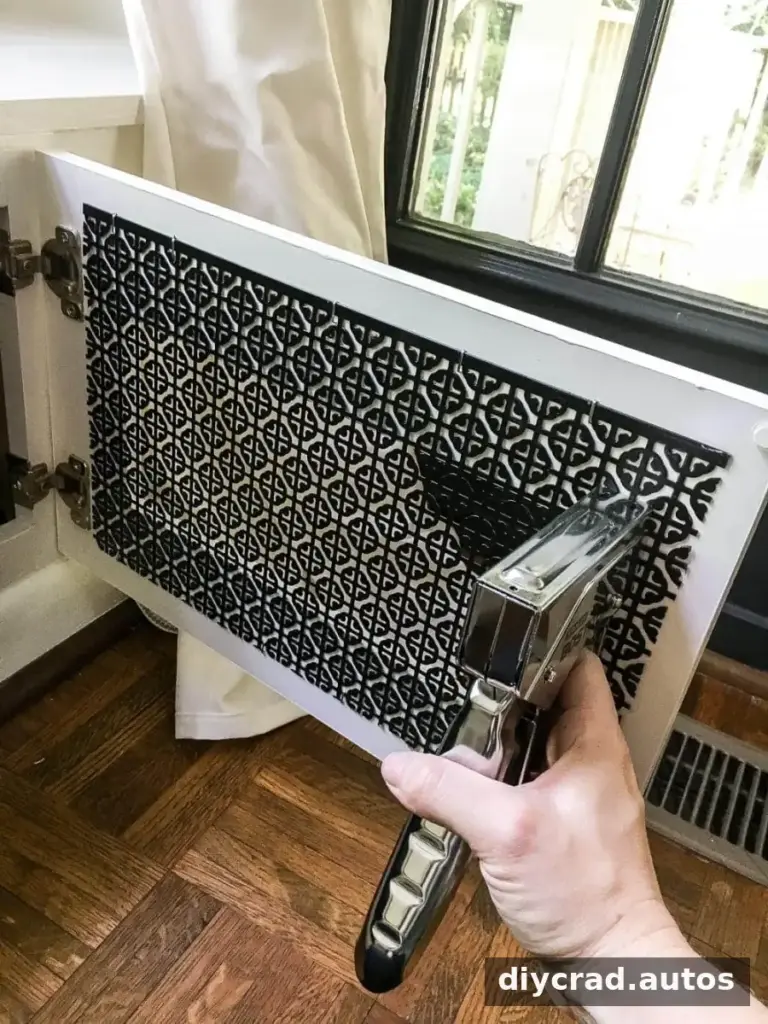
Cut two aluminum sheets slightly larger than the door openings using sheet-metal snips. Staple the sheets to the backs of the doors, then prime and paint them to match the seat. Wear appropriate hand protection when handling cut metal, as the edges may be sharp.
Practical Finishing Tips
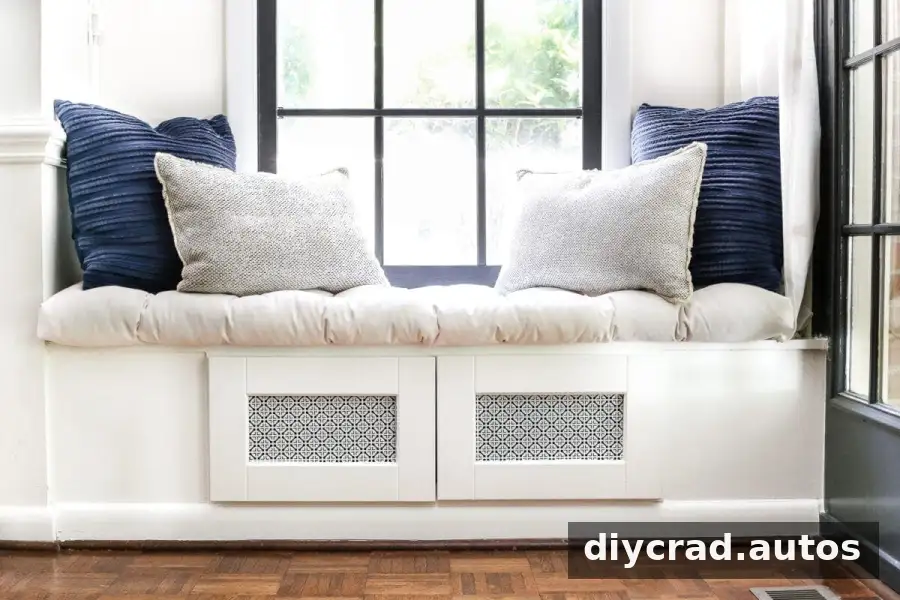
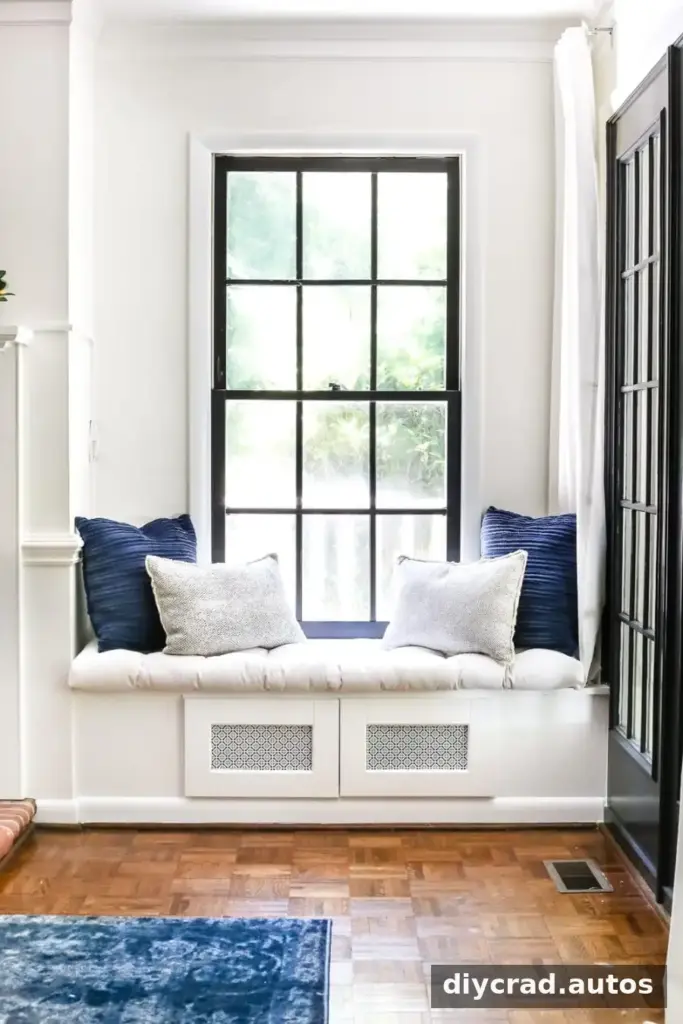
A custom-sized cushion can make the bench more comfortable, especially when standard sizes do not fit. Choose a fabric that suits how the seat will be used and is easy to clean if spills are a concern. Pillows can add color and texture without changing the built-in structure.
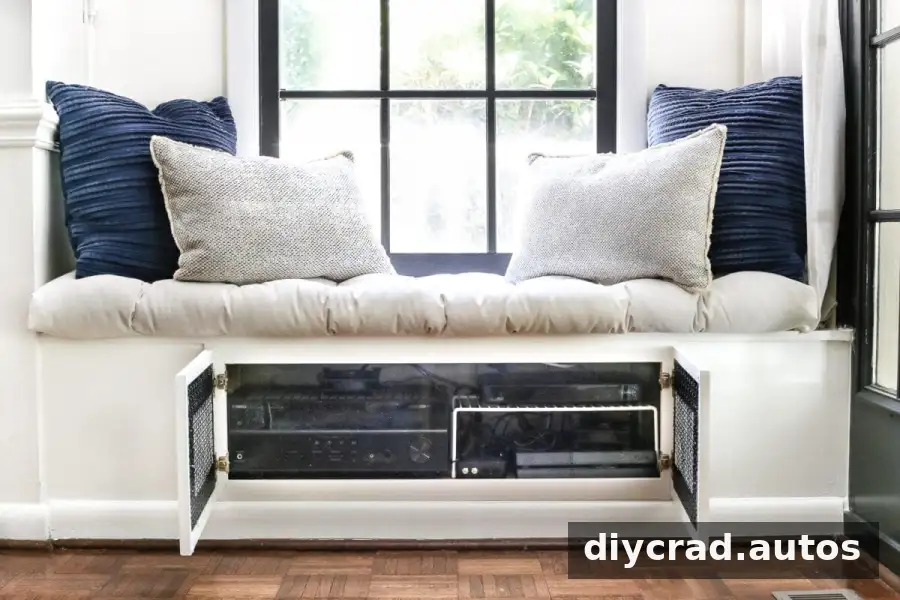
For electronics, leave enough room for airflow and keep equipment accessible for maintenance. If cords need to run between the TV and the seat, cord covers can help keep them tidy; they can be painted to blend with the wall when the cover’s instructions allow it.
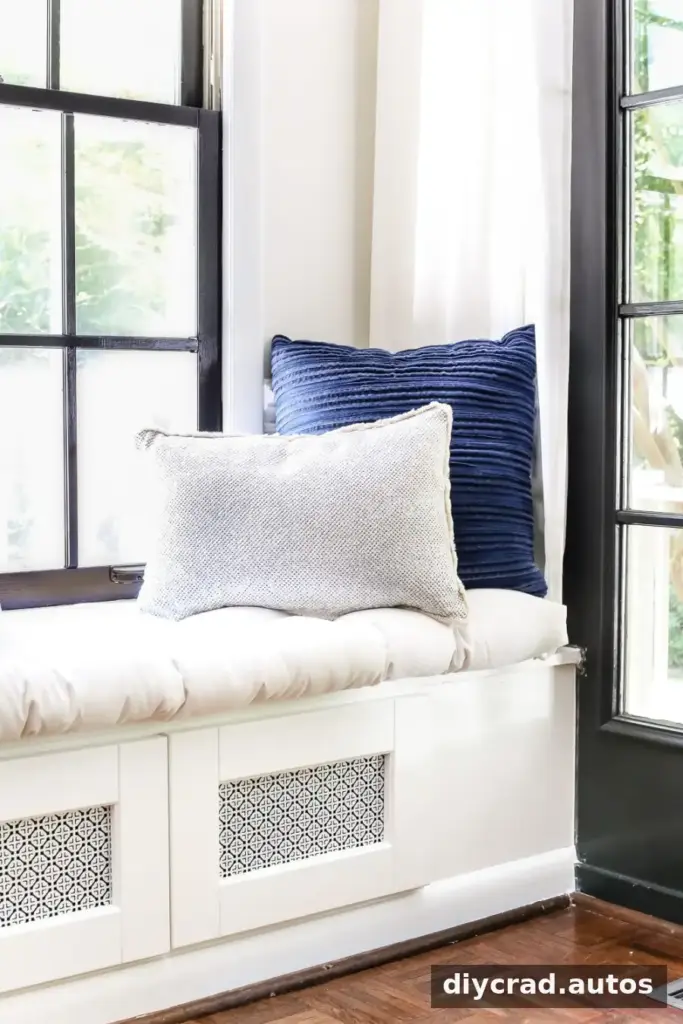
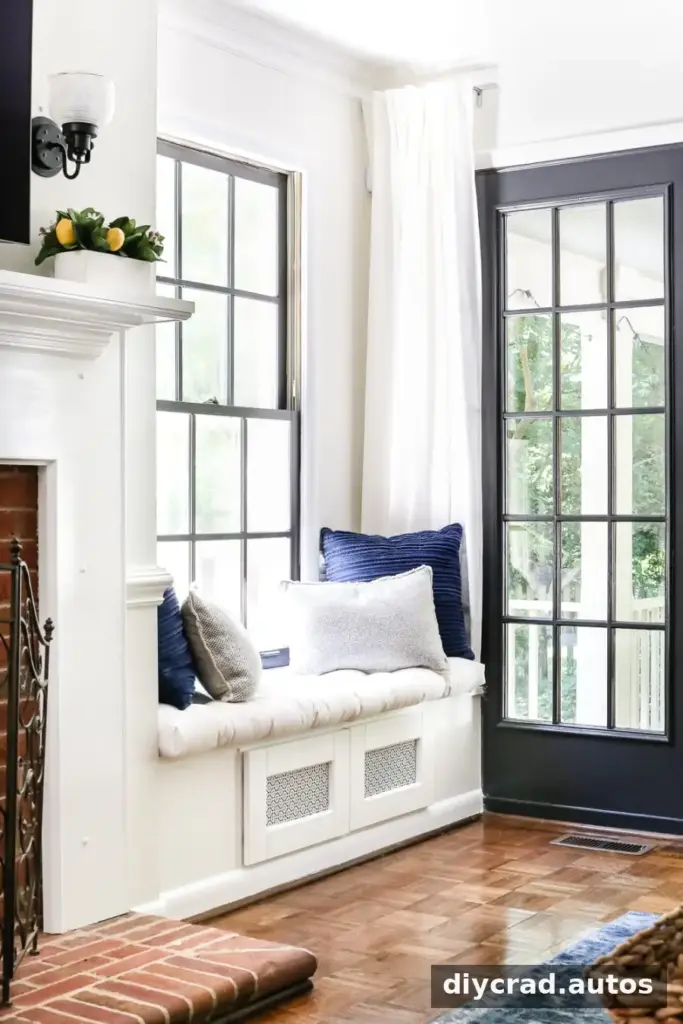
Once complete, the bench can function as a reading nook, extra seating, and concealed storage. Add a cushion and a few pillows, and keep the top clear when you need access to equipment or storage inside the cabinet.
Conclusion
This DIY window seat uses a kitchen cabinet to simplify the build while creating a finished-looking bench with useful storage. Careful measurements, a sturdy 2″ × 4″ frame, well-fitted panels, and a properly finished top are key to a successful result. Plan for cords and ventilation before installation, then personalize the completed seat with a cushion and pillows.