

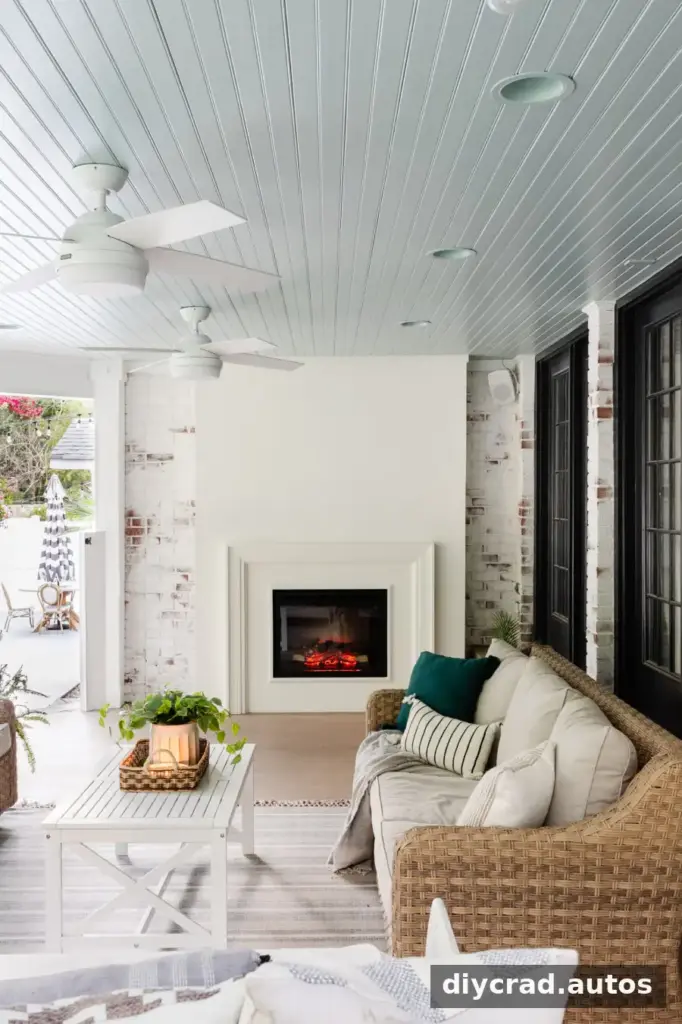
A DIY plaster fireplace can add a finished focal point to a porch or indoor room without the cost and complexity of a masonry build. This project uses a framed 2×4 structure, drywall, a lime-based plaster glaze, and an electric fireplace insert. The build took about a week and cost approximately $1,300, making it a substantial project that may suit beginner carpenters who are comfortable measuring, cutting, and fastening materials.
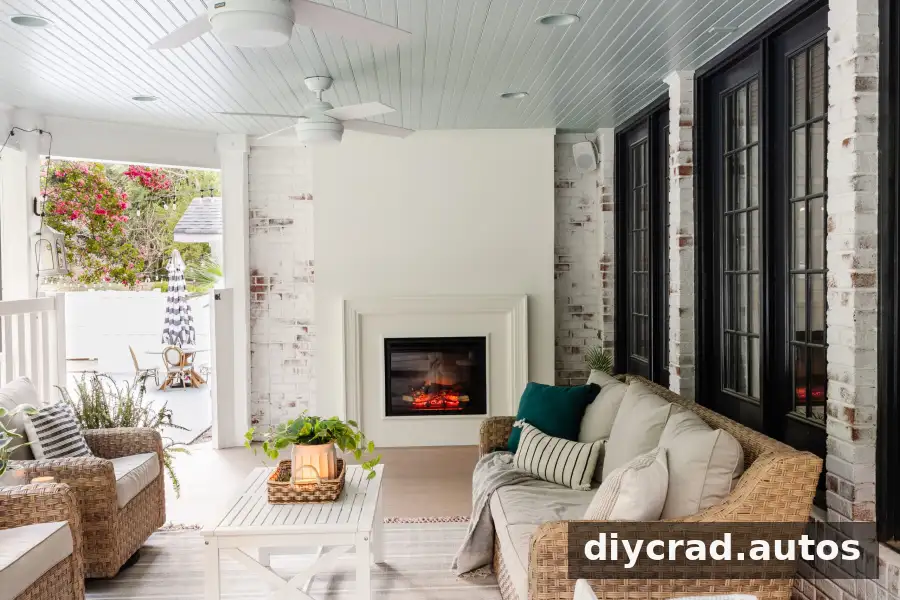
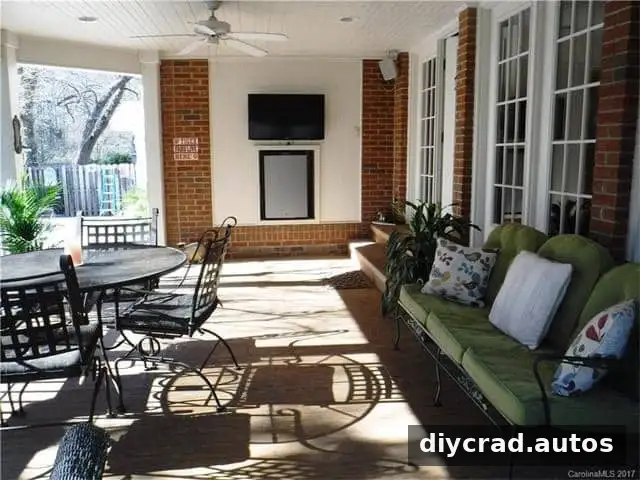
A small, unused wall section can be a practical place to consider a fireplace. Before starting, measure the available area and check that the insert you choose is suitable for the location. For a porch or other potentially damp space, verify the insert’s permitted use, electrical requirements, and required clearances in its manufacturer instructions.
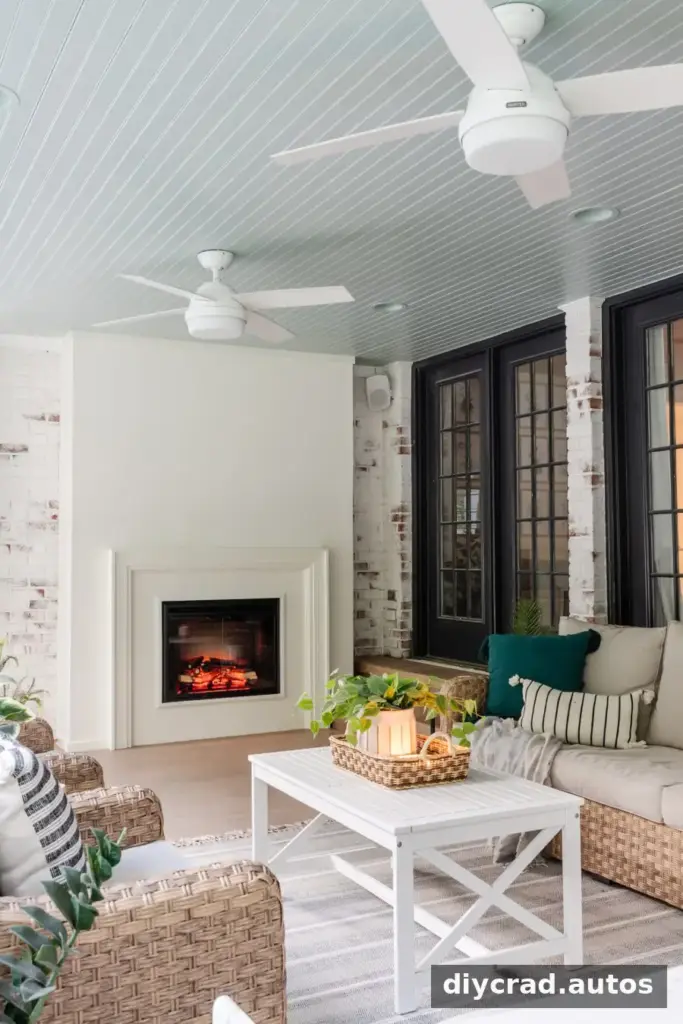
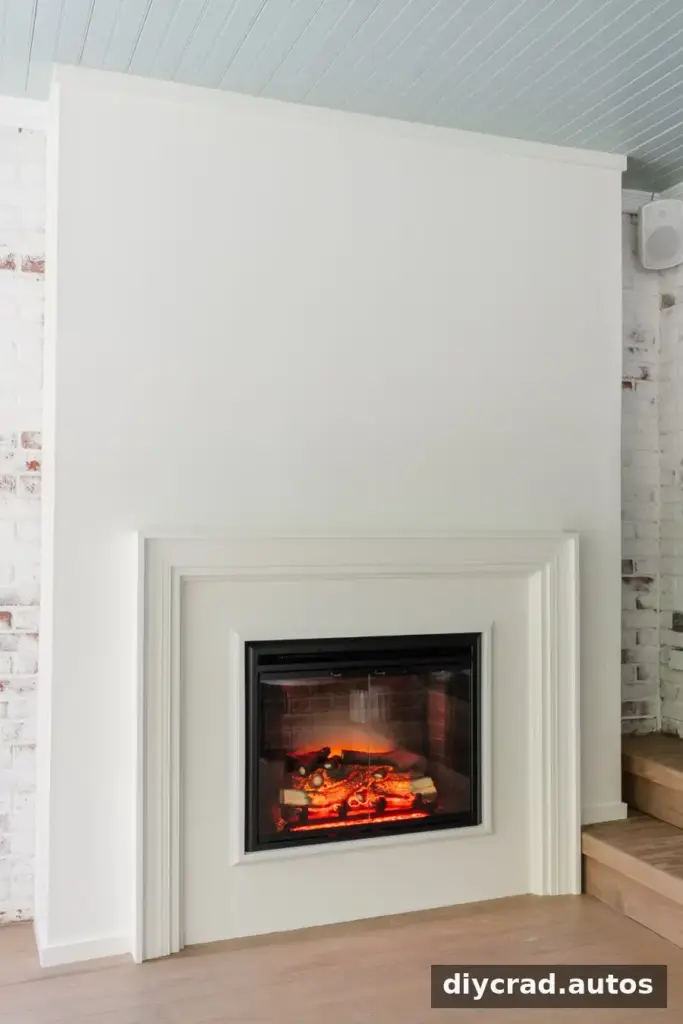
The finished look comes from a simple framed surround covered in drywall and plaster-effect paint. Its proportions and finishing details can be adjusted to suit the room, while the basic construction stays relatively straightforward.
What Is Venetian Plaster?
Traditional Venetian plaster is typically made with lime and marble dust. When applied by hand, it can create a dimensional surface with subtle movement and a soft sheen. Achieving an even, polished finish takes practice, so it may be more approachable to use a plaster-effect glaze designed to be worked with a trowel.
A lime-based glaze can create a similar layered appearance with less of a learning curve than traditional plaster. Test the material on a scrap piece of drywall first. This helps you understand how quickly it dries and how much pressure to use with the trowel before working on the fireplace itself.
DIY Plaster Fireplace With an Electric Insert
The fireplace surround can be kept minimal or given extra trim for a more detailed finish. The construction method below provides a basic framework; plan the opening around the exact dimensions of your electric insert rather than relying on a general measurement.
Materials
- Electric fireplace insert
- 16 2x4s
- 3-inch deck screws
- 4 sheets of moisture-resistant purple drywall; standard drywall can be used indoors where moisture resistance is not needed
- Utility knife
- Drywall screws
- Drywall mesh tape
- Corner bead
- Joint compound
- Trowel
- 100-grit sanding pads
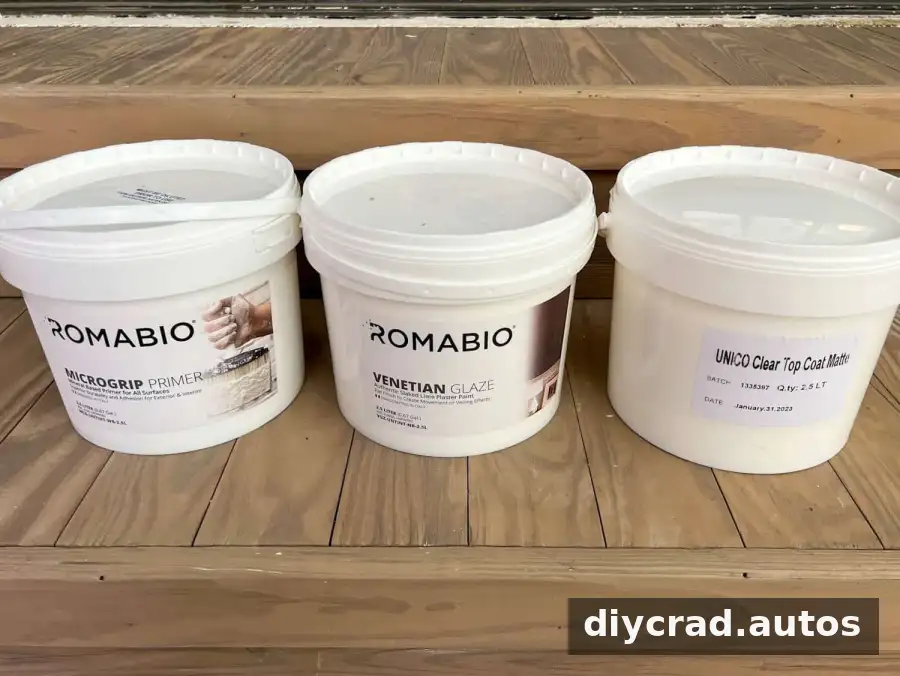
- Primer suitable for the plaster-effect finish
- Drop cloth
- Painter’s tape
- Paint tray
- Paint roller and covers
- Mixer drill bit
- Rags
- Lime-based plaster glaze
- Large paintbrush
- Clear matte top coat
- Brad nails
Tools
- Drill
- Miter saw
- Rotary saw, optional but helpful
- Orbital sander
- Brad nailer
Step-by-Step Instructions
Step 1: Build the Sides of the Fireplace Frame
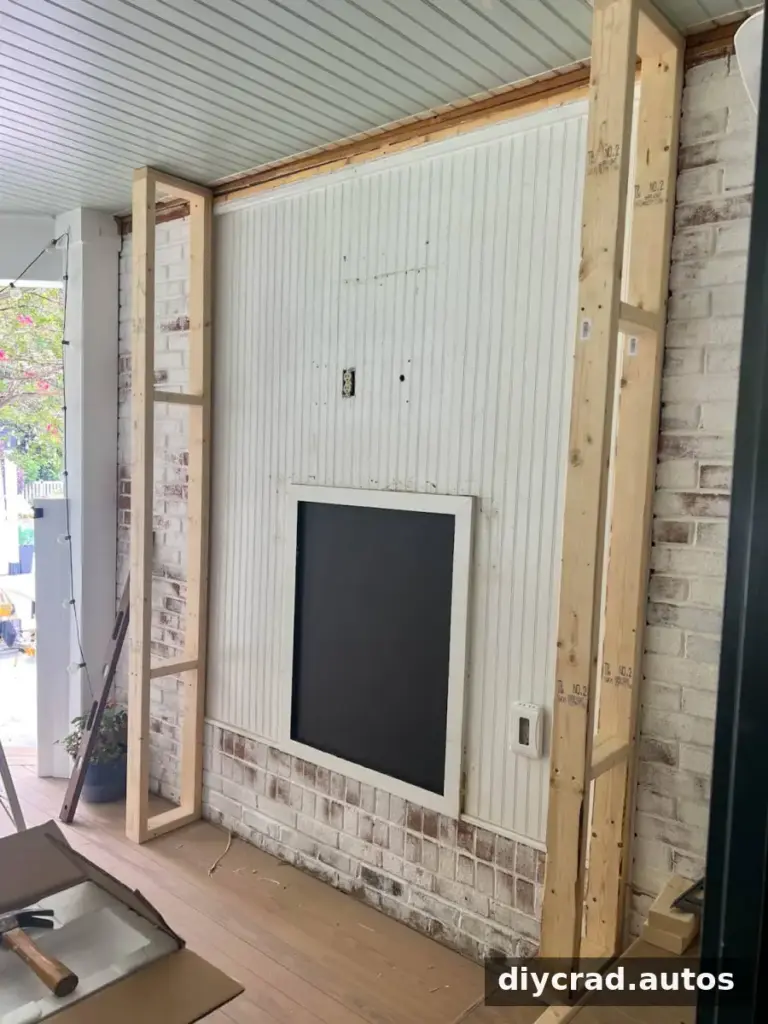
Measure the wall and the space available for the fireplace. Use the insert’s dimensions and installation instructions to determine the frame’s width and depth. Build one side from 2x4s and secure the joints with 3-inch deck screws. Check that the frame is square before continuing; this makes it easier to fit the drywall later.
Step 2: Frame the Header and Footer
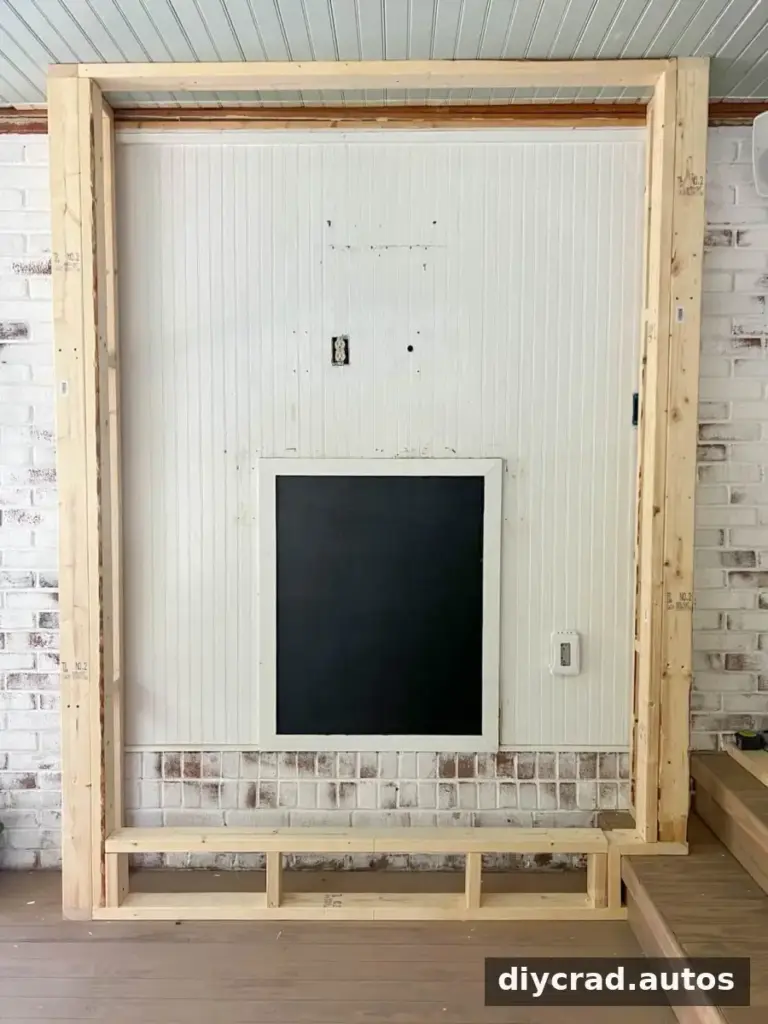
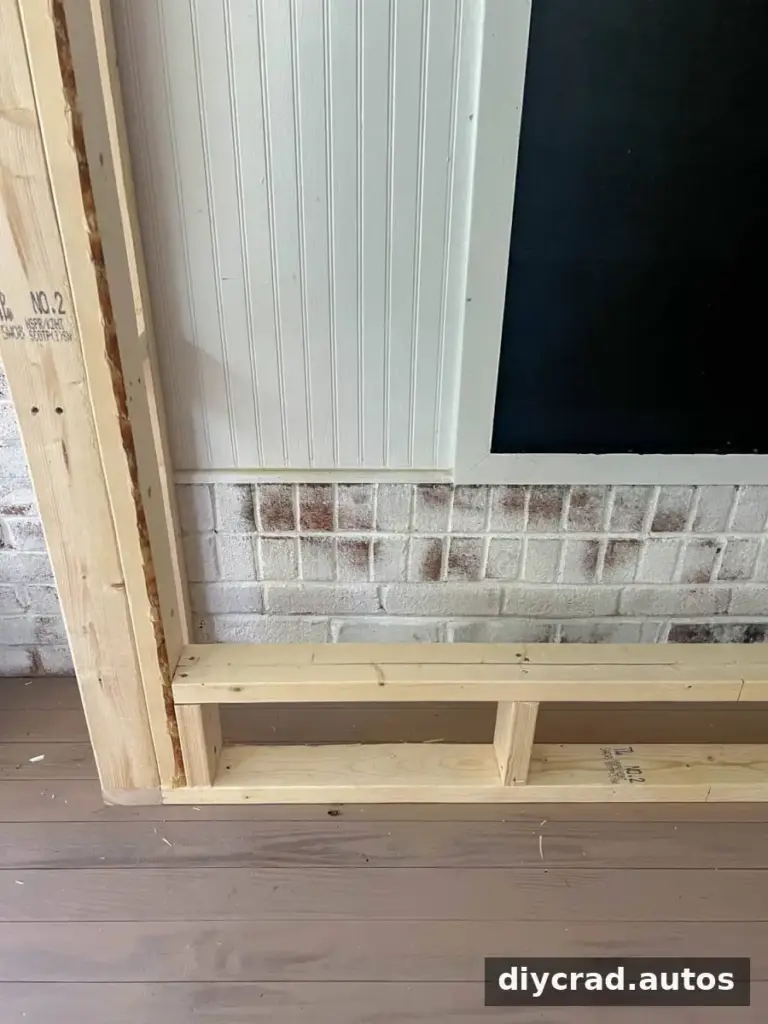
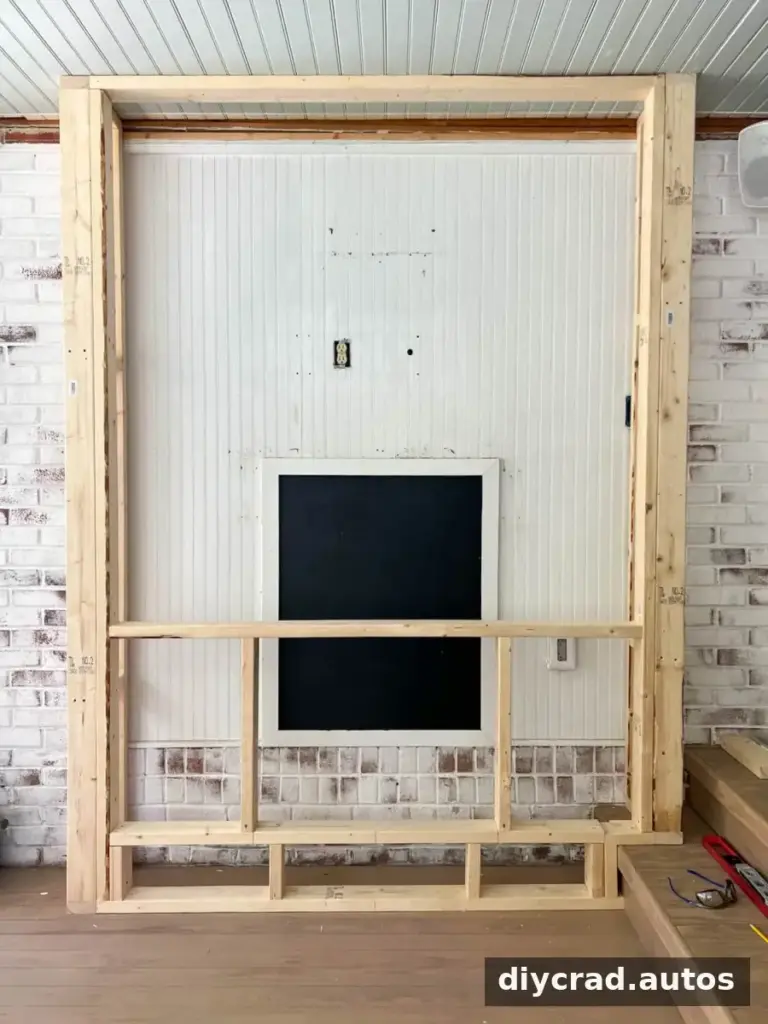
Decide how high the insert should sit, then build a footer at that height using additional 2x4s and deck screws. Add a matching parallel footer to create a stable platform for the insert. Attach two parallel 2x4s across the top of the frame to form the header.
Step 3: Frame the Electric Insert Opening
Measure the insert and build an opening to the dimensions required by its installation guide. Fasten the additional 2x4s to the existing frame. Leave the clearances specified by the manufacturer; the opening should not be made smaller simply to create a tighter fit.
Step 4: Complete the Fireplace Frame
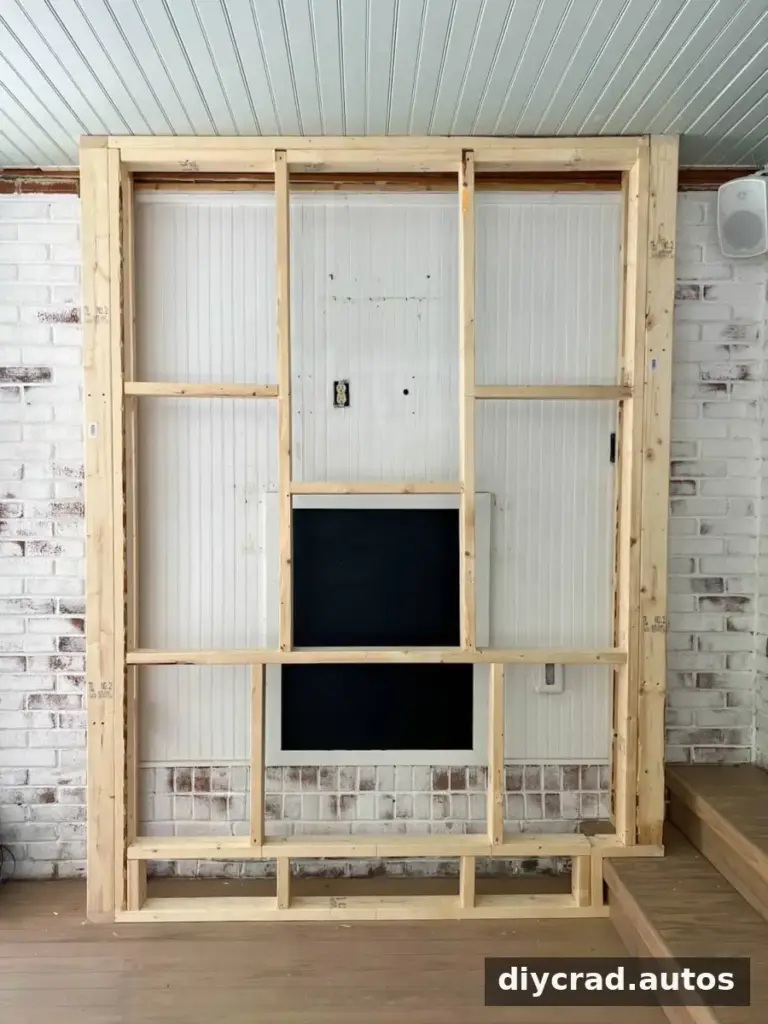
Continue framing above the insert section up to the ceiling. These vertical supports provide backing for the drywall. Before covering the frame, check that it is firmly secured and that the planned insert location allows access to the electrical connection as required.
Step 5: Hang the Drywall
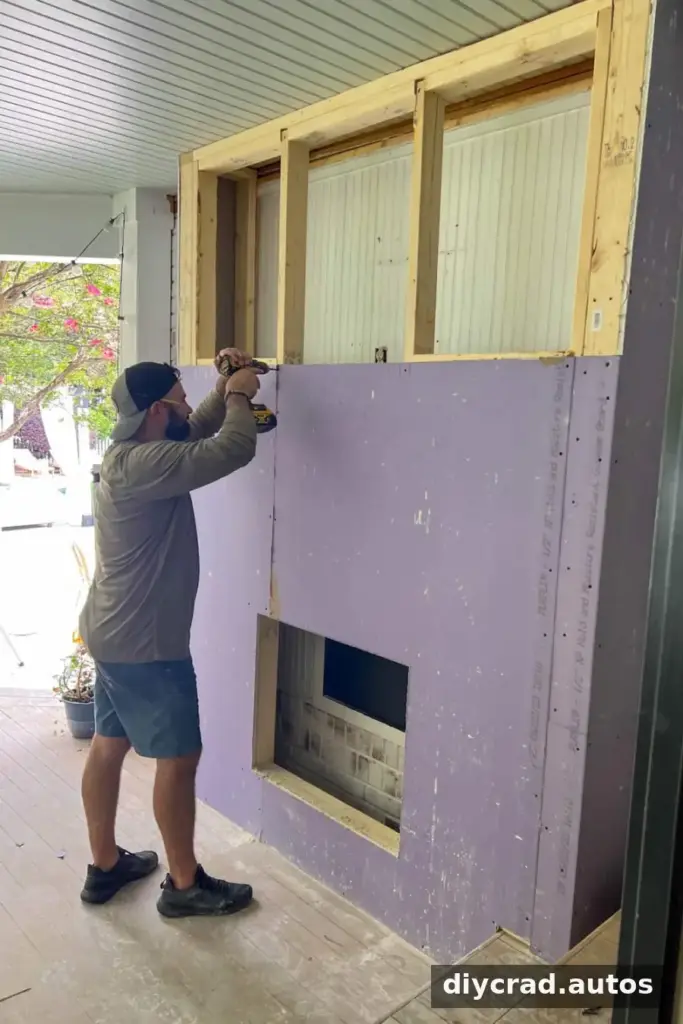
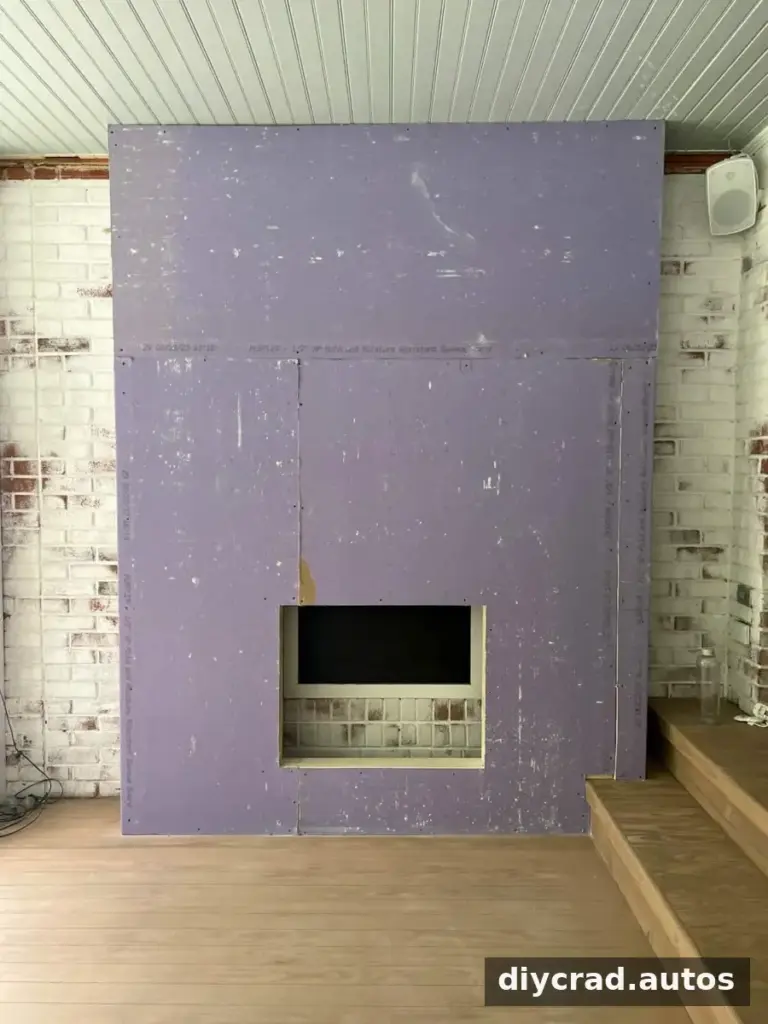
Score and cut the drywall with a utility knife, then attach the panels to the frame with drywall screws. Keep the sheets supported by the framing and avoid placing screw heads so deeply that they tear the paper surface.
Step 6: Cut the Insert Opening
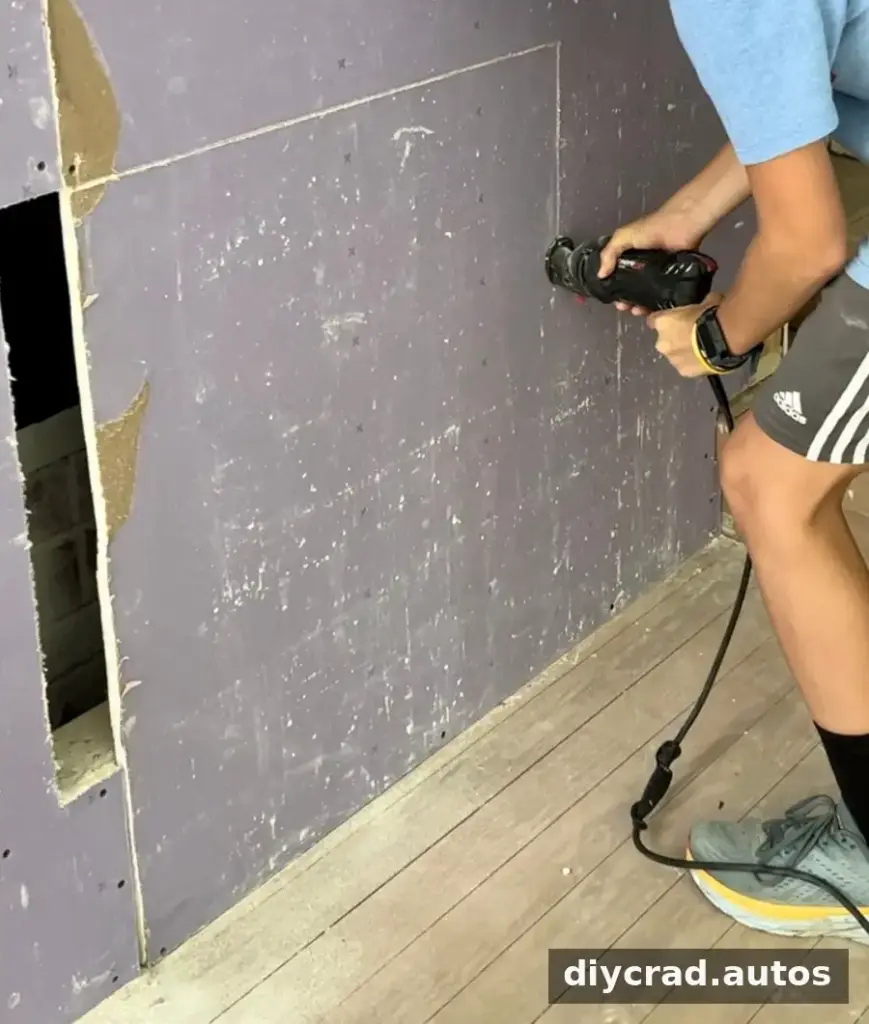
Mark the opening carefully using the insert measurements. Cut the drywall with a utility knife or, if available, a rotary saw. Check the fit before proceeding, and avoid cutting into framing or wiring behind the panels.
Step 7: Tape the Drywall
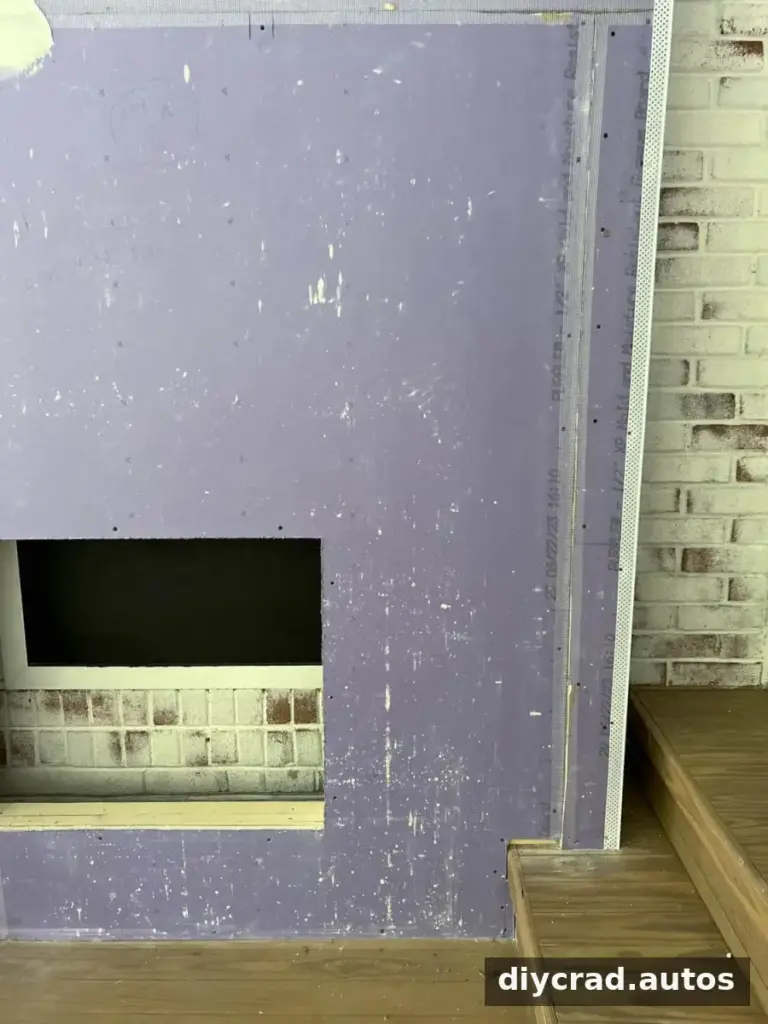
Apply mesh tape over the drywall seams and attach corner bead to the outside corners with drywall screws. Neat, firmly secured tape and corner bead help create a smoother surface for the plaster-effect finish.
Step 8: Apply Joint Compound and Sand
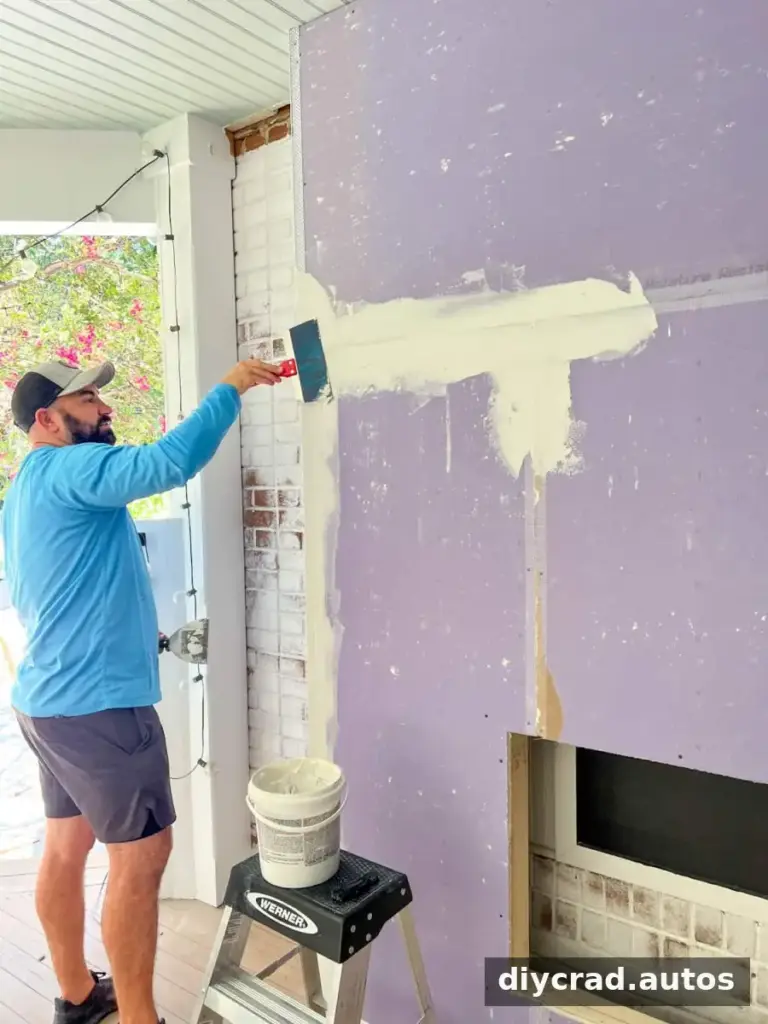
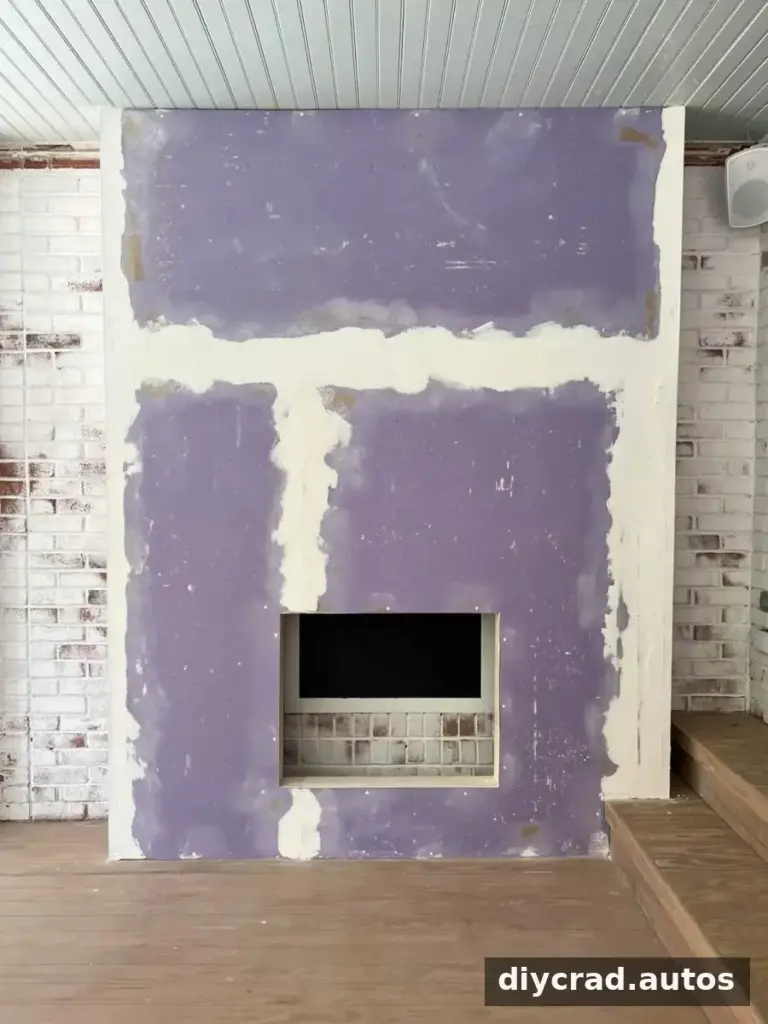
Spread joint compound over the seams and corners, then allow it to dry completely for 24 hours. Sand the surface smooth with an orbital sander and 100-grit sanding pad. Apply a second coat, wait another 24 hours, and sand again. Use a dust mask and protect nearby surfaces while sanding.
Step 9: Prime the Surface
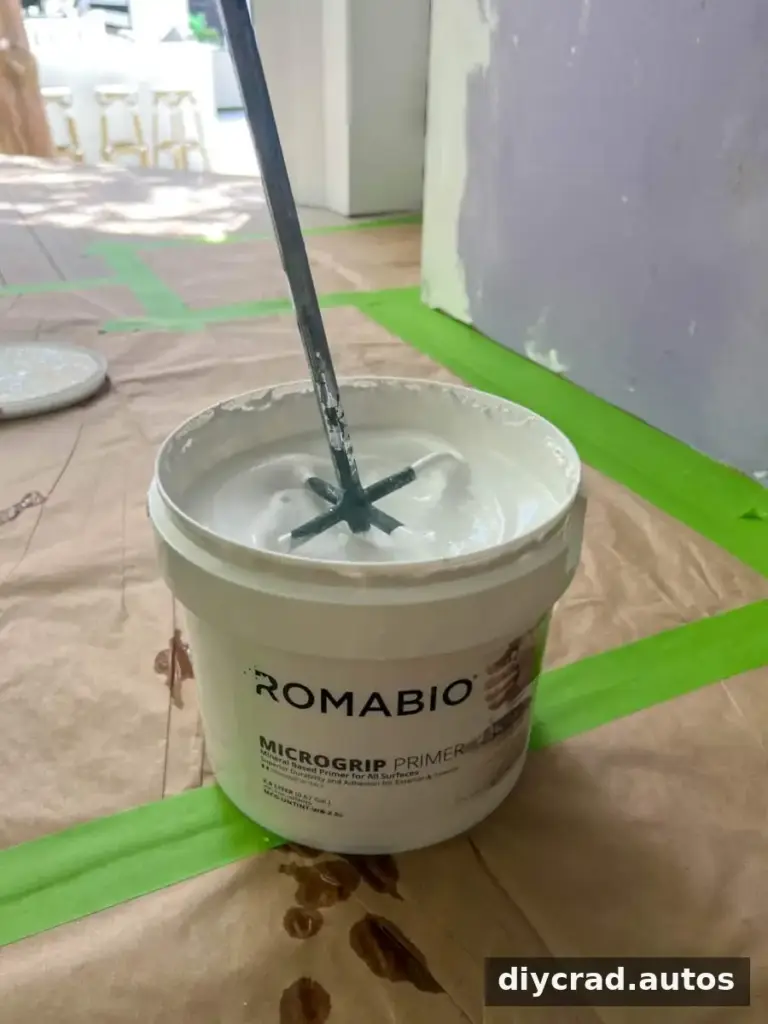
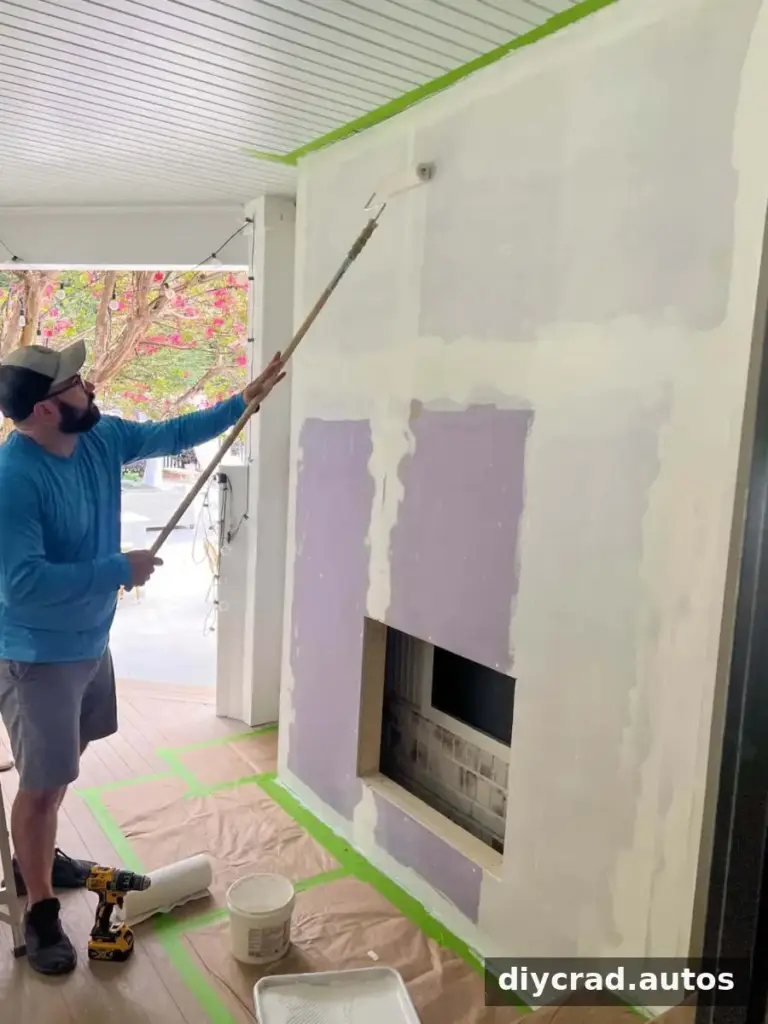
Once the drywall is smooth and dust-free, apply one or two coats of primer compatible with the glaze. If the primer requires dilution, mix it with water according to its label, using a mixer drill bit if appropriate. Two coats can help cover moisture-resistant purple drywall. Allow the primer to set for about a day before applying the glaze, or follow the product’s stated drying time.
Step 10: Apply the Plaster-Effect Glaze
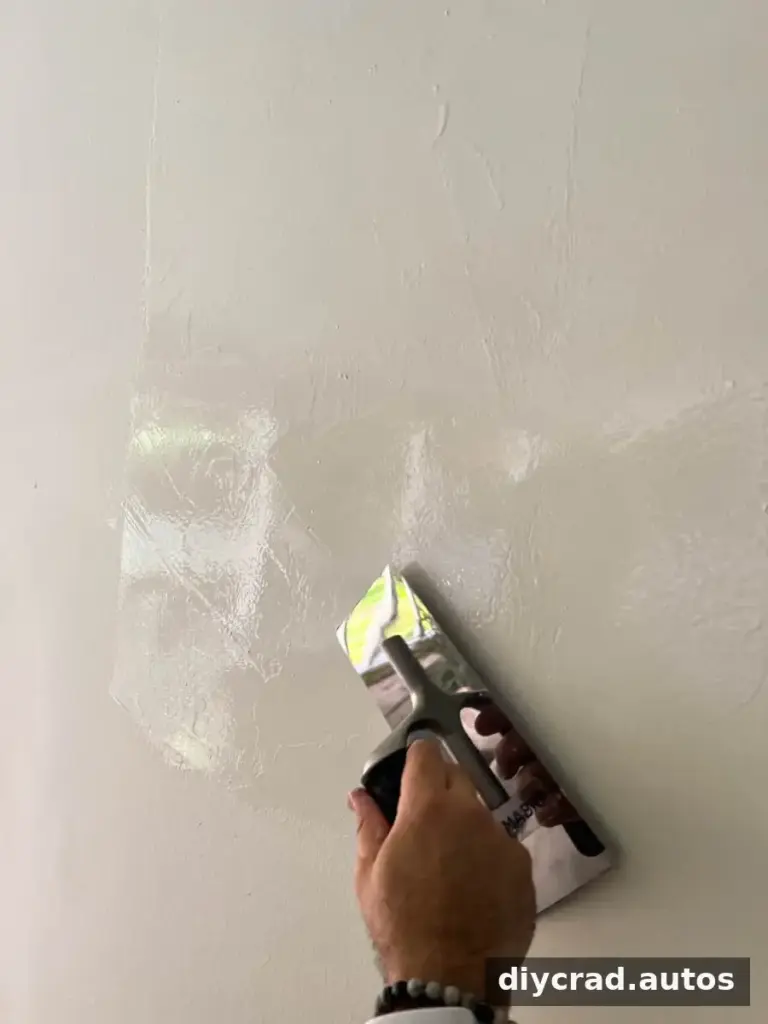
Practice on a scrap piece of drywall before coating the fireplace. Work on a small area at a time—about 1 to 2 square feet—and brush on the first coat. While it is still wet, move a clean trowel over the surface in half-moon or circular motions. Hold the trowel at a slight angle and vary the pressure to create texture.
The finish is meant to have visible movement, so small variations can contribute to the plaster-like appearance. Work at a steady pace and keep the trowel clean to avoid unwanted marks.
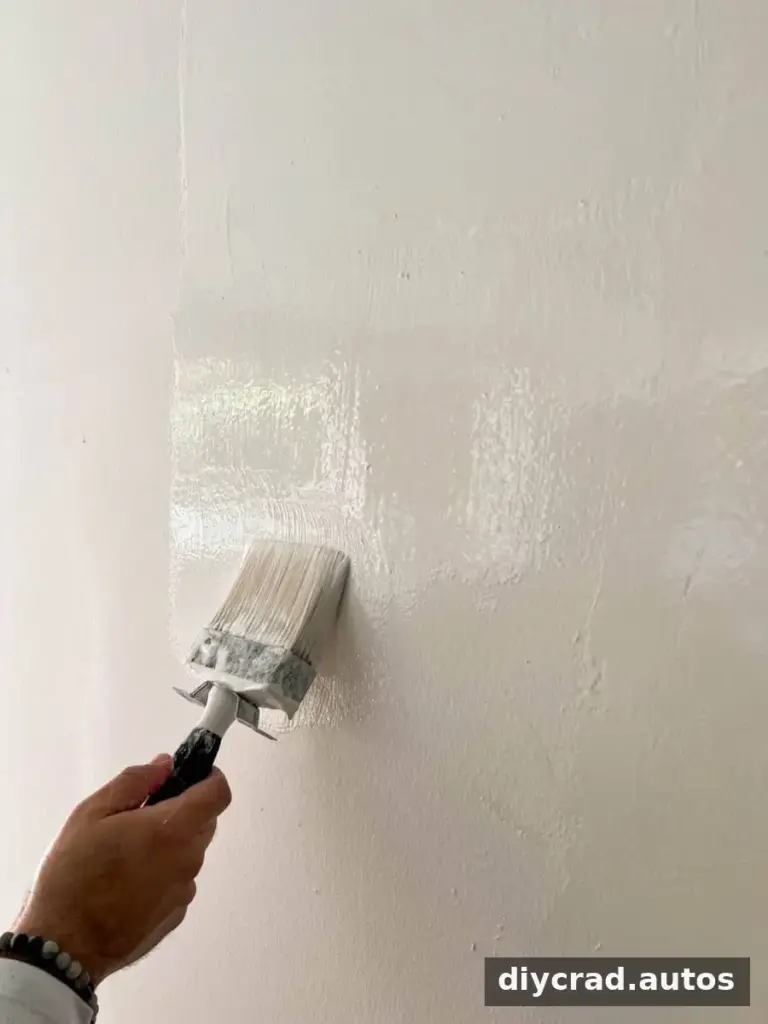
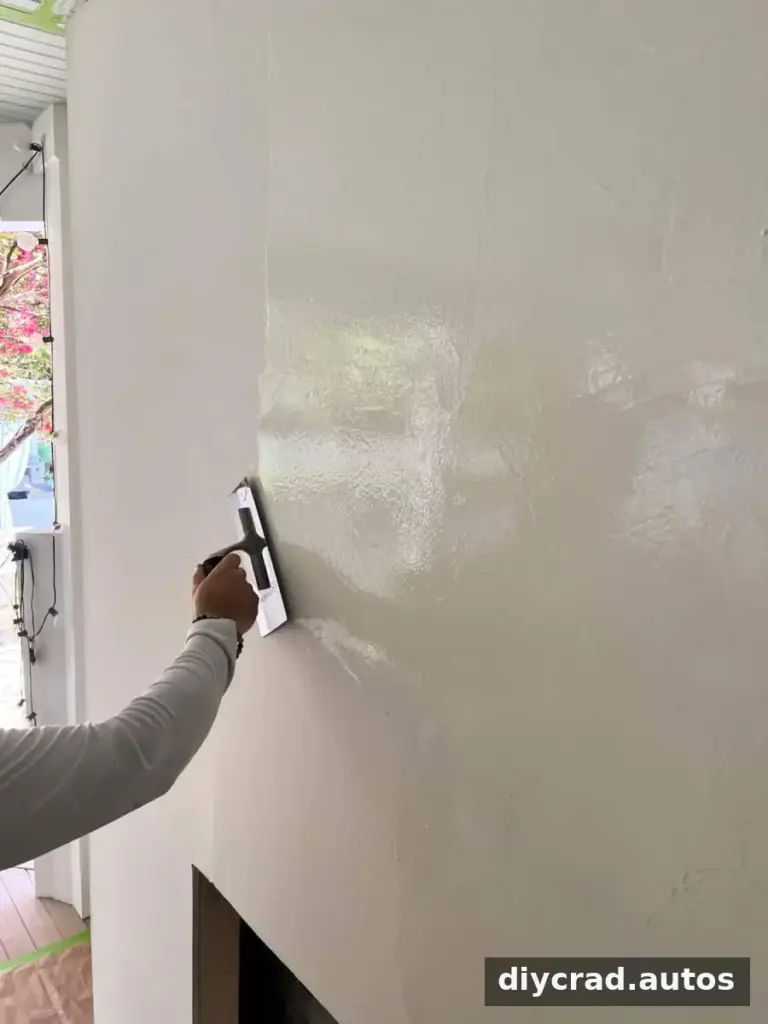
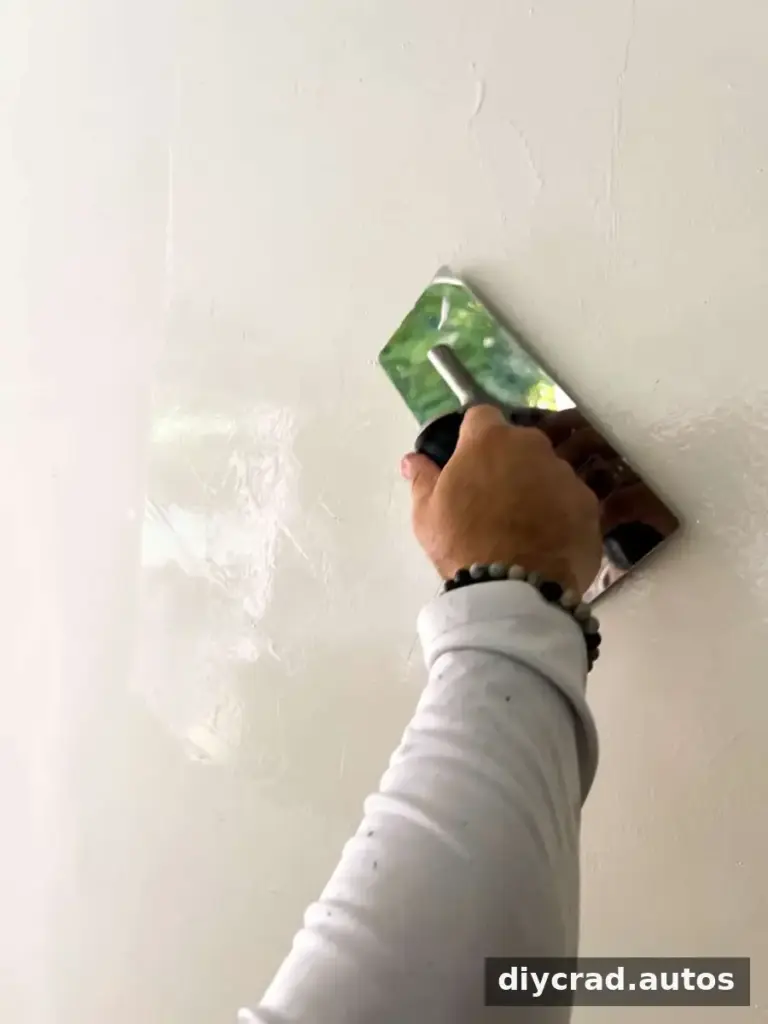
Apply 2 to 3 coats for a layered finish. The glaze can be diluted with up to 5% water to add variation, provided the product instructions allow it. Lighter colors may show less contrast between coats, while darker shades can make the texture more noticeable.
Step 11: Apply a Clear Top Coat
After the glaze has dried completely, apply a clear matte top coat that is compatible with the finish. Follow its directions for application and drying time before adding trim or placing the insert.
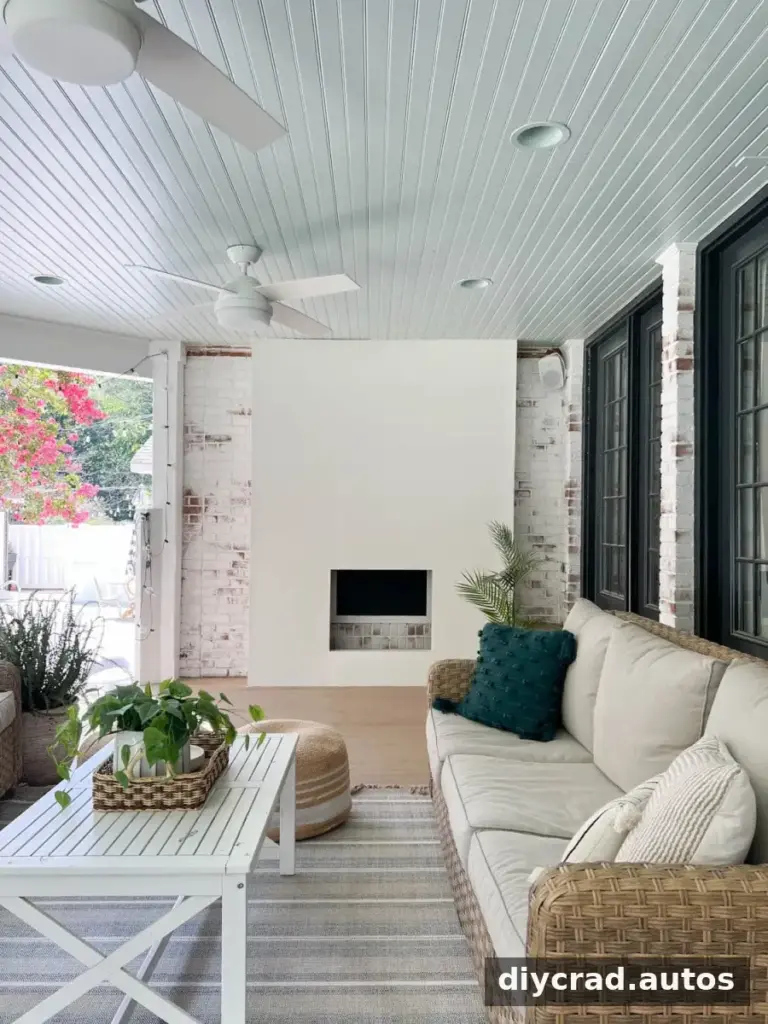
At this point, the fireplace can be finished with simple trim at the top and bottom for a minimalist look. Another option is to paint the inside of the opening black and create a decorative, non-functional faux fireplace. Keep decorative materials clear of any electric insert’s required ventilation and safety zones.
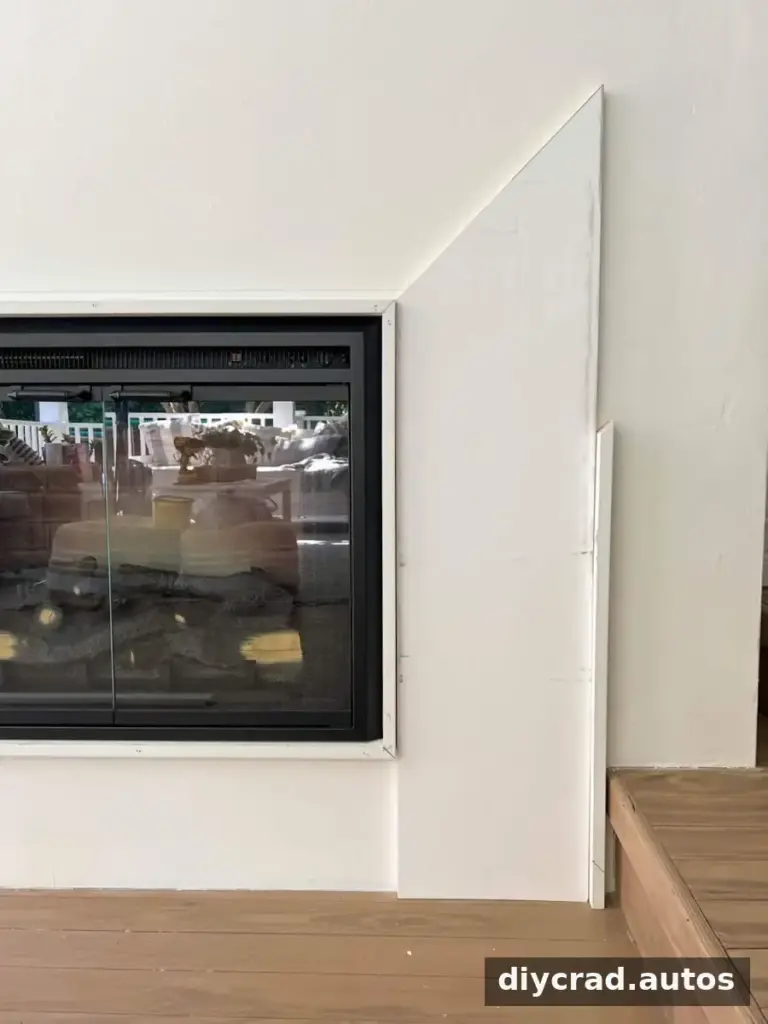
Step 12: Build a Fireplace Surround
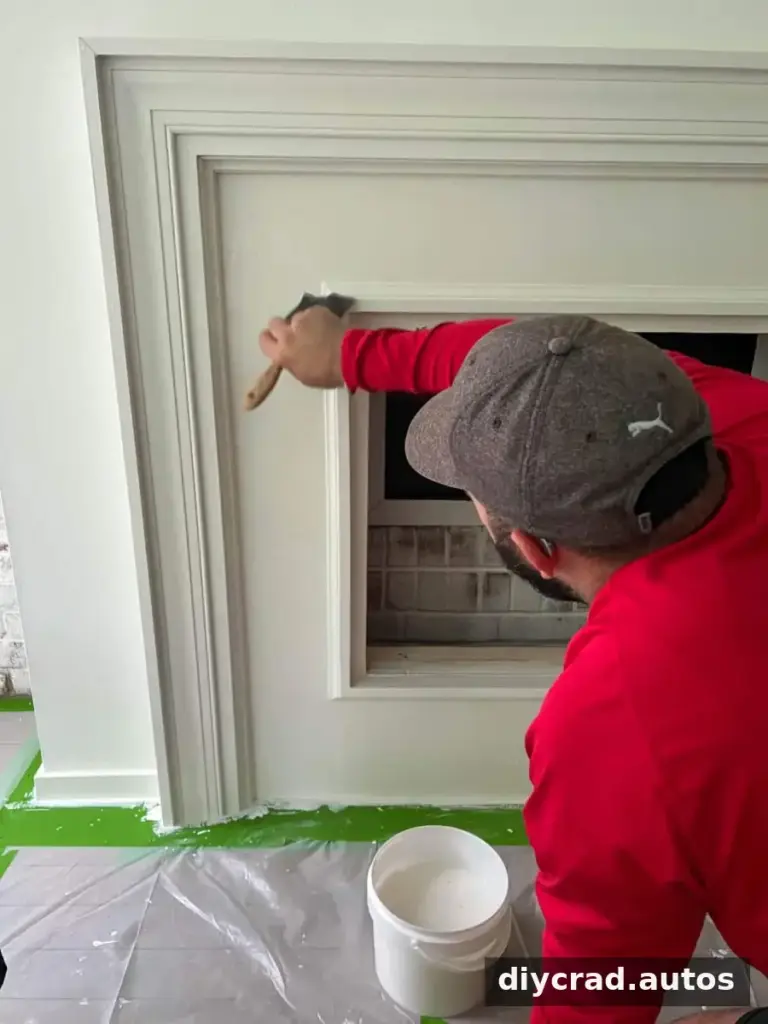
For a more detailed surround, inspiration for related DIY designs is credited to Chelsey Freng and Angela Rose. In this project, 1/2-inch by 2-inch trim was attached to the crown and base of the fireplace with a brad nailer. Measure and dry-fit trim pieces before fastening them so the corners meet neatly.
Step 13: Finish the Surround With Glaze
After building the surround, fill gaps, caulk where needed, and sand the wood smooth. Apply the same plaster-effect glaze technique to the surround. Completing the flat fireplace surface first can make it easier to work without the trim getting in the way, though the order can be adapted to the design.
Step 14: Install the Electric Insert
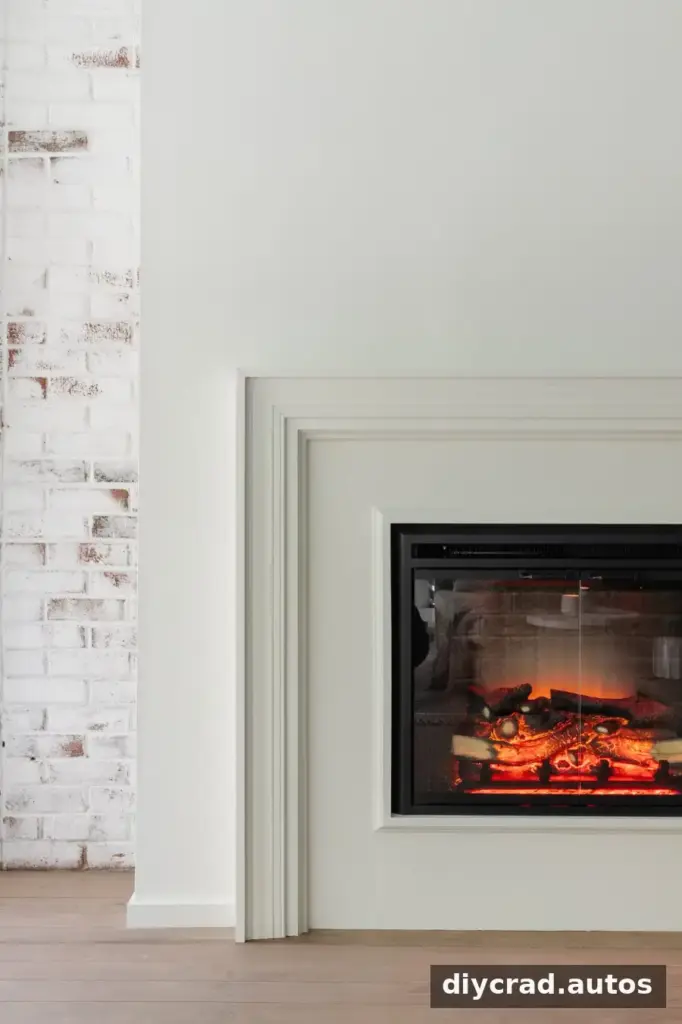
Once all finishes are dry, position the insert in its opening and connect it according to the manufacturer’s instructions. Confirm that it sits securely and that vents and controls remain unobstructed. Some electric inserts offer a flame effect without heat, as well as low and high heat settings; features vary by model.
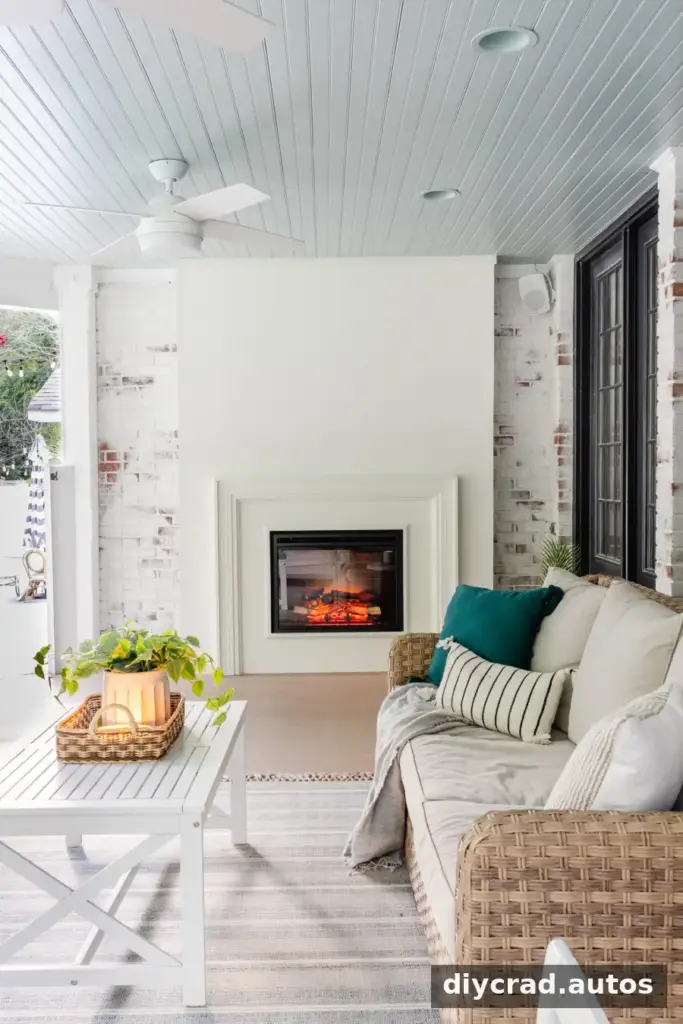
This style of framed fireplace can also be considered for a living room, dining room, or bedroom. For any location, confirm that the insert is appropriate for the space and follow applicable electrical and building requirements. A project of this size benefits from careful measuring and allowing each finish to dry fully before moving to the next step.
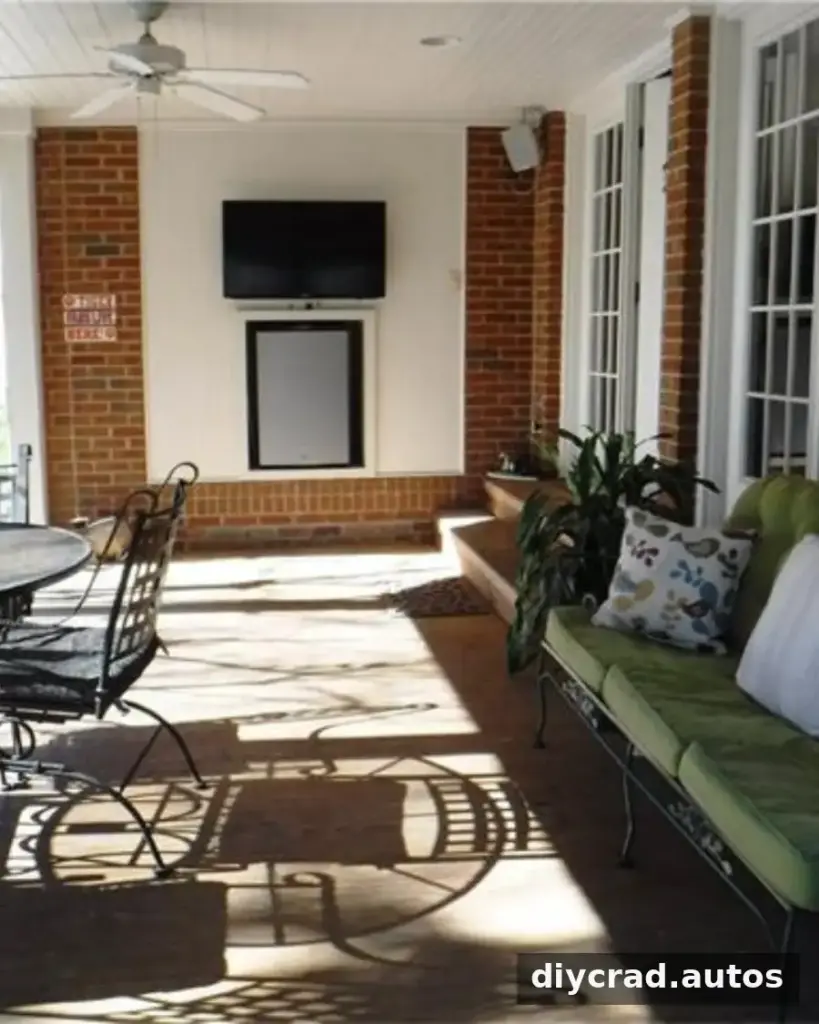
Conclusion: Is a DIY Plaster Fireplace Right for You?
A DIY plaster fireplace combines a straightforward 2×4 frame with drywall, layered glaze, and an electric insert to create a custom focal point. With an estimated timeline of about a week and a cost of around $1,300 for this project, careful planning is essential. Measure the insert before framing, practice the glaze on scrap drywall, and check installation clearances and location suitability before starting.

