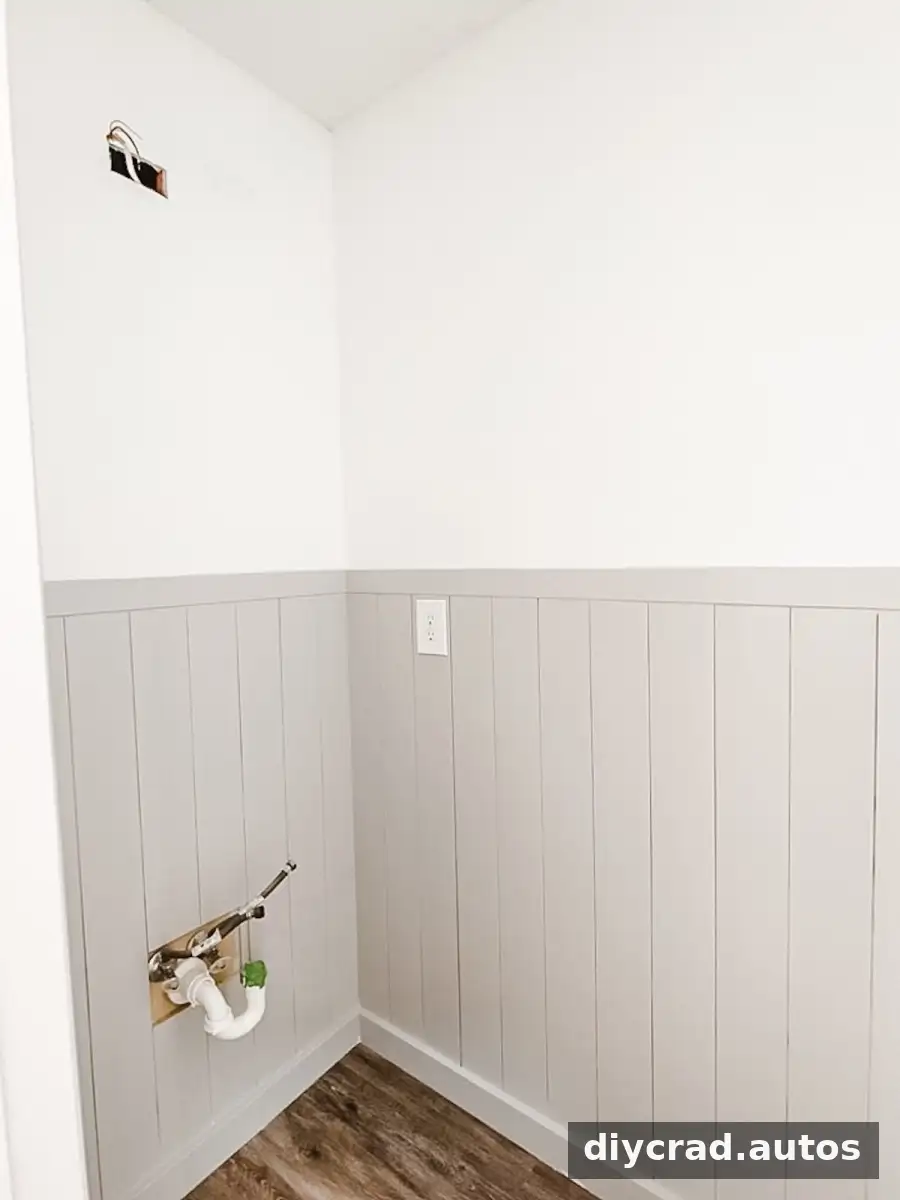
Vertical shiplap wainscoting can add texture and character to a bathroom without covering every wall or requiring a major renovation. With careful measuring, basic woodworking tools, and a suitable moisture-resistant paint finish, this beginner-friendly project can create a polished half-wall treatment on a modest budget.
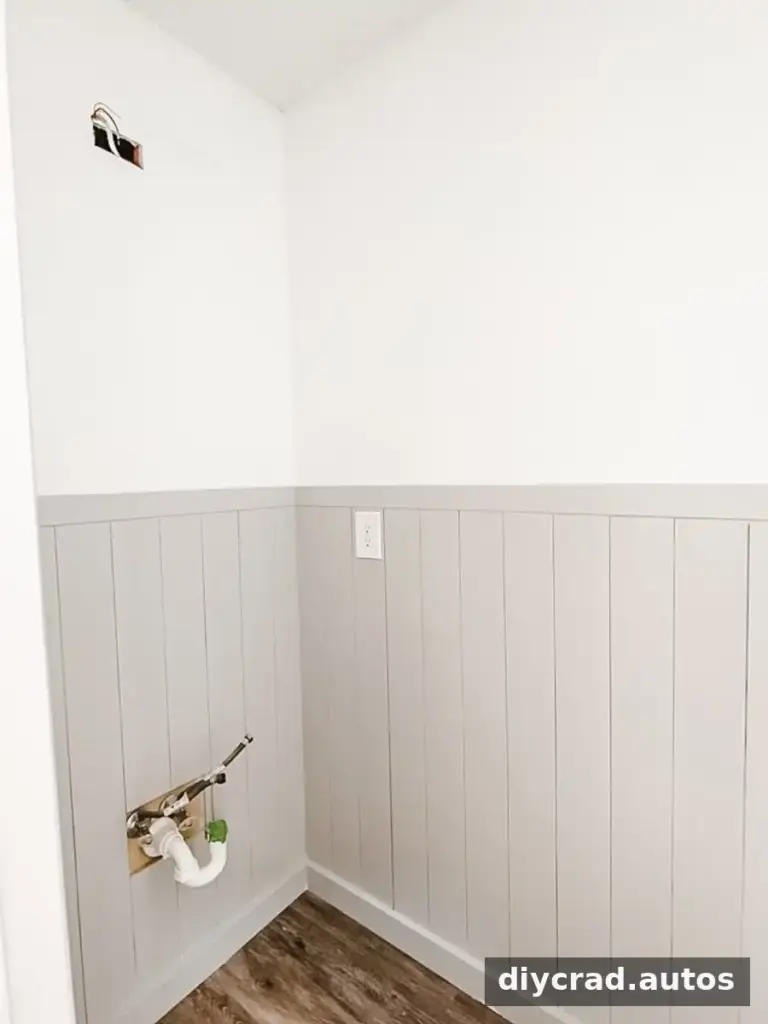
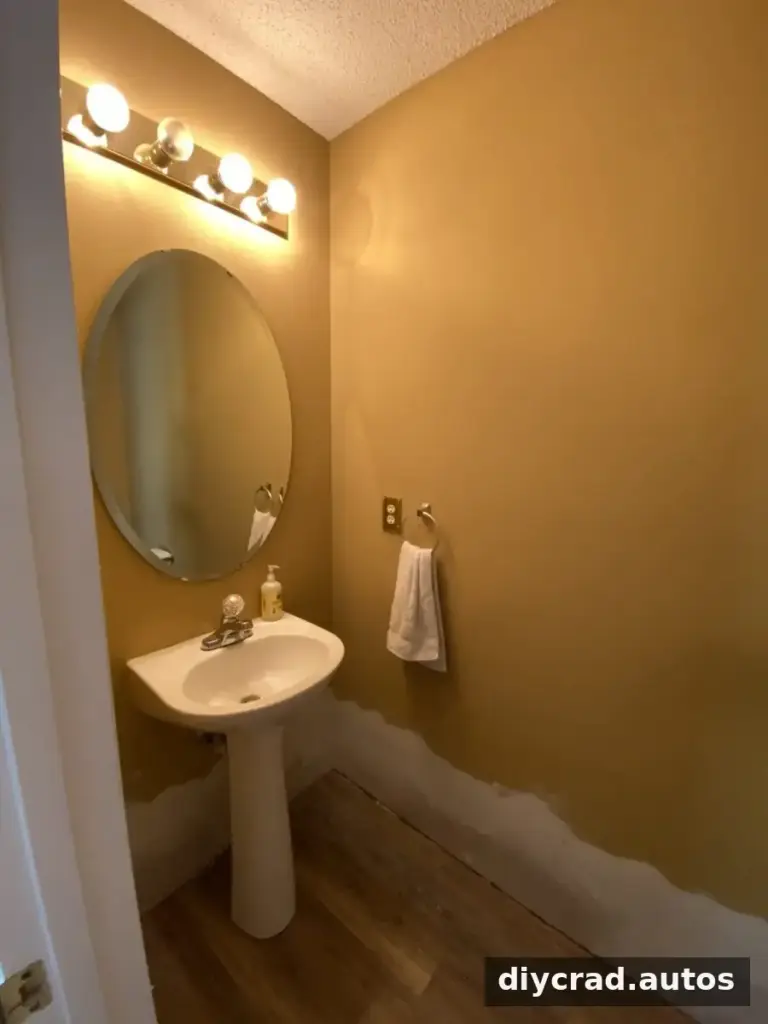
Choosing Vertical Shiplap Wainscoting
Vertical or horizontal boards?
Vertical boards often suit modern and contemporary interiors, and their upward lines can make a ceiling appear taller. Horizontal shiplap is more commonly associated with farmhouse, coastal, and rustic rooms; its long lines can make a narrow space feel wider. Choose the direction that best supports the proportions and style of your bathroom.
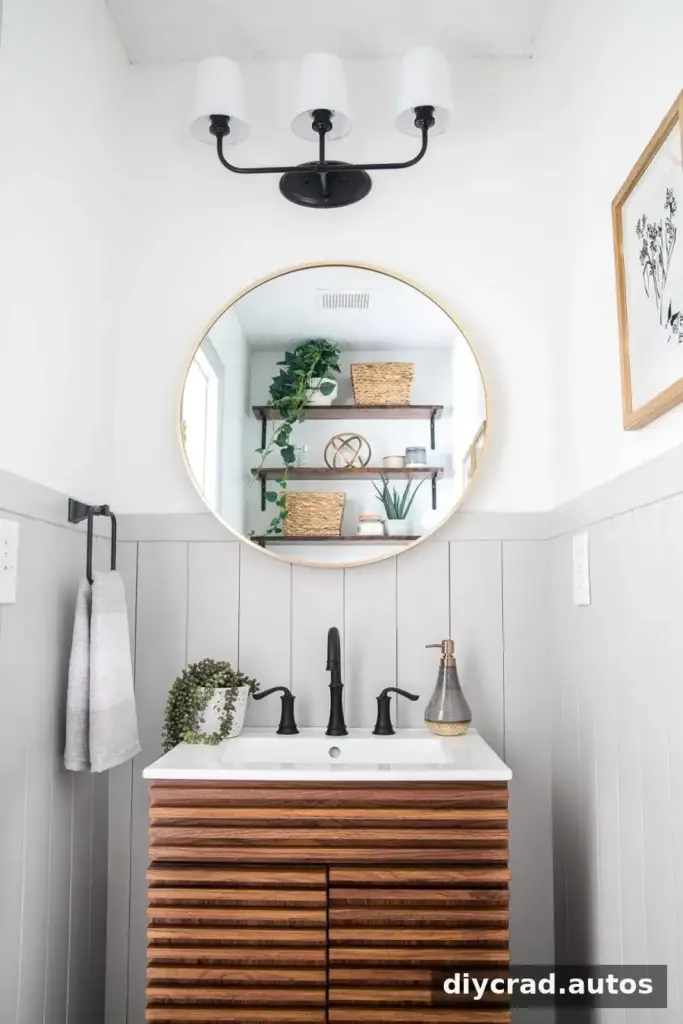
Shiplap is not limited to farmhouse decor. A vertical layout can work with a range of finishes and furnishings, including a relaxed, California-inspired look. You can cover a full wall or install the boards as wainscoting on the lower portion of the room.
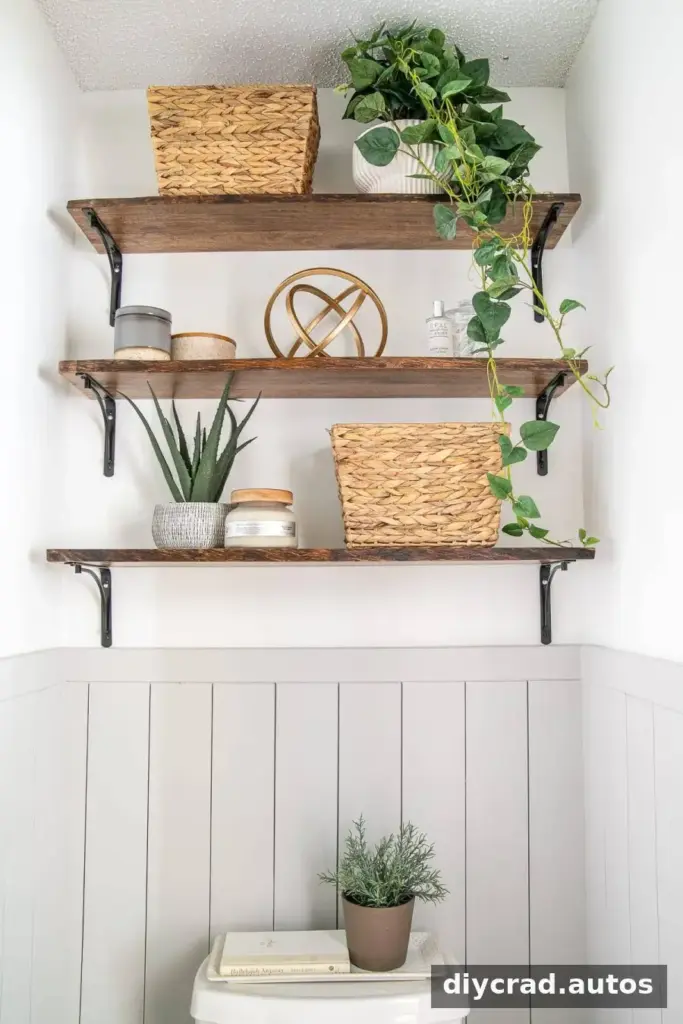
How to Install Bathroom Vertical Shiplap Wainscoting
Supplies and tools
- 5-inch shiplap boards, such as pre-primed tongue-and-groove boards
- 1×2-1/2-inch MDF Craftsman moulding for the upper rail
- 1×4-1/2-inch MDF Craftsman moulding for the lower rail
- Construction adhesive and a caulk gun
- Cordless finish nailer and 1 1/2-inch finish nails
- Tape measure, pencil, and level
- Jigsaw, power drill, and table saw or circular saw
- Miter saw (optional)
- Wood filler, caulk, rags, and a sander with medium-grit pads
- Outlet spacers, jumbo outlet and switch covers, and a flathead screwdriver
- Bathroom-suitable paint; satin or semigloss is often recommended for wainscoting
Installation steps
1. Measure the room and plan the boards
Measure the full room perimeter and work out how many boards the project requires. For reference, a powder room with a 22-foot perimeter used 27 boards, each 8 feet long, cut in half into 4-foot lengths. This left a couple of extra boards to allow for waste. Check your own measurements and allow for corners, openings, and cuts before buying materials.
2. Cut the boards and mark the height
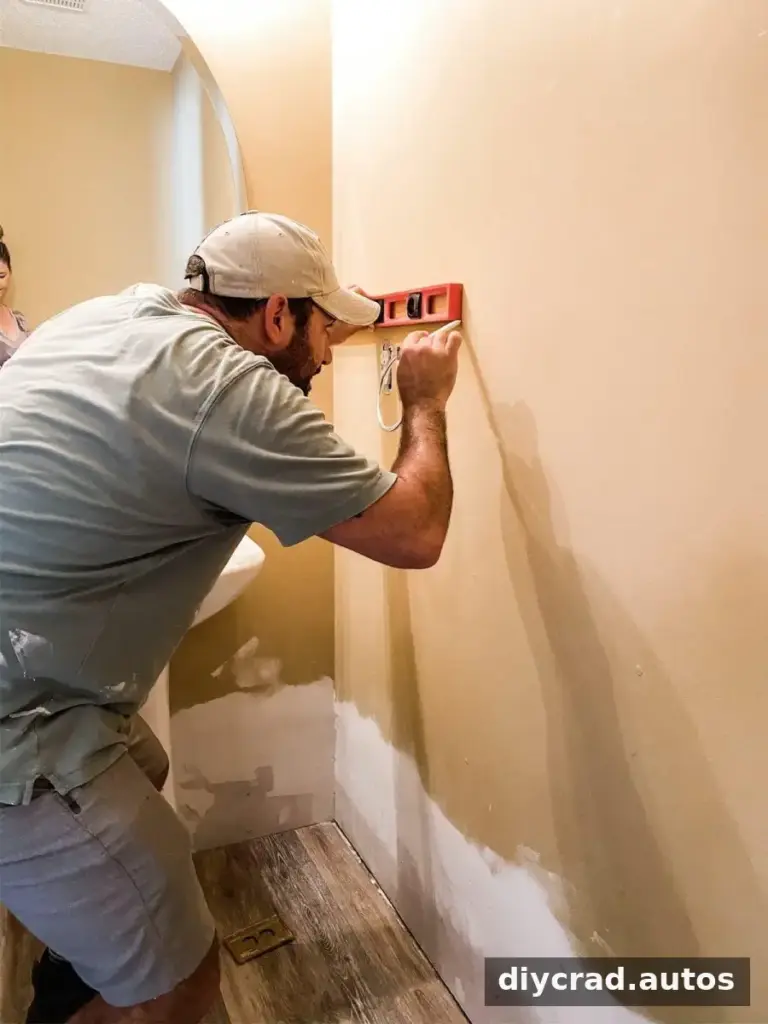
Cut the boards to the planned length; 4-foot pieces were used for this project to simplify measuring and reduce waste. Mark the intended wainscoting height on the wall, then use a level to draw a line around the room. Position the top edge with outlets and switches in mind so you can avoid awkward cuts where possible.
3. Level and attach the first board
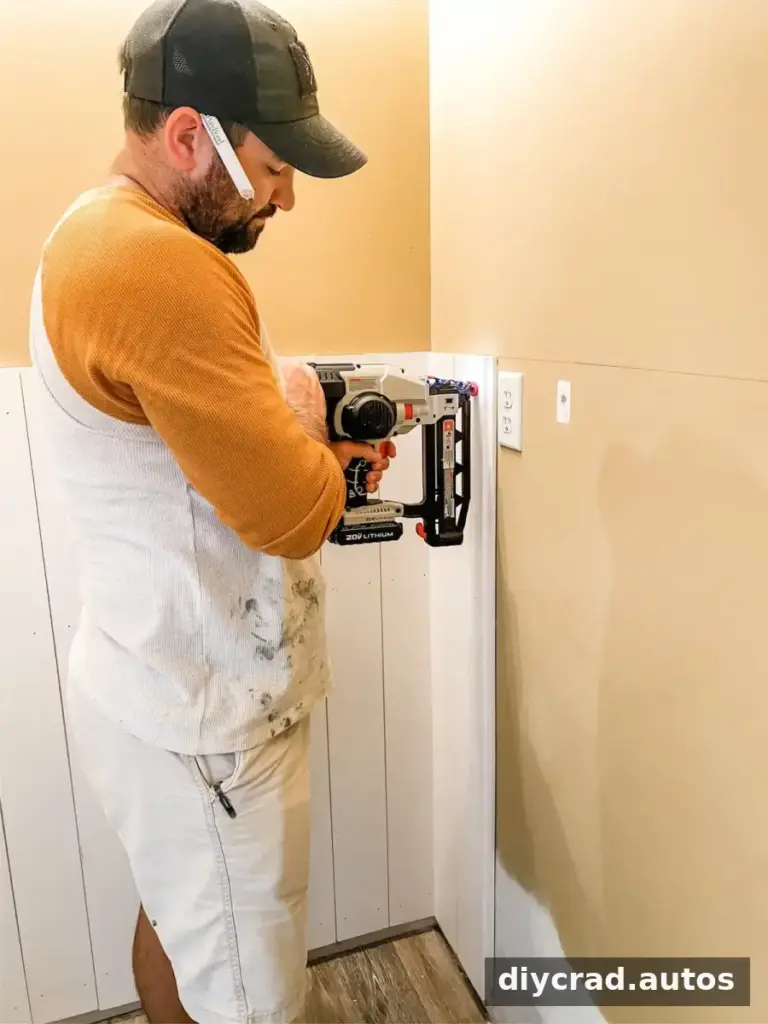
Check the first board carefully with a level before fastening it. Do not assume a corner is square, since walls and corners may not meet at a perfect 90-degree angle. Apply construction adhesive to the back, align the board with the marked line, and secure it with finish nails. Vertical boards may not line up with wall studs, so adhesive helps hold them in place. Follow the adhesive and fastener manufacturers’ directions.
4. Continue across the wall
Install the remaining boards one at a time, checking alignment and level frequently. At corners, measure and trim boards as needed with a table saw or circular saw. Careful checks as you go help prevent small alignment errors from building up across the room.

5. Cut openings for outlets and switches
Measure the position of each outlet or switch and mark the opening on the board. A smaller cover can be used as a tracing guide. Drill a hole at each corner of the marked outline to create starting points for the jigsaw blade, then cut out the opening and test the fit before attaching the board.
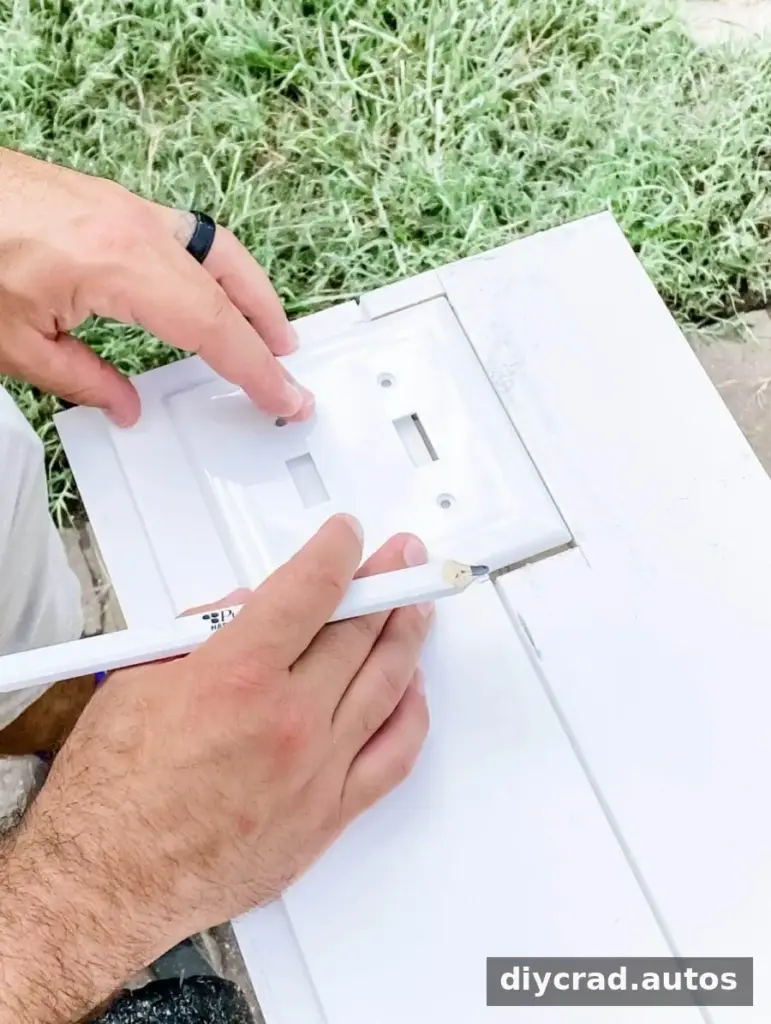
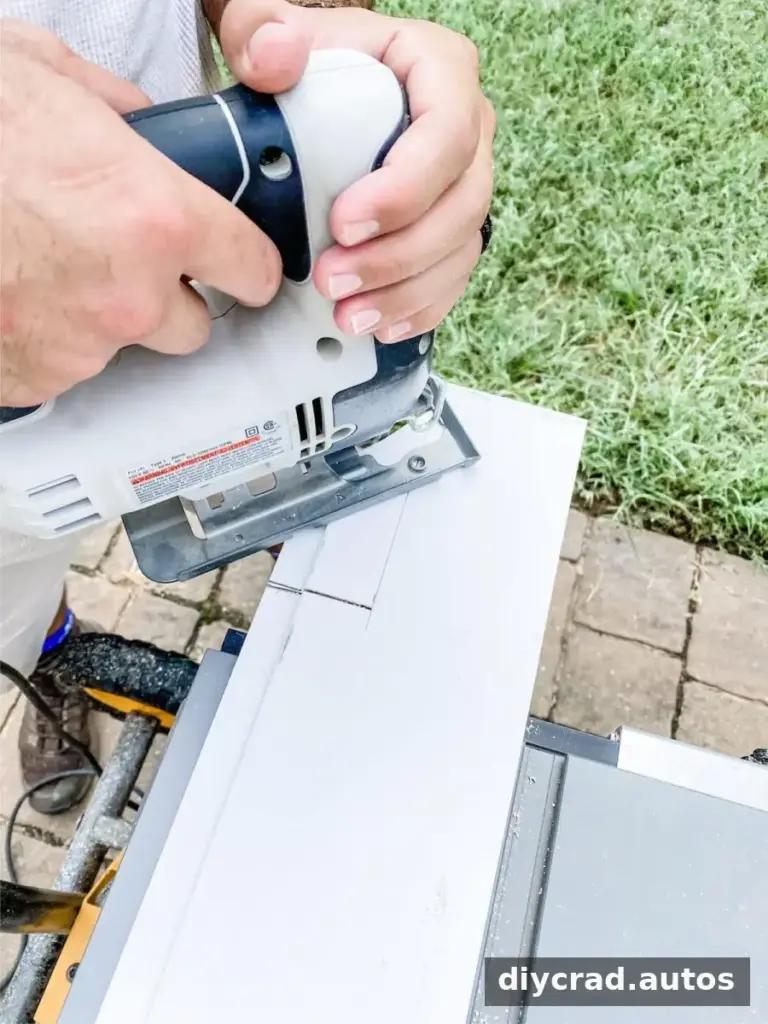
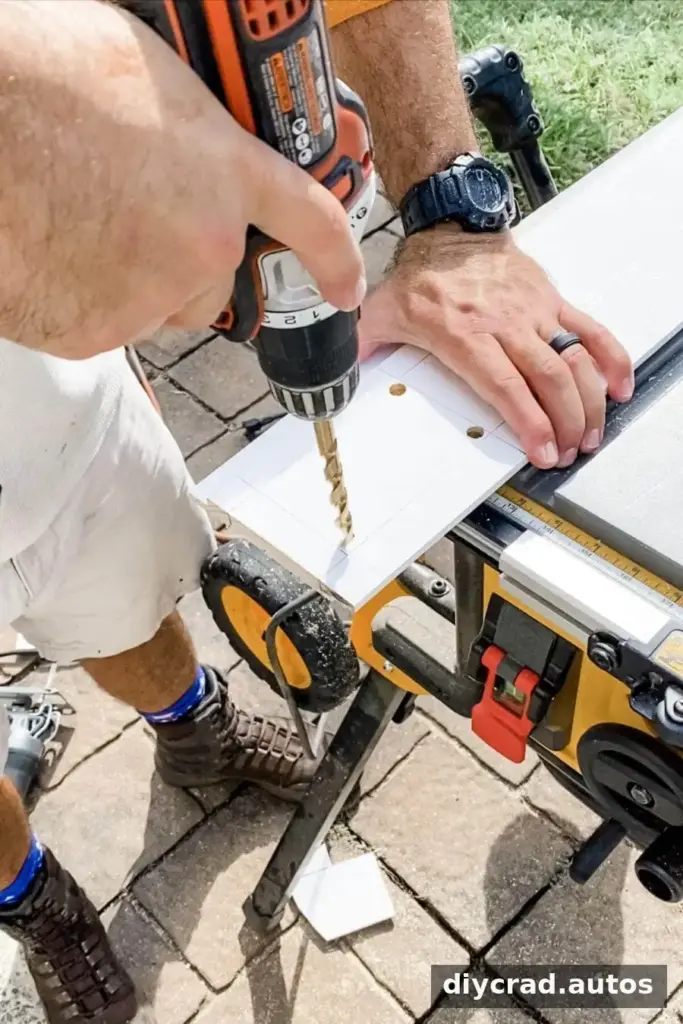
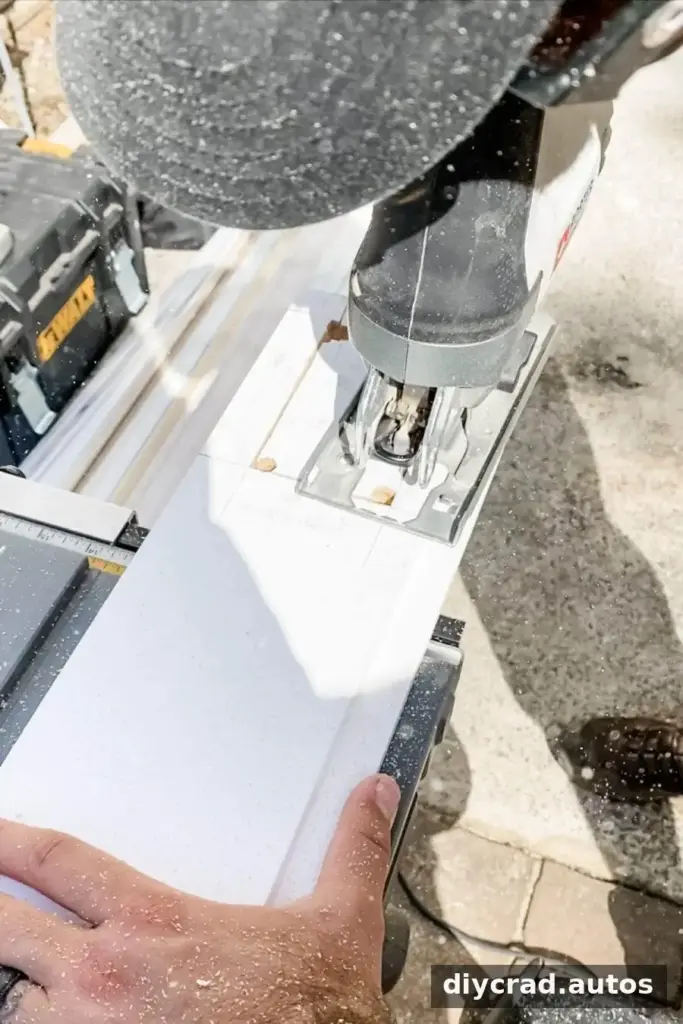
Turn off power at the circuit breaker before working near electrical outlets or switches. Use appropriate safety precautions, and consult a qualified electrician if you are unsure how to adjust an electrical box or device.
6. Fit the devices and cover plates
Once the boards are installed, outlet spacers can help bring outlets and switches flush with the new wall surface. Oversized covers can conceal small gaps around cutouts. Electrical work should be completed safely and in accordance with local requirements.
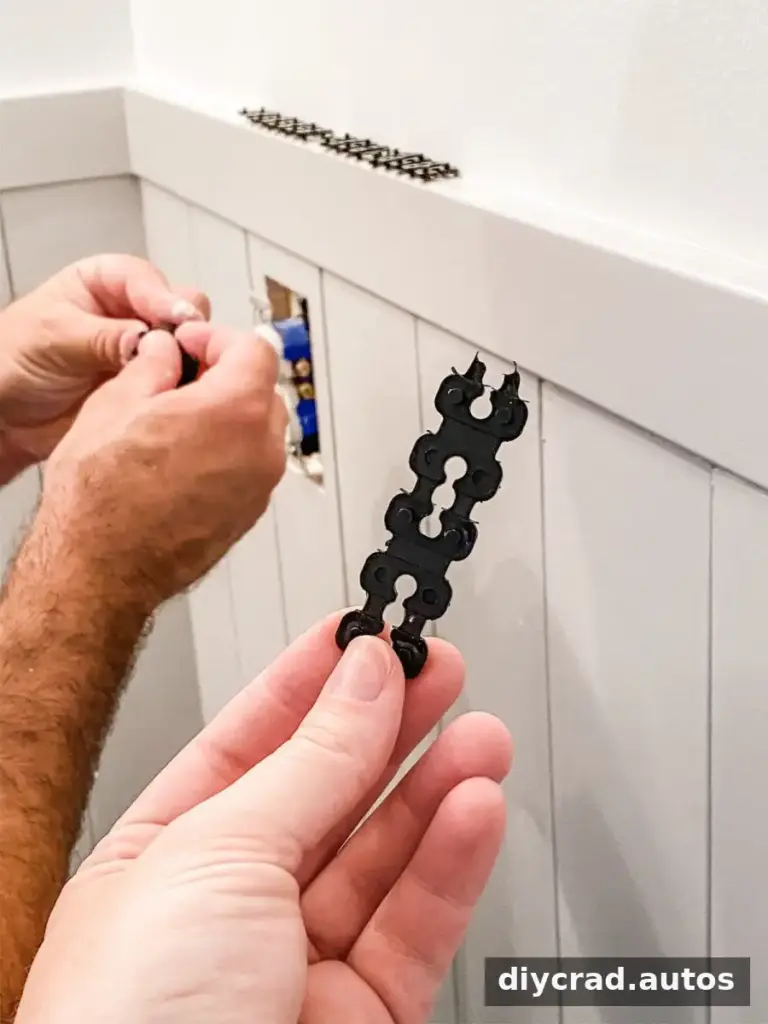
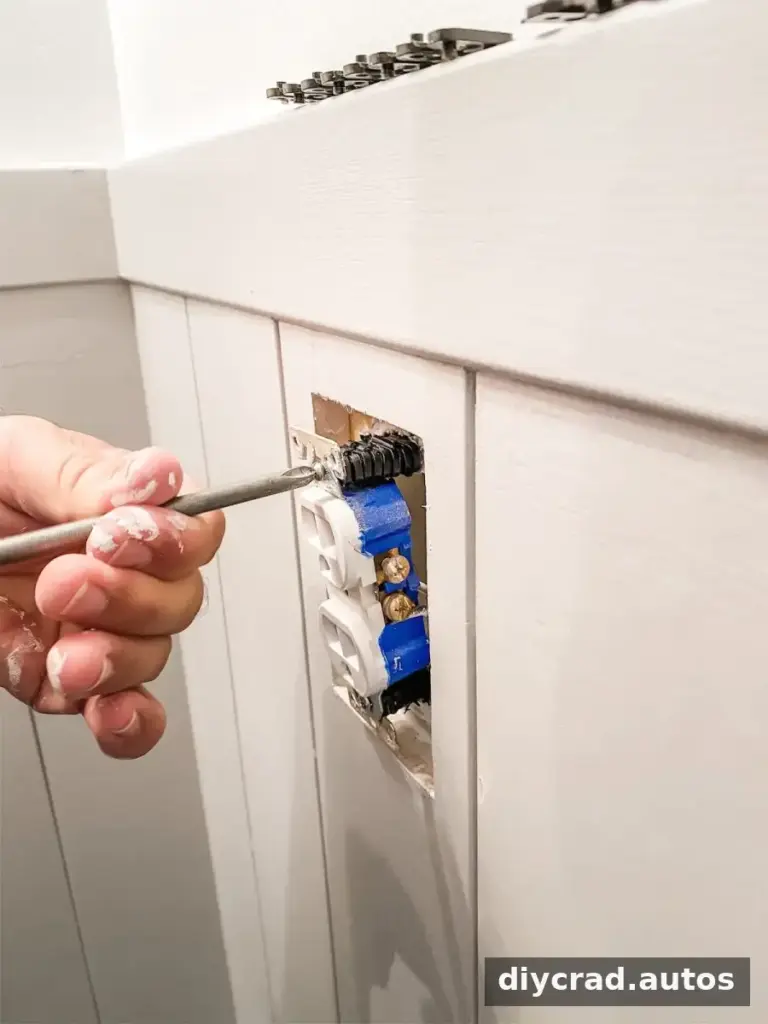
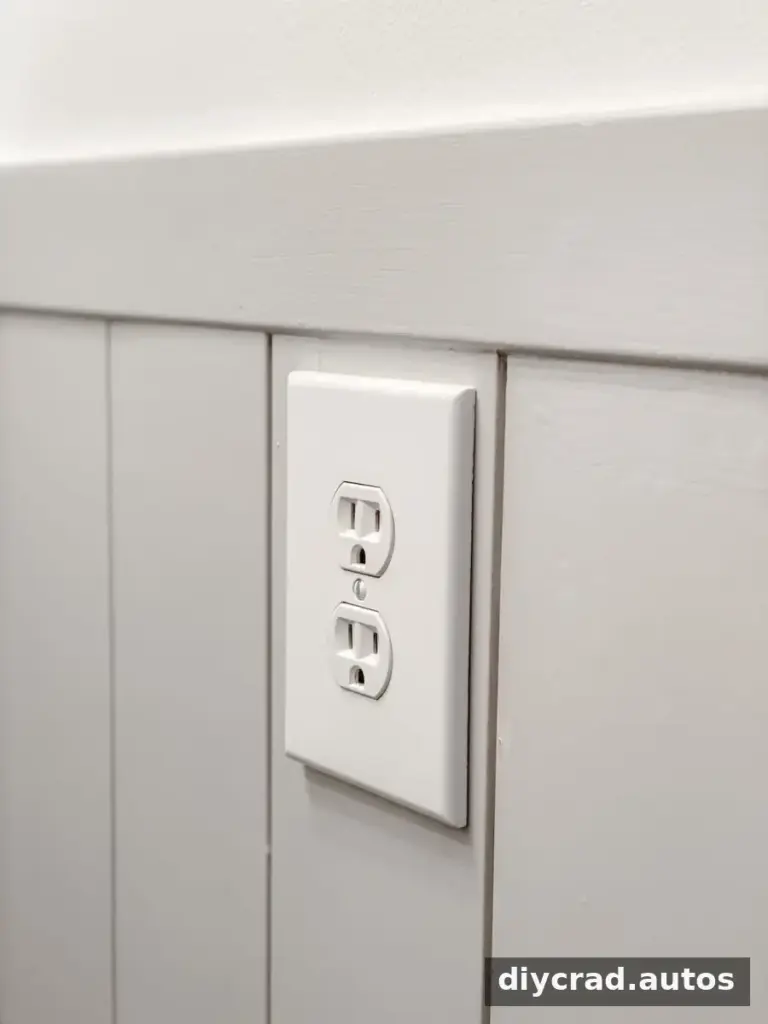
7. Add the rails and prepare the surface
Attach the 1×2-1/2-inch upper rail along the top edge of the shiplap. Install the 1×4-1/2-inch Craftsman moulding at the bottom as a baseboard, fastening it to the boards. Fill nail holes with wood filler and let it dry. Apply caulk to gaps and allow it to dry as directed.
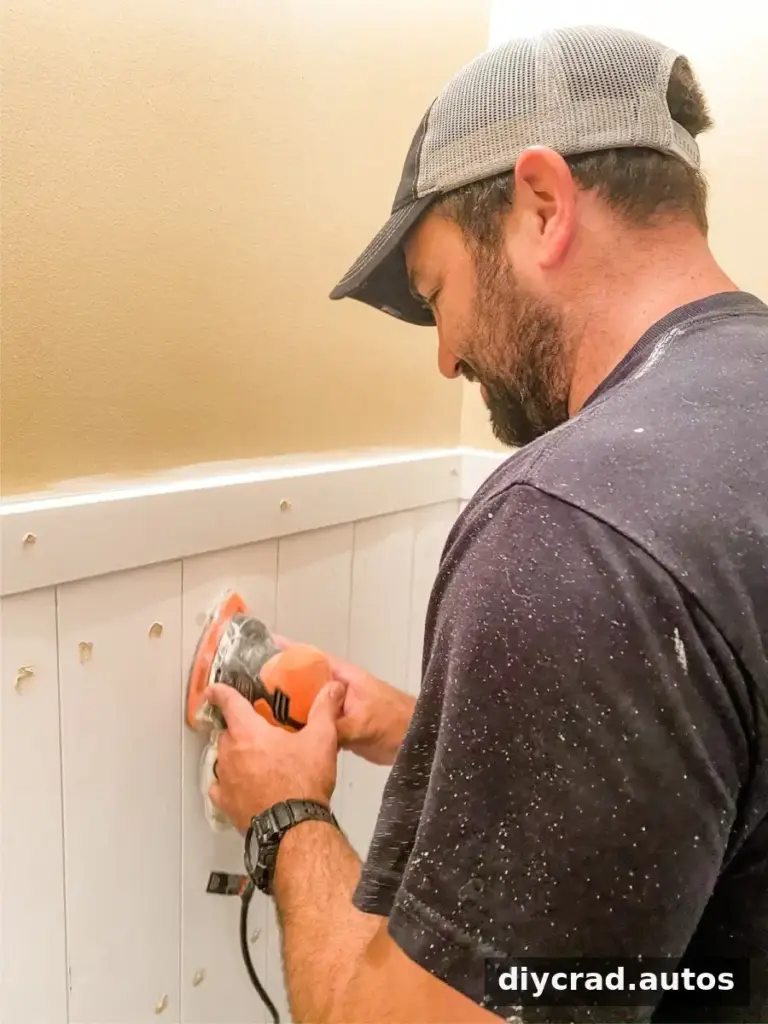
8. Sand and paint
Sand the dried wood filler until smooth, but do not sand the caulk, which may crack. Wipe away dust before painting. Satin and semigloss finishes are commonly recommended for bathroom wainscoting; choose a paint suitable for the room’s conditions and follow its application instructions.
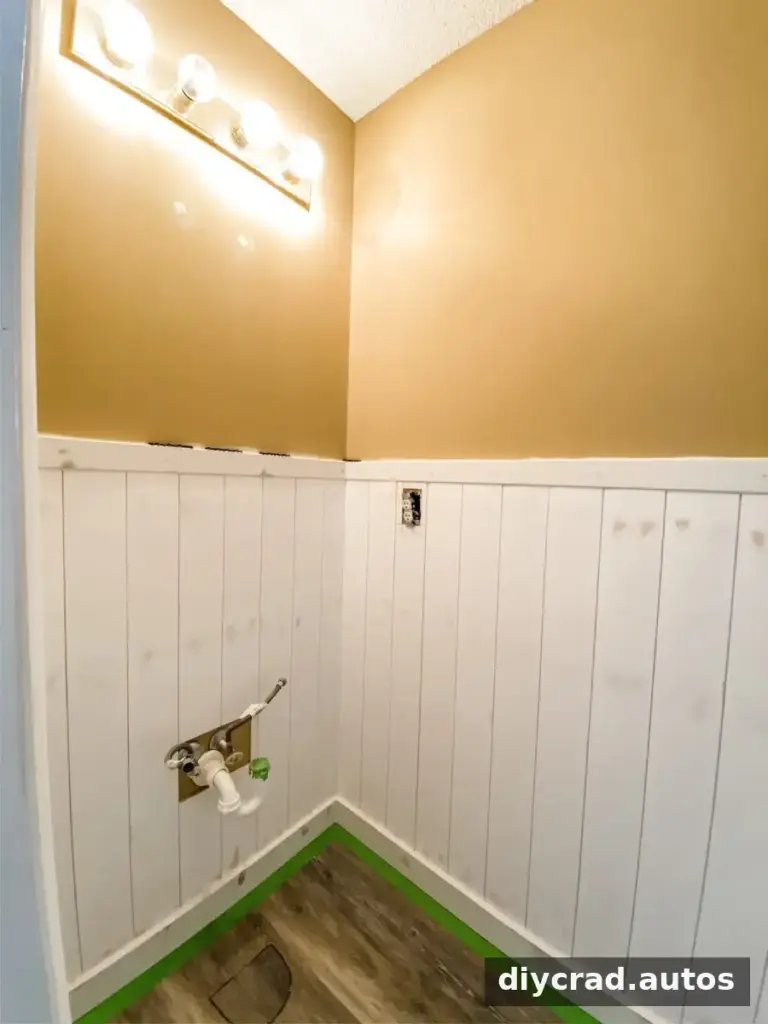
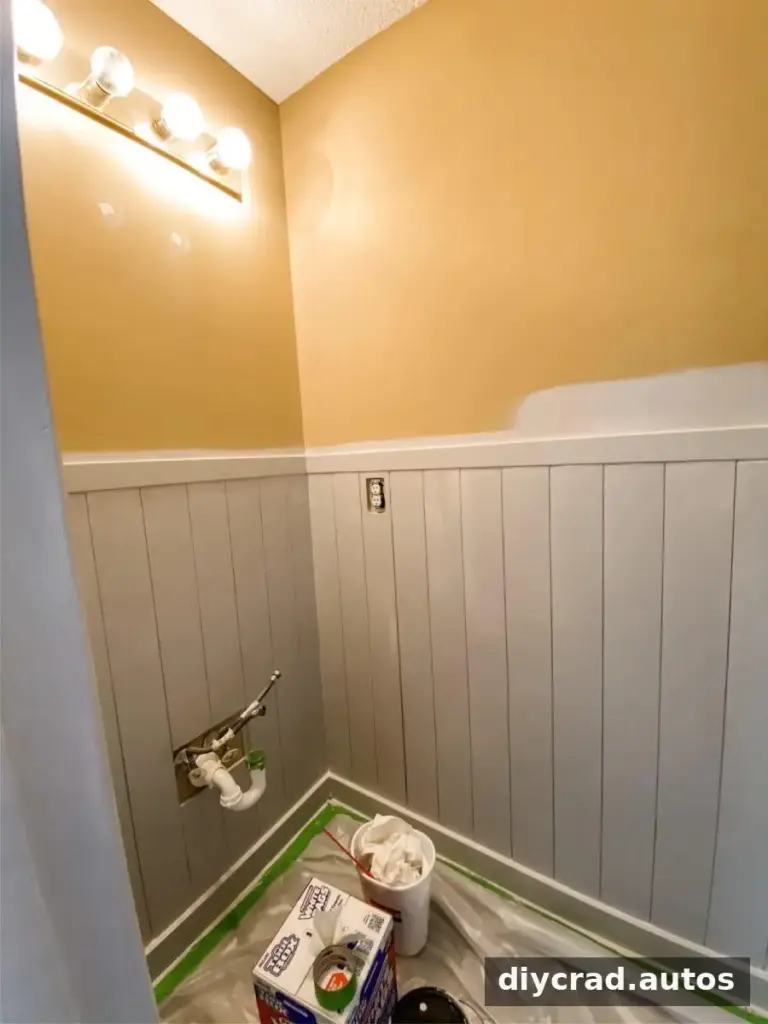
The project used Stonington Gray in satin on the shiplap and Chantilly Lace in eggshell on the upper walls. A change in wall color and vertical detailing can noticeably alter how a small room feels.
Finishing Your Vertical Shiplap Wainscoting Project
Vertical shiplap wainscoting offers a practical way to introduce architectural detail while keeping the project to a manageable section of wall. Measure carefully, check the first board and each following row for level, and plan outlet openings before cutting. With secure installation, neat trim, and an appropriate paint finish, the result can bring a fresh, tailored look to a bathroom.