


To revive a patchy lawn, start by understanding your soil, grass type, and local growing conditions. A healthier front yard usually takes consistent care rather than a single quick fix. The makeover outlined here took about a year and combined weed control, aeration, overseeding, fertilizing, and a more reliable watering routine.
The lawn had been damaged by foundation work, heavy equipment, and a period of limited maintenance. The result was a mix of bare patches and weeds. The approach below offers a practical starting point, but timing and product choices should be adjusted for your climate and grass variety.

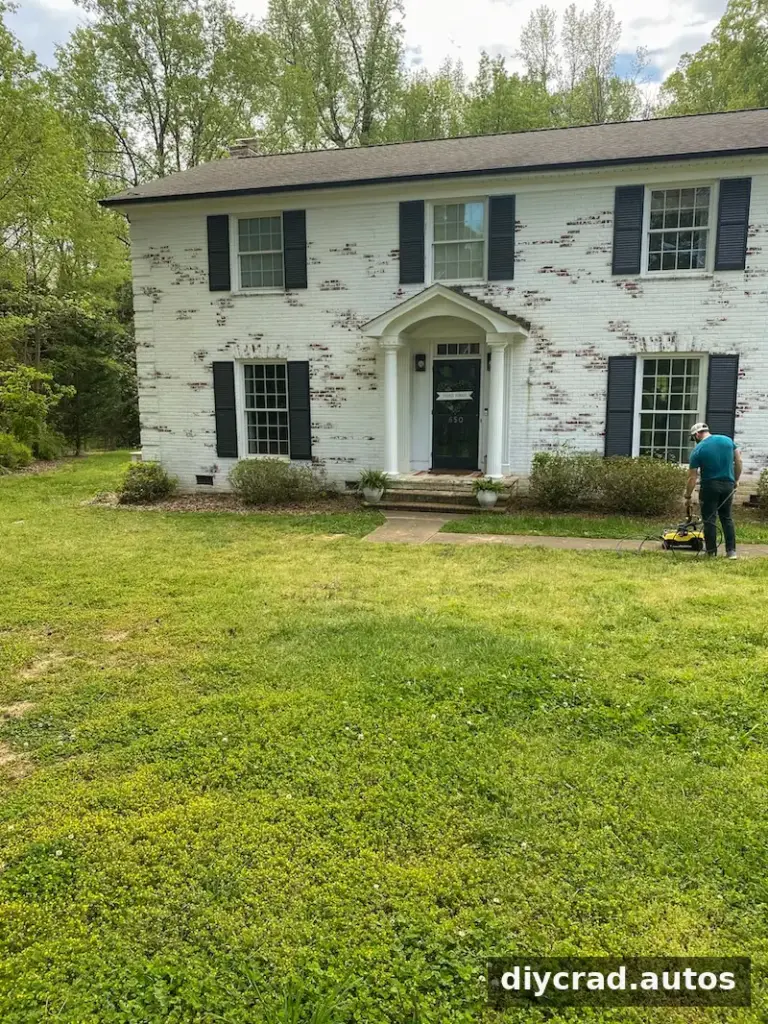
Revive a Patchy Lawn: Before and After
The front yard’s improvement included both the lawn and the surrounding flower beds. Stone edging helped define the planting areas, while cleaning and sealing the limewashed brick refreshed the exterior. Lawn recovery took longer: the first stages involved preparing the soil and addressing weeds before new grass could fill in.
In this example, the property is in South Carolina’s Piedmont region, planting zone 8a, with clay soil and tall fescue. These details matter because grass varieties and seasonal care differ by region. Use local extension guidance or a knowledgeable lawn-care professional to check what is suitable for your yard.

Plan the Lawn Care Work
The project combined hands-on work with professional help. Stone edging, initial flower-bed planting, and some aeration, overseeding, and fertilizing were completed as DIY tasks. Irrigation repairs also helped the grass receive more consistent water. Work involving ladders or specialized equipment may be better left to qualified professionals, especially when safety is a concern.
A simplified overview of the lawn process is:
- Test the soil and identify the grass type.
- Choose a care schedule suited to the climate and lawn conditions.
- Apply weed control at an appropriate time, following the product label.
- Aerate where needed to improve the movement of air, water, and nutrients through the soil.
- Overseed and fertilize during suitable seasonal windows.
- Water new seed carefully, then transition to a maintenance routine.
- Mow at an appropriate height for the grass variety.

Step 1: Test the Soil and Identify Your Grass
A home soil test kit or local garden center can help assess soil pH and nutrient needs. Testing before fertilizing is useful because it can prevent guesswork and help guide any amendments. Clay soil, for example, may drain and compact differently from sandy soil, so avoid assuming that one lawn’s routine will work everywhere.
Choose Grass for Your Climate
Consider your region, planting zone, sunlight, and shade when selecting seed. A mix designed for sunny and shaded areas may suit a yard with changing light, but check the package for the recommended conditions and compatibility with your existing grass. Matching seed to the site gives new grass a better chance to establish.
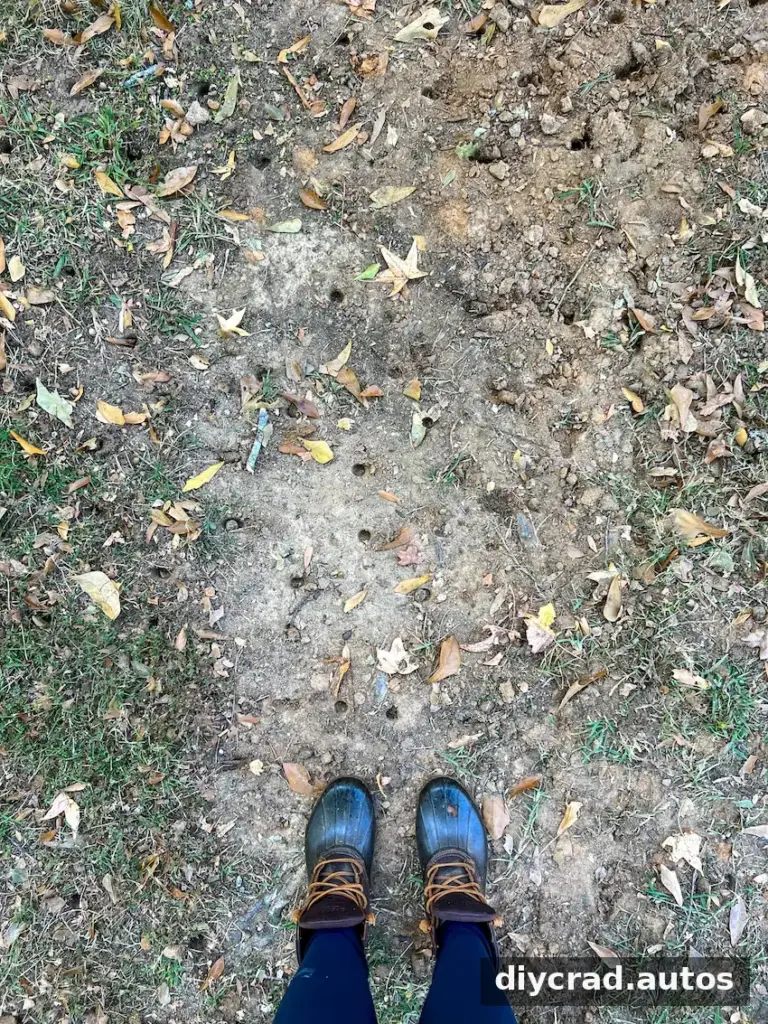
Step 2: Manage Weeds Before Overseeding
Spring or fall can be suitable for weed control, depending on the product, weed type, and local conditions. In the example described here, treatment was applied in September and seeding followed in October. That schedule may not be appropriate in every region, so check local recommendations and the product label for application and reseeding intervals.
Some treatments work best when weeds are actively growing, and weather can affect results. Follow all label instructions for watering, rainfall, protective equipment, and keeping children and pets off treated areas. The original routine allowed at least 30 days—and, depending on the product, up to four months—before planting seed; verify the required waiting period for the specific treatment you use.

Step 3: Aerate, Overseed, and Fertilize
After weed treatment, a lawn can look thinner before new growth fills in. Aeration can help when soil is compacted by creating openings that allow water, air, and nutrients to reach the roots. Watering the ground beforehand may make it easier to aerate, but avoid working soil that is excessively wet. Aerators can sometimes be rented, and sharing equipment with neighbors may reduce costs.
Choose between aeration and dethatching based on the lawn’s condition; they address different issues. Before buying seed or fertilizer, measure the area and use the package directions or a lawn-size calculator to estimate how much is needed.
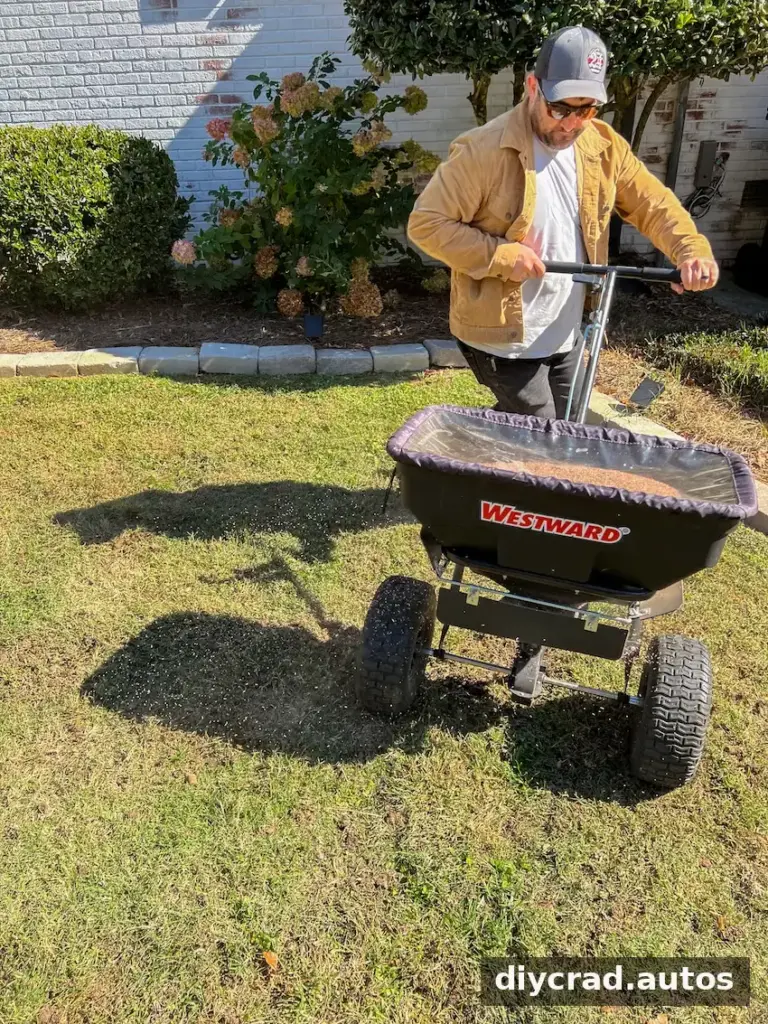
Prepare and Apply Grass Seed
- Mow the existing lawn short, to about an inch or less, if appropriate for the grass and seed plan.
- Rake away leaves, twigs, and loose clippings so seed can reach the soil.
- Spread seed and fertilizer evenly, following the product rates and application instructions.
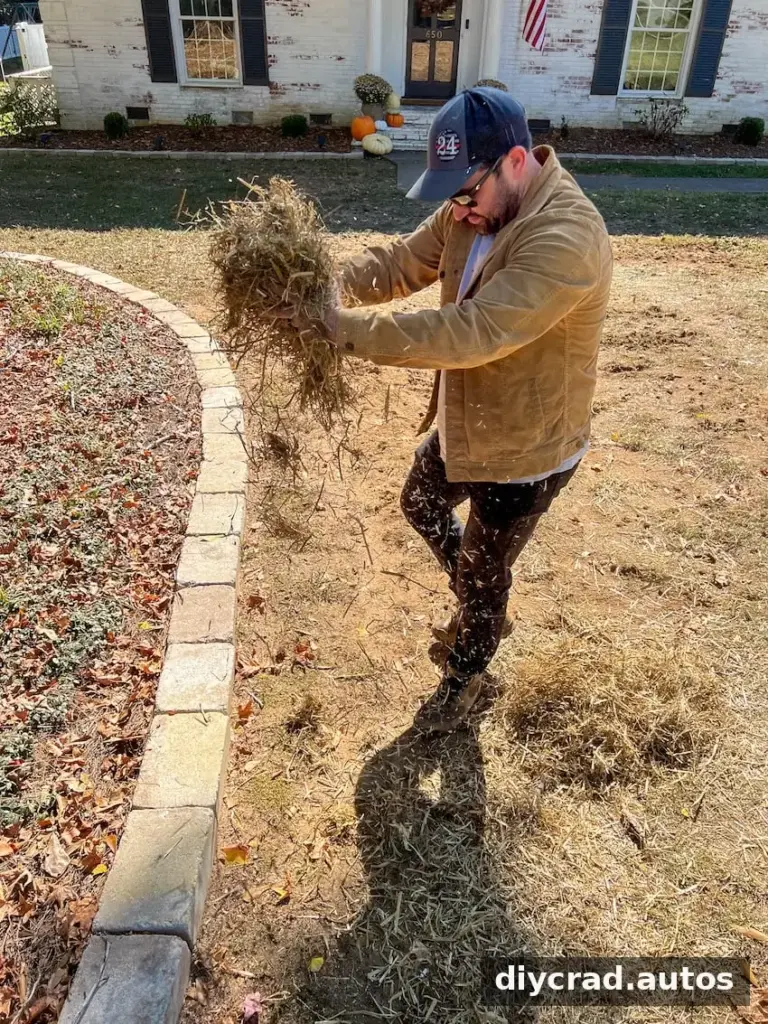
- In bare areas, a light layer of hay can help protect seed. Keep it loose enough for light and moisture to reach the soil.
A spreader and steady, overlapping passes can make coverage more even. Avoid applying extra seed or fertilizer beyond the recommended rate, since more is not necessarily better.
Step 4: Water New Grass and Maintain the Lawn
Watering needs depend on climate, soil, shade, and rainfall, so treat these timings as general examples rather than fixed rules. The goal during germination is to keep the seedbed consistently moist without washing seed away or leaving the ground waterlogged.
New Seed and Germination
A starting schedule used in this example was watering two to three times per day for about 10 minutes. Once seeds germinated, watering shifted to a longer session once per day. As the grass matured, watering was gradually reduced to a deeper soak of about 40 minutes on alternate days. Adjust duration to your sprinkler output and soil drainage.
Established Grass
Once the lawn is established, the example schedule moved to watering two to three days per week. Local rainfall may reduce the need for irrigation. Mowing at a suitable height for your grass can also help the lawn compete with weeds; avoid cutting more than recommended for the variety.

By spring 2023, the lawn showed clear improvement, and roughly a year later it was much fuller, though a few stubborn patches remained. Recovery can be gradual, so inspect thin areas and adjust watering, mowing, or overseeding based on what you observe.

A healthier lawn can make a front yard more comfortable as well as more attractive. Continued seasonal care, repaired irrigation, and patience helped turn a weed-filled, uneven area into a greener space for everyday use.

Conclusion: How to Revive a Patchy Lawn
To revive a patchy lawn, begin with a soil test and a grass variety suited to your climate, then address weeds, prepare the ground, overseed, and water according to the seed’s needs. Use product labels and local guidance to set safe timing, and remember that a full recovery may take a year or longer. Consistent care is more effective than expecting an instant transformation.

