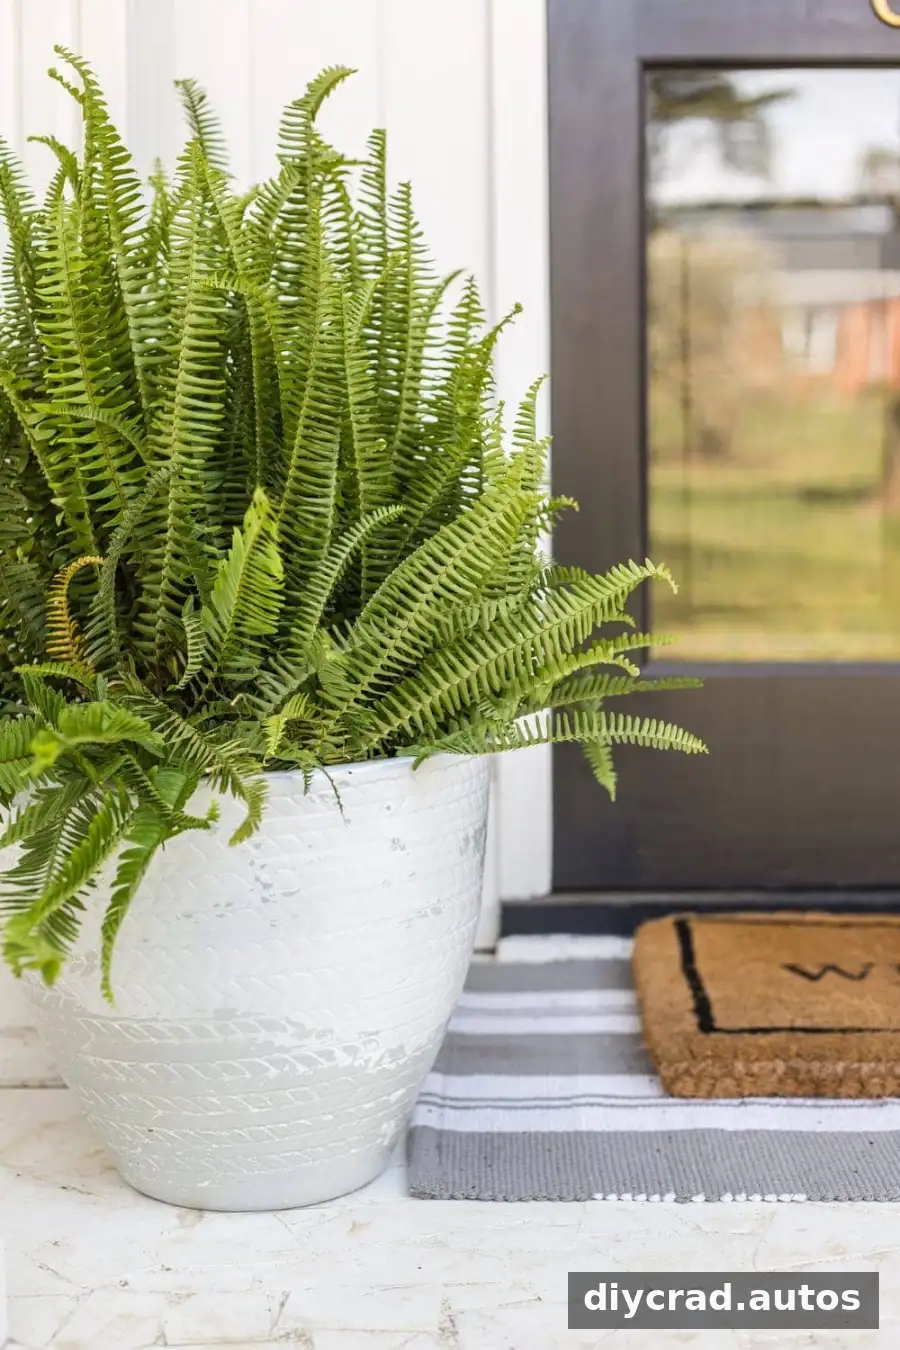
To distress with petroleum jelly, use it as a temporary barrier between two coats of paint. When you wipe it away after the topcoat dries, some of that paint lifts too, revealing the color underneath for a naturally worn, layered effect. This simple method can refresh planters and other decorative items without sanding, though results depend on the surface and paint you use.
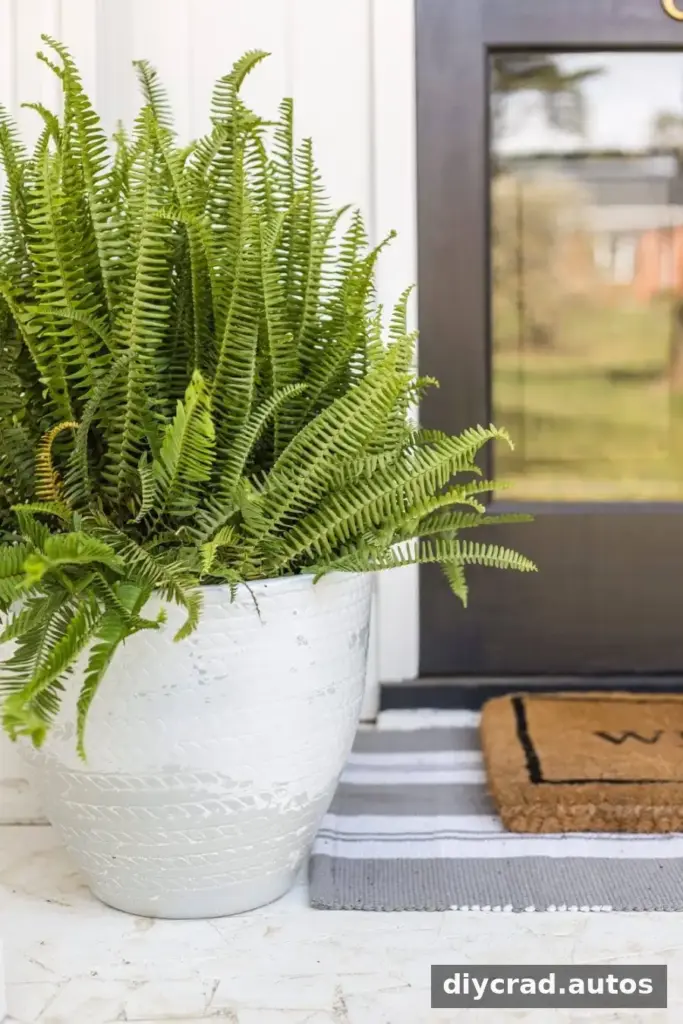
How to distress with petroleum jelly
The technique is especially useful when sanding is difficult or could damage the item, such as with some plastic objects. It can also be tried on glass, metal, and wood, but paint adhesion varies by material. Before working on the full piece, test the paint and petroleum jelly on a small, inconspicuous area.
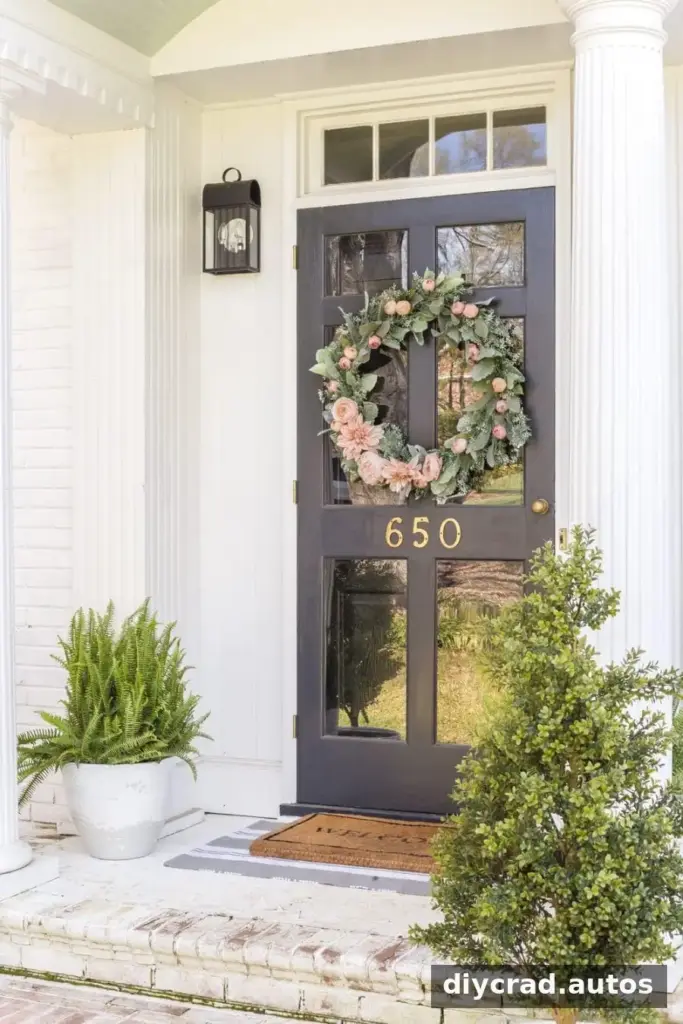
For a planter makeover, choose two contrasting paint colors. A gray base beneath a white topcoat creates a subtle, weathered look; different finishes, such as matte and gloss, can add further visual variation. The example below uses existing porch planters and a simple two-color paint treatment.
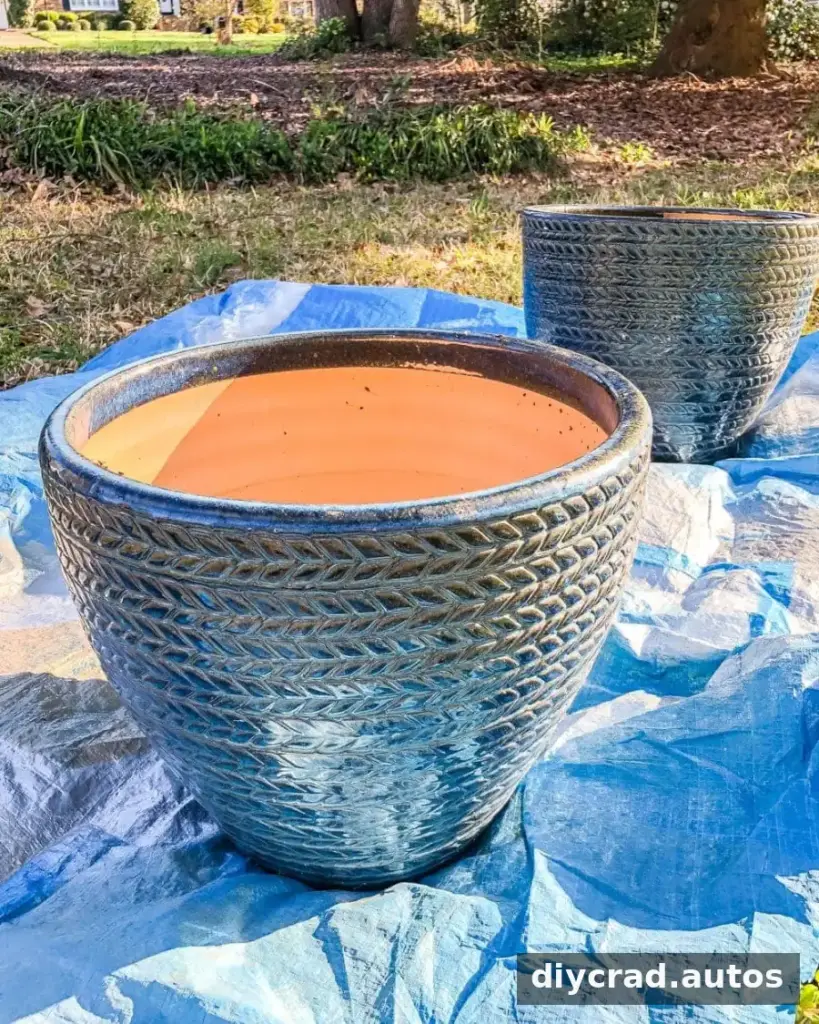
Materials
- An all-purpose cleaner suitable for the item’s surface
- Clean, dry cloths
- Petroleum jelly
- Two shades of spray paint, such as matte gray for the base and gloss white for the topcoat
- The item you want to refinish
Read the cleaner and paint labels before starting. Check that the paint is intended for your surface, and use spray paint only in a well-ventilated area, following the product’s safety directions.
Step-by-step instructions
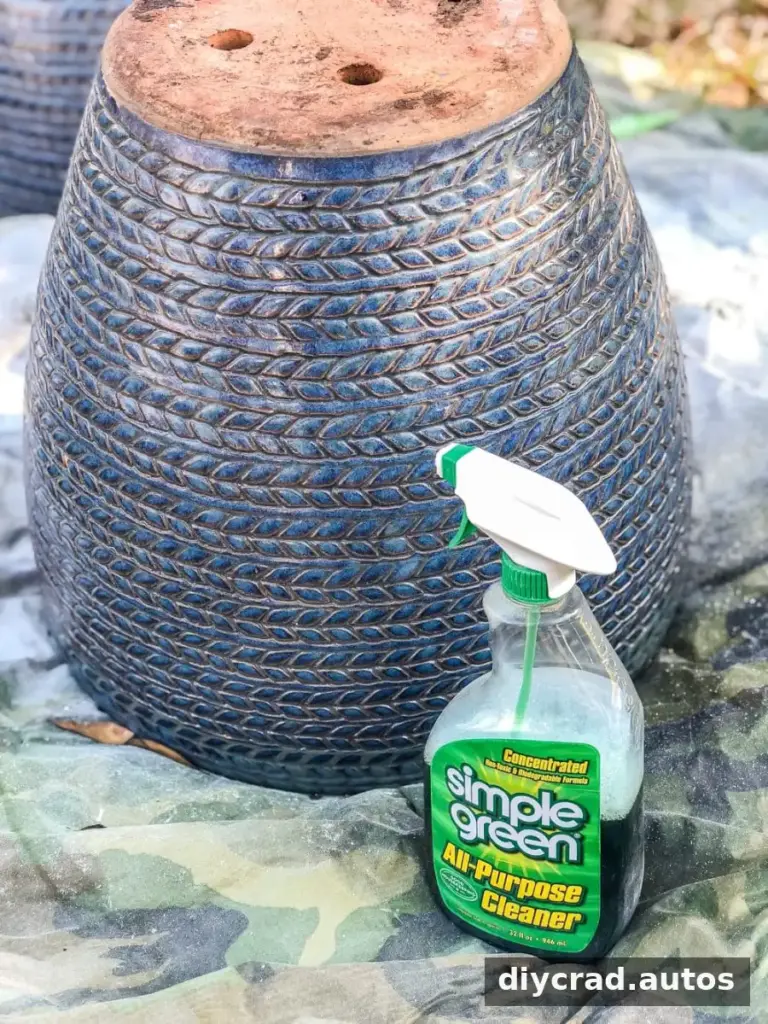
- Clean the item. Wipe away dirt and residue with an appropriate all-purpose cleaner and a cloth. Let the surface dry completely so the paint can adhere as directed by its label.
- Apply the base color. Spray on the first color in an even coat. Add a second coat if needed for coverage, following the product’s instructions for drying time between coats.
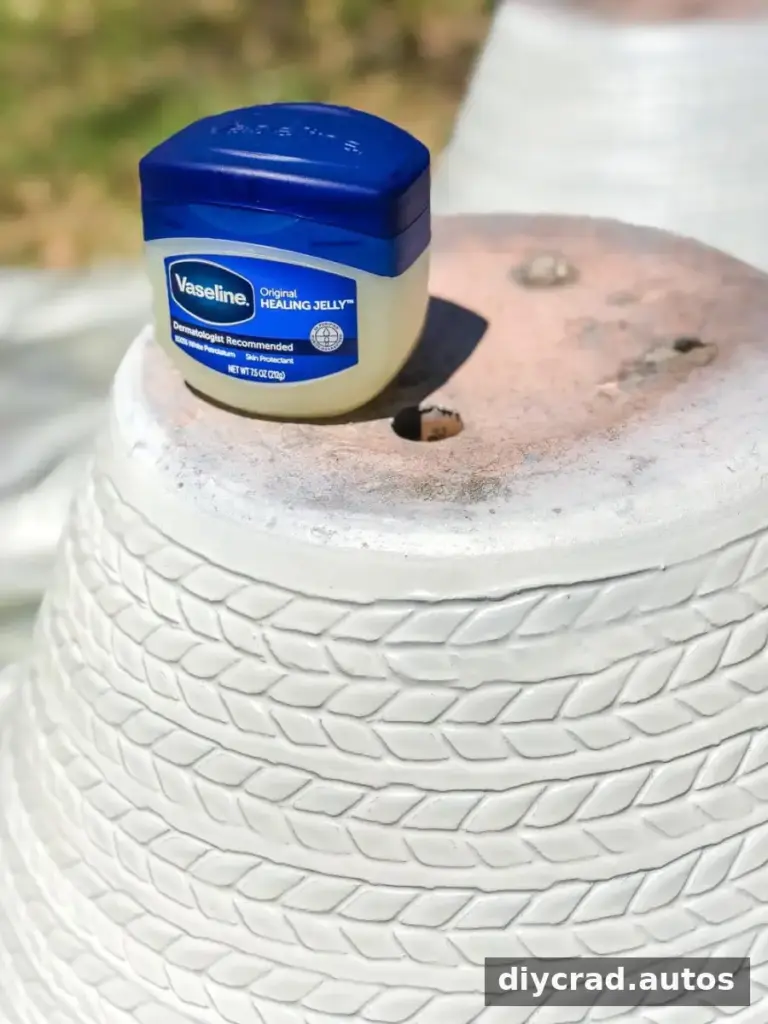
- Add petroleum jelly to selected areas. Once the base coat is fully dry, rub a small amount onto the spots where you want the lower color to show through. Concentrate on edges and raised details for a more naturally worn appearance. Use a light hand at first; you can add more if needed.
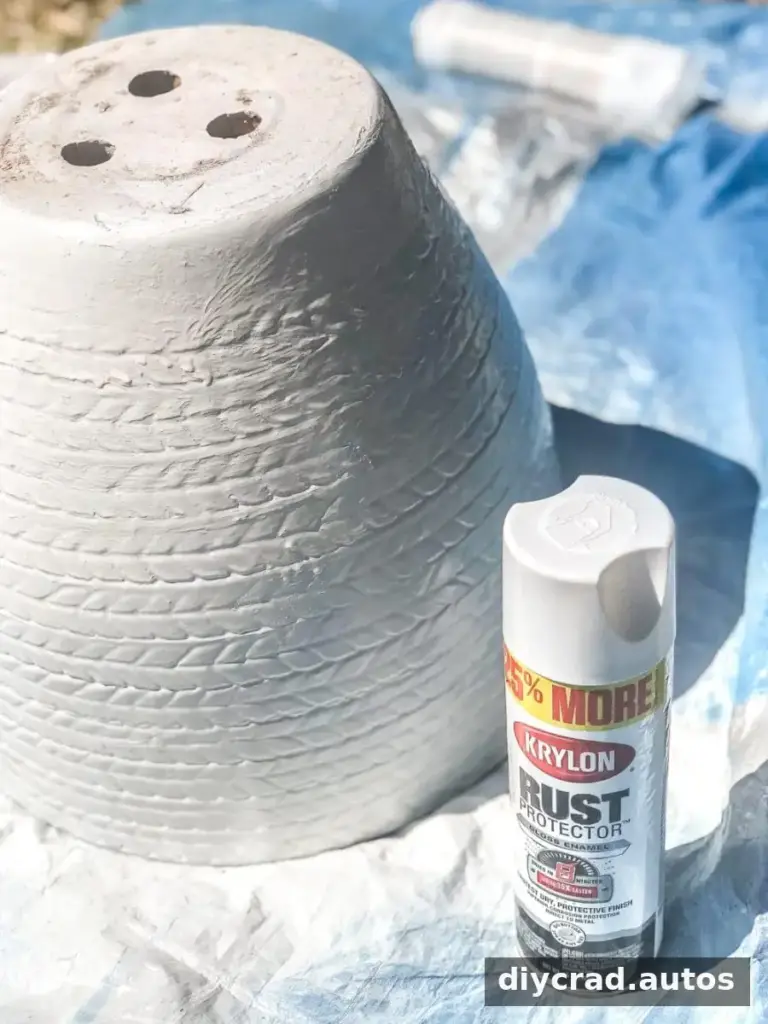
- Spray on the topcoat. Apply one or two coats of the second color soon after adding the petroleum jelly. Follow the paint label’s directions and allow the topcoat to dry completely.
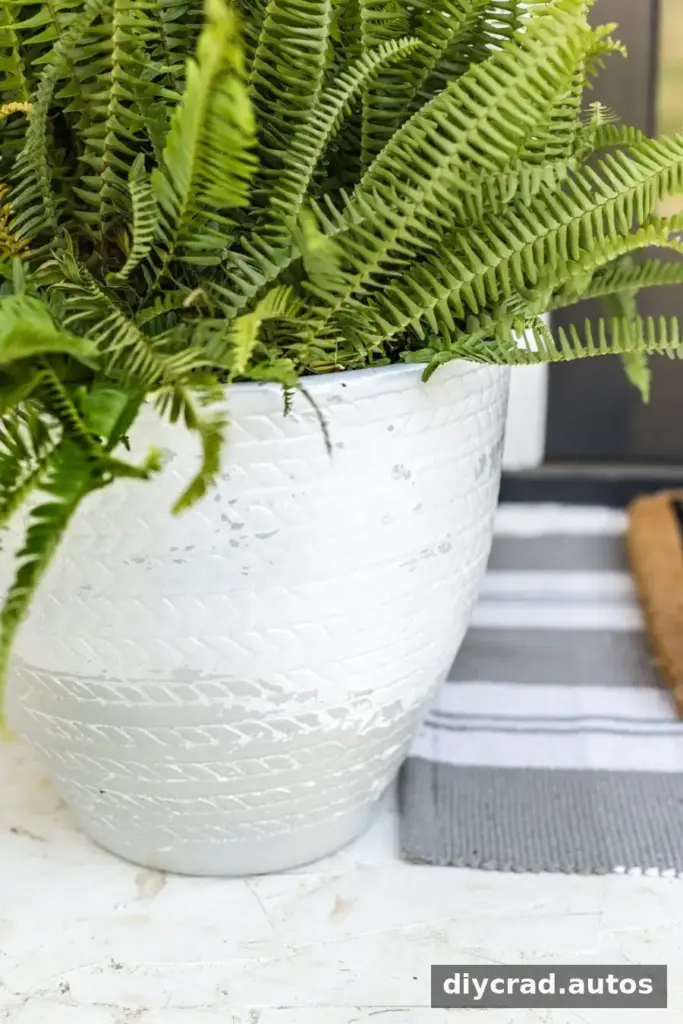
- Wipe away the barrier. Use a clean, dry cloth to remove the petroleum jelly. The paint over those areas should lift with it, revealing the base color underneath. Work gently to avoid removing more paint than intended.
The hands-on work for four planters took about 10–15 minutes, not including cleaning and paint-drying time. Allowing each coat to dry as directed is important: rushing this step can cause uneven lifting or damage the finish.
Tips for a cleaner, more convincing finish
- Test first: Different surfaces and paint formulas behave differently. A small test area can show whether the topcoat lifts as expected.
- Build the effect gradually: Apply petroleum jelly only where you want the undercoat visible. Broad, heavy application may create larger bare patches than intended.
- Keep the work area protected: Spray paint can travel beyond the item. Cover nearby surfaces and follow the paint label’s ventilation and handling guidance.
- Choose the right use: This is a decorative finish, not a repair or protective coating. Avoid using the method on food-contact surfaces, and check whether the finished item is suitable for outdoor exposure.
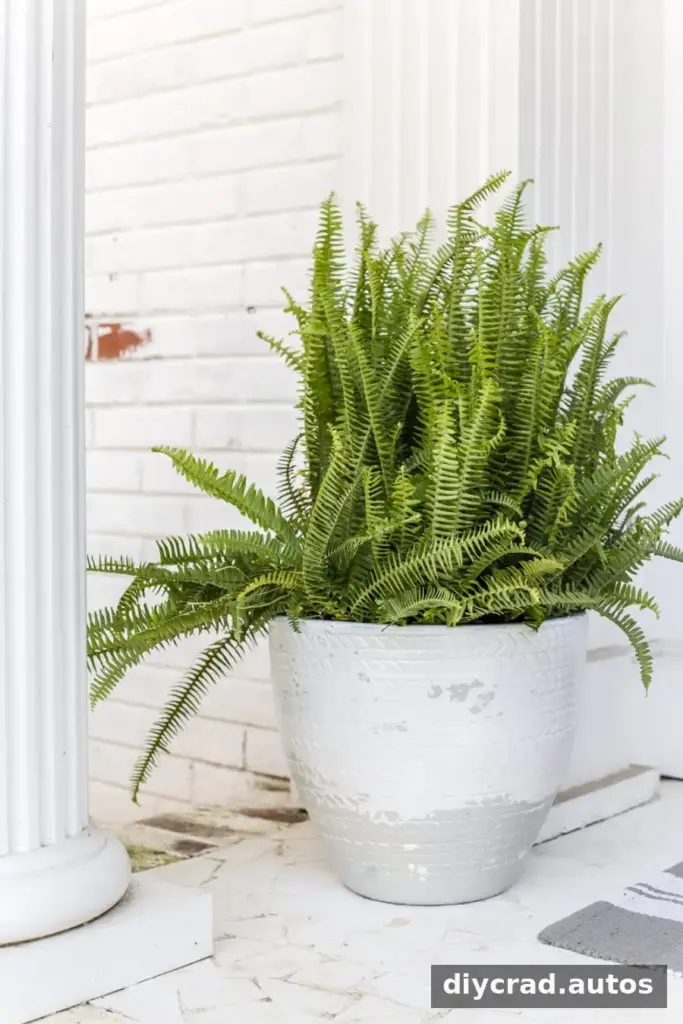
A pair of contrasting paint colors and a small amount of petroleum jelly can give plain planters a more aged, layered appearance at low material cost. In the featured project, the makeover cost about $10, compared with high-end planters priced at more than $300 each. With careful testing and drying, you can distress with petroleum jelly and tailor the worn effect to your own item.