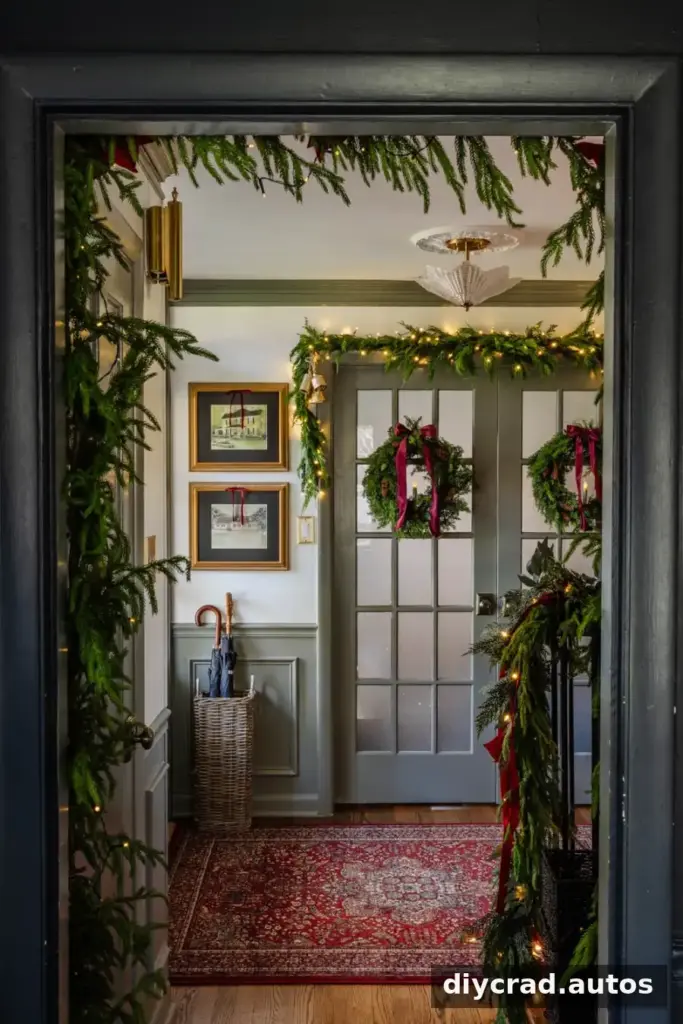
Learning how to hang garland over a doorway without nails makes it easier to add seasonal greenery while keeping your walls and trim free of holes. Removable adhesive cable clips can support a lightweight display, while battery-operated lights and flexible decorations let you tailor the look to your home. For best results, check that your surfaces are suitable for the adhesive and follow the product instructions.

This approach works for a simple, natural arrangement or a fuller design with layered greenery and ornaments. Planning the clip positions and decoration style before you begin can help the finished garland sit evenly around the frame.
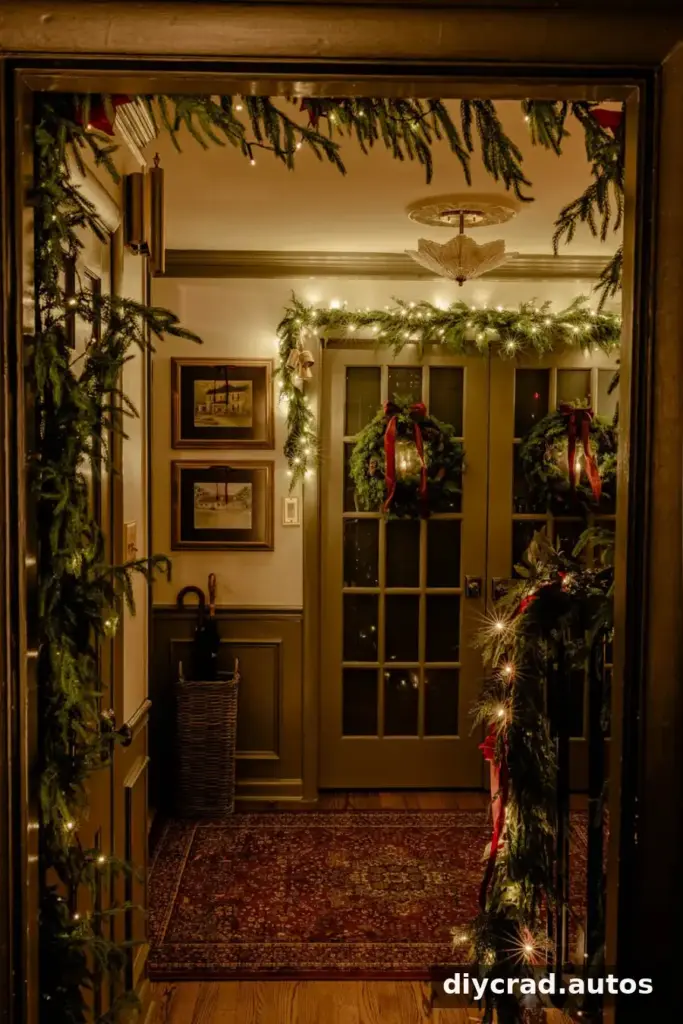
Choose embellishments that suit your decor, such as understated greenery, colorful berries, or festive ribbon. The steps below explain how to attach the garland, conceal the lighting components, and personalize the display.
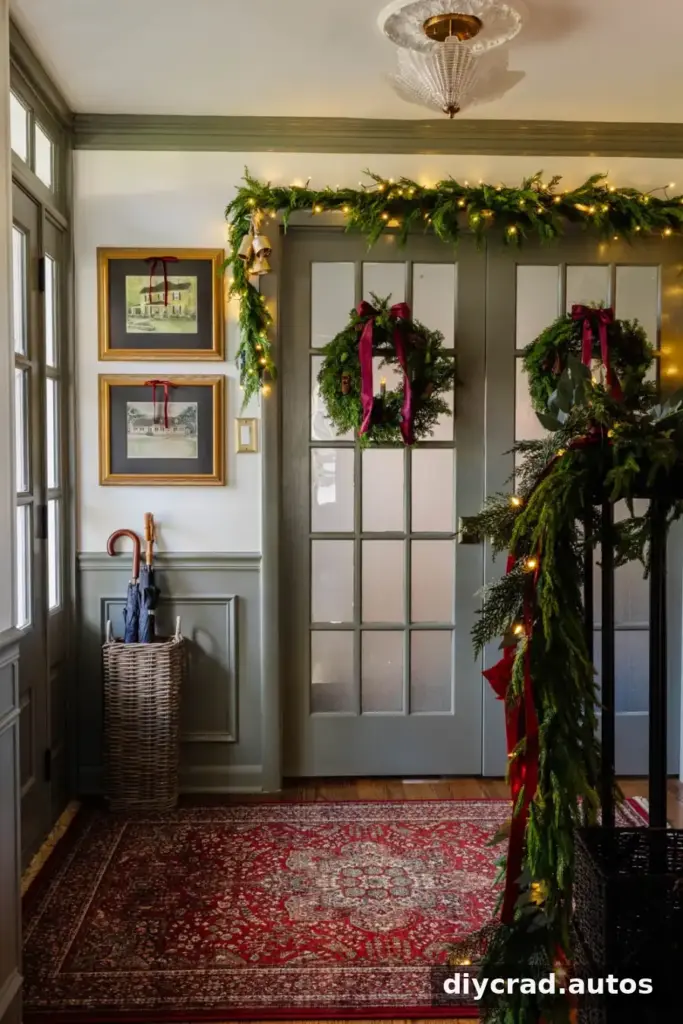
Supplies for Hanging Garland Over a Doorway
- Garland, such as plain pine; use two strands for a fuller look or combine different greenery for added texture.
- Removable adhesive cable clips or bundlers.
- Removable picture-hanging strips for attaching the light battery pack.
- Battery-operated string lights. Warm-white, incandescent-style micro lights offer a soft-looking glow, while multicolored lights create a more playful effect.
- Optional decorations, including faux flowers, dried orange slices, berry picks, bells, ribbon, pinecones, or ornaments.
- Floral wire or wire ornament hooks for securing decorations.
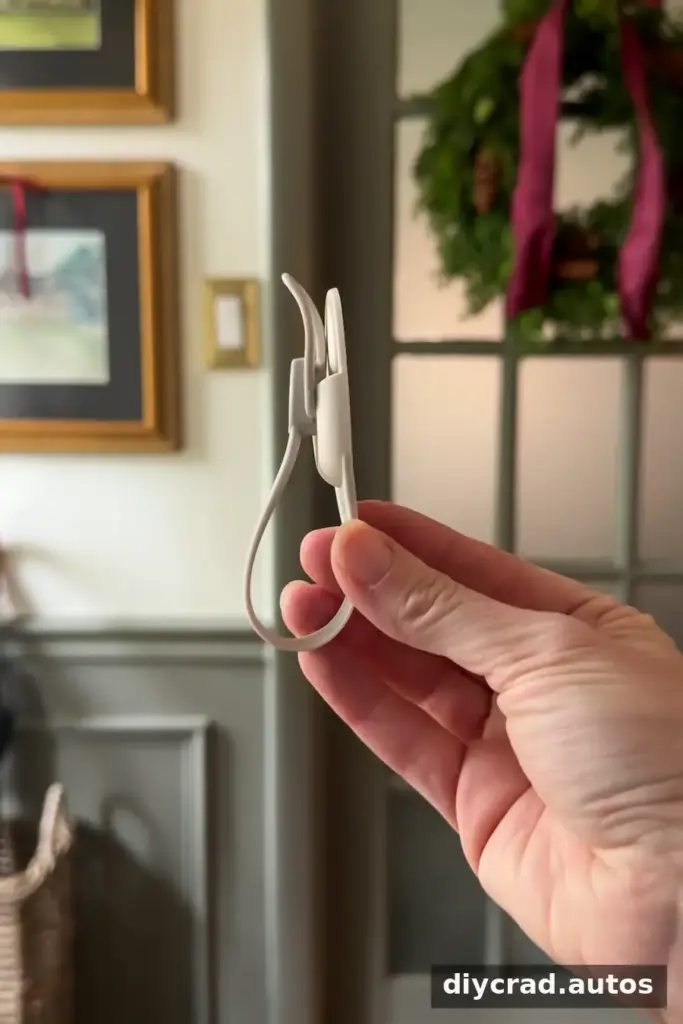
Before starting, measure the doorway and check the garland’s weight against the adhesive clips’ stated capacity. Adhesive performance can vary by surface, finish, and conditions, so use products as directed and avoid placing them on unsuitable or delicate finishes.
Step 1: Place Adhesive Clips Around the Doorway
Position removable cable clips along the top, corners, and sides of the doorway. Space them about 6–12 inches apart, adjusting the spacing to suit the garland’s weight and shape. More support points can help keep a heavier or fuller strand in place.
Prepare each clip according to its package instructions. A typical application process is:
- Press the adhesive strip onto the back of the clip for 30 seconds.
- Press the clip onto the wall or trim for another 30 seconds.
- Wait one full hour before hanging the garland, or follow the product’s stated waiting time if it differs.
Giving the adhesive time to set helps it hold more reliably. Don’t skip the surface preparation or waiting period, and make sure the clip is secure before adding weight.
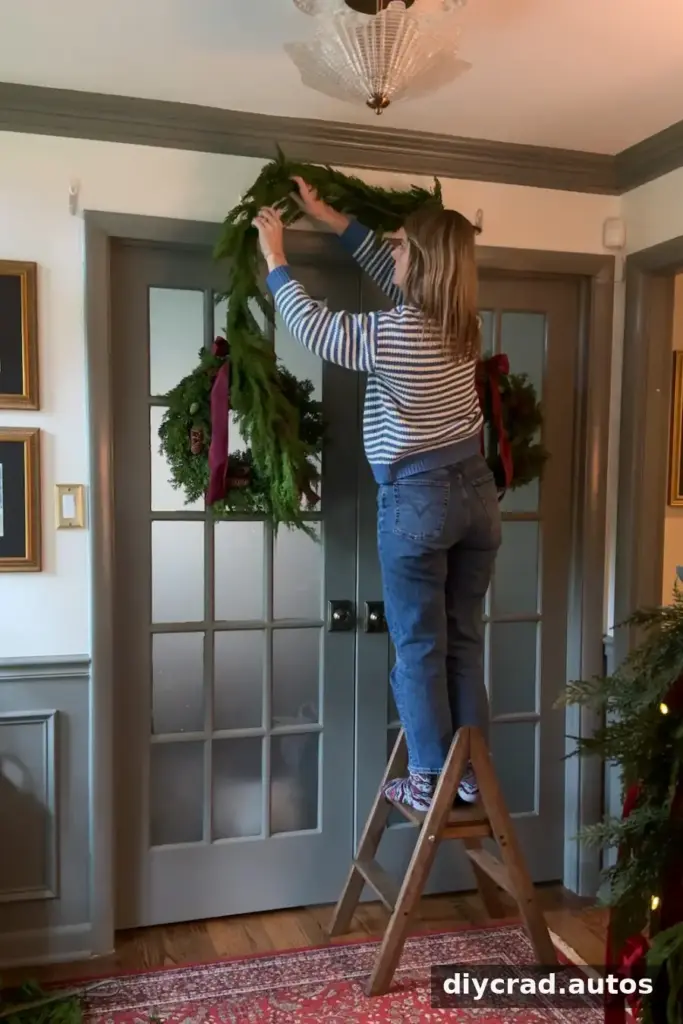
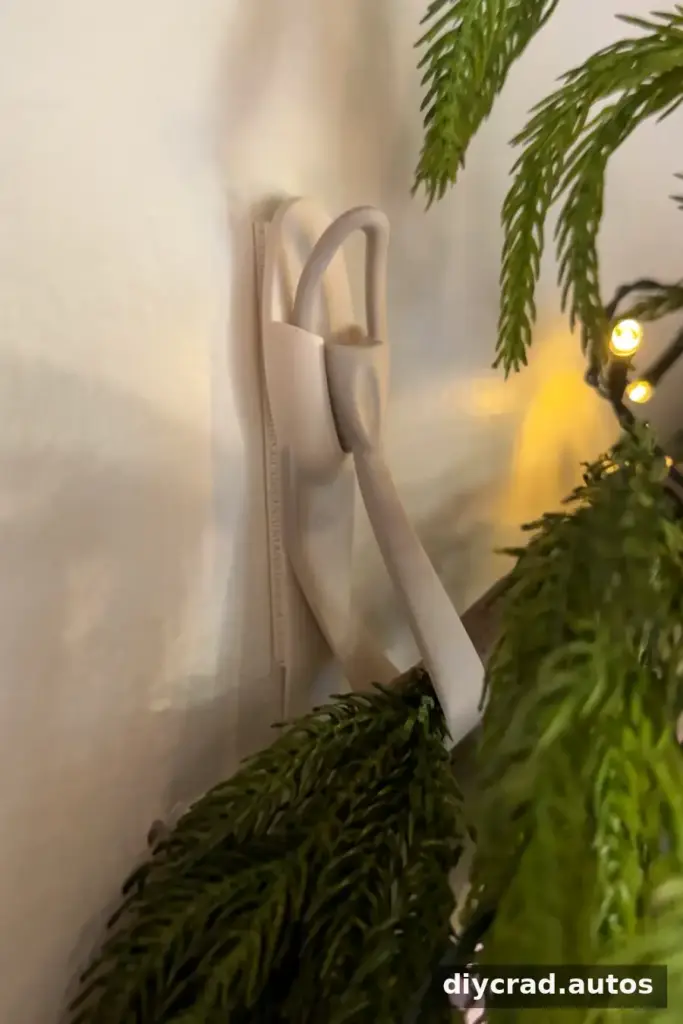
Step 2: Hang and Shape the Garland
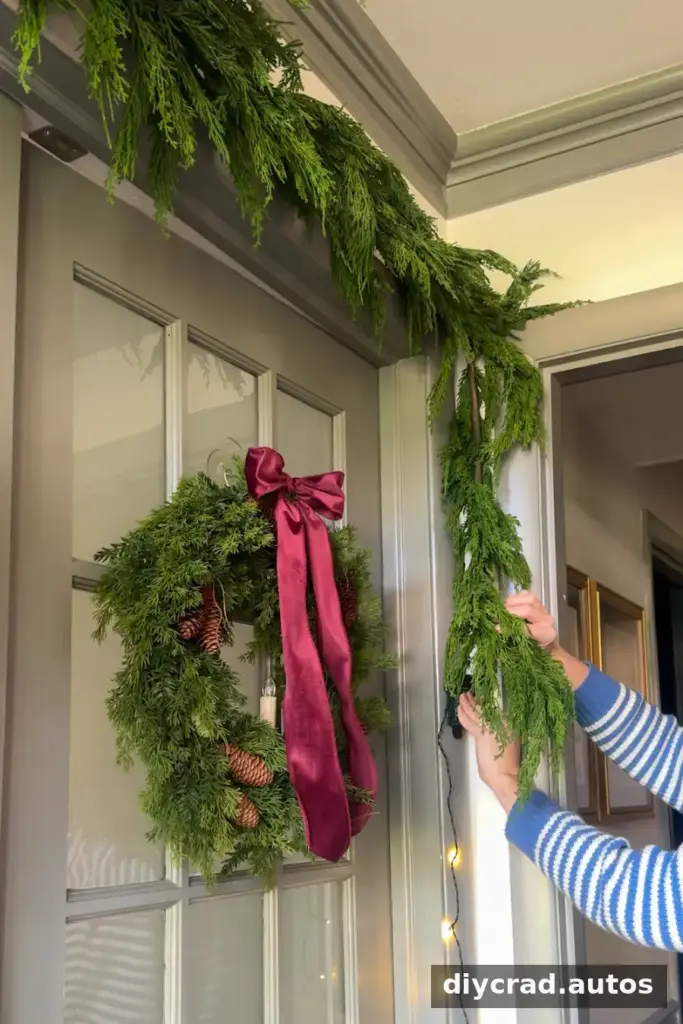
Once the clips are ready, place the garland into them and work around the doorway. Begin with a plain pine or cedar strand as a base. To create more fullness or visual texture, layer another type of greenery, such as magnolia, juniper, berry, cypress, or eucalyptus.
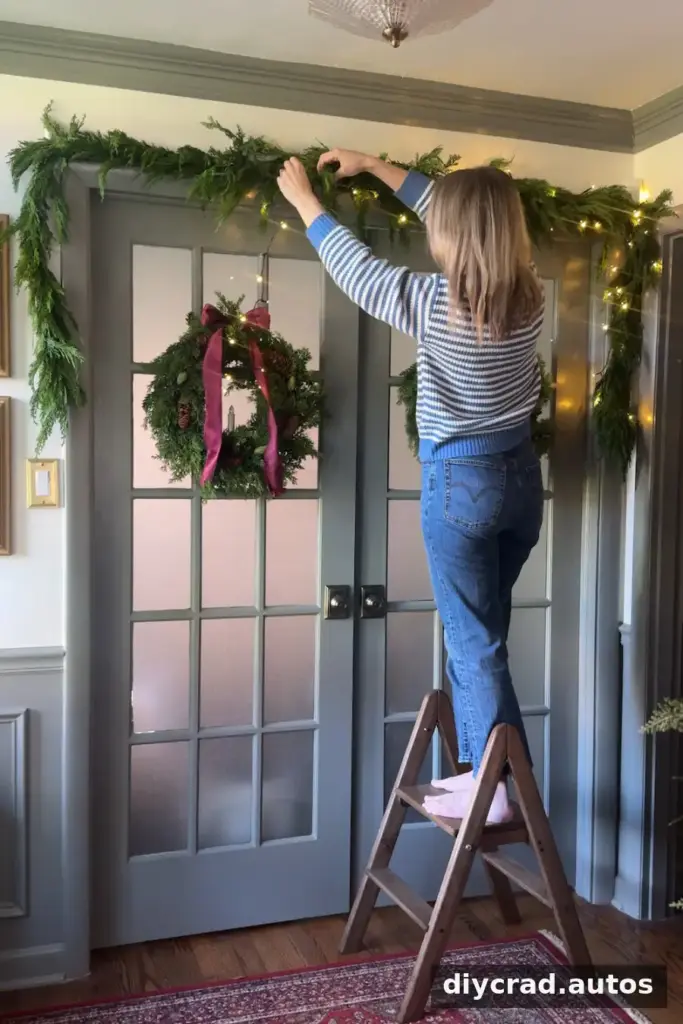
Arrange the branches so the garland follows the frame without pulling tightly on any one clip. If a clip is visible, adjust the foliage to cover it or tuck in an extra sprig of greenery. Step back occasionally to check that both sides look balanced.
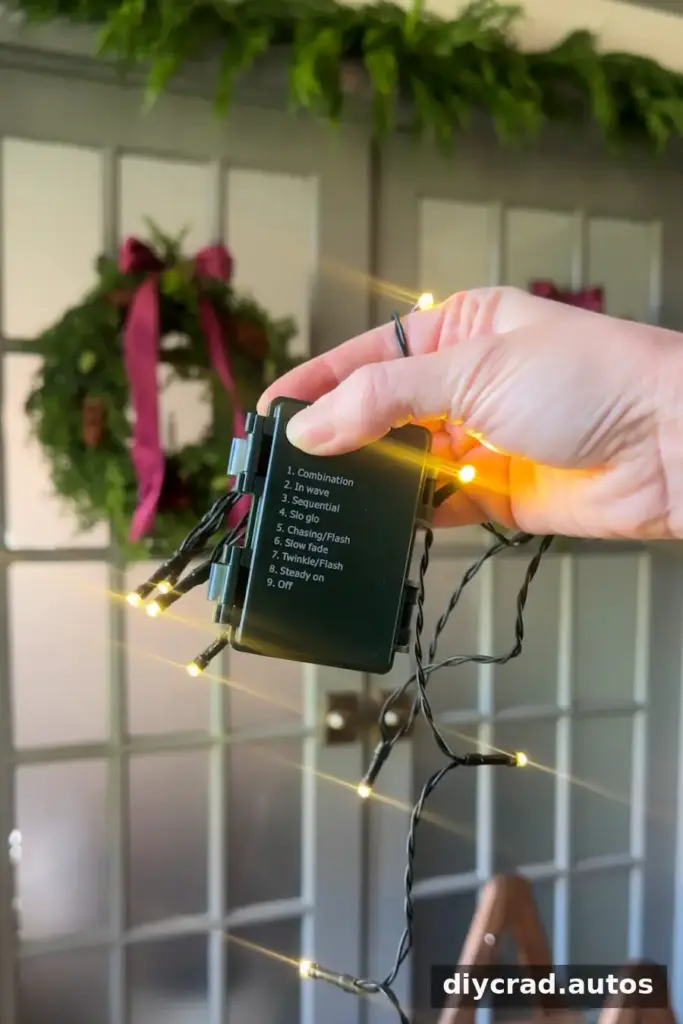
Step 3: Add Battery-Operated Lights
Battery-operated lights avoid the need to route a power cord across the doorway. Warm incandescent-style micro lights are still LED lights, but their color is designed to look softer and warmer than a cool-toned white. Multicolored battery lights are another option for a brighter, more whimsical style.
Some light sets include built-in timers. If yours does, set the schedule using its instructions; for example, a timer can be set to turn on at 5:00 p.m. each evening.
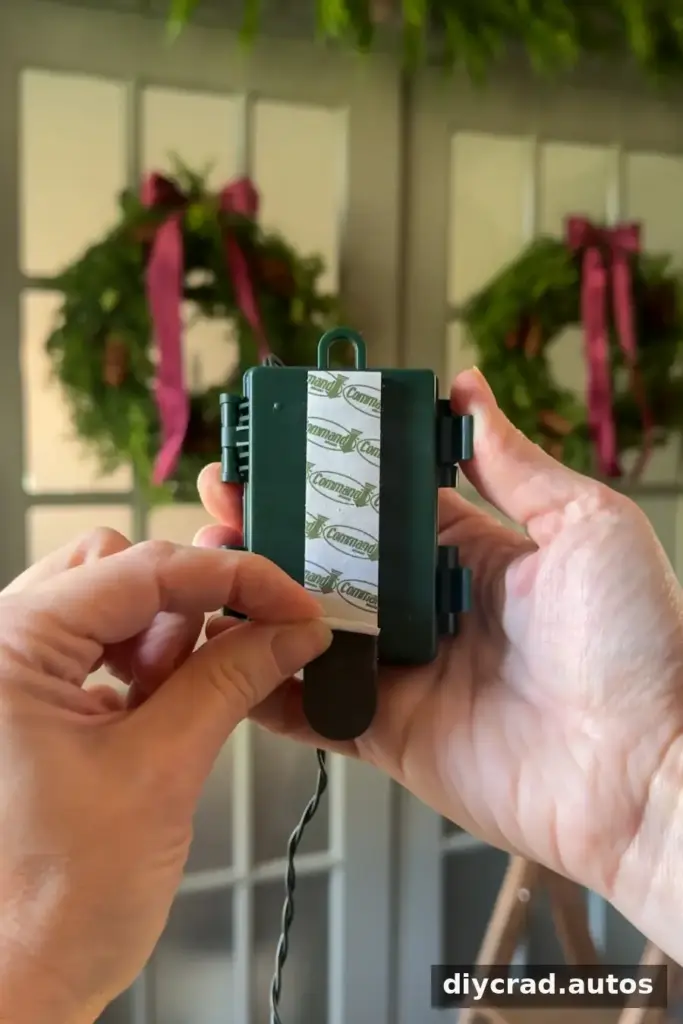
To conceal the battery pack and distribute the lights:
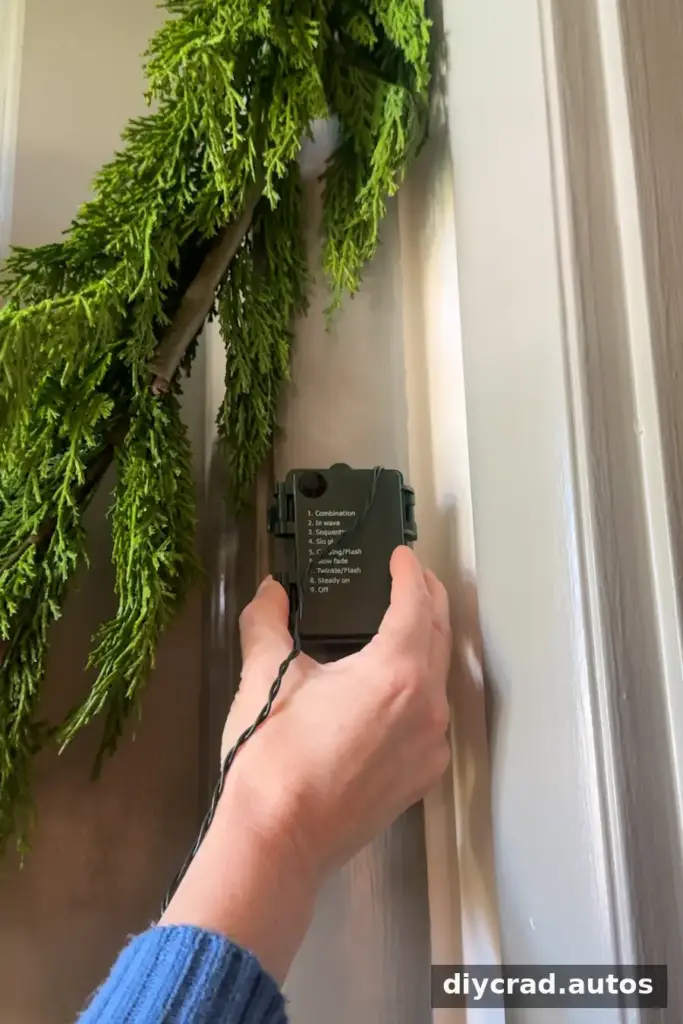
- Attach a removable picture-hanging strip to the back of the battery pack, following the strip’s instructions.
- Secure the pack to the wall behind the garland, where it is hidden but remains accessible for changing batteries or adjusting the controls.
- Weave the light strand in a zigzag through the branches so the glow is spread along the greenery.
For a wide doorway decorated with two strands, place the second battery pack on the opposite side of the frame and conceal it behind the greenery. Keep battery controls reachable and avoid trapping wires where the door can pinch them.
Step 4: Customize the Garland
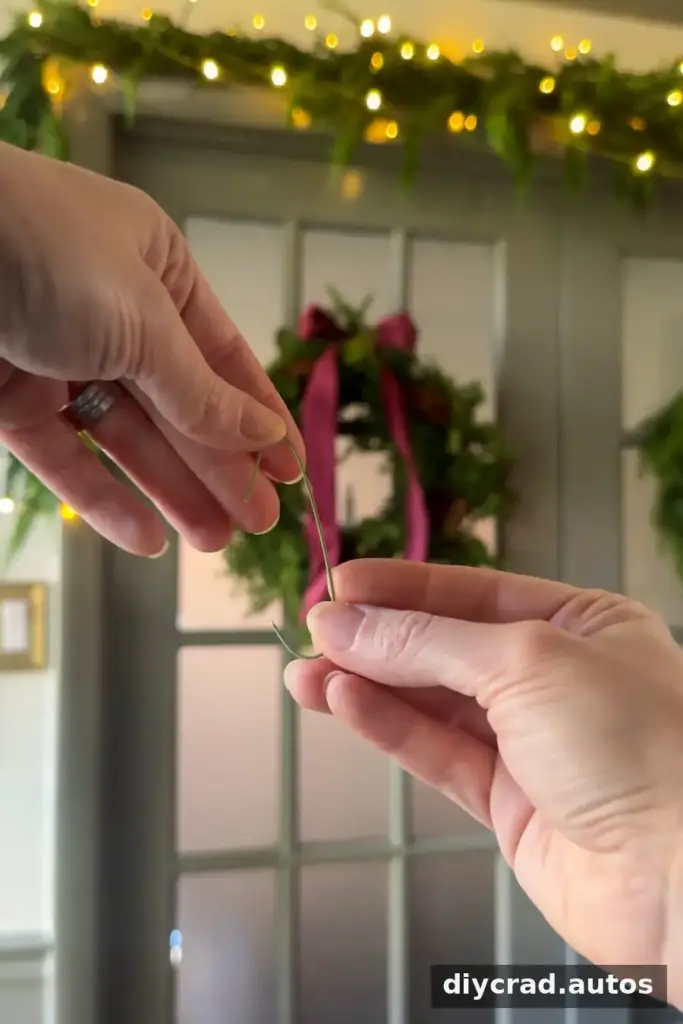
Decorations give a plain greenery base a look that suits your home. Attach items with floral wire or wire ornament hooks, and secure them around a sturdy branch rather than pulling on a delicate stem.
- Faux flower stems
- Dried orange slices
- Berry picks
- Bells
- Ribbon
- Pinecones
- Ornaments
Mixing different materials can create an eclectic effect, while repeating just one or two colors can make the arrangement feel more coordinated. Keep decorations securely fastened, particularly where people pass beneath the doorway.
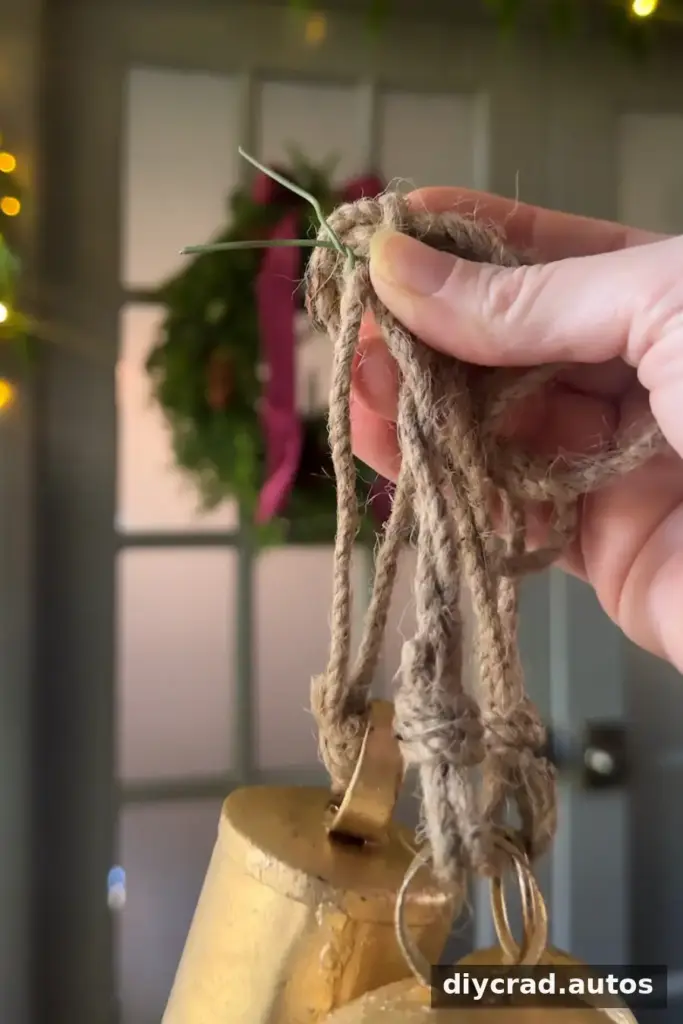
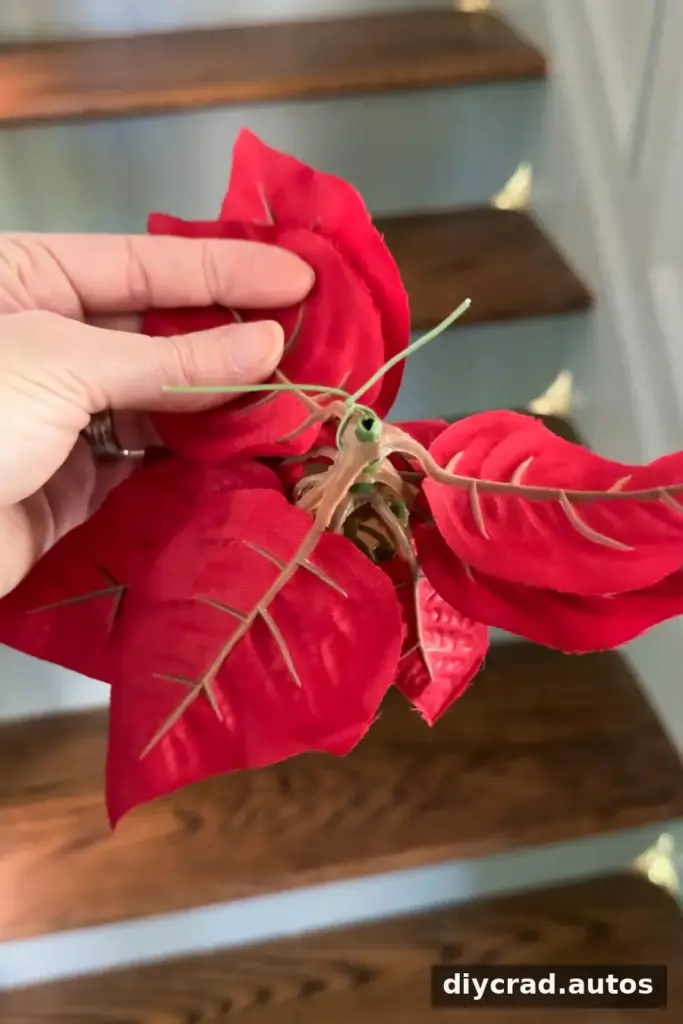
Think of the greenery as a flexible base: you can refresh its appearance by changing the decorations without replacing the entire arrangement.
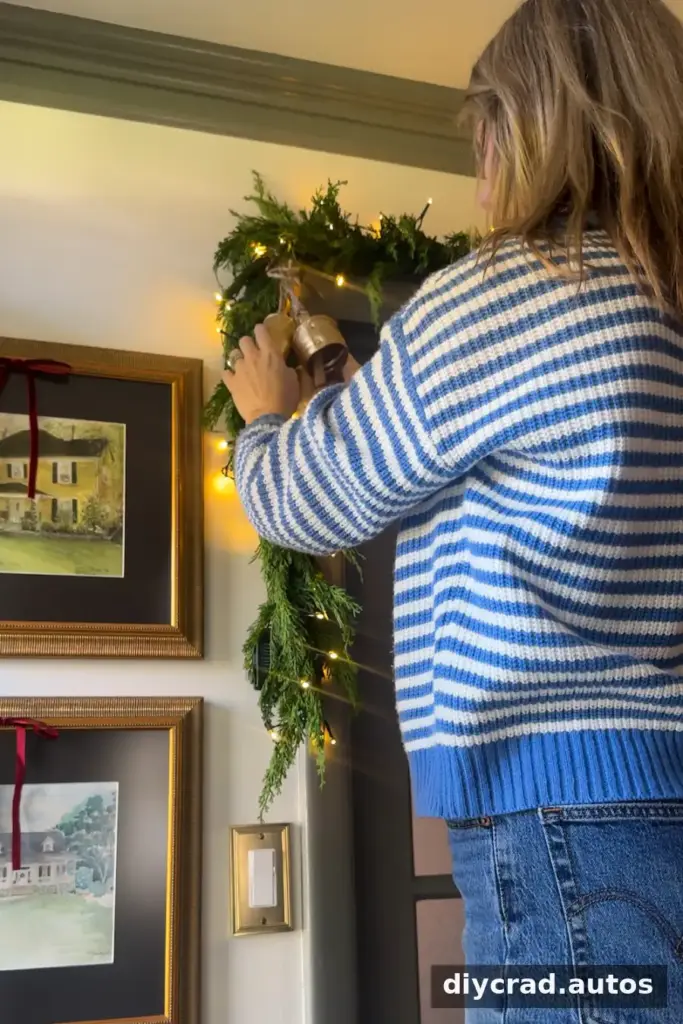
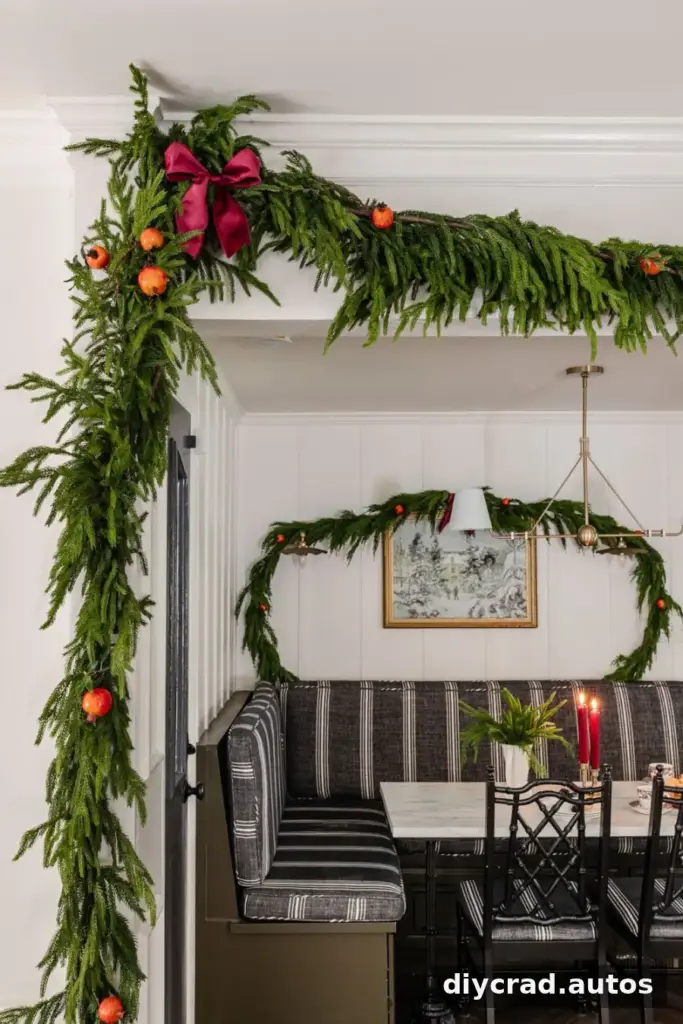
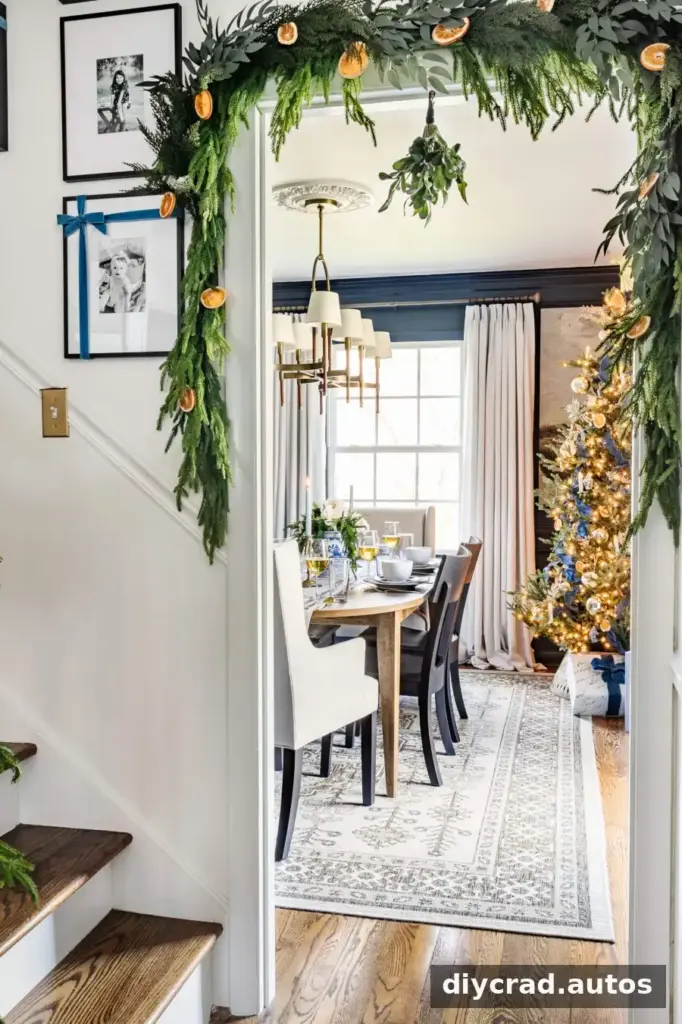
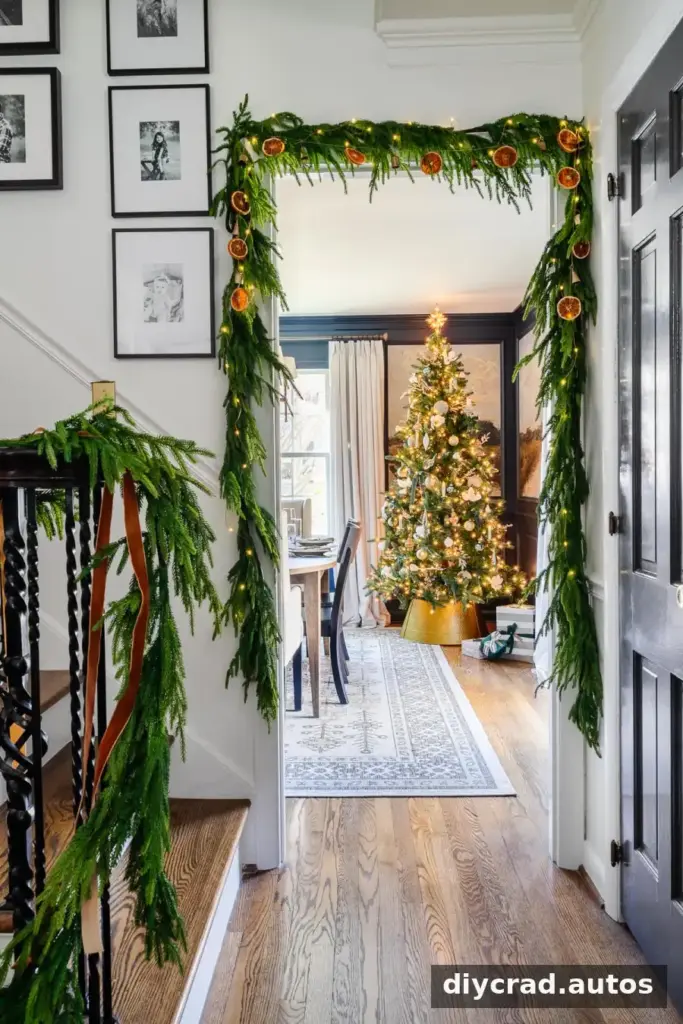
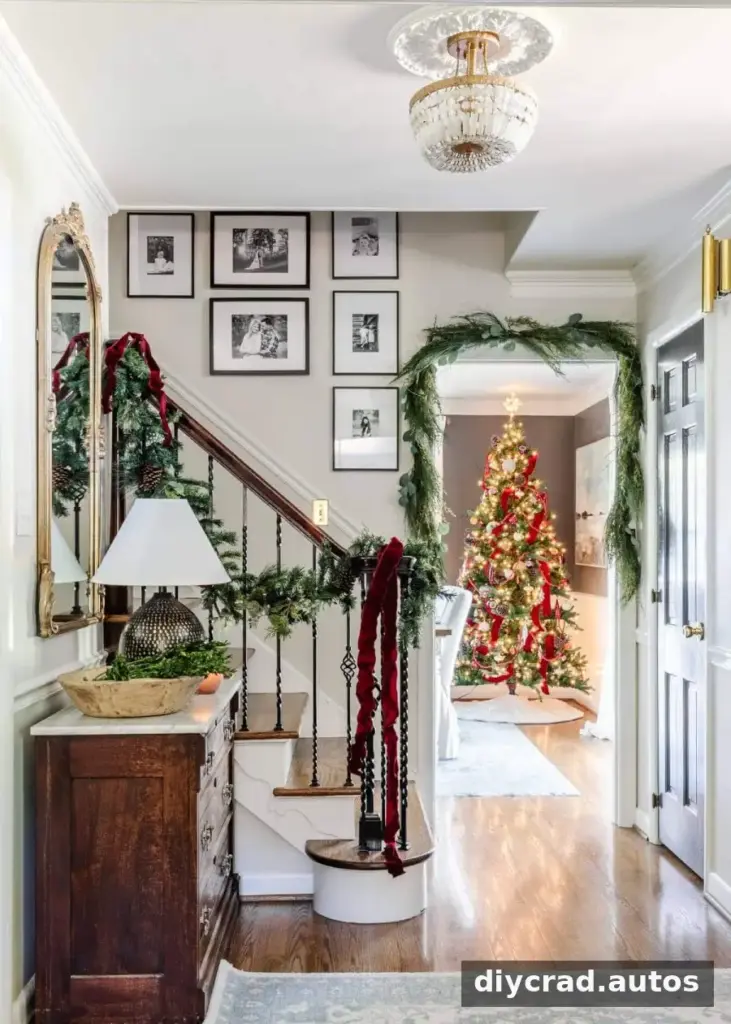
These examples show different ways to vary doorway garland while keeping a similar greenery base:
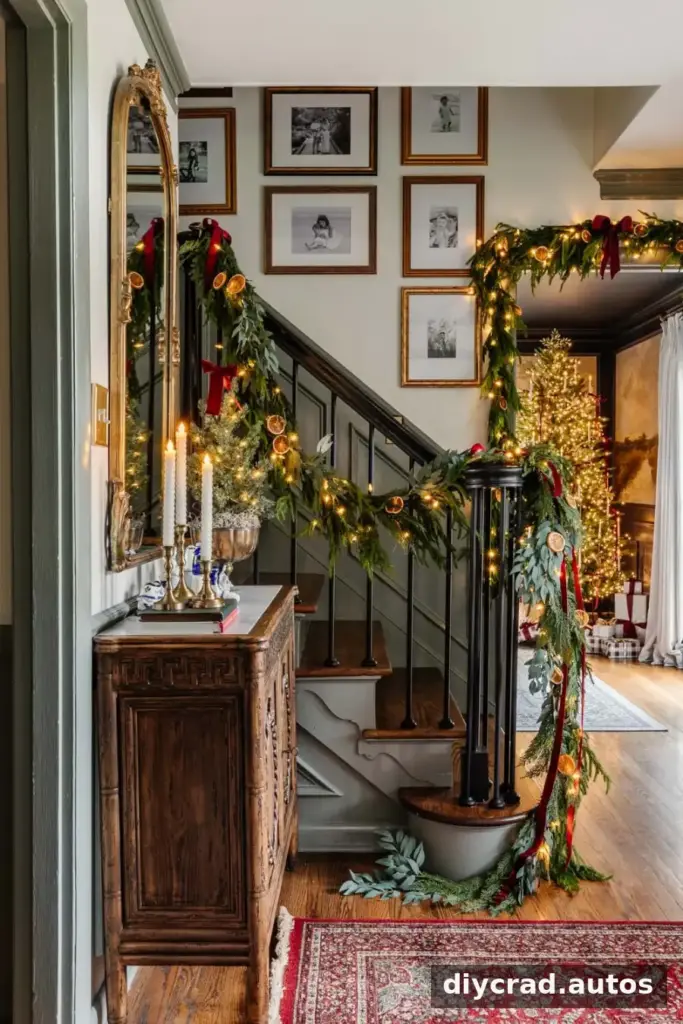
Switching out the embellishments is a simple way to create a new look for different rooms, seasons, or decorating styles.
Conclusion
Knowing how to hang garland over a doorway with removable adhesive clips makes it possible to create a seasonal focal point without using nails. Space the clips to support the garland, allow the adhesive to set, and conceal battery packs behind the greenery. Finish with lights and securely attached decorations that match your style. When the season is over, remove adhesive products according to their package directions to help protect the surface.