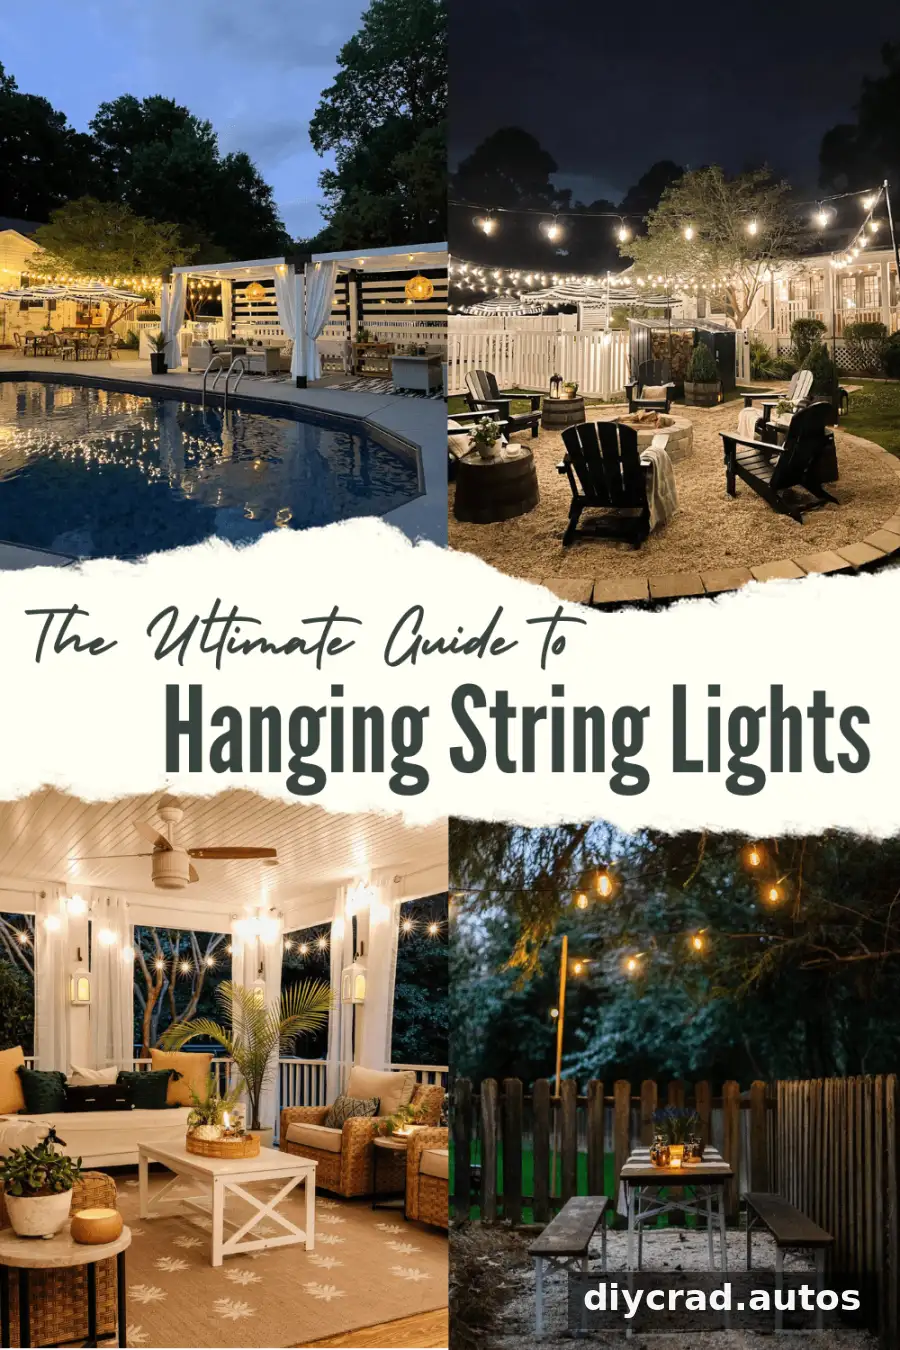
Learning how to hang outdoor string lights starts with choosing secure supports, planning a route to power, and measuring the distance before installation. Whether you are lighting a fire pit, fence, porch, patio, or trees, the right approach can help keep strands neat and supported. Use outdoor-rated lights and accessories, and keep electrical connections away from water.
How to Hang Outdoor String Lights: Planning and Light Choices
Backyard lighting can involve more than attaching a strand to a few hooks. Consider where the lights will be supported, how far they need to span, and where the nearest suitable outlet is located. Plan the layout first so you can choose the right hardware and avoid running cords through walkways.
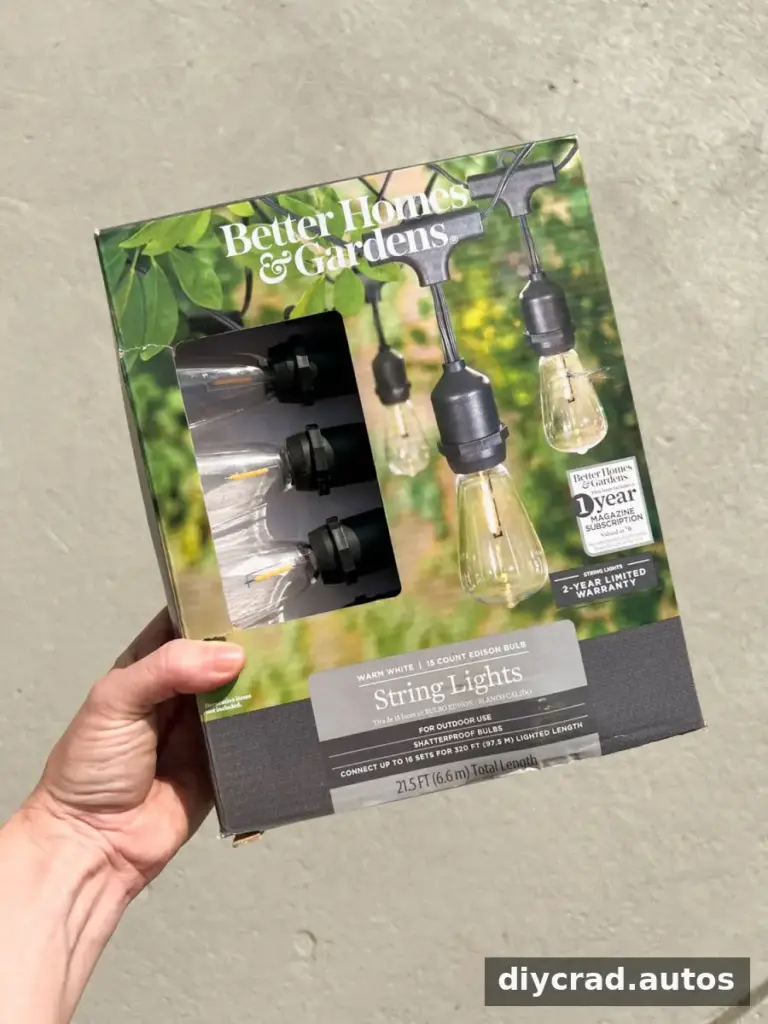
Shatter-resistant, soft-white LED string lights are a practical option for many outdoor spaces. LEDs use less energy than incandescent bulbs and are less likely to overheat. Soft or warm white light, around 2700 K, gives off a cozy yellow-orange glow; daylight or cool-white bulbs create a brighter, cooler appearance.
For spans of 8 feet or longer, use a string-light cable kit to support the lights and help reduce sagging. For shorter spans, a cable may not be necessary, depending on the product instructions and the strength of the mounting points.
Choosing Outdoor String Lights
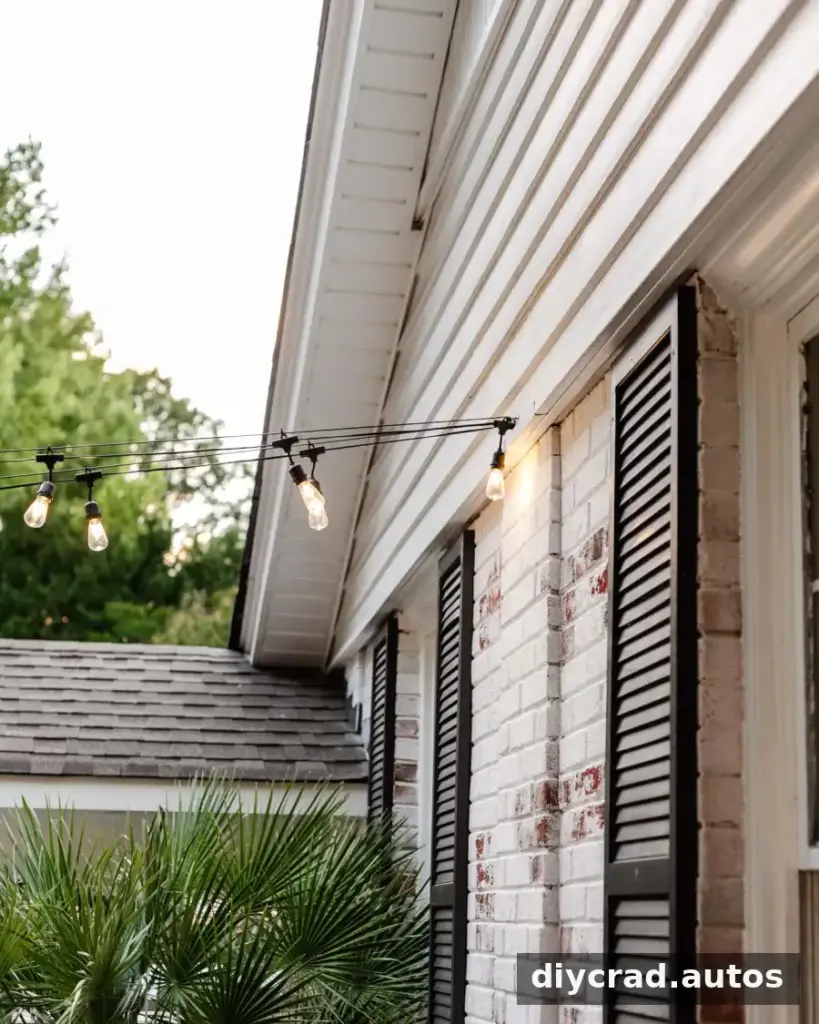
- For short distances under 8 feet, consider cafe-style string lights designed for shorter spans.
- For longer runs, choose lights that can be supported by a cable kit.
- Solar string lights can work where an outlet is unavailable, but their glow may not provide enough visibility as the only light source.
Why Choose Shatter-Resistant Bulbs?
Broken glass can cause injuries, especially where people walk barefoot or children play. Shatter-resistant bulbs are a sensible choice in windy areas and around outdoor gathering spaces.
When Is a Cable Kit Useful?
Use a cable kit for longer spans to provide support for the light strand. Follow the kit’s instructions and avoid pulling the lights so tightly that the cords, plugs, or mounting points are strained.
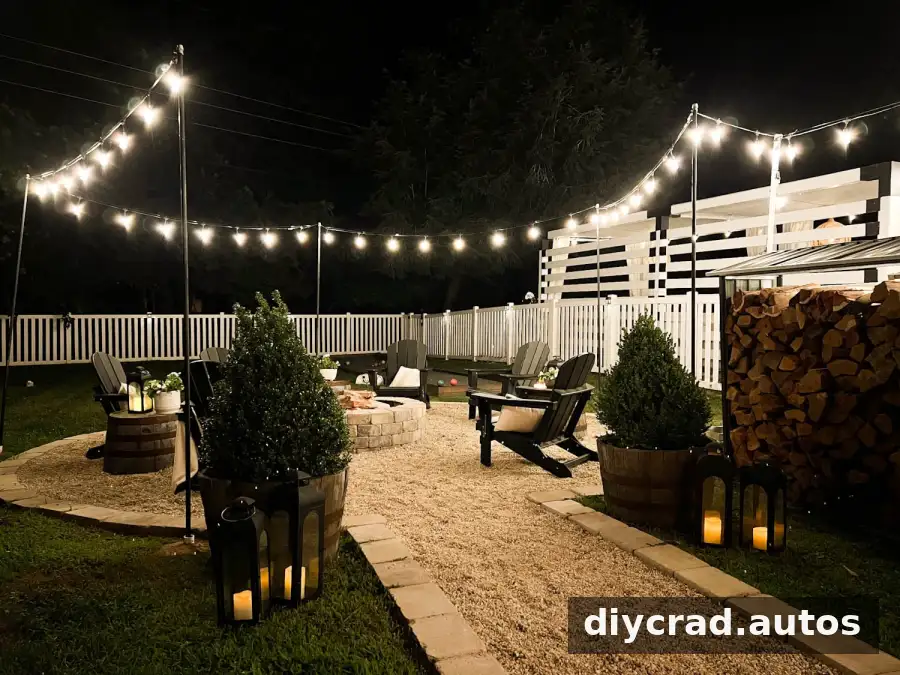
Where to Hang Backyard String Lights
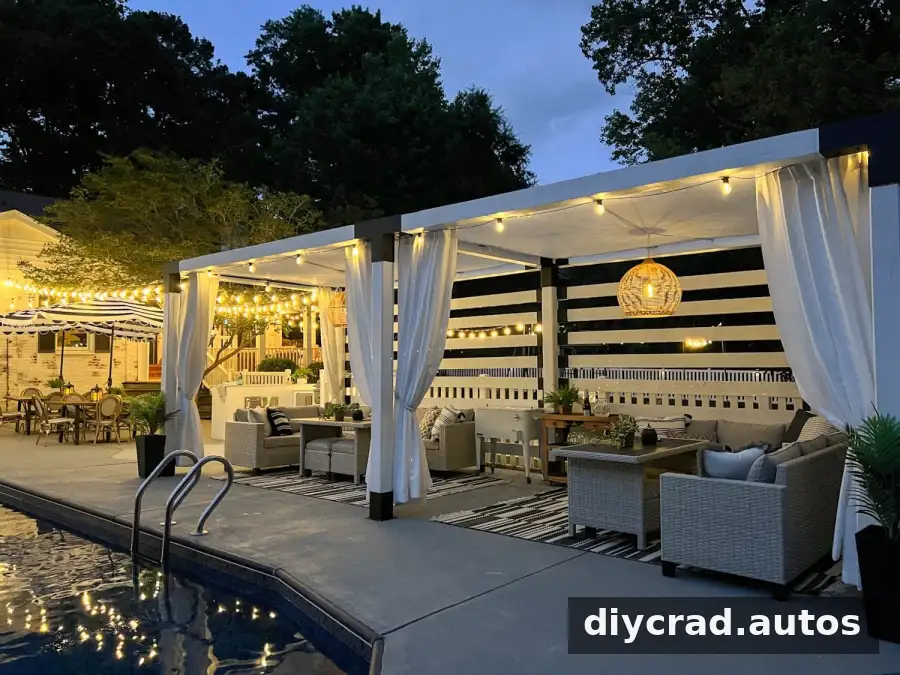
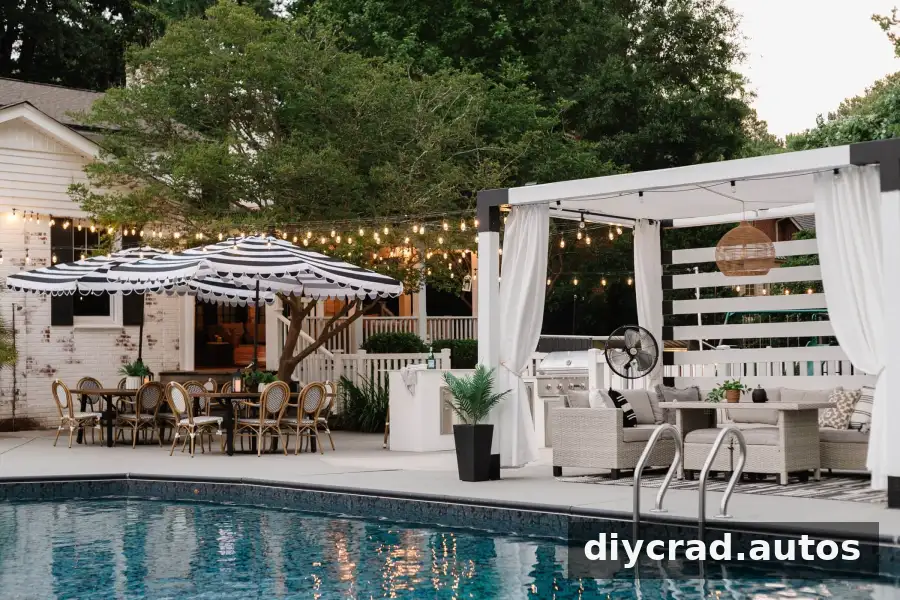
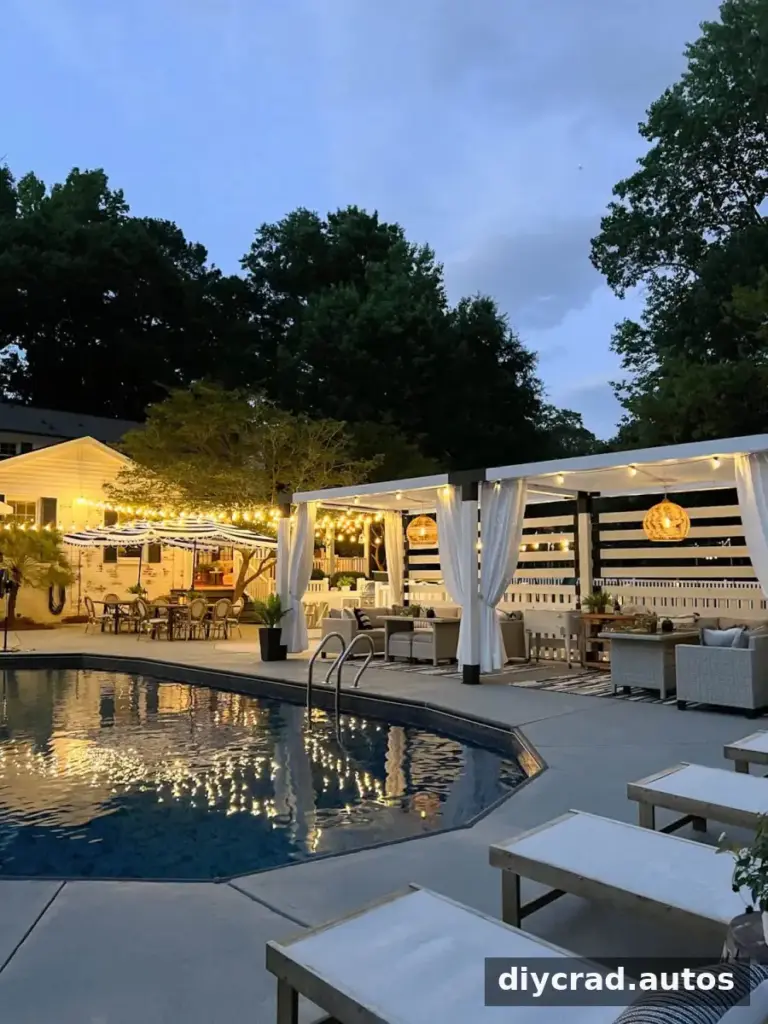
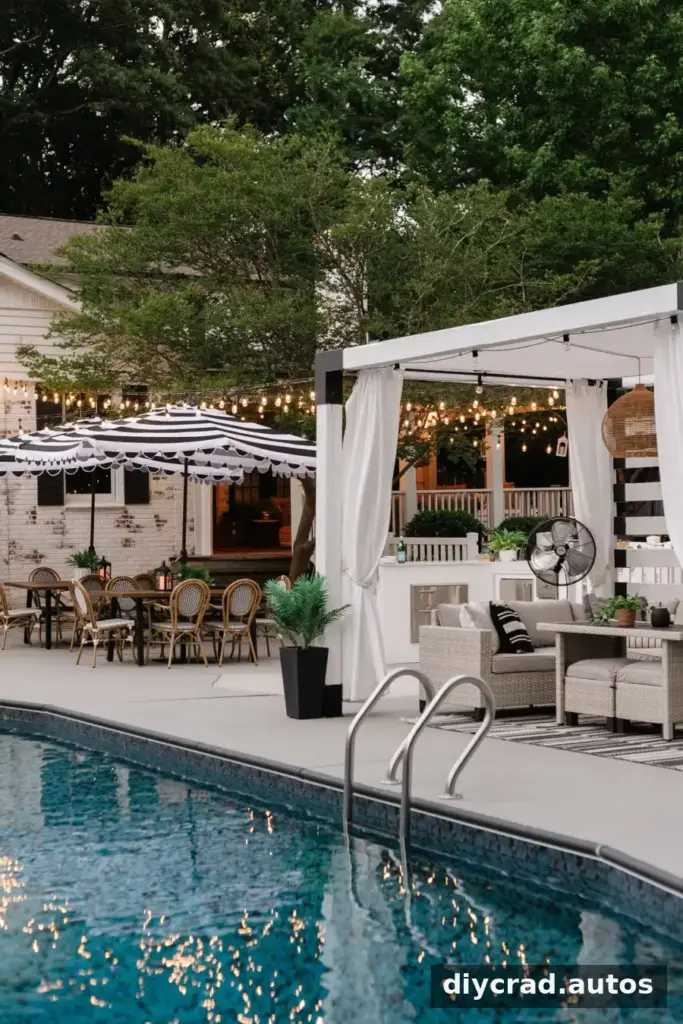
Possible locations include a covered porch, pergola, gazebo, deck, fence, playhouse, or the area above an outdoor dining table. Lights can also outline a patio or fire pit. Keep lights, plugs, and cords well away from pools and other water sources. Never position electrical strands where they could fall into the water; check local requirements before installing lights near a pool.
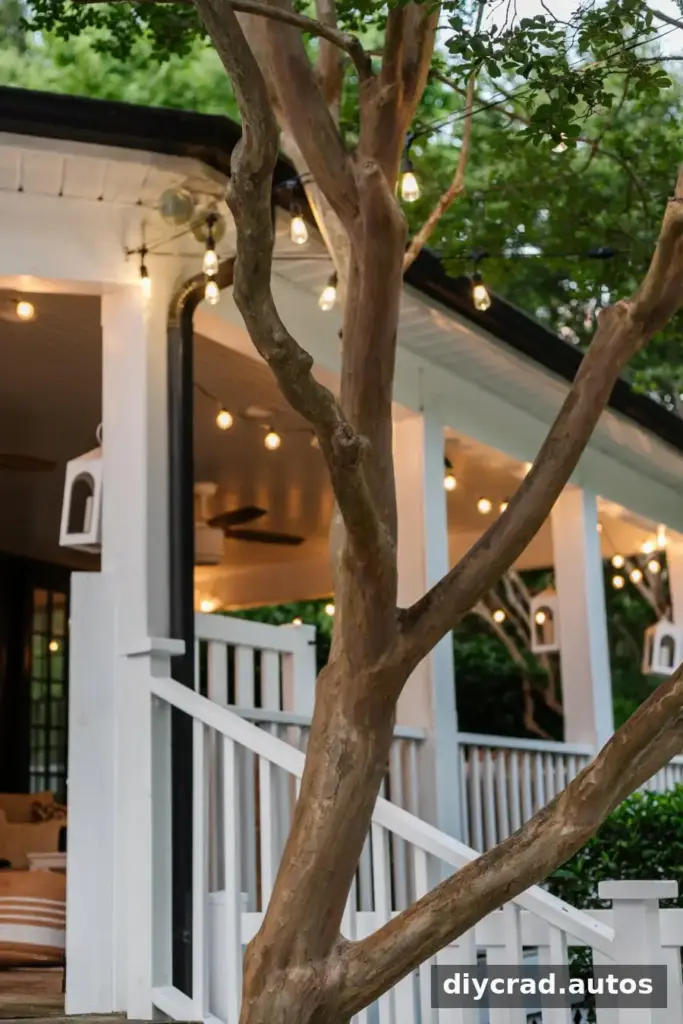
What Can Support Outdoor Lights?
Depending on your yard, suitable support points may include a porch or pergola ceiling, fence posts, a retaining wall, a building, deck railings, trees, or purpose-made light poles. Check that each support is stable and appropriate for the hardware before hanging a strand.
- Porch, pergola, or gazebo ceiling
- Fence or deck railing
- Retaining wall
- House, shed, or other building
- Tree
- DIY string-light pole
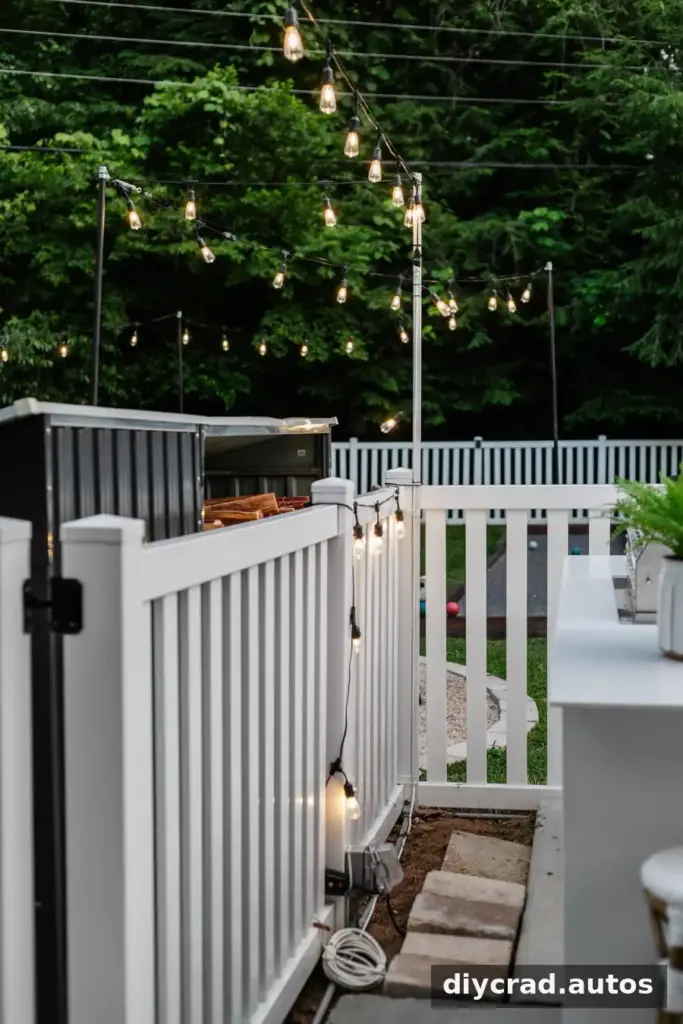
Prepare Before Installing String Lights
Plan Around the Power Outlet
Locate outdoor outlets before deciding where the first strand will begin. Plan a route that keeps cords out of walkways and away from water. Use outdoor-rated extension cords and timers when needed, and follow the product instructions for electrical connections.
Measure the Route
Measure the full path the lights will follow, including any turns. This helps you estimate how many strands and support points are needed. Allow for the shape of the layout rather than measuring only the straight-line distance.
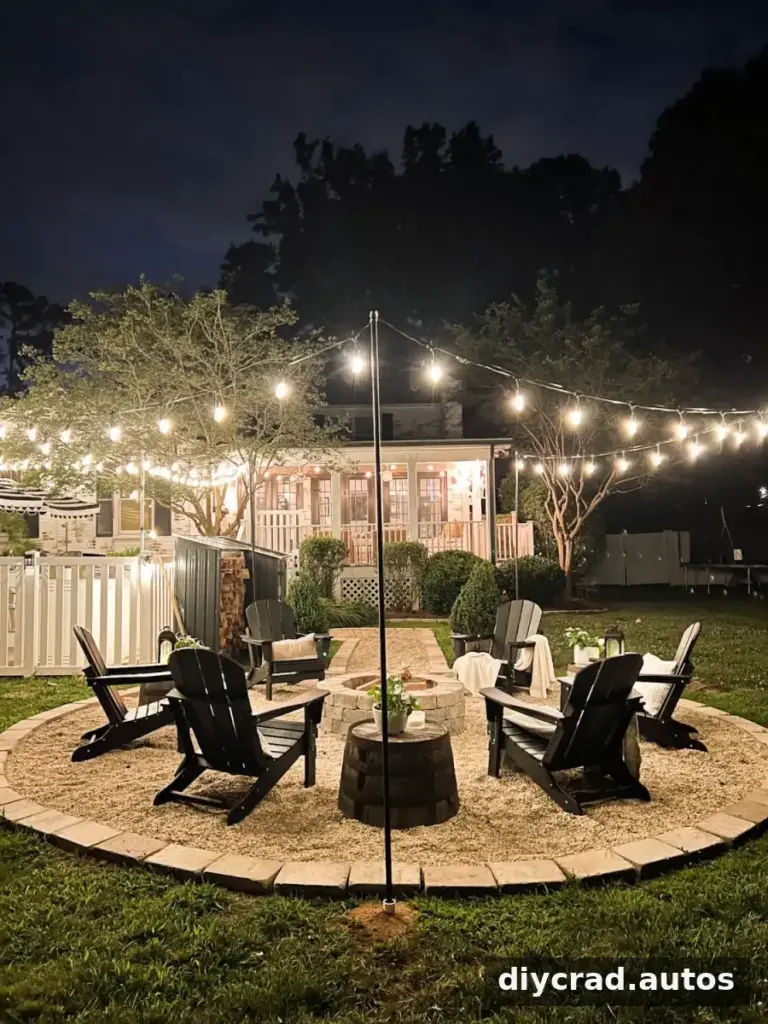
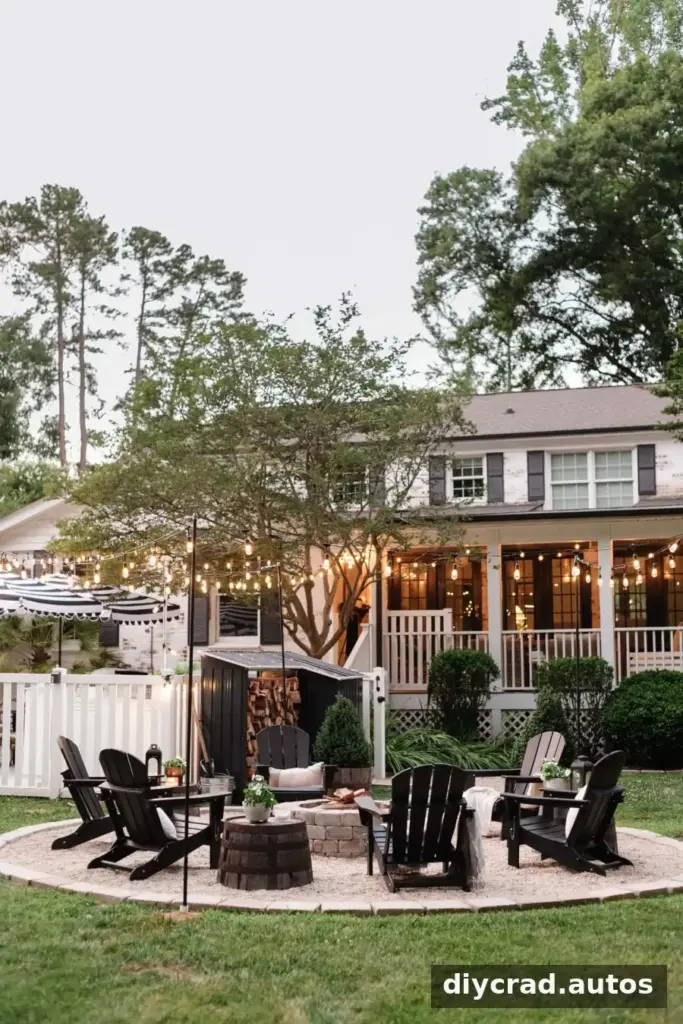
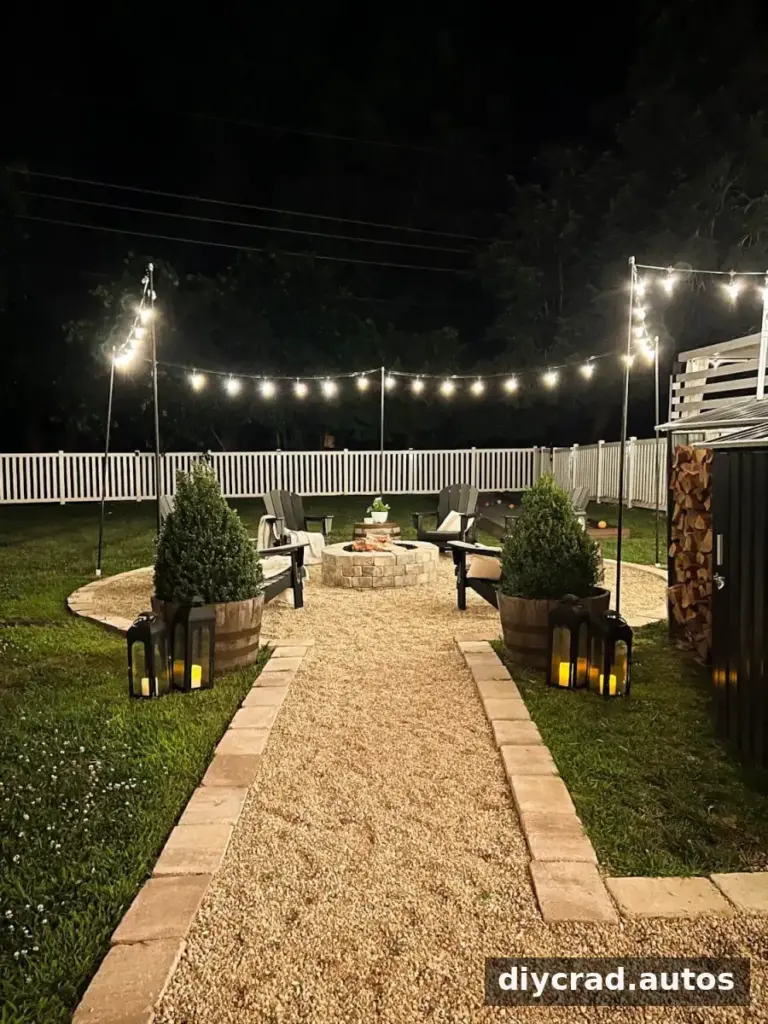
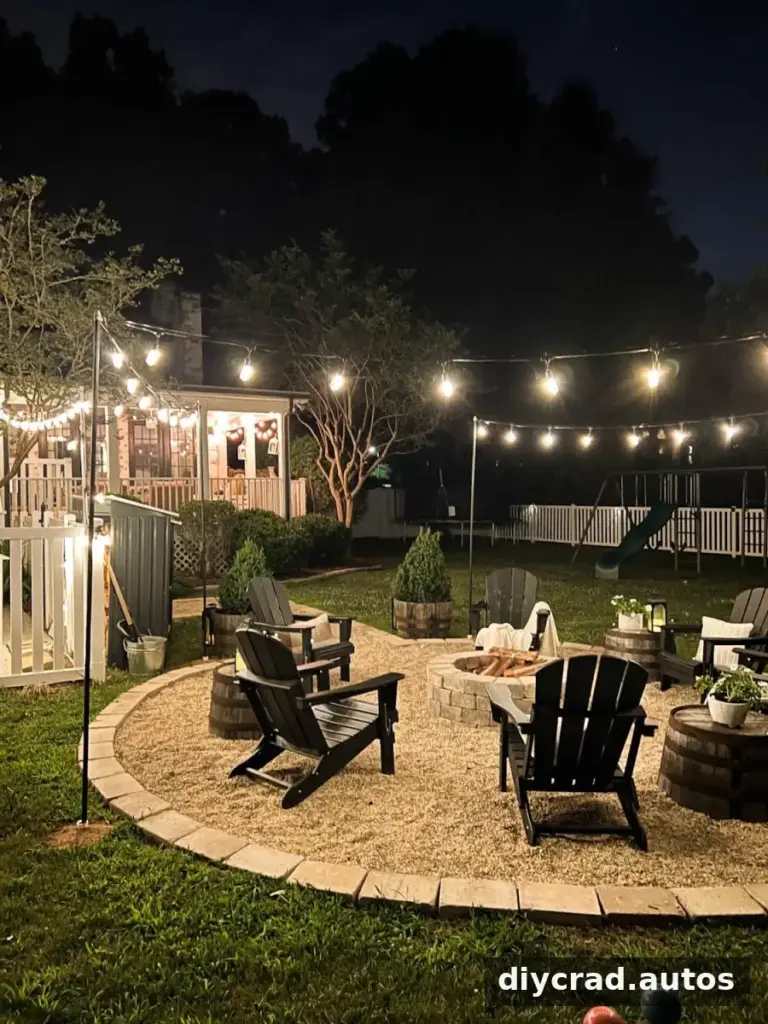
How to Hang Outdoor String Lights Around a Fire Pit
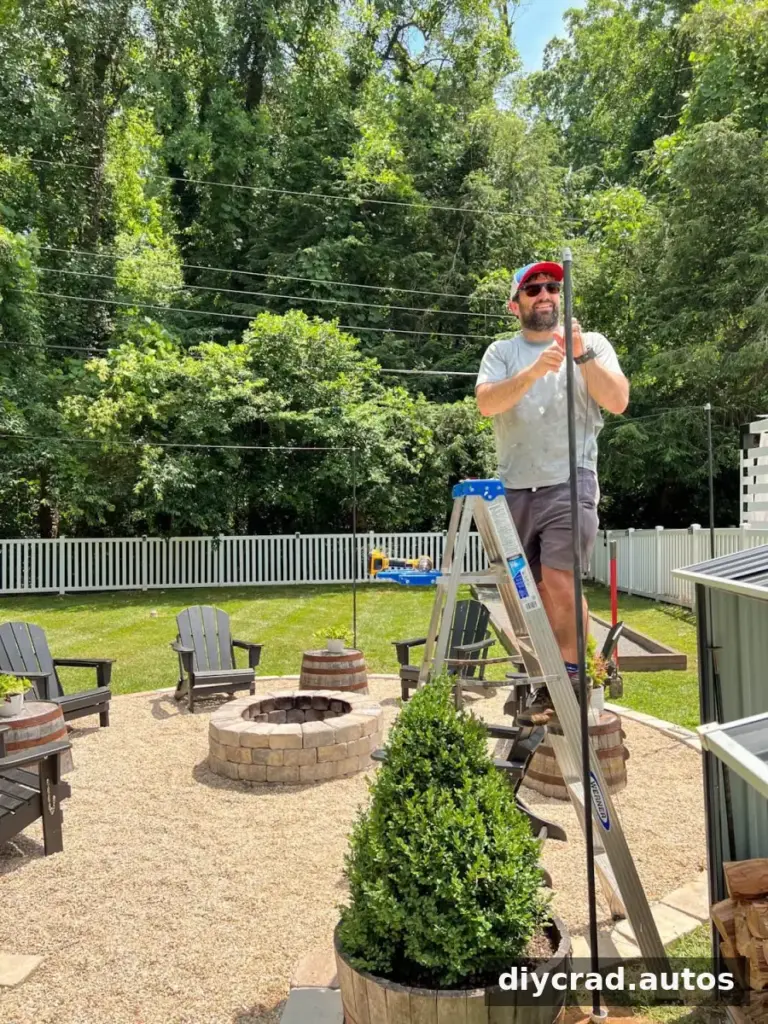
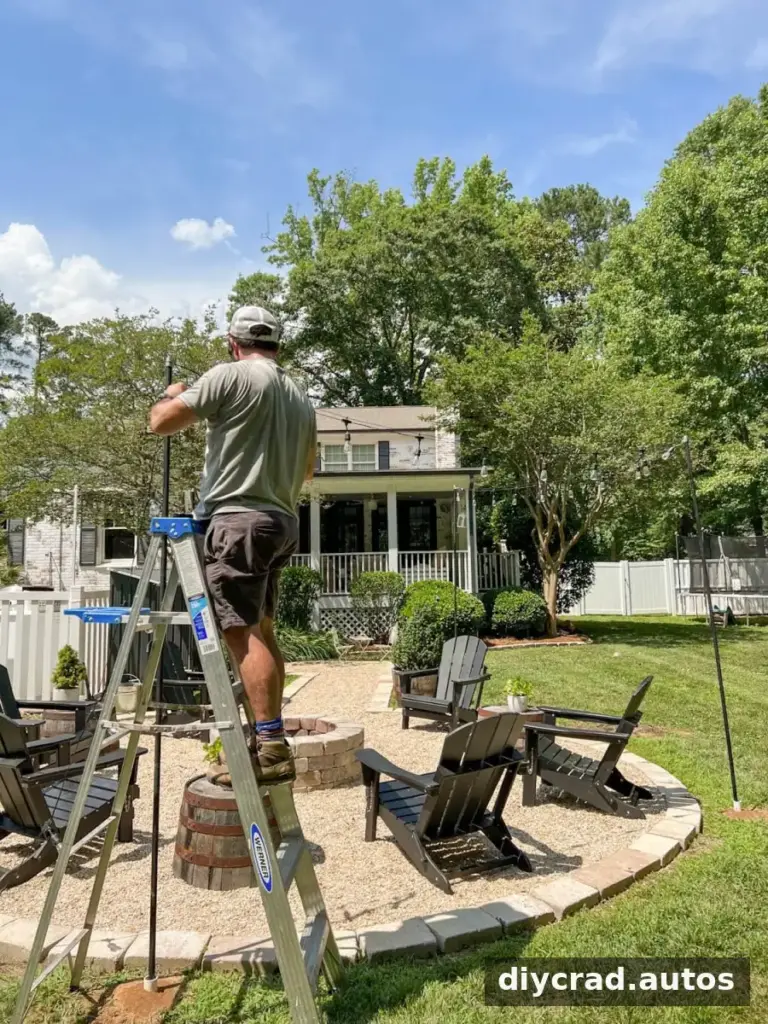
When there are no trees in the right places, poles can provide support around a fire pit. Keep the lights a safe distance from flames and heat, and make sure the poles do not obstruct access around the seating area.
Supplies
- 5 – 3/4-inch x 10-foot metal conduit pipes
- Drop cloth
- Black or gray automotive primer (optional)
- Black spray paint (optional)
- 1-inch x 10-foot PVC pipe
- PVC cutter
- Small level
- 3/4-inch zinc squeeze connectors
- Mounting tape and black electrical tape
- Post hole digger
- String lights and, optionally, a string-light cable kit
- Outdoor extension cord and outdoor light-sensor timer with remote, if using plug-in lights
Steps for Fire-Pit Light Poles
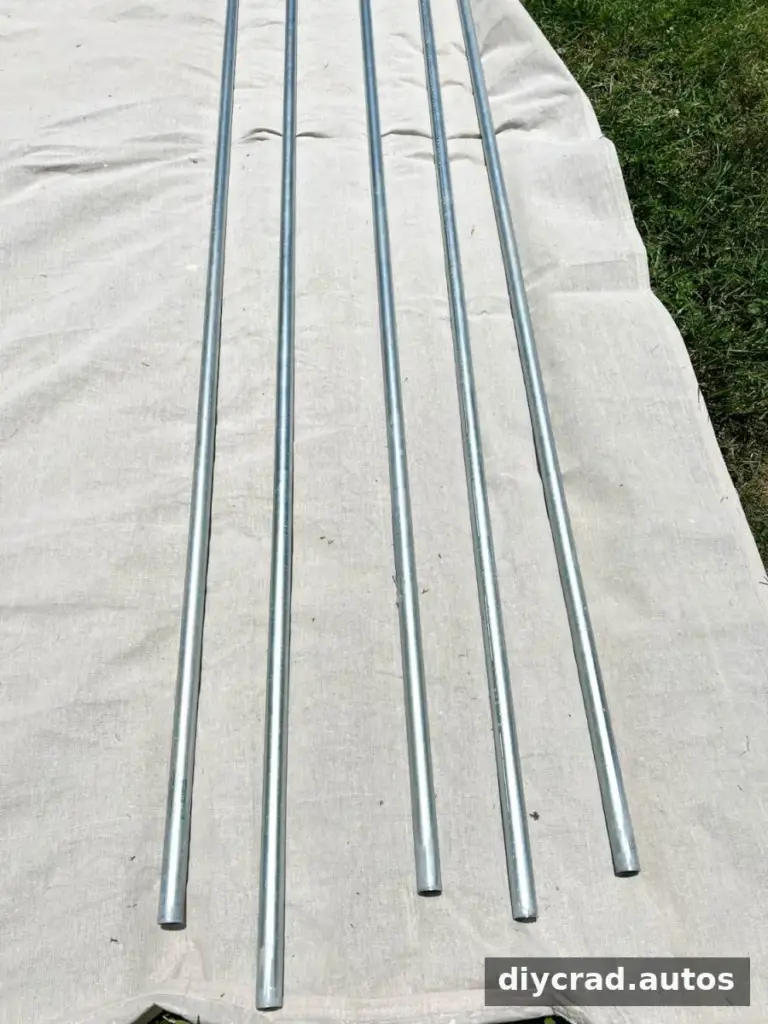
1. Prepare and paint the conduit
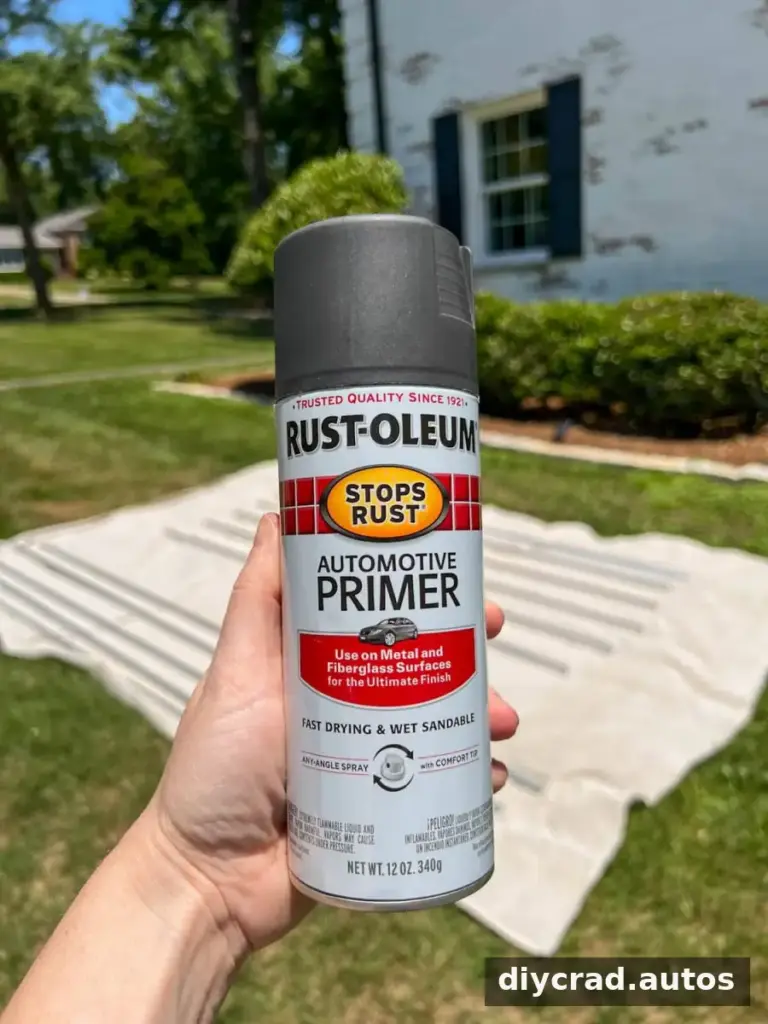
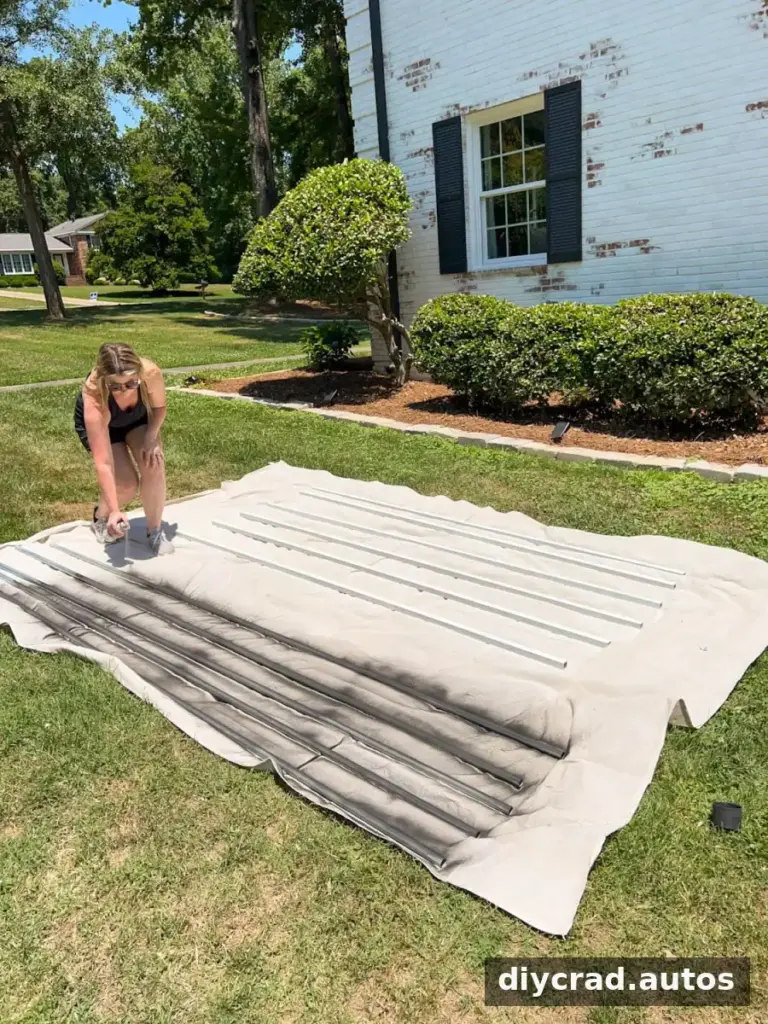
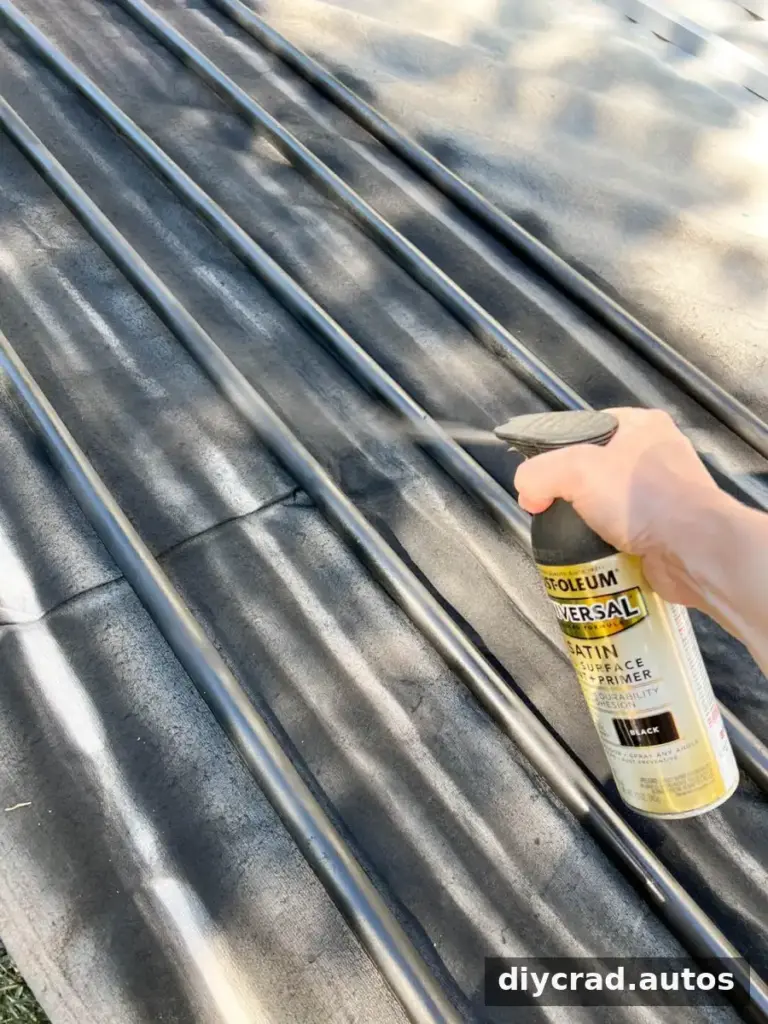
On a suitable day, lay the conduit on a drop cloth. Painting is optional. If painting, apply a thin, even coat of automotive primer and let it dry, then add one or two thin coats of spray paint.
2. Mark and dig the pole locations
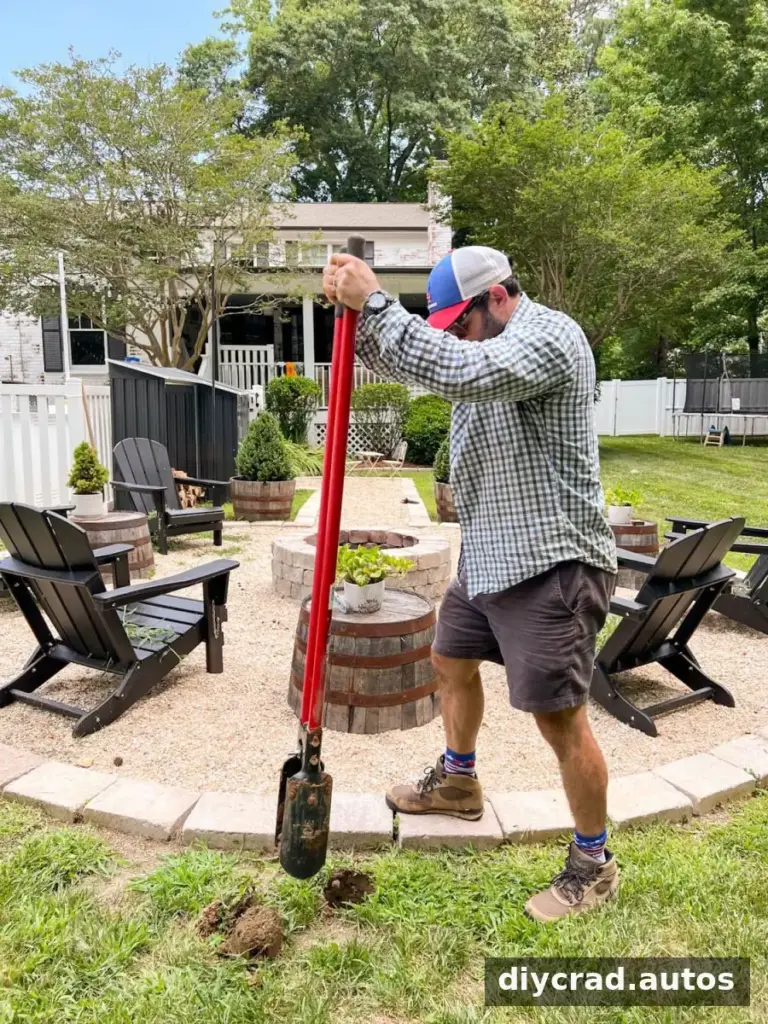
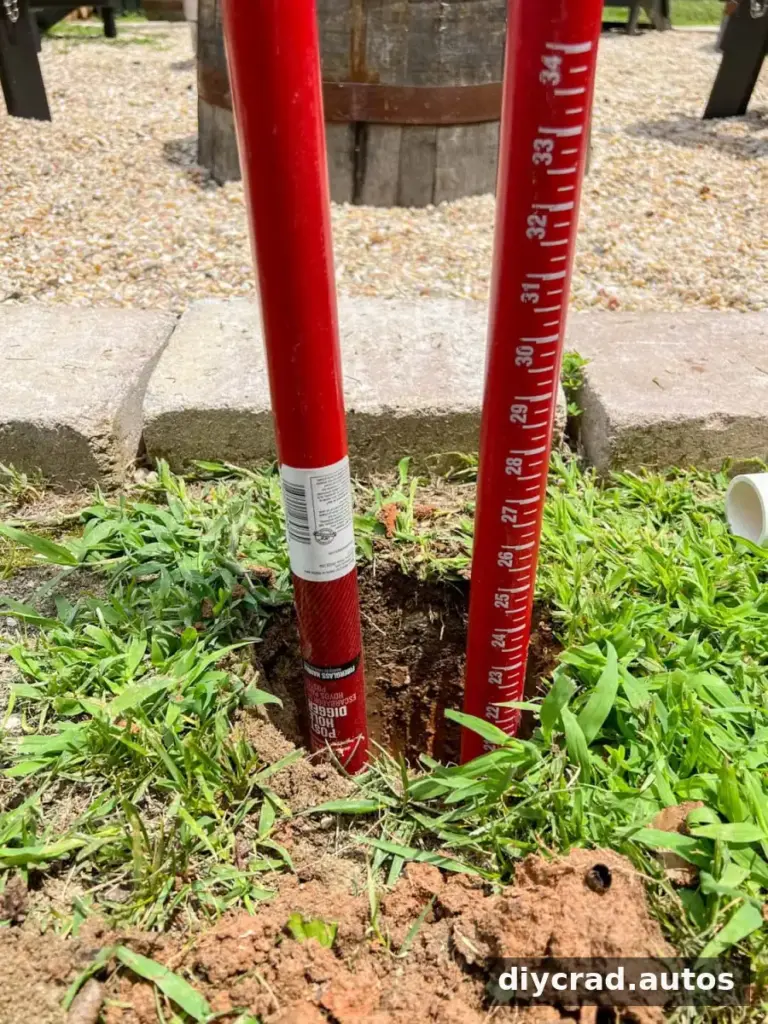
Choose locations around the fire pit and mark them. Use a post hole digger to make holes 2 feet deep. Keep the poles clear of the fire pit and areas people need to walk through.
3. Cut and set the PVC sleeves
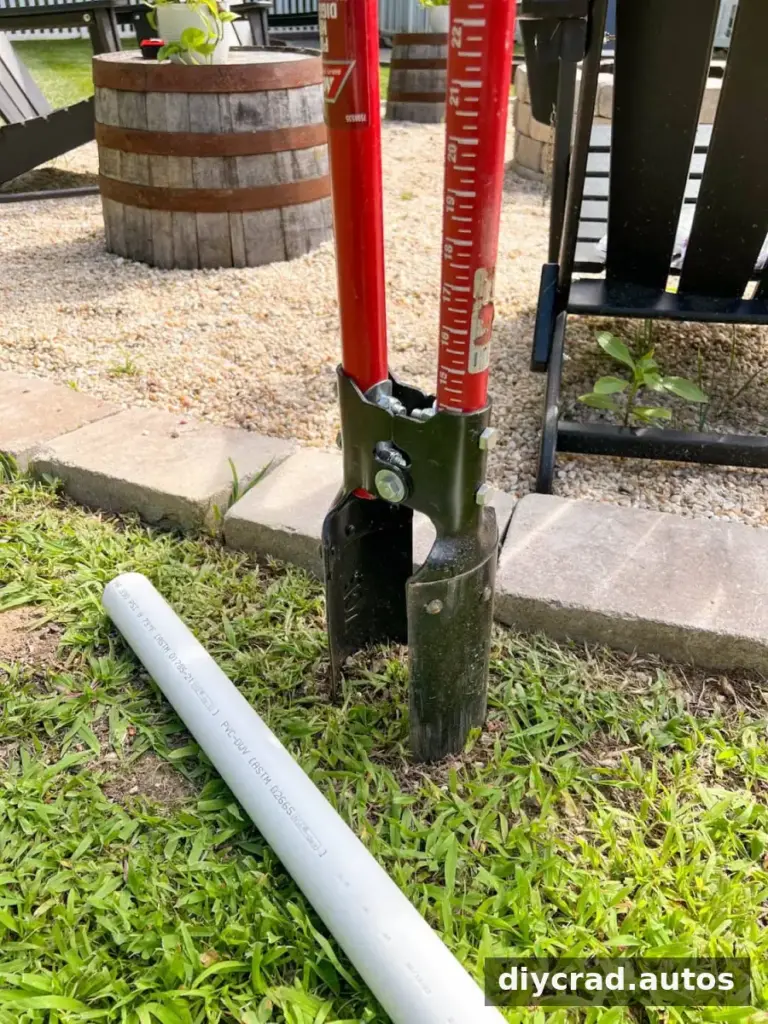
Cut the 10-foot PVC pipe into five 2-foot lengths. Place one piece in each hole, check that it is vertical with a level, and pack soil firmly around it.
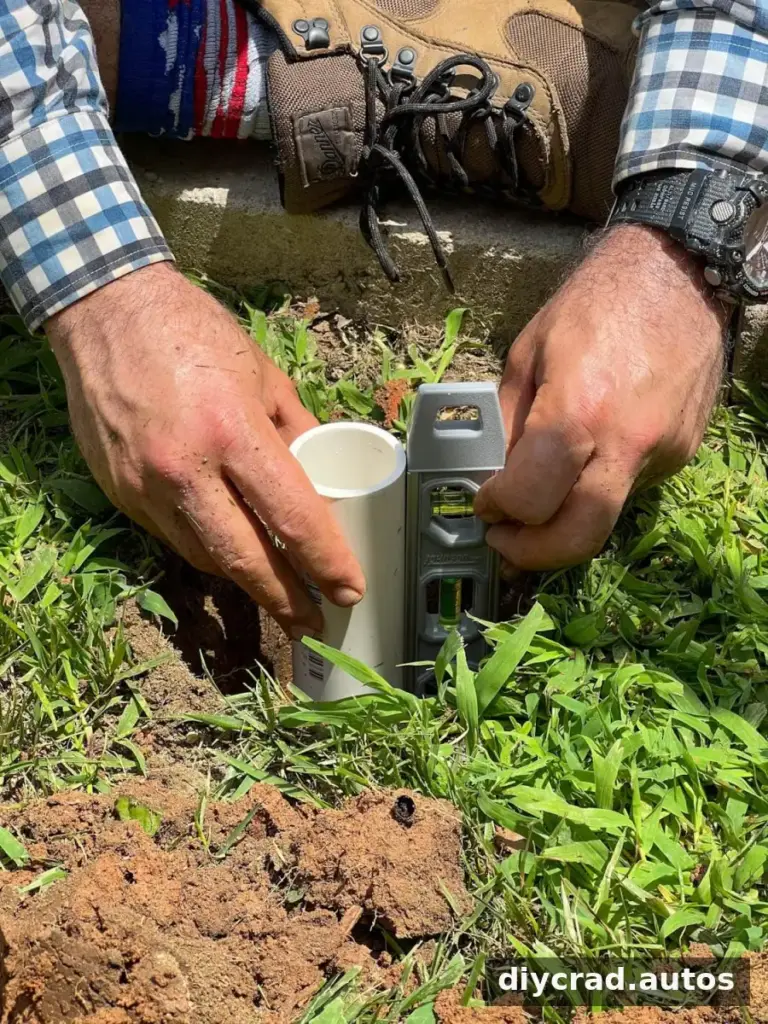
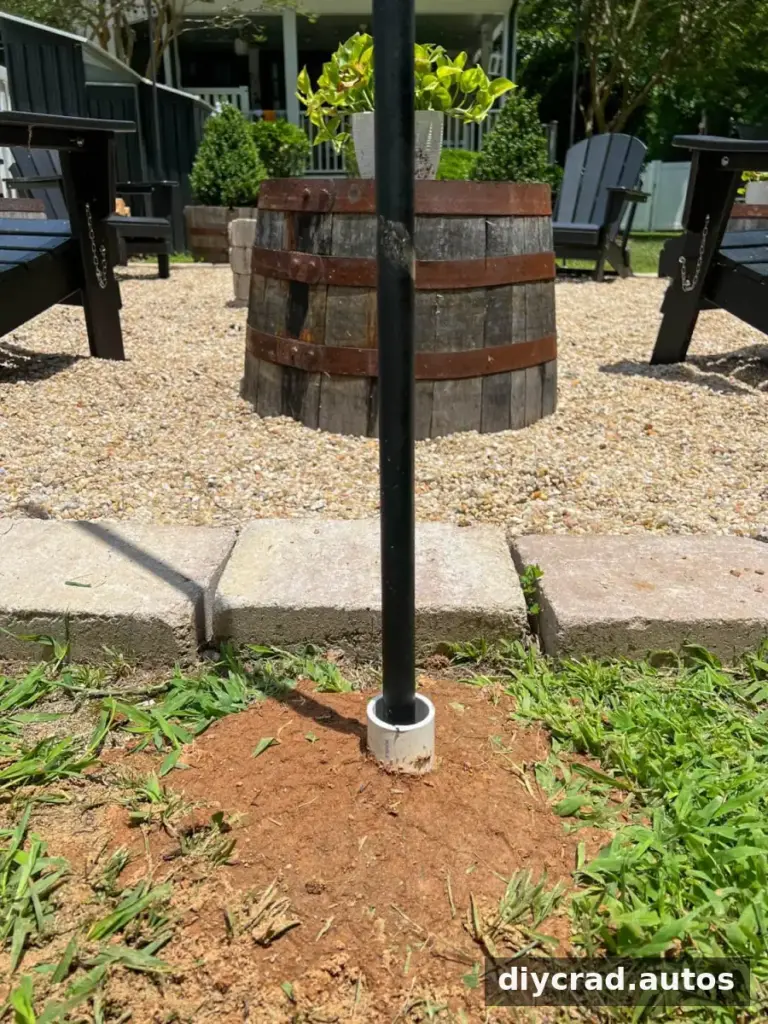
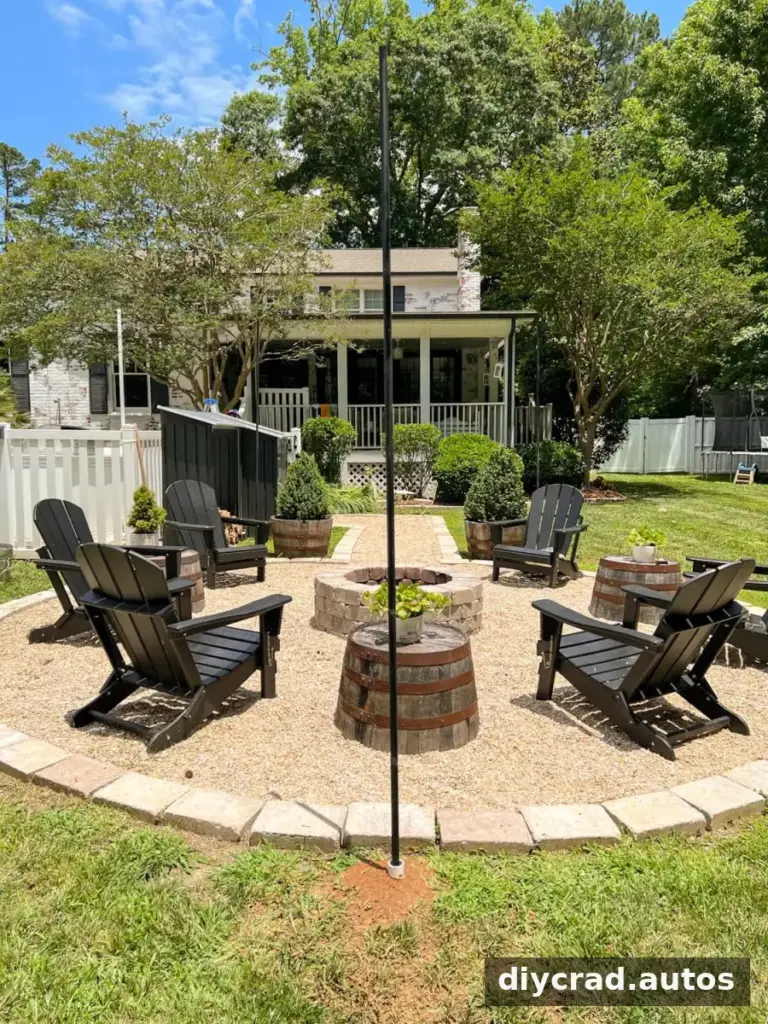
4. Add connectors and support cable
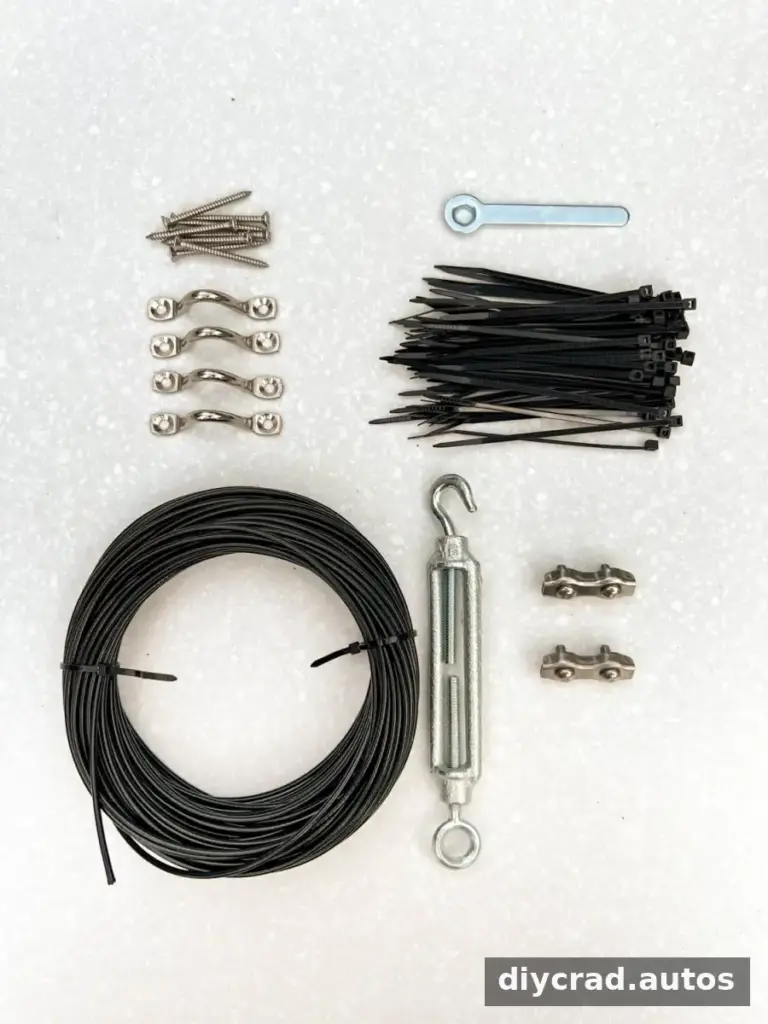
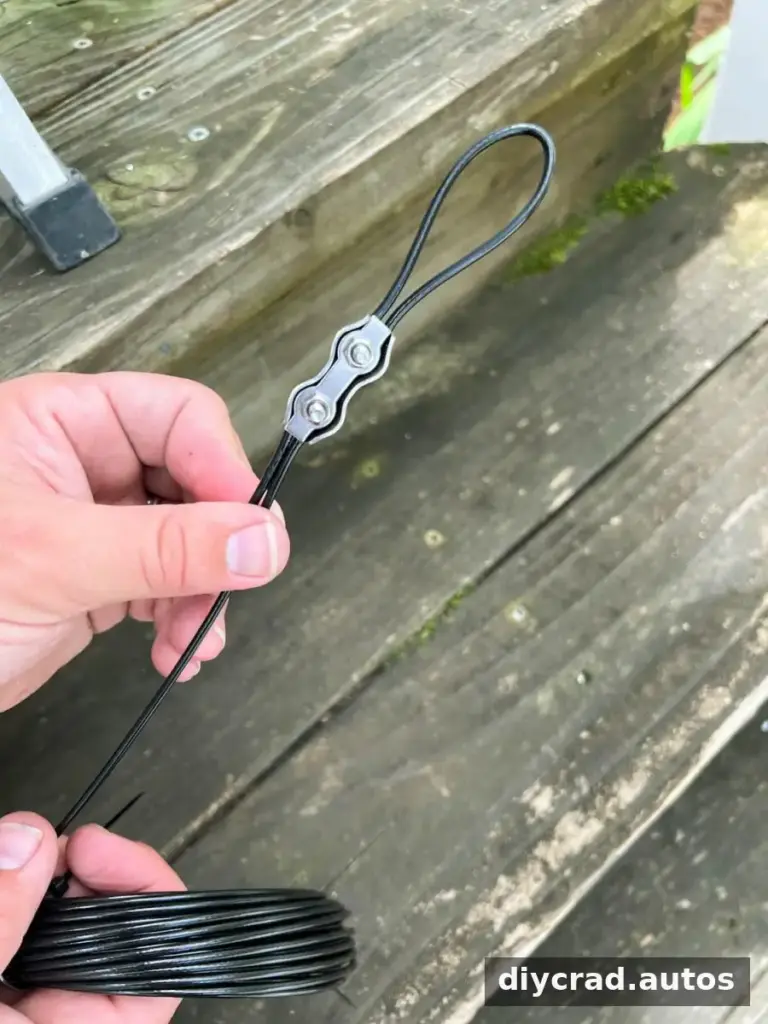
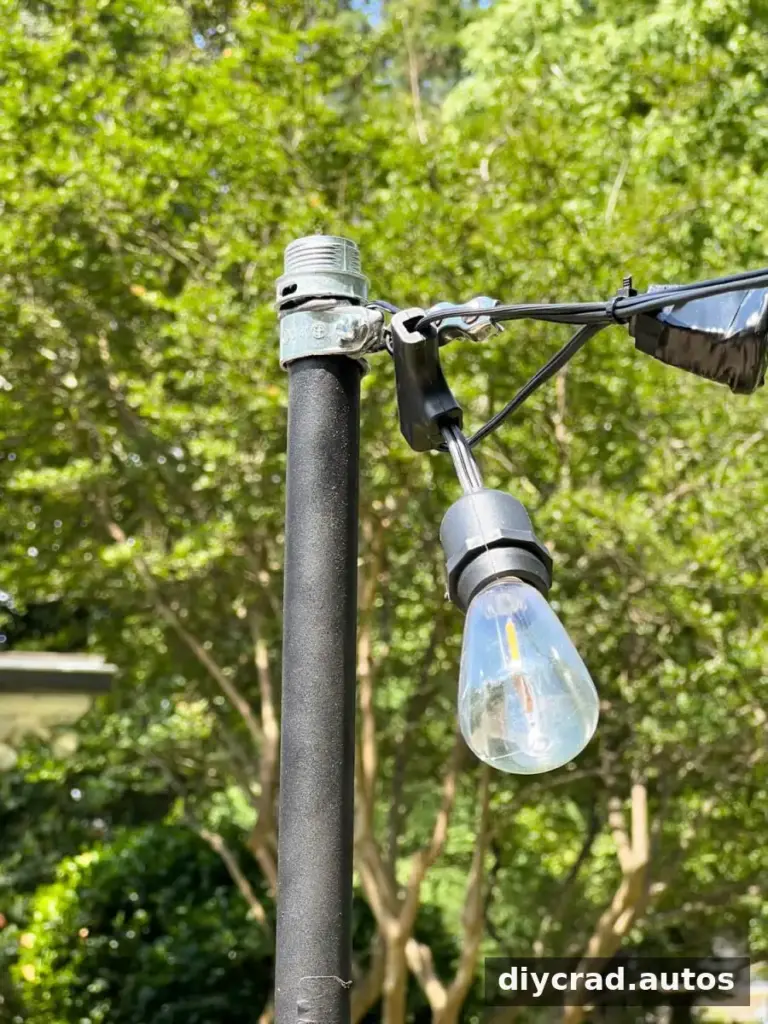
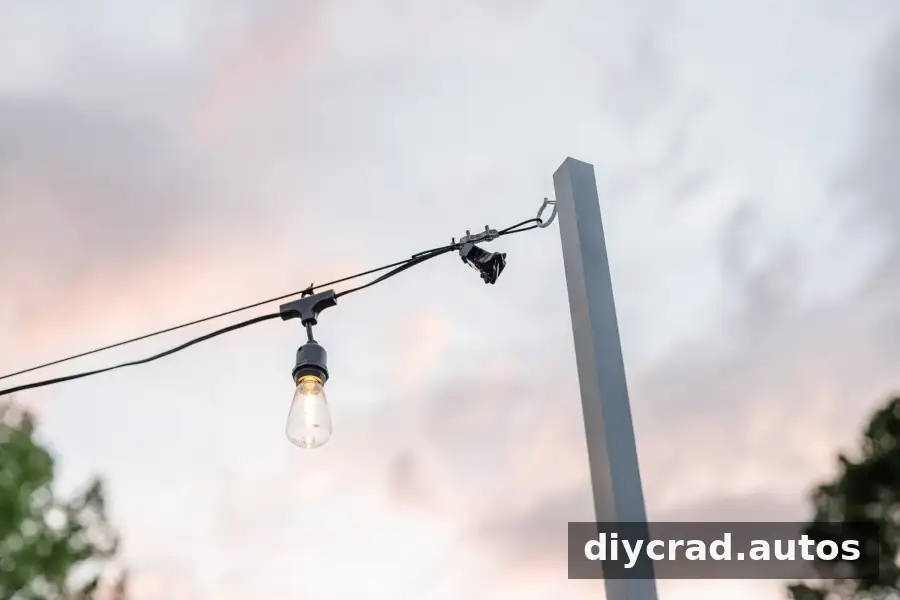
Secure a squeeze connector to the top of each pole using mounting tape. Attach the cable according to the cable kit instructions, then draw it taut between the supports without overloading the poles.
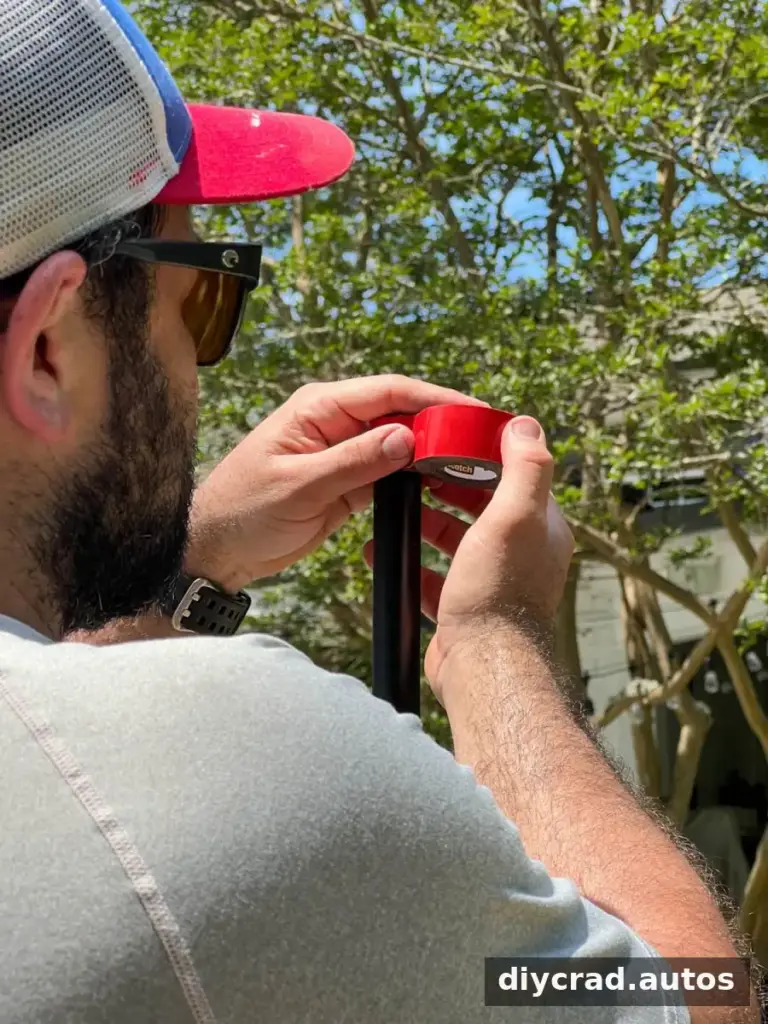
5. Hang the lights and connect power
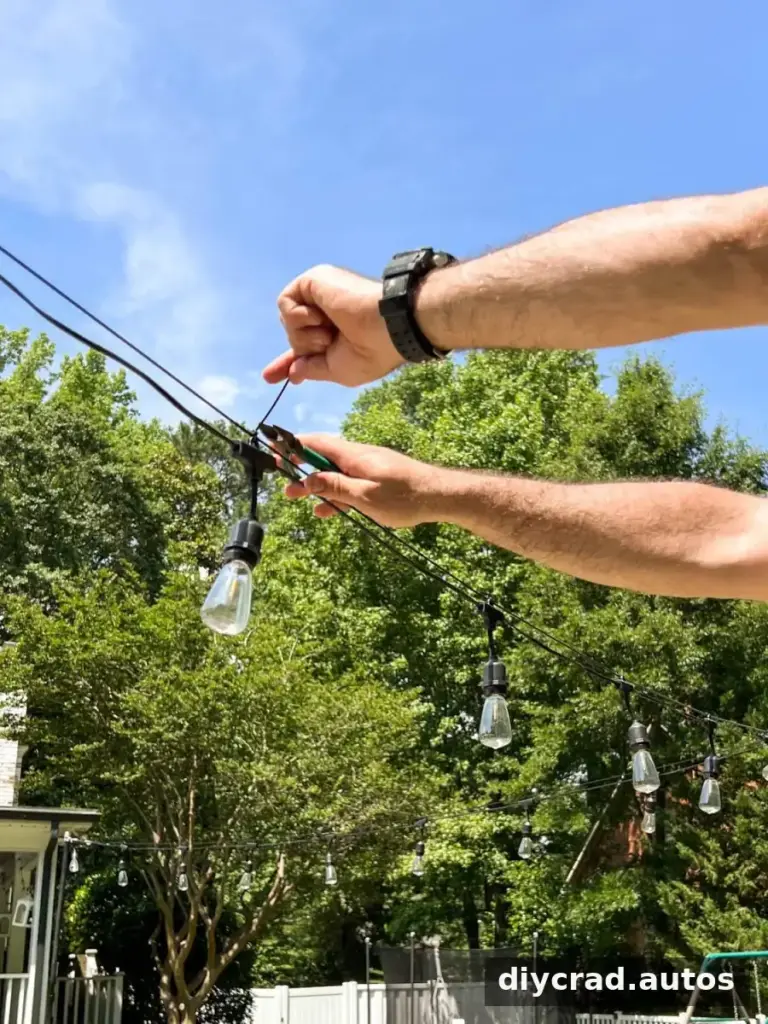
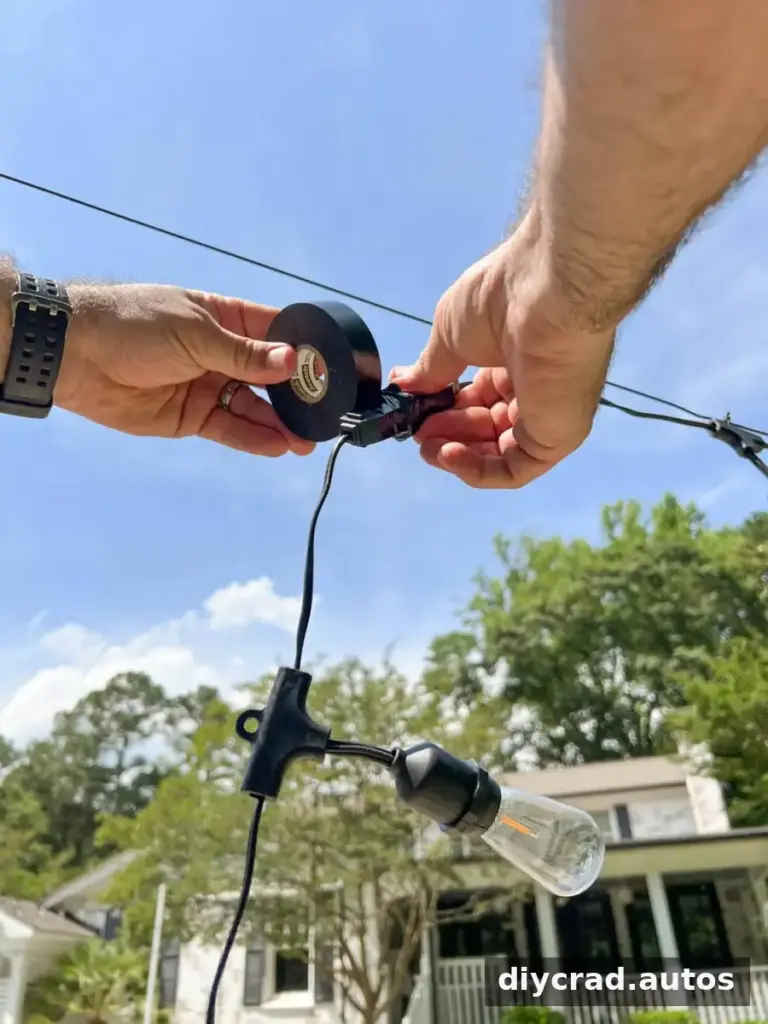
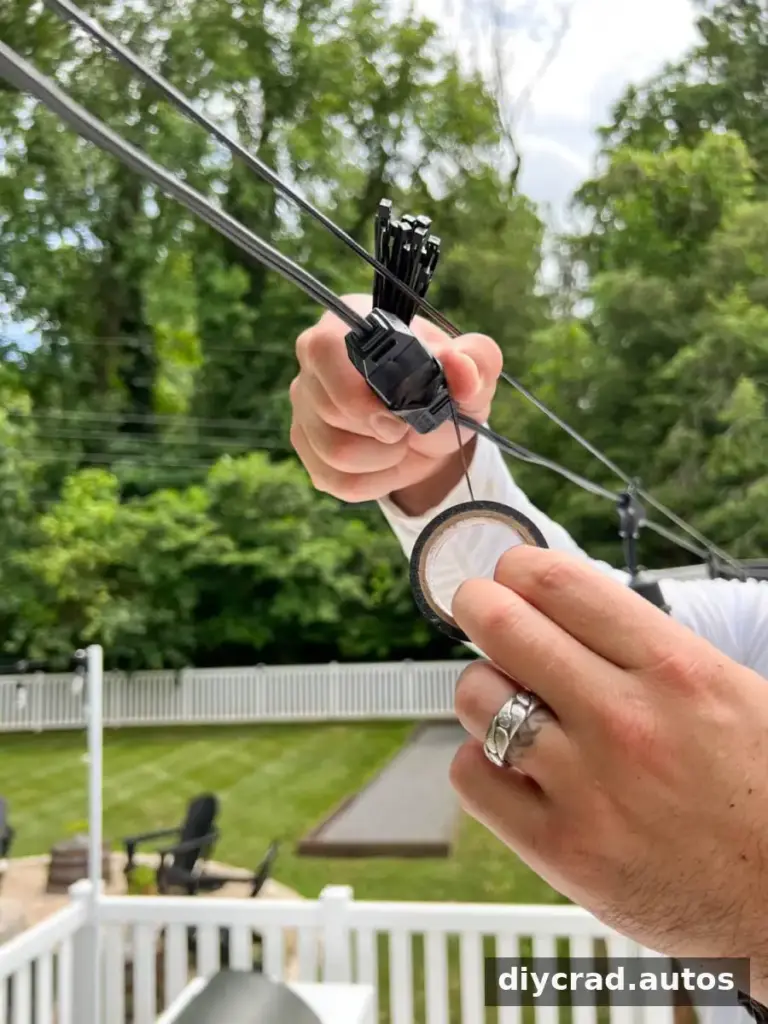
Start at the pole nearest the planned power source. Attach each light strand to the cable with the small zip ties supplied in the kit, then trim excess tie ends. Repeat around the fire pit. If the product instructions permit, secure plug connections with electrical tape to help keep them from pulling apart; tape is not a substitute for weather-rated connections.
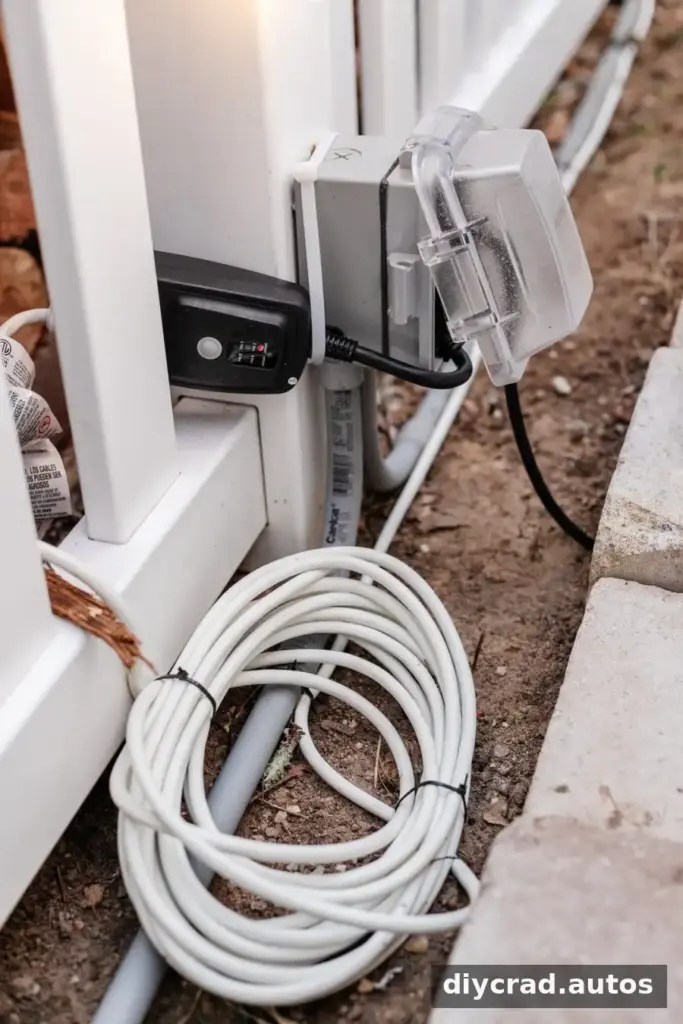
Run an outdoor-rated extension cord along a safe route to the outlet. Set an outdoor timer if you want the lights to turn on automatically, or operate them manually with the remote.
How to Hang Outdoor String Lights on a Fence
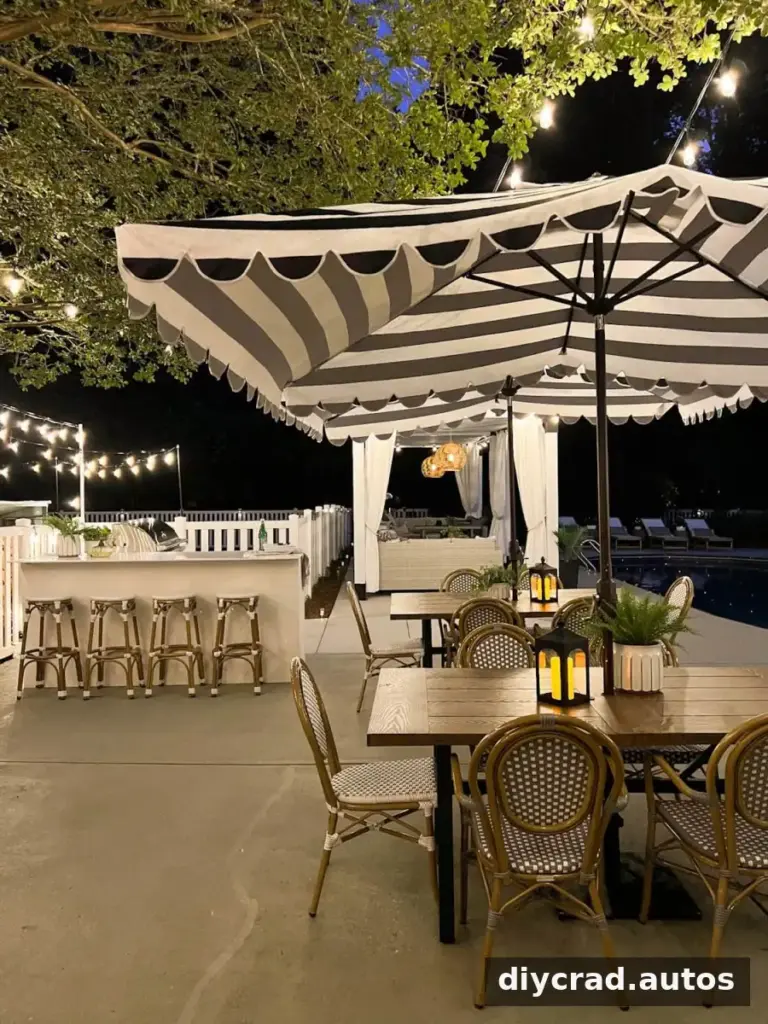
Square tubing attached to fence posts can provide elevated support without fastening directly into the fence surface. This approach is useful when you want to avoid drilling into the fence. Confirm that the fence posts and ties can support the installation.
Supplies
- 1-inch x 8-foot aluminum square tubing, in the quantity needed
- Automotive spray primer and spray paint, optional
- Drop cloth
- 26-inch zip ties, or a length suitable for the fence posts
- Wire-cutting pliers, drill, and drill bits
- Cup hooks with safety buckles
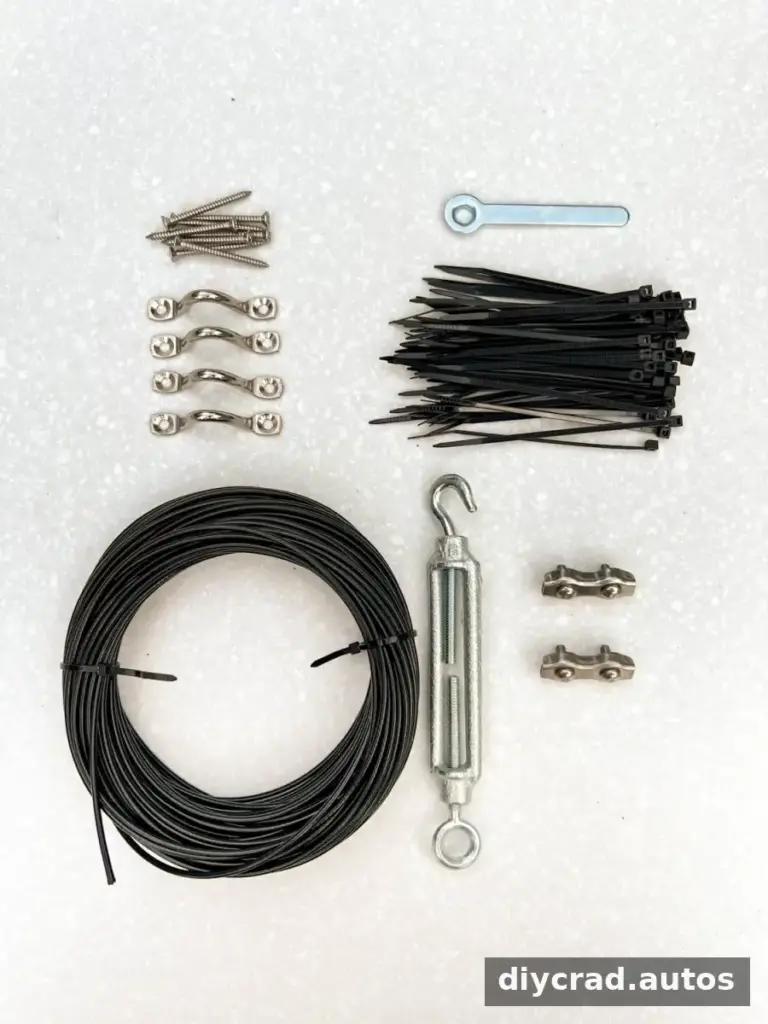
- String lights and a string-light cable kit
- Outdoor extension cord and timer with remote, if needed
Pool safety: Do not hang lights directly over a pool. Keep strands and electrical connections far enough from the water that they cannot fall into it, and follow applicable local requirements.
Fence Installation Steps
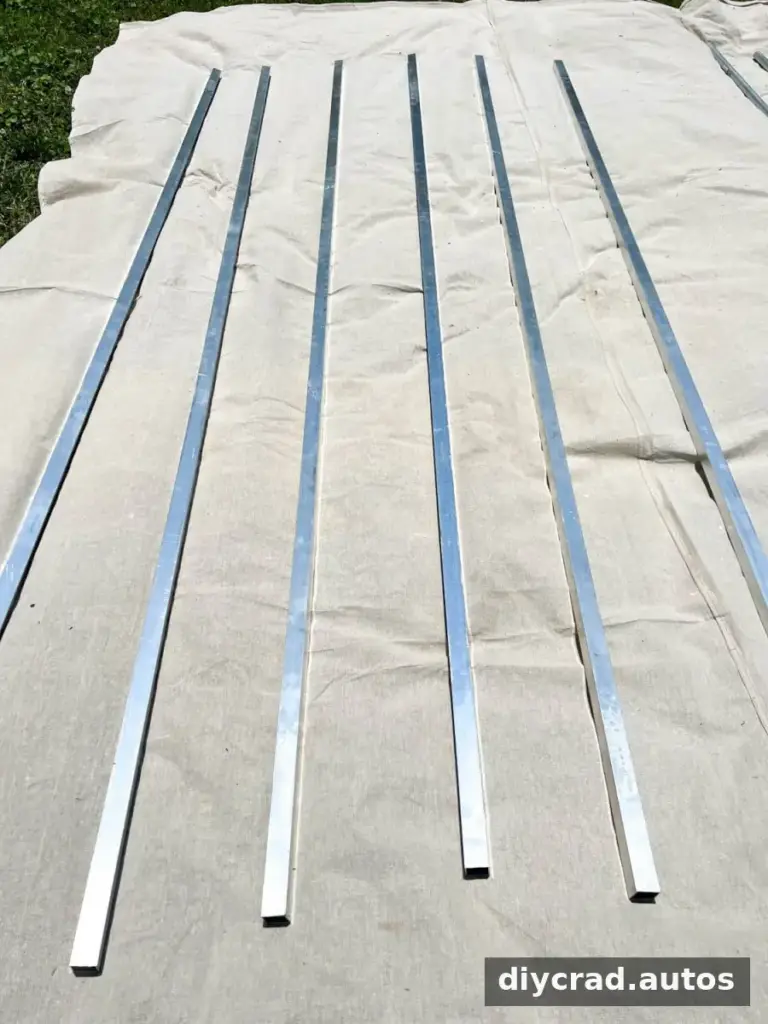
1. Prime and paint the tubing
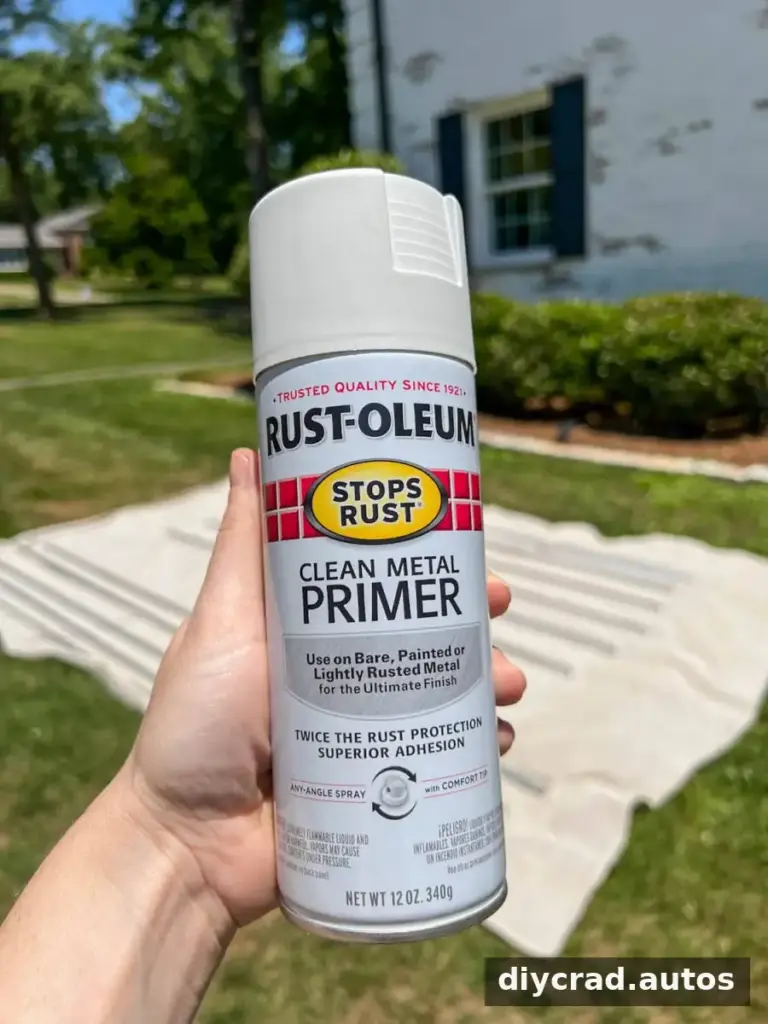
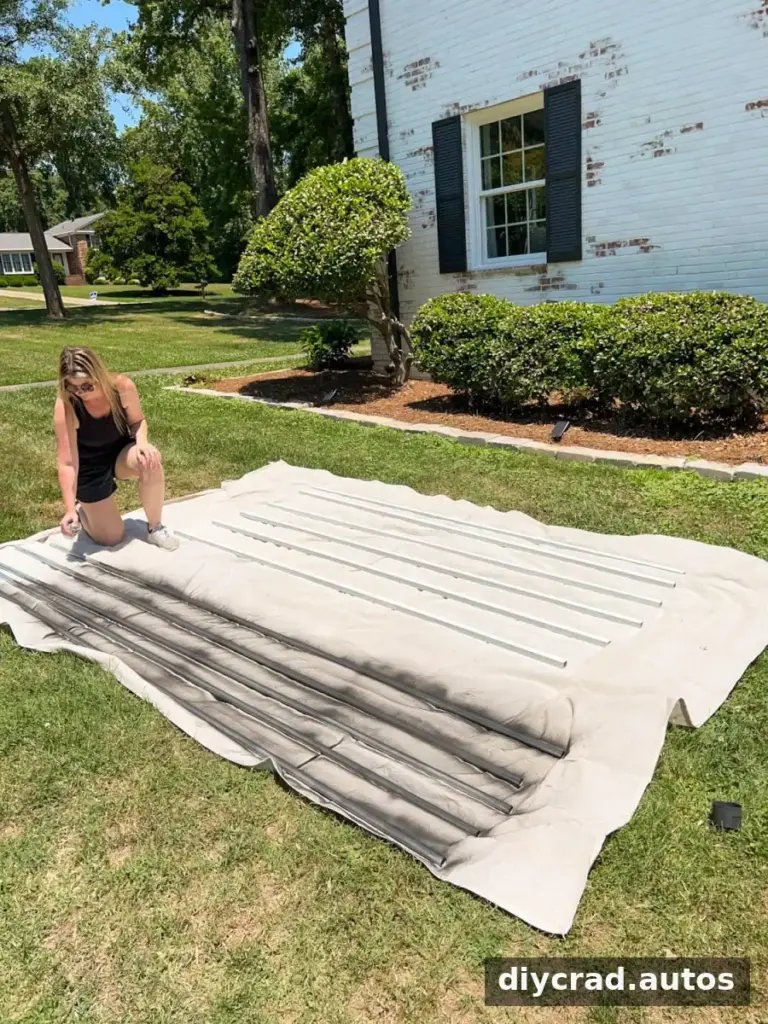
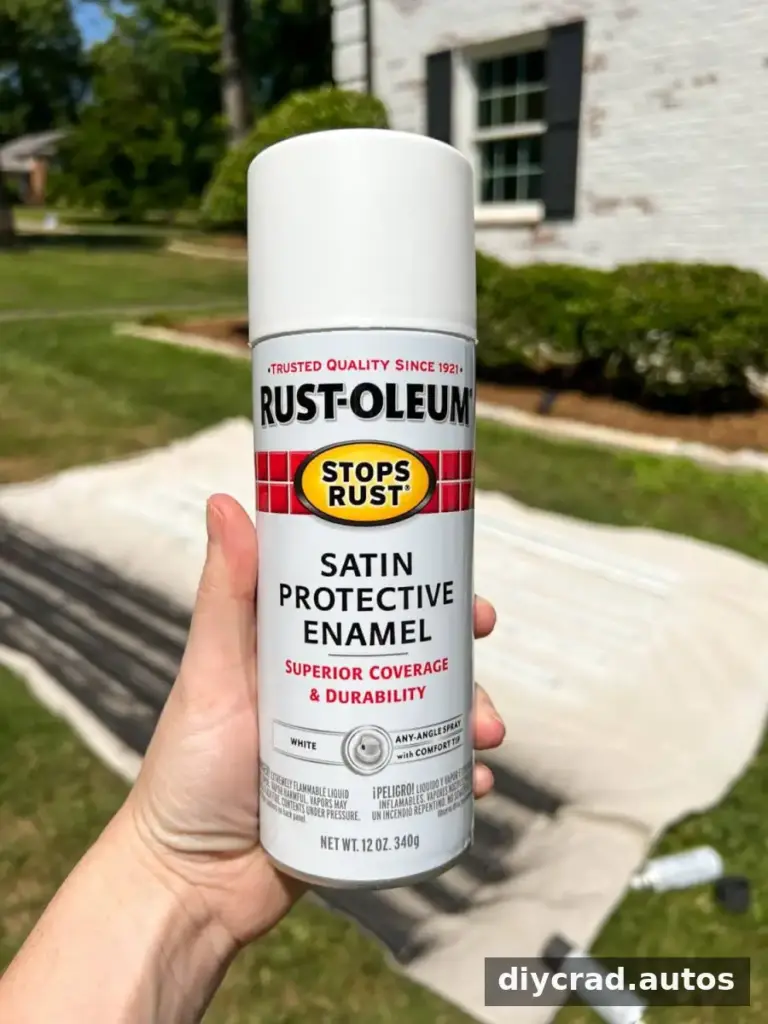
If you want to change the tubing’s appearance, apply a thin coat of automotive primer, let it dry, then apply one or two thin coats of spray paint.
2. Attach tubing to fence posts
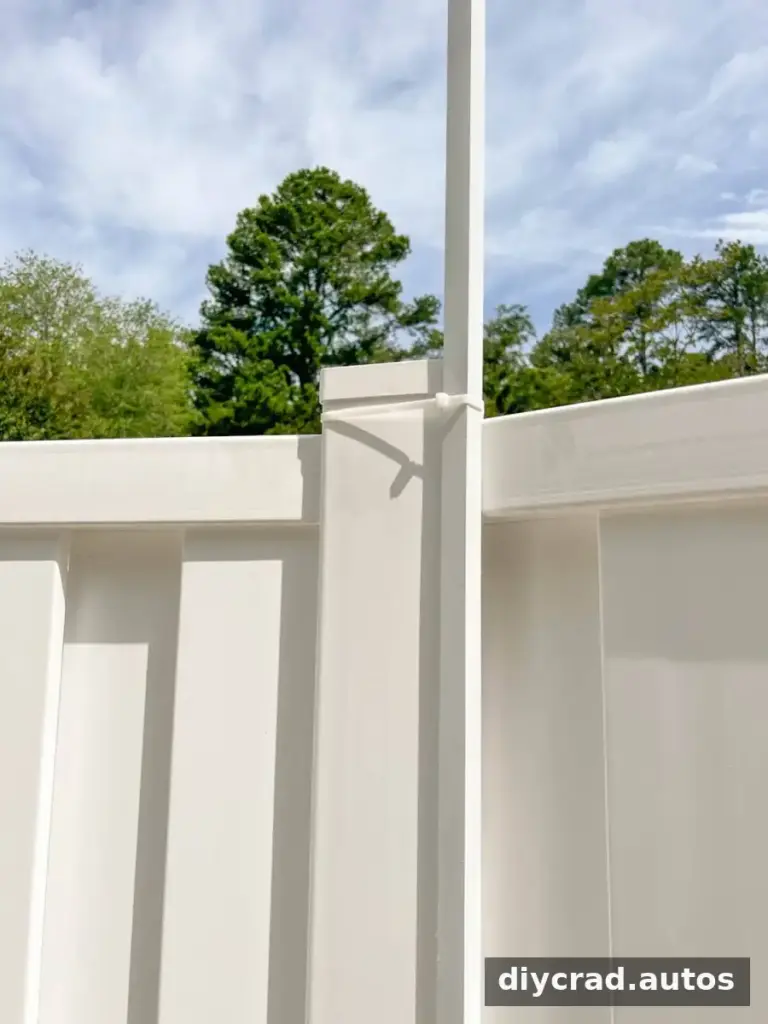
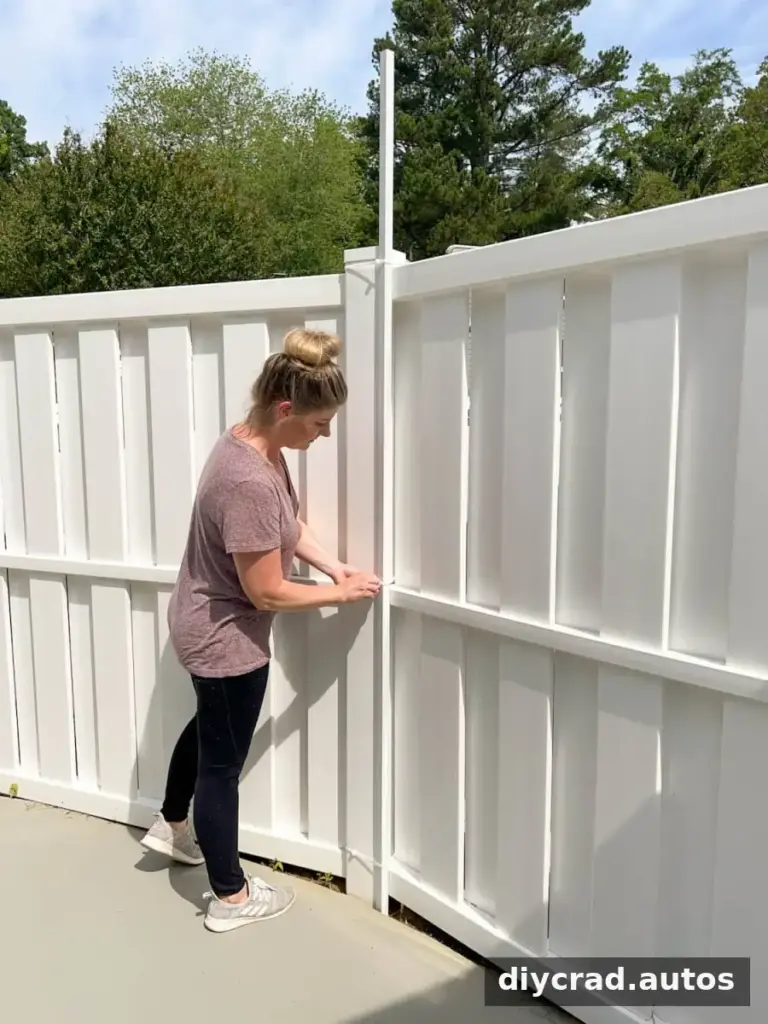
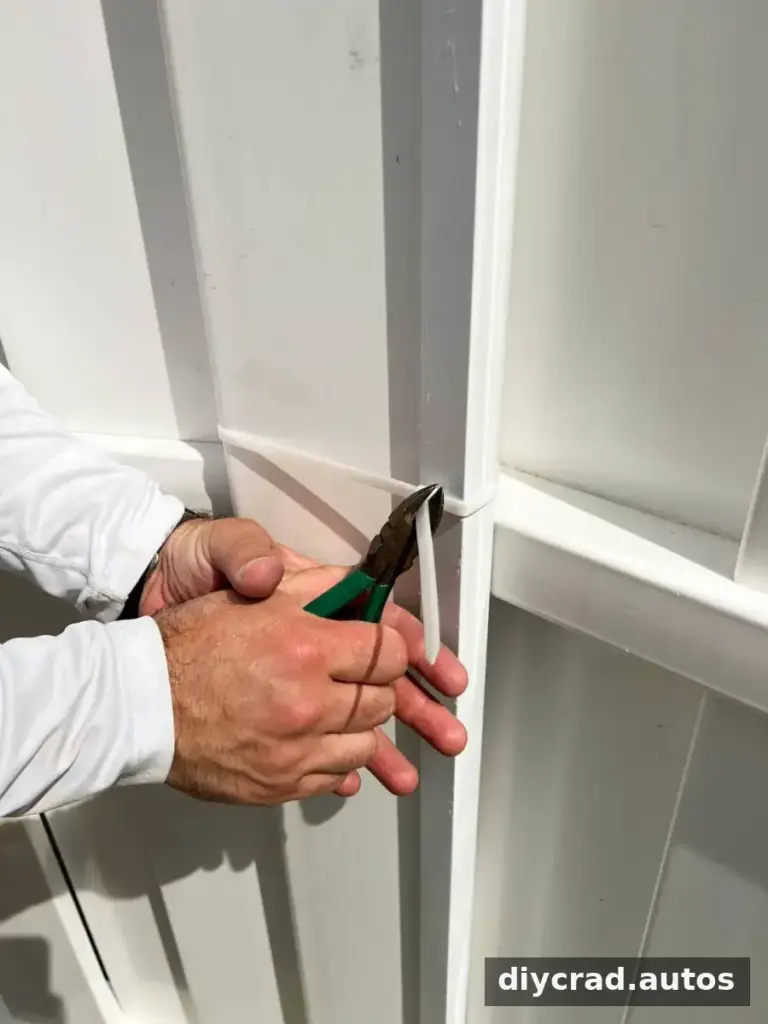
Position the tubing where the lights will run and fasten it to fence posts with zip ties. Trim the excess tie ends with wire-cutting pliers for a tidier finish.
3. Install hooks and cable
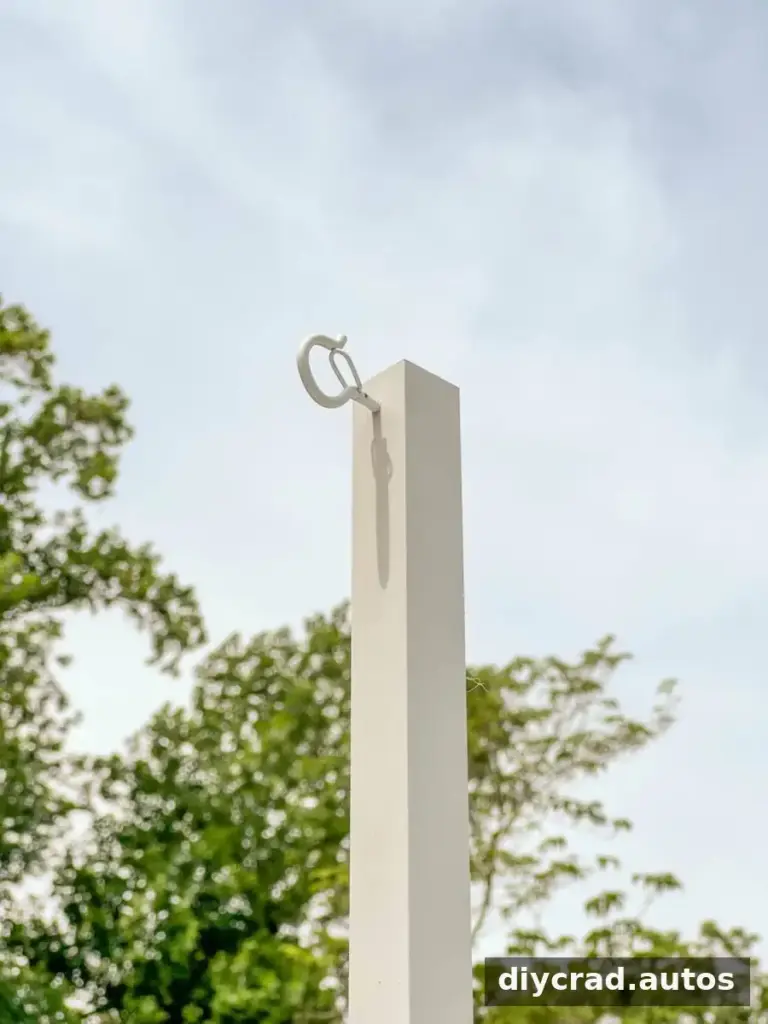
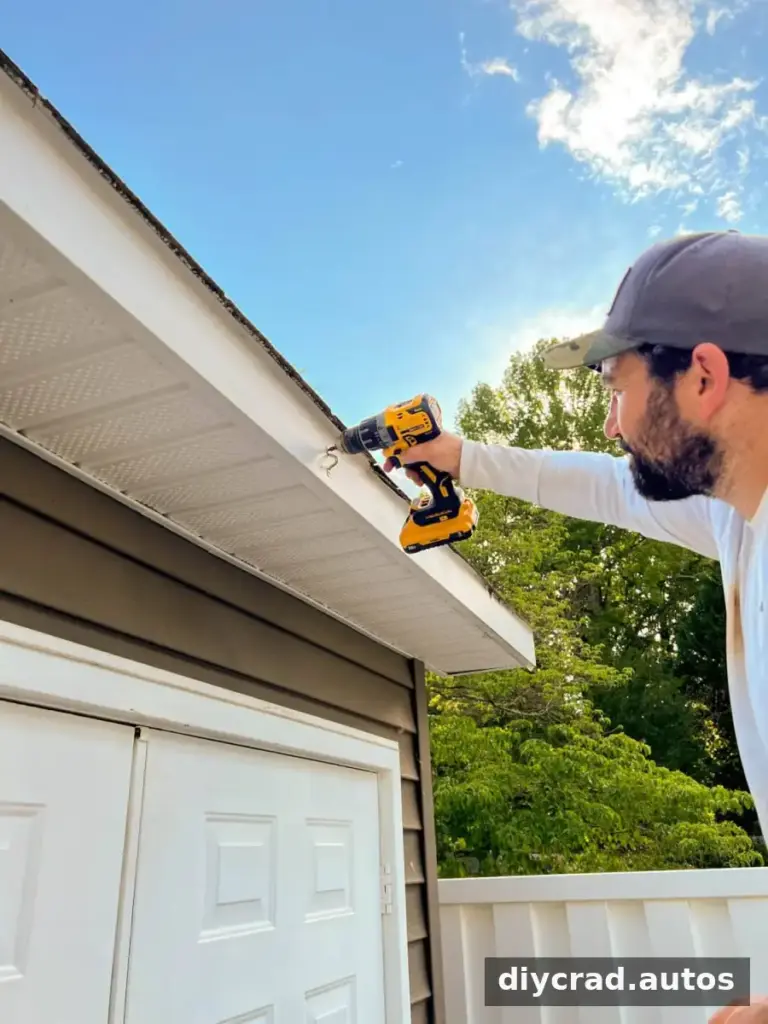
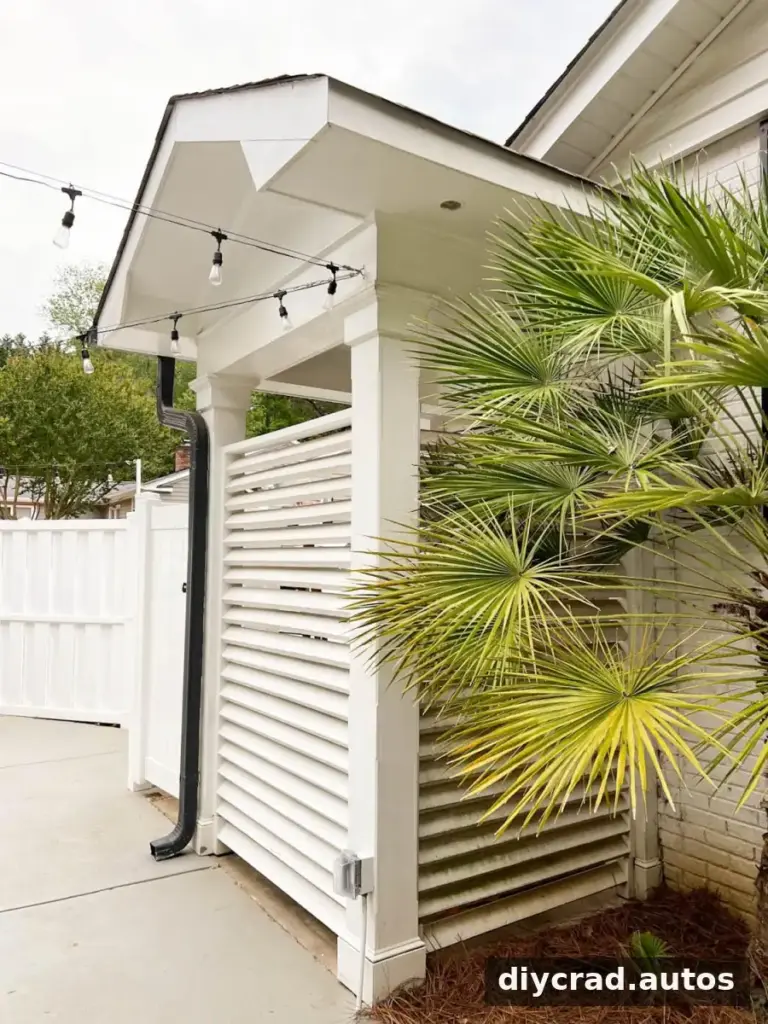
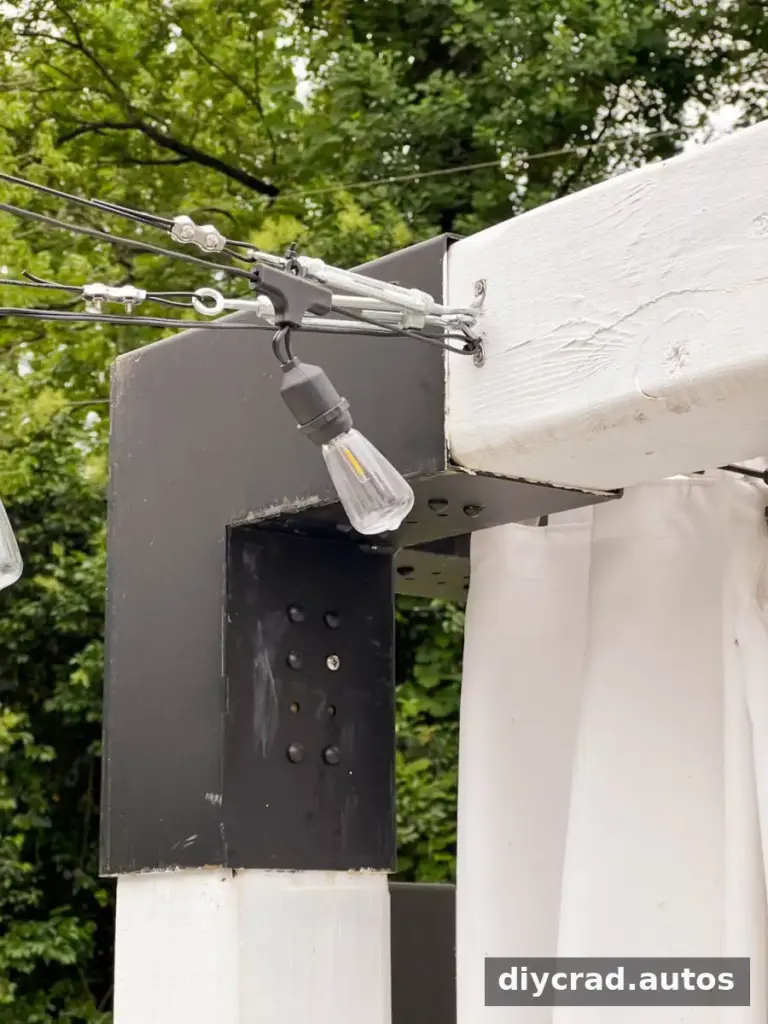
Use a 5/32-inch drill bit to make a pilot hole through one side of the tubing near the top, then screw in a cup hook until secure. Choose suitable attachment points on nearby eaves, soffits, or buildings and install the cable-kit brackets as directed. Connect the cable between the brackets and hooks and pull it taut.
4. Attach the lights and power cord
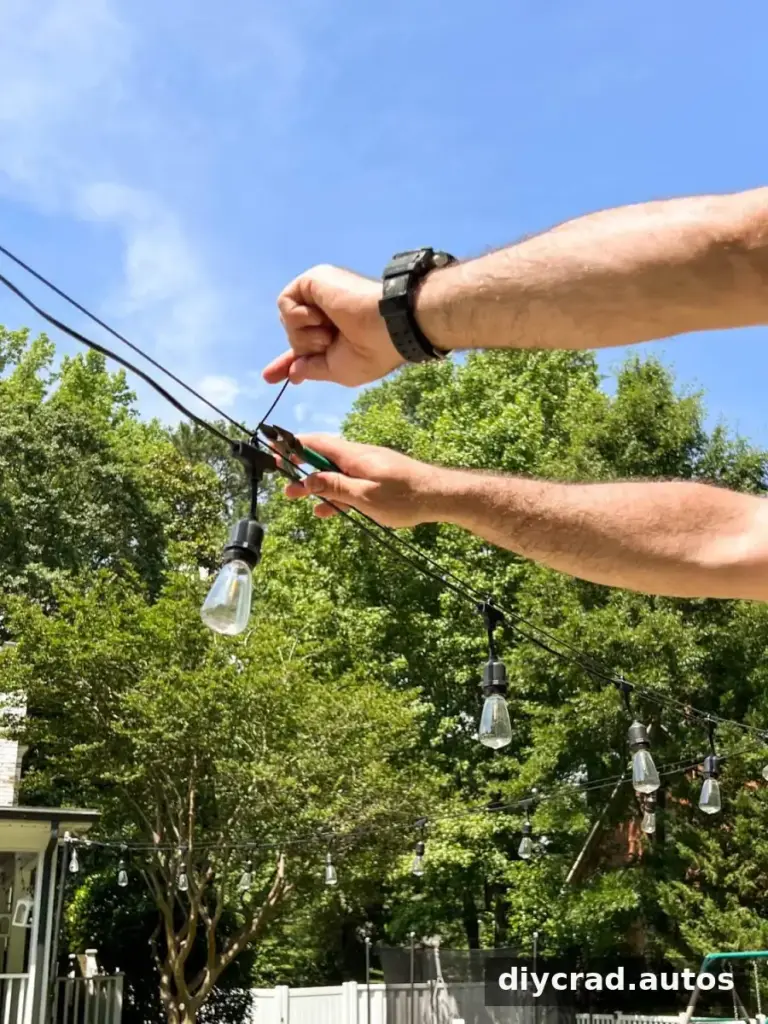
Start near the planned outlet and attach the lights to the cable with the kit’s small zip ties. Trim the ends and repeat along the route. Connect the strands as instructed by the manufacturer, then run an outdoor-rated extension cord to the outlet and set the timer if desired.
How to Hang String Lights from Trees
Solar string lights can be convenient in wooded areas where an outlet is not nearby. For a secure setup, use suitable hooks and avoid damaging branches or placing tension on fragile limbs.
Supplies
- Solar string lights
- Screw hooks with safety buckles
- Drill and drill bits
Tree Installation Steps
1. Create a starting point
Use a drill and 5/32-inch bit to make a pilot hole in the tree trunk, then screw in a hook until secure. Before drilling into a tree, consider whether the method is appropriate for its health and follow local guidance.
2. Route the strands carefully
Guide the lights through suitable branches, avoiding tight wraps that could constrict growing limbs. Additional hooks can provide support where needed. Position the solar panel where it can receive light according to its instructions.
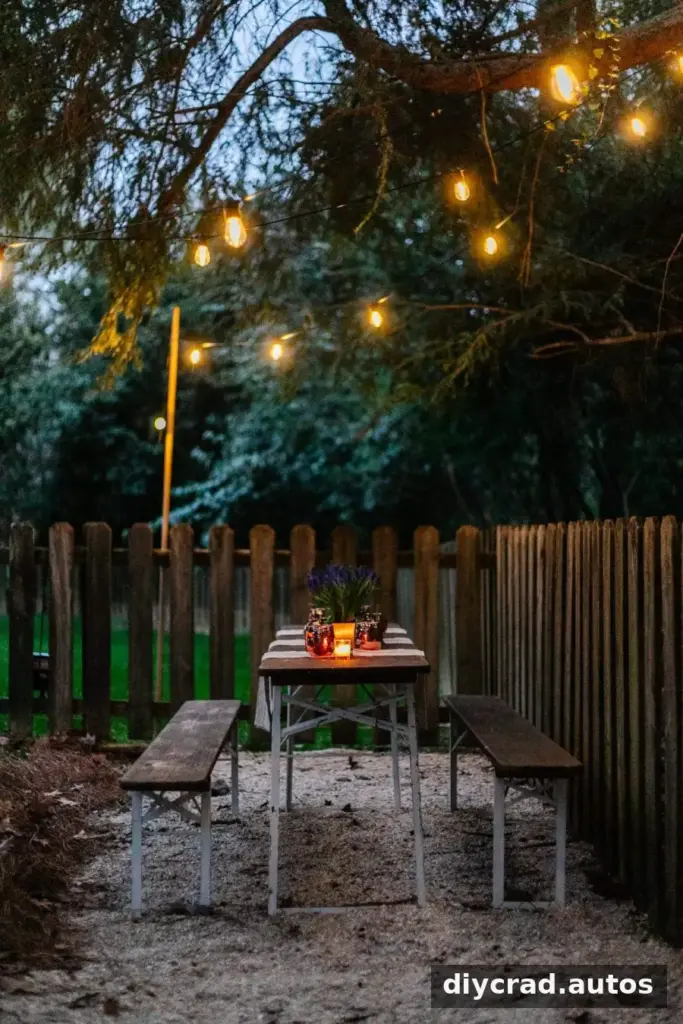
Solar lights offer flexibility because they do not need a plug-in outlet, but their soft glow may not provide enough visibility as the only light source.
How to Hang Porch String Lights
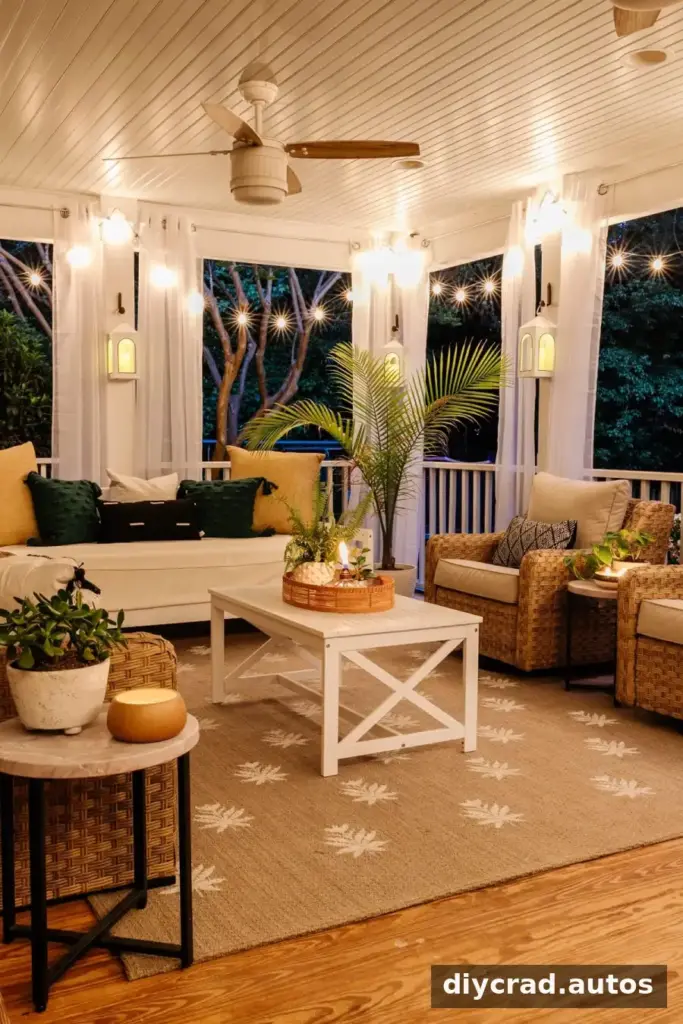
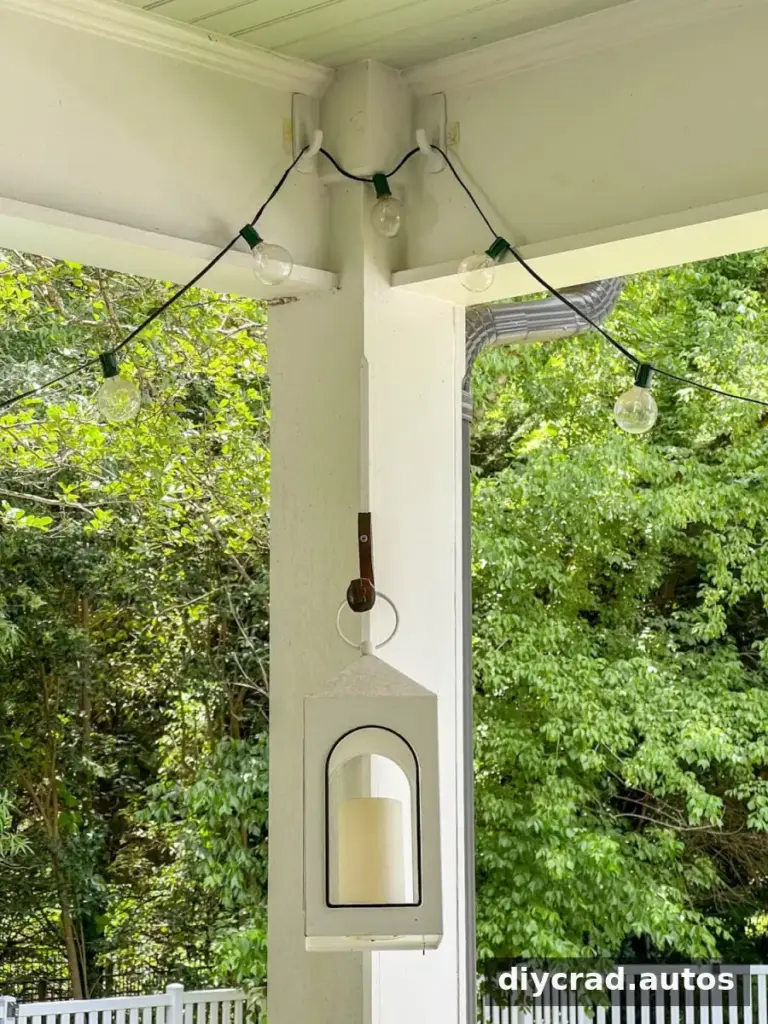
For a covered porch or patio, outdoor adhesive hooks can make a simple support option when the surface and product instructions allow their use.
Supplies
- Cafe or globe string lights
- Hooks labeled for outdoor use
- Outdoor extension cord, if needed
- Outdoor timer and remote, optional
Installation Steps
Place the hooks along the porch soffit where you want the strand to run. Follow the hook manufacturer’s directions. For adhesive hooks, clean the surface with rubbing alcohol if the instructions permit, press the adhesive strip and hook firmly for 30 seconds, and allow the hook to set for an hour without weight. Then hang the lights and check that each hook remains secure.
Use an outdoor-rated extension cord if required, and set an outdoor timer for automatic operation if desired. Do not use adhesive hooks on surfaces or in conditions that the product instructions exclude.
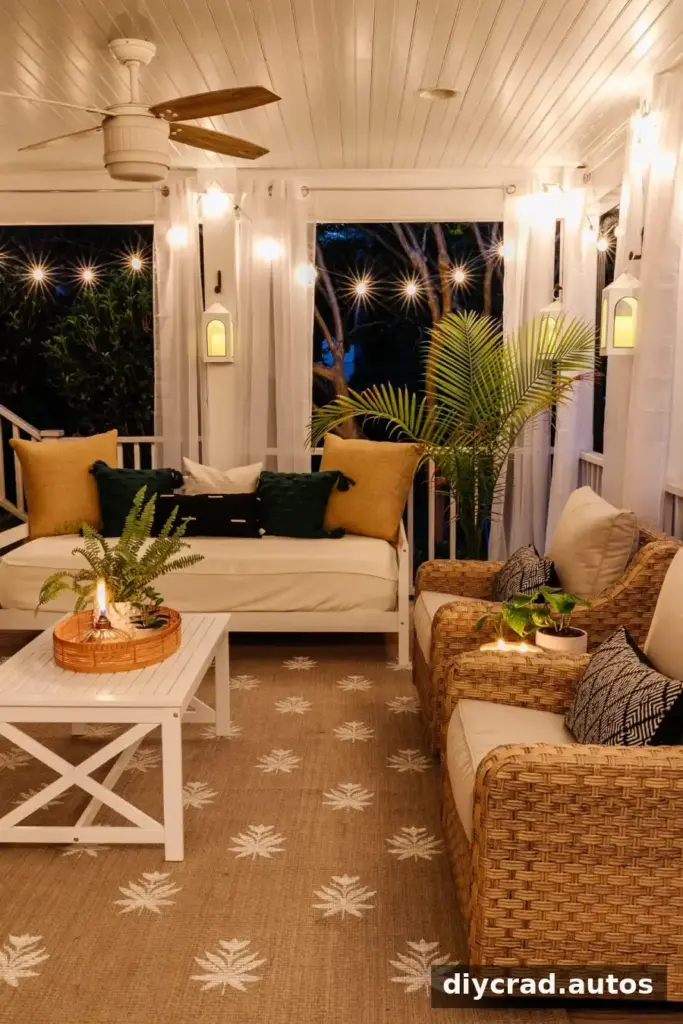
How to Hang Outdoor Patio Lights from Siding
Vinyl siding clips can provide attachment points without drilling into the siding. Select clips designed for the siding and follow their instructions to reduce the risk of damage.
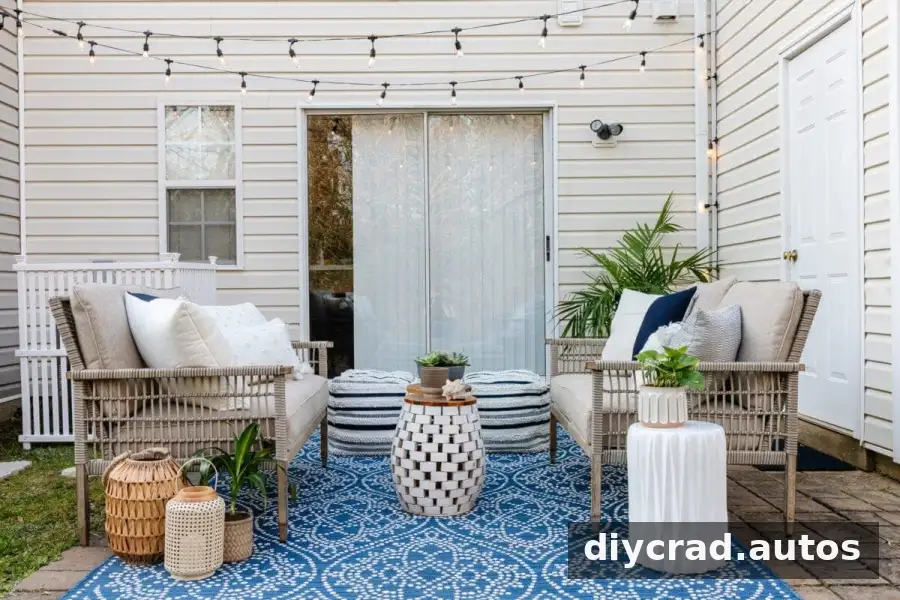
Supplies
- Shatter-resistant string lights
- Vinyl siding clips
- Outdoor extension cord and timer, if needed
Installation Steps
1. Place the siding clips
Decide where the lights should run, then fit the clips between siding slits as directed by the clip manufacturer.
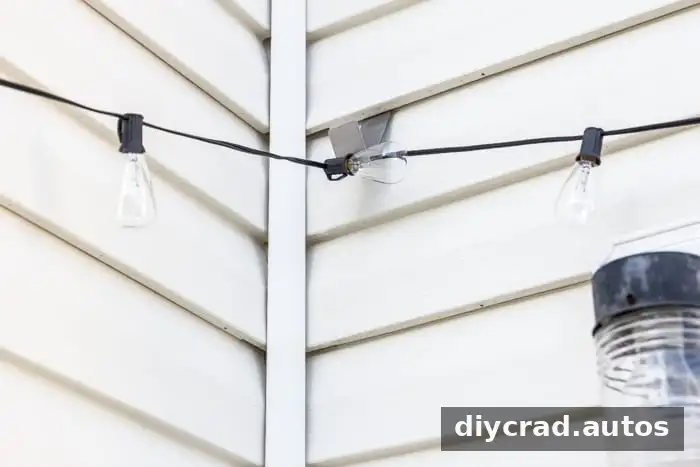
2. Hang the strand
Rest the lights on the clip hooks and loop each strand around the hook bend once. Check the clips and lights after installation, especially following strong wind or storms.
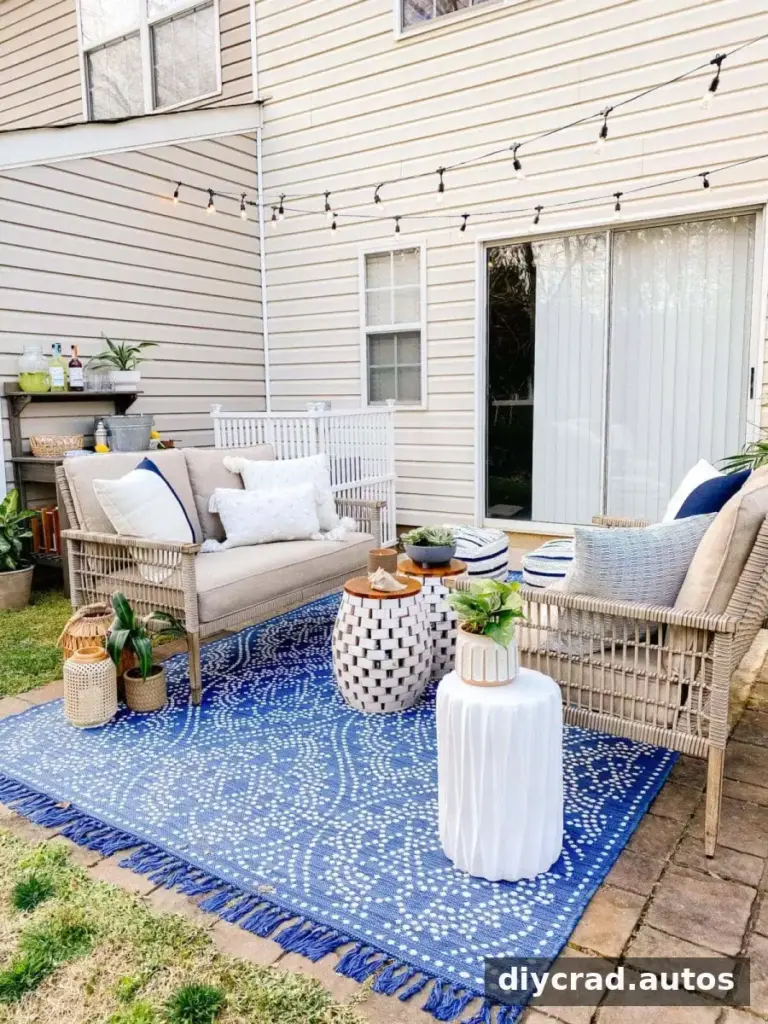
How to Make Planter Posts for Patio Lights
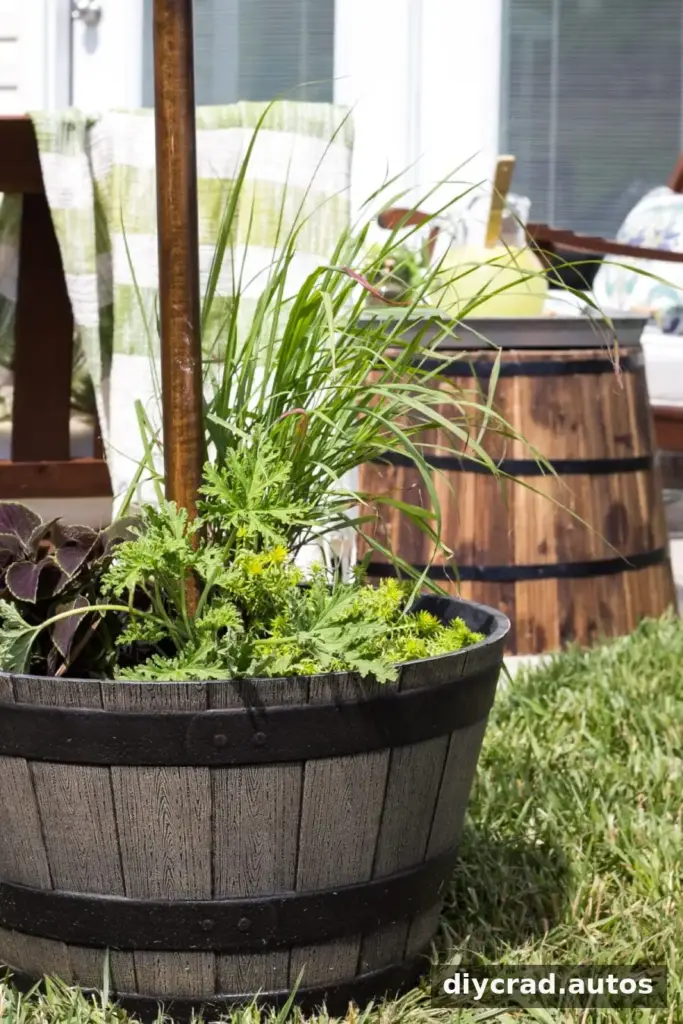
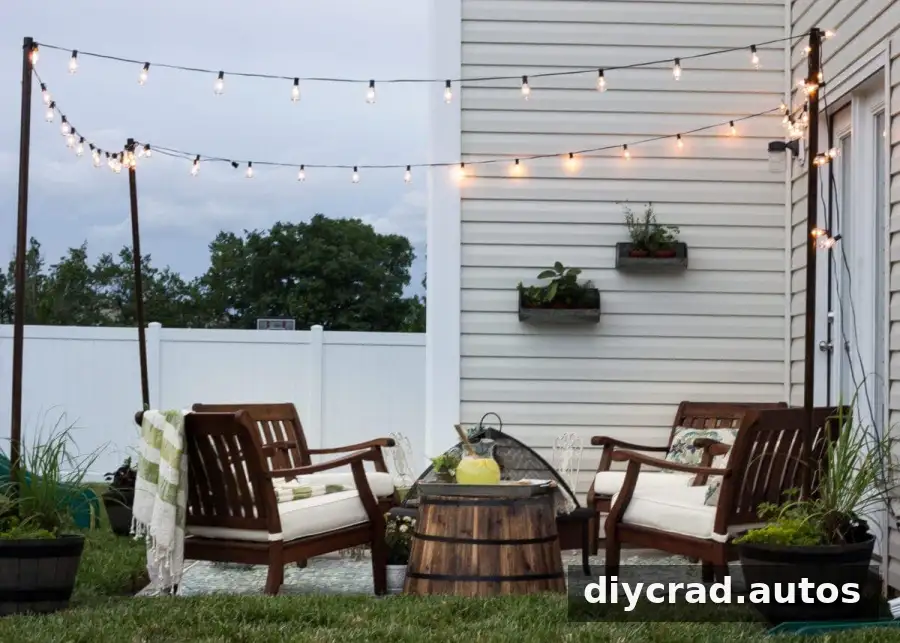
Planter posts offer a movable alternative to digging support poles into the ground. They can be useful for renters or anyone who cannot make permanent changes to a patio. Make sure the planters are stable enough for the poles and the expected conditions.
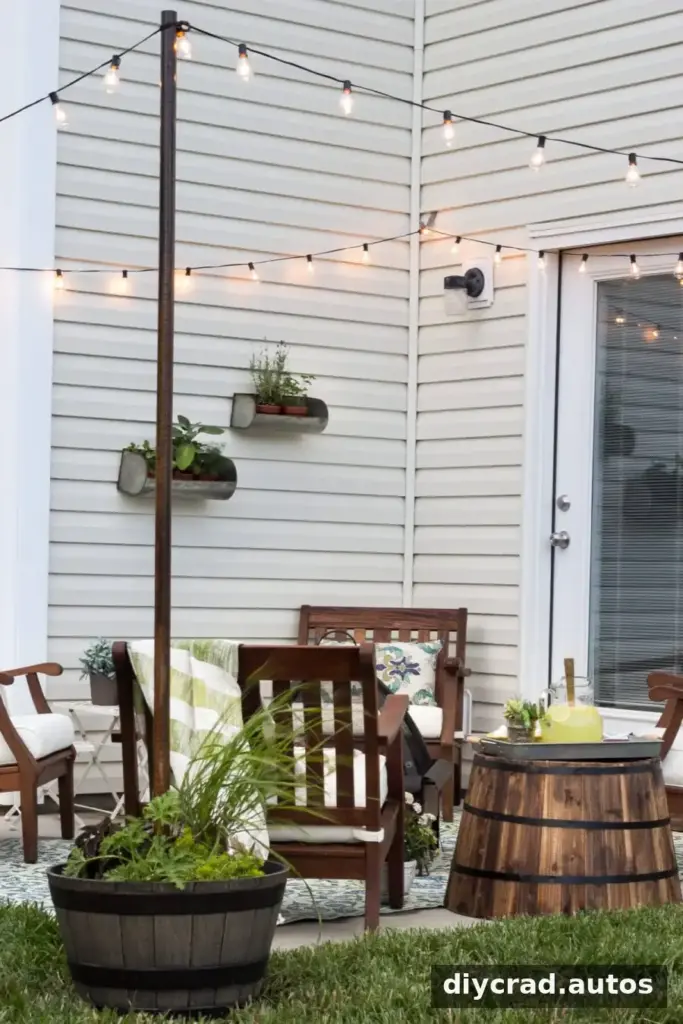
Citronella, lemongrass, and lavender can be planted in the containers as part of the garden design. Plant choices alone should not be relied on to prevent mosquitoes.
Combining Planter Posts with Siding Clips
For a small patio, planter posts can be combined with vinyl siding clips to create support points on more than one side. Measure the route first and check that the lights do not cross doorways or walking paths.
Frequently Asked Questions
Can you hang outdoor string lights with Command hooks?
Outdoor-labeled Command hooks may work on suitable surfaces such as soffits or around windows, provided the product instructions allow it. Clean and prepare the surface as directed, observe the stated weight limits, and let the adhesive set before adding lights.
Do you need a guide wire for string lights?
A guide wire is useful for spans of 8 feet or longer because it supports the strand and can help limit sagging. Shorter runs may not need one, but always consider the lights’ instructions, the mounting points, and local weather conditions.
Conclusion
The best method for how to hang outdoor string lights depends on the supports available, the length of the run, and access to power. Measure the route, choose secure mounting hardware, use a cable for longer spans, and keep electrical equipment away from pools and other water sources. A final check of the supports, cords, and connections helps keep the setup orderly and safer to use.