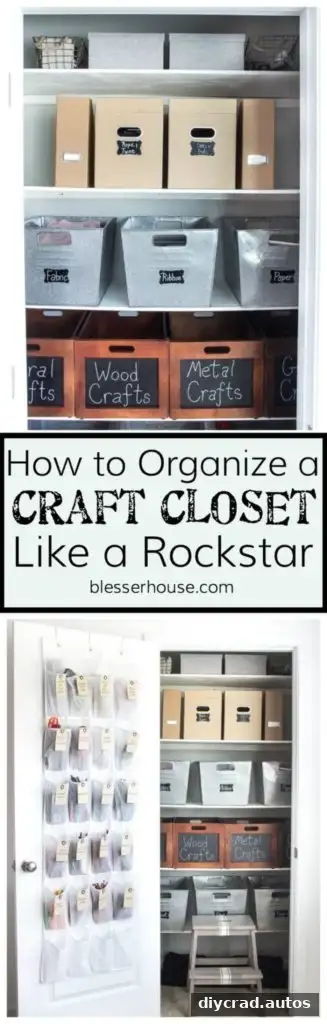
Good craft closet organization makes supplies easier to find and helps a small storage area work harder. The key is to give items a clear home, make everyday materials easy to reach, and choose storage that suits the space. In this closet makeover, DIY shelves, bins, crates, door storage, and labels transformed a cluttered catch-all into a more useful craft area.
Start with a clear-out and a plan
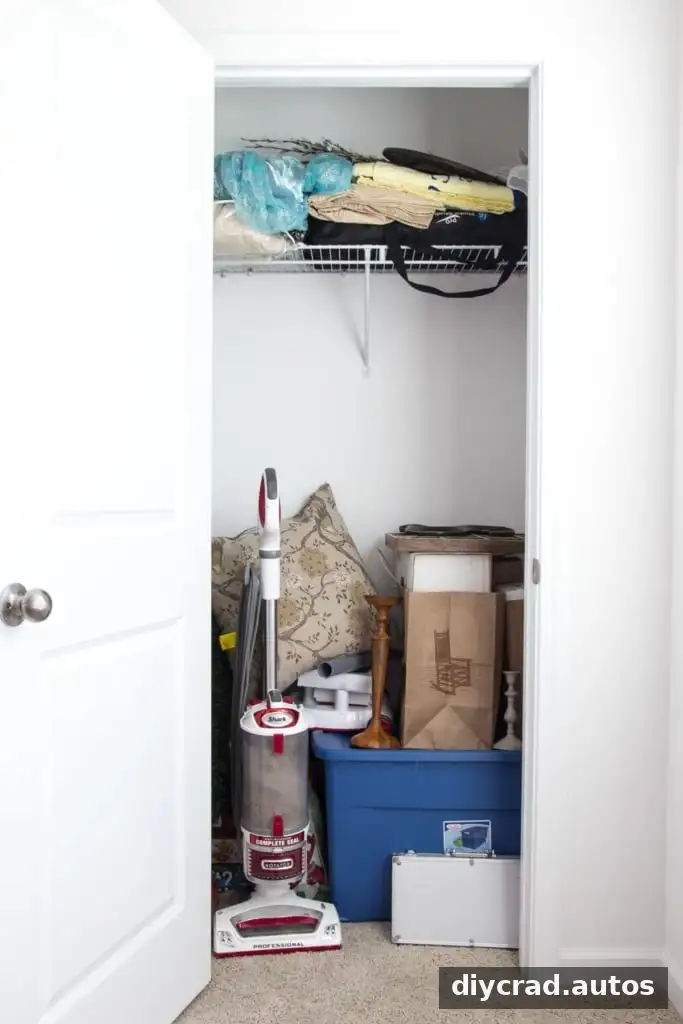
A closet often becomes a landing place for miscellaneous items when there is no simple storage system. Before organizing, take everything out and sort it into groups, such as craft supplies, office materials, and items that belong elsewhere. This makes it easier to see what needs storage and how much space each category requires.
Keep frequently used supplies together and avoid returning unrelated items to the closet. A quick sorting step before putting anything away can prevent the space from becoming a catch-all again.
Craft closet organization with shelves and containers
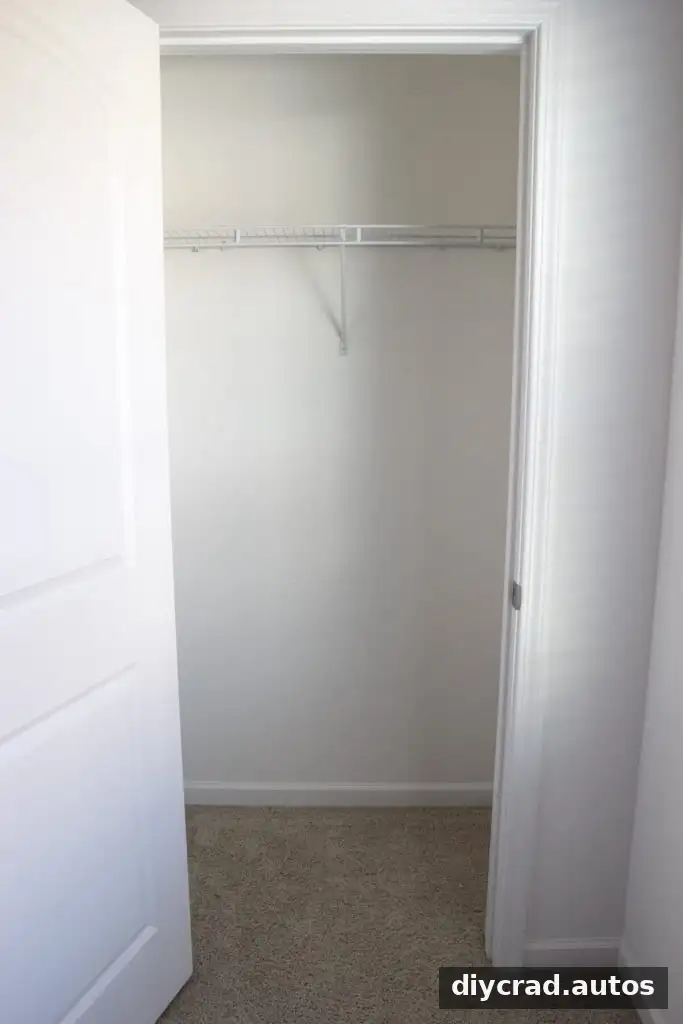
DIY shelving provided a useful foundation for this closet. Shelves create separate levels for containers and make better use of vertical space. Before installing or arranging shelves, consider the size of the items you plan to store so that the available space is practical for your supplies.
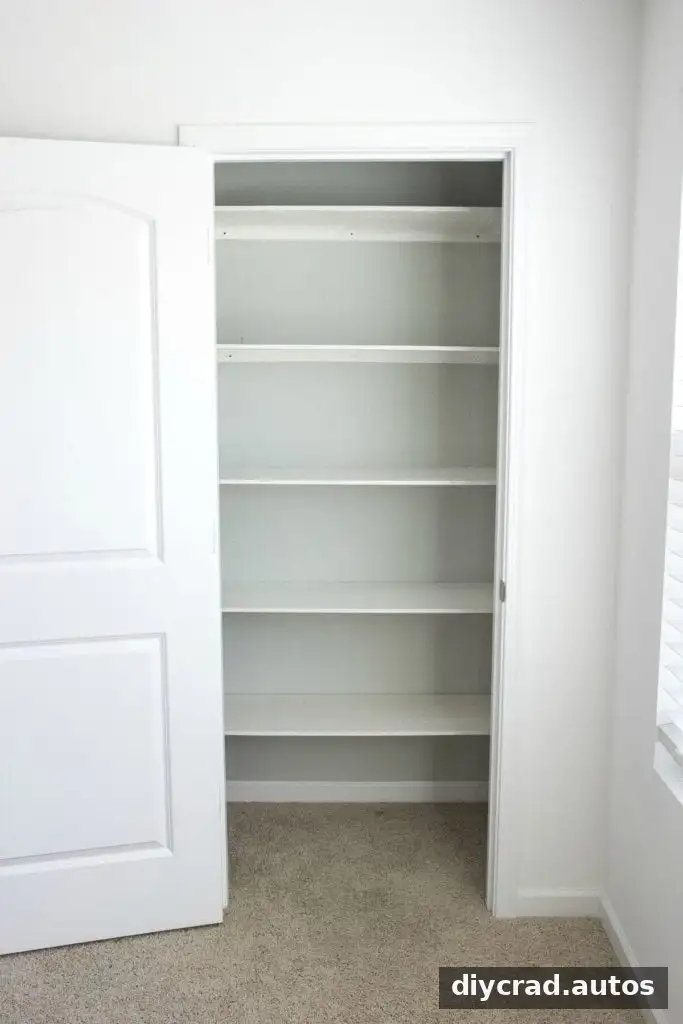
With the shelves in place, the closet could be arranged into visible, easy-to-access sections rather than one crowded pile.
Choose storage that saves time
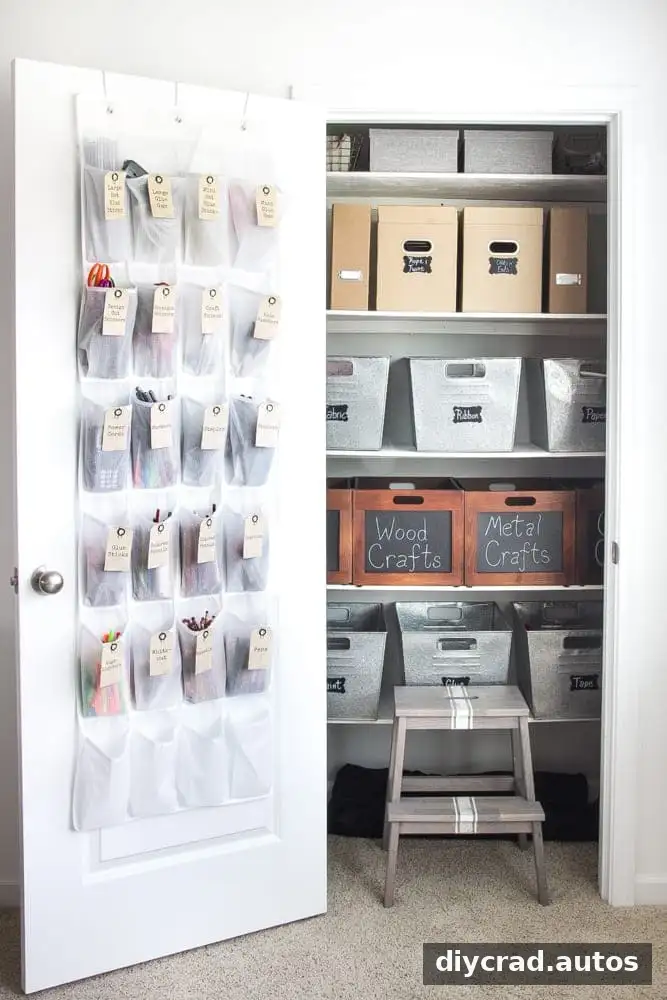
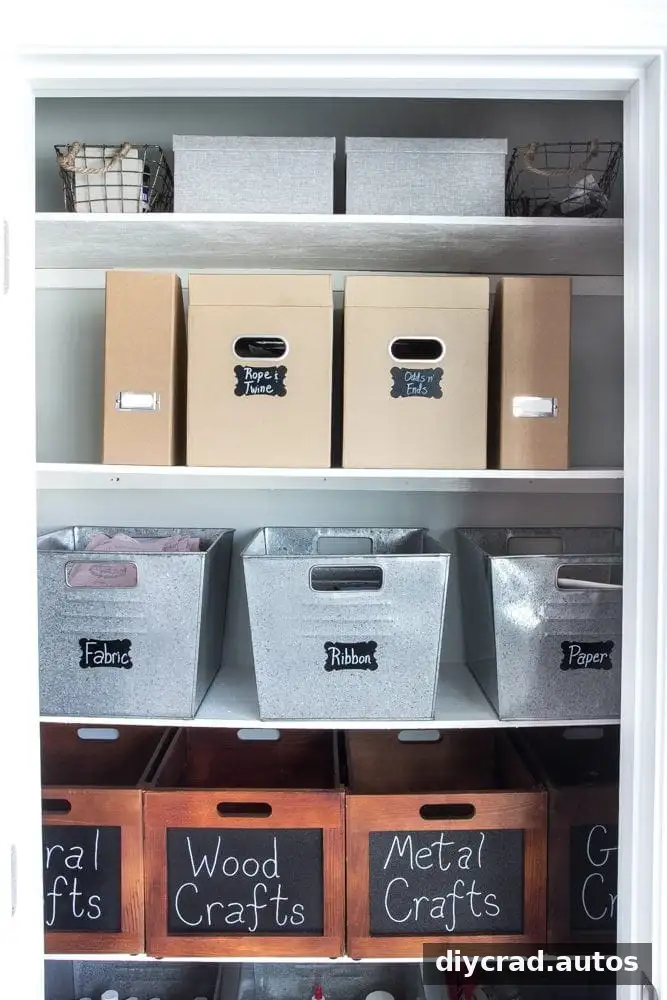
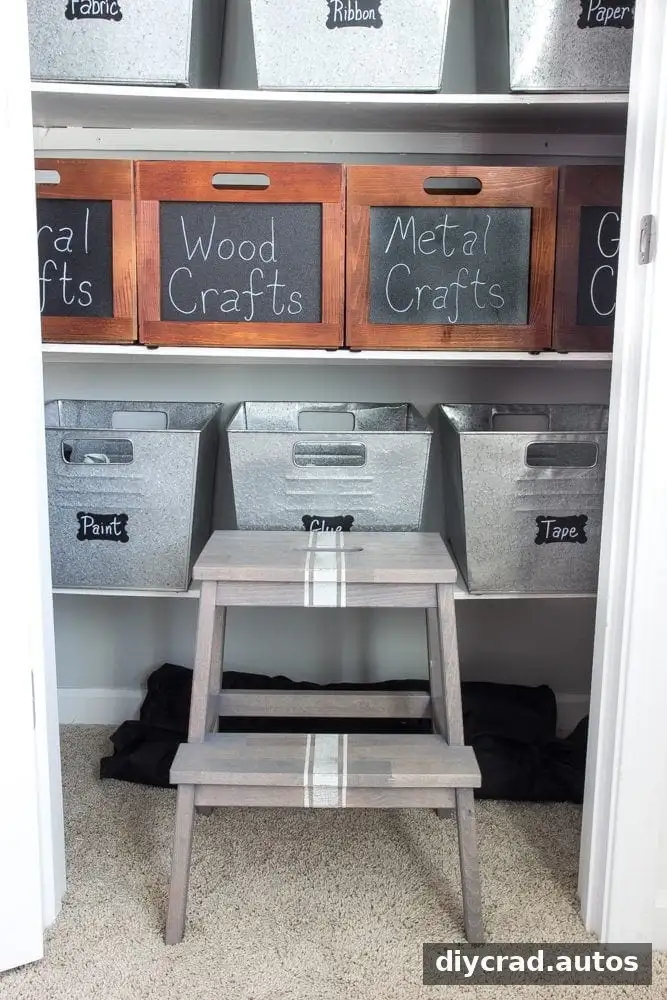
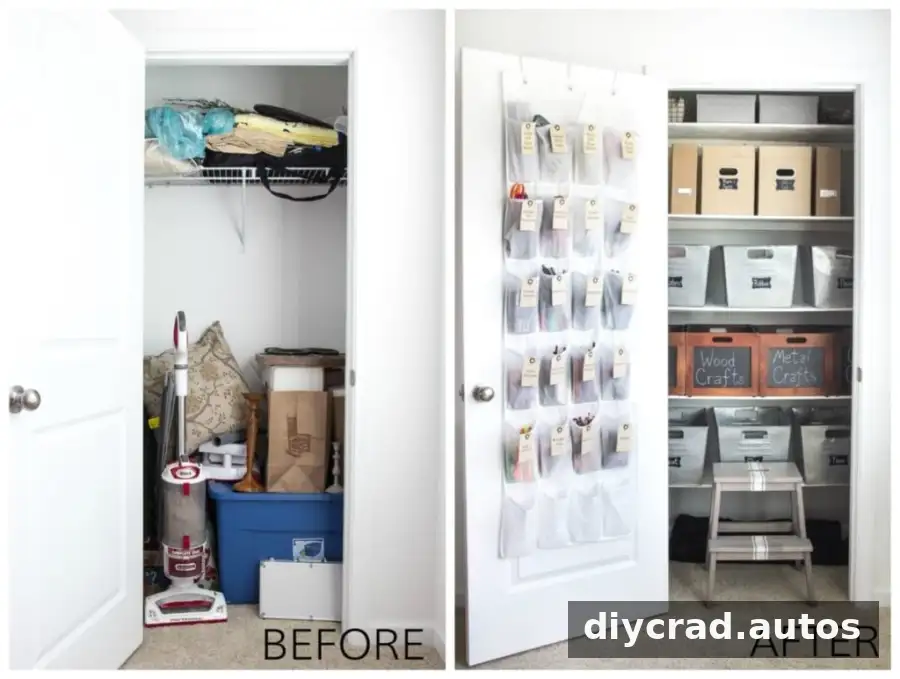
An initial plan was to turn leftover diaper boxes into baskets by wrapping them with rope. After starting one box, it became clear that the project would take considerable time and cost more per container than buying ready-made storage. For this closet, galvanized metal bins and wooden crates costing around $12 each were a sturdier and more practical choice.
DIY storage can be useful when materials are already available and the project is quick. However, compare the material cost and time with the price of a ready-made container before committing. A simple solution that is easy to maintain is often more helpful than a complicated one.
Use the door for small supplies
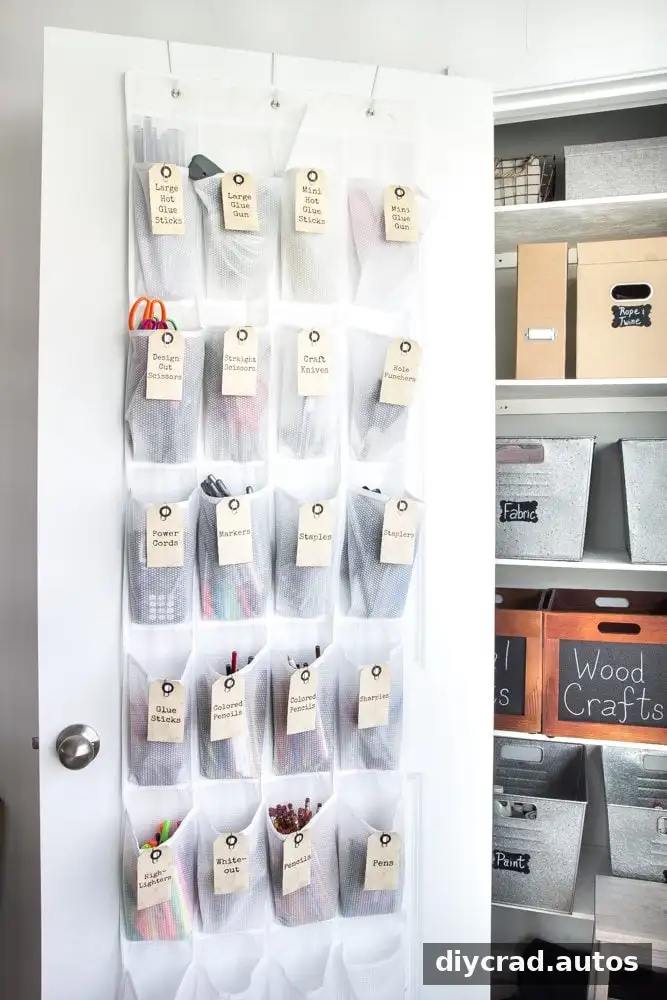
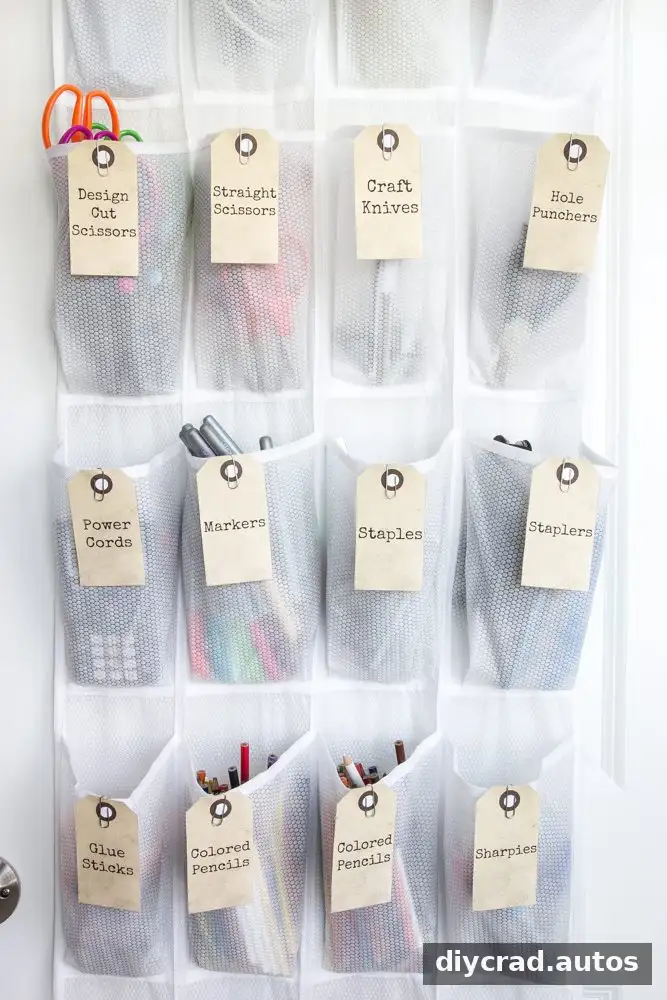
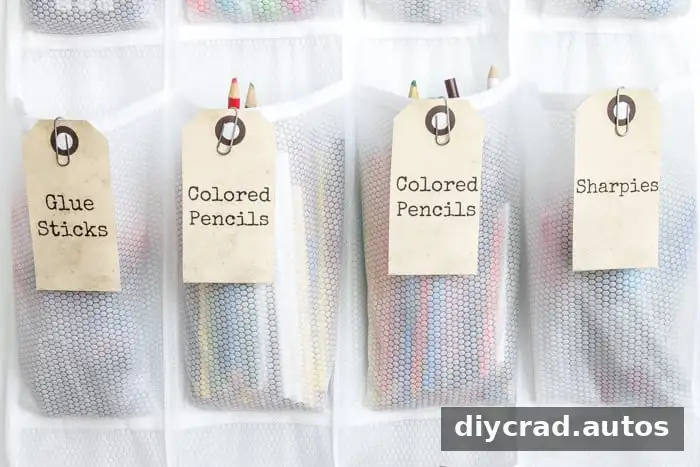
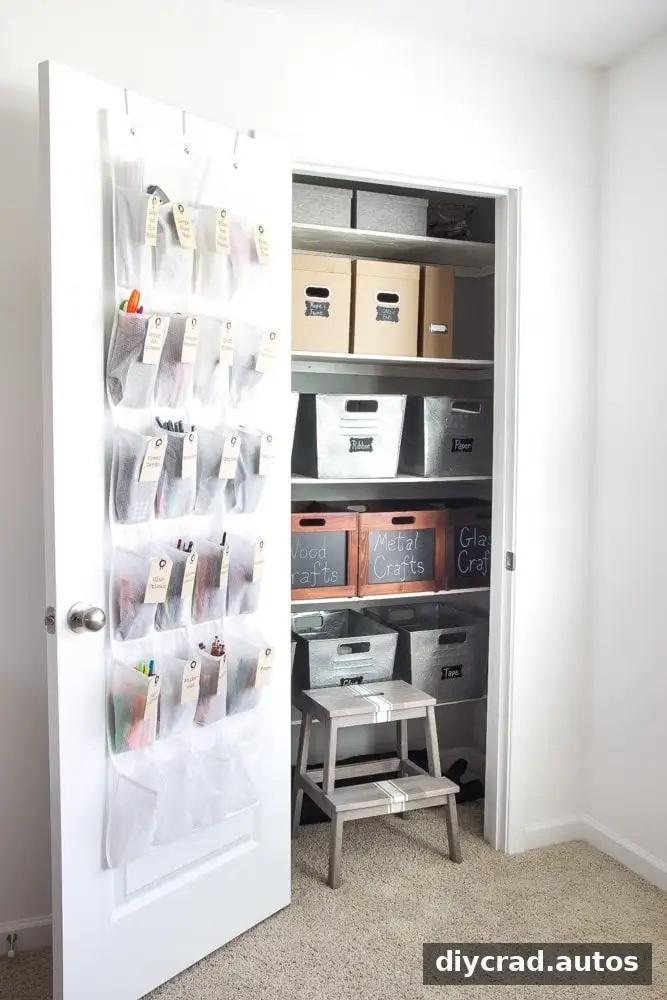
An over-the-door shoe organizer can hold small office and craft supplies in separate pockets. Because the contents remain visible, it is easier to find items without searching through a larger bin. Use this space for lightweight materials, and keep heavier objects on shelves or in sturdy containers.
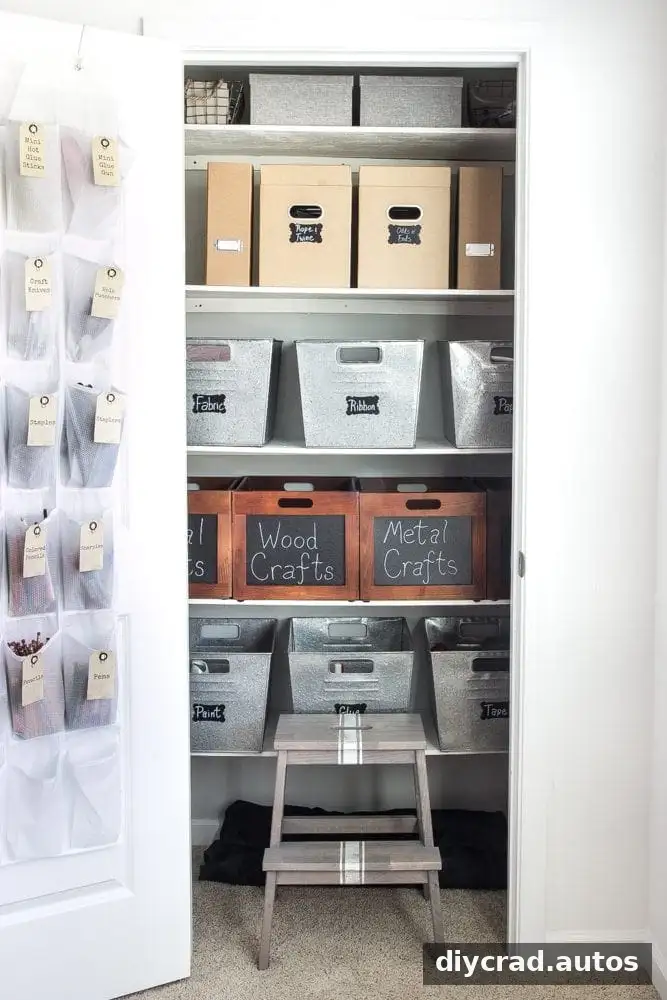
A small step stool can also be useful for reaching higher shelves. Store it where it is easy to access, and supervise children around the closet and any nearby furniture so they do not climb to reach supplies.
Label containers and group supplies
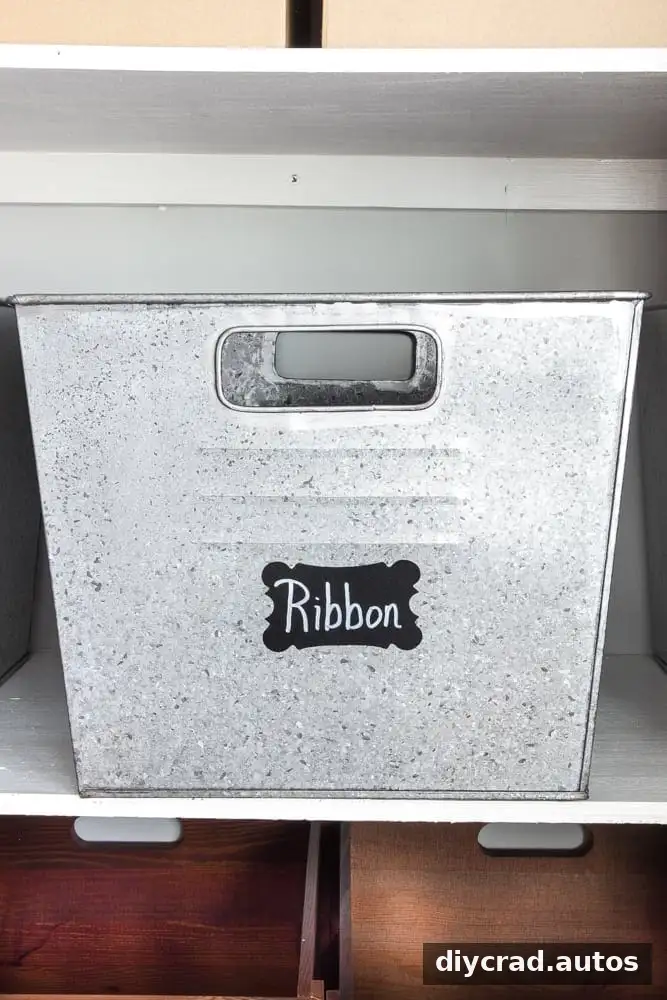
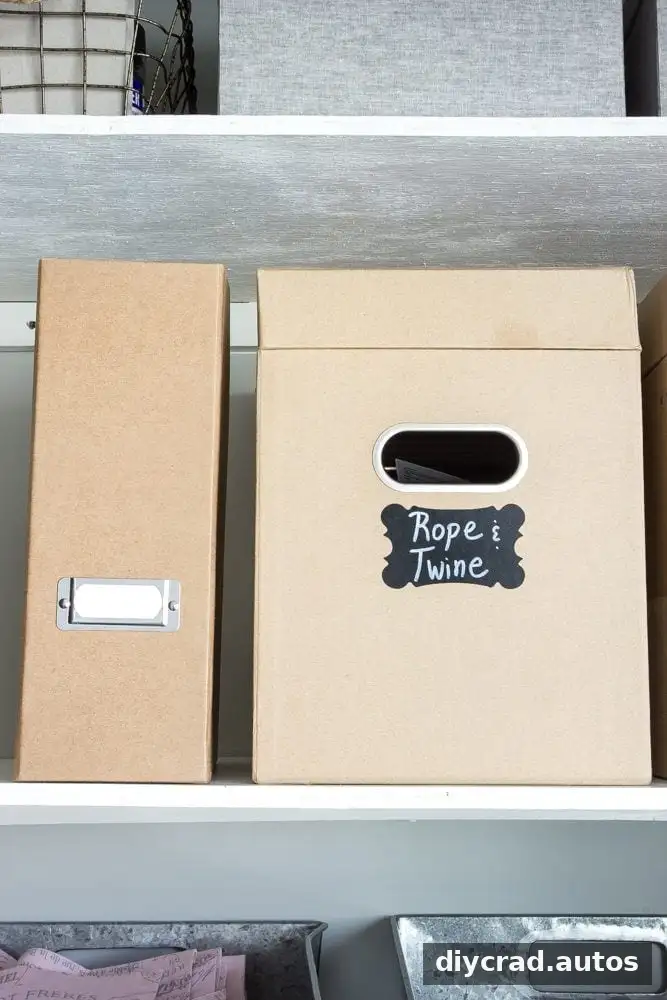
Some of the bins and boxes already had chalkboard labels; labels were added to the others. Clear labels make it easier for everyone to put supplies back in the right place. Write category names that are specific enough to be useful, such as “paper” or “painting supplies,” rather than using a broad label for everything.
File boxes and magazine holders can keep flat materials upright and contained. Paper boxes and small wire baskets provide additional options for sorting supplies. Group similar items together, and choose containers that fit the shelf so they can be taken out and returned without disturbing everything around them.
Make the closet easy to maintain
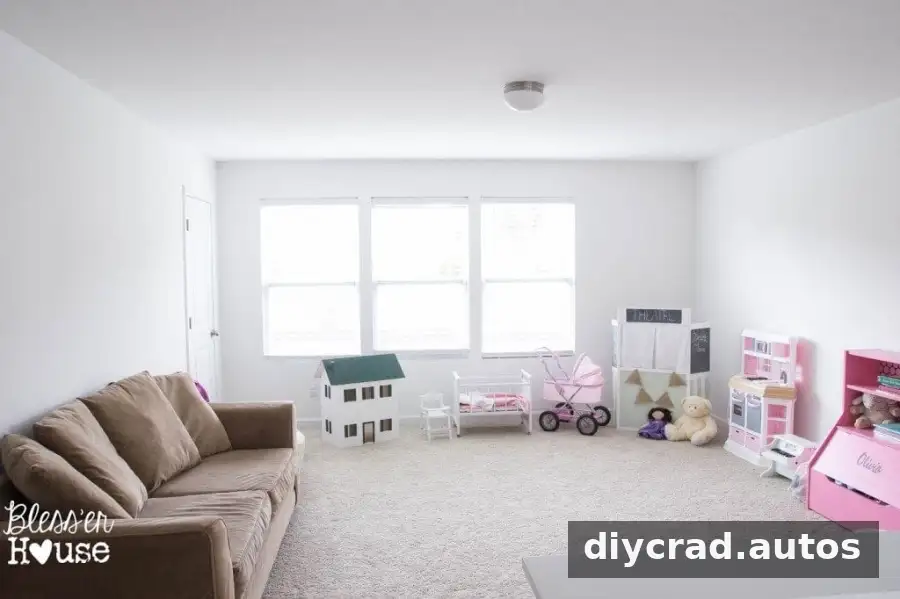
A well-organized closet should support the activities that happen nearby. Since this closet is in a playroom, keeping craft materials together makes it easier to set up an activity and put supplies away afterward. A separate creation area may be a future project, but the closet itself can provide a functional starting point.
To keep the system working, return items to their labeled containers after each project and review the contents occasionally. If a bin becomes difficult to close or supplies start piling up, adjust the category or move less-used items elsewhere.
For a shared craft space, place frequently used supplies within comfortable reach and keep items that need adult supervision stored safely. Leave enough room to remove bins easily; an overfilled shelf can make even a carefully organized closet frustrating to use.
Once the categories, shelves, and containers are in place, the closet is ready to support craft sessions without requiring a search through mixed-up supplies.
Review the before-and-after results
Comparing the closet before and after the makeover shows how much difference a few practical changes can make. The improvement came from combining storage methods: shelves for vertical space, bins and crates for grouped materials, door pockets for smaller items, and labels to make each category easy to identify.
The most useful craft closet organization system is one that fits the supplies you actually own and is simple to maintain. Start with sorting, add storage only where it solves a real problem, and label containers so everyone knows where items belong. These steps can turn a cluttered closet into an accessible, functional place for creative projects.