

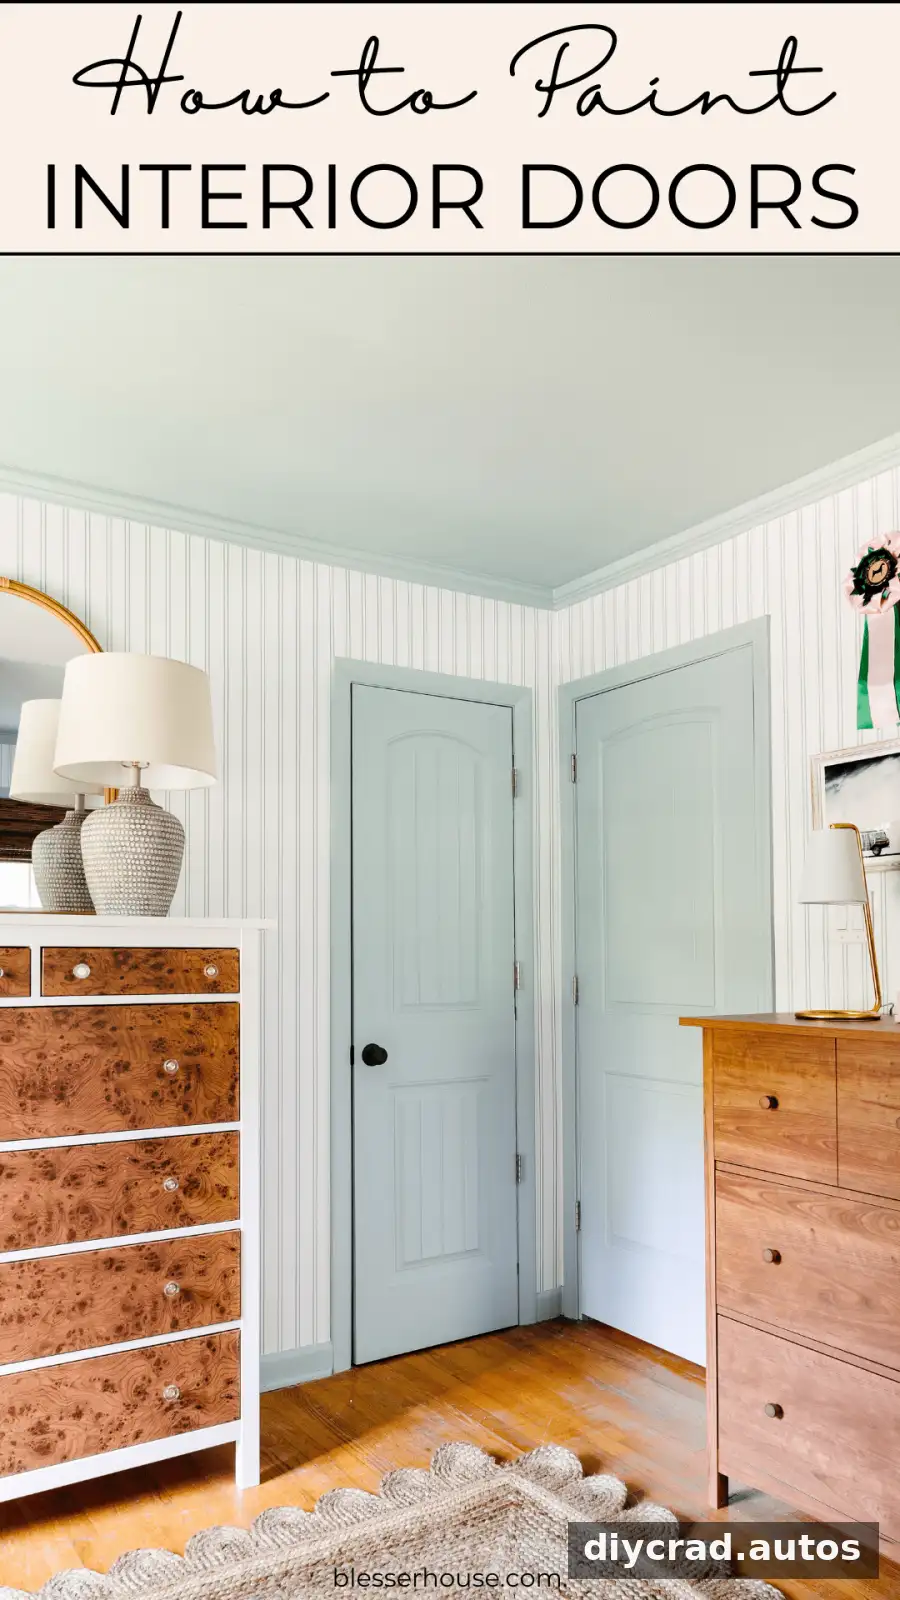
Learning how to paint interior doors can refresh a room without replacing the doors. With careful preparation, a suitable primer, and several thin coats of durable paint, you can create a finish that looks polished and stands up to everyday use. You can paint a door while it remains on its hinges, and the right color can make it a subtle match for the walls or a distinctive design feature.
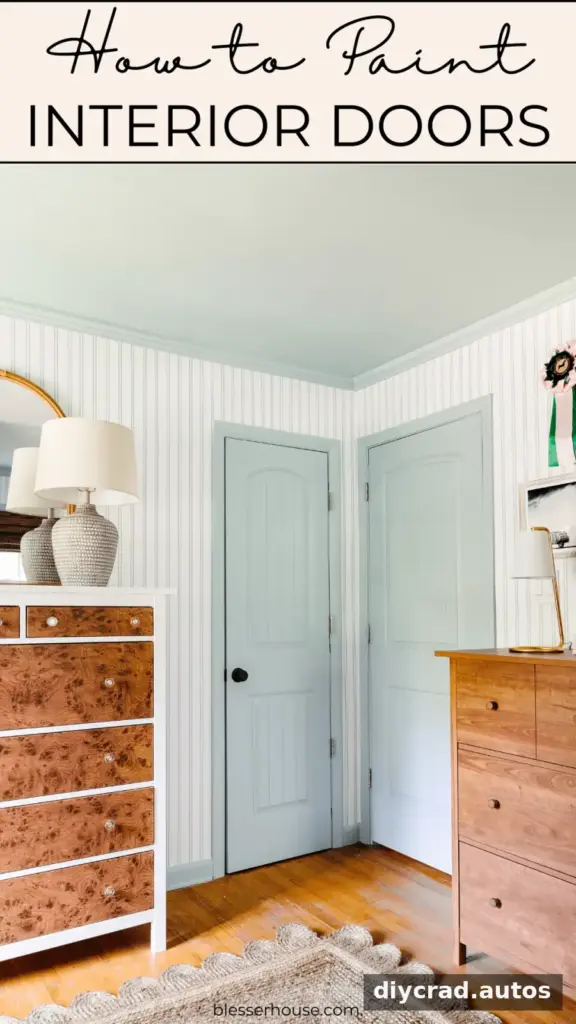
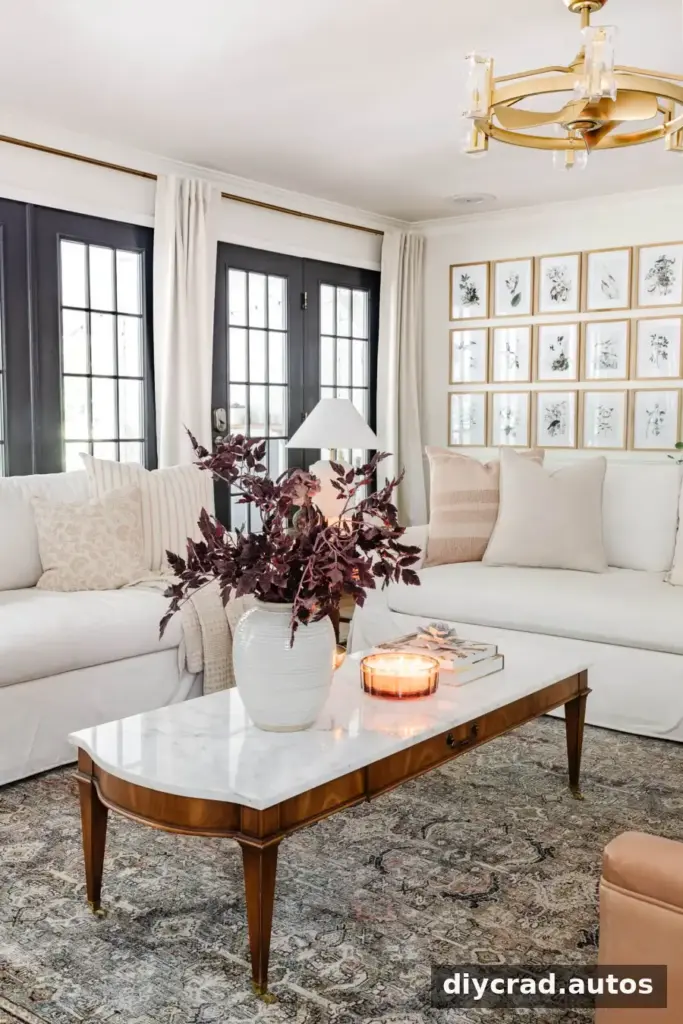
Dark, light, or wall-matching colors can all work well. Before choosing a shade, consider the room’s existing trim, wall color, natural light, and the amount of attention you want the door to attract.
How to Paint Interior Doors: Choose a Sheen
Paint sheen describes how much light a painted surface reflects. It affects both the appearance of the door and how easy it is to clean, so consider the room’s use as well as your preferred style.
Higher-sheen finishes
High-gloss, semi-gloss, and satin finishes are generally easier to wipe clean and more resistant to scuffs than flatter finishes. Their reflective surface can, however, make dents and uneven areas more noticeable. Semi-gloss is a common choice for doors and trim, particularly in busy areas.
Lower-sheen finishes
Flat and eggshell paints reflect less light and can make minor surface flaws less conspicuous. They may be harder to clean, so they can be less practical for doors that are touched frequently. Satin or eggshell can suit a softer, more contemporary look; choose based on the door’s condition and cleaning needs.
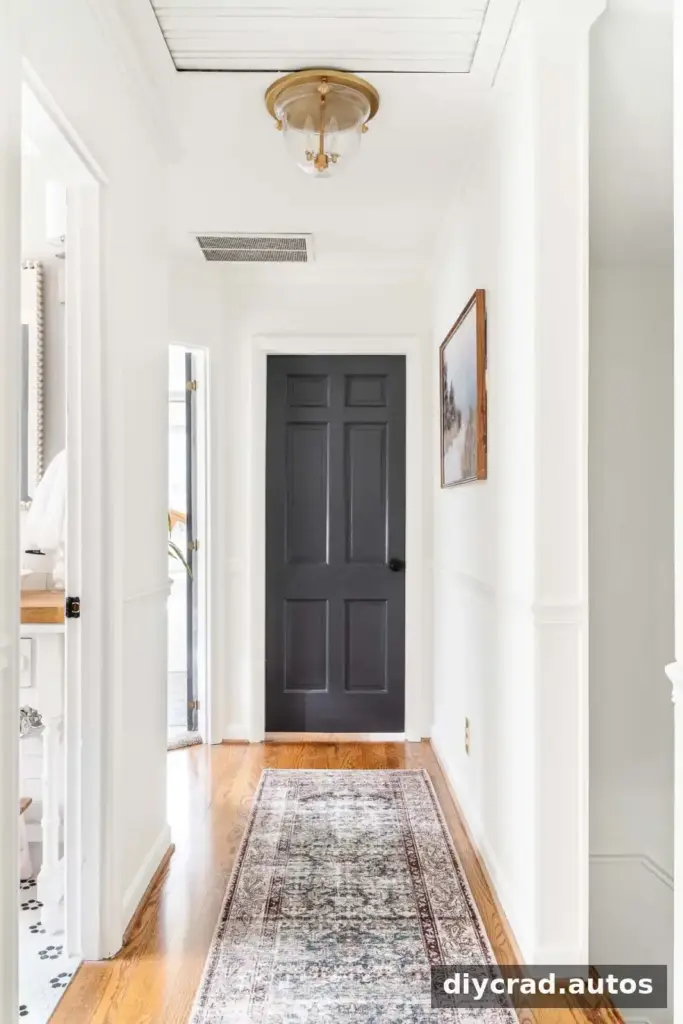
Choose a Durable Paint for Doors
For frequently used interior doors, look for a paint formulated to dry to a hard, washable finish. Waterborne alkyd paint is one option: it combines water-based cleanup with a durable cured surface and can level as it dries, helping reduce visible brush marks. Follow the product label for application, recoating, and curing instructions.
Why preparation and paint type matter
Ordinary latex paint may not hold up as well in high-traffic areas if the surface is glossy, dirty, or poorly primed. Chipping can result when paint does not adhere properly. A compatible primer and thorough preparation are important, especially when coating an older or oil-painted surface. Allow the finish to cure fully before heavy use; paint can feel dry before it reaches its full durability.
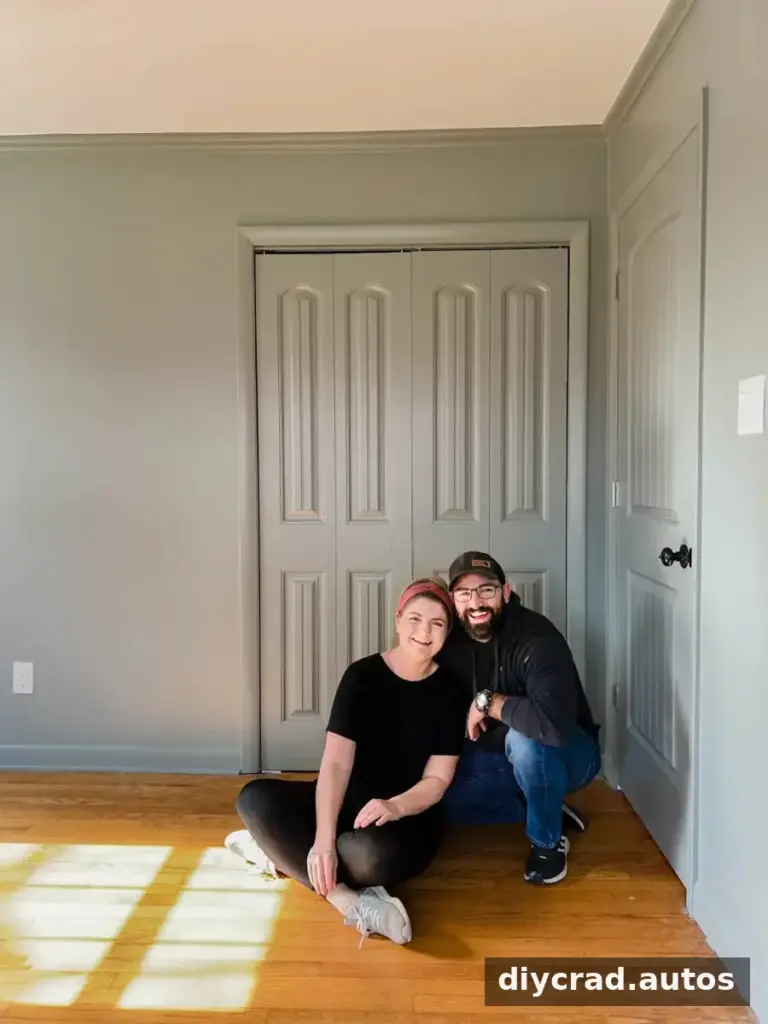
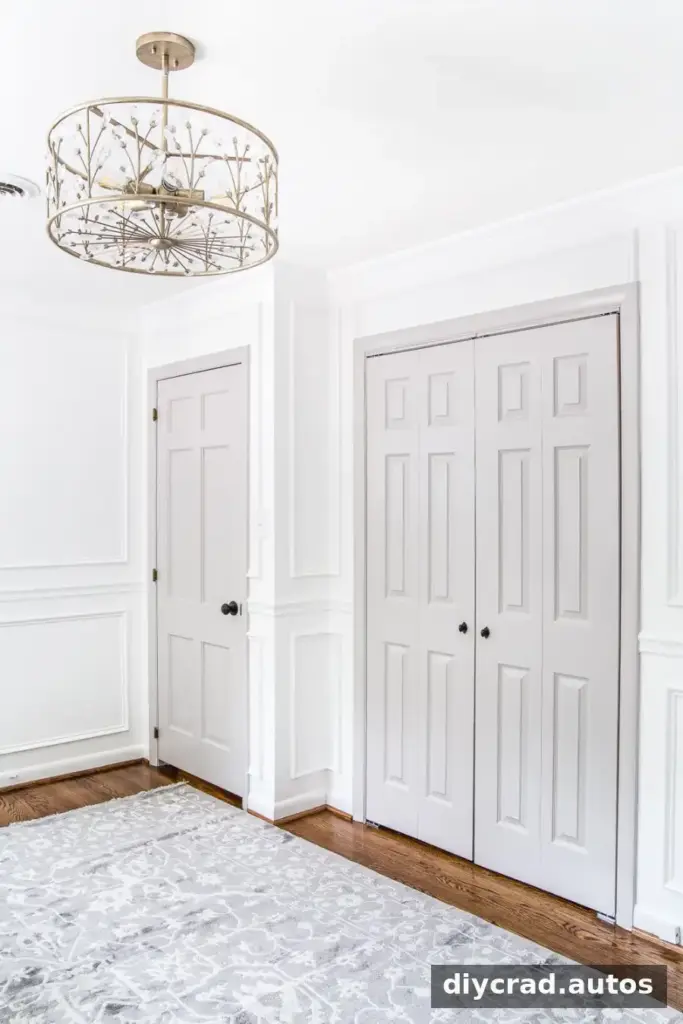
Painting a door the same color as the surrounding walls and trim can create a more continuous look, sometimes called color drenching. For a contrasting door, test a sample in the room’s lighting before committing to the full surface.
How to Paint Interior Doors Without Removing Them
This method lets you paint a door while it is still attached to its hinges. Protect the floor, ensure the room is ventilated, and check the paint and primer labels before starting. If the door is very old, test for lead paint before sanding; disturbing lead-based paint can be hazardous and may require professional handling.
Supplies
- Liquid deglosser and clean rags
- Drop cloth and painter’s tape
- Rubbing alcohol and a cotton ball
- 120- or 150-grit sandpaper
- Wood filler and a putty knife
- Compatible bonding primer
- Paint stir sticks and a suitable brush
- Durable door paint, such as a waterborne alkyd formula
- Aluminum foil to protect hardware
- For doors with glass: masking liquid and a utility knife
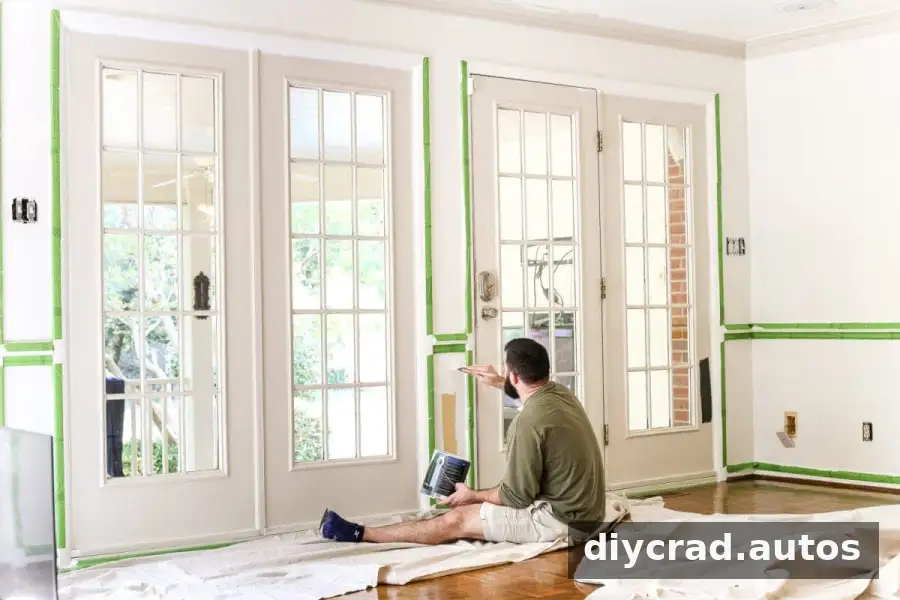
Painting French doors or doors with glass
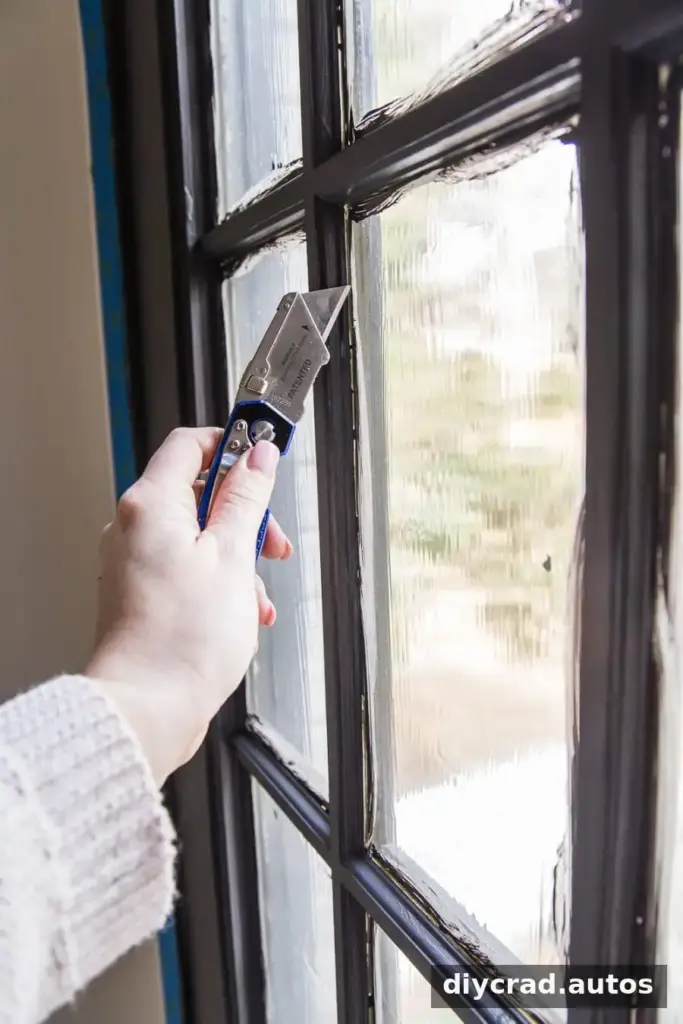
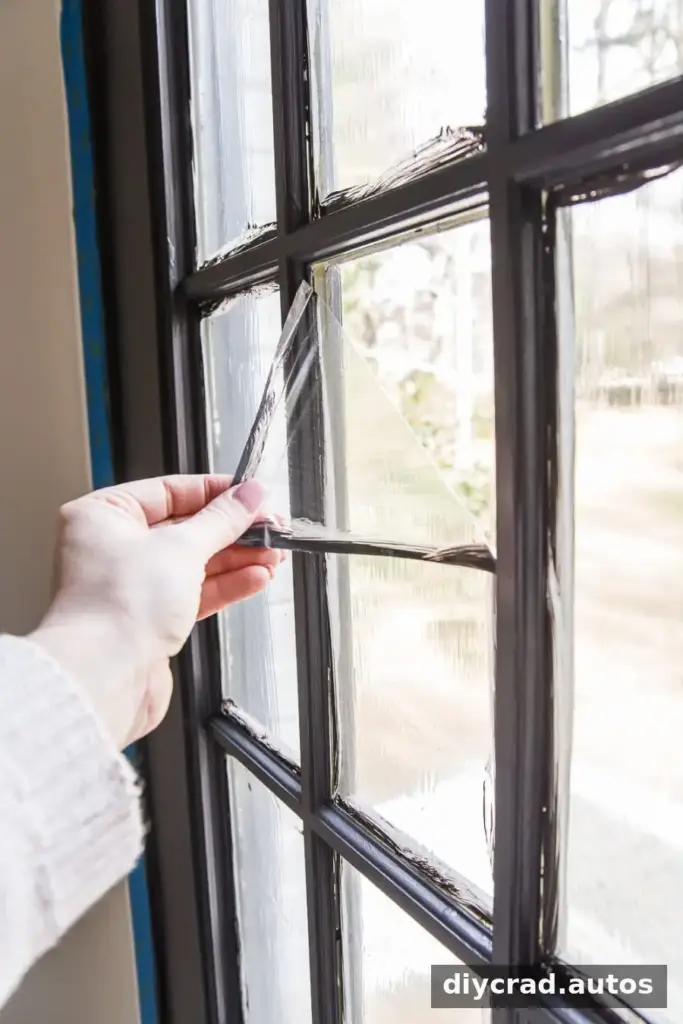
Masking liquid can protect glass panels and may be easier to remove than tape from narrow grids. Apply it to the glass as directed and let it dry completely. After painting, carefully score the edges of each pane with a utility knife, then peel away the film. Keep the blade pointed away from your hands and the painted frame.
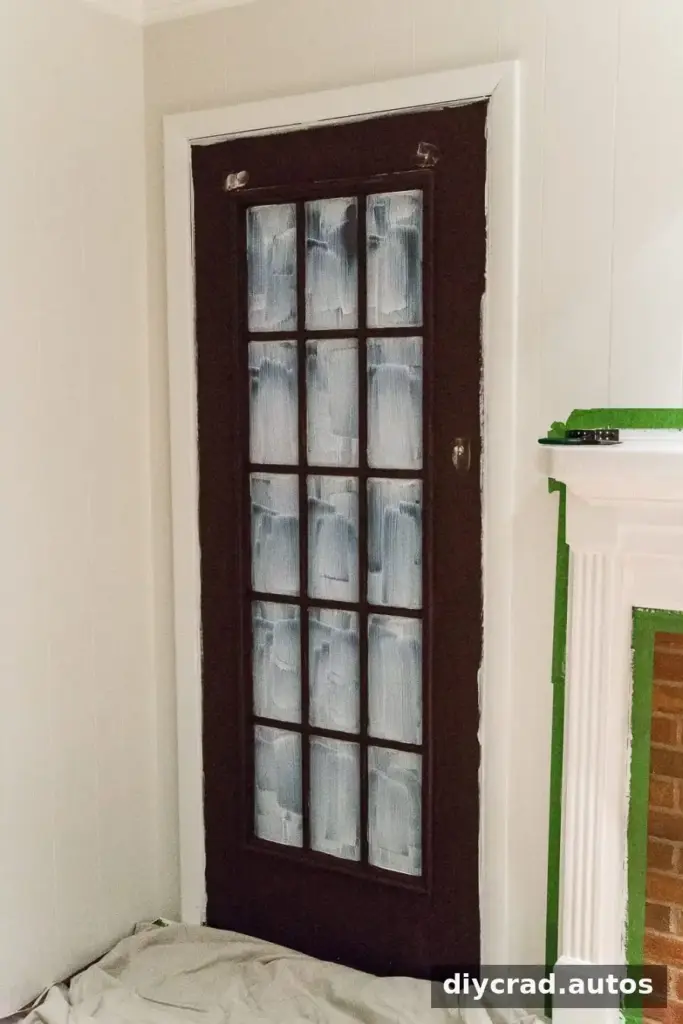
Step 1: Apply masking liquid
Spread a thick, even layer over the glass panes, following the product instructions. It may appear white when first applied and become clear as it dries. Wait until it is fully dry before continuing.
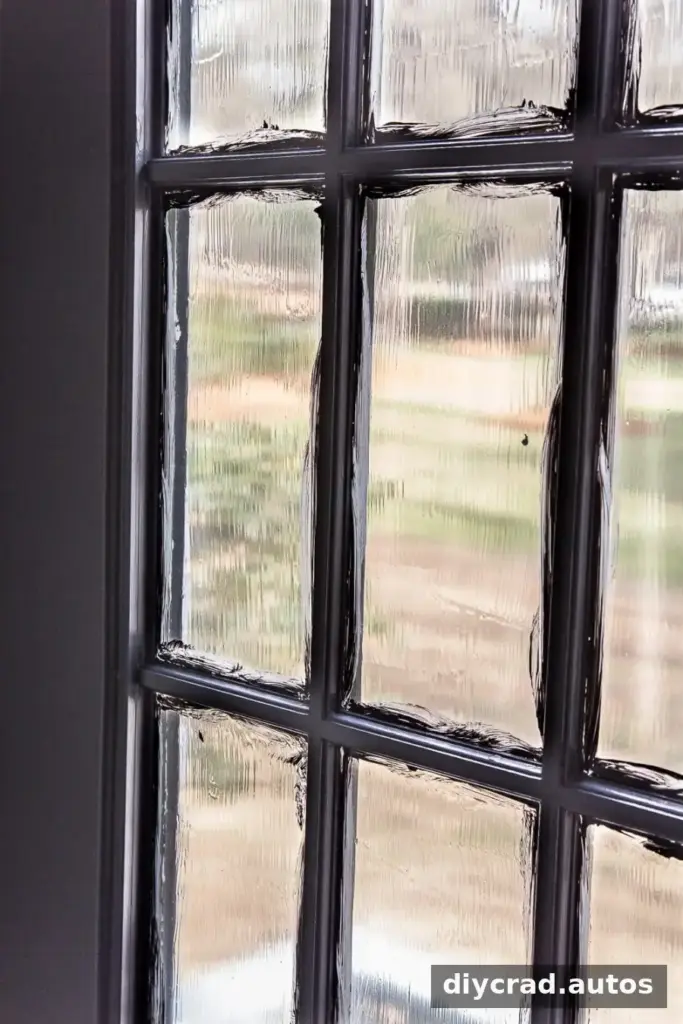
Step 2: Score the edges
Once the door is painted and the finish is ready for masking removal, lightly score around the glass-pane edges with a utility knife. This helps separate the film from the painted frame.
Step 3: Peel away the film
Lift one corner and slowly peel the film from the glass. Remove it carefully to leave clean edges around the freshly painted grids.
Step 4: Test the existing paint
Before sanding, use a cotton ball with rubbing alcohol to test a small, inconspicuous spot. If paint transfers to the cotton, the existing coating is likely latex. If it does not, it may be oil-based. Use a primer specified as compatible with the existing surface; when in doubt, consult the primer manufacturer’s guidance.
In older homes, test for lead before disturbing the finish. Do not dry-sand suspected lead paint without appropriate safety measures.
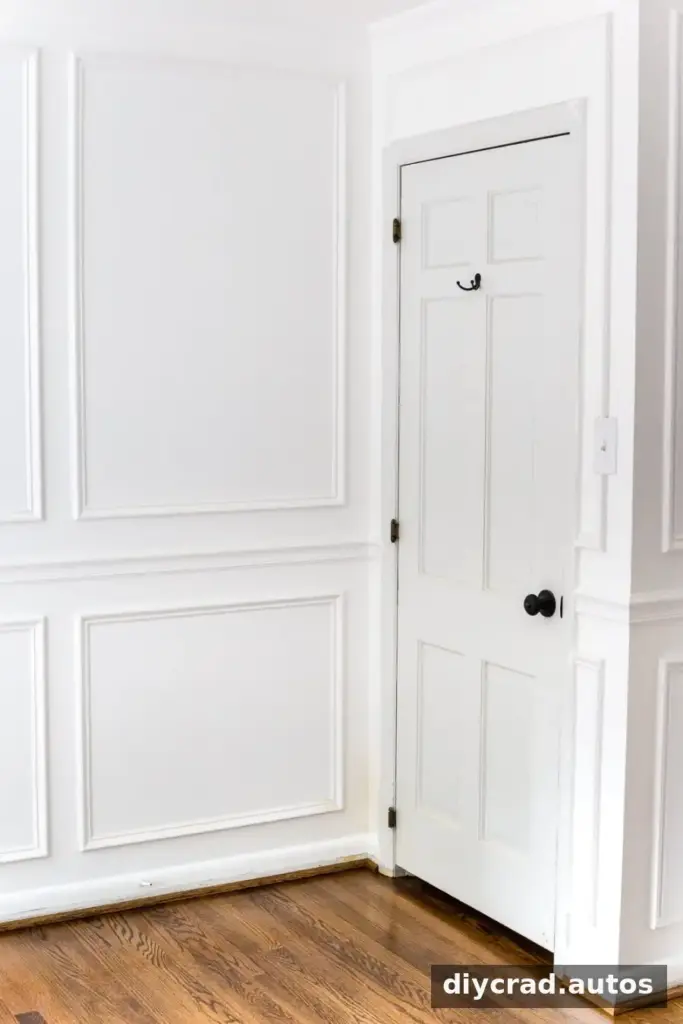
Step 5: Lightly sand
Lightly sand in the direction of the wood grain with 150-grit sandpaper to help the new coating adhere. Avoid sanding more aggressively than necessary. Remove all dust with a tack cloth or a slightly damp cloth, and let the surface dry.
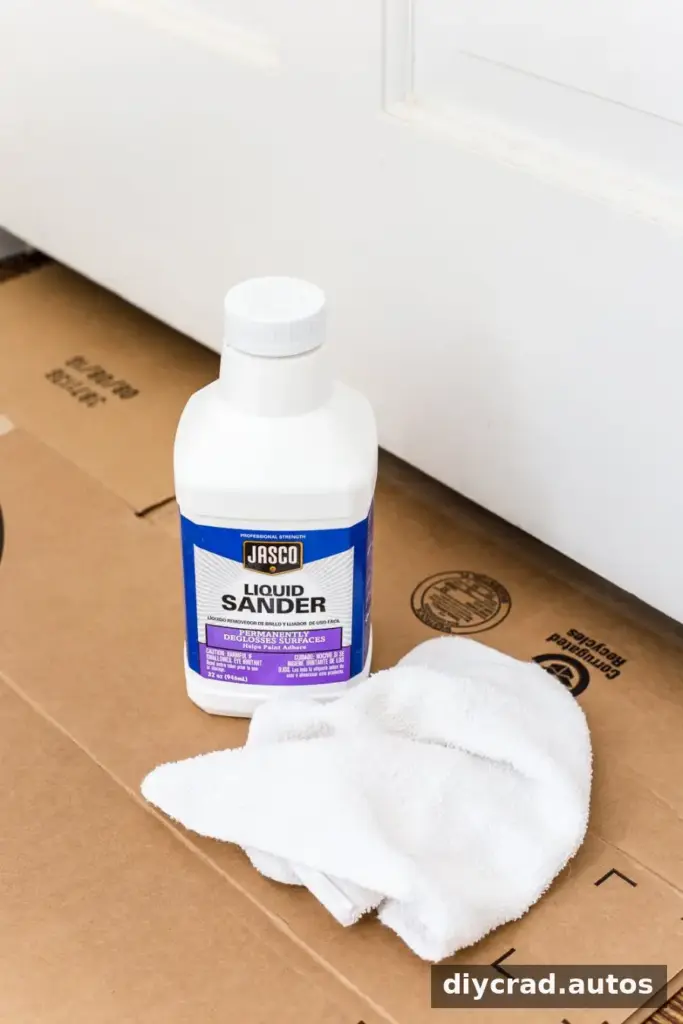
Step 6: Degloss and clean
Wipe the door with liquid deglosser according to its label. Pay particular attention to areas around the handle, where fingerprints, oil, and dirt can build up. Let the door dry fully before applying primer.
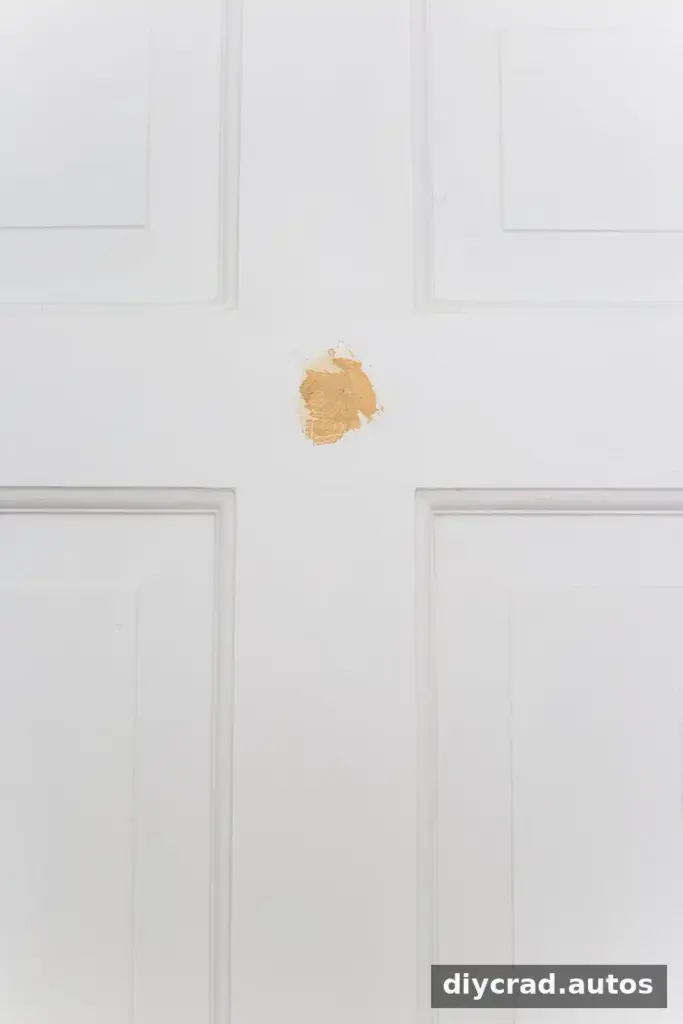
Step 7: Fill holes and dents
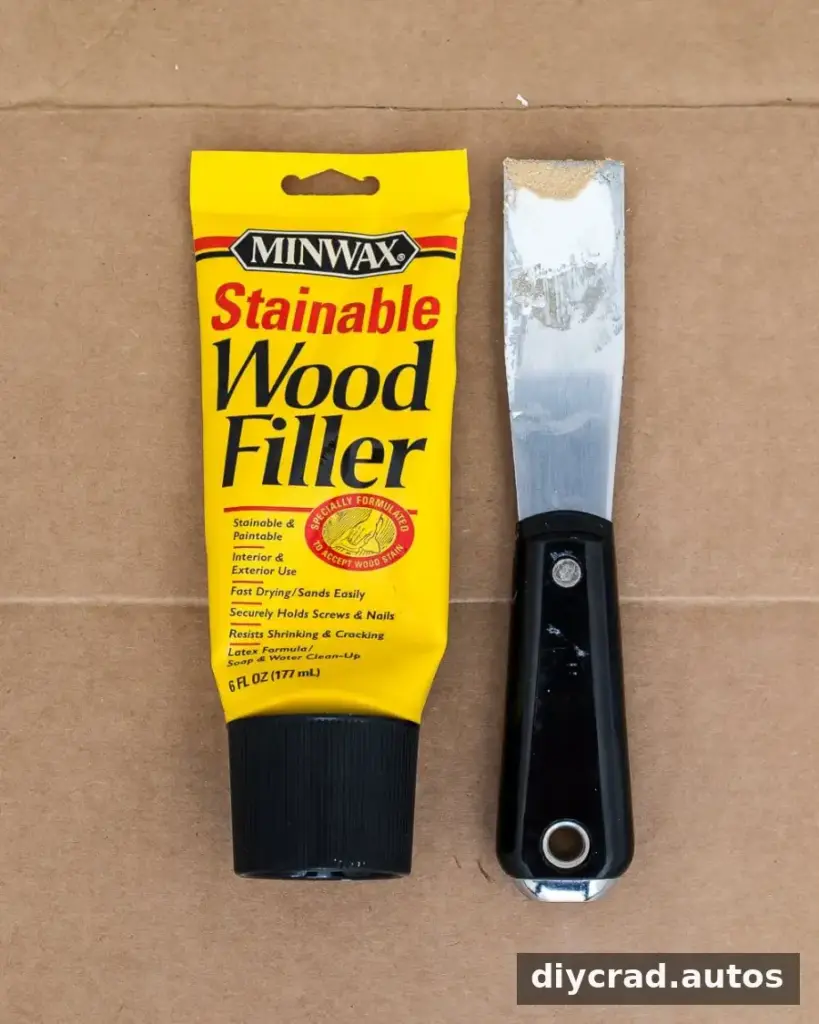
Use wood filler and a putty knife to repair small holes or damaged areas. Let the filler dry, then sand it smooth and remove the dust. Avoid using wall spackle or caulk for these repairs, as they may shrink or crack when used to fill holes in a door.
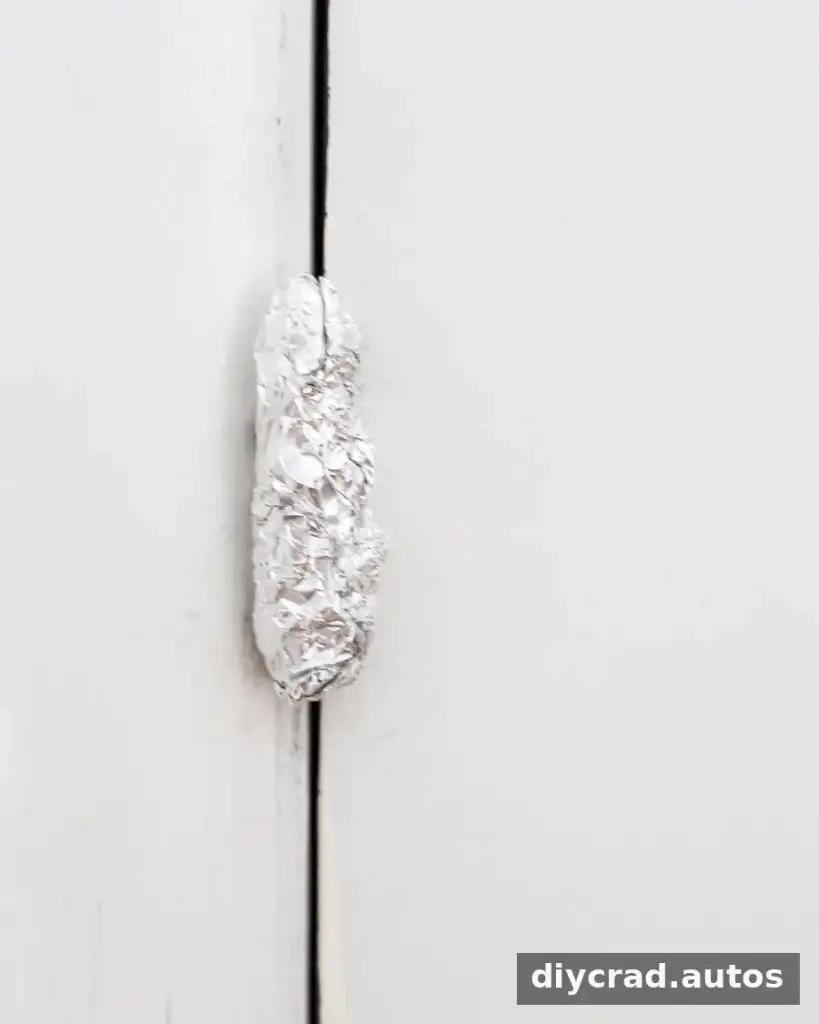
Step 8: Protect the hardware
You can remove the handle and other hardware after the door is clean and dry. If you leave hardware in place, cover it with painter’s tape or aluminum foil, shaping the foil closely around hinges and knobs. Check that exposed areas are protected before priming.
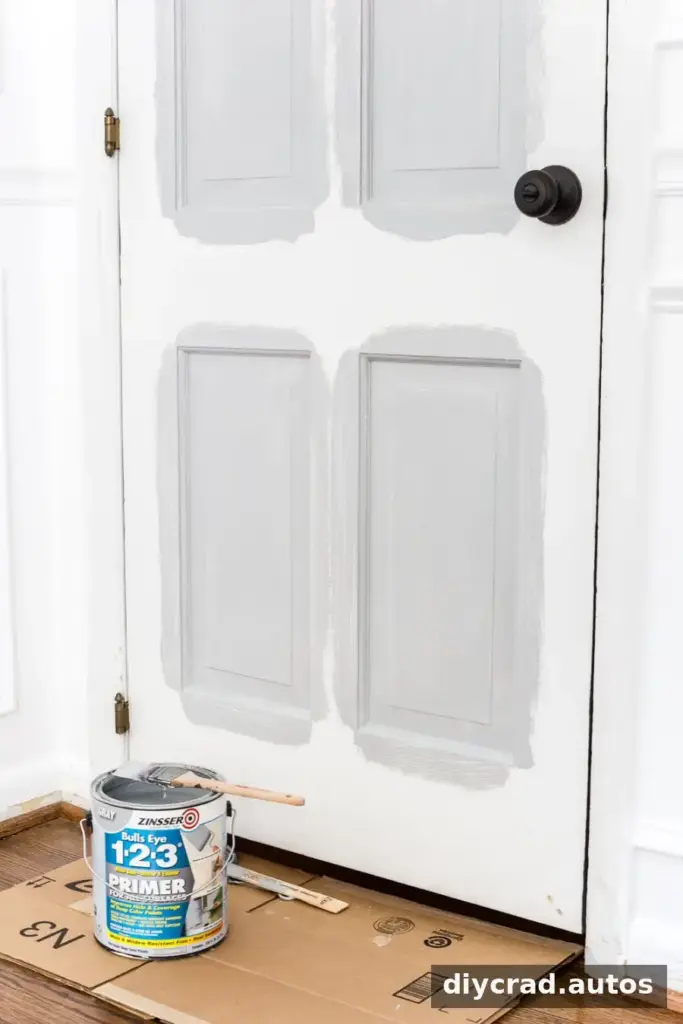
Step 9: Apply primer
New doors that are already primed may not need another primer coat, but follow the paint manufacturer’s directions. For other doors, brush on a compatible bonding primer. If covering a white door with a dark color, a tinted primer may help reduce the number of finish coats required.
On a paneled door, begin with the edges, then coat the grooves and details before the flat panels. Watch for drips, especially in corners and along the door edges. If painting only one side, plan which edges should receive paint based on what will be visible when the door is open.
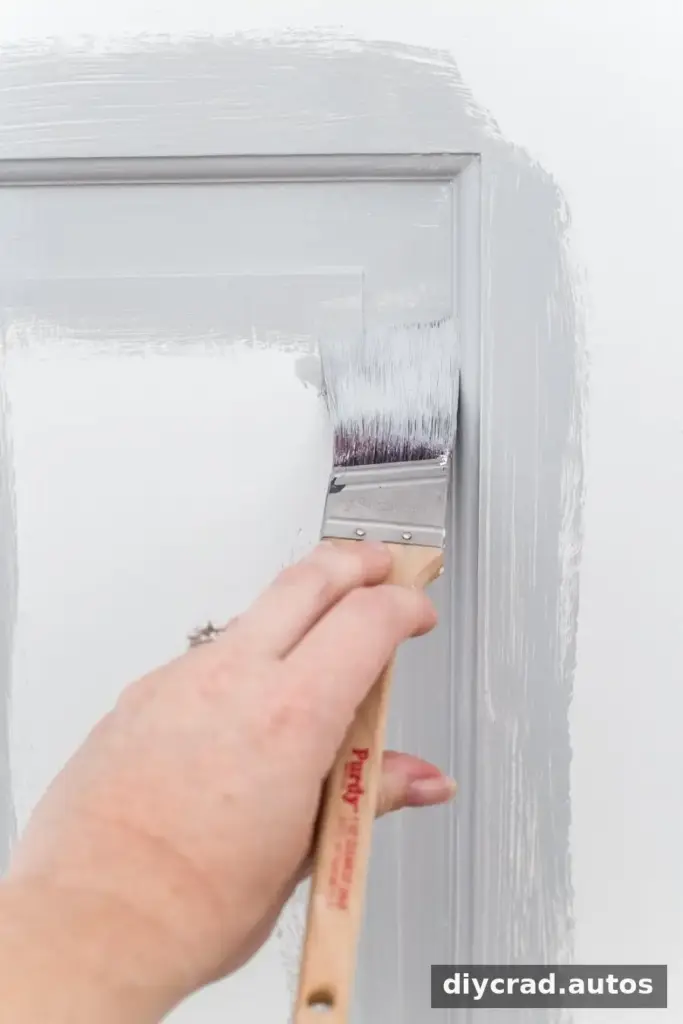
Step 10: Sand the primer lightly
After the primer has dried completely, lightly sand the surface to smooth raised grain or minor roughness. Wipe away the dust with a clean, dry cloth before painting.
Suggested order: Paint the door edges first, followed by grooves and details, then the panels and remaining flat surfaces.
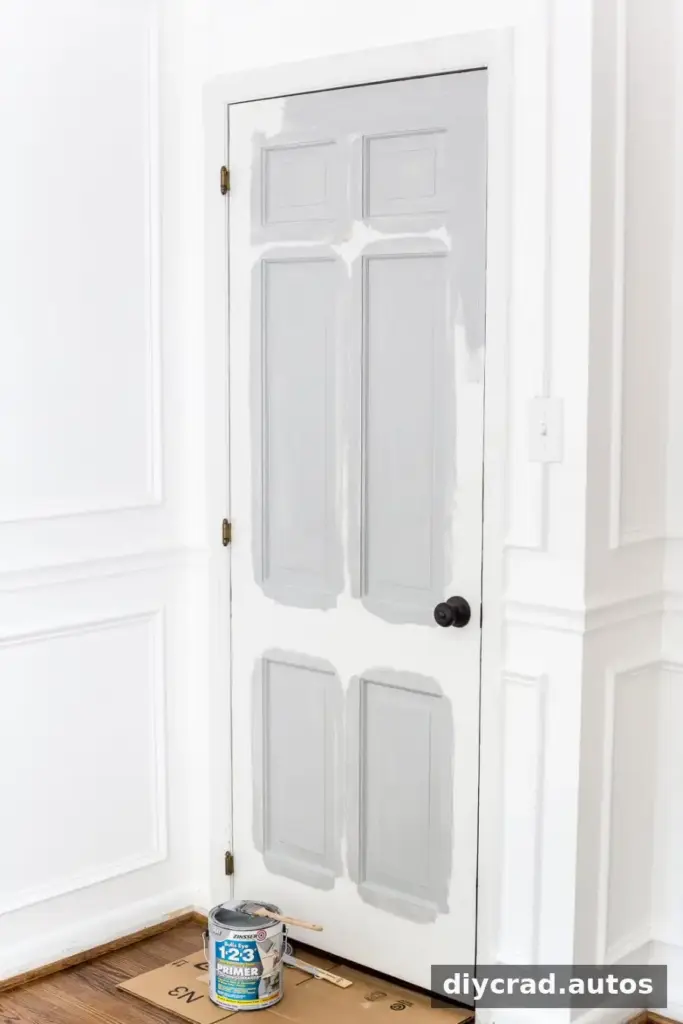
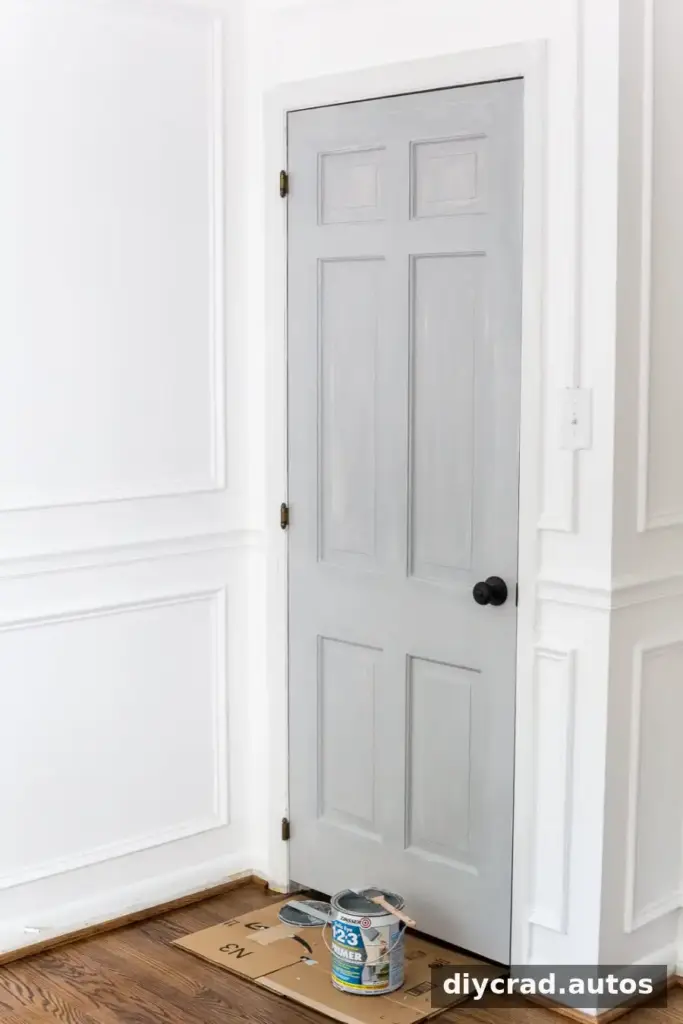
Step 11: Apply the paint
Stir the paint thoroughly and apply a thin, even coat with a brush. A small roller can be used on flat sections if appropriate for the paint and the desired finish; use a brush for grooves and detailed areas. A sprayer is another option, provided the product is suitable and you can protect nearby surfaces.
Several light coats usually produce a smoother result than one heavy coat. Check for drips before the paint begins to dry and smooth them gently. Follow the label for drying time, and lightly sand between coats only if the product instructions allow it.
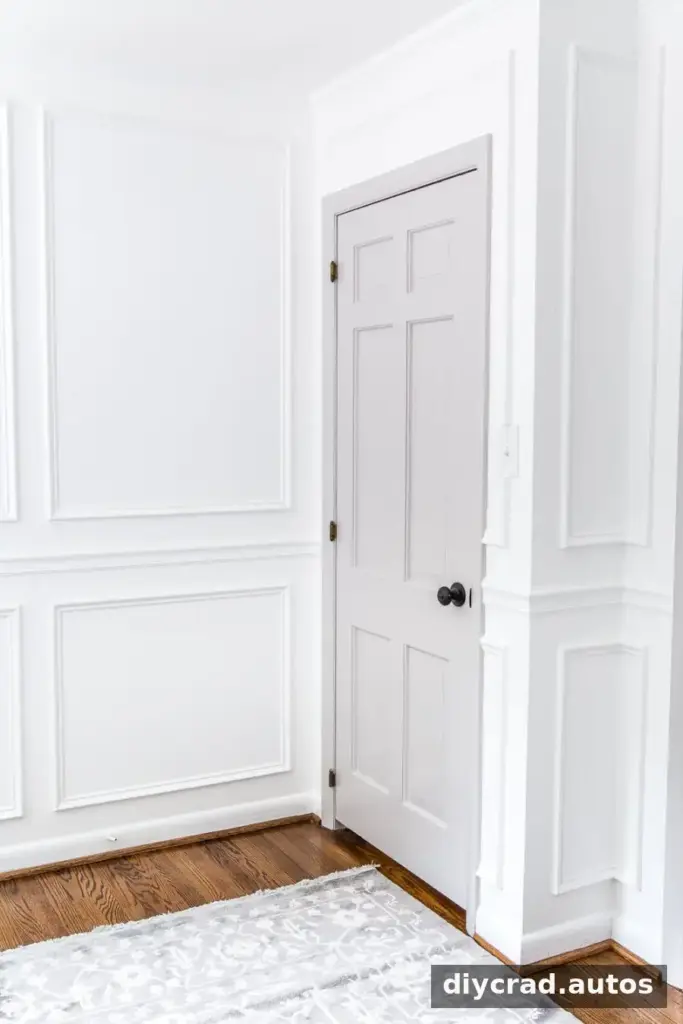
Step 12: Remove the coverings and let the door cure
Remove painter’s tape and foil carefully while the final coat is still wet, or score the tape edge first if needed to reduce the risk of lifting paint. Leave the door open or positioned so painted surfaces do not stick to the frame. Allow the finish to dry and cure for the time stated on the paint label before closing the door or cleaning it.
Frequently Asked Questions
Should I use a brush or roller to paint a door?
Either can work. Use an angled brush for grooves and panels, and consider a small roller for broad, flat areas. A paint sprayer can produce a very smooth finish when used correctly. The surface preparation, paint type, and application technique all affect the final result.
Do I need to sand a door before painting?
Light sanding helps create a surface the primer and paint can grip. First clean and degloss the door, fill holes with wood filler, then sand lightly and remove the dust. If lead paint may be present, test before sanding and use appropriate precautions.
Can I paint a door while it is hanging?
Yes. Protect the hinges and handle with tape or foil, and keep the door open while the finish dries. Painting a door while it remains on its hinges avoids removing it, but make sure the edges and nearby surfaces are protected.
Conclusion
To get a durable result when learning how to paint interior doors, focus on cleaning, light sanding, repairing damage, and using a compatible primer and hard-wearing paint. Choose a sheen that suits the door’s condition and how often it needs cleaning, apply thin coats, and allow the finish to cure fully before regular use.

