Learning how to photograph interiors is less about owning expensive equipment and more about understanding light, composition, and the camera you already have. Whether you are documenting a home, creating blog content, or photographing a styled room, a few thoughtful adjustments can make your images clearer and more inviting.
How to Photograph Interiors with the Camera You Have
A beginner-level DSLR can produce strong interior photos when you know how to use its settings. A newer camera or premium lens is not a substitute for practice: understanding exposure and paying attention to the room’s light often matter more than upgrading equipment.
Start by learning the exposure triangle: aperture, shutter speed, and ISO. These settings work together to control how bright an image is and how it looks. Try adjusting one setting at a time, then review the result so you can see how each change affects the photograph.
- Aperture: Controls how much of the scene appears in focus. A smaller aperture is often useful when you want most of a room to look sharp.
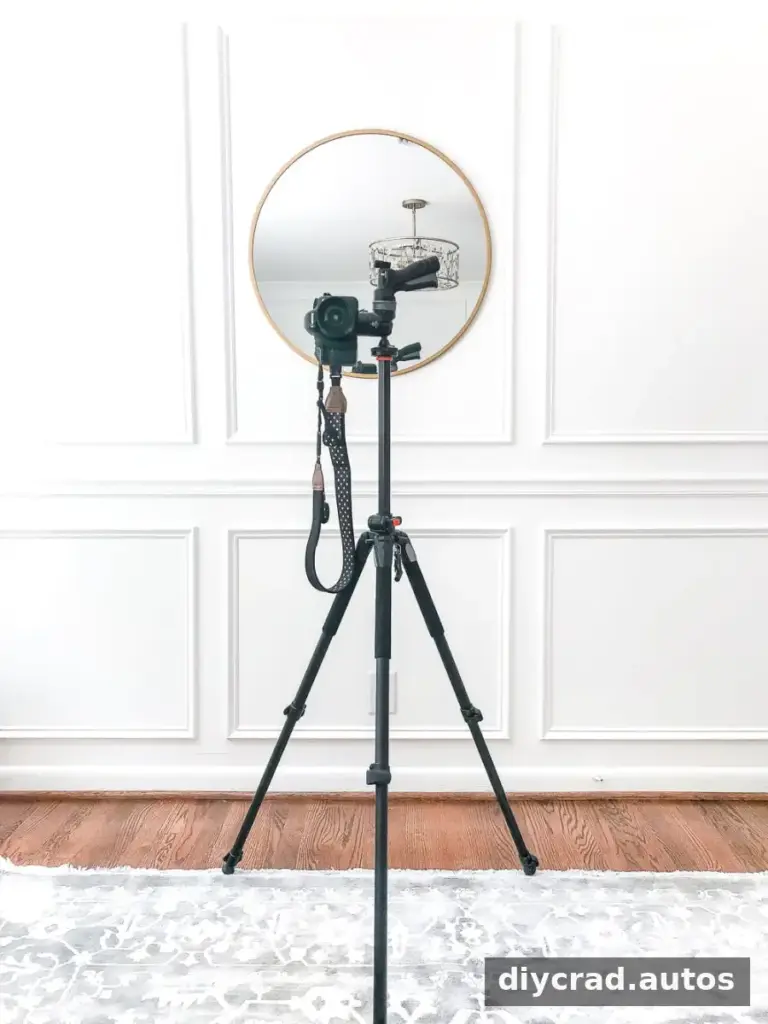
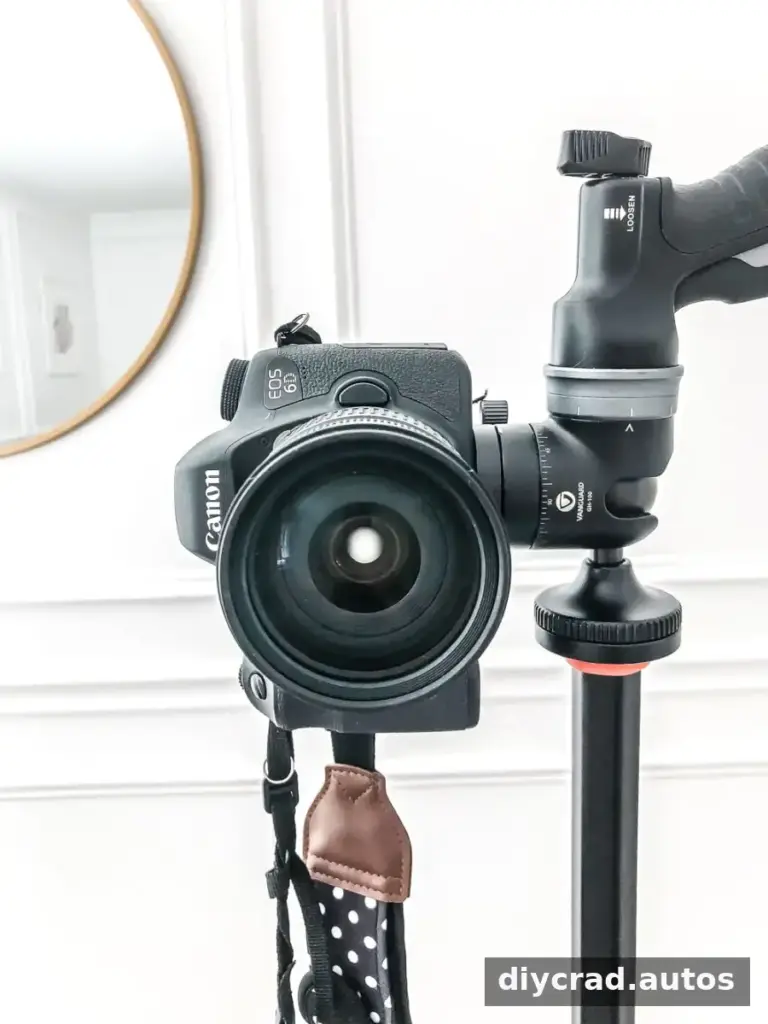
- Shutter speed: A slower shutter lets in more light but can introduce blur if the camera moves. A tripod can help keep the camera steady.
- ISO: Increasing ISO can brighten a photo in dim conditions, though very high settings may add visible image noise.
Use Light to Show the Room Clearly
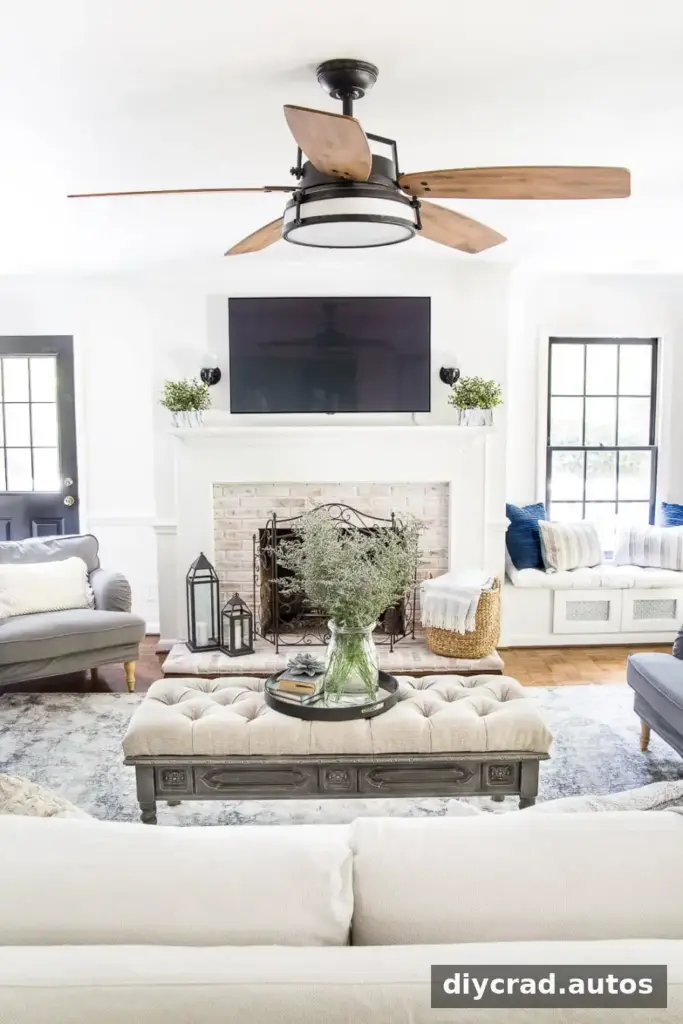
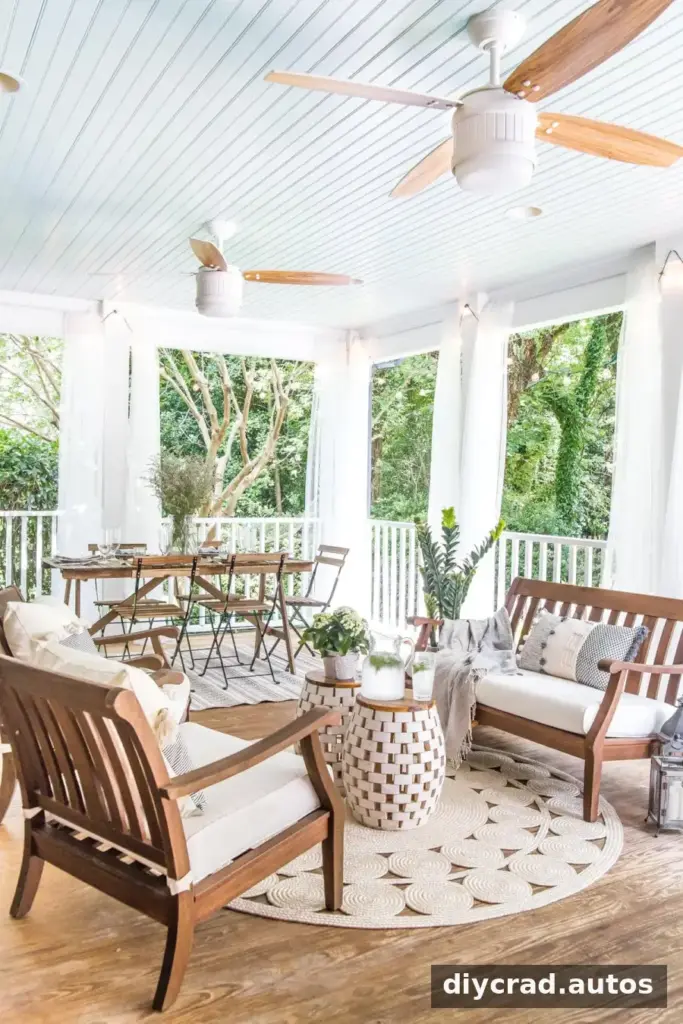
Light has a major effect on color, detail, and atmosphere. When possible, photograph during the day and use available window light. Turn off or reduce competing room lights if they create noticeably different color casts. Take a test photo and check whether bright windows or dark corners are distracting from the main features.
Lighting conditions vary from room to room, so take time to observe how the light changes. If a scene looks too contrasty, try a different angle or wait for softer light. For evening images, keep the camera steady and avoid raising ISO more than necessary. Candlelight and holiday lights can add atmosphere, but check that important details remain visible.
Compose a Balanced Interior Photo
Before taking a picture, decide what the image should emphasize: the full layout, a particular design feature, or a carefully arranged corner. Move small distractions out of the frame, straighten cushions or textiles, and check the edges of the image for objects that appear accidentally cut off.
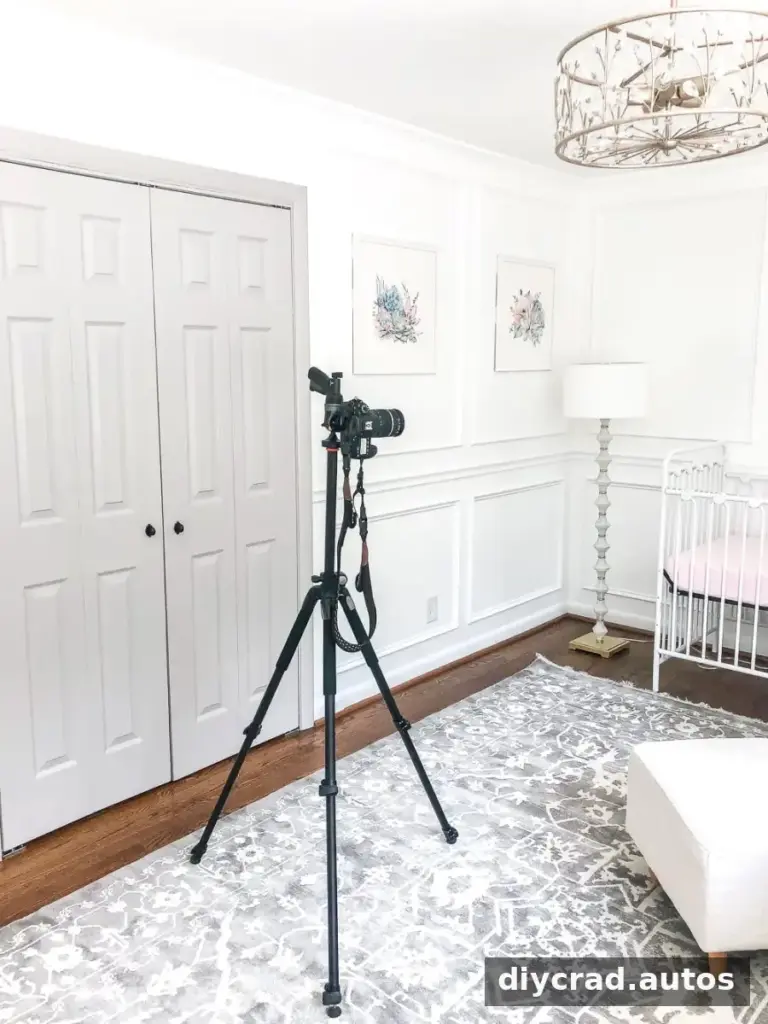
Keep vertical lines—such as doorframes, walls, and cabinets—as straight as possible. Holding the camera level can help prevent walls from appearing to lean. A tripod makes it easier to keep a consistent camera height and framing, especially when photographing several views of the same space.
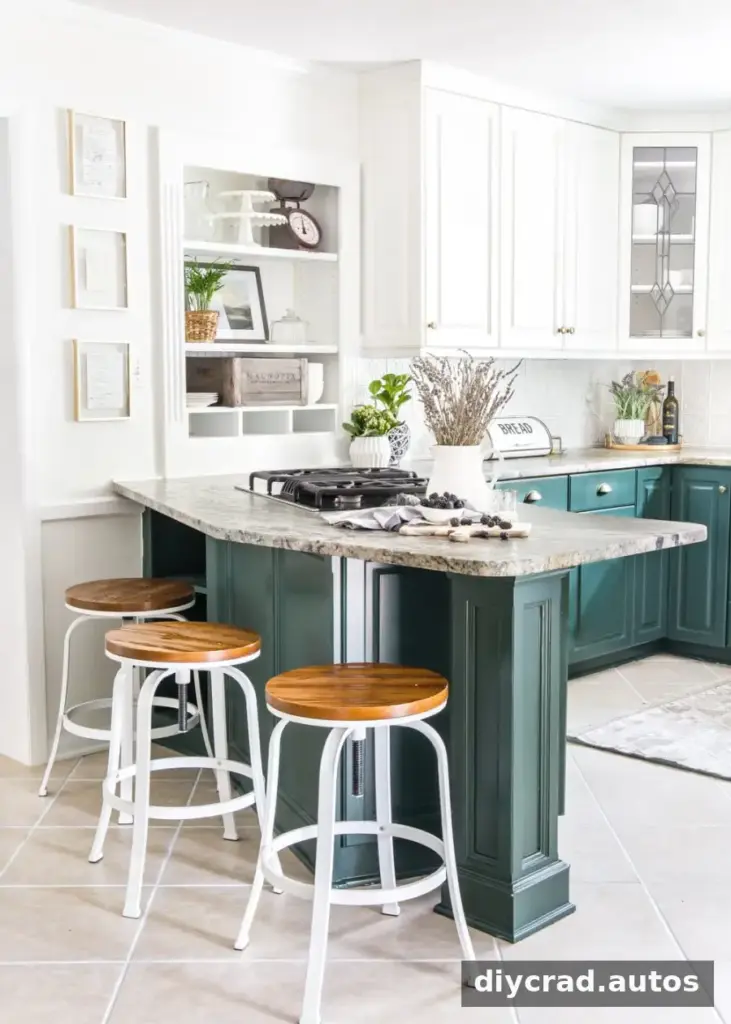
Try more than one view
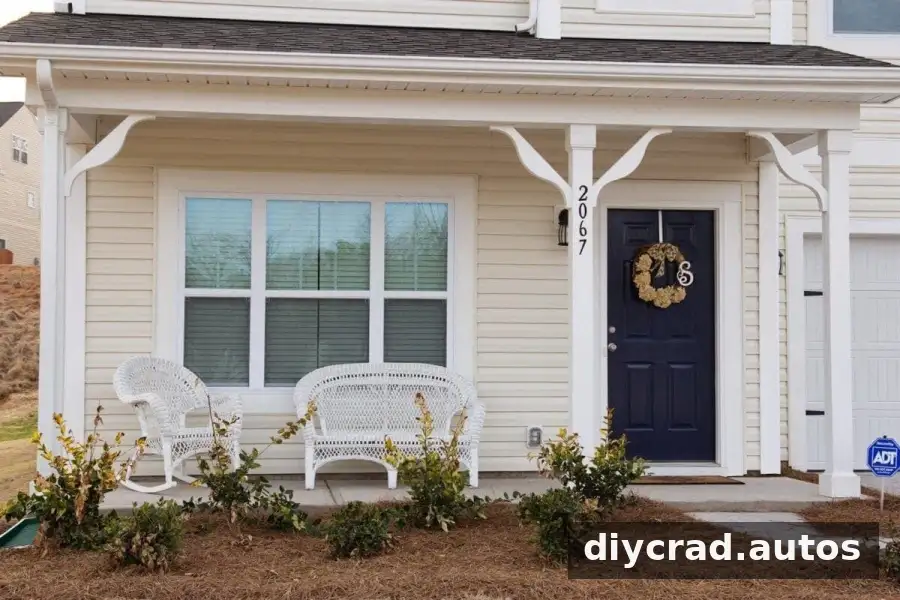
A wide view can explain how the room fits together, while closer photographs reveal materials, accessories, and styling details. Take both types when they serve a purpose. If you include people in a styled interior, give them a clear place in the composition and make sure their pose does not obscure the room’s key features.
Practice, Review, and Edit Carefully
Photographing interiors improves through repetition. After each session, compare your images and note what worked: the camera position, the amount of available light, or the way objects were arranged. Keep imperfect photos as learning references rather than treating them as proof that you need better equipment.
Make restrained edits to brightness, contrast, and color so the image remains a believable representation of the space. Avoid adjustments that make wall colors or finishes look substantially different from reality. For flatlays, arrange objects with a clear visual focus and leave enough space between items for the composition to feel readable.
Build Interior Photography Skills Over Time
Consistent practice can help bloggers, real estate photographers, interior designers, and stylists develop a reliable way to document their work. Rachel Paxton’s Photographing Interiors course, described in the original material, covers exposure, lighting in different conditions, holiday lights, candlelight, photographing people in styled rooms, and flatlays. These topics reflect useful areas to study as you build your own skills.
Choose one technique to practice during each photo session, such as keeping vertical lines straight or balancing window light with the rest of the room. Small, deliberate experiments make it easier to identify what improves your results.
There is no single camera setting that works in every interior. Room size, available light, colors, and the intended use of the photograph all affect the approach. Take several test shots, review them on a larger screen when possible, and adjust your position or settings as needed.
Conclusion: How to Photograph Interiors with Confidence
To learn how to photograph interiors, start with the equipment you have and focus on the fundamentals: exposure, steady camera placement, useful natural light, and intentional composition. Practice in different rooms and lighting conditions, then review your photos to identify one improvement for next time. With patience and consistent experimentation, you can create clear, balanced images that show a space at its best.