

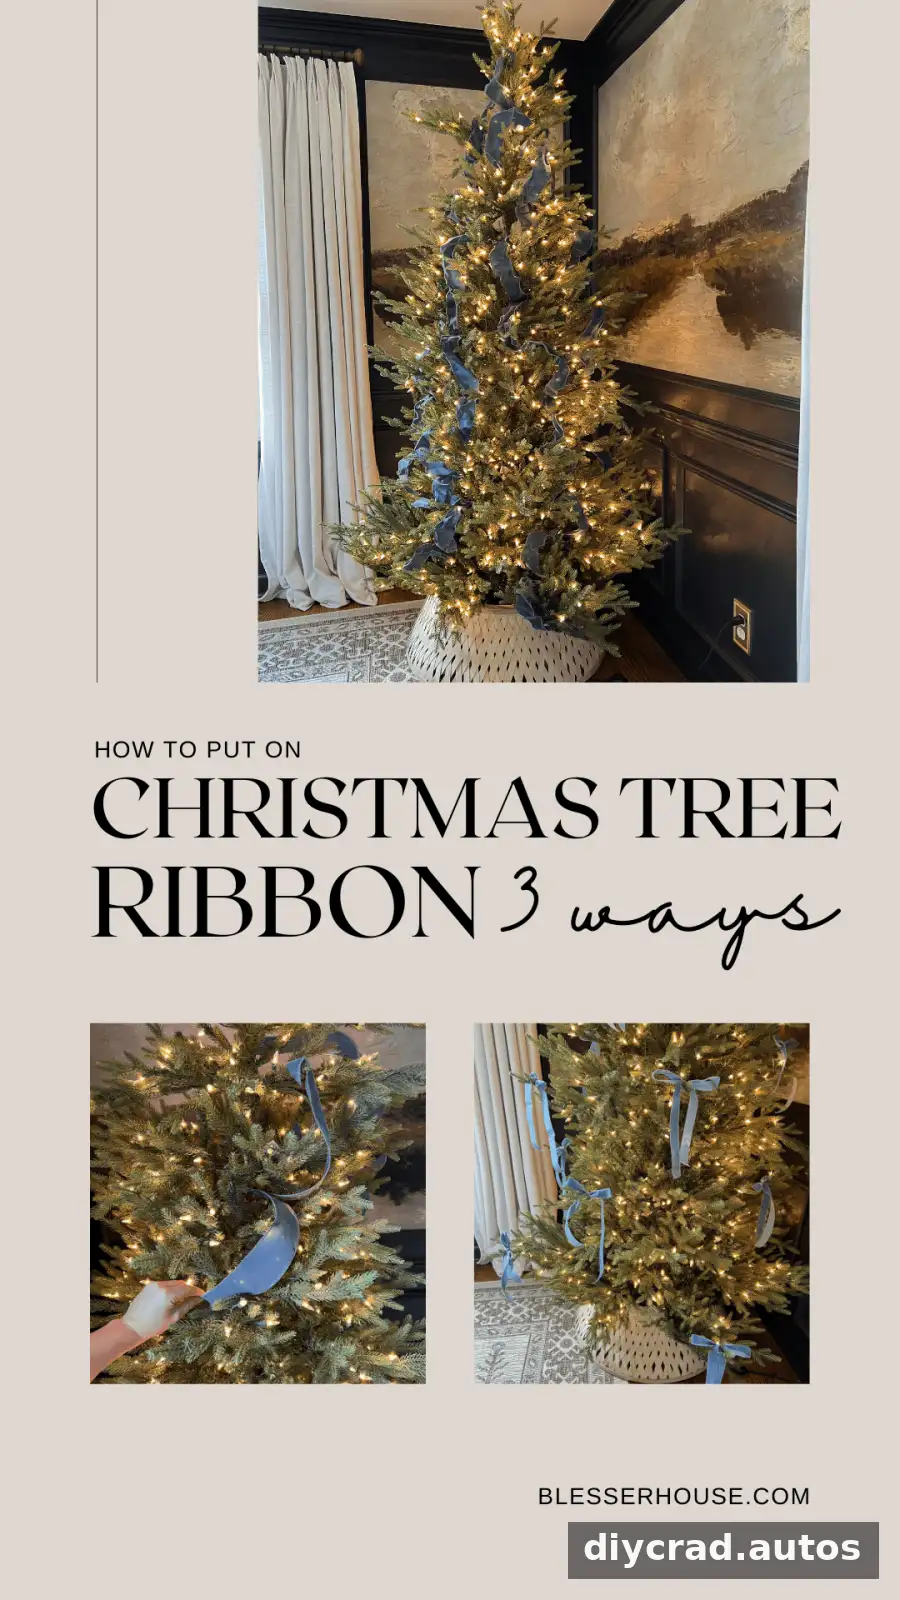
Christmas tree ribbon decorations can add color, texture, and a clear decorating style without covering every branch in ornaments. These three approaches—waterfall ribbon, crumpled vintage ribbon, and simple bows—work with different materials and looks. Choose one method, or adapt the steps to suit your tree and the ribbon you already have.
Ribbon can take a little adjusting to look balanced. Rather than aiming for perfectly identical loops, focus on distributing the color evenly and leaving enough space for ornaments. Wired ribbon is easier to shape and tuck into branches, while unwired ribbon is well suited to tied bows.
Three Ways to Add Christmas Tree Ribbon Decorations
Before decorating, check that the tree is stable and its branches are arranged as desired. Add ribbon before ornaments so you can adjust its placement without moving finished decorations. The waterfall and vintage methods use short ribbon sections; the bow method uses longer pieces tied directly to branches.
Waterfall Ribbon Christmas Tree
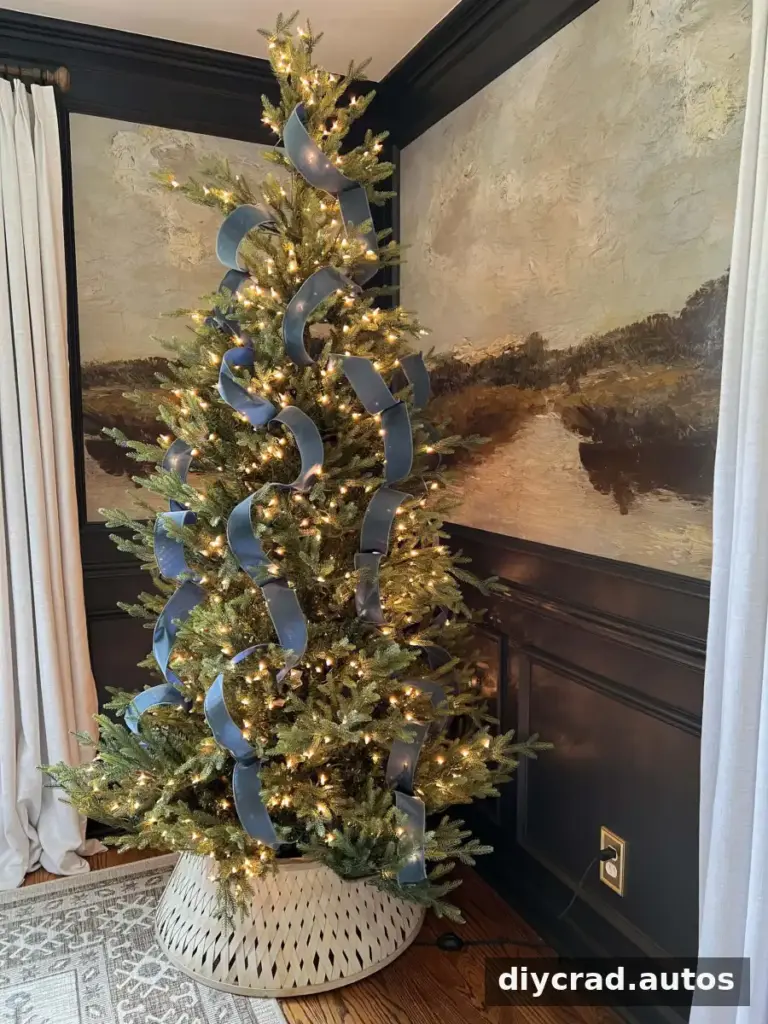
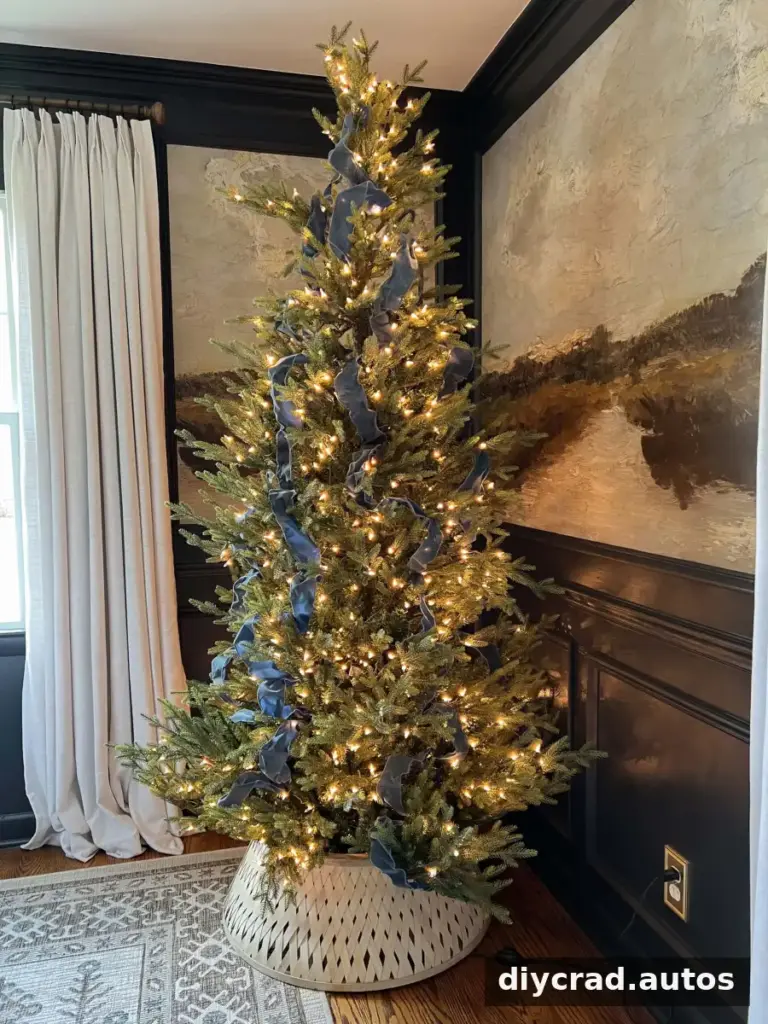
The waterfall method creates a neat, cascading effect with soft curves running down the tree. It works best with smooth, wired ribbon around 2 to 3 inches wide. A width of 2 1/2 inches is a useful starting point. The example uses 2 1/2-inch-wide wired antique blue velvet ribbon.
Suggested Ribbon Types

Step 1: Cut Ribbon into 2 1/2-Foot Lengths
Cut the wired ribbon into pieces approximately 2 1/2 feet long. Exact measuring is not necessary, but keeping the pieces close in length can help create a consistent look. Handle the ribbon gently to avoid crushing its edges.

Step 2: Secure One End to a Branch
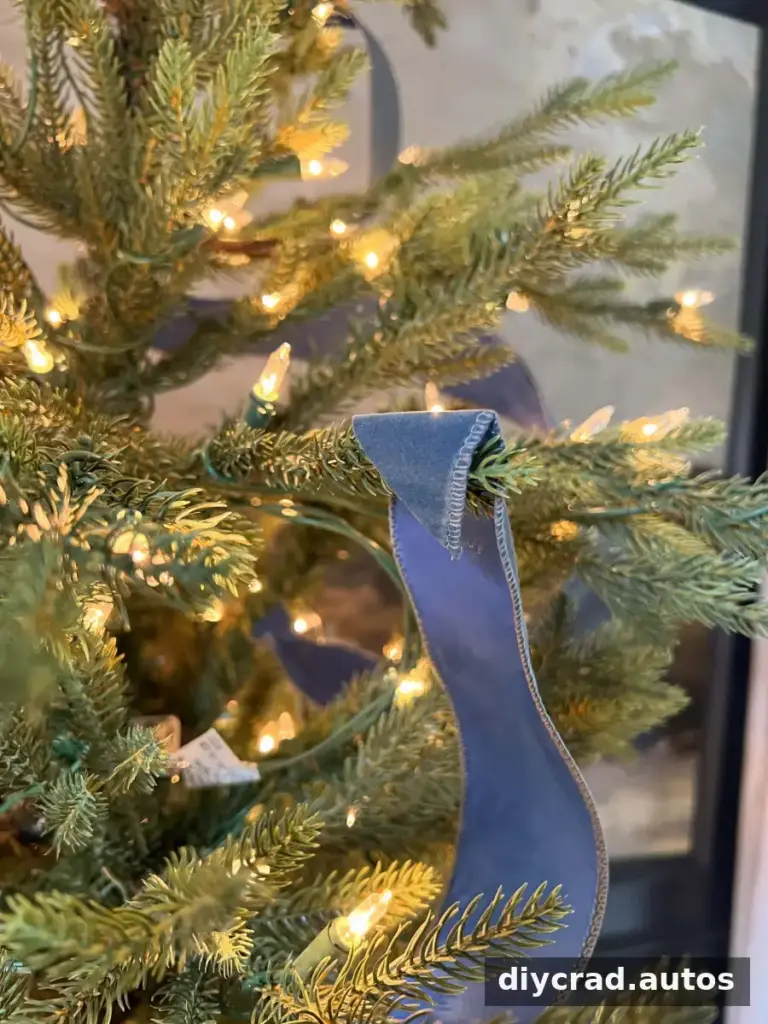
Hook one end of a ribbon piece over a branch, starting near the top of the tree. Wired ribbon can be bent into position, and the branch helps hold the piece while you shape the rest. Make sure the ribbon is secure without forcing or bending the branch.
Step 3: Pinch and Tuck the Middle
Guide the ribbon down the tree in a zigzag. Around the middle of the piece, pinch the ribbon and tuck that section between two branches. Leave some slack above the tuck so the ribbon forms a gentle billow instead of lying flat against the tree.
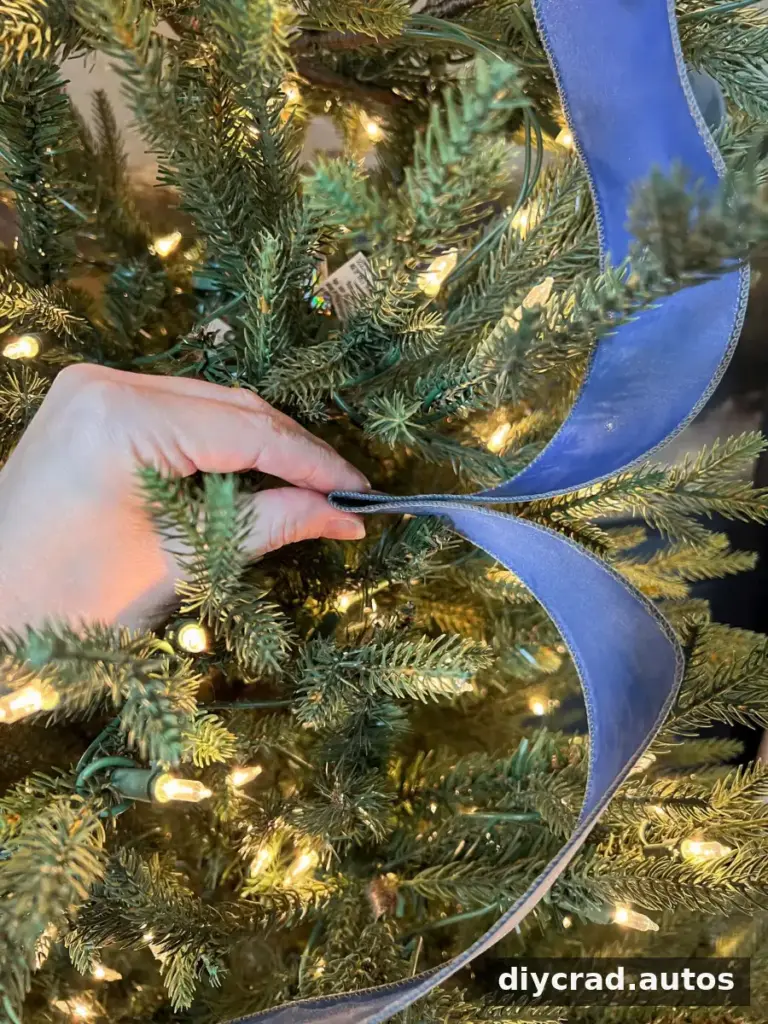
Step 4: Tuck the End of the Ribbon
Place the end of the ribbon between two branches, adjusting the curve so it continues naturally down the tree. Keep the ends tucked securely, but avoid pulling the ribbon so tightly that the waterfall shape disappears.
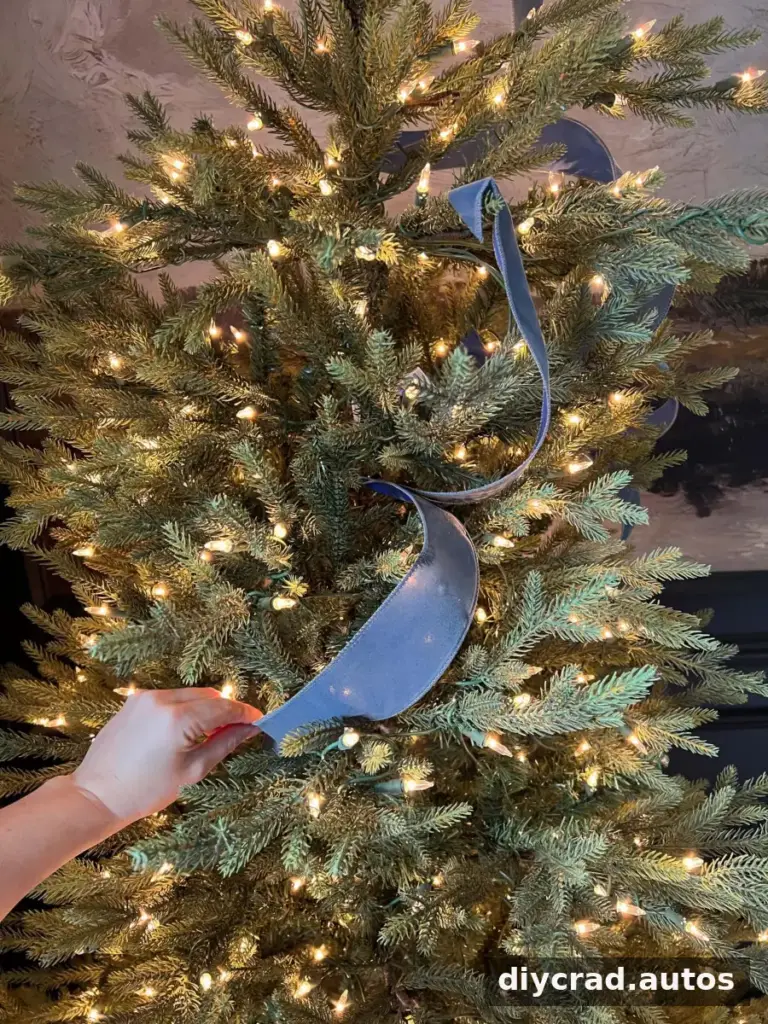
Step 5: Add More Ribbon Sections
Start the next 2 1/2-foot piece just below the point where the previous piece ends. This helps the separate lengths read as one flowing decoration. Check the spacing from a short distance away as you work.
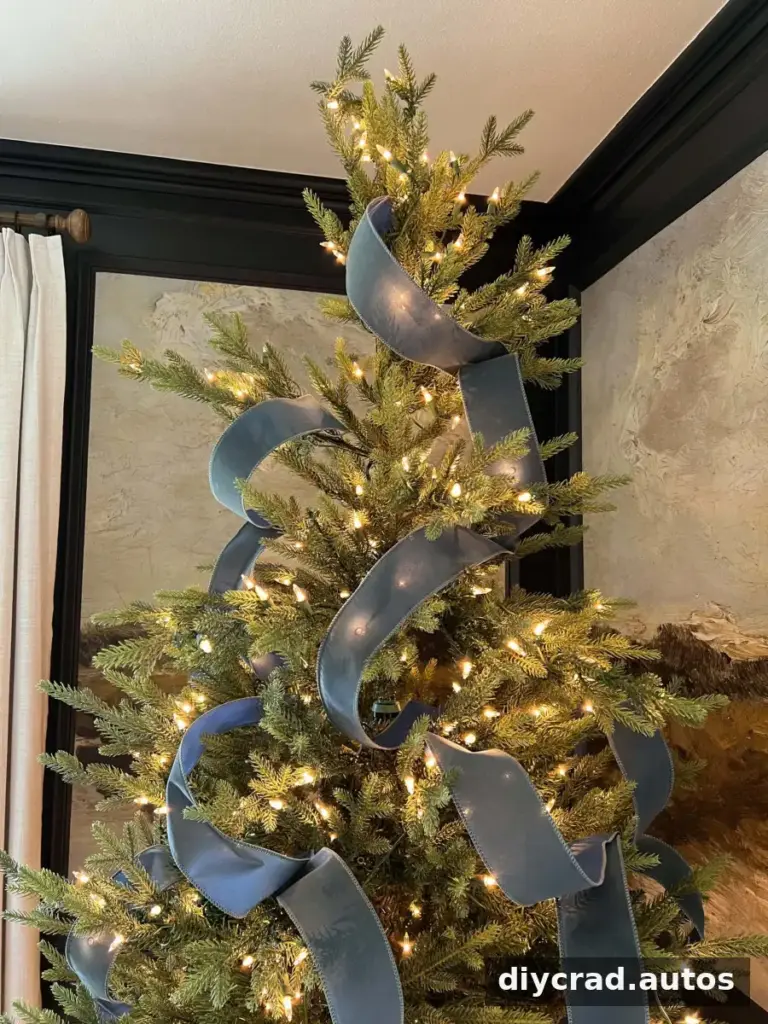
Step 6: Continue in a Zigzag
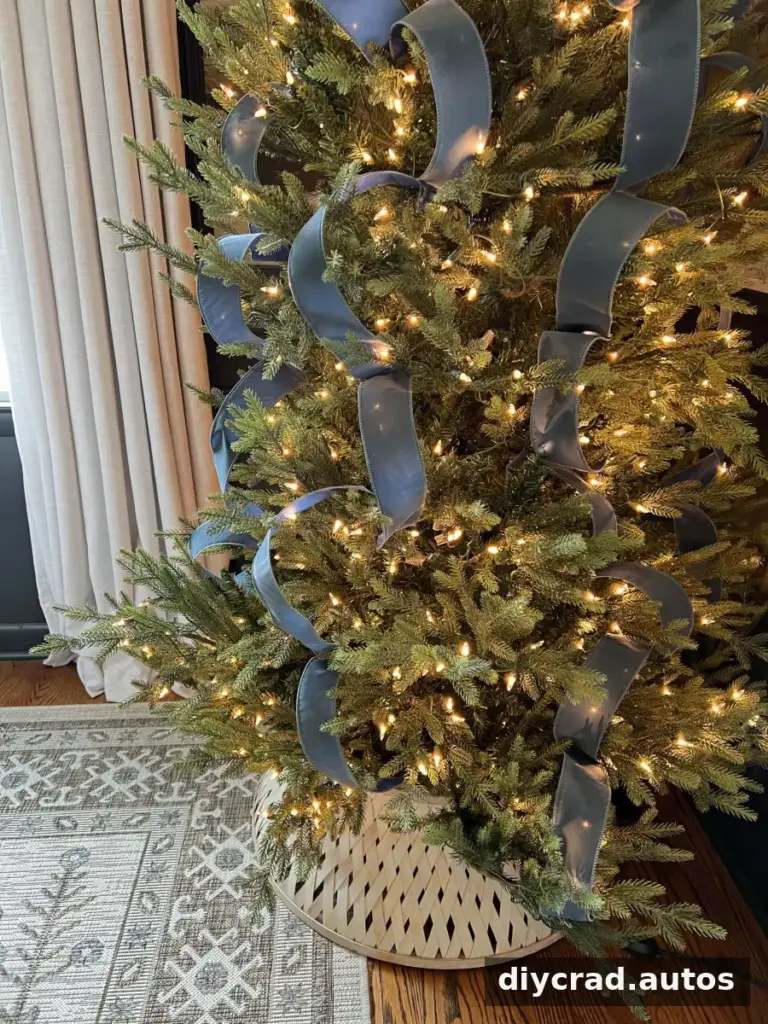
Repeat the hooking, pinching, and tucking steps around the tree until the ribbon coverage looks balanced. Adjust gaps as needed. Once the ribbon is in place, add ornaments, picks, or other decorations. A separate garland is optional; if the tree already looks busy, leaving it out can keep the ribbon visible.
Adding ribbon first also makes it easier to fill open areas without covering ornaments. Step back occasionally to check that the ribbon is distributed around the tree rather than concentrated on one side.
Vintage Crumpled Tree Ribbon
For a softer, more relaxed look, use ribbon with a slightly rumpled finish. This style can work well with fabric remnants and materials such as cotton, burlap, velvet, jacquard, or chiffon. The irregular texture is part of the effect, so the finished result does not need to look uniform.
Use the same general placement as the waterfall style, but crumple each ribbon piece before attaching it.
Suggested Ribbon Types

Step 1: Crumple the Ribbon
Take wired ribbon pieces approximately 2 1/2 feet long, gather each one into a loose ball in your hand, then stretch it back out. This creates a more worn, textured appearance. Avoid pulling hard enough to damage the ribbon or its wired edges.
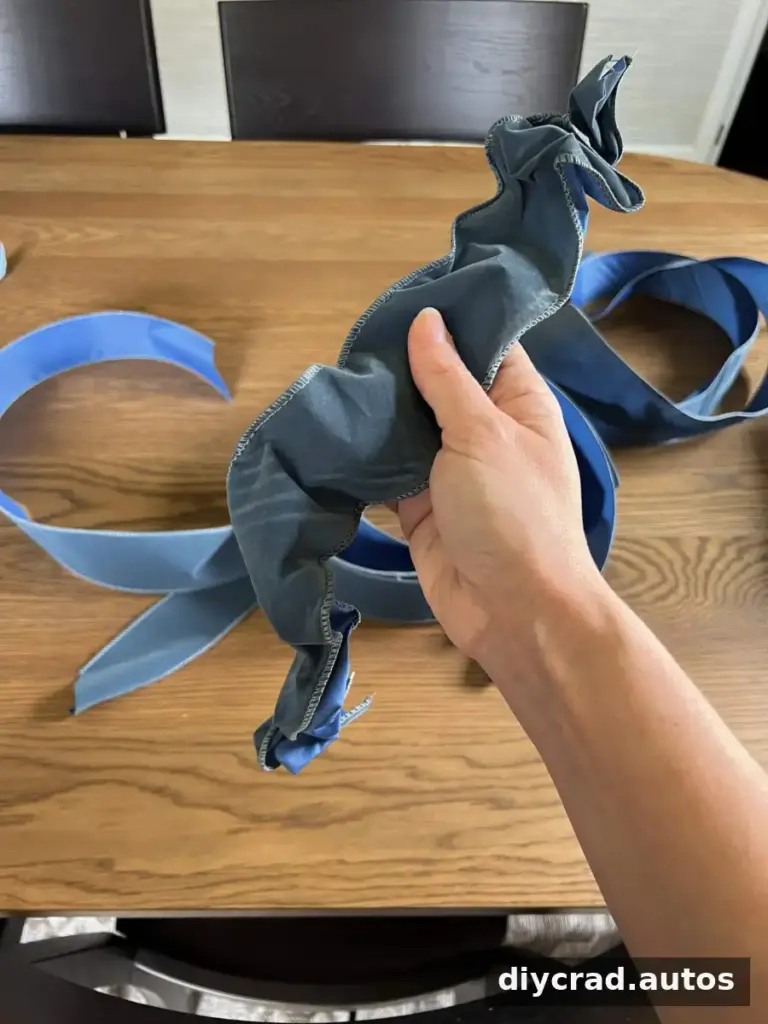
Step 2: Attach the Ribbon in a Billowed Zigzag
Hook one end of a piece over a branch, pinch and tuck the middle, then tuck the other end between branches. Continue down the tree in a zigzag, using the same approach as the waterfall method. Vary the folds slightly for a natural-looking finish.
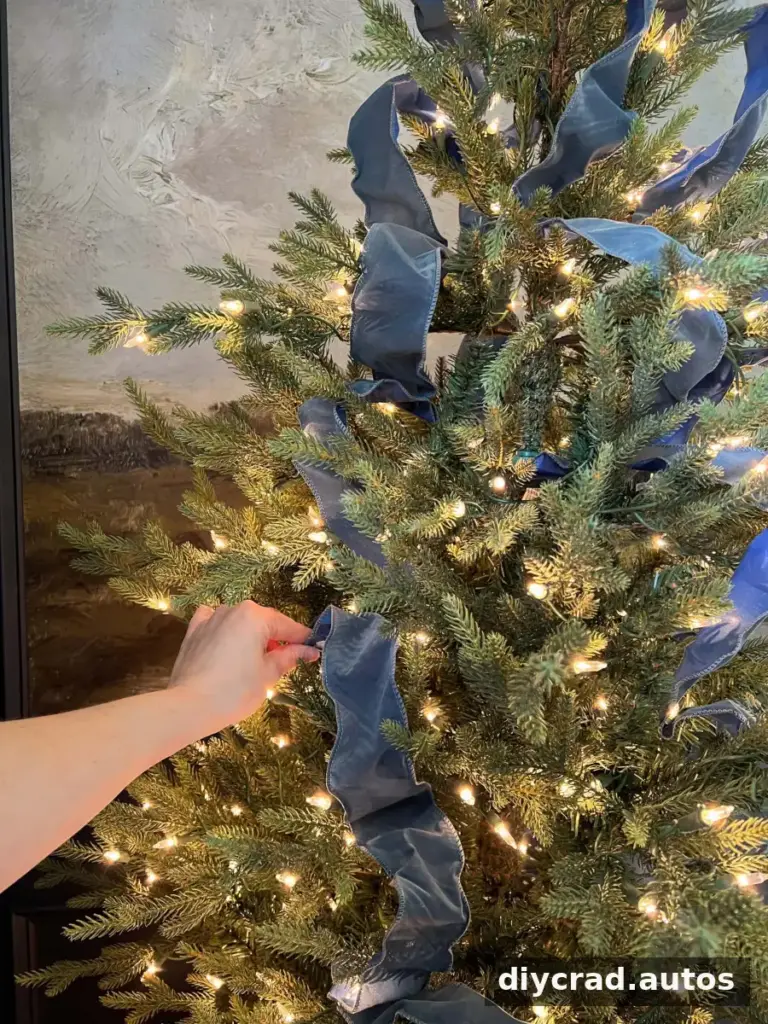
Step 3: Add Ornaments
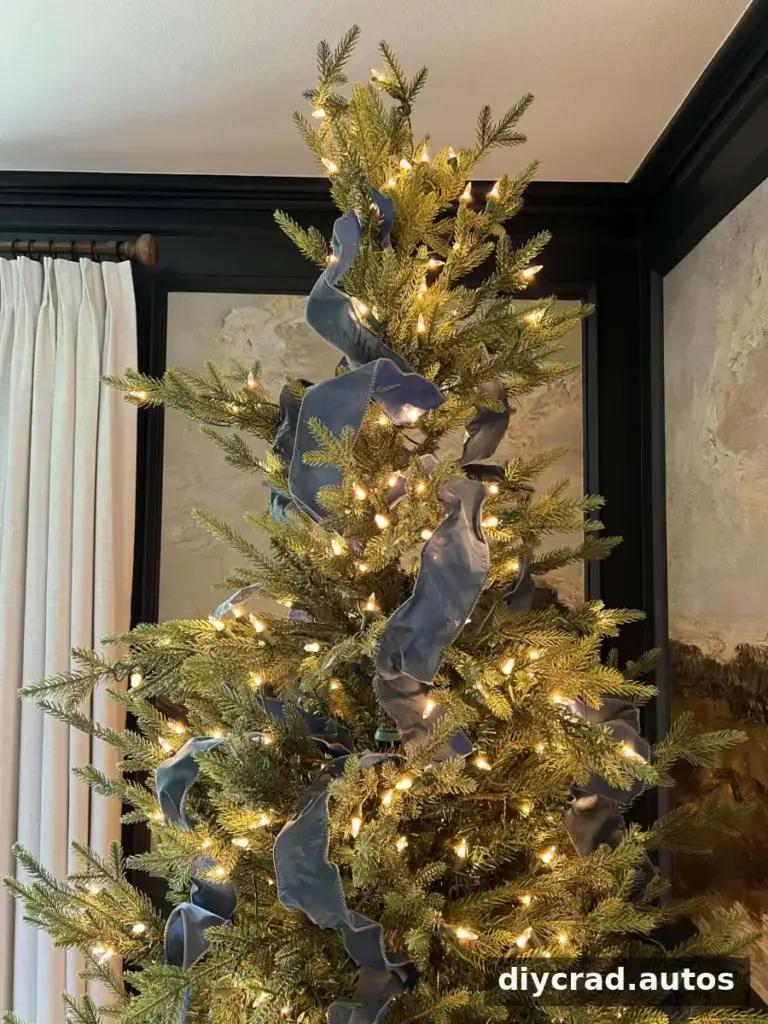
When the ribbon coverage feels balanced, fill in the tree with ornaments and picks. Leave some textured ribbon visible so its folds remain part of the overall decoration.
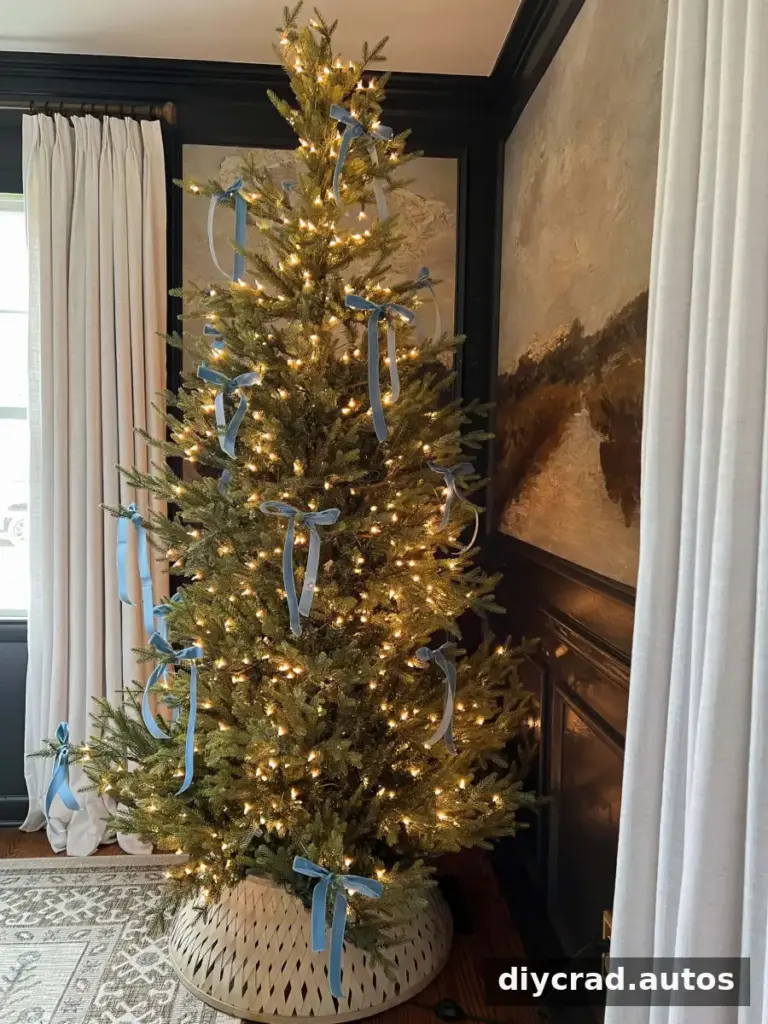
Feminine Bow Tree Ribbon
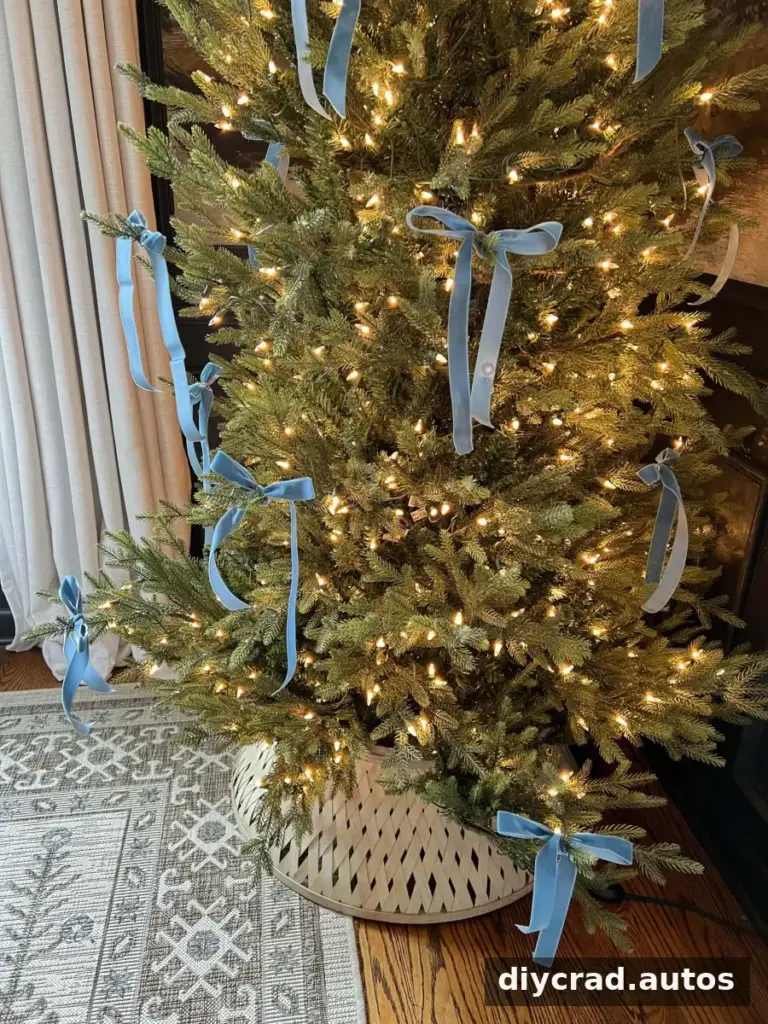
If you prefer a simpler method, tie individual bows onto branches. This approach creates a delicate, decorative look and does not require weaving ribbon through the tree. The example uses 7/8-inch velvet ribbon in Williamsburg Blue.
Suggested Ribbon Types
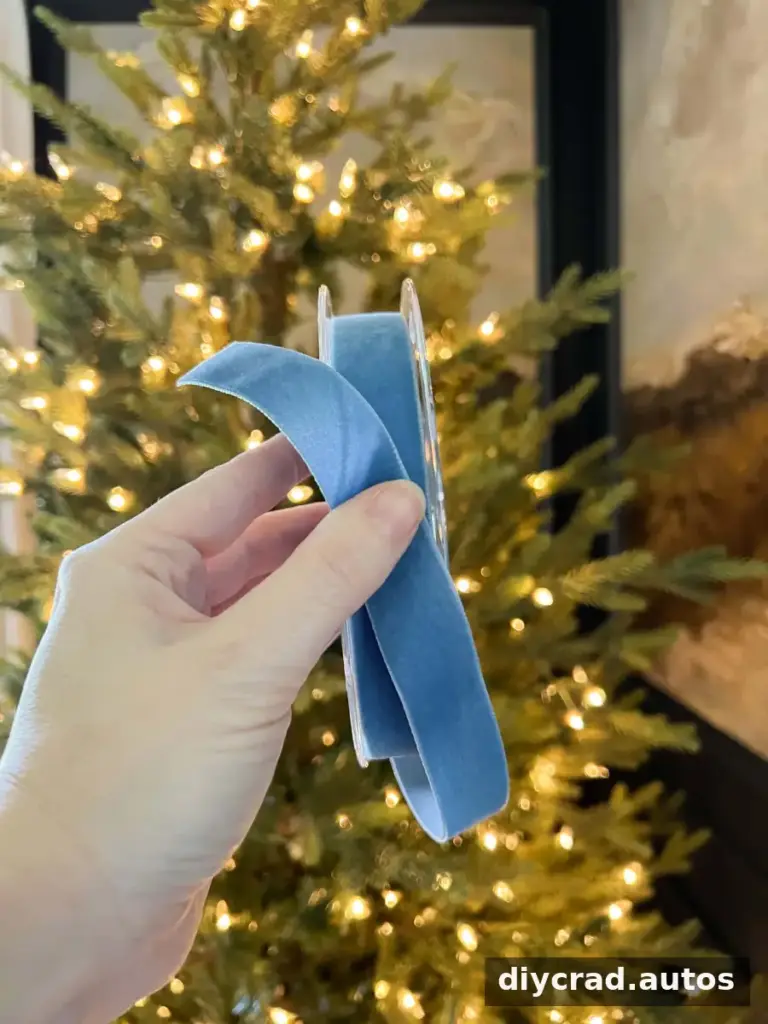
Step 1: Cut Unwired Ribbon
Choose unwired ribbon in a material such as velvet, silk, cotton, or taffeta. Different widths create different effects: 2- to 3-inch ribbon makes larger, more noticeable bows, while ribbon 1 inch wide or smaller gives a more understated result.
For medium-sized bows, cut pieces about 2 1/2 feet long; estimating by eye is fine. For bows without tails, use pieces around 1 1/2 to 2 feet long. For longer, more dramatic tails, cut pieces around 3 1/2 feet or longer.
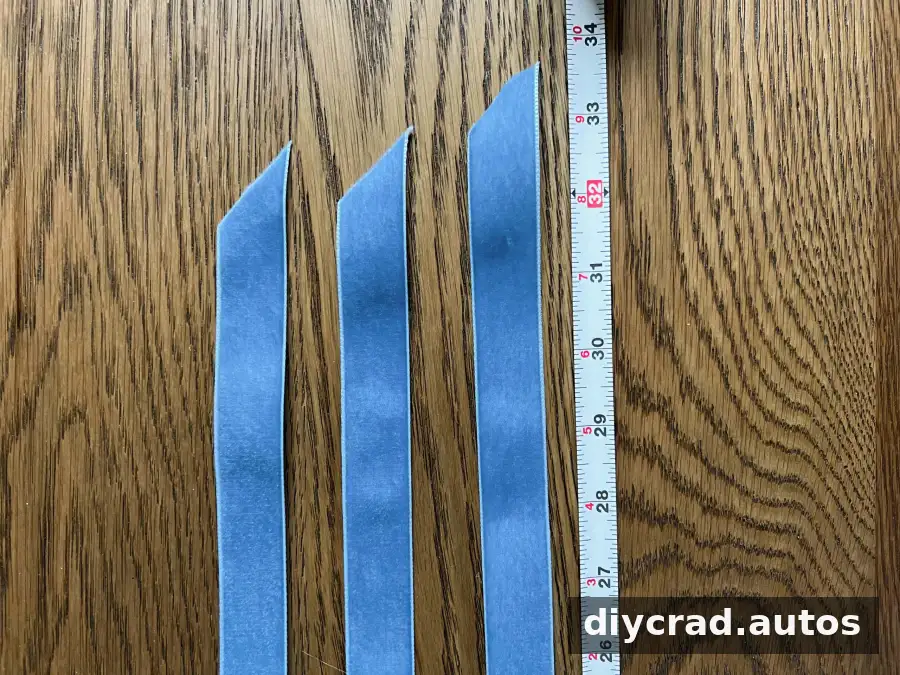
Step 2: Tie Bows at Even Intervals
Tie the pieces into bows on branches, spacing them around the tree. Add as many or as few as you like, and check the placement from different angles. If a bow slips, retie it around a sturdier branch rather than pulling tightly on a delicate tip.
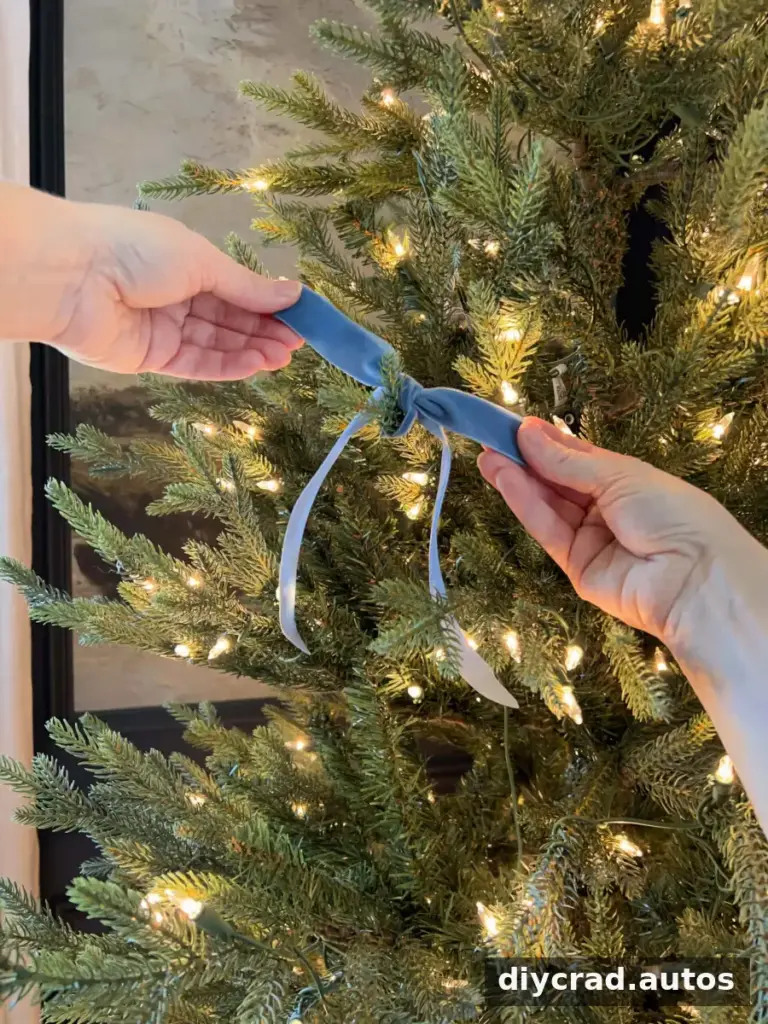
This method is a practical choice when you want a quick update or have limited time. A consistent ribbon color can help the bows look coordinated, while mixed textures can add variation.
Finish Decorating the Christmas Tree
After the ribbon is arranged, add ornaments, candle lights, berry picks, golden leaf stems, dried oranges, and bells as desired, then finish with a tree topper. Leave enough room around lights and other decorations, and follow the light manufacturer’s safety instructions.
A tree collar can complete the display. If adjusting or turning a collar, check that it sits securely and does not interfere with the tree stand.

Before calling the tree finished, look at it from across the room. Move any ribbon pieces that appear crowded, expose a hidden ornament if needed, and fill gaps where the branches look sparse.
More Christmas Tree Ribbon Ideas
Use these examples to compare the three finishes and decide which suits your tree. The same basic placement can look quite different depending on ribbon width, color, texture, and how tightly each section is shaped.
Bow Method

Waterfall Method

Vintage Crumpled Method



Ribbon is also a flexible way to change a holiday color scheme from year to year. Red and green, blue, orange, copper, neutrals, and mixed metallics are all possible directions; changing the ribbon can refresh the look without replacing every ornament.
For an easy starting point, choose a ribbon style that fits your materials: wired ribbon for waterfall folds, textured ribbon for a vintage effect, or unwired ribbon for bows. With Christmas tree ribbon decorations in place before the ornaments, it is easier to create a balanced display and make adjustments as you go.

