


A DIY Christmas family photoshoot can capture warm, memorable holiday portraits without arranging a studio appointment. With your tree as a familiar backdrop, a little natural light, and a phone or camera, you can take photos at a time that works for your family. The tips below cover setup, posing, camera settings, and simple editing.

Why Try a DIY Christmas Family Photoshoot?
A professional photographer can create beautiful portraits, but a home session is a practical alternative when schedules, budgets, or family needs make booking difficult. You can also support local photographers when it suits your plans; these ideas are for occasions when taking the pictures yourself is a better fit.
A familiar location
Your living room and Christmas tree can make a meaningful backdrop. Children may feel more at ease at home, which can be especially helpful for family members who benefit from a familiar environment. Before you begin, tidy distracting items from the frame while keeping a few personal decorations that make the scene feel like your home.
Flexible timing
Choose a moment when everyone is rested and in a good mood. One advantage of taking photos yourself is that you can pause and try again another day if someone gets tired or upset. Keep the session brief and treat it as a relaxed activity rather than a formal event.
A lower-cost option
A home session can leave more room in the holiday budget for other plans. For a simple setup, use the camera you already own, such as a mobile phone, and position it securely on a tripod or stable surface.
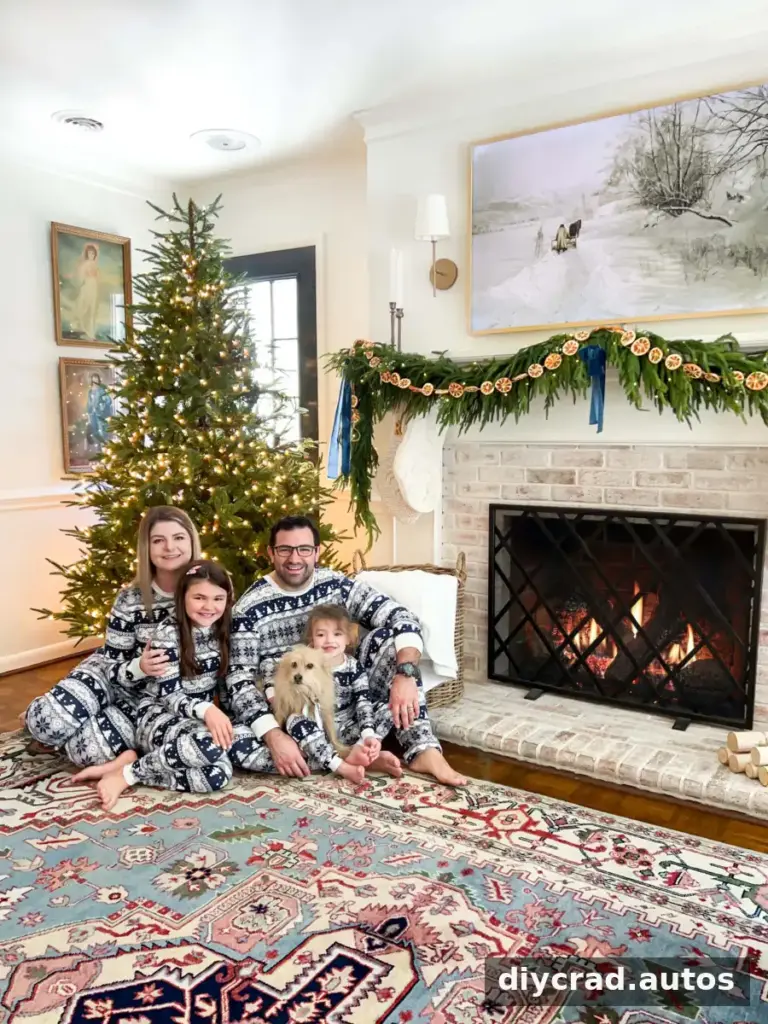
Set Up Your Christmas Photo Scene
Decide whether you want posed portraits, candid moments, or a mix of both. Comfortable holiday pajamas or coordinated outfits can work well, but the most important thing is that everyone can move and sit comfortably. A small wrapped gift or an ornament can give children something to interact with while you take pictures.
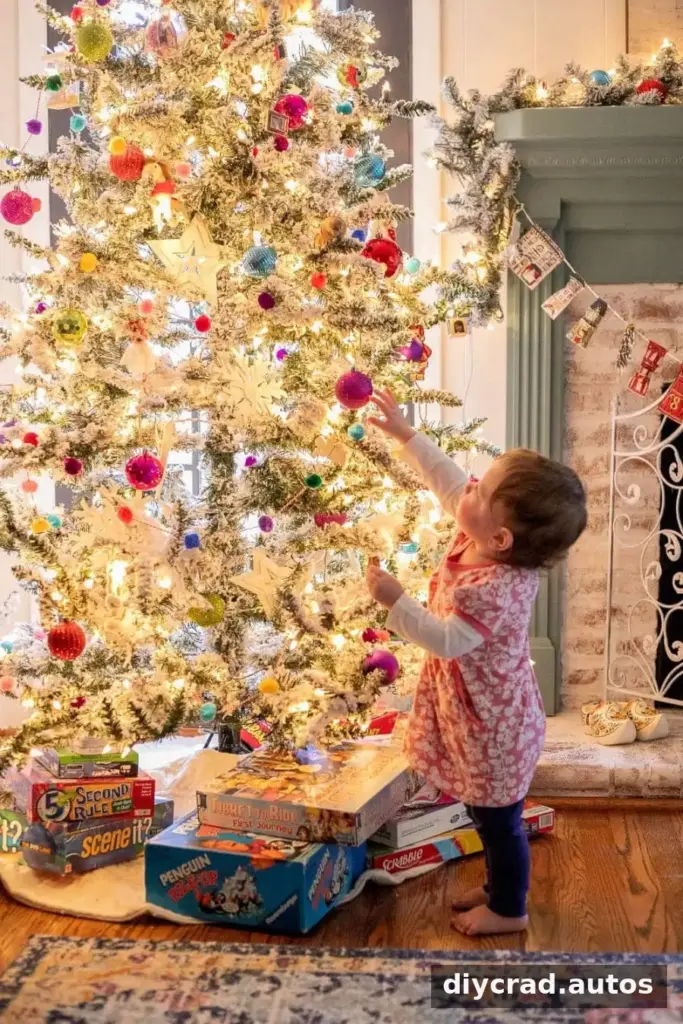
You can use the same basic setup with a DSLR camera or a phone. Take a few test shots before gathering everyone so you have time to adjust the lighting and framing.
Find soft, even light
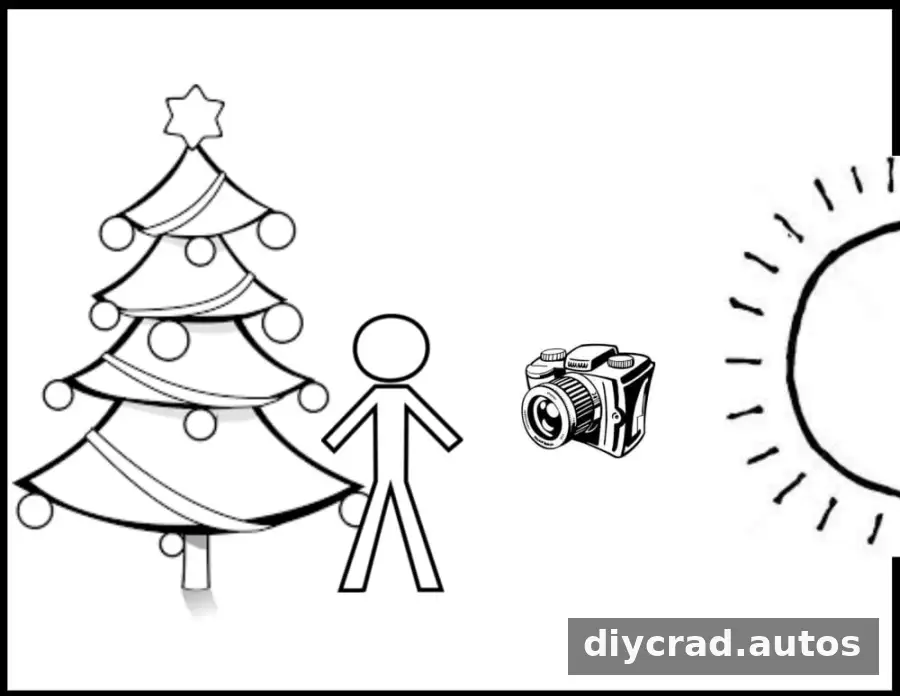
Natural light from a window or open door usually gives faces a gentle, flattering appearance. Midday can be convenient, but the quality of the light matters more than the exact time: avoid placing people in a beam of harsh direct sunlight. If the light is too strong, move the subjects farther from the window or use a sheer curtain to soften it.
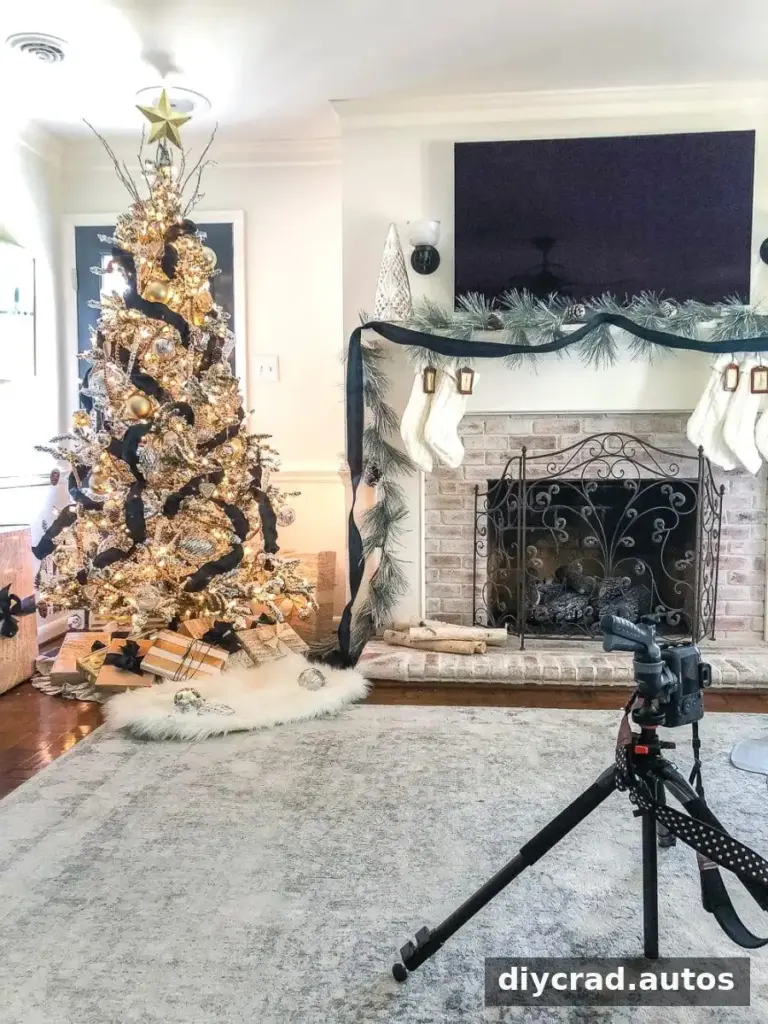
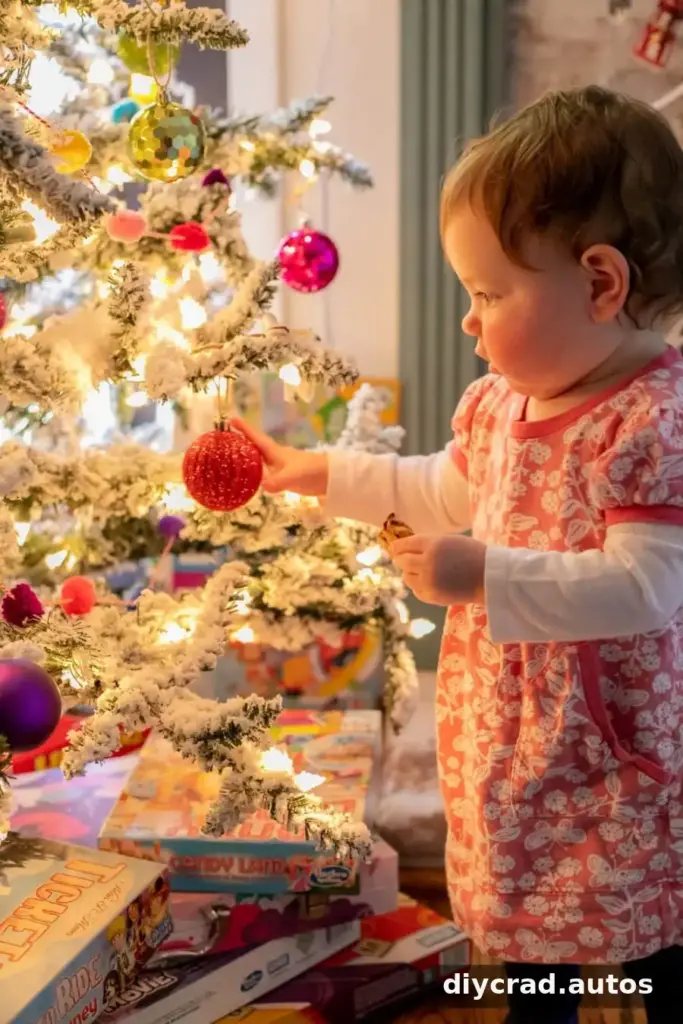
Turn off competing room lights
Mixing daylight with overhead bulbs can create uneven or unnatural color on faces. Try turning off the room lights and using daylight as your main source, with the Christmas tree lights adding atmosphere. If the room is dark, a small lamp placed near the camera can gently brighten faces. Keep it dim enough that it does not overpower the tree.
Arrange the light and tree
Place the family near the tree, with a window or open door in front of them or slightly to one side. This helps light reach their faces while keeping the tree visible behind them. Take a test picture and check that faces are not too dark. Avoid using direct flash if you want to preserve the softer look of the tree lights; instead, improve the available light or steady the camera.
Natural Poses and Helpful Framing
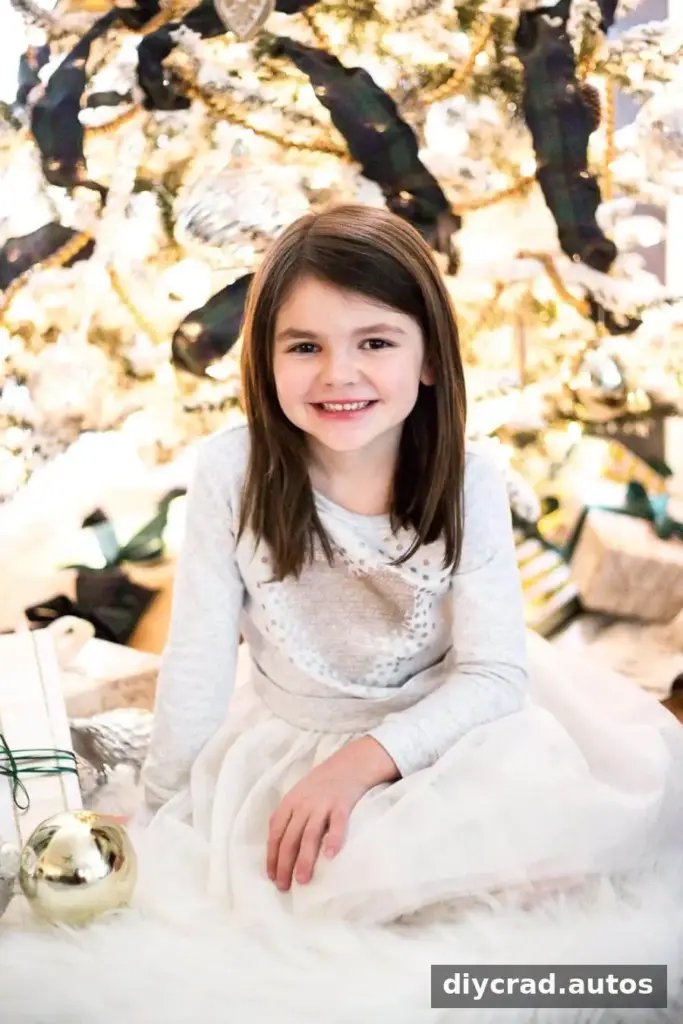
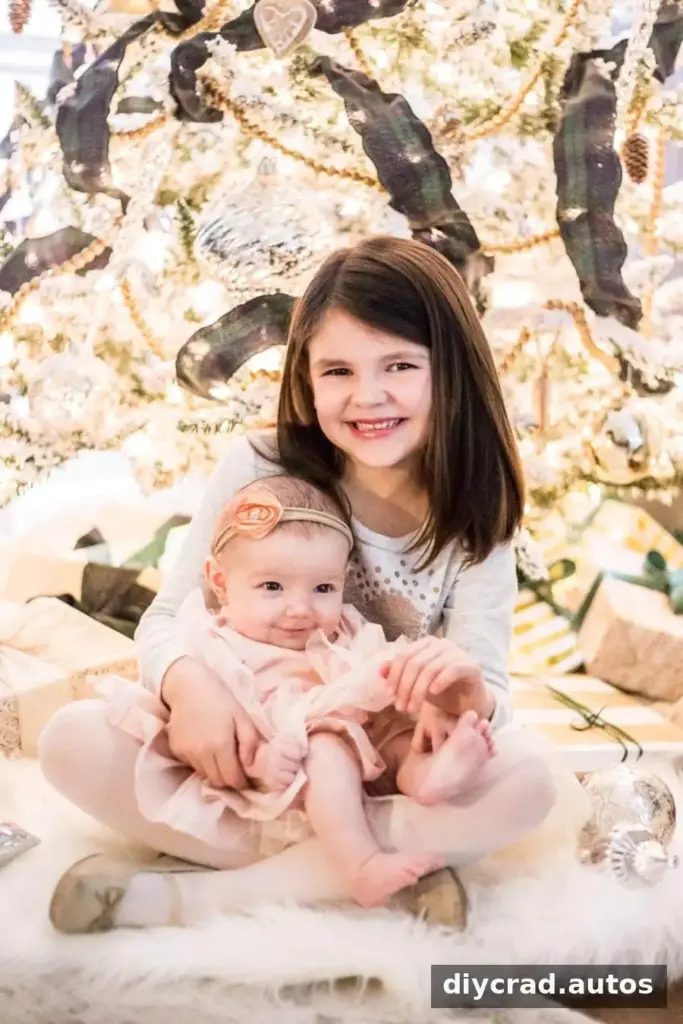
Let people sit, stand, or interact with the decorations instead of requiring everyone to hold the same pose. Try a few variations: sitting in front of the tree, looking at a present, hanging an ornament, or sharing a playful moment. A relaxed expression often makes a portrait feel more personal than a forced smile.
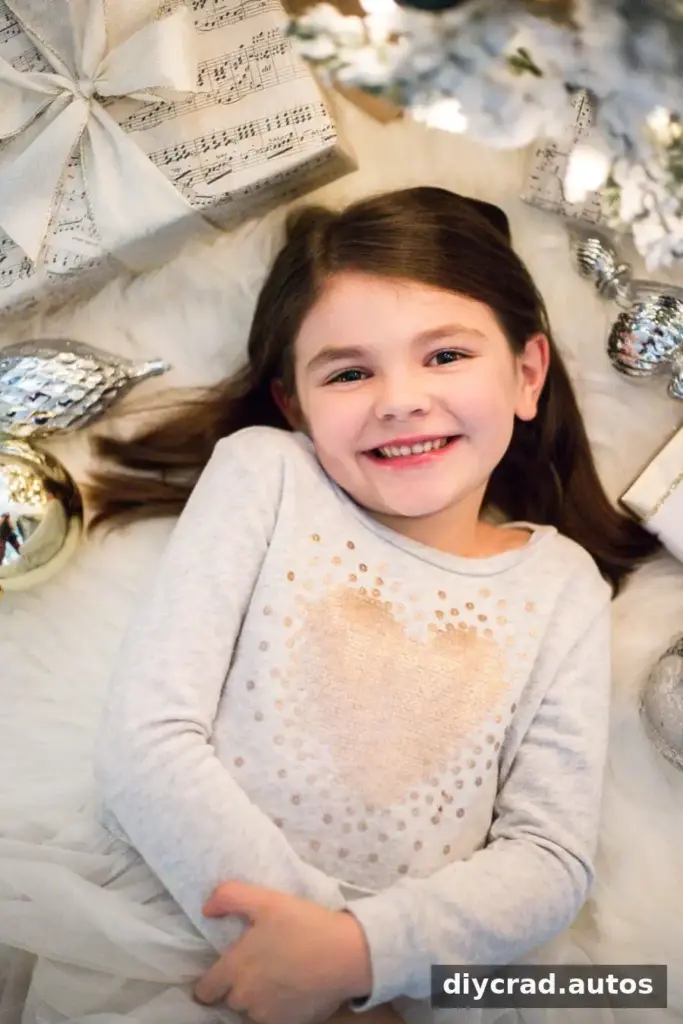
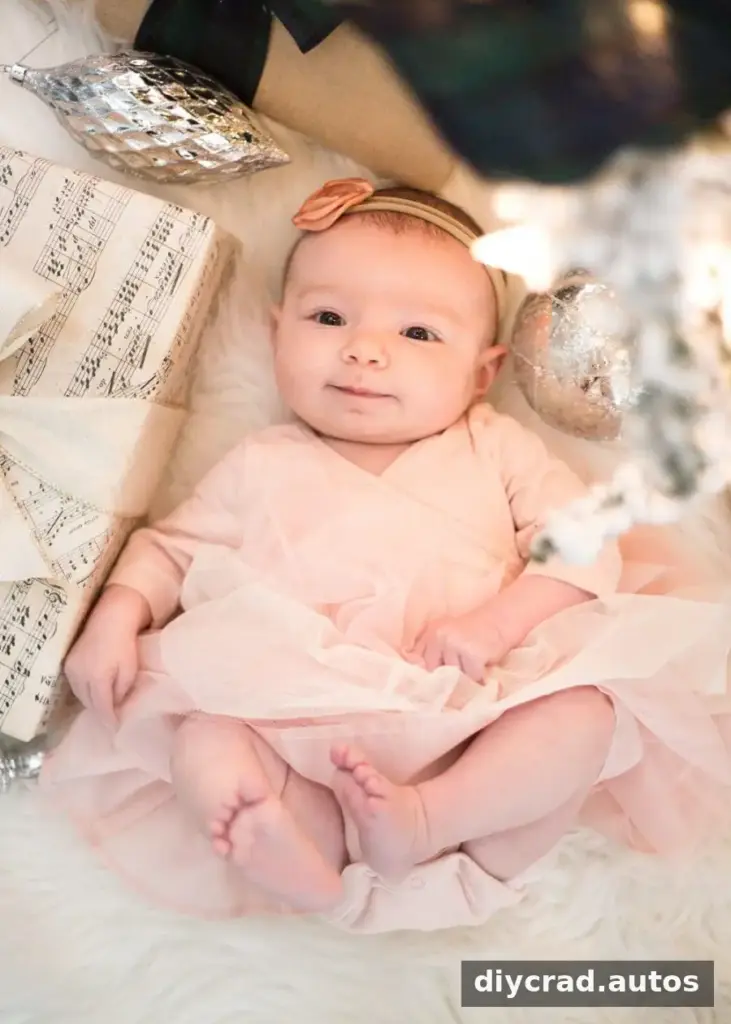
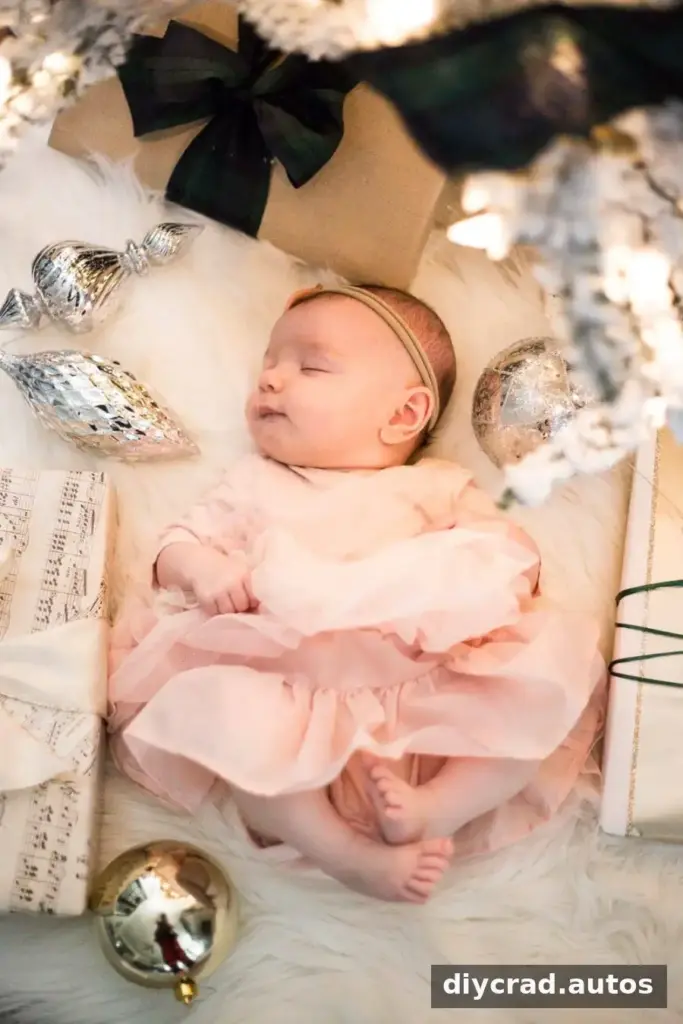
For a different perspective, photograph children lying on a blanket beneath the tree while you shoot from above. Keep them comfortably positioned and make sure any ornaments or lights within reach are safe. This overhead view can also work well for babies who cannot sit up independently.
Get down to a child’s eye level by sitting or crouching before taking the picture. For adults, a camera angle slightly above eye level can be flattering. Leave a little space around the group so you can crop the image later without cutting off heads or hands.
Camera Settings for Christmas Portraits
Using a mobile phone
- Clean the lens: Wipe it before the session to remove fingerprints and smudges.
- Use Live Photo if available: This can help you choose a frame from a brief moment of movement, depending on your phone’s features.
- Check exposure and focus: Tap a face on the screen to focus, then adjust brightness if the image looks too light or dark.
- Stabilize the phone: Use a tripod or a secure surface and set a timer to reduce camera shake. Check the framing before everyone takes their place.
Taking the picture with the phone’s camera app generally makes it easy to use the original image quality and available camera controls.
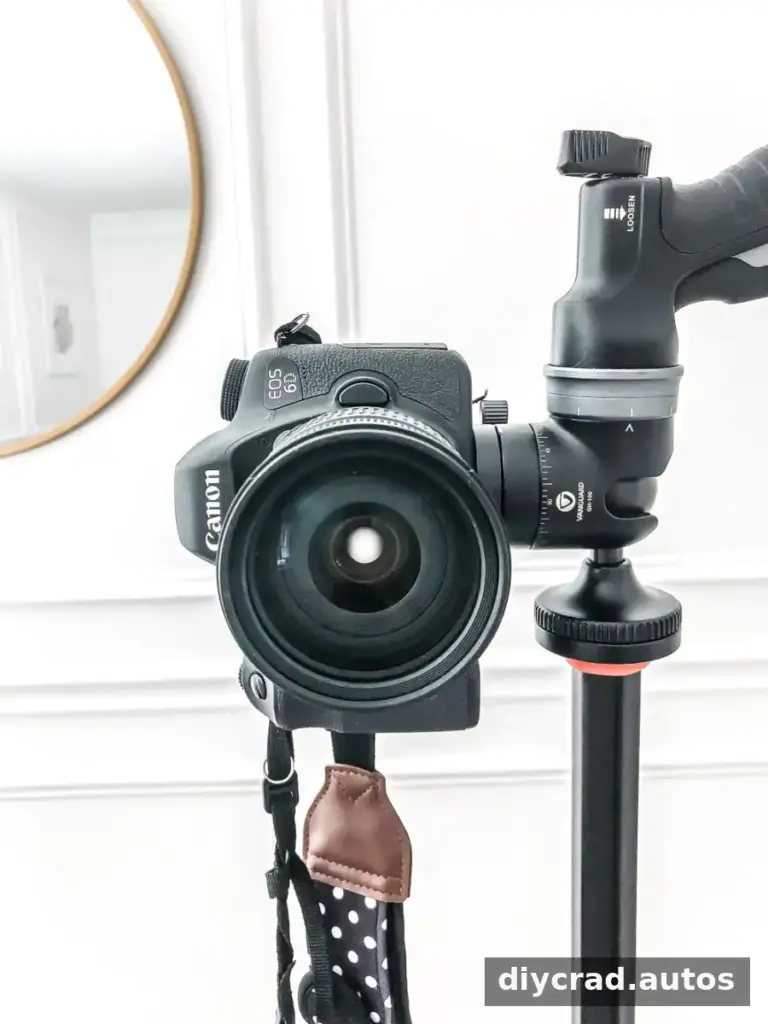
Using a DSLR camera
If you are comfortable using manual mode, start with a wide aperture for a softly blurred background. The original setup uses f/2.0; if your lens cannot open that wide, choose its lowest available f-number. A shallow depth of field makes accurate focus important, so check that faces are sharp.
For moving children, a shutter speed of 1/200 or faster can help reduce motion blur. Adjust ISO to brighten the image when needed, keeping in mind that higher ISO settings can add visible grain. Auto white balance is a useful starting point; review a test image and adjust if the colors look noticeably off.
Focus on the subjects’ faces. On a DSLR, select an appropriate focus point; on a phone, tap the face on the screen. If several people are arranged at different distances, use a smaller aperture (a higher f-number) to increase the area in focus, then compensate for the reduced light with ISO or exposure.
Simple Editing for a Balanced Image
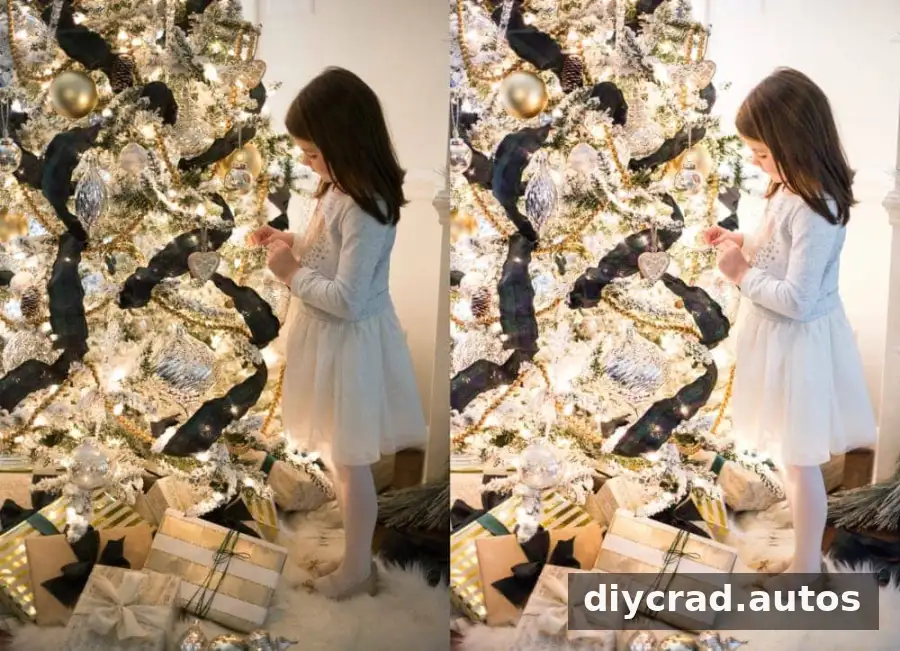
Editing is optional, but small adjustments can help balance a photo. In a photo editor, try increasing exposure slightly if faces are dim, raising whites for brightness, and reducing highlights if bright areas look harsh. You can also lift shadows to reveal detail and lower blacks if dark areas appear too strong. Make changes gradually and compare the edited image with the original so skin tones remain natural.
Make Your DIY Christmas Family Photoshoot Personal
You do not need specialized equipment to create a keepsake. The featured setup used a Canon 6D and a Canon 50mm f/1.8 lens, while a mobile phone can also be suitable for a casual home portrait. What matters most is soft light, careful focus, a steady camera, and an atmosphere where everyone feels comfortable.
Keep the session simple, take several frames, and include a few candid moments alongside posed portraits. A well-planned DIY Christmas family photoshoot can preserve the look and feeling of your holiday at home, whether or not you are making a Christmas card.

