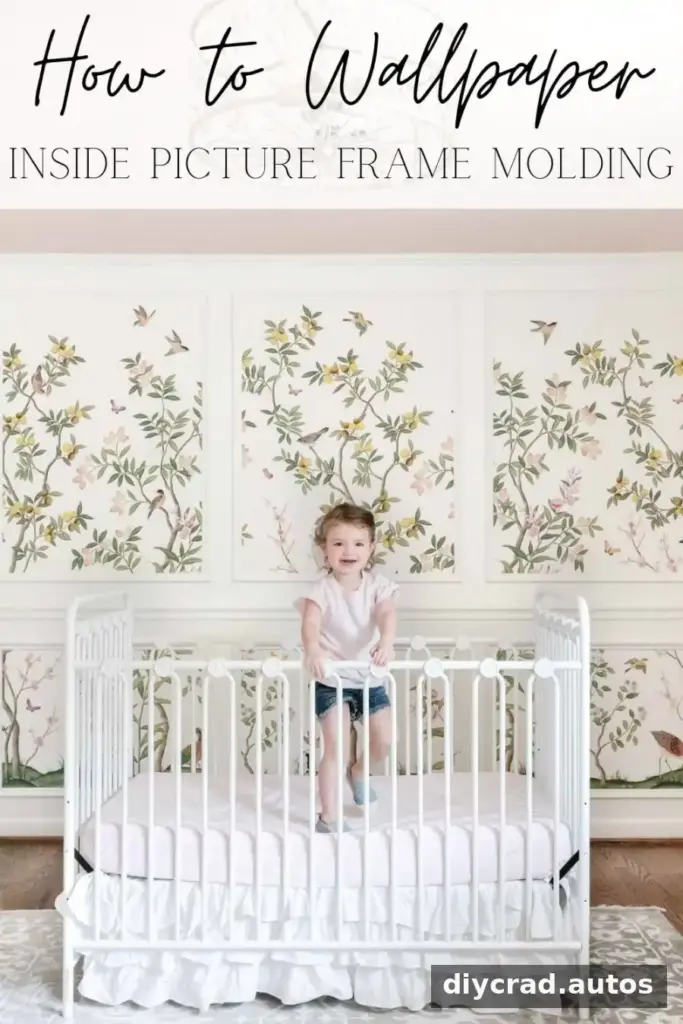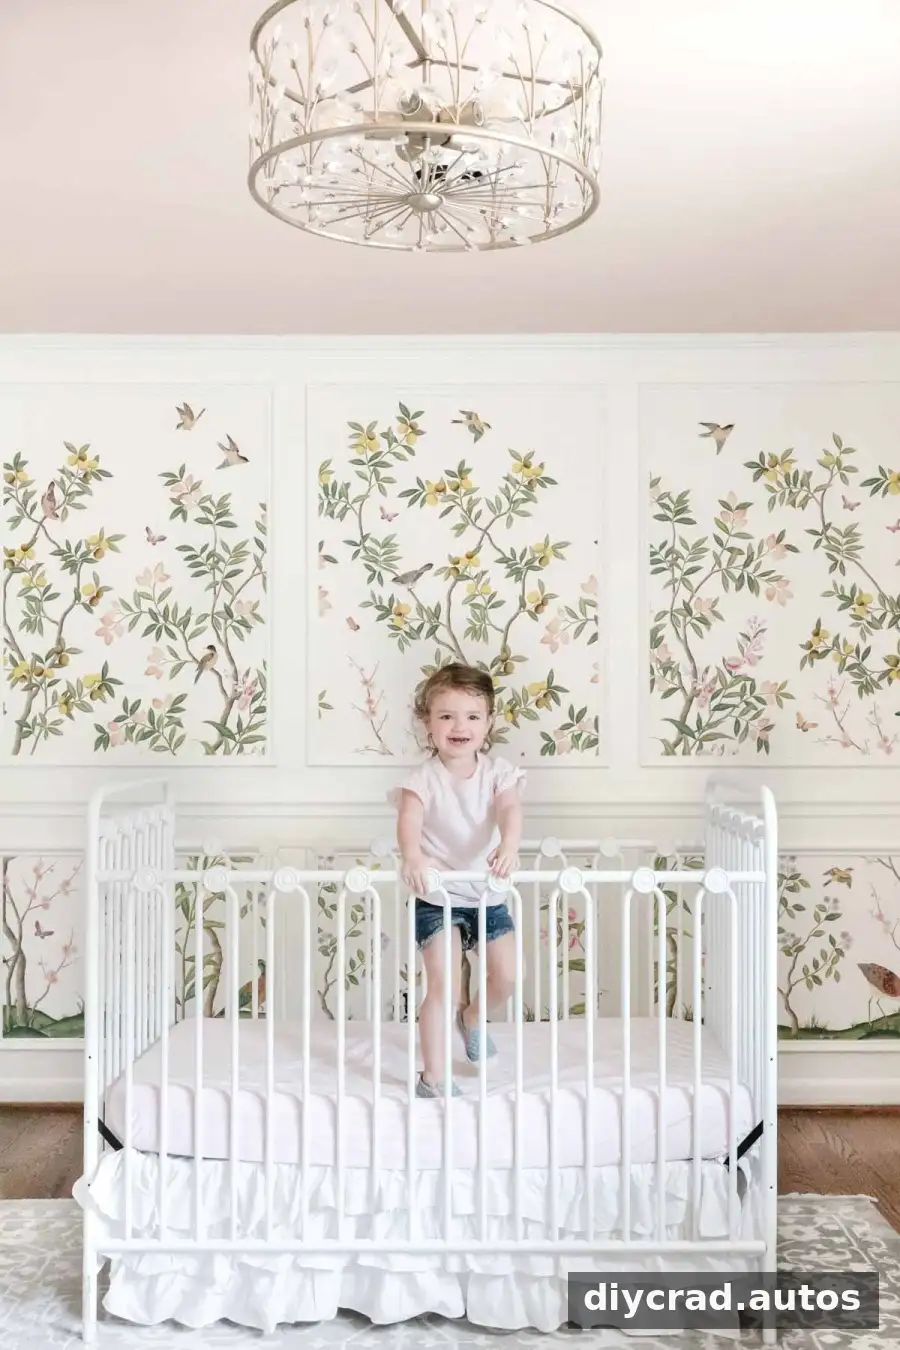
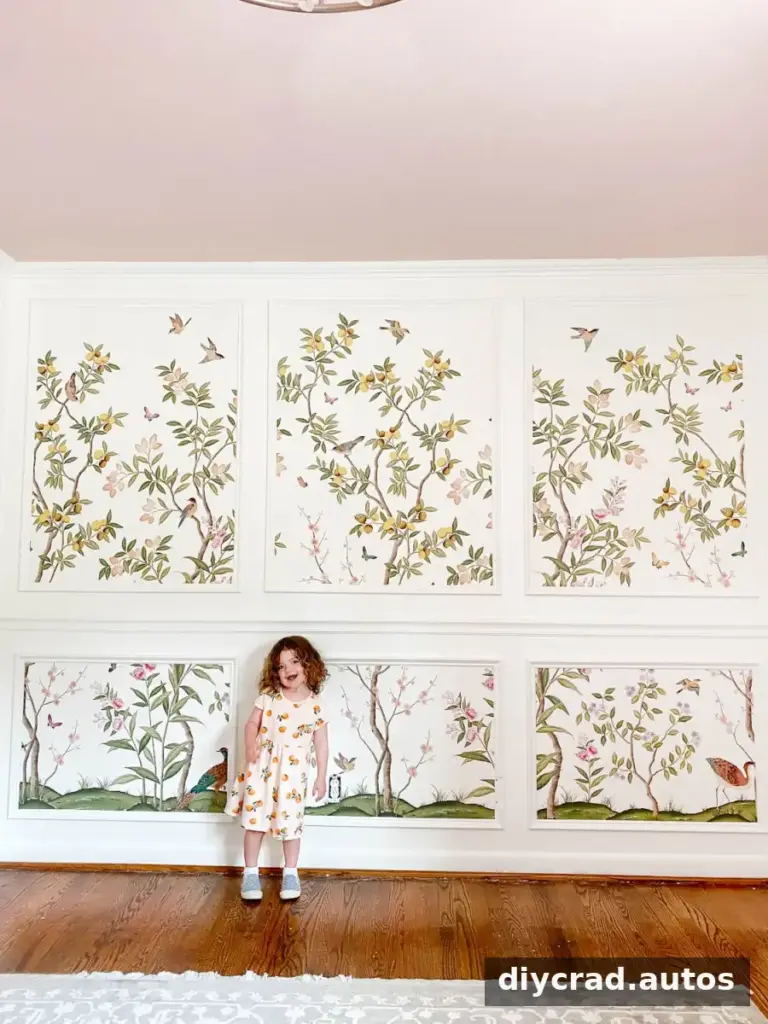
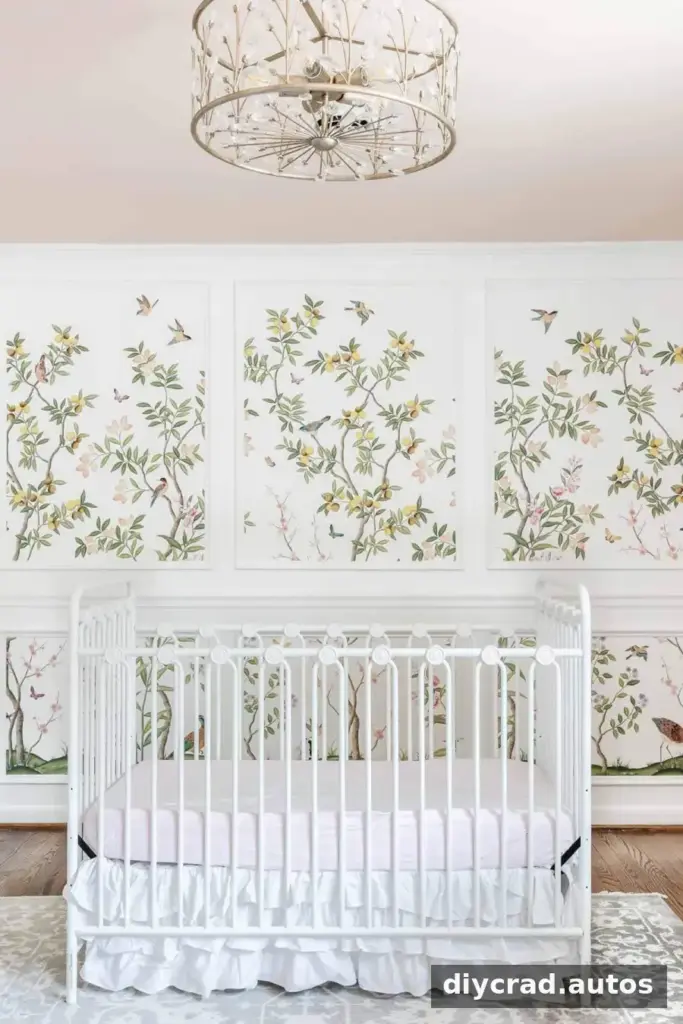
Wallpaper inside picture frame molding adds color and pattern while keeping the finished wall structured and classic. With careful measuring and a few basic tools, you can fit an unpasted wallpaper mural neatly within each frame. The project described here took about two hours for one focal wall; the mural cost approximately $385 based on that wall’s measurements.
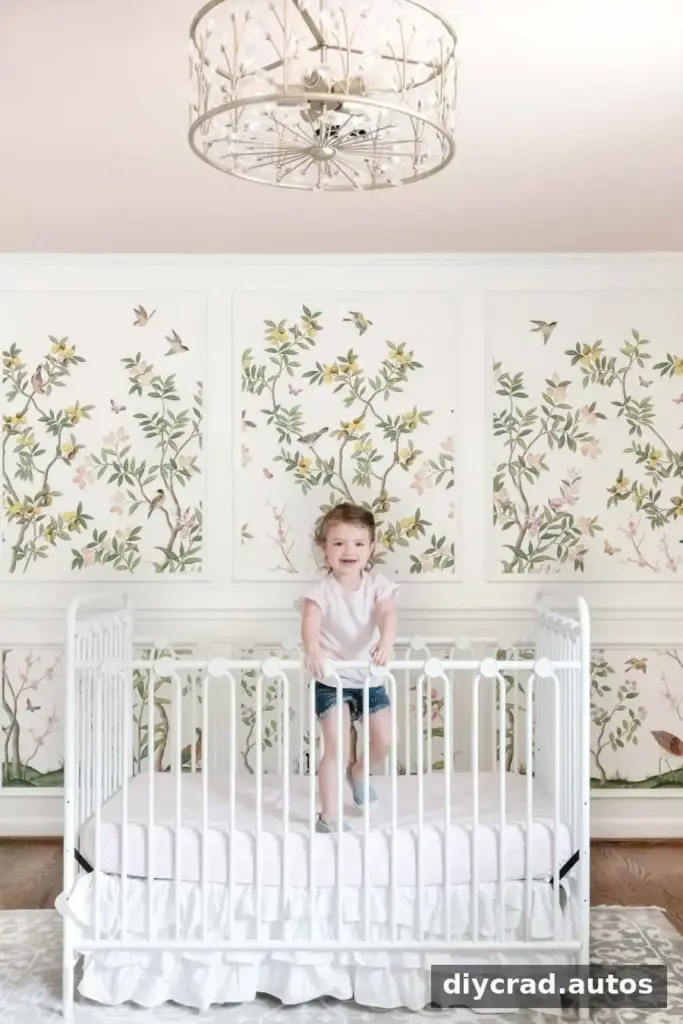
Picture frame molding can be installed and painted before wallpaper is added, making it possible to update the look later with a patterned mural. A floral chinoiserie design featuring birds and butterflies, for example, can bring a soft, decorative feel to a bedroom. Before starting, check that the molding and wall are clean and that the wallpaper design suits the dimensions of each frame.
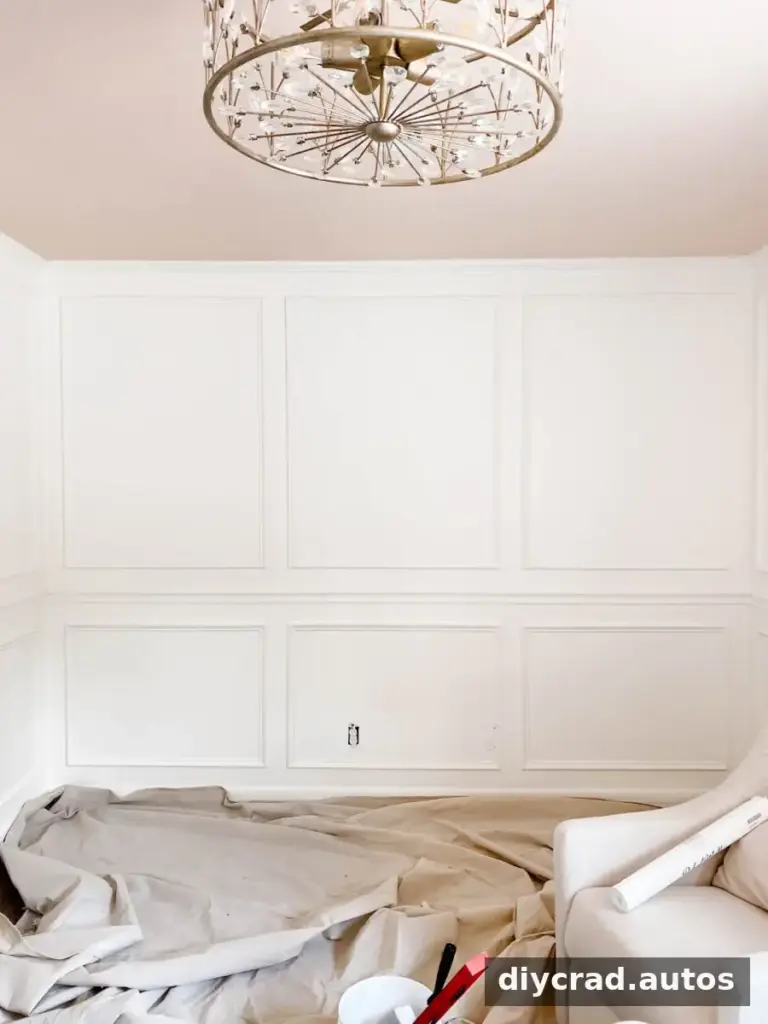
How to Wallpaper Inside Picture Frame Molding
This method is for unpasted wallpaper, which is applied by putting paste on the wall. It can be repositioned while the paste is wet, but the process is messier than using peel-and-stick wallpaper. If you have pre-pasted or peel-and-stick paper, follow the product’s specific instructions instead.
Supplies
- Wallpaper or a wallpaper mural
- Cellulose sponge
- Scissors and a pencil
- Level and measuring tape
- Plumb line, or a length of string with a small weight
- Utility knife with spare sharp blades
- Wallpaper smoother
- Empty bucket and wallpaper paste
- Whisk for mixing paste
- Large bowl of cold water for cleaning paste from the surface
- Step stool
- Metal straight edge, such as a metal ruler, yardstick, or trowel
- 1–2-inch angled paint brush and a mini paint roller
Prepare the Wall and Paste
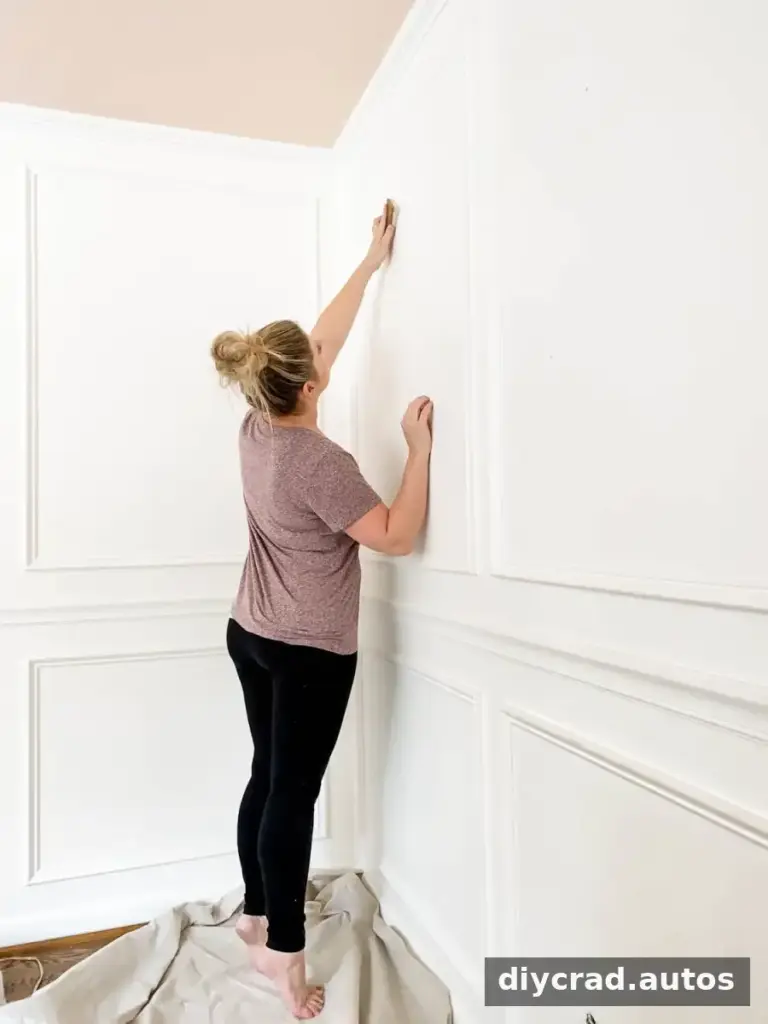
- Wipe the wall inside the molding with a damp sponge to remove dust and residue. Let the surface dry as needed before applying paste.
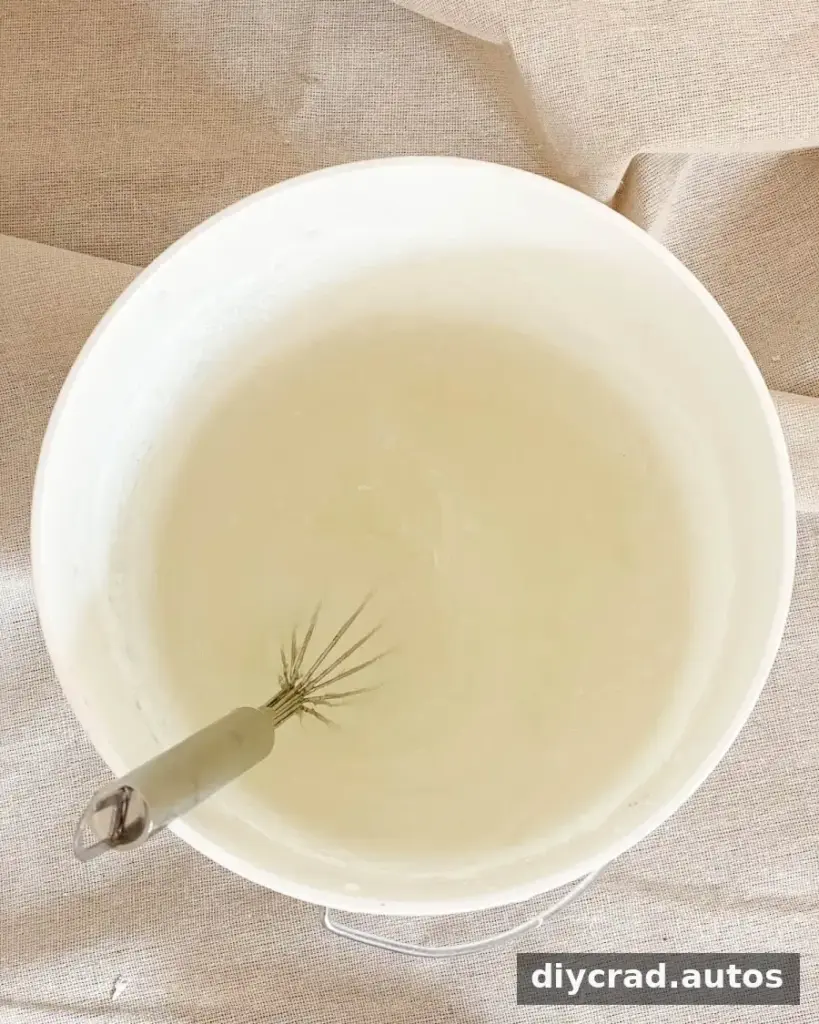
- Mix the wallpaper paste according to its package directions. In the example method, the paste mix called for 4 liters of cold water; it was stirred briskly for a few minutes and left to set. Always follow the instructions supplied with your own paste.
Measure and Hang the First Strip
- Measure the width of the wallpaper. Starting at the top of the molding, mark that distance from your chosen starting point.
- Hang a plumb line at the mark and note where it reaches the bottom of the frame.
- Use a level to connect the points and establish a straight guide for the first strip. Taking time to check this line helps keep the pattern vertical.
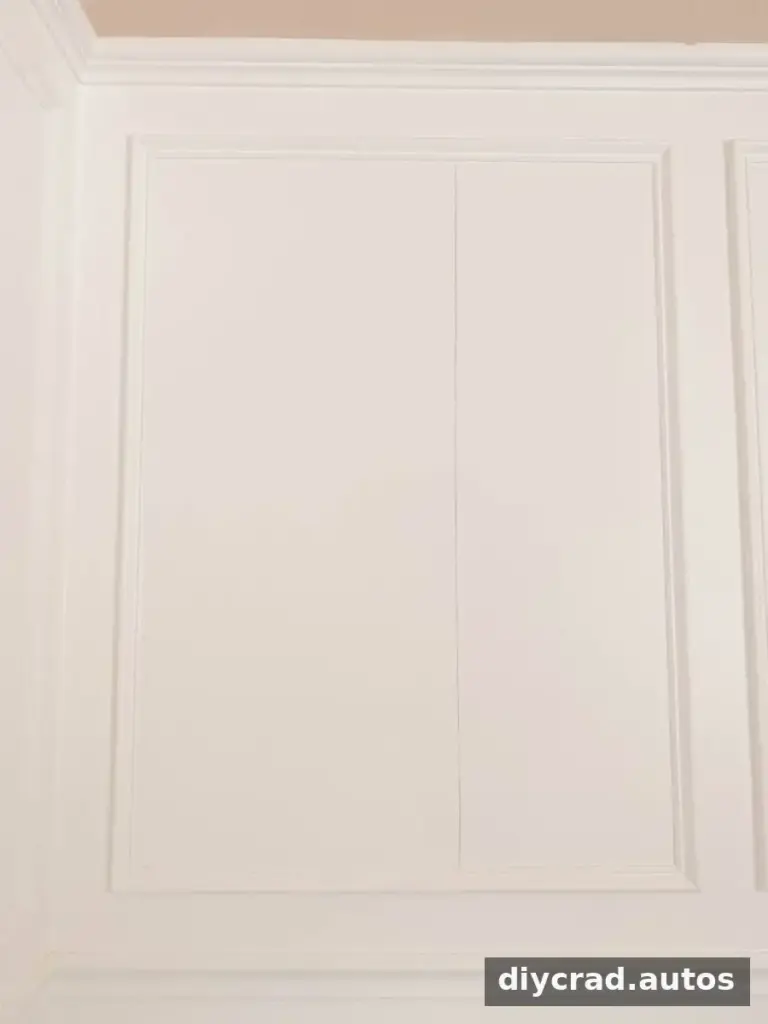
- Measure the height of the molding section and add about 3 inches to allow for trimming.
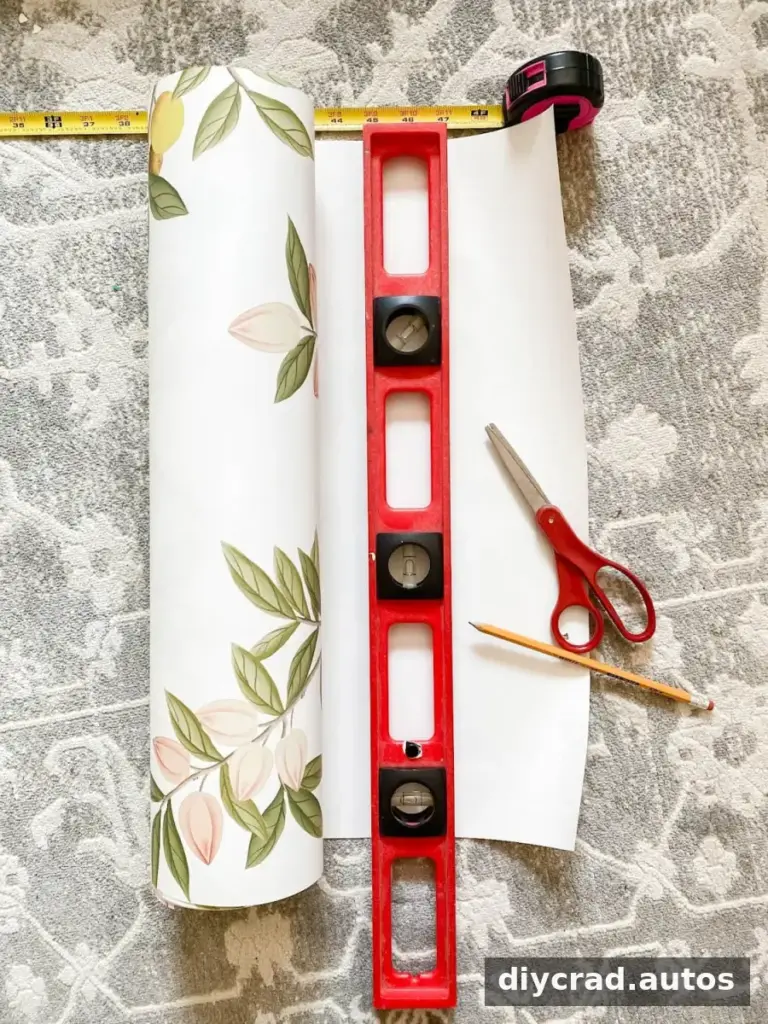
- Measure, mark, and cut the first wallpaper length.
- Use the angled brush to apply paste carefully to the corners and edges of the wall section.
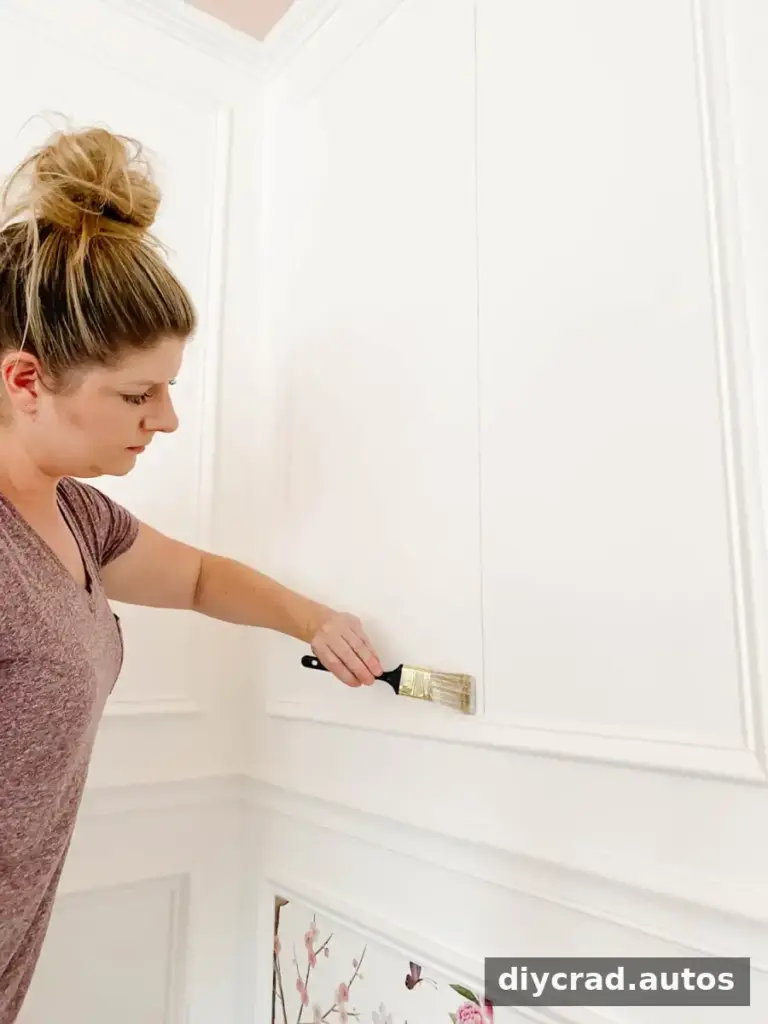
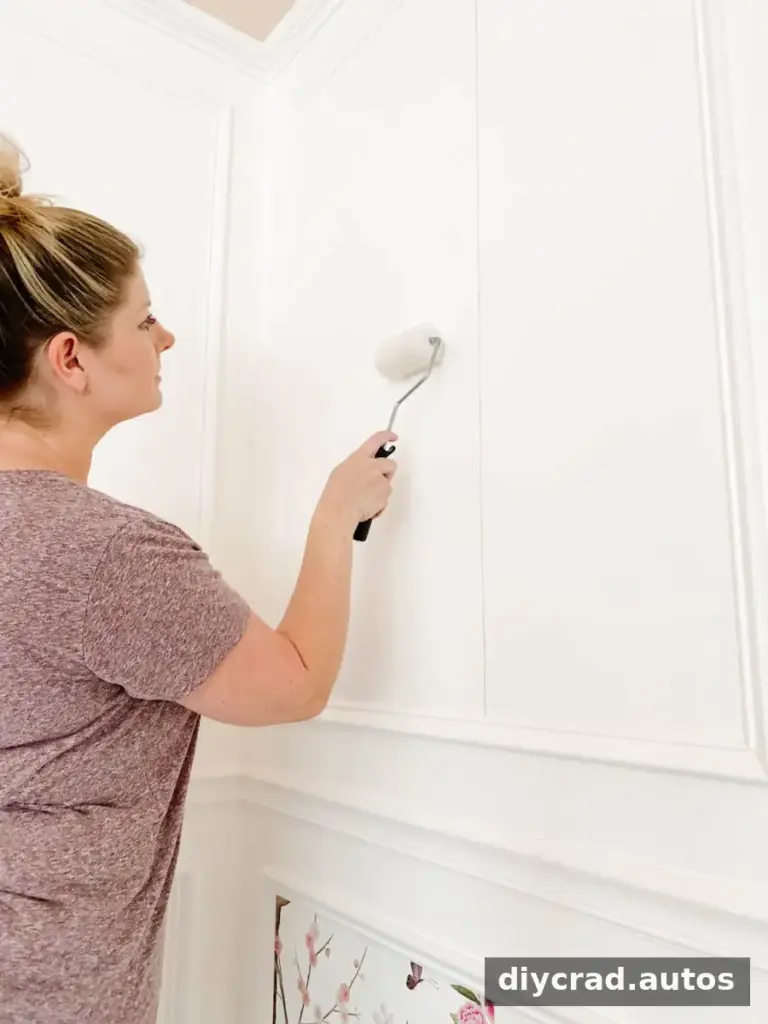
- Spread paste across the remaining area with the mini roller, covering the section where the strip will sit.
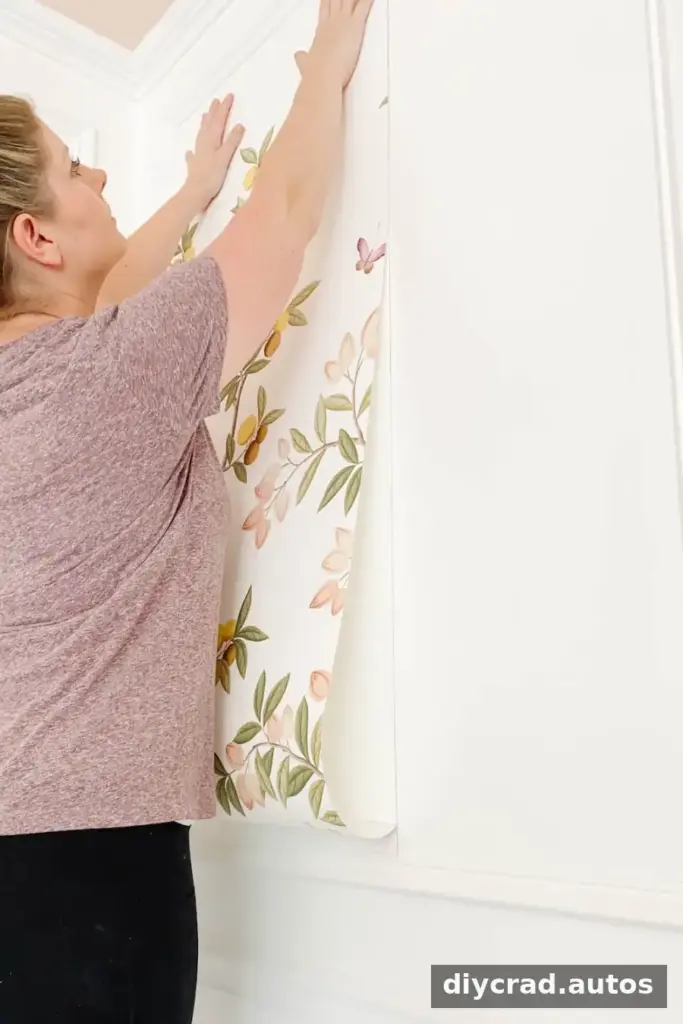
- Place the wallpaper over the pasted wall and align it with your guide. Unpasted paper can be slid gently into position while the paste is wet.
- Use a wallpaper smoother to work air bubbles outward toward the edges. Smooth carefully to avoid stretching or shifting the design.
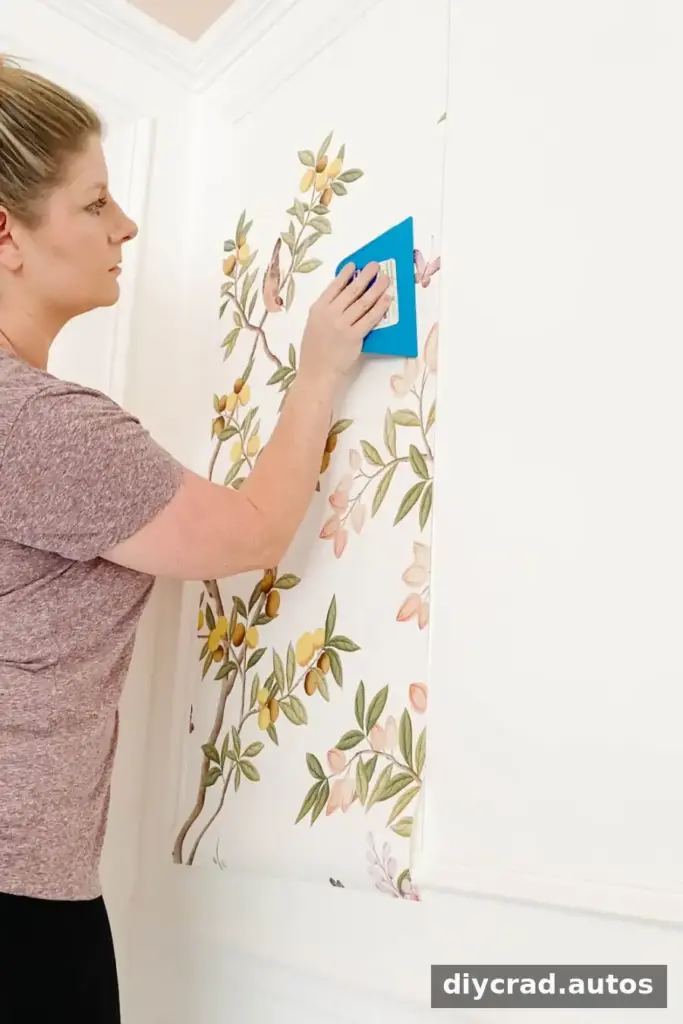
- Leave about 1–2 inches of excess paper at the top and bottom edges for a clean trim.
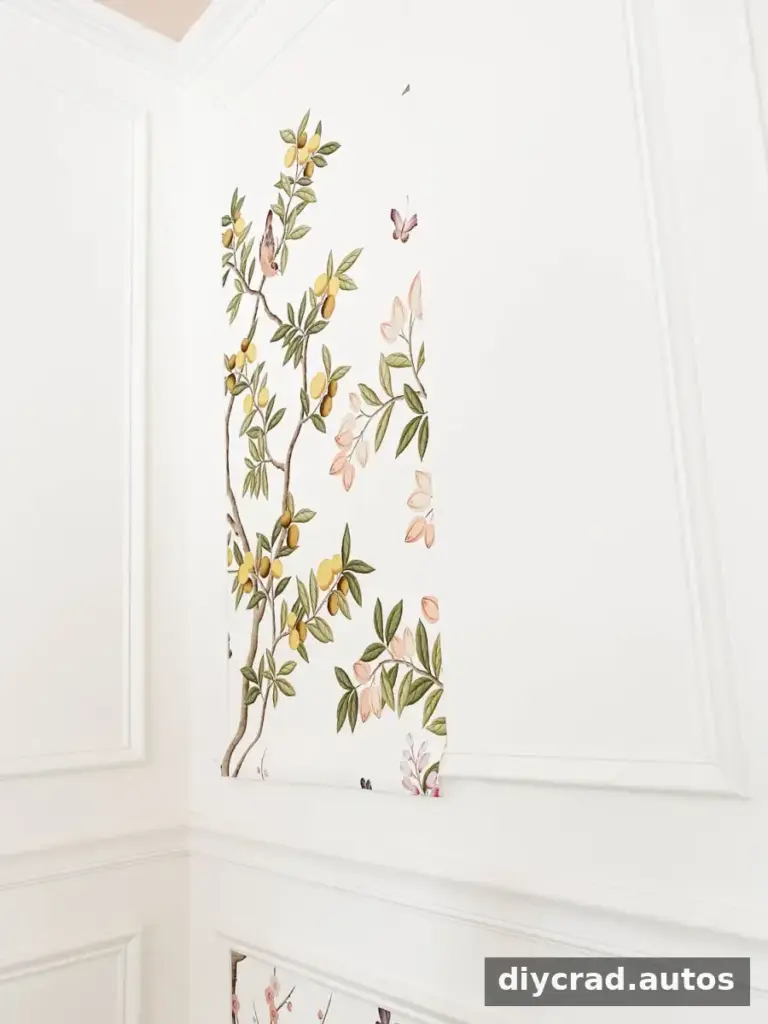
- Press a metal straight edge firmly against the molding, then trim the excess with a sharp utility knife. Replace blades regularly; a fresh blade makes it easier to cut neatly.
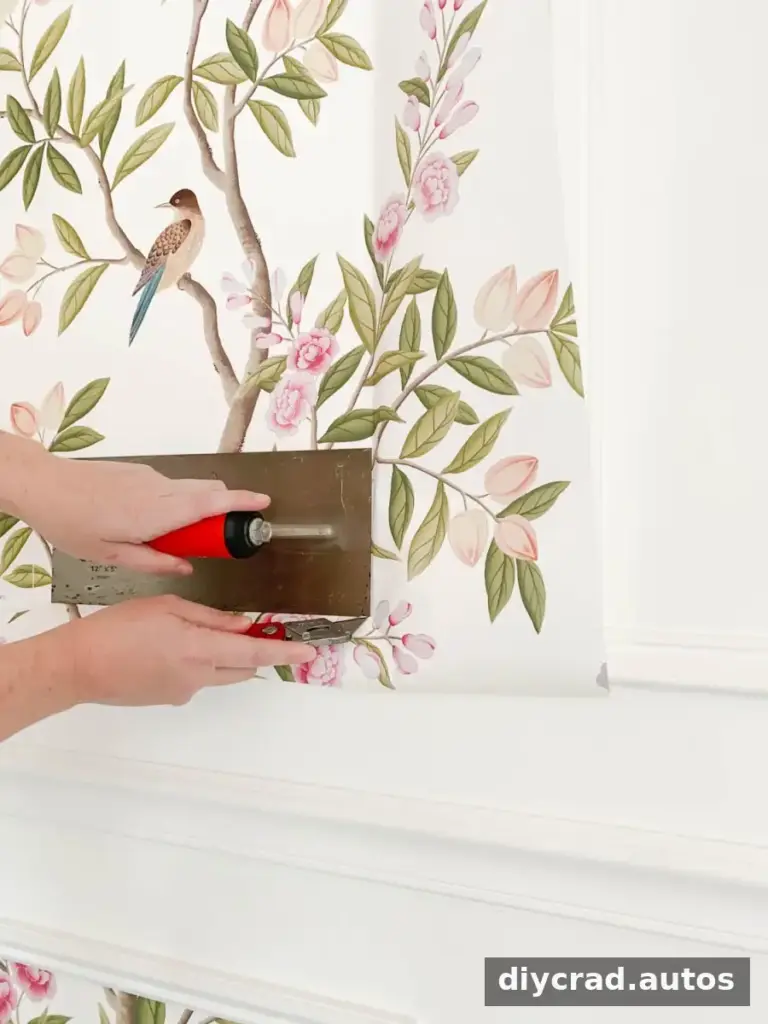
- Dampen a sponge, wring it out, and wipe away excess paste from the wallpaper. Rinse and wring the sponge frequently to avoid spreading paste.
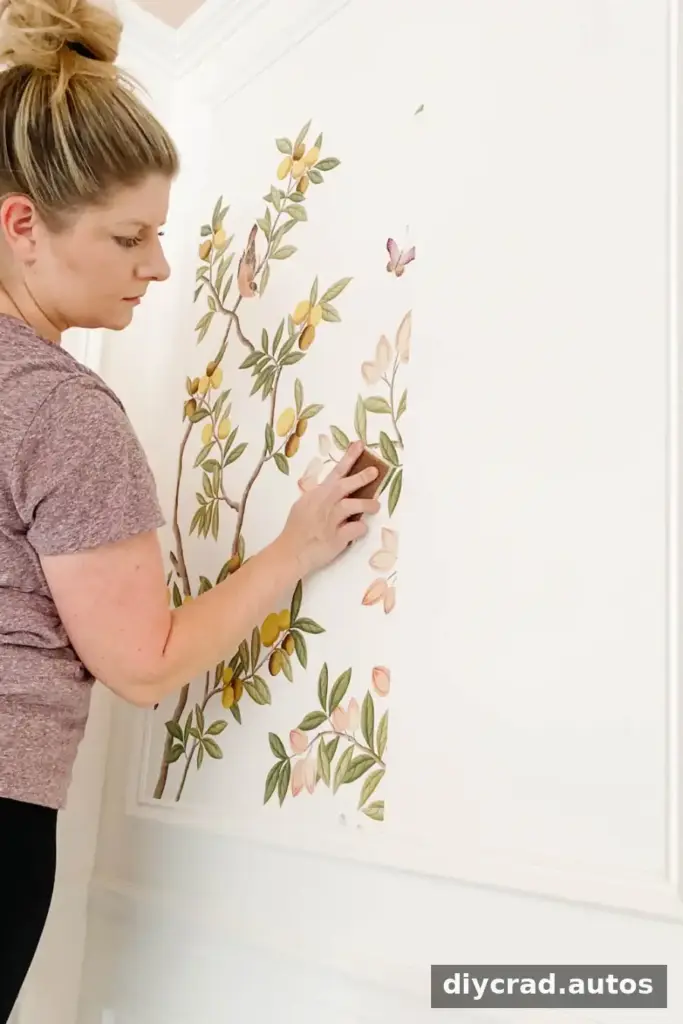
- Repeat the cutting, pasting, smoothing, and trimming steps for the next strip. When beginning a new molding section, measure and mark a fresh level guide before hanging paper.
Work one frame section at a time and check the pattern alignment before the paste dries. Careful trimming along the molding helps the wallpaper look integrated with the wall detail.
Practical Tips and Common Questions
Can I hang wallpaper by myself?
Yes, it is possible to hang wallpaper alone, although a helper can make it easier to hold and align a long or heavy strip. Pre-pasted paper can be particularly challenging to handle without assistance because it may become heavier when prepared. For a solo project, cut manageable lengths and keep tools within reach before applying paste.
Is it cheaper to paint or wallpaper?
Painting is generally the less expensive option. Stenciling can create a patterned effect using paint, while wallpaper offers many designs and finishes at a range of prices. Compare the cost of the wallpaper, paste, and tools with your wall measurements before choosing.
What wallpaper is suitable for a temporary update?
Peel-and-stick vinyl wallpaper is often chosen for a temporary change because it is designed to be removable. Results depend on the wallpaper and the wall surface, so check the manufacturer’s removal guidance and test a discreet area if you are concerned about paint or surface damage.
Conclusion
Wallpaper inside picture frame molding can make a focal wall feel more detailed without covering the entire room in pattern. Measure each section, use a level to set a straight guide, and trim with a sharp blade for a tidy finish. Following these steps makes wallpaper inside picture frame molding a manageable project for a careful DIYer.