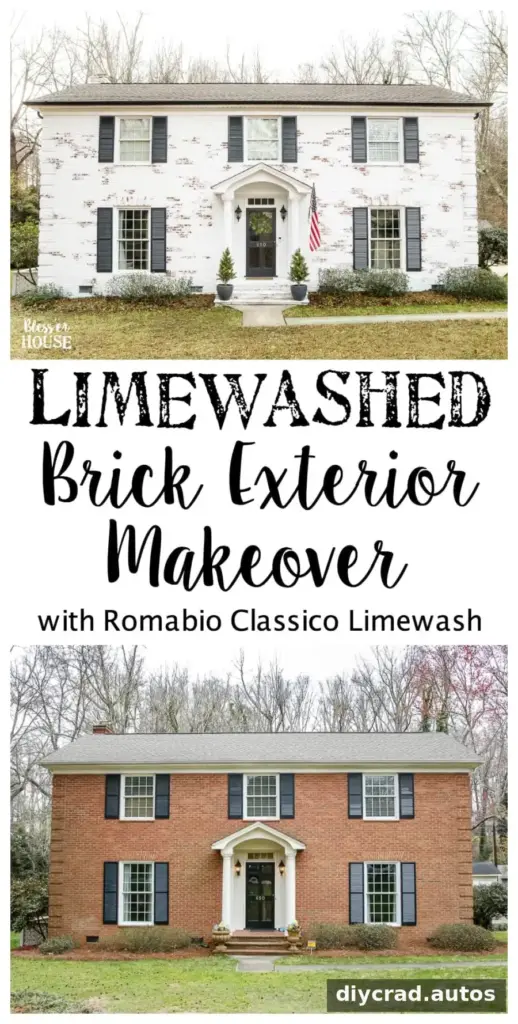
A limewashed brick exterior can give a home a soft, weathered finish while allowing some of the original brick texture to remain visible. This makeover combines bright white limewash with dark shutters and trim for a refreshed look. The guide below covers the before-and-after details, materials, application steps, weather considerations, and long-term care.
Brick Exterior Before the Makeover
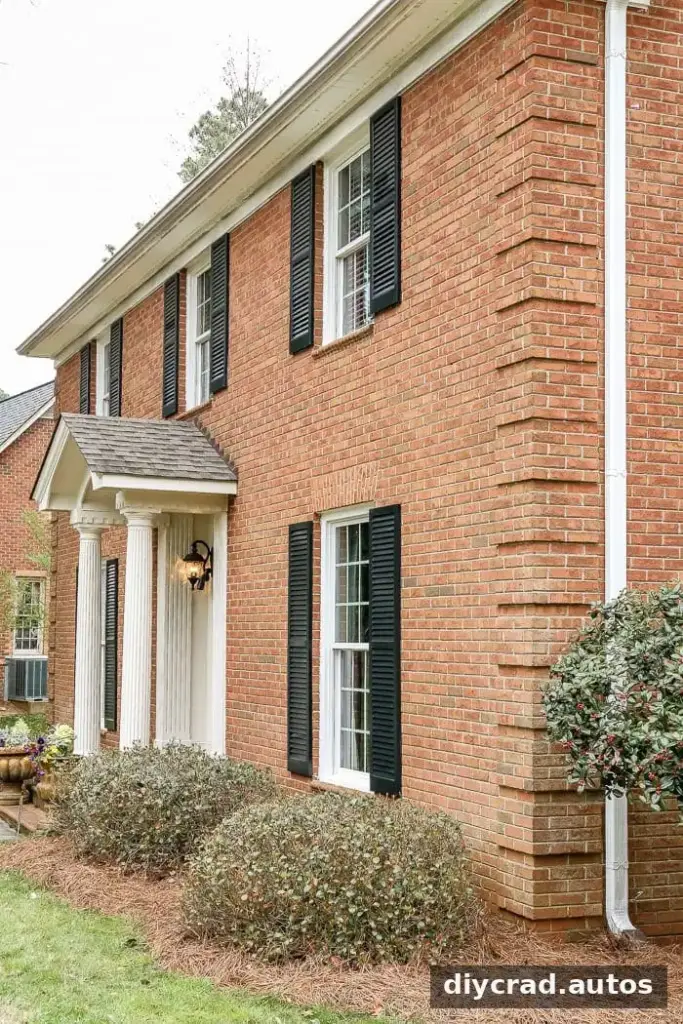
The home originally had natural brick, which can be attractive in its own right. The goal was to create a lighter exterior with a classic European-inspired appearance, paired with dark shutters. The brick itself was not in poor condition; the change was about giving the house a different style.
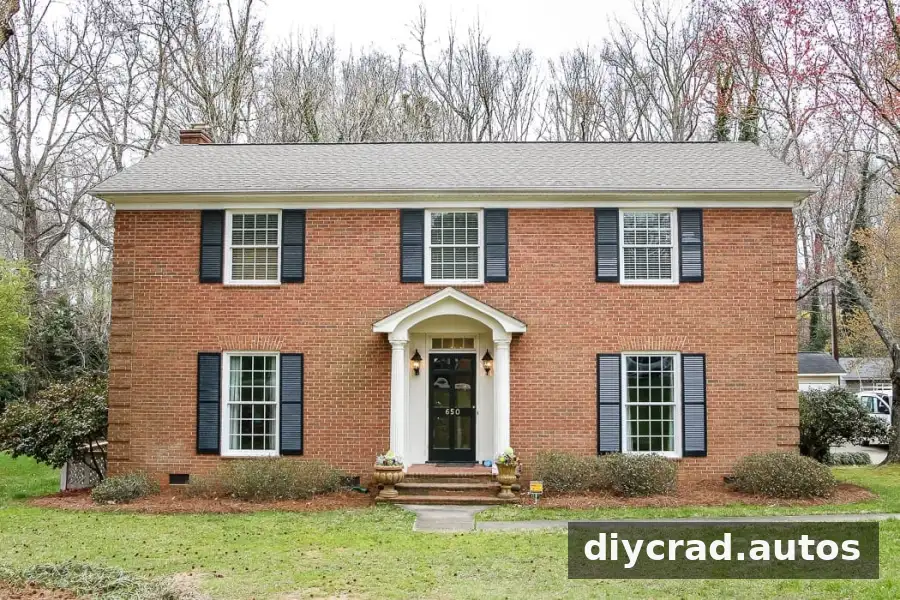
When planning a similar project, consider the existing roof, windows, masonry, and surrounding landscape together. Testing a small, inconspicuous section can help you judge how the limewash looks on your particular brick before treating the whole exterior.
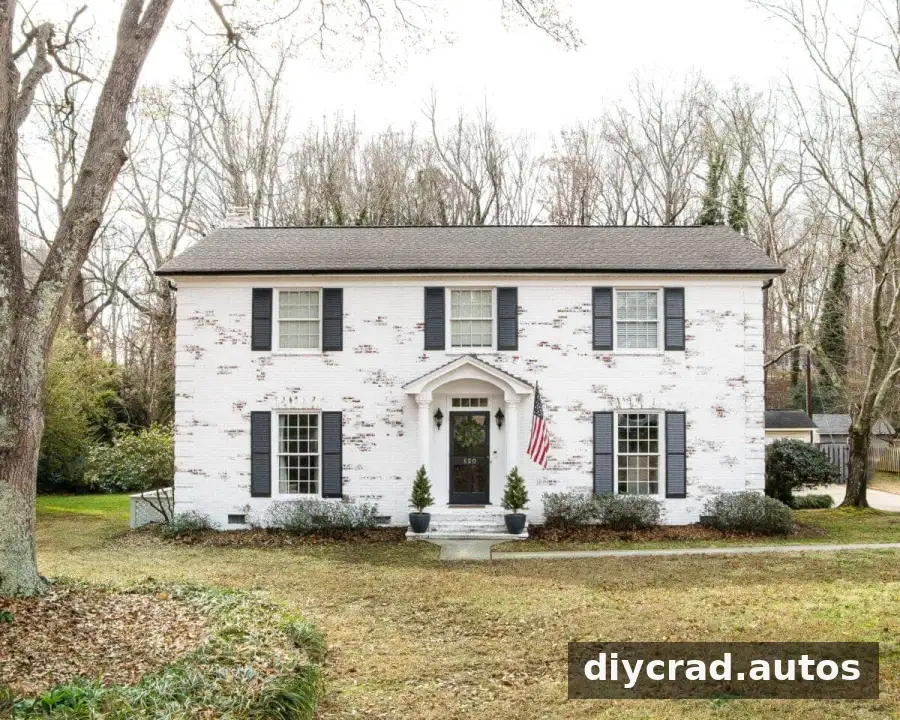
Limewashed Brick Exterior After the Makeover
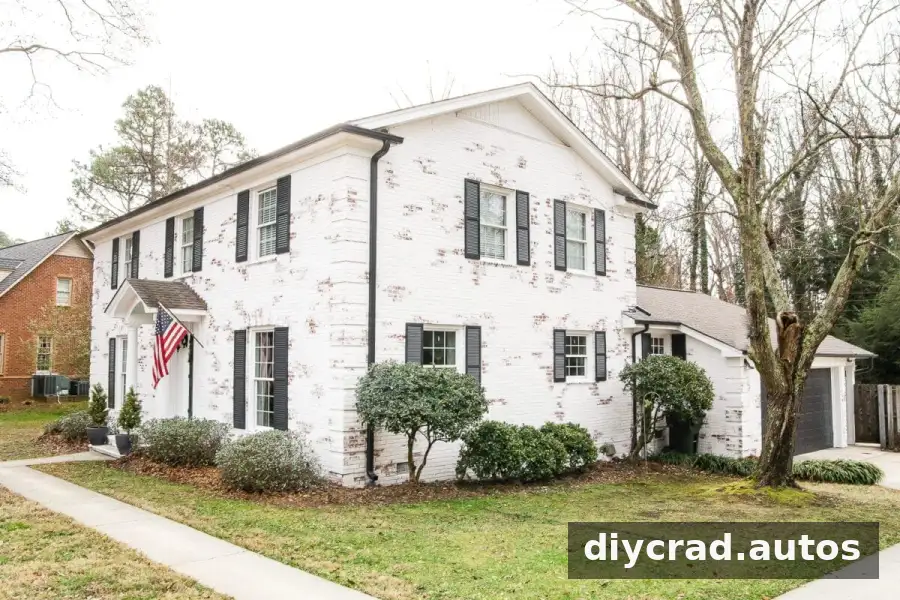
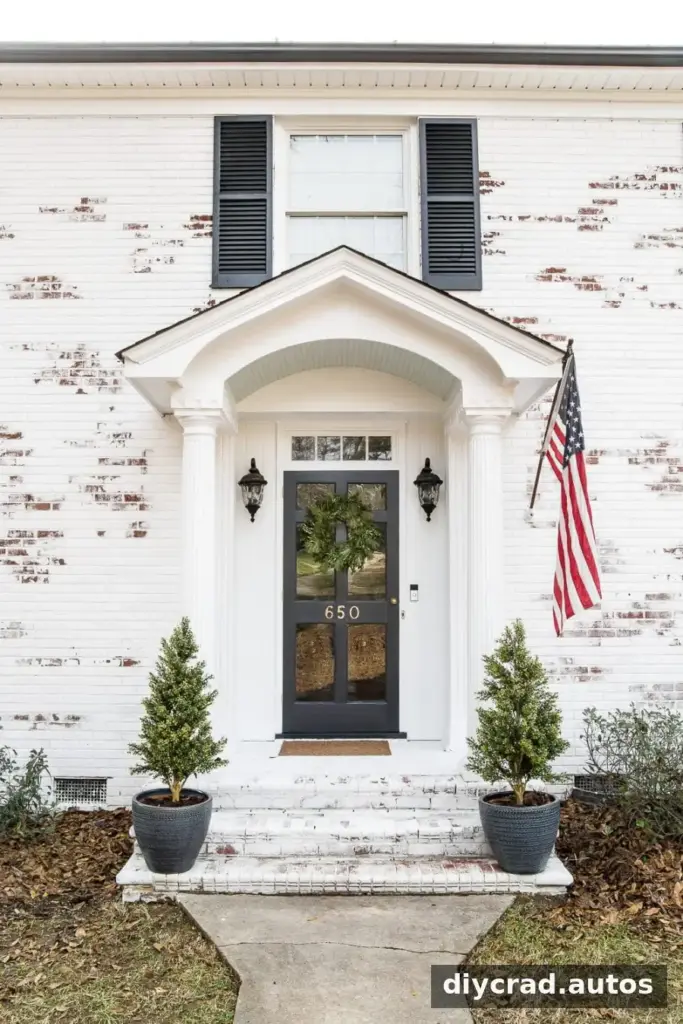
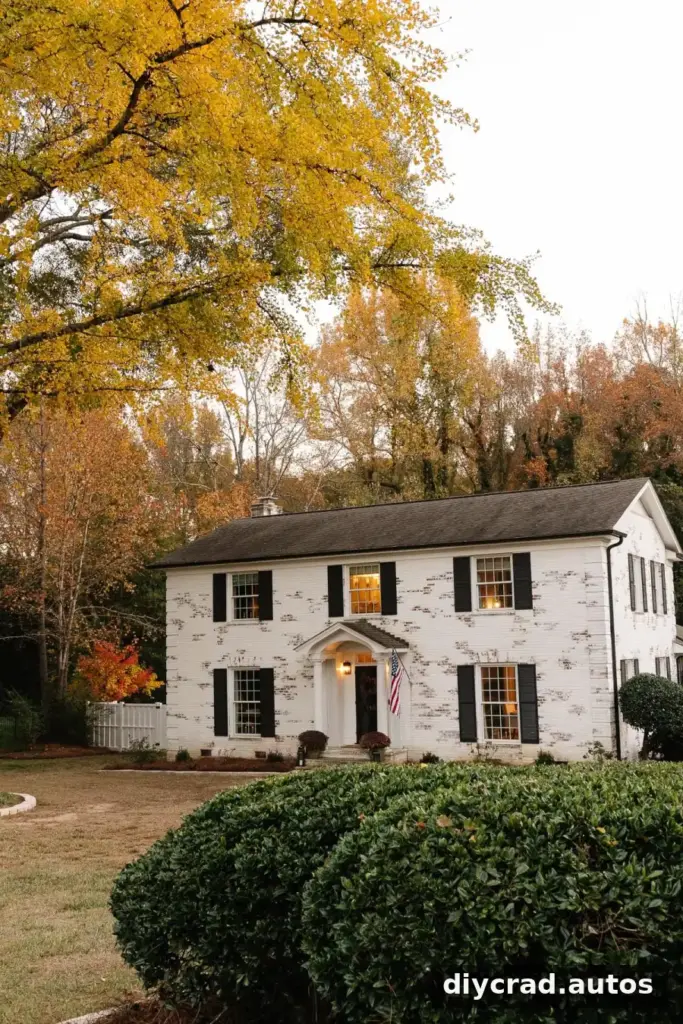
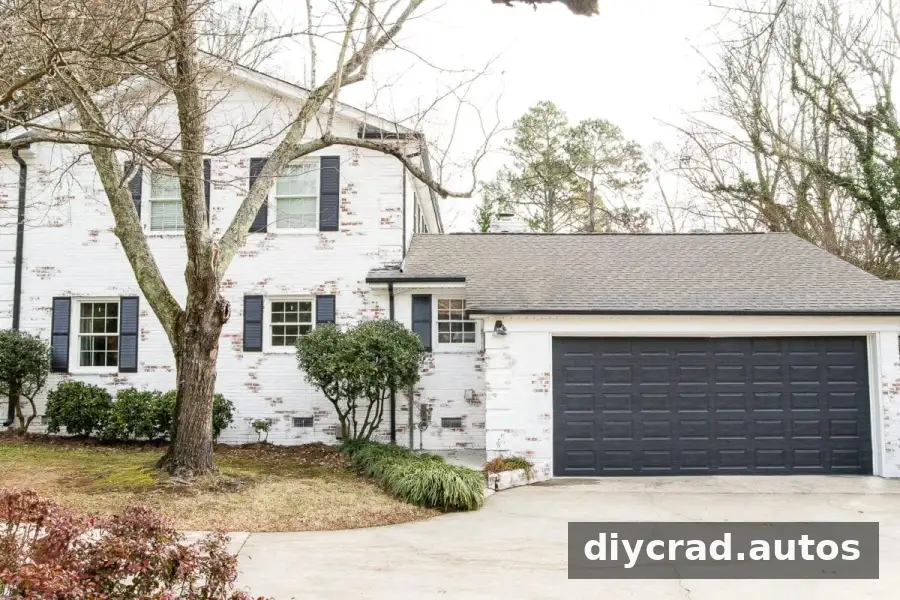
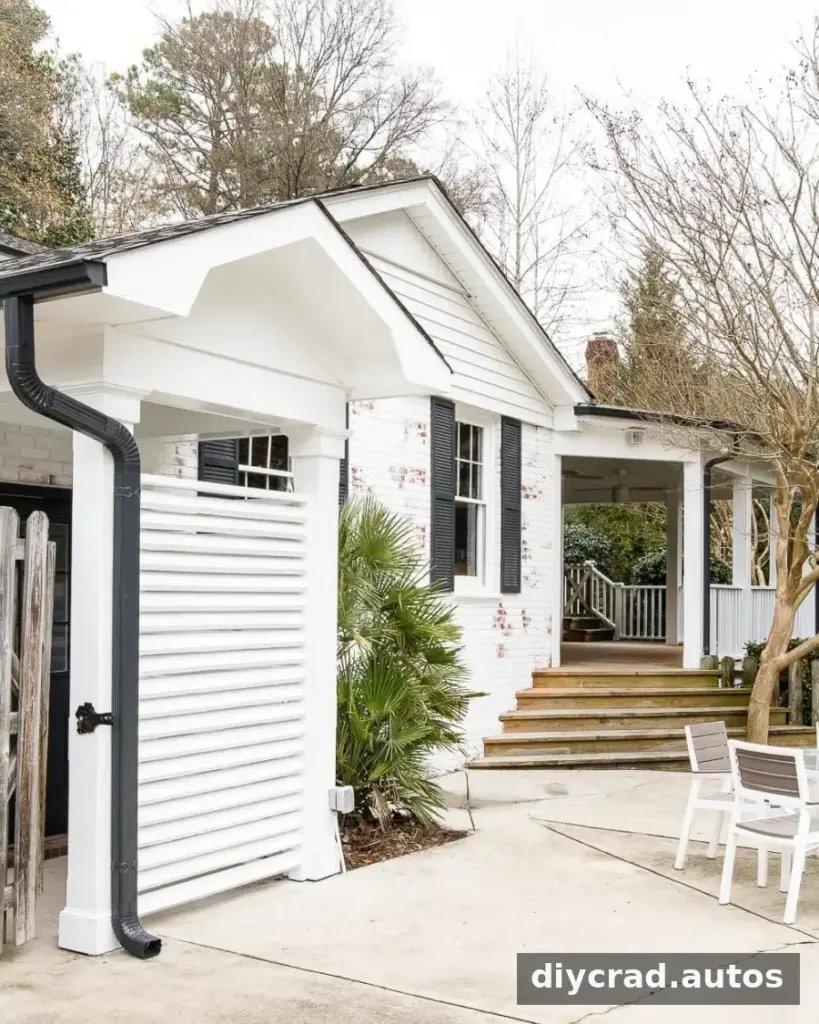
After the brick was limewashed and the trim and shutters were updated, the house had a brighter, more defined look. The finish keeps some variation in the masonry, so the result does not appear as uniform as a solid coat of paint.
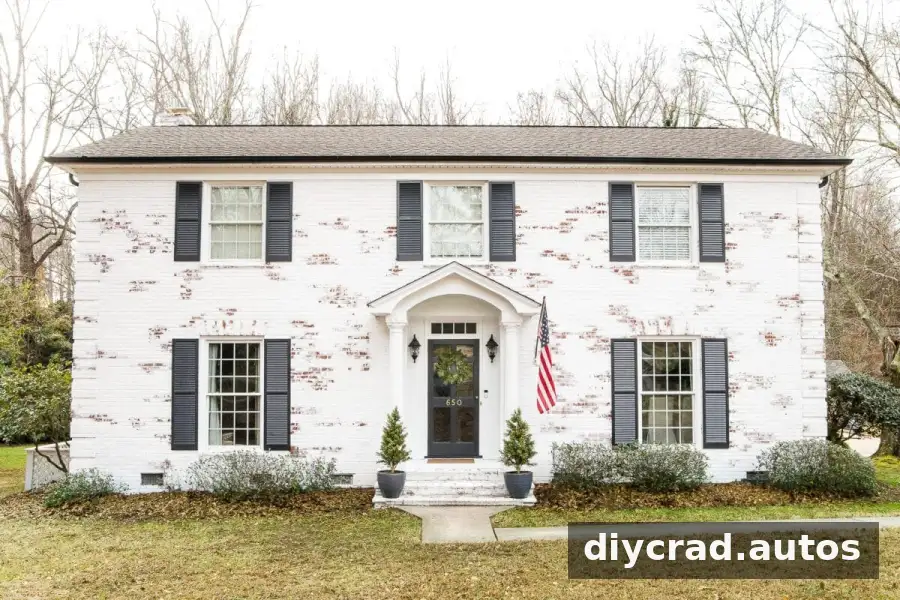
The landscaping was still a work in progress when the first photographs were taken. The lighter brick and refreshed trim provided a clearer backdrop for the garden, and the appearance could be assessed again as the grass and trees filled in during warmer months.

What Is Limewash?
Limewash is made from aged, slaked lime and is applied to masonry with a large brush or suitable sprayer. Unlike conventional acrylic paint, it becomes part of the porous masonry surface as it calcifies. A limewash finish can be washed back while it is still workable to reveal some of the brick beneath and create a more weathered effect.
The amount of exposed brick depends on the application and removal process. The finish described for this project is expected to last 15–25 years with little maintenance, although actual durability depends on the surface, application, and local conditions. Follow the product instructions for preparation, application, and safety.
Choosing a Limewash Artisan or Painter
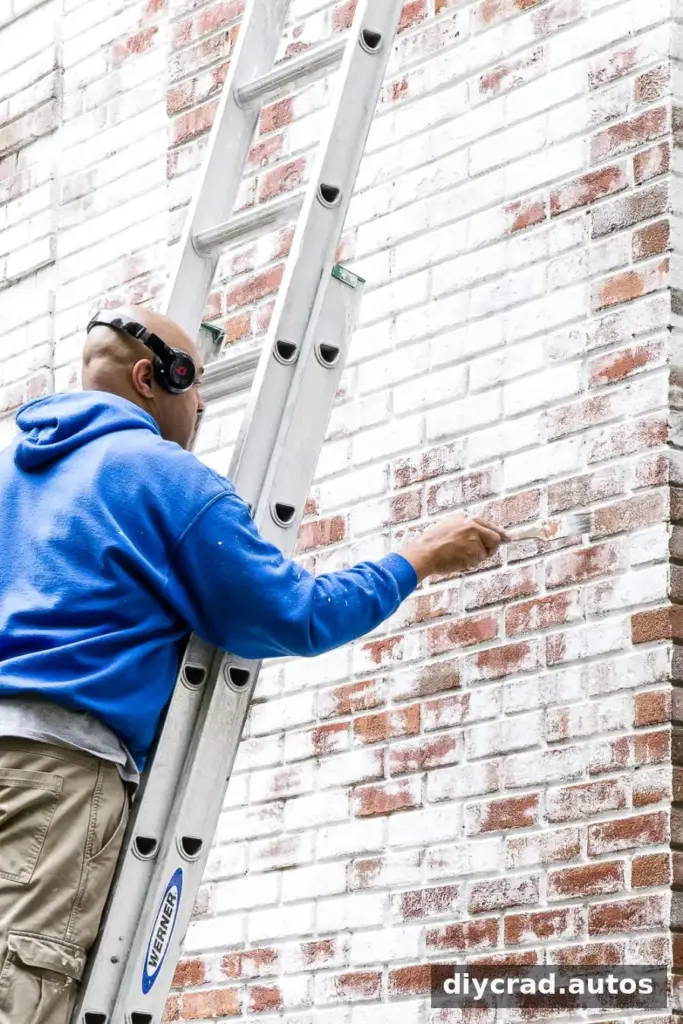
The exterior project was completed by Hans of Reflections of Italy, an artisan trained in Italy. The work took about a month, allowing time to apply the limewash and shape the weathered appearance across the house.
A contractor experienced with masonry coatings may be able to apply limewash, but achieving a naturally aged look takes careful judgment. An experienced artisan can consider how rain would move across the walls and selectively reveal brick near areas such as window sills, shutters, and outside corners. Ask to see examples of previous work and discuss the desired amount of visible brick before hiring.
A how-to video can also help explain the process, but exterior work involves ladders, pressure washing, and changing weather. Consider hiring a qualified professional if you are unsure about working at height or protecting nearby surfaces.
How to Limewash Brick
Supplies
- Pressure washer
- Garden hose
- 5-gallon bucket
- Limewash: 1-liter size covers 80–100 sq. ft.; 2.5-liter size covers 200–250 sq. ft.; 15-liter size covers 1,200–1,500 sq. ft.
- Drill with a paint-mixing bit
- Paint sprayer (optional; a professional-grade sprayer may be rented)
- Masonry brush
- White vinegar
- Ladders
- Plastic drop cloths
- Painter’s tape
Coverage can vary with the brick’s porosity and the application method, so check the product label and allow for the texture of the wall when estimating quantities. Protect plants, paving, windows, and other nearby surfaces before beginning.
Application Steps
- Remove shutters and gutters if practical, following safe procedures and taking care not to damage the house.
- Cover surfaces that should not receive limewash with plastic drop cloths, and secure the covering with painter’s tape.
- Dilute the slaked lime with water at a 1:1 ratio and mix thoroughly, unless the product instructions specify otherwise.
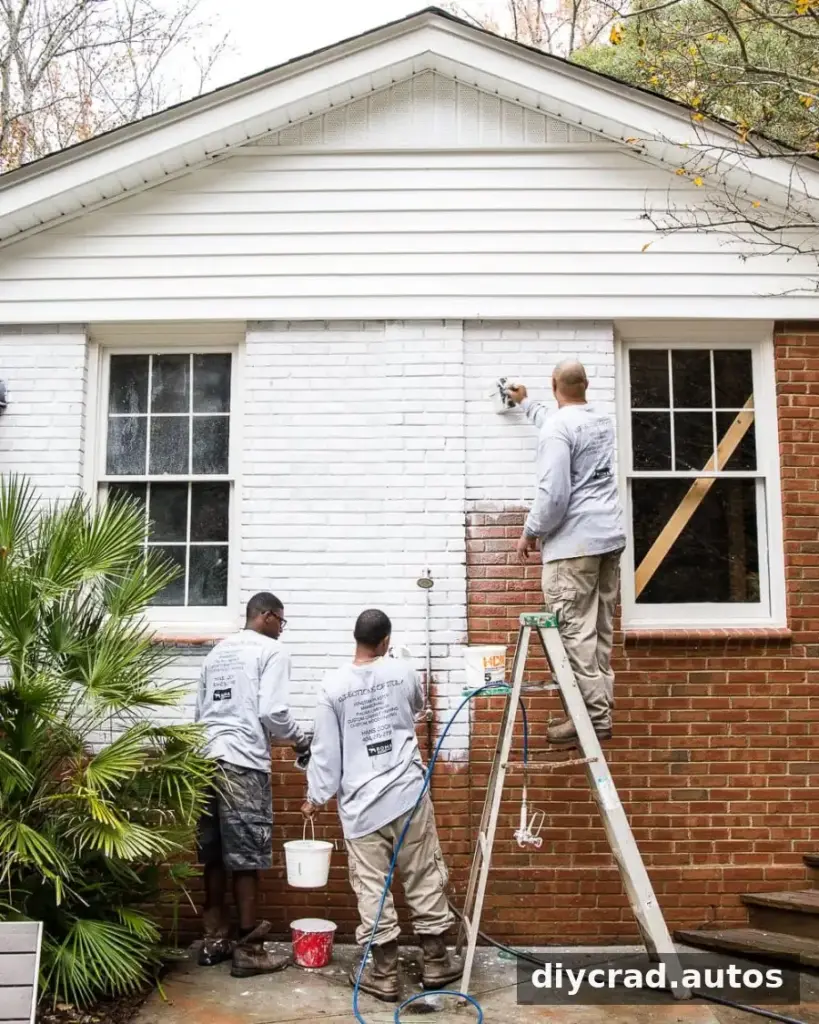
- Dampen the brick before application. In this project, the crew pressure-washed the wall in sections as they worked.
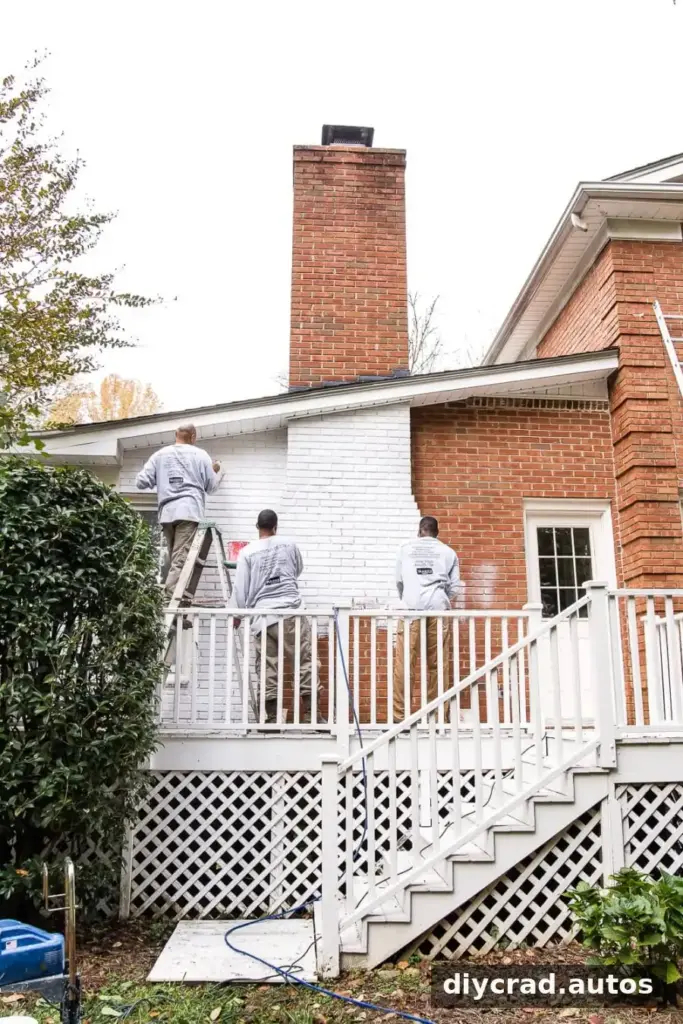
- Apply the limewash with a sprayer or masonry brush, working on one section at a time to keep the finish manageable.
Weathering the Limewash Finish
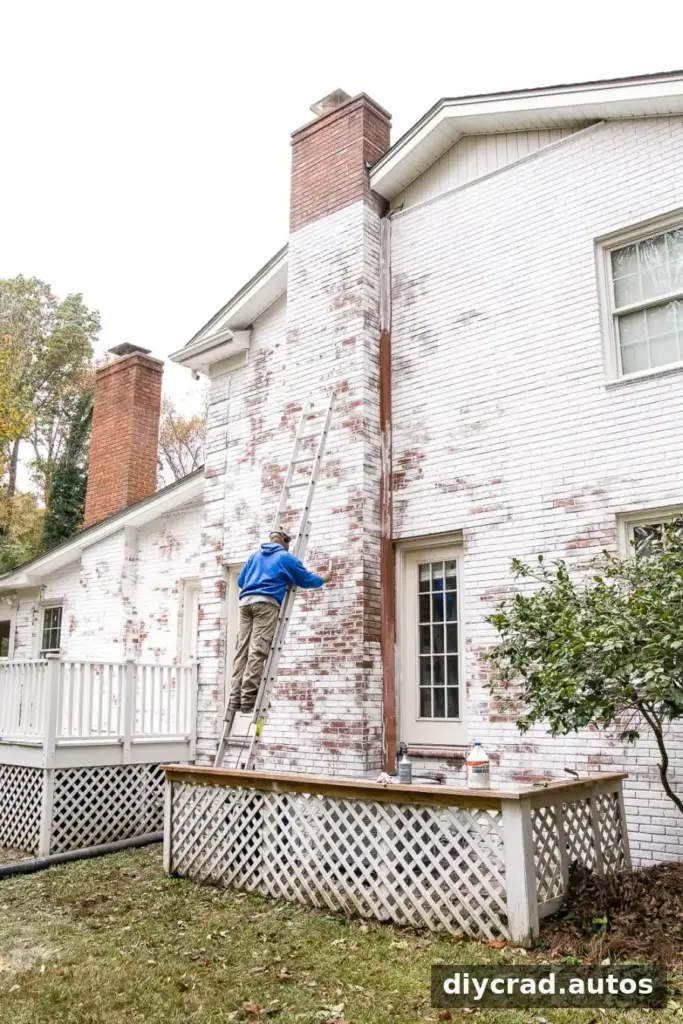
After application, remove small portions of the fresh limewash with a pressure washer to expose the brick. The artisan also added limewash back in selected areas to refine the balance of white coverage and visible masonry.
Work gradually and check the finish from a distance as well as up close. A small test area can help you decide how much brick to expose before continuing across a large wall. The project notes that the finish can be removed within the first five days if the initial result is not right; check the specific product directions for the applicable working window.
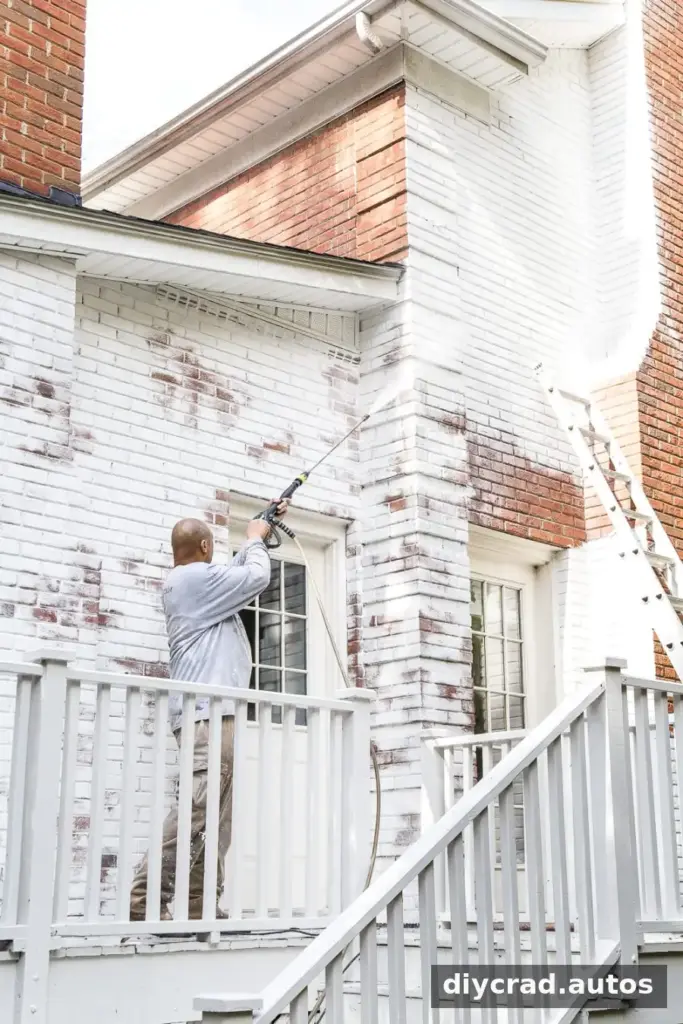
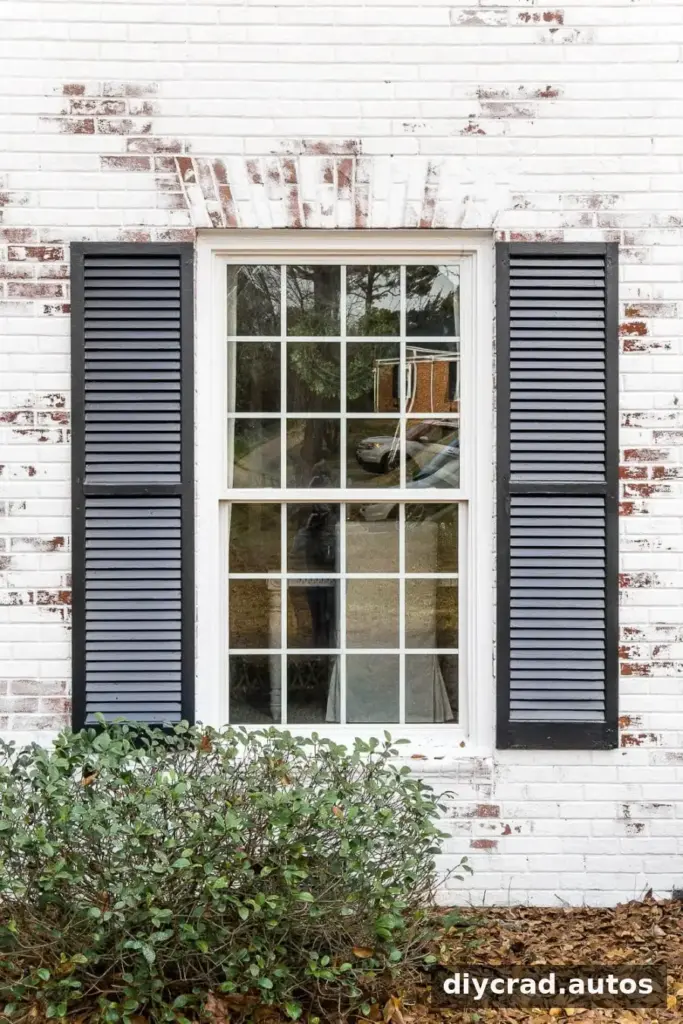
For a naturally weathered effect, focus removal around places where rainwater would commonly run, such as shutters, window sills, and the edges of the house. The artisan studied the building’s details to guide where the brick was exposed.
Because this process involves pressure washing and work on upper levels, take care to avoid damaging mortar or forcing water into the wall. Use suitable equipment and seek professional help when necessary.
Limewash and Trim Color Choices
The project used Bianco White limewash, Behr Cracked Pepper for the shutters, gutters, and downspouts, and Behr Ultra Pure White for the trim. The bright masonry finish and dark accents created a modern interpretation of a traditional exterior.
Best Weather for Applying Limewash
The application guidance for this project recommends a warm, sunny day between 50 and 90 degrees Fahrenheit. The brick should be damp before the limewash is applied, but rain should not be expected during the work or the period specified by the product instructions. Check the forecast and product label before starting, since temperature and drying requirements can vary.
The Finished Limewashed Brick Exterior
The completed exterior retained visible brick texture while gaining a brighter, more cohesive appearance. The finish also gave the dark shutters and white trim greater contrast.
After the masonry work was complete, the home’s American flag was put back in place.
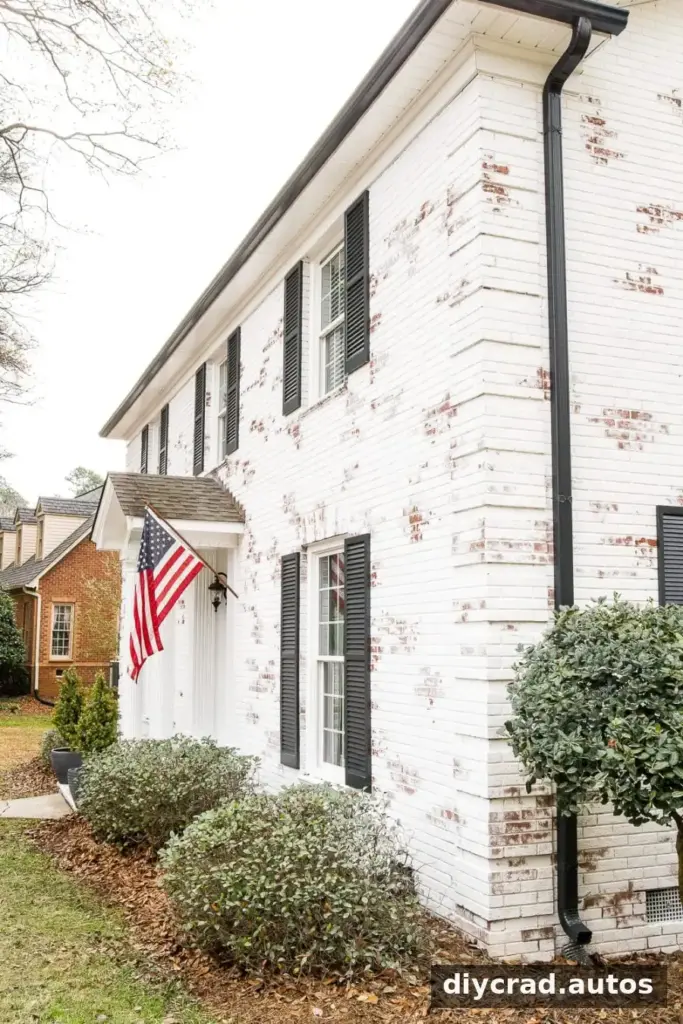
The landscaping still needed attention when these photos were taken. Wet leaves and seasonal conditions affected the yard’s appearance, so the exterior was expected to look different once the weather improved and the plants filled out.
The porch and landscaping received additional updates later.
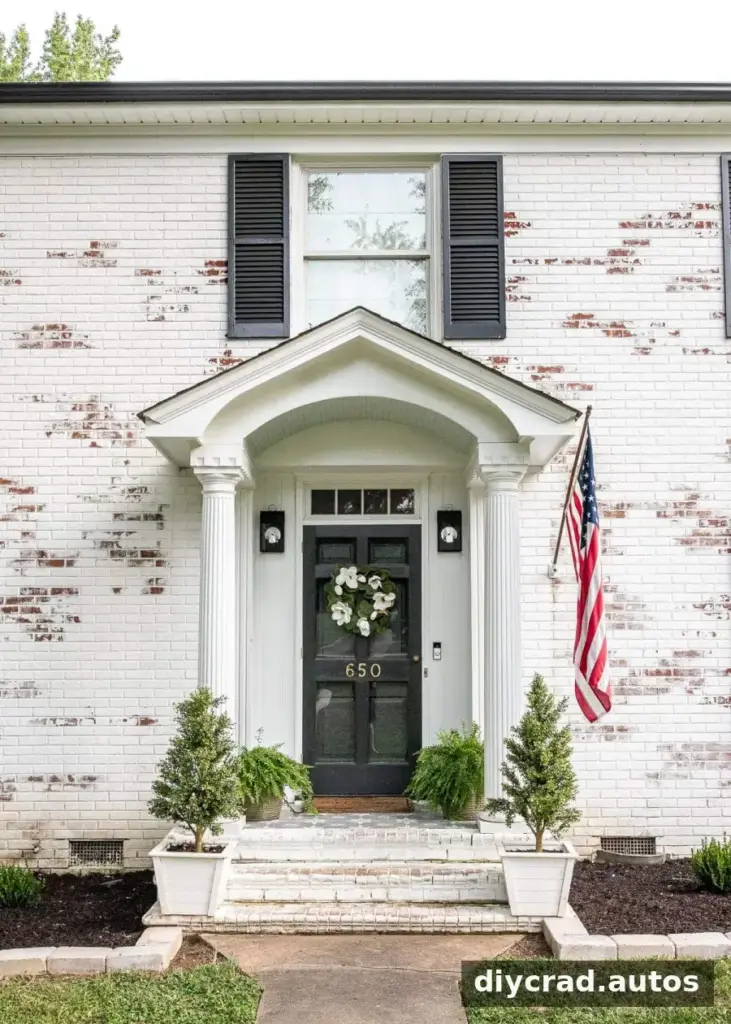
Keeping some natural brick visible was an intentional choice. It adds variation and character that a fully opaque coating would not provide.
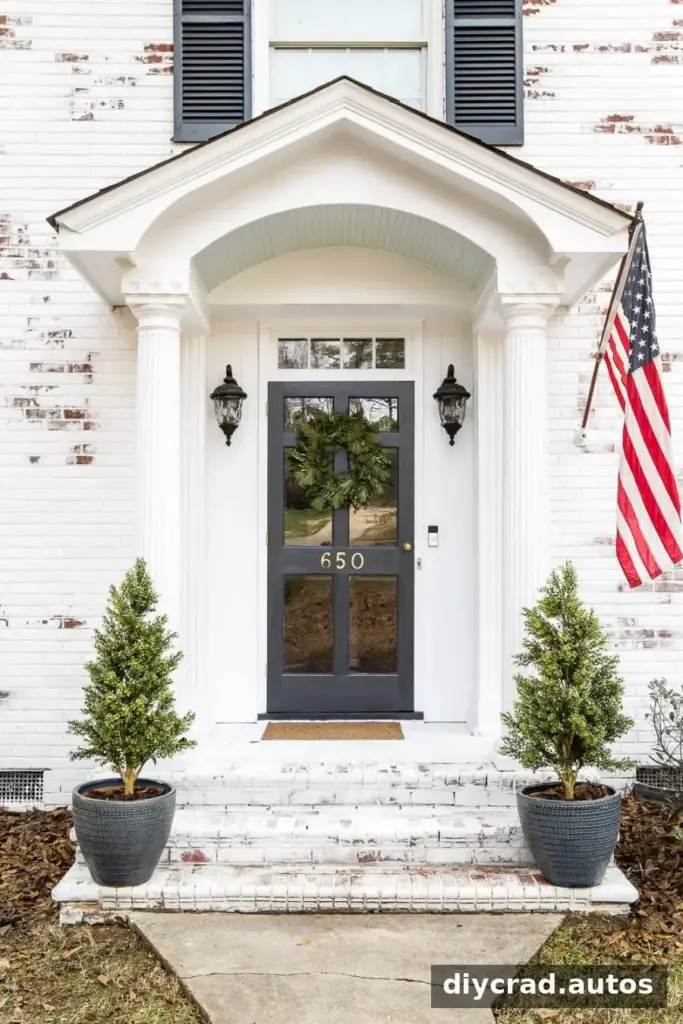
Porch furnishings and decor can be added over time; it is useful to settle on the exterior colors first so later choices work with the house.
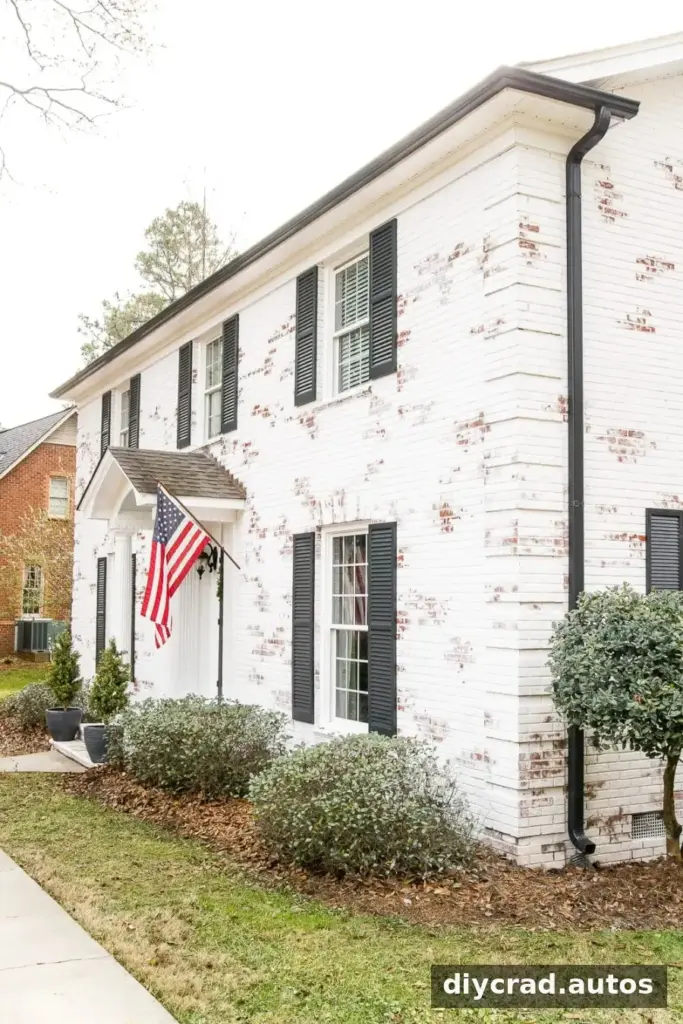
A future idea for the entry is replacing the cracked concrete walkway with brick pavers, potentially bordered with flowers. Any path replacement should account for drainage, access, and the connection to the driveway and street.
Limewash Brick Maintenance
Update: More than four years after the makeover, the homeowners reported that the finish had required little maintenance. Mud splashed near the flower beds during foundation repairs was cleaned with a light scrub using mild soap and water.
For routine care, begin with gentle cleaning and avoid harsh methods unless the product manufacturer recommends them. Test any cleaner on a discreet area first, and inspect the masonry periodically for damage or changes in the finish.
The magnolia tree in the front yard remained an important part of the landscape.
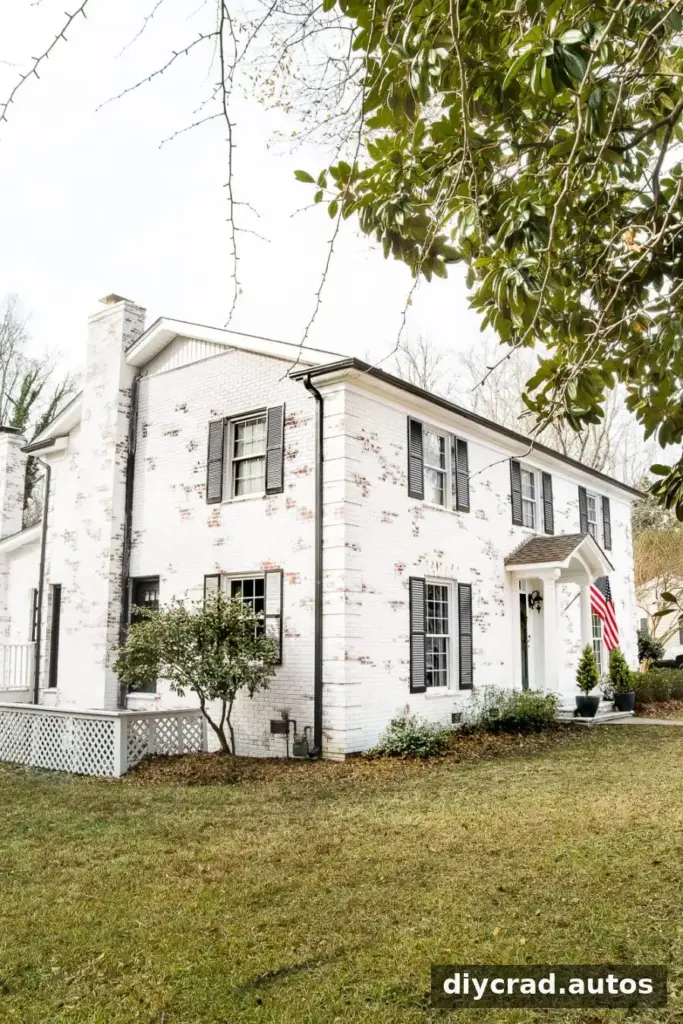
Limewashed Brick Before and After
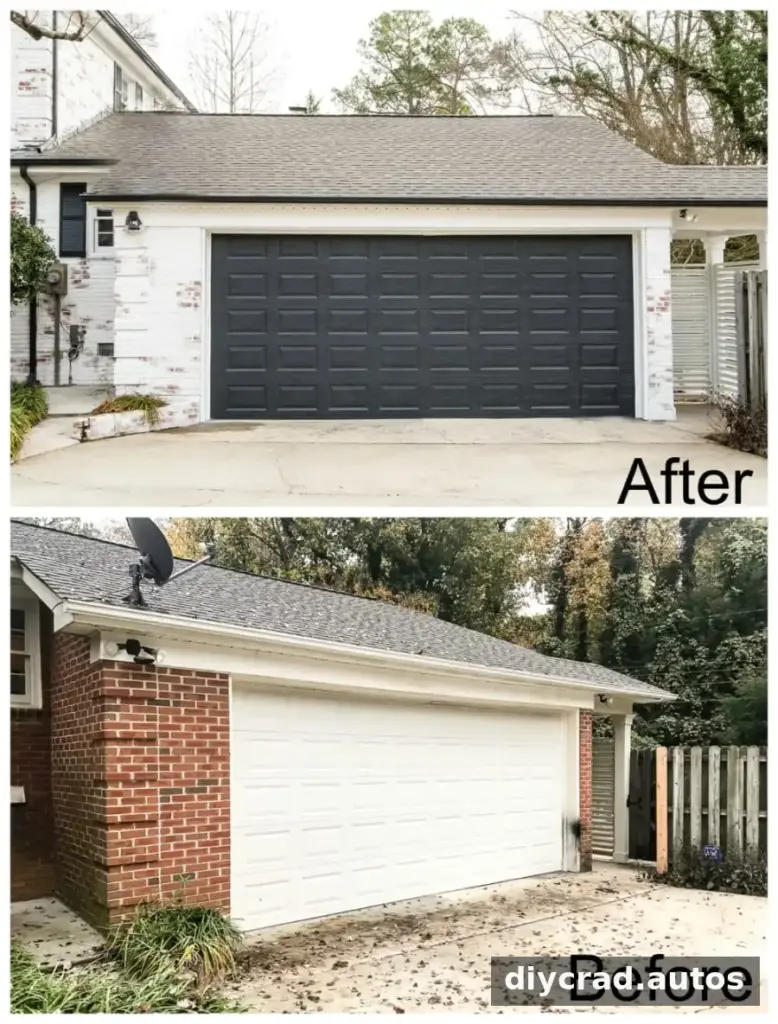
The garage side of the home was updated with the same dark accent color used elsewhere. Painting the garage door helped tie it into the rest of the exterior without replacing the door.
A simple change in color can make a basic garage door feel more integrated with the design. Check that the chosen coating is suitable for the door material and follow its preparation instructions.
The backyard also changed as outdoor projects progressed. The earlier view shows the yard around the time the home was purchased.
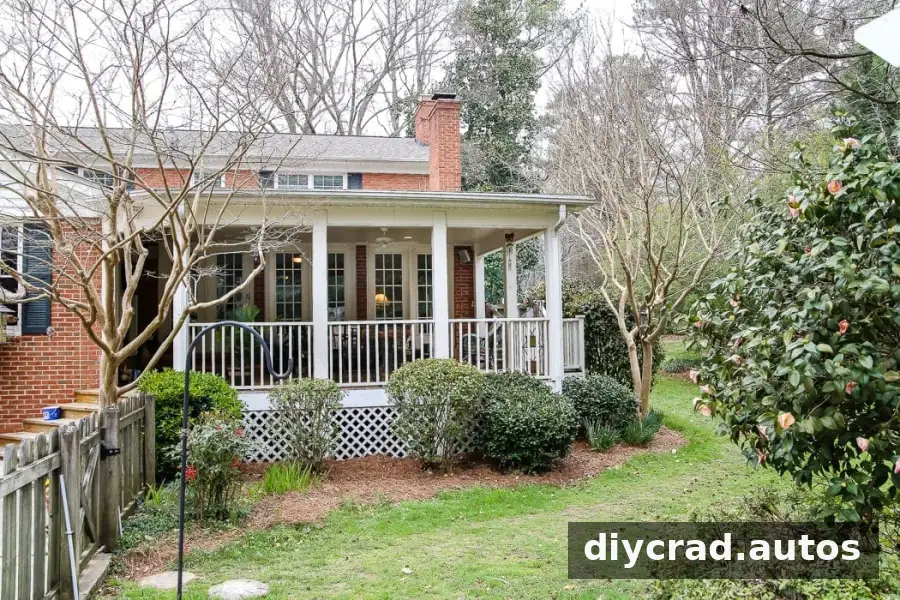
The updated view shows how the exterior and outdoor spaces developed over time.
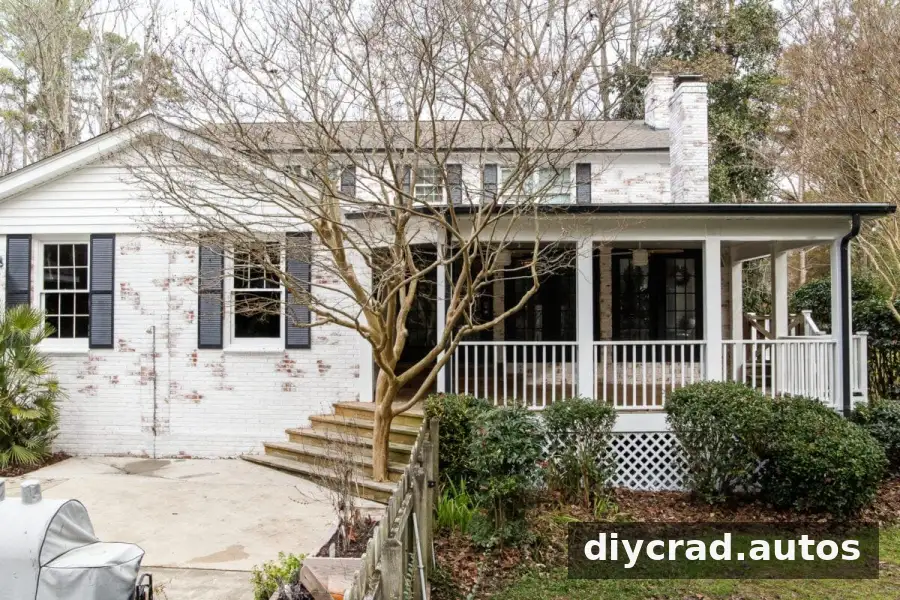
Crepe myrtle trees were expected to add pink blooms during summer, bringing seasonal color to the yard.
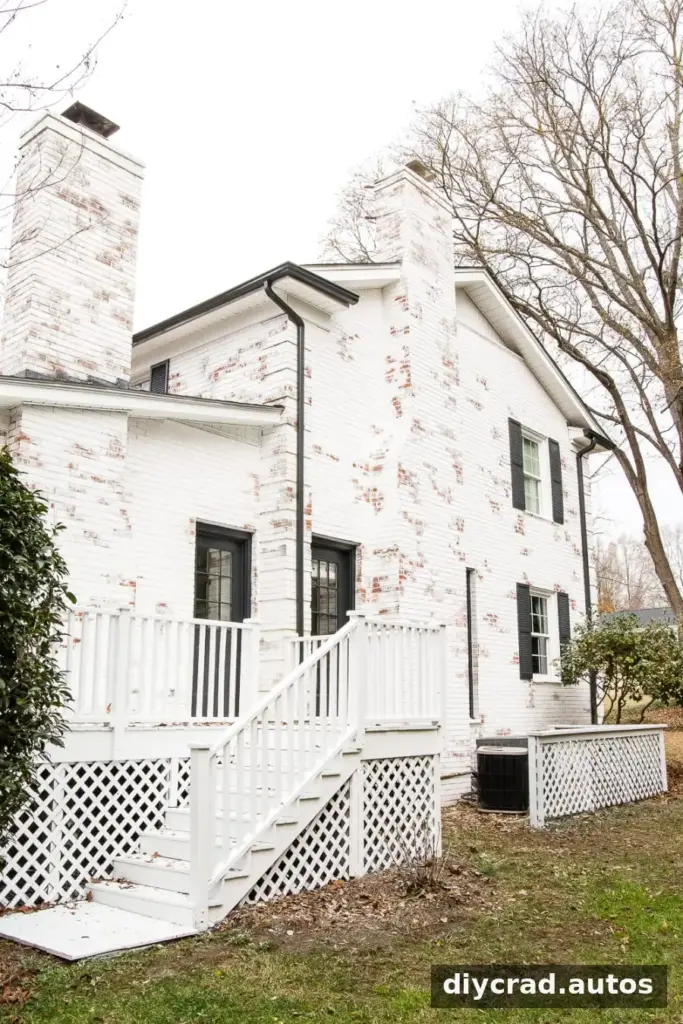
The back porch makeover had begun the previous summer, then paused while the exterior limewash project was completed. The porch ceiling was painted Benjamin Moore Paladian Blue, and the ceiling fans were replaced.
Dark doors paired with the limewashed masonry create a strong contrast on the porch.
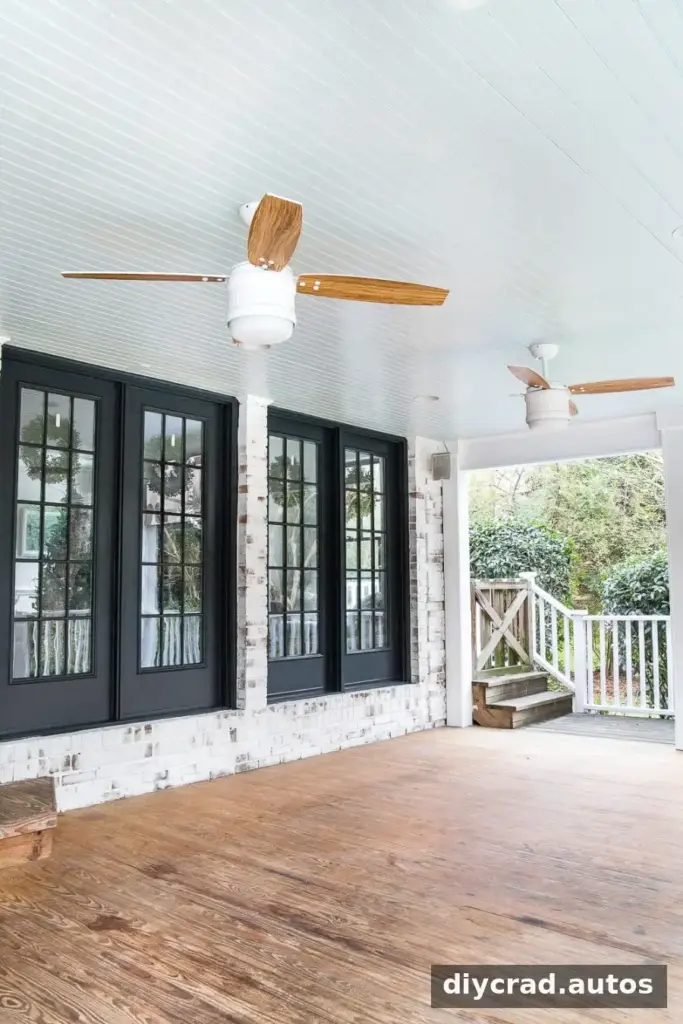
Possible future updates include adding furniture, cleaning up the wood decking, and considering a decorative fireplace. Planning outdoor improvements in stages can help keep the work manageable and ensure each new element suits the space.
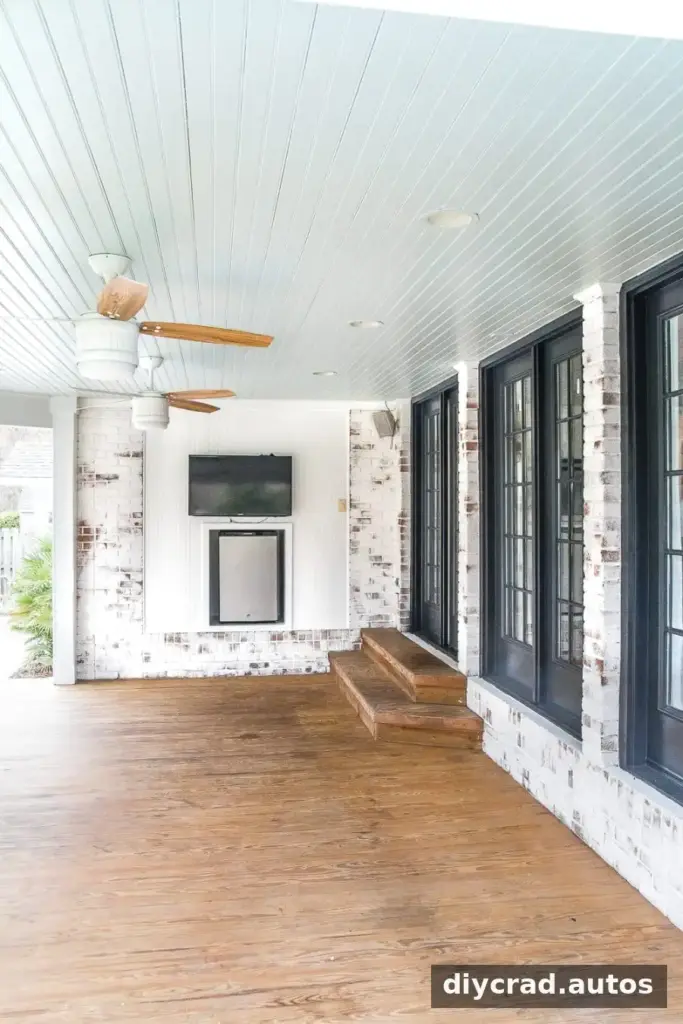
The refreshed exterior brought the home’s outside closer to the style of its interior.
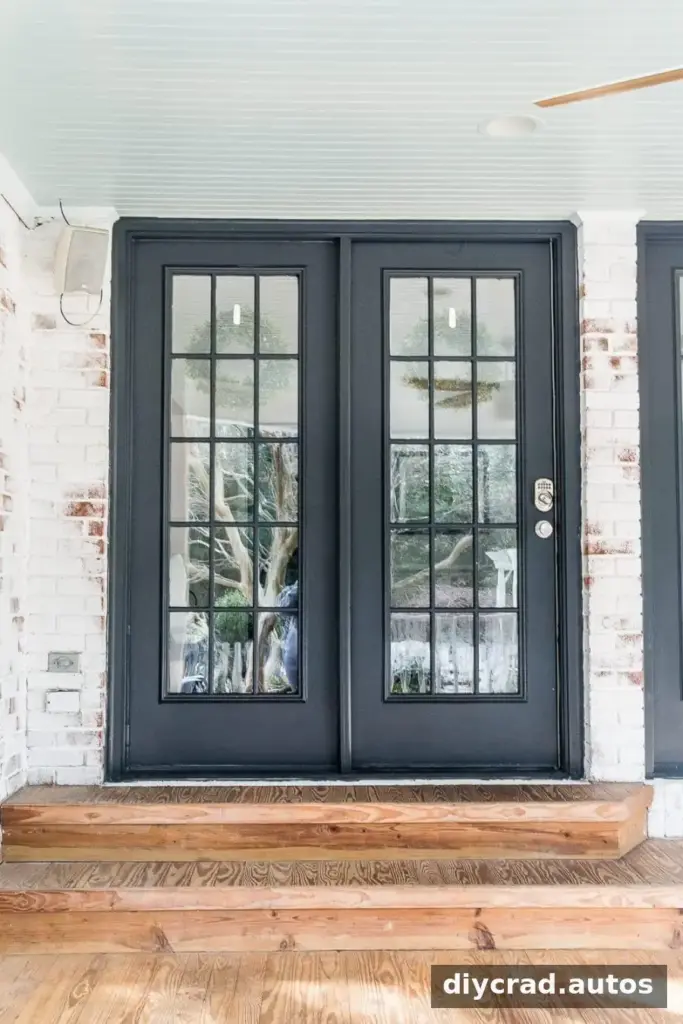
The makeover also created a starting point for additional outdoor improvements.
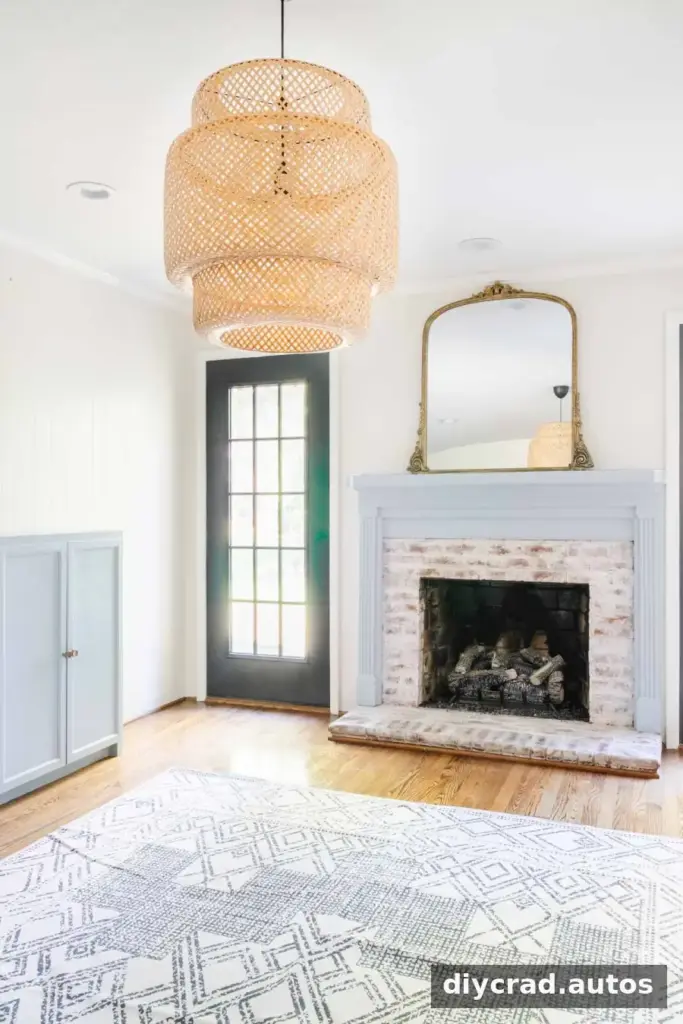
Limewash on a Brick Fireplace
The same general limewash approach can be used on brick fireplaces, including indoor projects. Protect floors and surrounding finishes, provide adequate ventilation, and confirm that the product is appropriate for the fireplace surface and its location. Do not apply coatings to areas exposed to direct flame or high heat unless the product is specifically rated for that use.

Frequently Asked Questions
What is the difference between limewashed brick and painted brick?
Conventional paint forms a coating over brick and may peel over time, depending on the surface and conditions. Limewash is intended for porous masonry and allows the brick’s texture to show through, particularly when some of the fresh coating is washed back. Maintenance and durability depend on the product and application.
Will limewash turn brick pink?
Authentic slaked-lime limewash dries to a flat, opaque finish where it remains on the surface. The appearance can vary with the brick and application, so test a small area first to confirm the result.
How many coats of limewash are needed?
This project used one coat. Always follow the instructions for the limewash you select, as coverage and recommended application can differ by product and surface.
Conclusion
A limewashed brick exterior can brighten a home while preserving the texture and character of its masonry. Careful preparation, suitable weather, and gradual weathering are key to achieving a balanced result. Test the finish first, follow product guidance, and consider an experienced artisan for large or elevated surfaces.