Painting cabinets can refresh a bathroom or kitchen without replacing otherwise serviceable cabinetry. With careful preparation, suitable primer and paint, and patience between coats, beginners can achieve a neat finish. This guide covers the supplies, step-by-step process, and practical lessons to consider before starting.
Painting Cabinets: Supplies and Preparation
Before you begin, set aside enough time for preparation, painting, drying, and reassembly. The exact drying and curing times depend on the products you choose, so follow the instructions on their labels. Protecting the room and organizing the hardware now can prevent extra work later.
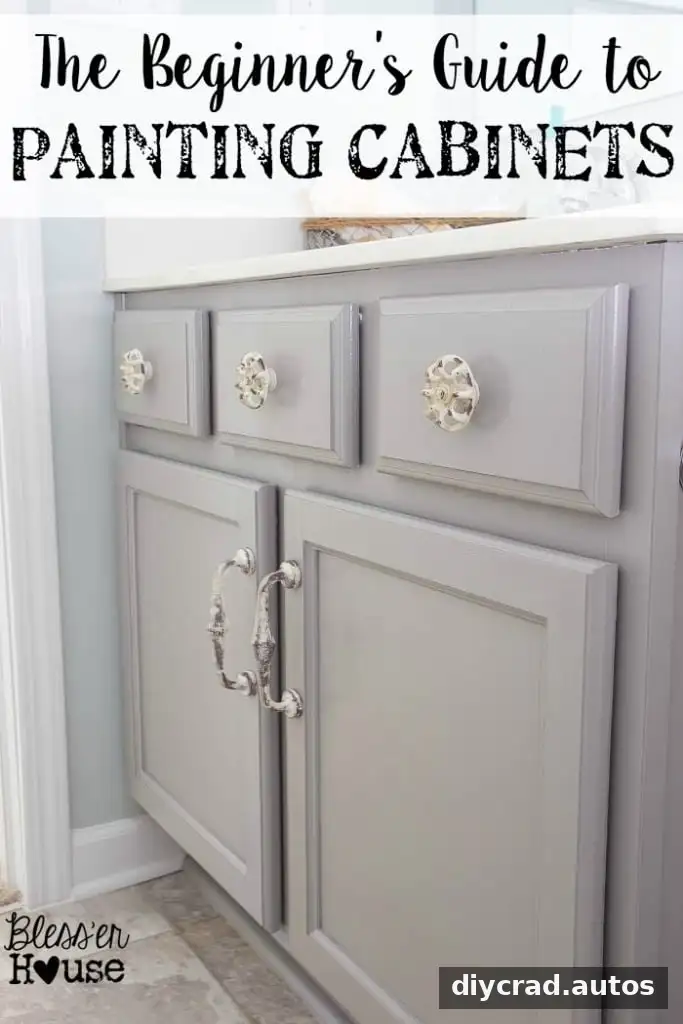
Cabinets can be worth painting when their layout and condition work for your space but their existing color or finish does not suit your style. Painting is a surface update, not a repair for damaged or unstable cabinetry, so inspect the doors, drawers, and cabinet boxes first.
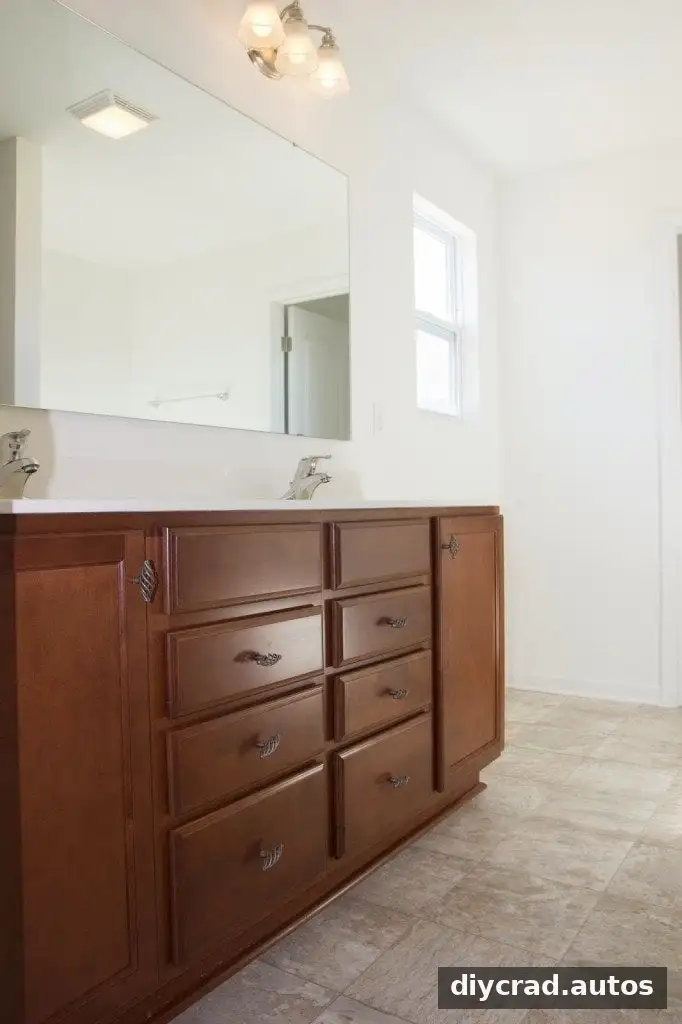
There is more than one way to prepare cabinets for paint. The method below uses liquid deglosser and light sanding where needed. Always check the deglosser and paint instructions to make sure the products are suitable for your cabinet material and compatible with one another.
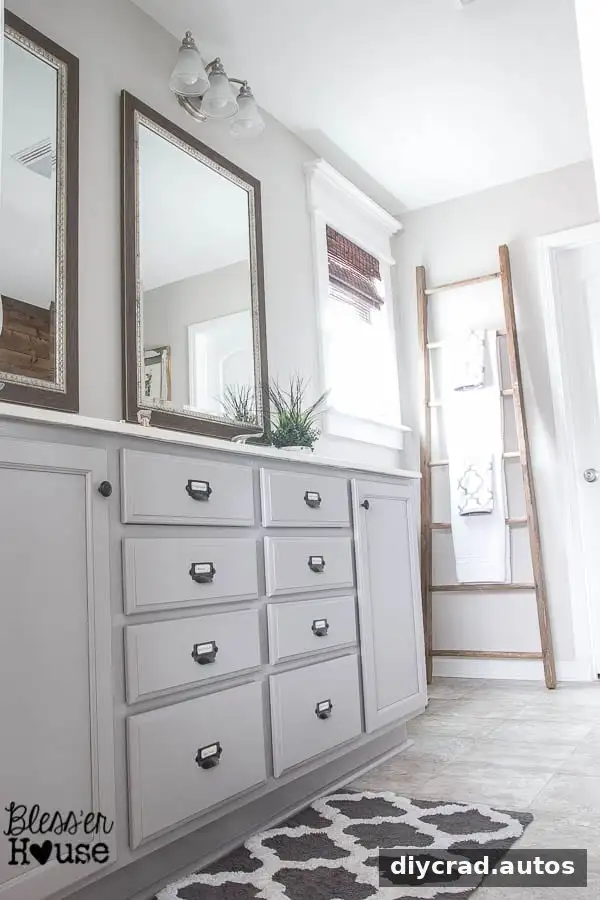
A beginner can take on this project by working methodically and allowing each layer to dry as directed. If you are uncertain about a product or the existing finish, test the process on a small, inconspicuous area before painting every surface.
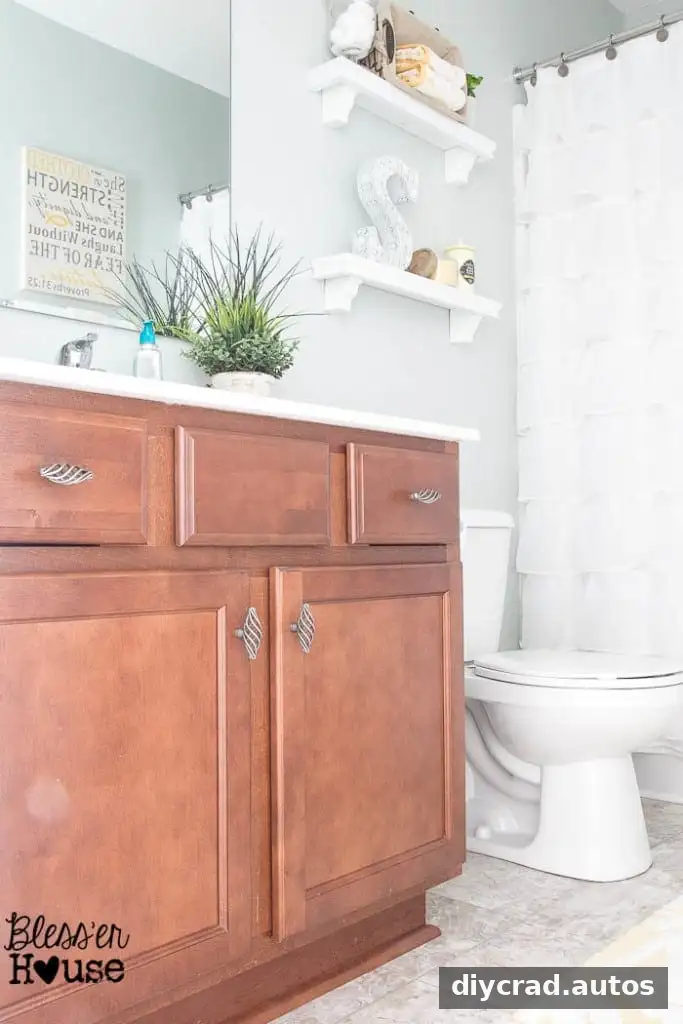
For the bathroom cabinet update described here, changing the reddish wood finish was a priority. A test patch is especially useful when choosing a new color, since lighting can make paint appear different from how it looks on a sample.
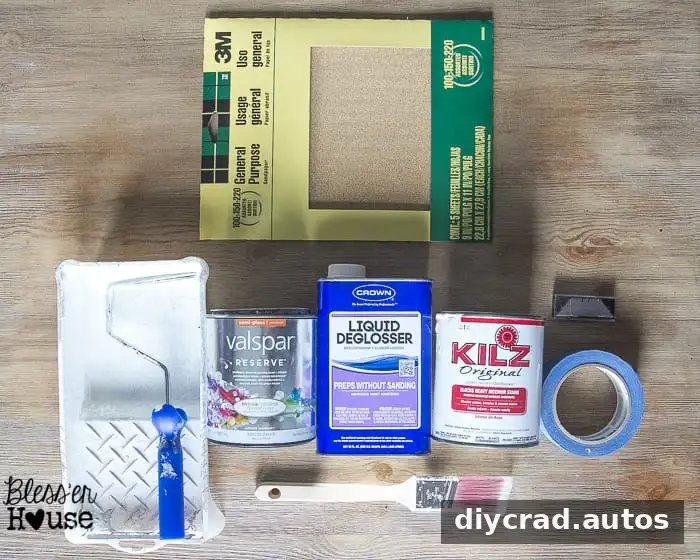
Tools and materials
- Plastic shower curtain liner or drop cloth
- Painter’s tape and a razor or utility knife
- Medium- to fine-grit sandpaper
- Liquid deglosser and chemical-resistant gloves
- Respirator mask
- Wood filler, if filling old hardware holes
- Paint roller tray and a plastic bag to line it
- 1.5-inch basic paintbrush
- 1.5-inch angled paintbrush
- Two cabinet foam rollers: one for primer and one for paint
- Primer appropriate for the cabinet surface
- Interior semi-gloss enamel paint
Approximate total: $75 for cabinets in two bathrooms. Costs vary by location, product choice, and the amount of paint and preparation materials needed.
The original project used a primer that performed well but produced strong fumes. For future work, a lower-VOC option was preferred. Choose products with suitable ventilation and protective equipment, and follow all safety directions on their labels.
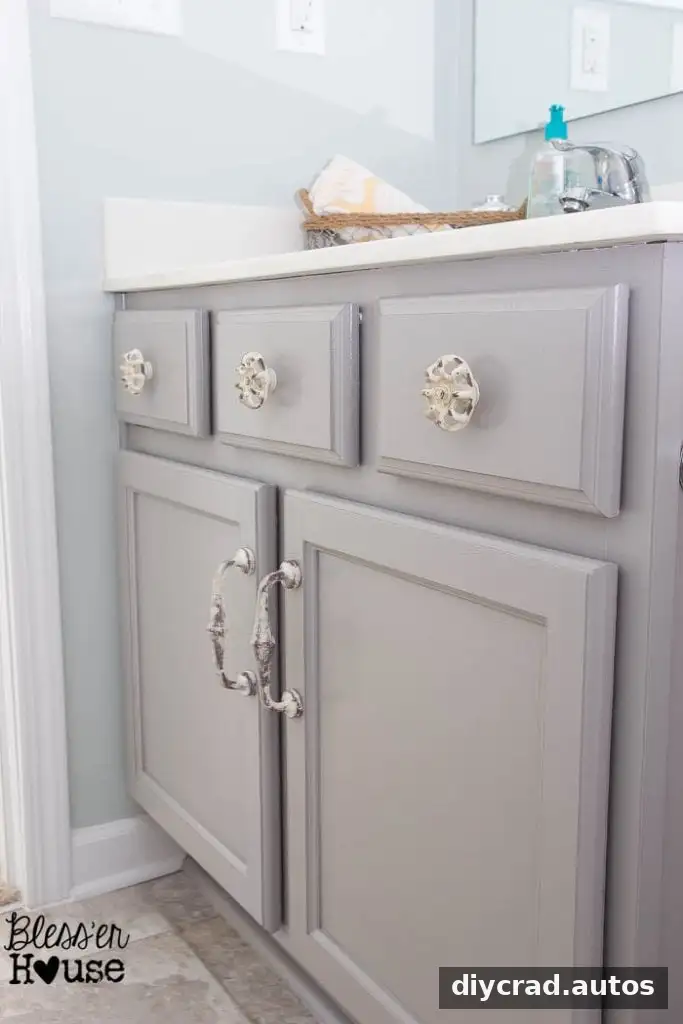
A semi-gloss paint was used for the finish, in the color Winter Gates. Although the result looked attractive, the paint took weeks to fully cure and did not level itself. Do not assume a surface is ready for heavy use just because it feels dry; allow the product to cure according to its instructions.
How to Paint Cabinets Step by Step
1. Remove and label doors and drawer fronts
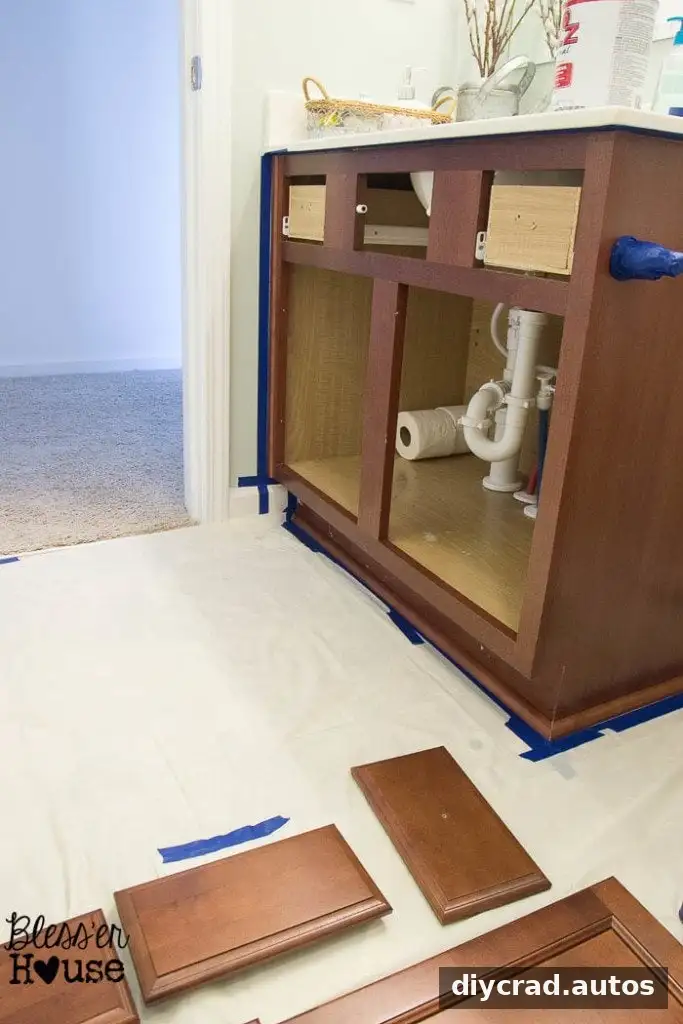
Take off the cabinet doors and drawer fronts. Keep each piece’s screws and hinges organized, and label the pieces so you know where each belongs. This simple step makes reassembly easier and helps avoid swapping parts that may not fit as neatly elsewhere.
2. Protect nearby surfaces
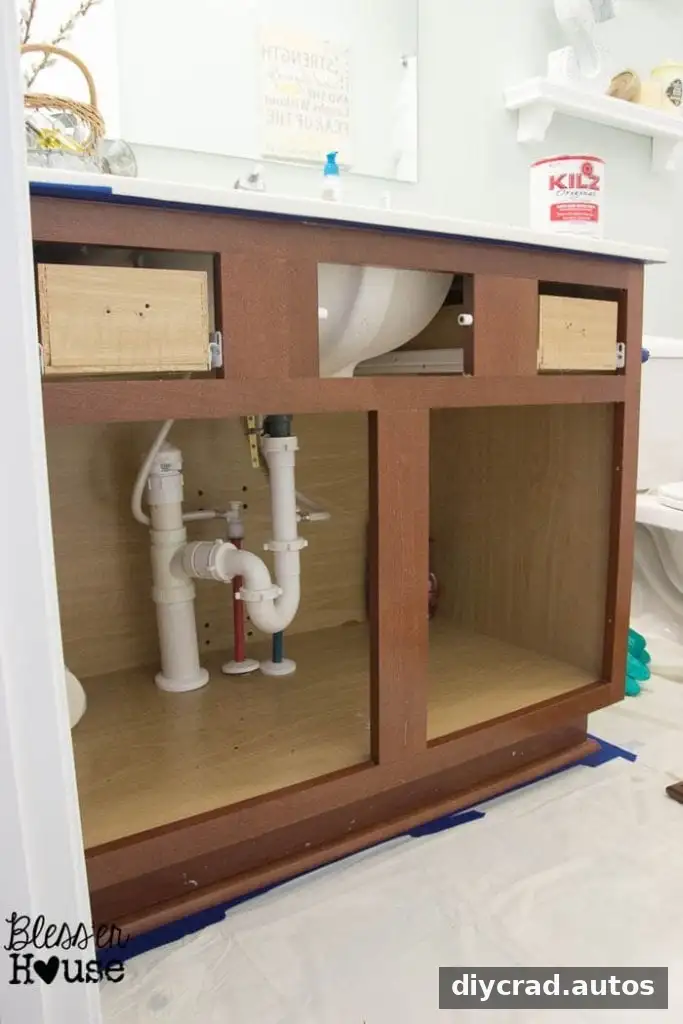
Cover the floor and surrounding areas with a drop cloth or plastic liner. Apply painter’s tape along edges that should remain unpainted. Press the tape down securely, especially near corners, to help limit paint from creeping underneath.
3. Clean and prepare the surfaces
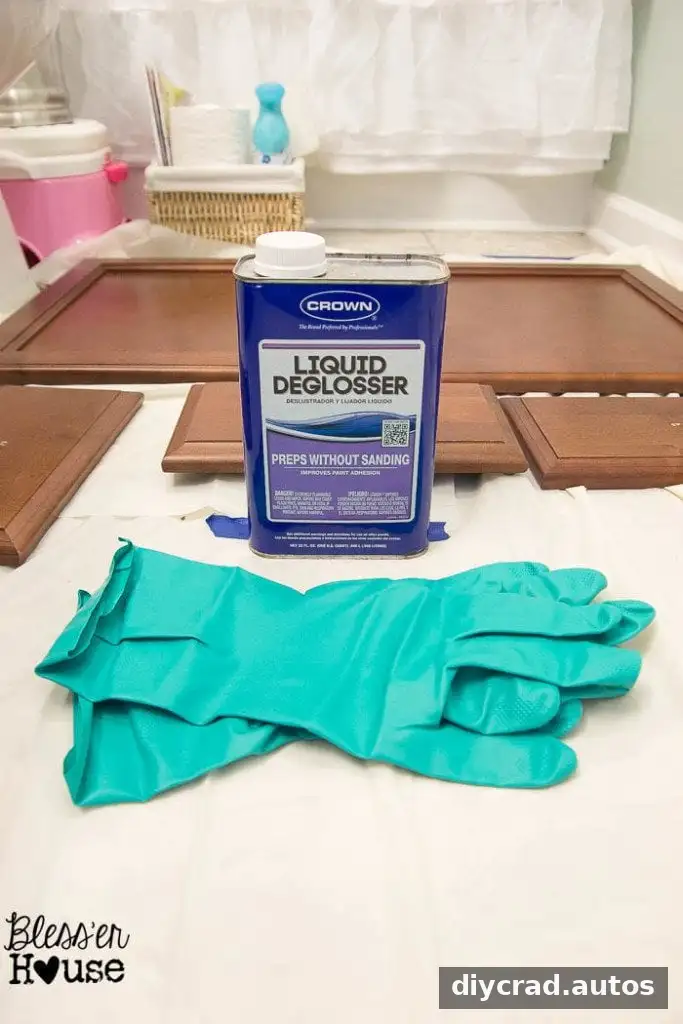
With chemical-resistant gloves on, apply liquid deglosser to the doors, drawer fronts, and cabinet boxes as directed on its label. The original process relied on deglosser instead of sanding every surface, but sanding may be appropriate for some finishes. Follow the product guidance and remove dust before painting.
If you are changing the hardware, fill any holes that will no longer be used. Let the wood filler dry fully, sand the repaired spots smooth, and wipe away the dust. A smooth repair helps the finished paint look more even.
4. Set up the primer tray
Line the roller tray with a plastic bag before pouring in primer to make cleanup easier. Dispose of leftover materials responsibly and follow the product’s disposal instructions. Never pour paint or chemical products down a drain.
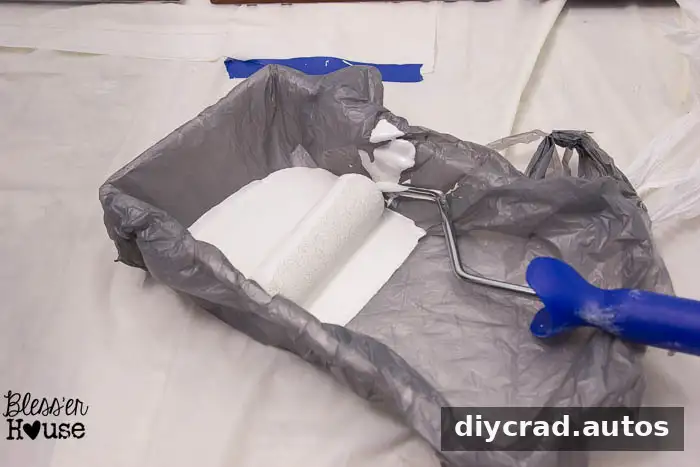
5. Apply primer
Use a small brush for corners, edges, and other areas the roller cannot reach easily. Then use a cabinet foam roller to apply primer to the cabinet box, doors, and drawer fronts. Start with the back of the doors. Once the primer is dry as directed, lightly sand between coats if needed for a smoother surface, then remove sanding dust.
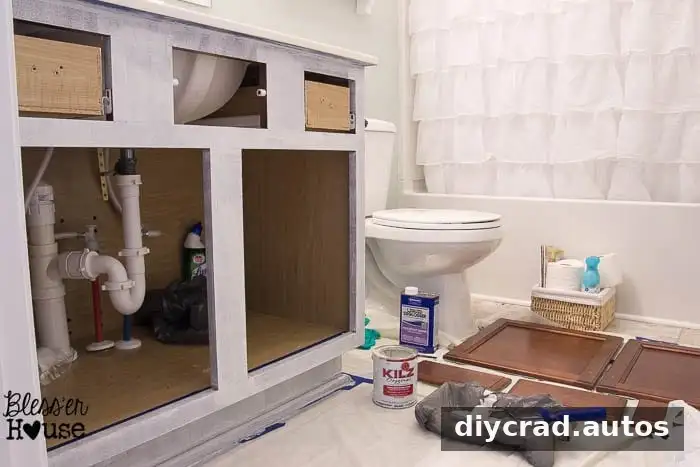
6. Apply the paint
Use a clean roller and brush for the semi-gloss paint. Apply thin, even coats rather than trying to cover everything in one heavy layer. Two coats were used for this project. Check the paint label for recoat timing, and allow each coat to dry as directed.
7. Remove the tape carefully
Once the paint has dried, lightly score along the edge of the painter’s tape with a utility knife. Peel the tape back slowly. Scoring first can help reduce the chance of lifting paint with the tape.
8. Reattach the hardware and doors
When the finish is ready for reassembly, install the hardware and return each labeled door and drawer front to its original position. Handle freshly painted surfaces gently while they continue to cure.
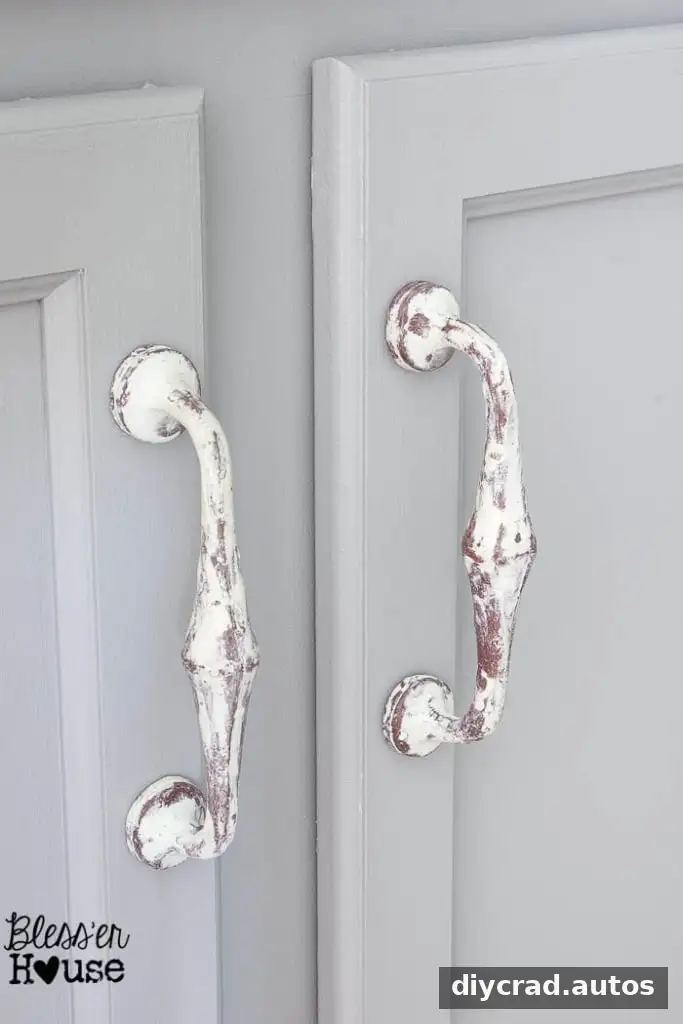
New handles and knobs can complete the update. Before installing them, check that the hardware fits the existing holes or that any filled holes have been properly prepared for the new placement.
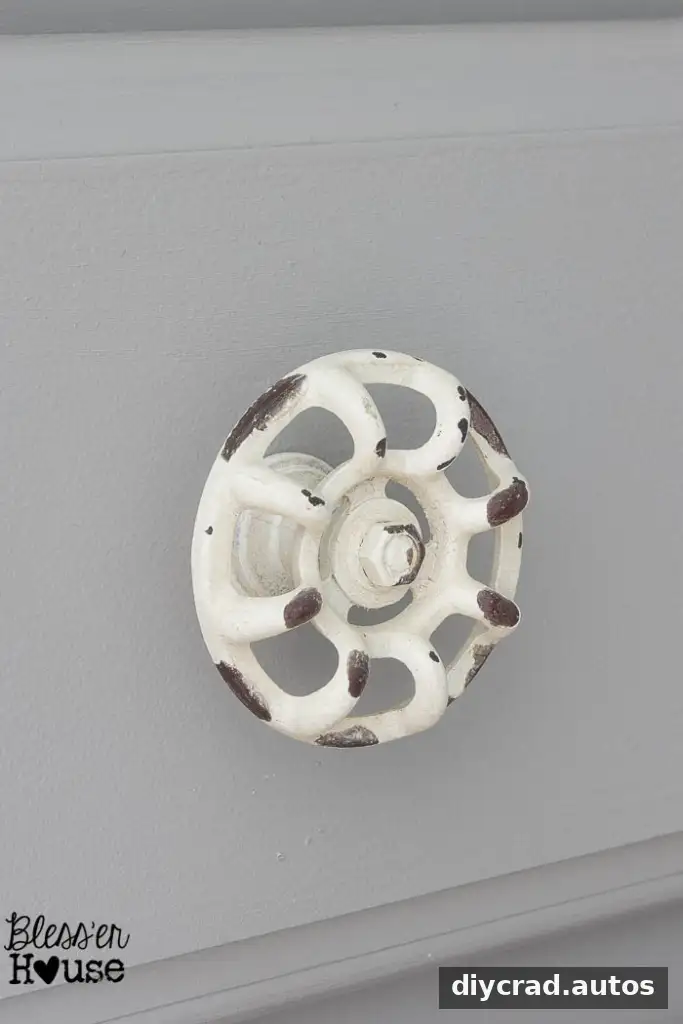
Cabinet color can look different under artificial light than it does in a bright room. If the bathroom has little or no natural light, view a sample under the lighting you use most often before committing to the full project.
Final Tips for Painting Cabinets
Painting cabinets is most successful when preparation is not rushed. Label parts, protect nearby surfaces, use compatible products, and respect drying and curing times. Keep the room ventilated as directed by product labels, and use the recommended protective equipment. With a steady, step-by-step approach, even a first-time cabinet painter can give dated cabinetry a fresh, carefully finished look.