

A DIY board and batten wall can add depth and classic character to a plain room without the cost of a full renovation. With careful measuring, affordable pine furring strips, and a little patience, this wainscoting project can work in hallways, entryways, bedrooms, and other dry spaces. The eight-step guide below covers materials, installation, finishing, and practical details to plan before you begin.
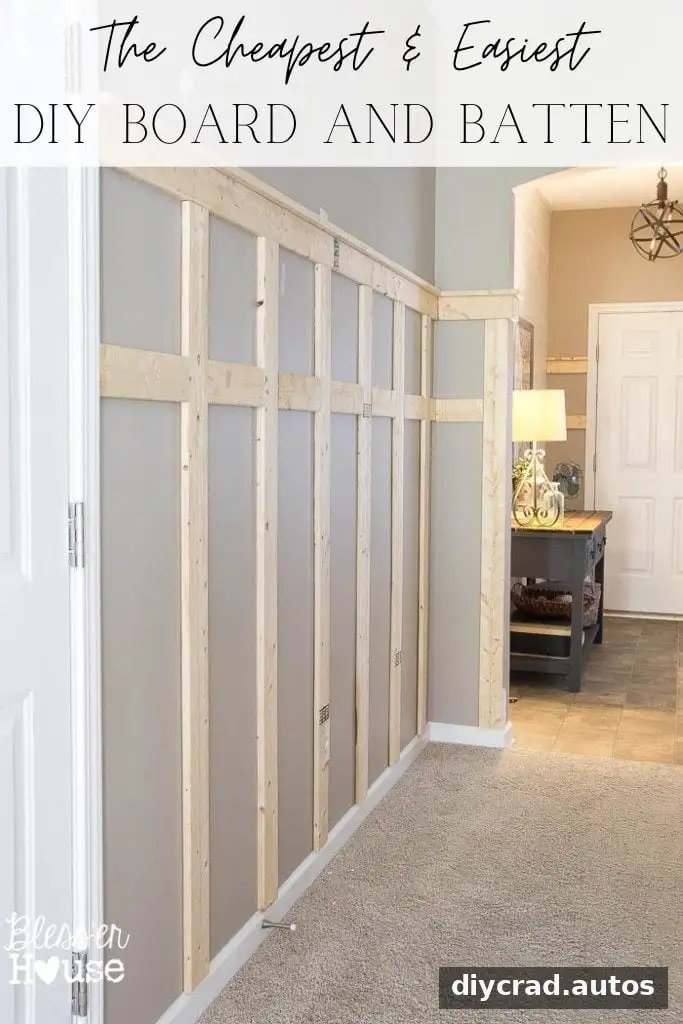
What Is Board and Batten?
Board and batten is a wall treatment made from vertical boards, called battens, combined with horizontal boards that create a framed, dimensional appearance. The strips cast subtle shadows and add visual interest to otherwise plain walls. The style is also used on exterior siding, fences, and furniture.
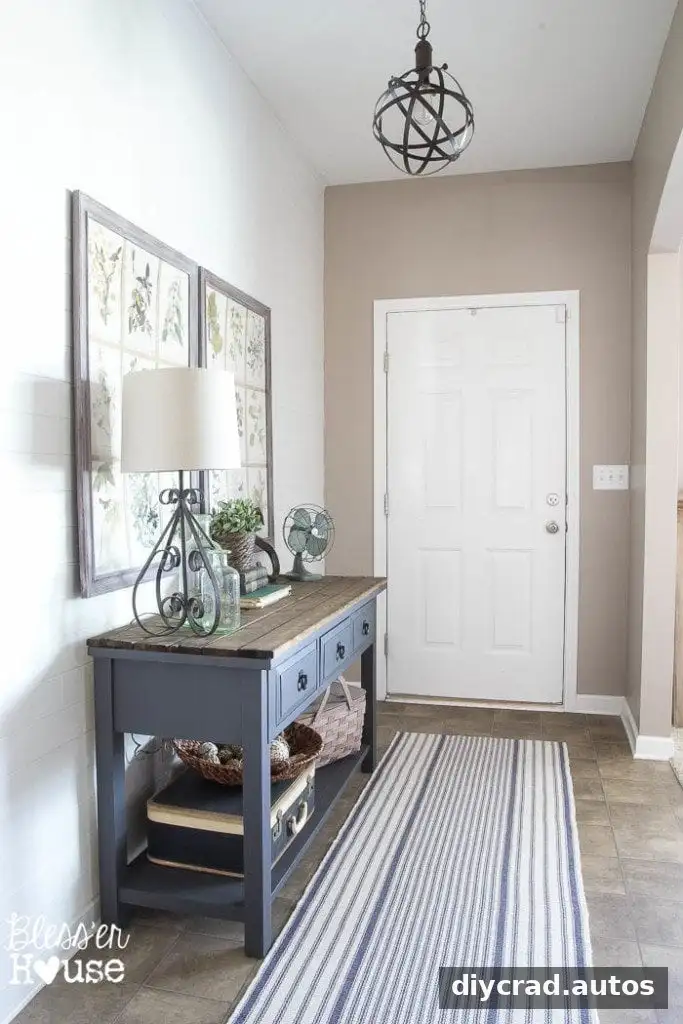
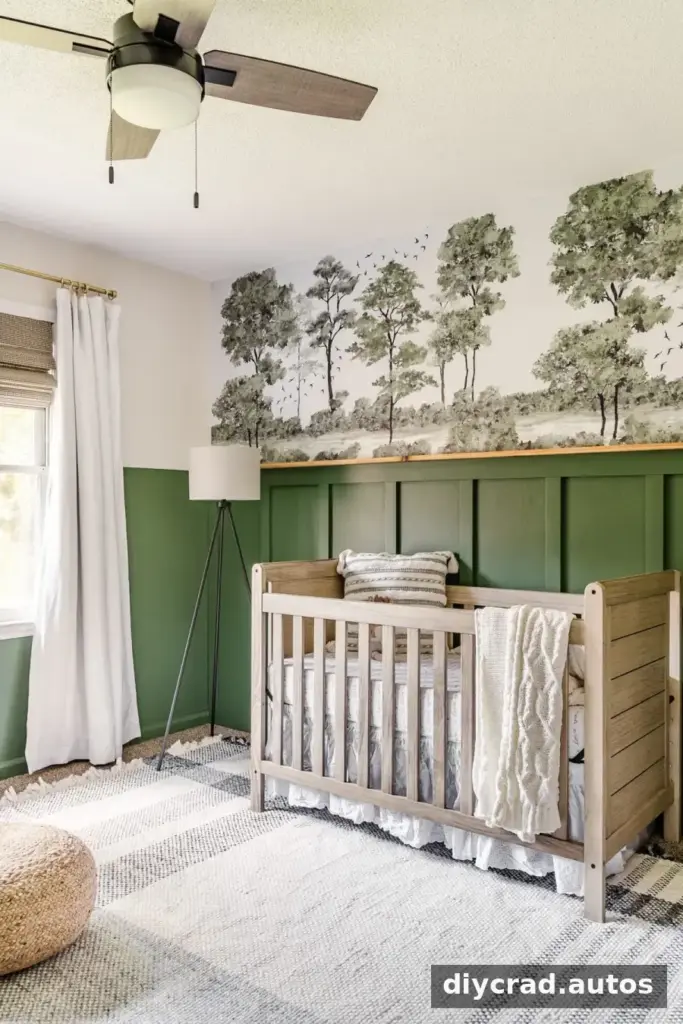
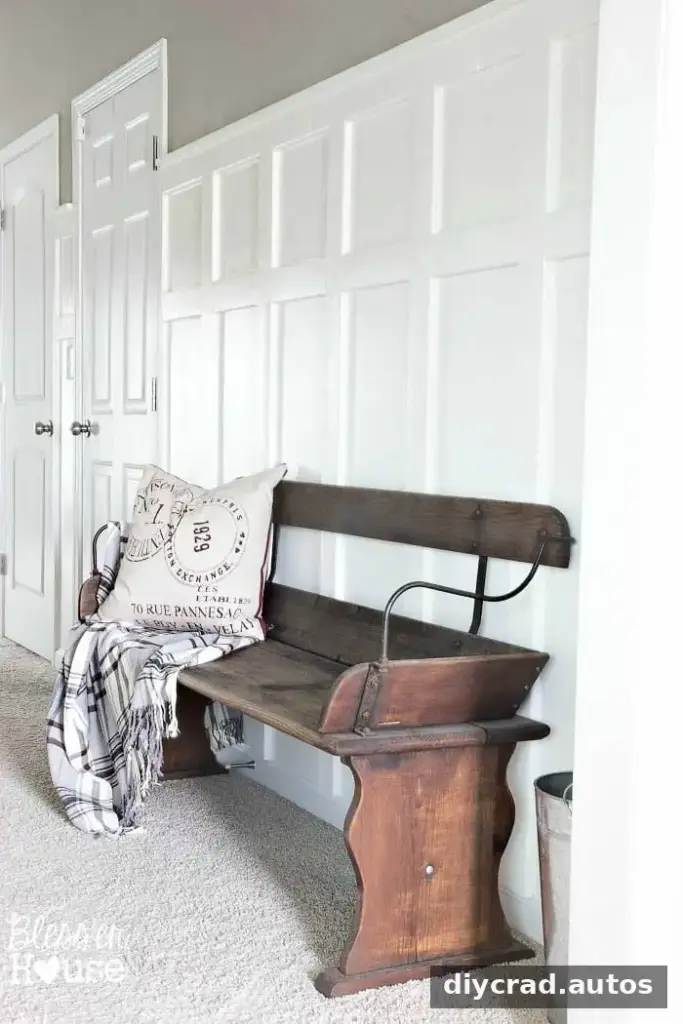
For interior wainscoting, you can install it in a hallway, entryway, bedroom, dining room, or another area where you want a defined wall detail. Consider the room’s proportions before choosing a height: a consistent layout and level horizontal boards help the finished wall look balanced.
Choosing Affordable Materials for DIY Board and Batten
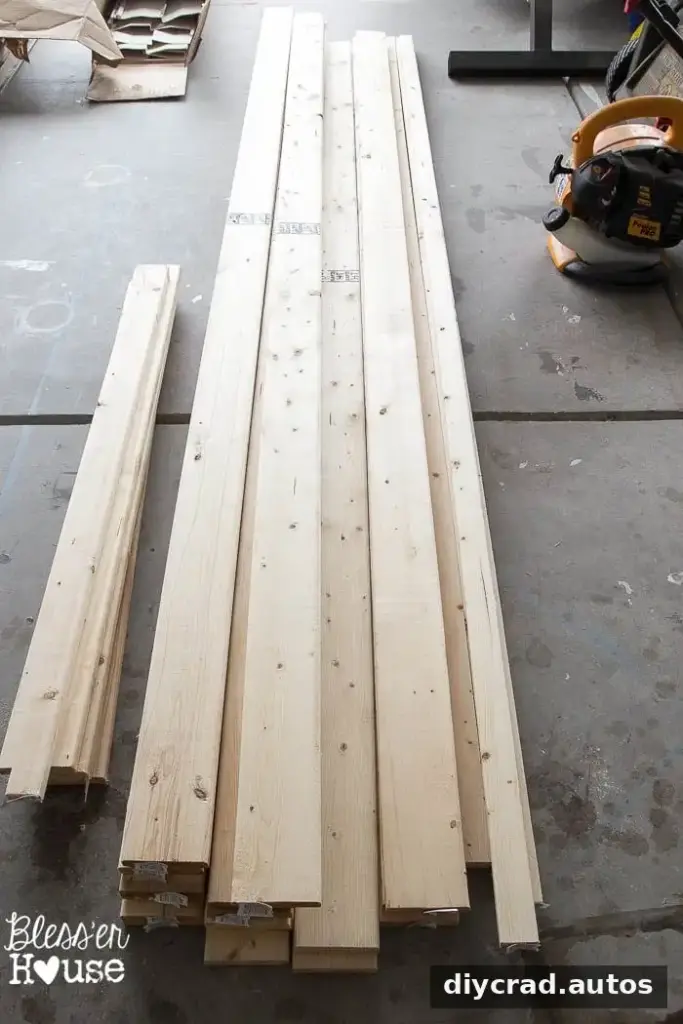
MDF and pine trim strips are common choices, but pine furring strips can be a lower-cost alternative. In the original project, a 1x4x8 furring strip cost about $2 at the time of publication—around 70% less than MDF boards. Prices vary by location and over time, so check current costs before setting a budget.
Furring strips may have knots or uneven surfaces, which can mean extra filling and sanding. Inspect each piece at the store: look along its length and at the end to spot warping. Use wood in dry rooms; for humid or wet areas, PVC is a more suitable option. This approach was used on smooth walls. For textured walls, add 1/8-inch thin plywood paneling first to create a smoother surface.
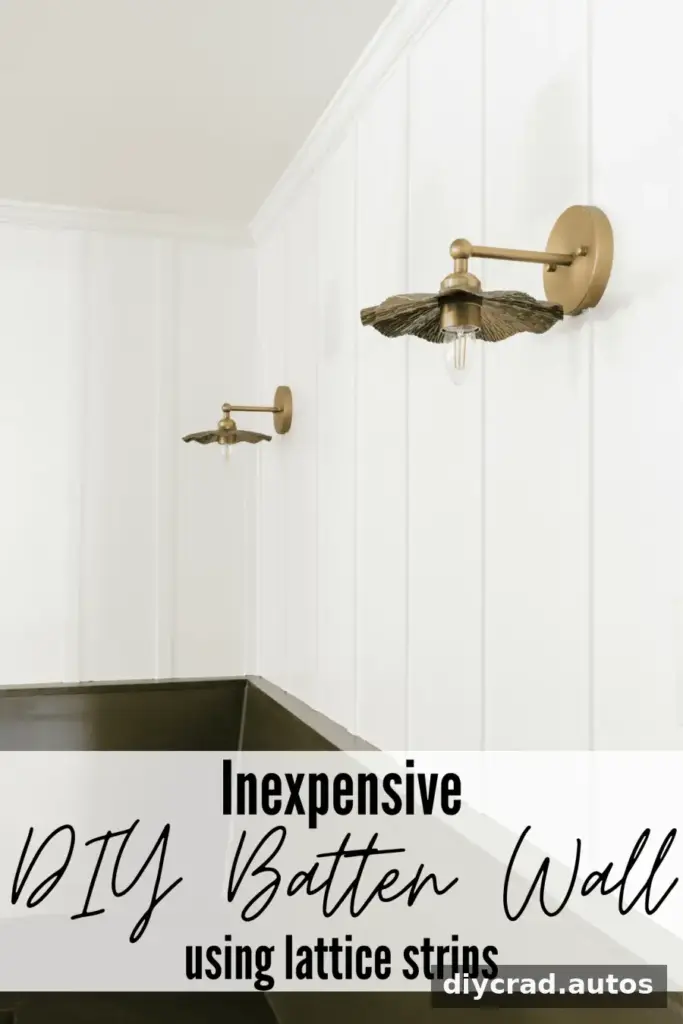
Lattice strips offer another way to create a batten-style wall on a budget. A simpler design can use straight vertical strips across the wall without horizontal boards. For a softer, more traditional finish, a panel cap molding can be added to the top.
Why Add Board and Batten to a Hallway?
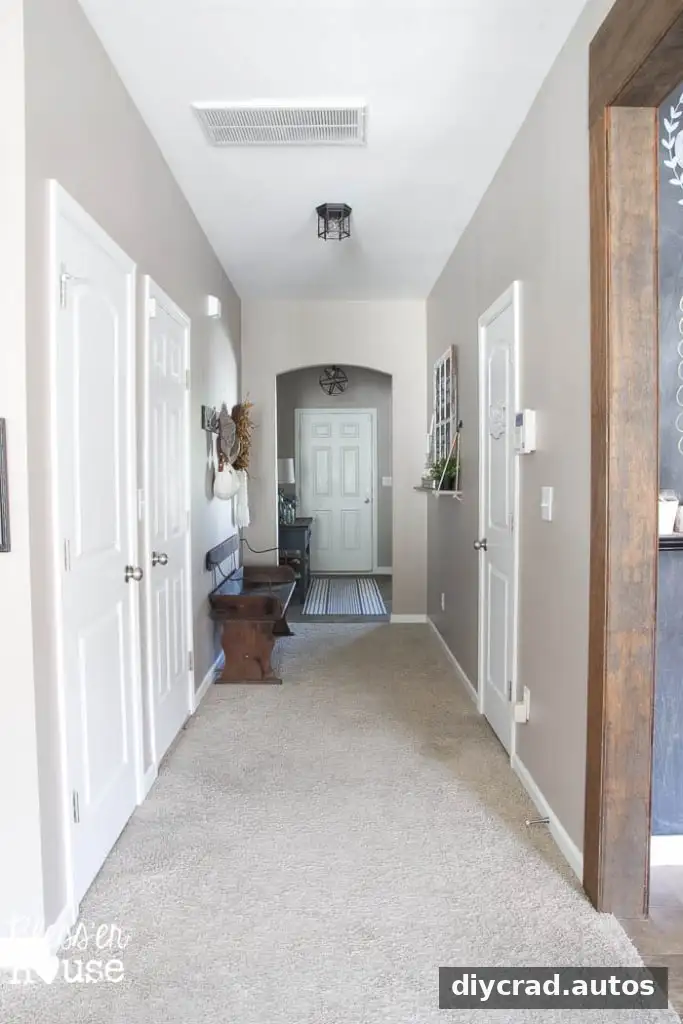
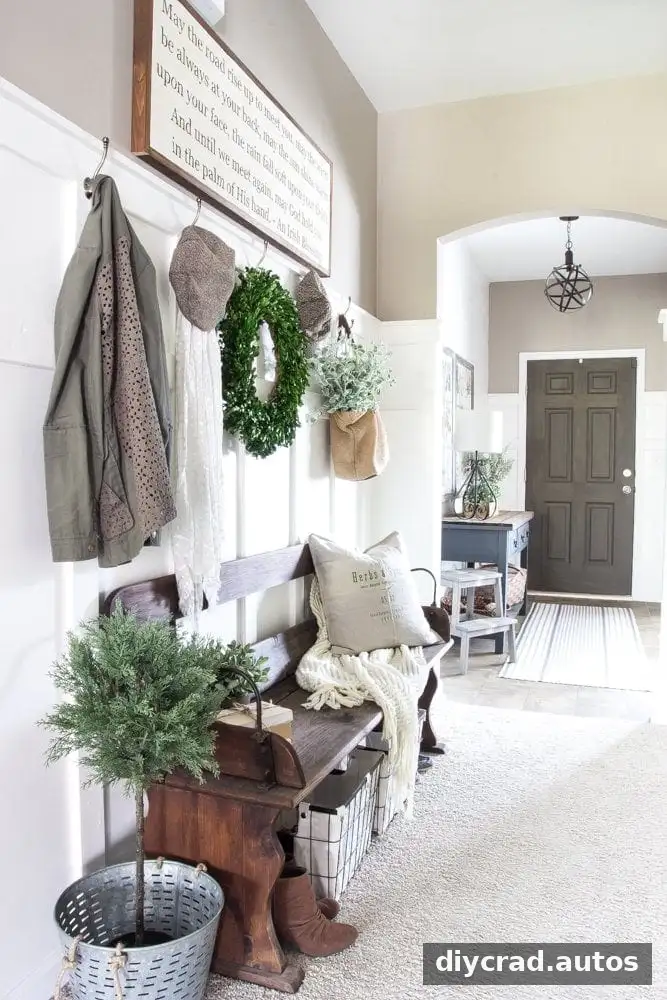
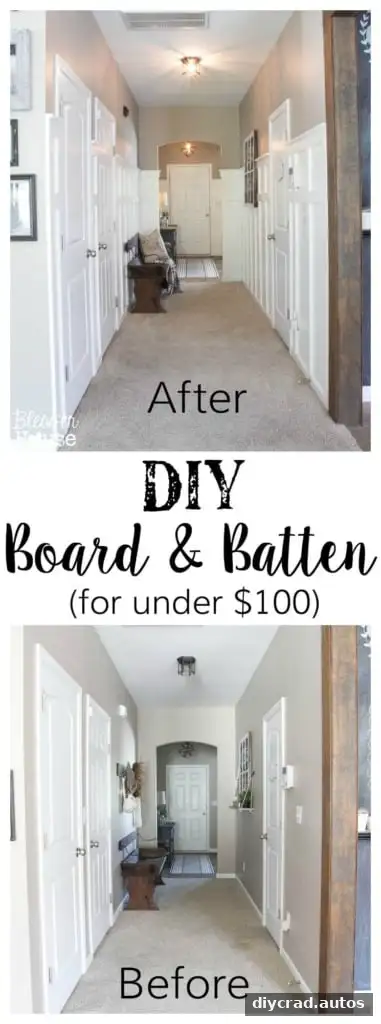
Board and batten can bring definition to a hallway that feels plain or enclosed, including spaces with little natural light. A light paint color may help the area feel brighter, while the added trim provides texture and structure. Installation is manageable for many DIYers, but measuring, cutting, filling, and sanding take time. Starting with a shorter wall can make the project easier to plan.
How to Install DIY Board and Batten
The example hallway project stayed under a $100 materials budget, not including tools already on hand. That amount is not a current price estimate; measure your own space and check local material prices before purchasing.
Supplies
- 32 1x4x8 pine furring strips, or the quantity needed for your wall
- 4 1x2x8 pine furring strips
- Two boxes of 2-inch brad nails
- Hammer or brad nailer
- Stud finder and level
- Miter saw or circular saw, plus a jigsaw for cutouts
- White trim caulk, wood filler, and medium- to fine-grit sandpaper
- Liquid Nails or another construction adhesive, if you want a more permanent attachment
1. Set the Height and Install the Top Boards
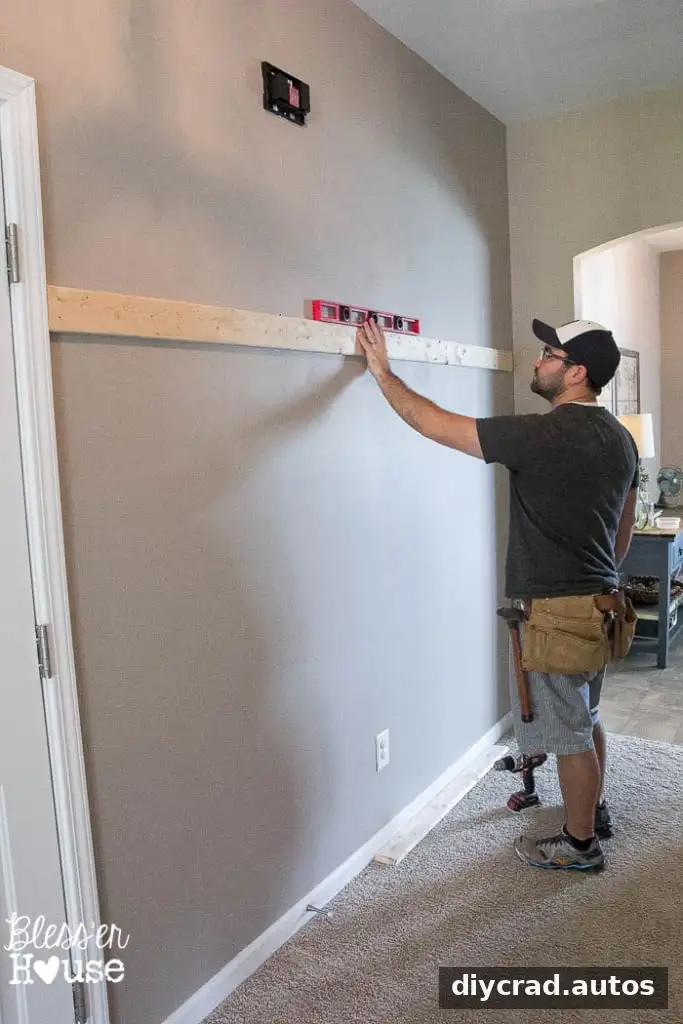
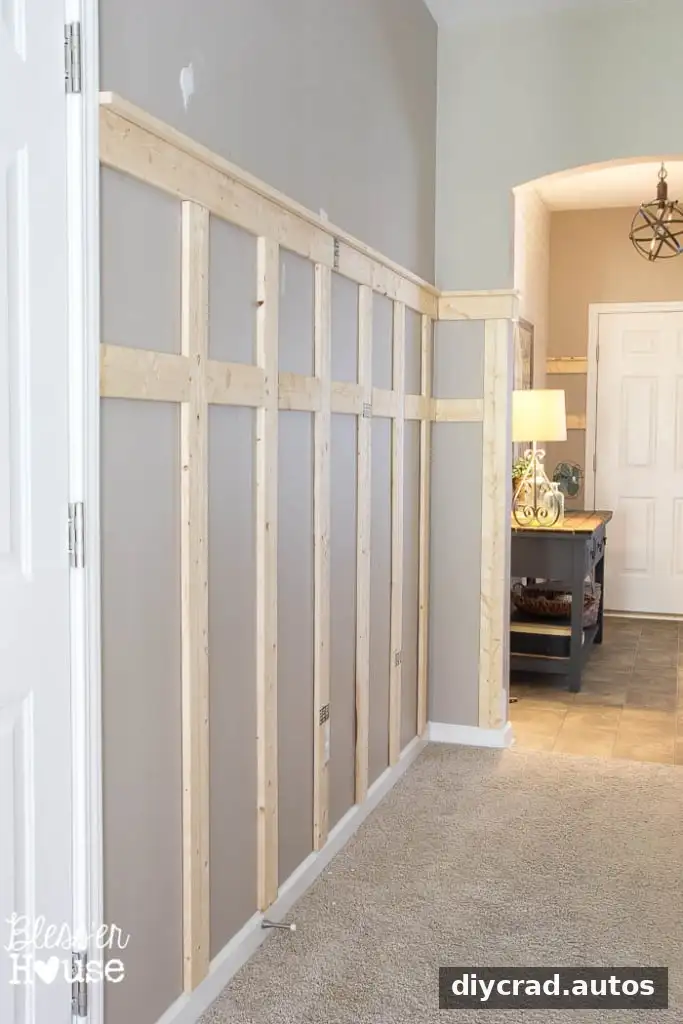
Choose the wainscoting height, then mark a level line for the horizontal 1×4 boards. In the example, the top of the board was set 65 inches above the top of the existing baseboard. Check the line with a level before cutting and attaching anything. You can keep the existing baseboard and fit the vertical battens above it, or replace it with a board that matches the top board for a more balanced look.
2. Secure the Horizontal Boards
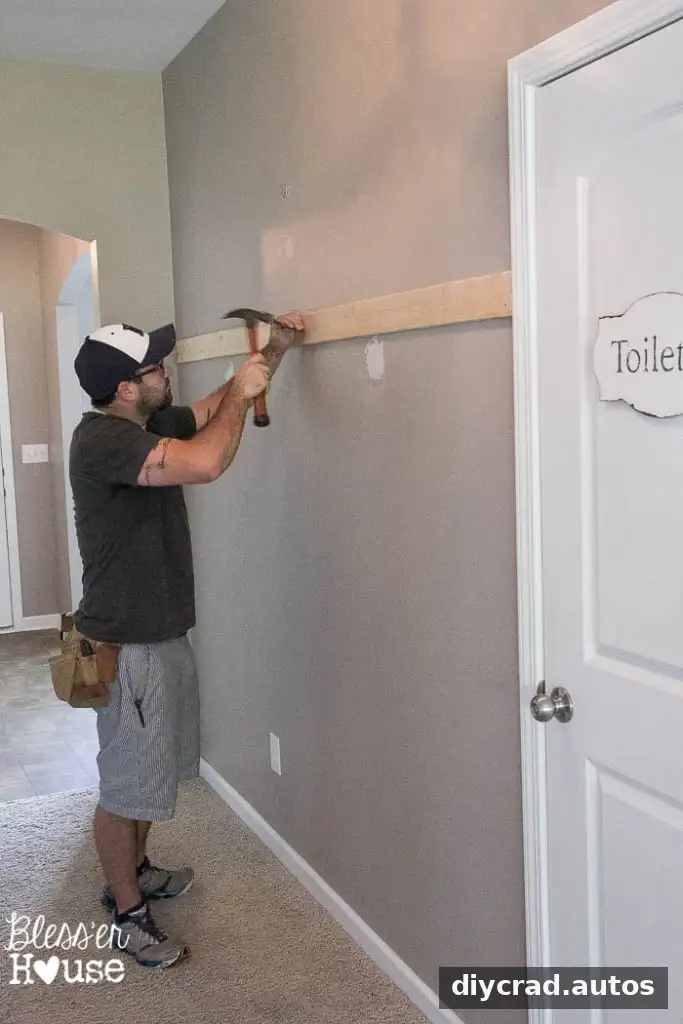
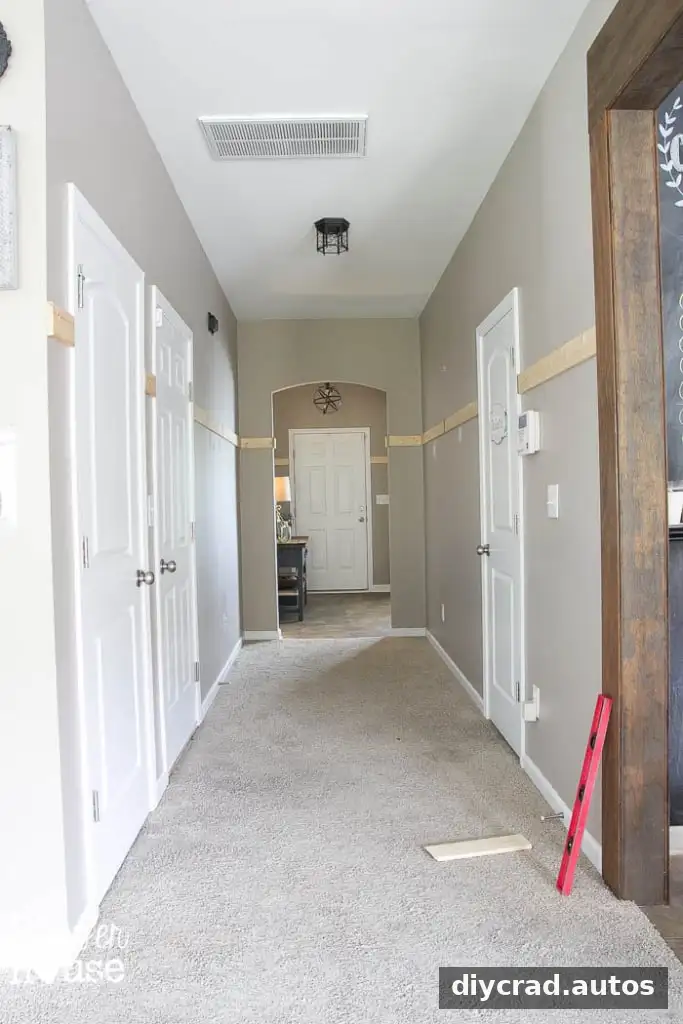
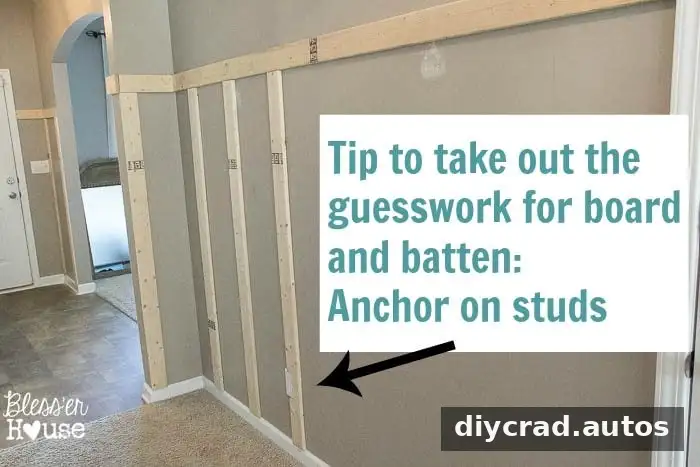
Use a stud finder and fasten the boards into wall studs with nails. Cut each section to fit the wall. Construction adhesive can provide additional hold, but it may make later removal more difficult. If you want the trim to be removable, use appropriately angled brad nails rather than adhesive. Follow tool instructions and use suitable eye protection.
3. Measure and Cut the Vertical Battens
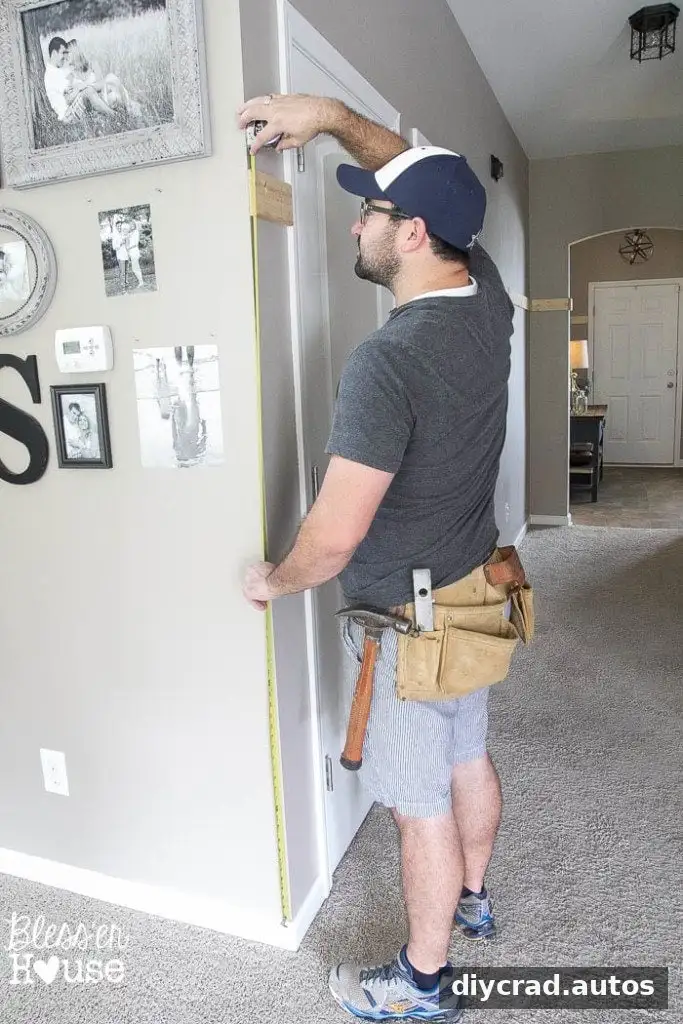
Measure each opening individually from the baseboard to the underside of the top board, then cut the vertical 1×4 strips to fit. In the example, battens were about 61.5 inches long. Measuring each space separately helps account for slight differences in floors, baseboards, and walls.
4. Plan Cuts Around Fixtures
Mark the locations of outlets, switches, and other wall fixtures before cutting. A jigsaw can be used for partial cutouts, while a batten may need to be split into sections around a larger obstacle. Do not cover electrical boxes or interfere with fixtures. Turn off power at the breaker before working near electrical components, and consult a qualified electrician if a safe fit is unclear.
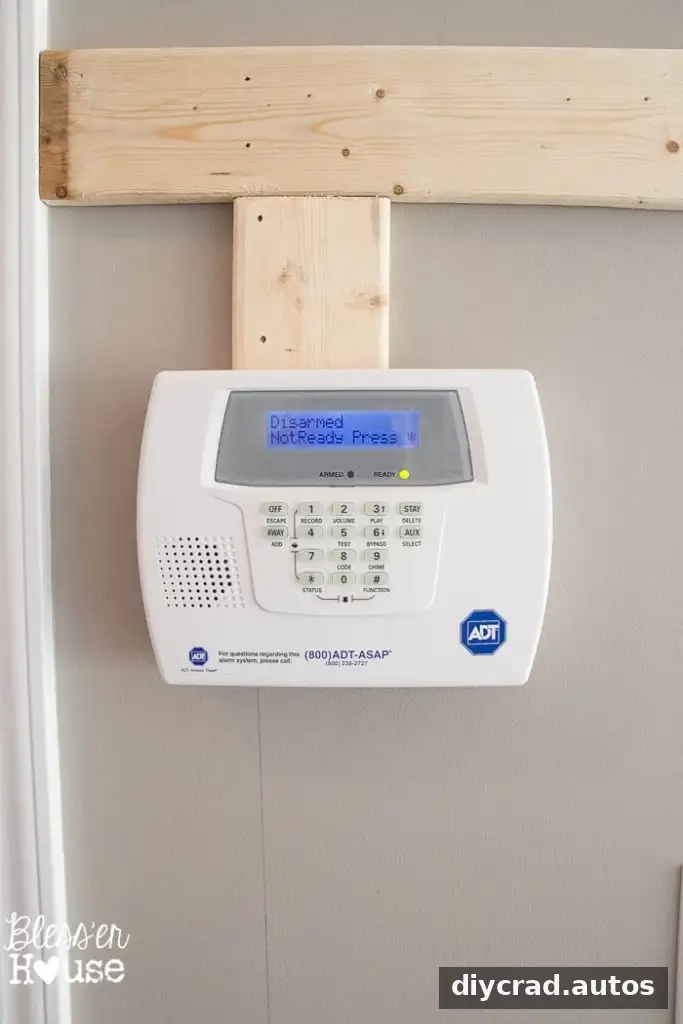
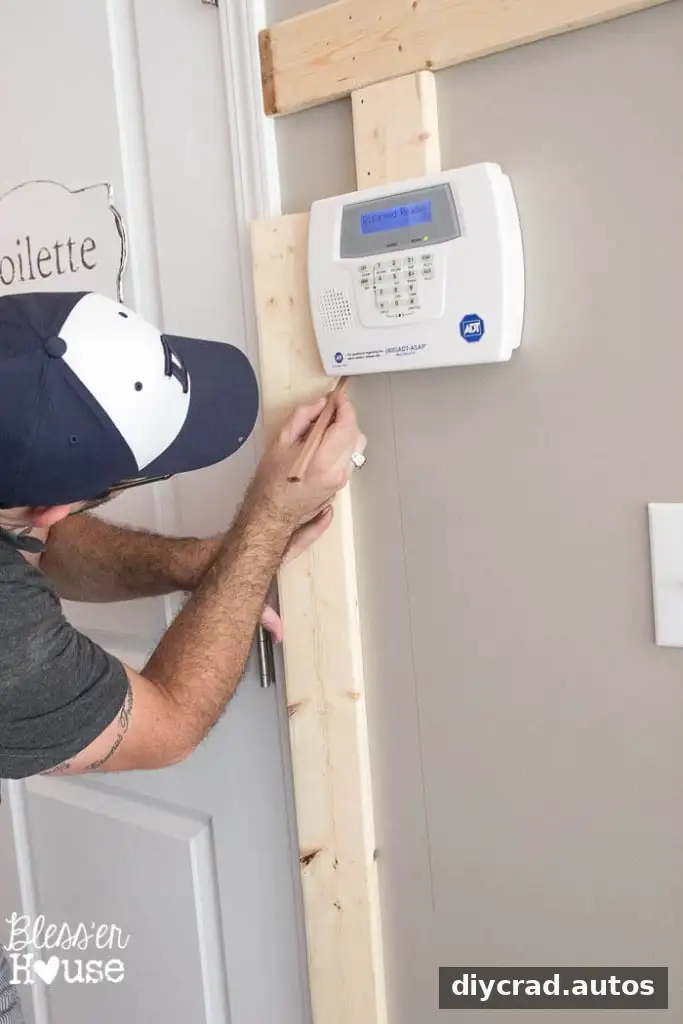
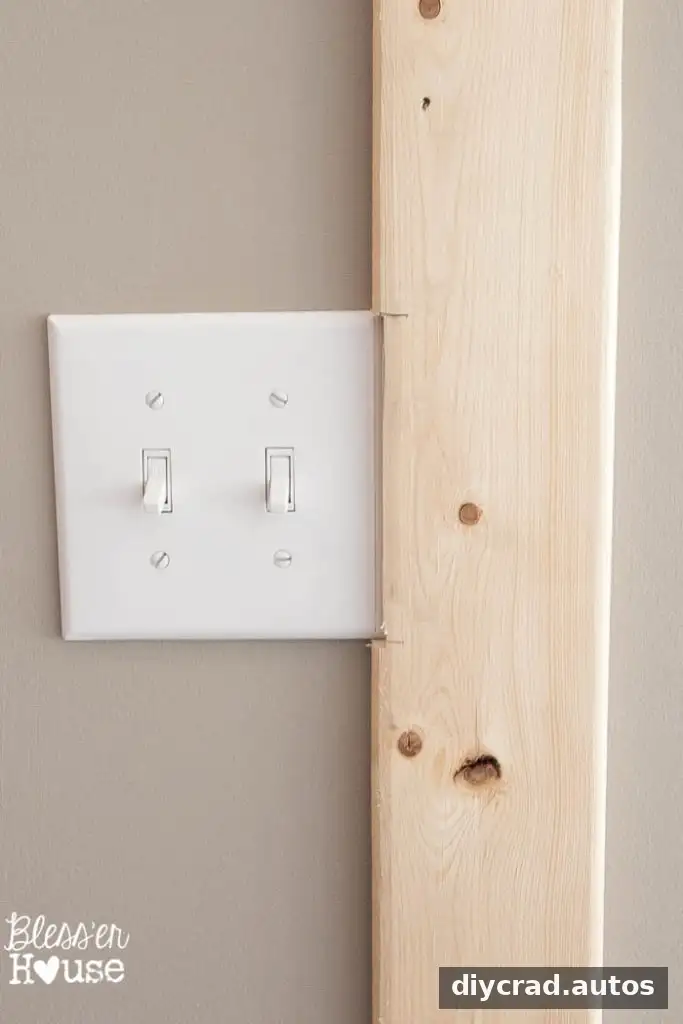
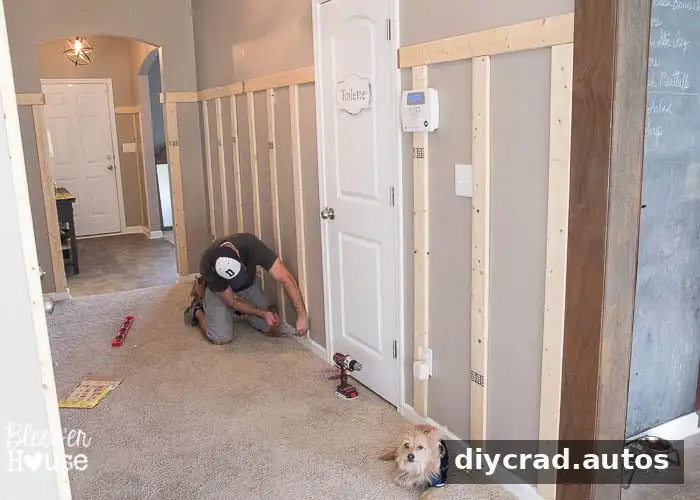
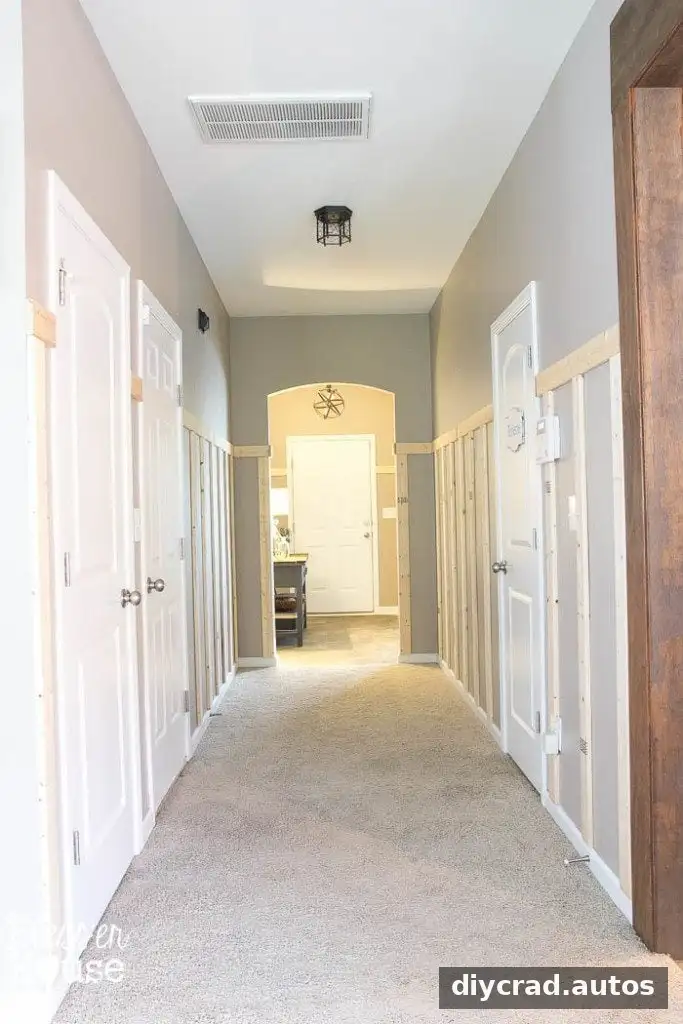
5. Attach the Battens to Wall Studs
Plan batten spacing so the layout looks consistent, then use the stud finder to locate secure fastening points. Nailing into studs helps keep the strips firmly attached. Check each batten with a level as you work; small alignment errors become more noticeable across a long wall.
6. Add a Second Horizontal Board (Optional)
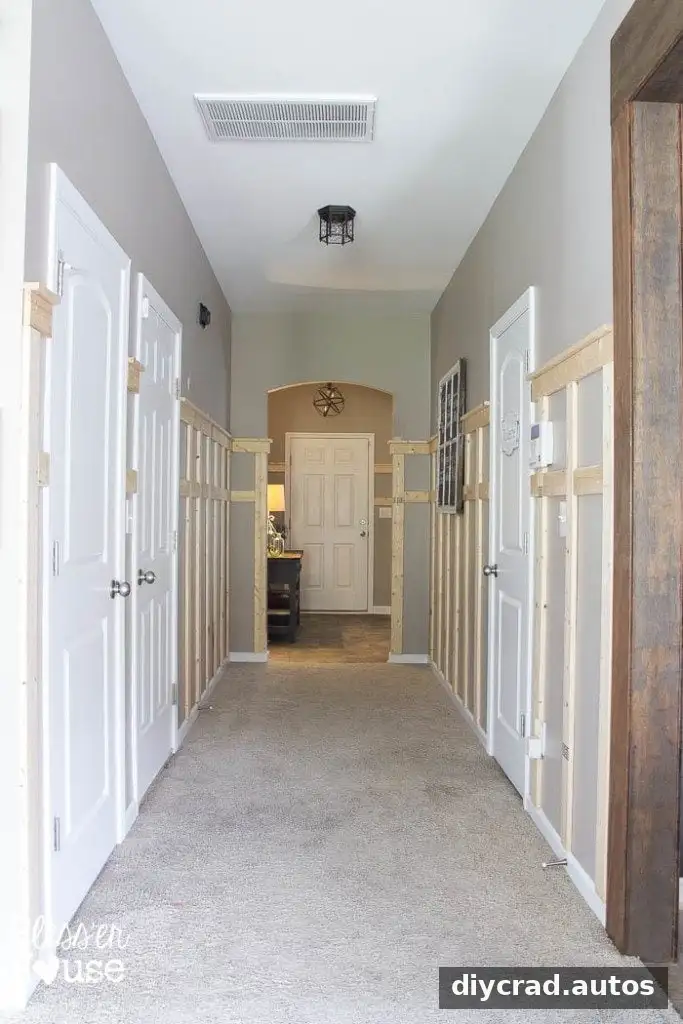
A second horizontal strip can create an additional design detail. In the example, it was positioned about 12 inches below the top board. Measure each space and keep the line level rather than assuming every section of wall is identical.
7. Add a Top Shelf Detail (Optional)
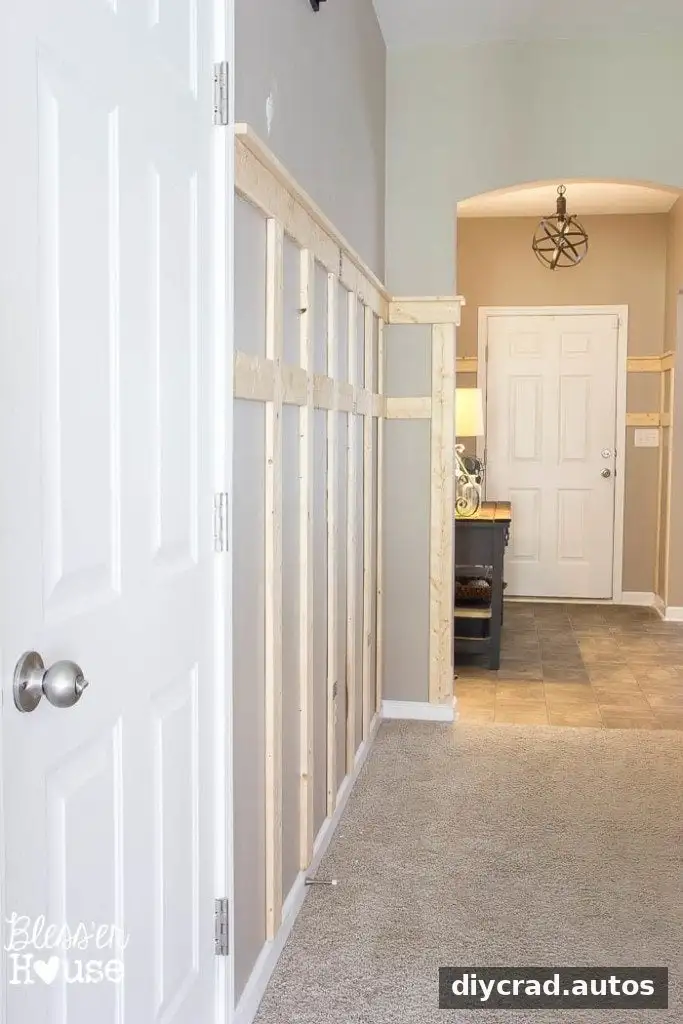
For a finished edge, attach a 1×2 board flat along the top horizontal board. A deeper ledge can serve as a small picture rail, but check that it is securely fastened and does not obstruct doors or nearby fixtures.
8. Fill, Caulk, and Sand
Apply caulk along the edges where the boards meet the wall, and use wood filler for knots and nail holes. Allow the products to dry according to their instructions, then sand the filler smooth. Careful surface preparation makes the finished paintwork look more even.
Although the work can take several days, breaking it into measuring, cutting, installation, and finishing stages makes the process easier to manage. Inspect the finished trim before painting and touch up any gaps or rough spots.
Frequently Asked Questions
Can this method work on textured walls?
The direct-to-wall method is intended for smooth walls. On a textured surface, 1/8-inch thin plywood paneling can be installed first to provide a smoother base for the boards.
Is board and batten a short-lived trend?
It is a longstanding architectural detail used in both traditional and modern interiors. Its simple lines can suit a range of home styles, though the finish and proportions should complement the room.
How tall should board and batten be?
There is no single required height. The guidance for this project suggests at least 4 feet, while the example was approximately 6 feet tall in a room with 9-foot ceilings. Use the room’s scale and existing trim as a guide.
How can battens meet existing baseboards neatly?
One option is to remove the baseboard and install a replacement with a width that matches the top board. Another is to cut a 45-degree angle at the bottom of each batten so it meets the existing baseboard.
More Wall Molding Ideas
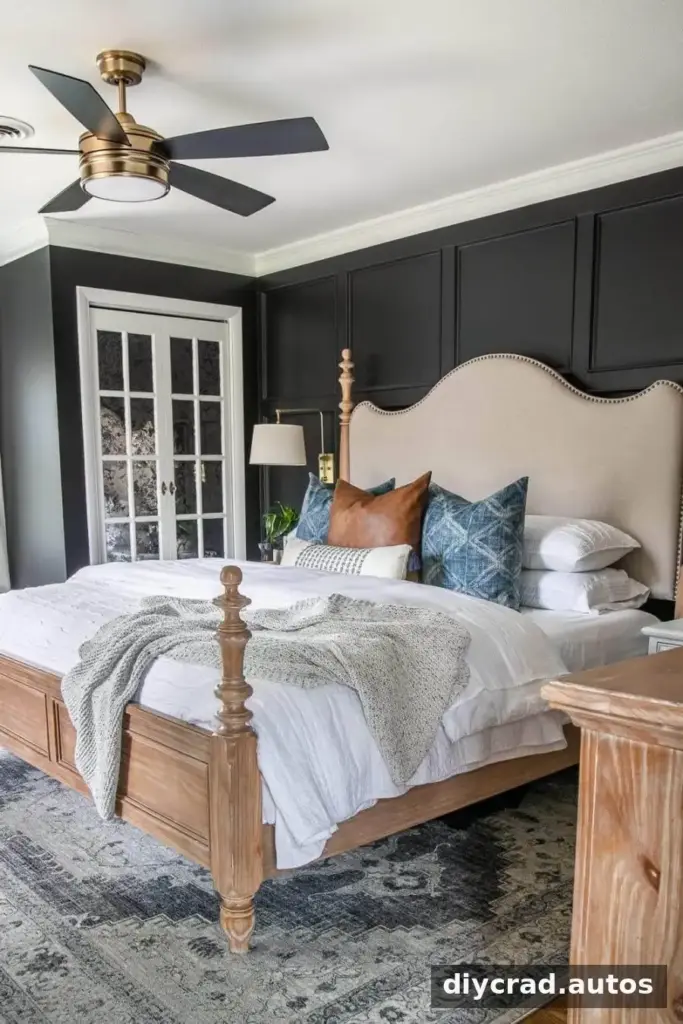
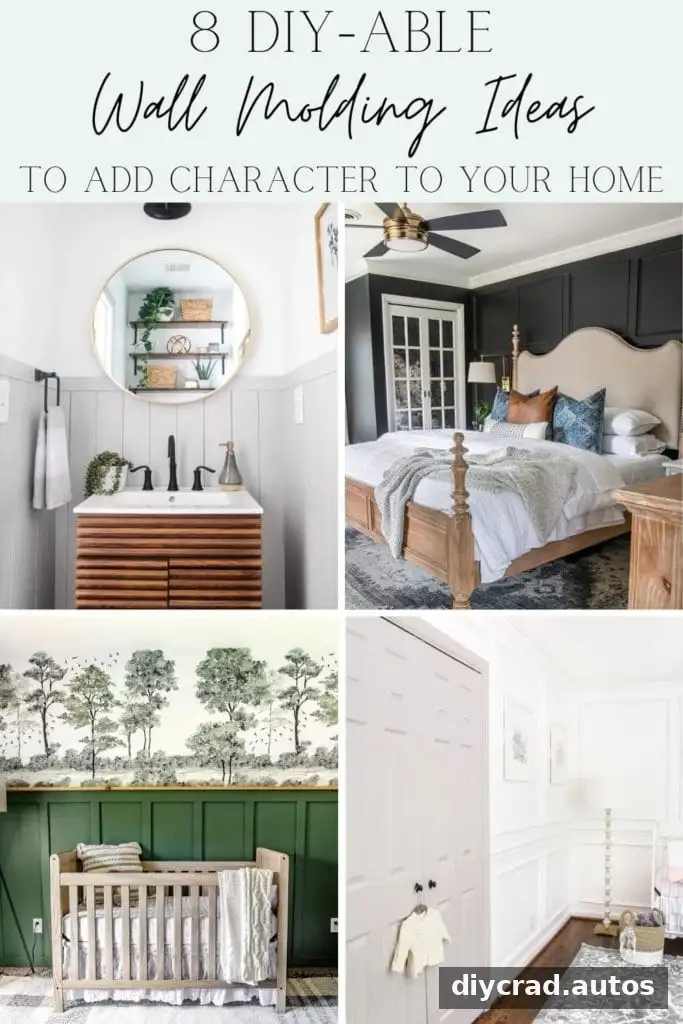
Other treatments to consider include vertical shiplap wainscoting, traditional grid molding, and a batten-style wall made with lattice strips. Compare the materials and layout before choosing a design for your space.
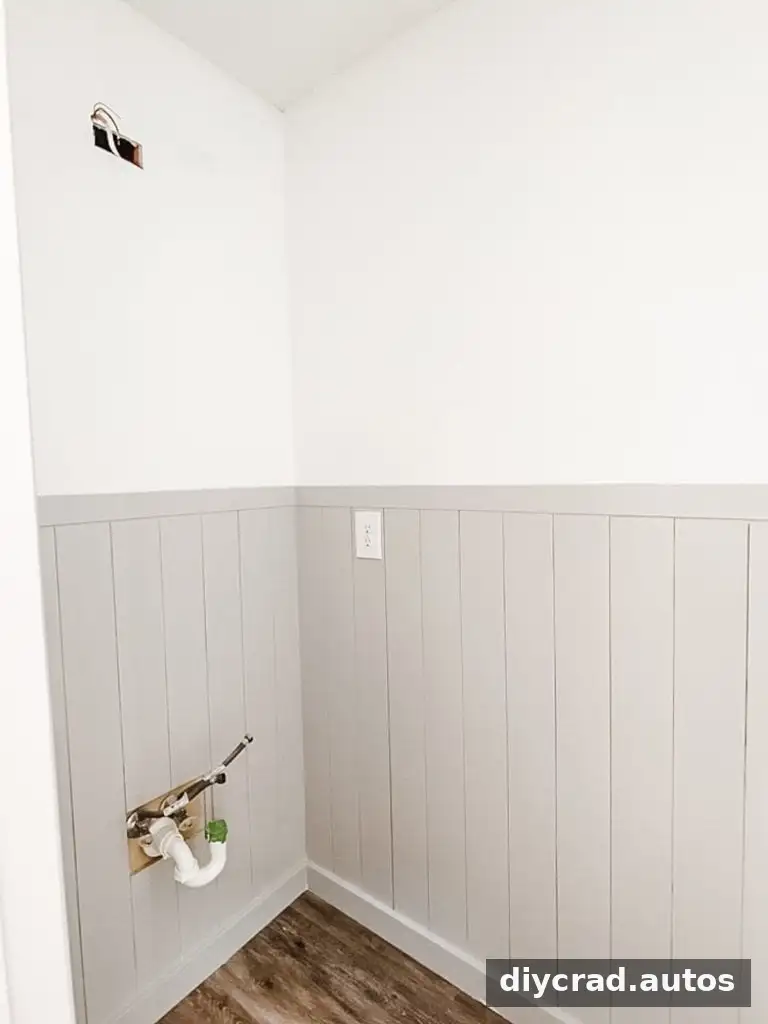
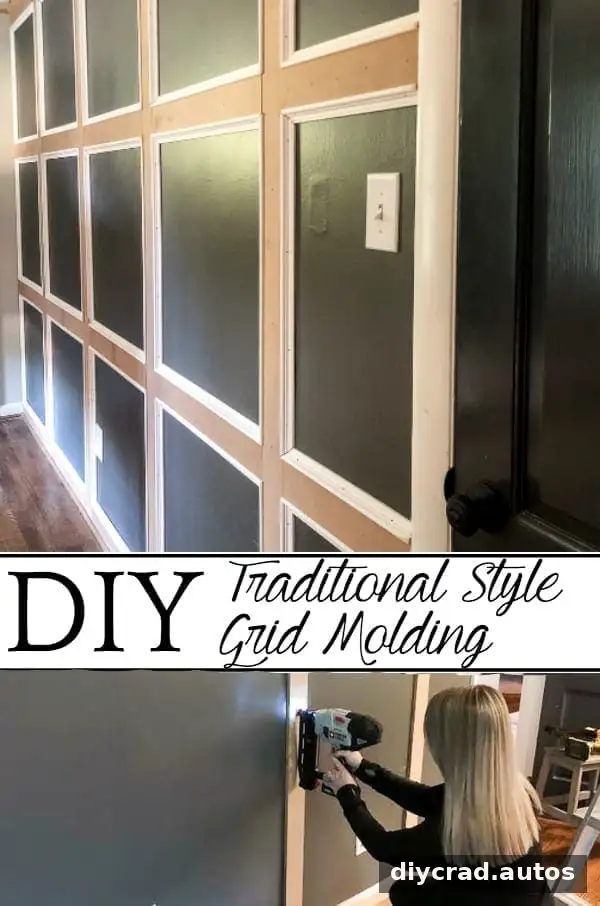
With a measured layout, suitable materials, and secure attachment, DIY board and batten can turn a plain wall into a more detailed, polished feature. Check your wall type, local material prices, and fixture locations before starting, then allow enough time for careful finishing.

