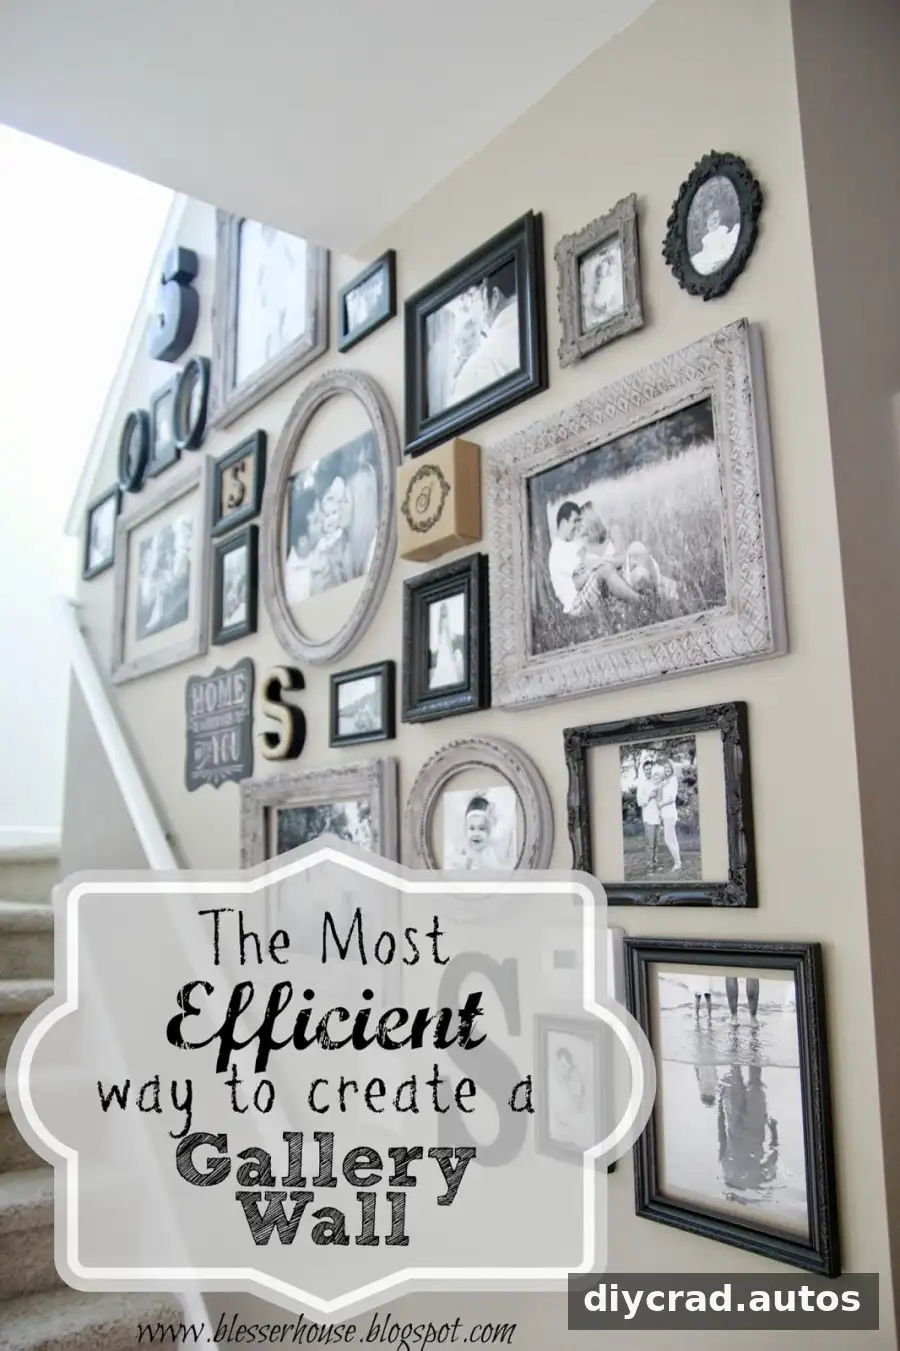
A gallery wall can make a blank space feel considered and personal, but choosing a layout can be challenging when every frame needs a nail hole. A simple planning method—making paper templates, arranging them on the wall, and starting with the largest frames—helps you preview the design before hanging anything.
How to plan a gallery wall before hanging frames
Begin by gathering the frames you want to display and deciding which photos or artwork will go in them. Include the frames’ different sizes and finishes in your plan. If you are using distressed frames or adding a vintage look with chalk paint, arrange them alongside the other pieces before you commit to a final layout.
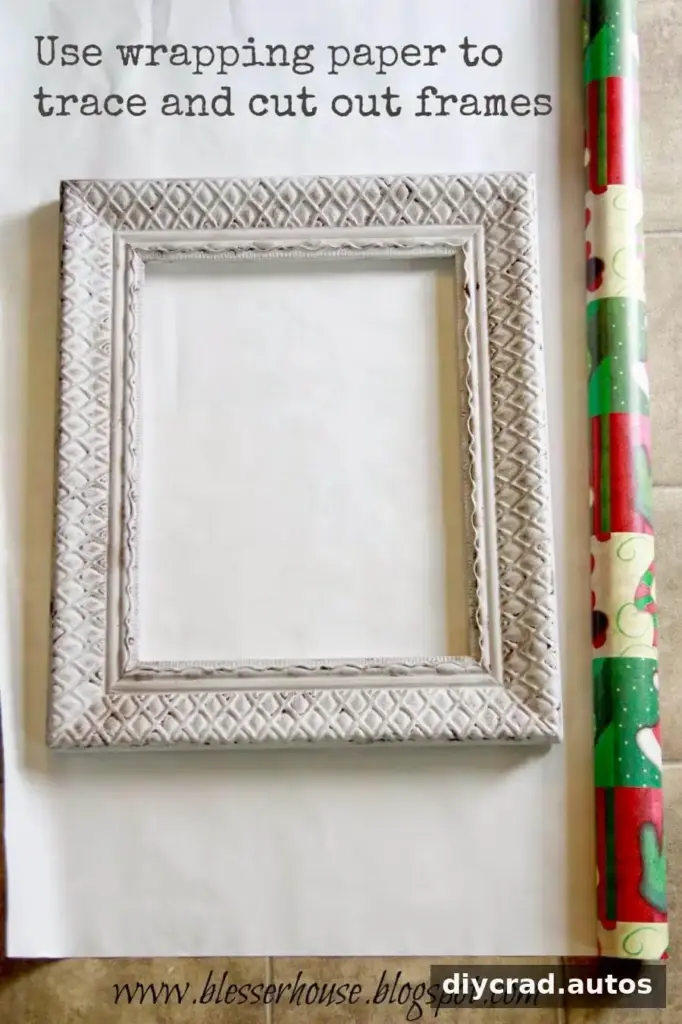
To make templates, trace each frame onto wrapping paper or another lightweight paper, then cut out the shapes. Label each template with a short description, such as the frame size or the image it will hold. This makes it easier to compare the arrangement and recognize which piece you are moving.
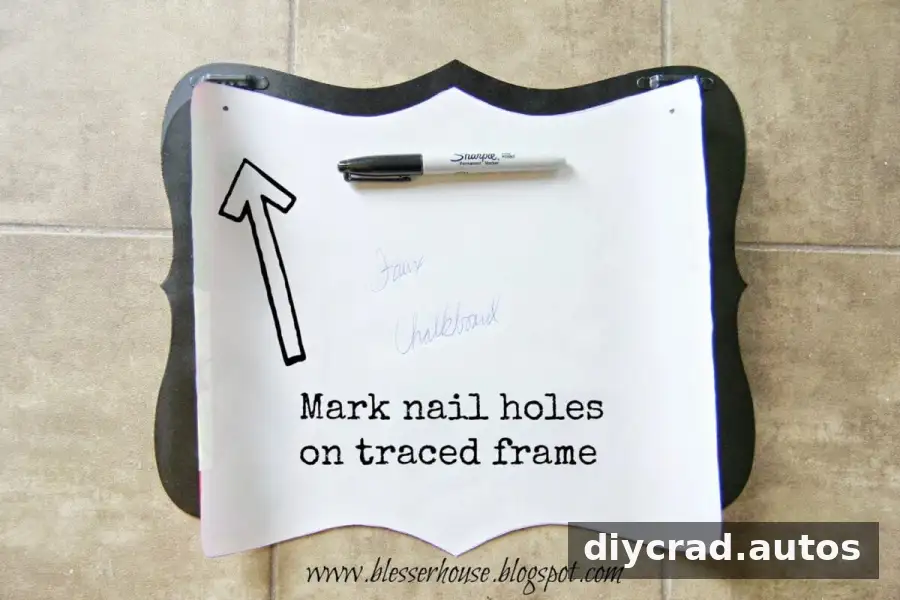
Mark the hanging point on each paper template. For example, note where the nail or picture hook needs to sit in relation to the frame’s top edge. Check how each frame is designed to hang, since hardware placement can vary. Taking this step now helps you transfer the planned positions to the wall more accurately.
Use tape to temporarily attach the templates to the wall. Clear tape can be less visually distracting, while painter’s tape is another practical option. Step back and look at the arrangement from the usual viewing distance. It can also help to check the layout from more than one angle before making changes.
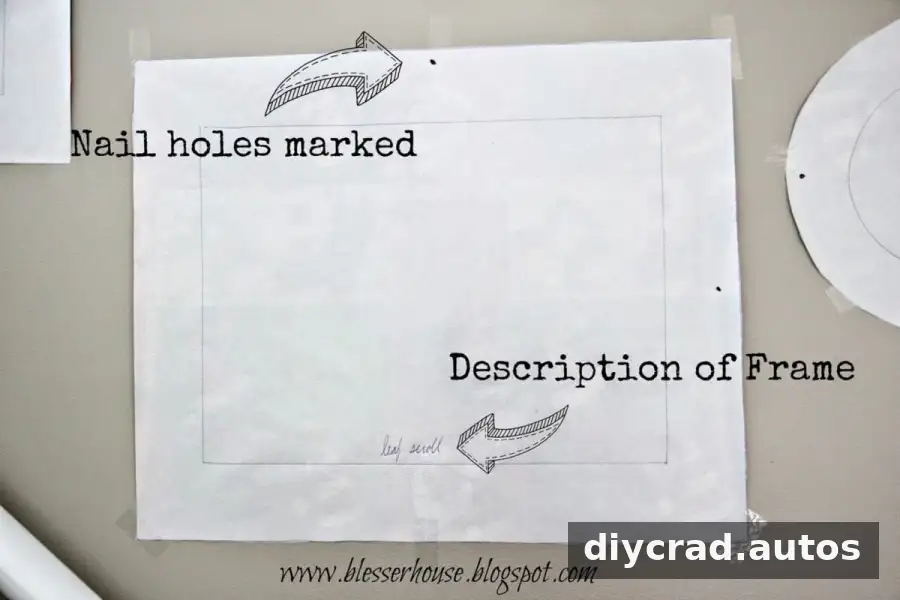
Use the paper arrangement to test different spacing and identify gaps. Add templates for any additional frames you may need, or move pieces around until the composition feels balanced. This is much easier than rehanging frames after discovering that the original layout does not work.
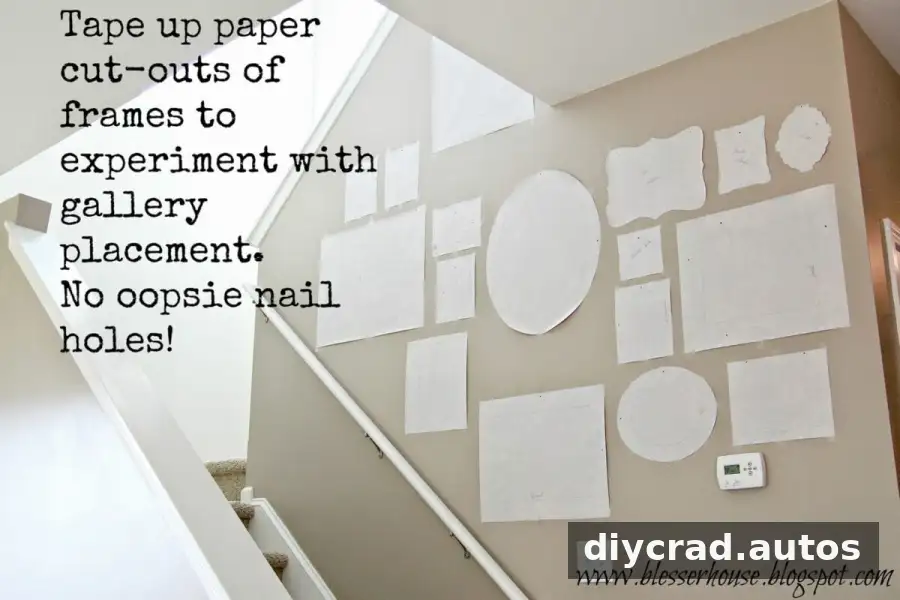
The most efficient gallery wall layout
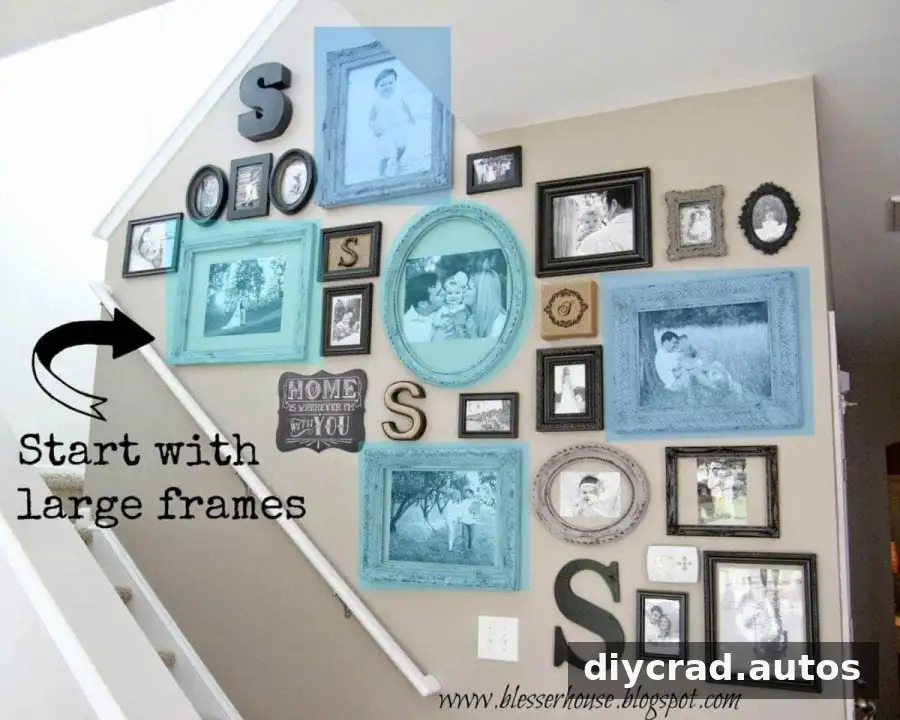
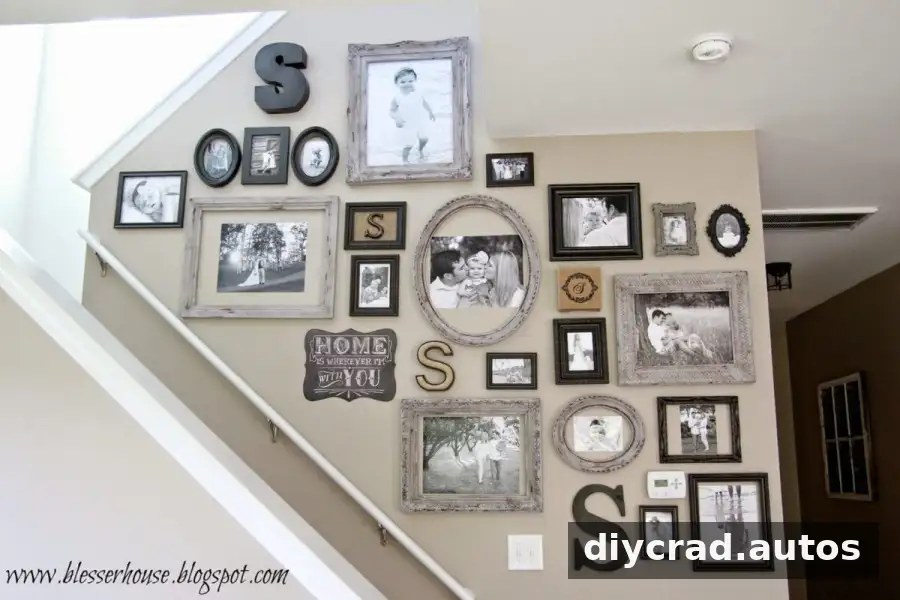
Once the overall arrangement is ready, use a simple order for placing the frames: start with the largest pieces, then fill the open spaces with smaller ones. This gives the layout a clear structure and makes it easier to judge the remaining gaps.
1. Place the largest frames first
Choose the five largest frames as the anchors for the gallery wall. Position these first, leaving enough room between them for smaller frames, including at least one 5×7 frame where planned. The largest pieces establish the main shape of the display, so take time to check their spacing and alignment before moving on.
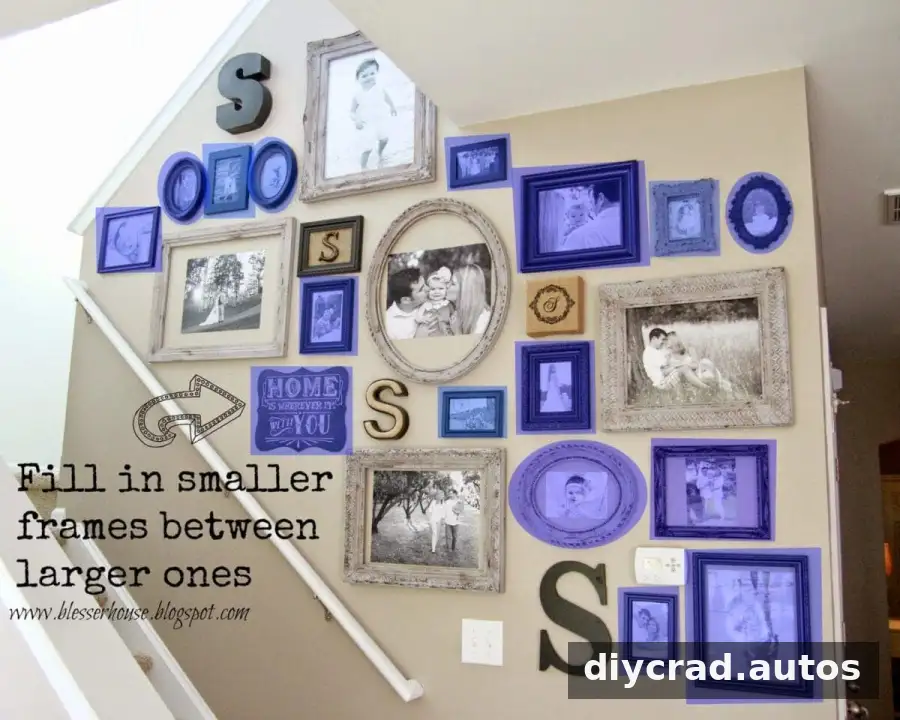
2. Fill the gaps with smaller frames
Arrange the smaller frames, including 8×10 sizes and below, in the spaces between the larger anchors. Compare the paper templates as a group rather than focusing on one gap at a time. Keep the spacing visually consistent, while allowing for small adjustments where frame sizes differ.
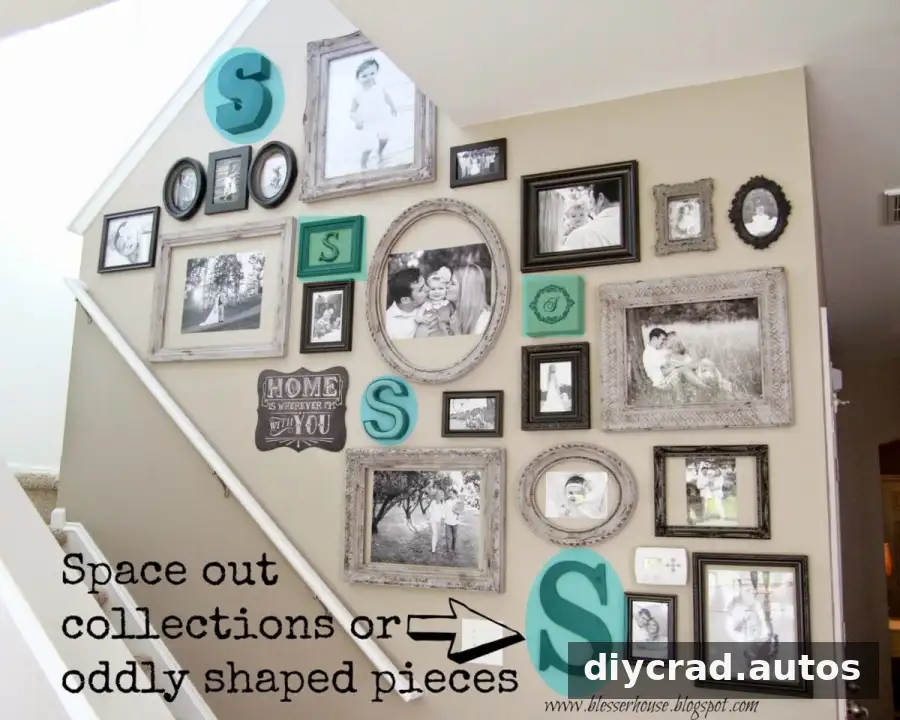
3. Balance repeated details and textures
Before hanging the frames, check whether repeated details—such as initials, similar colors, or matching finishes—are clustered together. In this arrangement, the S initials were spaced apart, and frame textures were considered across the display. Distributing repeated elements can help the wall feel more balanced.
Hang the frames and review the result
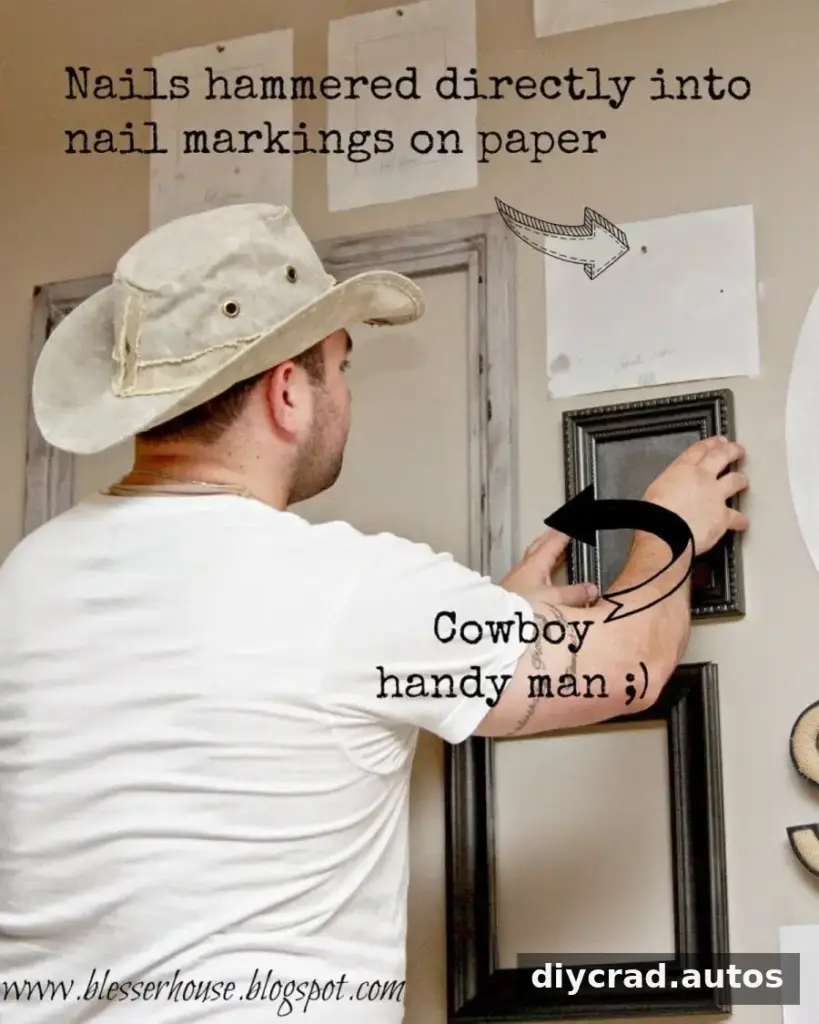
When the templates are in their final positions, use the marks on the paper to locate the hanging points. Confirm that the hardware is suitable for the wall and the weight of each frame. If you are uncertain about a frame’s position, leave the template in place and double-check the measurement before making a hole.
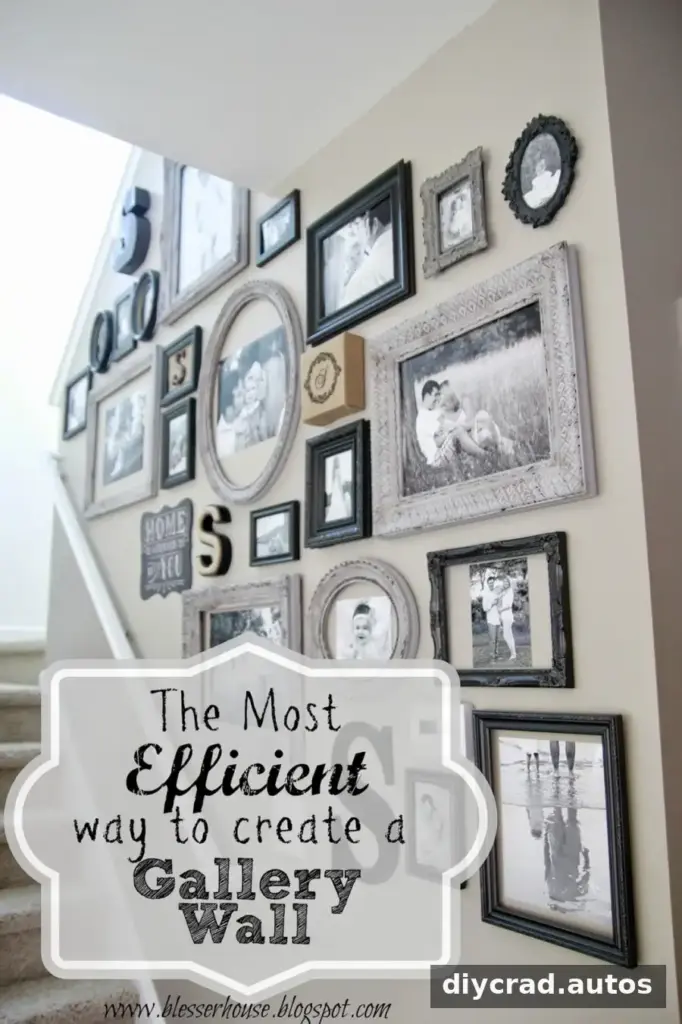
After hanging the frames, review the gallery wall from across the room. Minor adjustments may still improve the balance, but the paper-planning stage should reduce unnecessary holes and make those changes easier to judge in advance. Choosing the photos can take time too, so consider setting them out together before placing them in the frames.
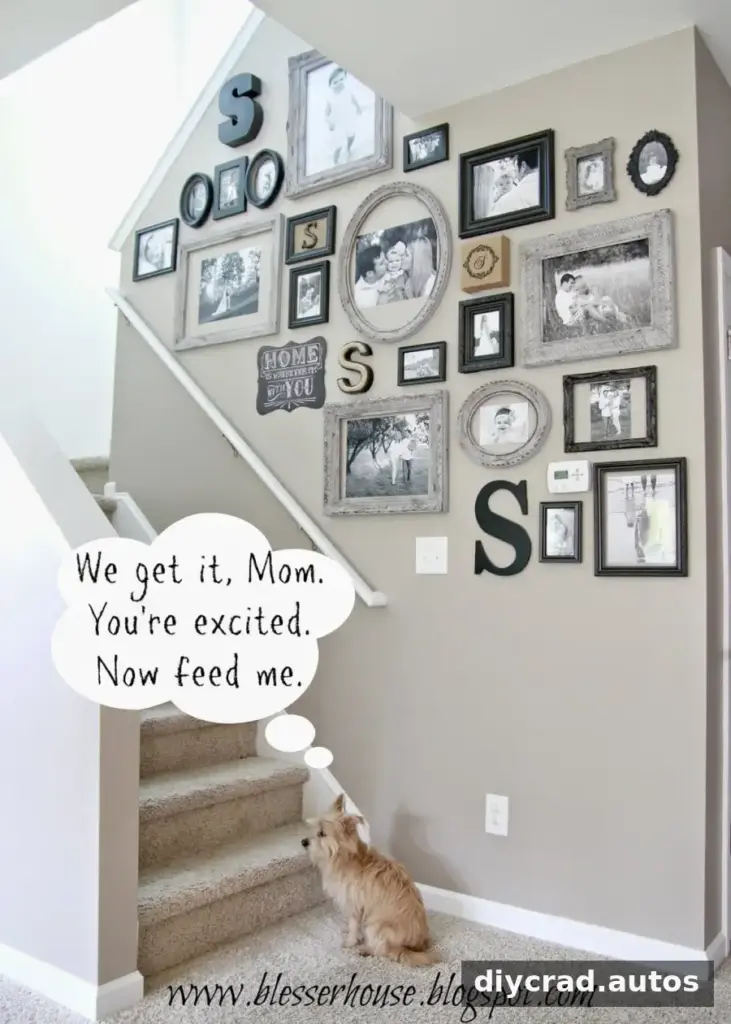
A gallery wall does not have to cover every nearby section of a room at once. If another area, such as a stairwell, is waiting on furniture or storage plans, finish that project when the surrounding space is ready. A thoughtful layout can develop gradually while still giving the room a more personal feel.
In summary: the most efficient way to create a gallery wall is to make paper templates, test the arrangement on the wall, begin with the five largest frames, and fill the remaining spaces with smaller pieces. Planning first makes it easier to refine the design and helps avoid unnecessary nail holes.