

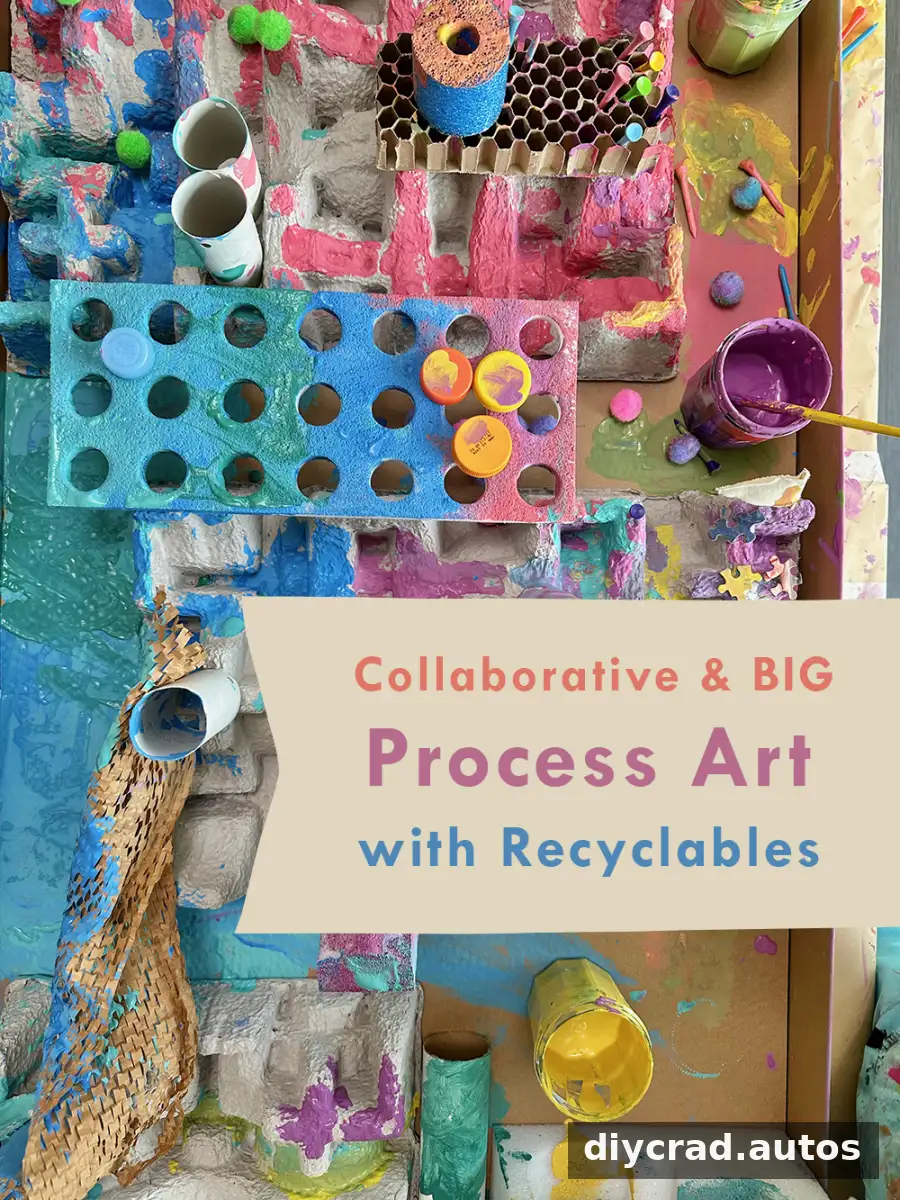
Collaborative recycled art gives children a chance to transform cardboard and everyday packaging into a shared, colorful creation. A large three-dimensional surface invites painting, gluing, and experimenting, while letting each participant contribute in their own way. This project was prepared for a library event, where families could explore materials together at their own pace.
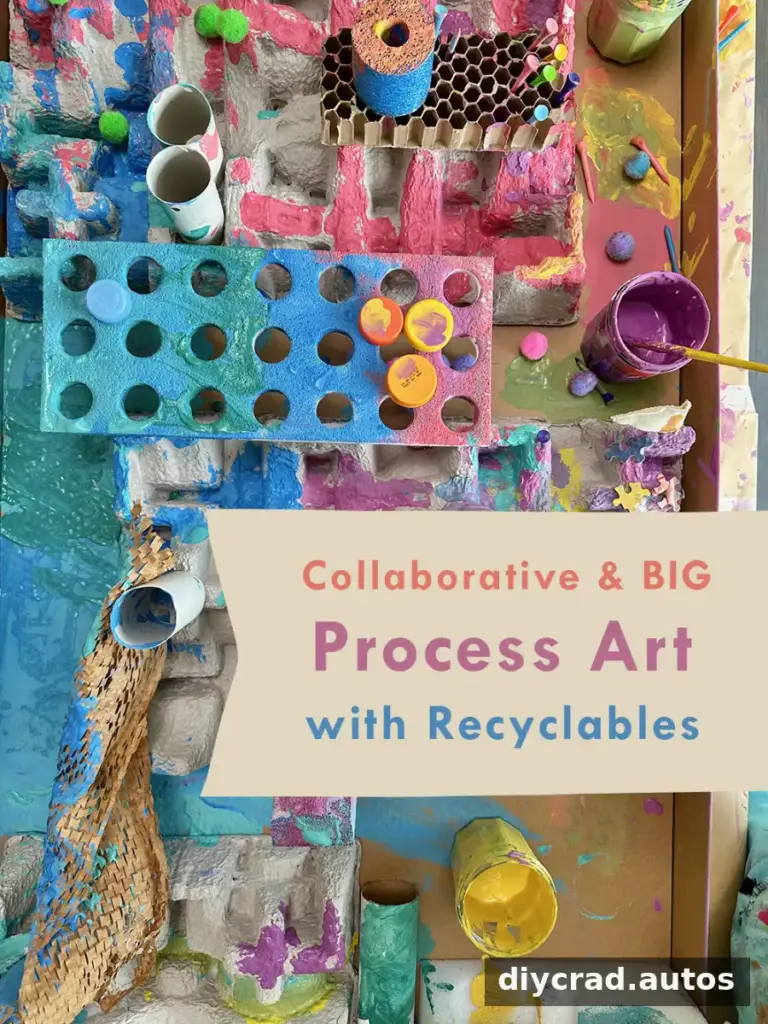
The event was part of a library fundraiser featuring a mini-golf course, with each hole supported by a local business. For the children’s library area, the project used a sculptural structure with a path through the middle for golf balls. Small flags, golf tees, and cut-up maps helped connect the artwork to the golf theme. The structure could also work without a theme: its unusual surfaces and open-ended materials are the main attraction.
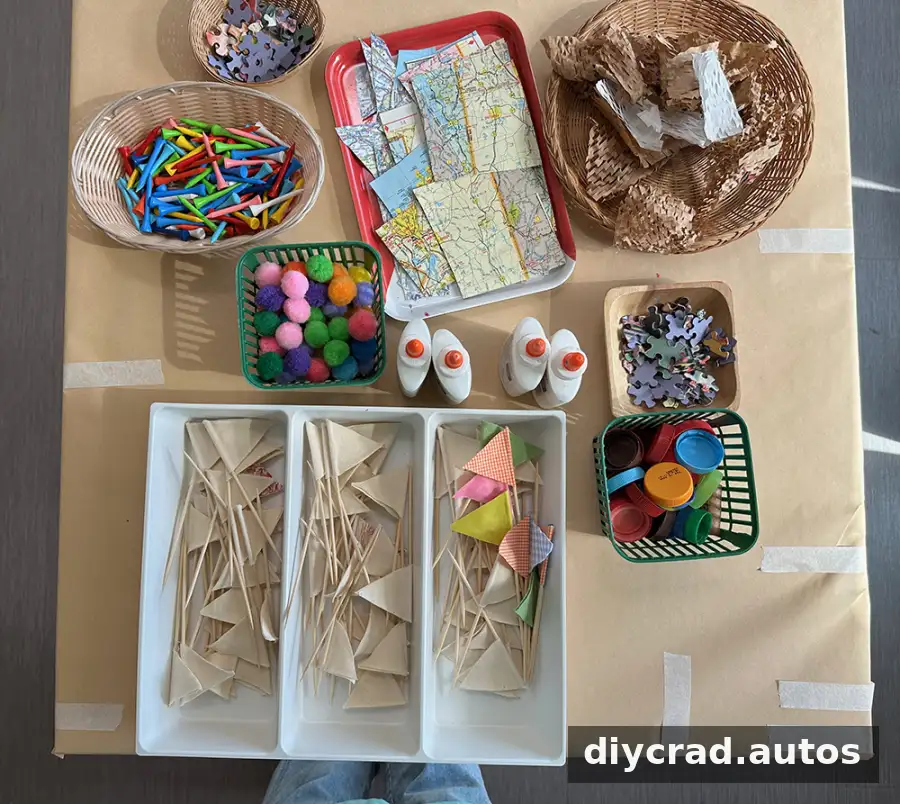
Supplies for a large collaborative recycled art project
Many of the materials can be collected from clean household packaging. Gather supplies before the session so children can spend more time creating and less time waiting for items to be prepared.
- Clean recyclables such as cardboard tubes, packaging, honeycomb paper, and foam
- A large piece of cardboard, such as a furniture box, to serve as the base
- A hot glue gun and plenty of glue sticks; an adult should handle hot glue
- Small collage materials, such as bottle caps, puzzle pieces, pom-poms, and scraps of paper
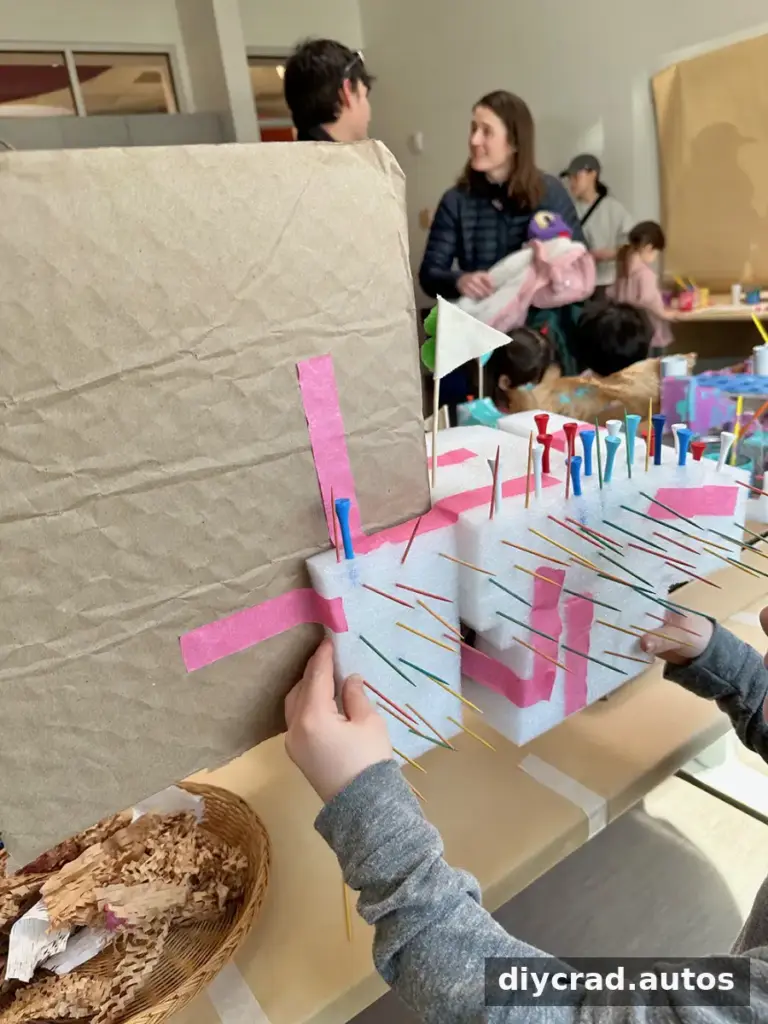
- Golf tees or toothpicks for poking into suitable materials, with close supervision for younger children
- Wooden skewers cut in half and small pieces of fabric for making flags; prepare these in advance
- Tempera paint in red, yellow, blue, pink, and white, with green and purple as optional additions
- Glass jars for holding paint, placed securely and away from table edges
- Paint brushes in sizes 8 and 10
Check small pieces for age suitability, especially when toddlers are participating, and keep sharp or pointed tools under adult supervision. Cover the work area and have wipes or water nearby for quick cleanup.
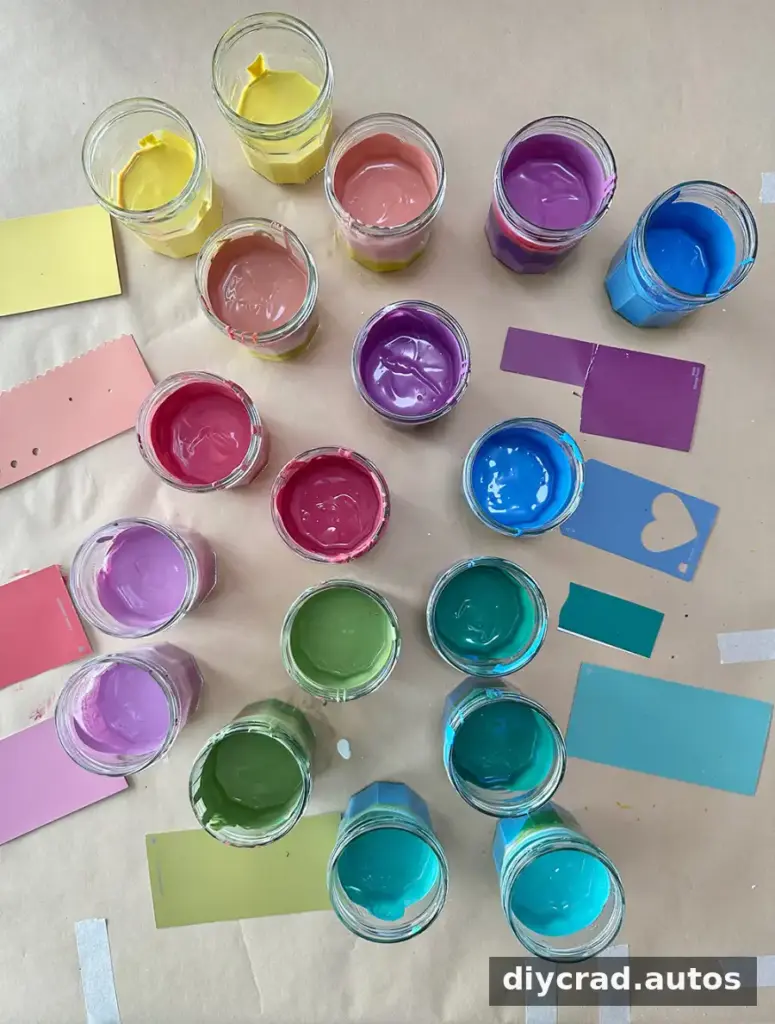
Mixing paint for collaborative recycled art
Mixing tempera colors gives children a broader palette and helps the paint cover brown cardboard and packaging. Adding white to a color makes it lighter and more opaque, which can be useful on darker or uneven surfaces. For this event, colors were mixed to match paint samples, with two jars of each color available.
Set out paint in stable containers and provide enough brushes for the number of participants. A separate table with plain paper is a helpful option for children who would rather paint flat surfaces or need a little more room. It also gives older children an alternative if the large construction is not the activity they prefer.
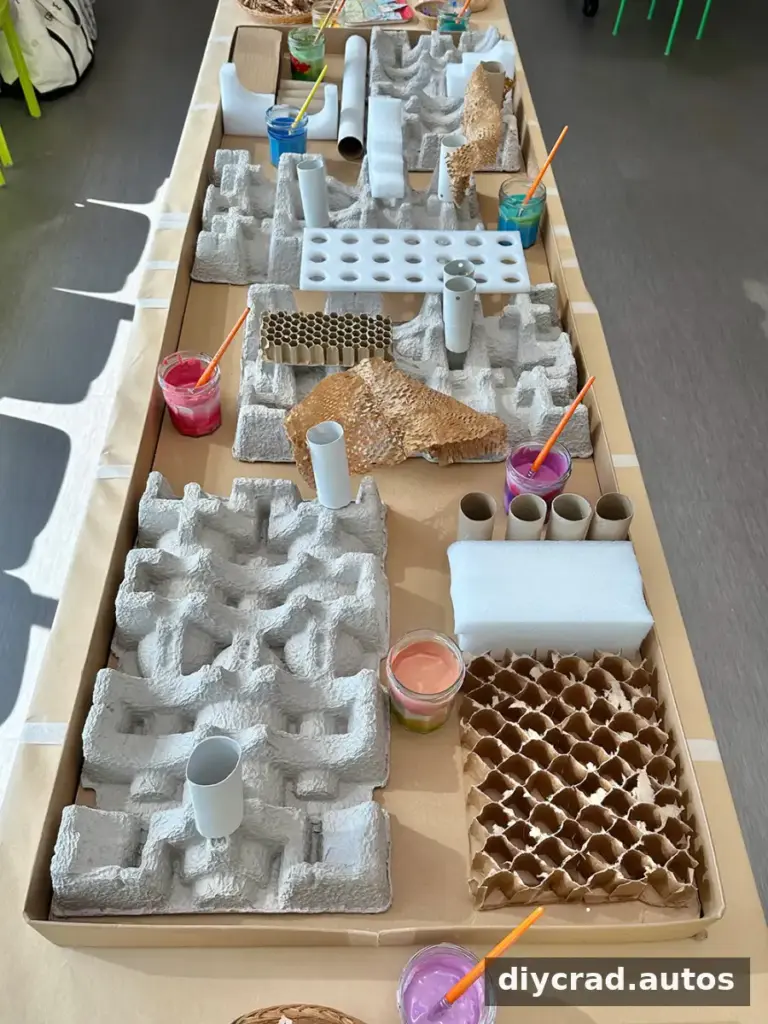
How to set up the shared artwork
Build and attach the main cardboard elements before the event if families will be arriving and leaving throughout the session. The prepared structure can be placed on sturdy tables pushed together. Put paint on open, low-risk surfaces within the structure and arrange baskets of collage materials at both ends, so participants can reach supplies without crowding one spot.
Leave enough space around the artwork for people to move safely. If the project is being made over several sessions, consider keeping it in a stable location so children can add to it over time.
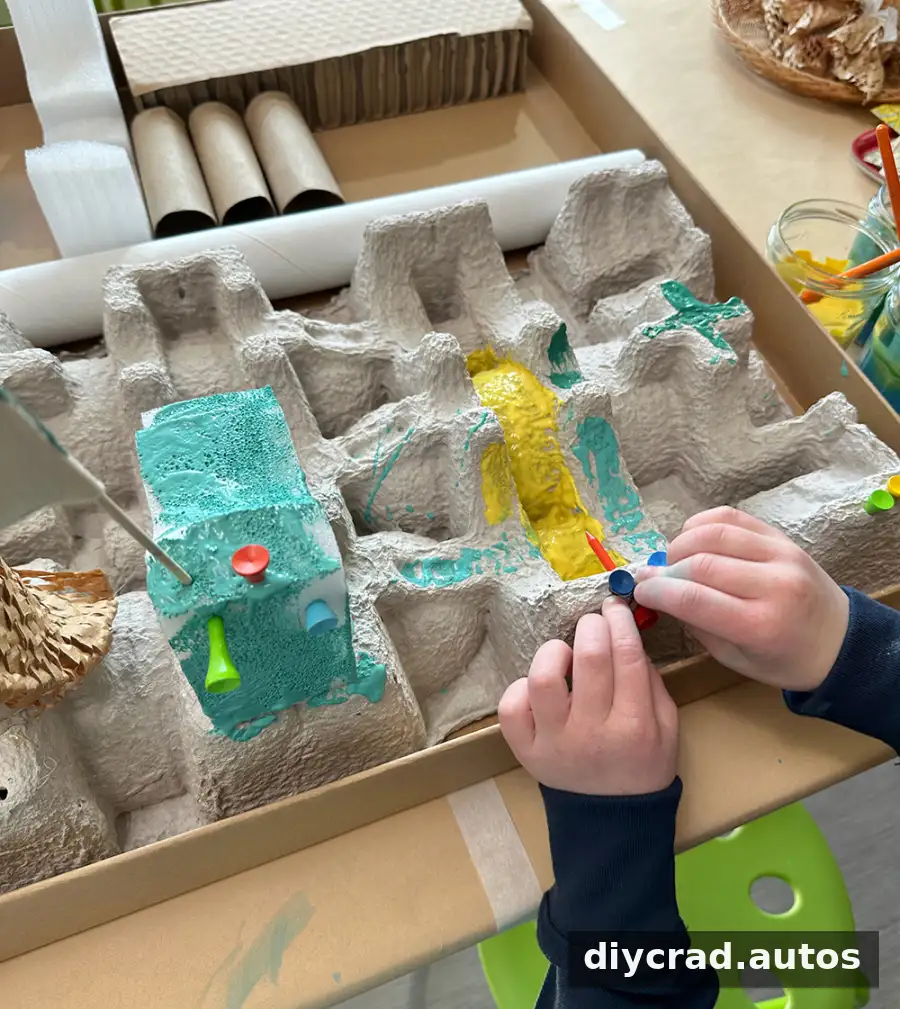
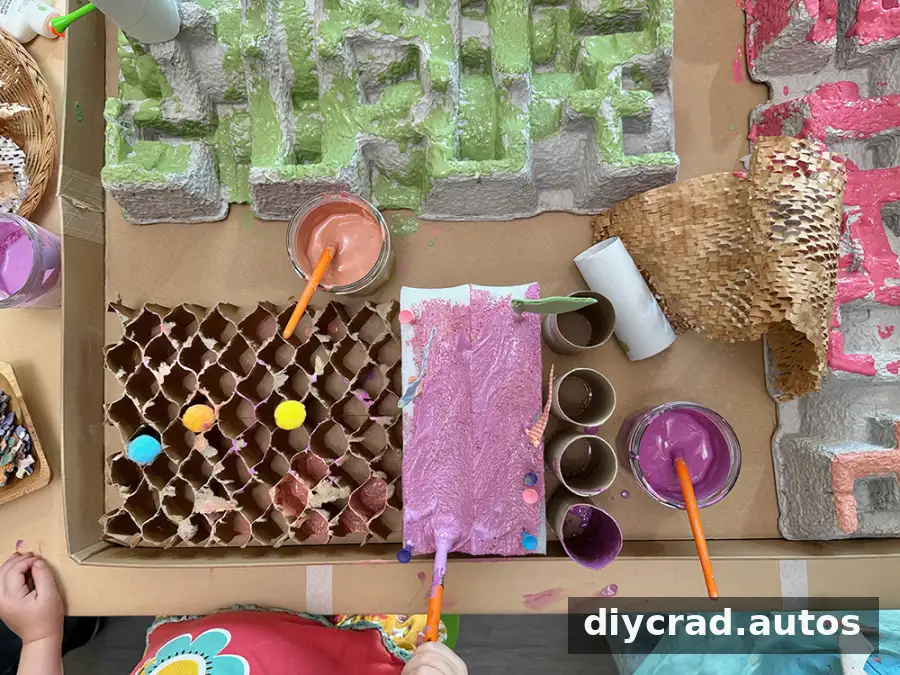
As families arrived, younger children were especially interested in the large, dimensional surface. In an open studio, simple stations and accessible materials can be enough to get started; children may begin exploring independently, or a caregiver can join them. A brief welcome can explain where the paint, collage, and building materials are located, while leaving room for children to choose how they want to participate.
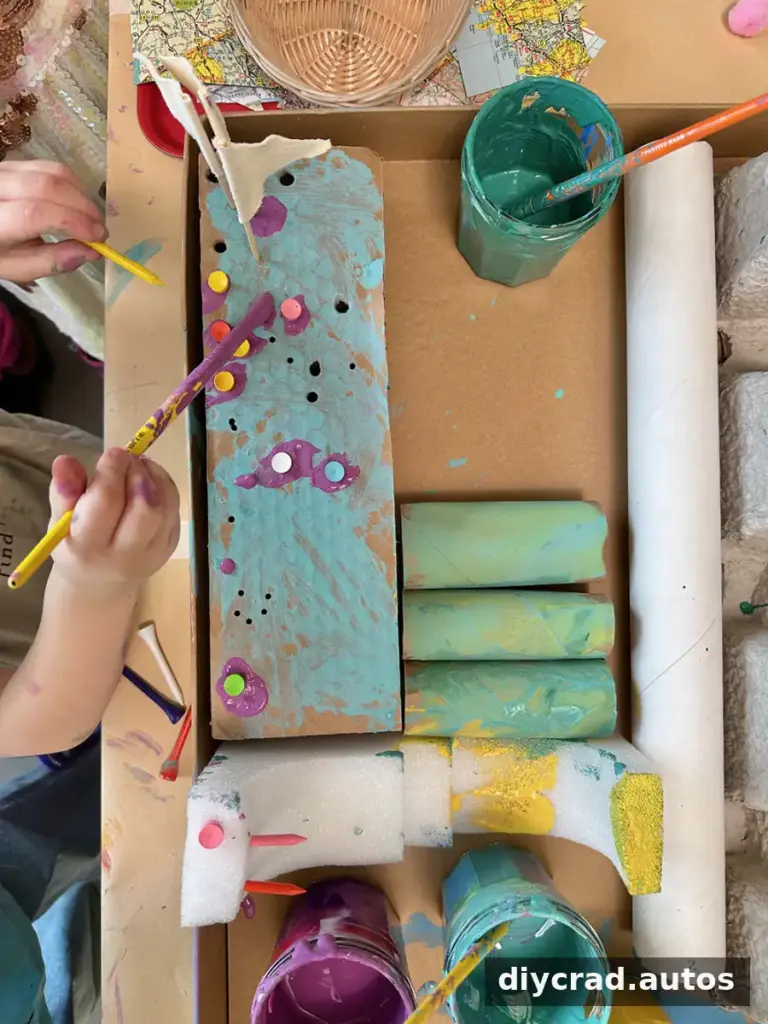
Different ages may be drawn to different activities. Younger children may enjoy painting unusual textures, pushing safe materials into the structure, or combining colors. Older children may prefer to build their own objects from loose recyclables. Offering several choices helps each child find a comfortable way to take part rather than expecting everyone to make the same thing.
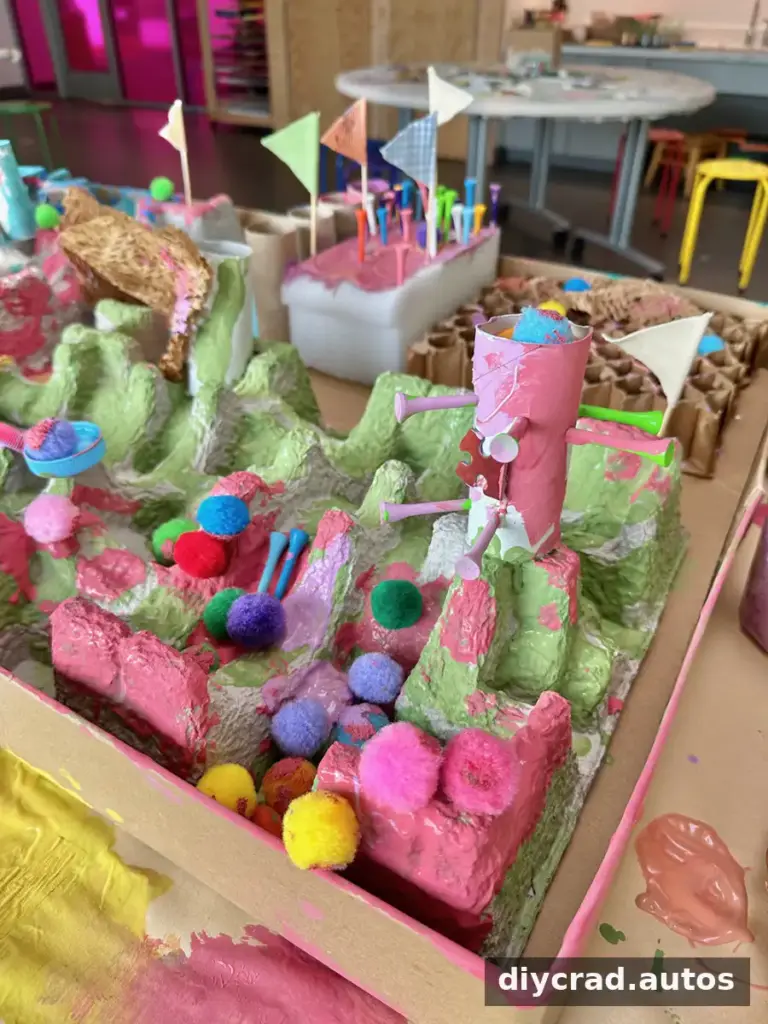
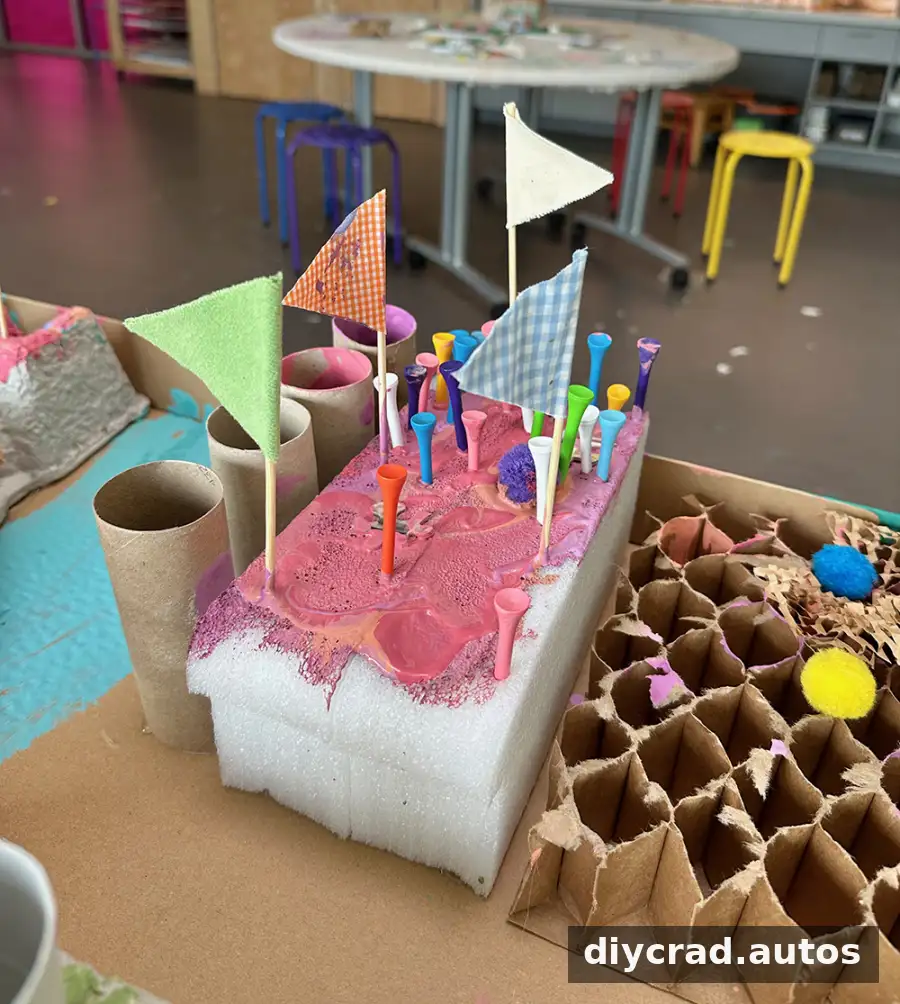
During the session, children painted across varied surfaces, mixed colors, added flags, and passed materials around the table. These small moments of sharing made the project collaborative: participants could work side by side, discover new areas to decorate, and respond to changes made by others.
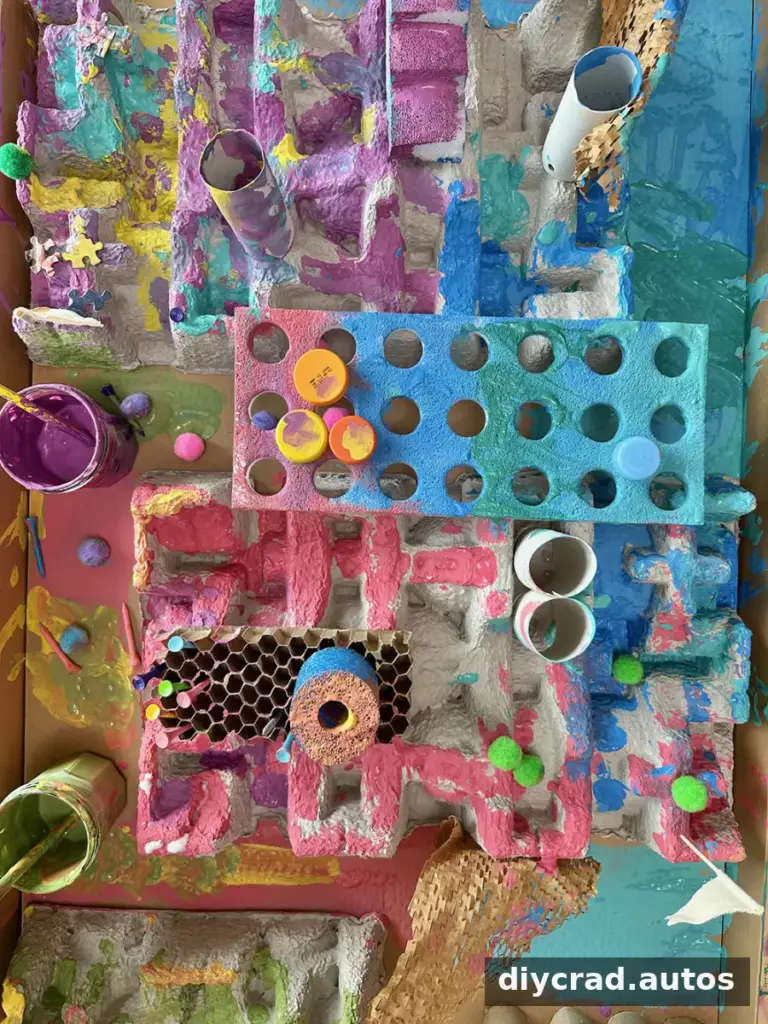
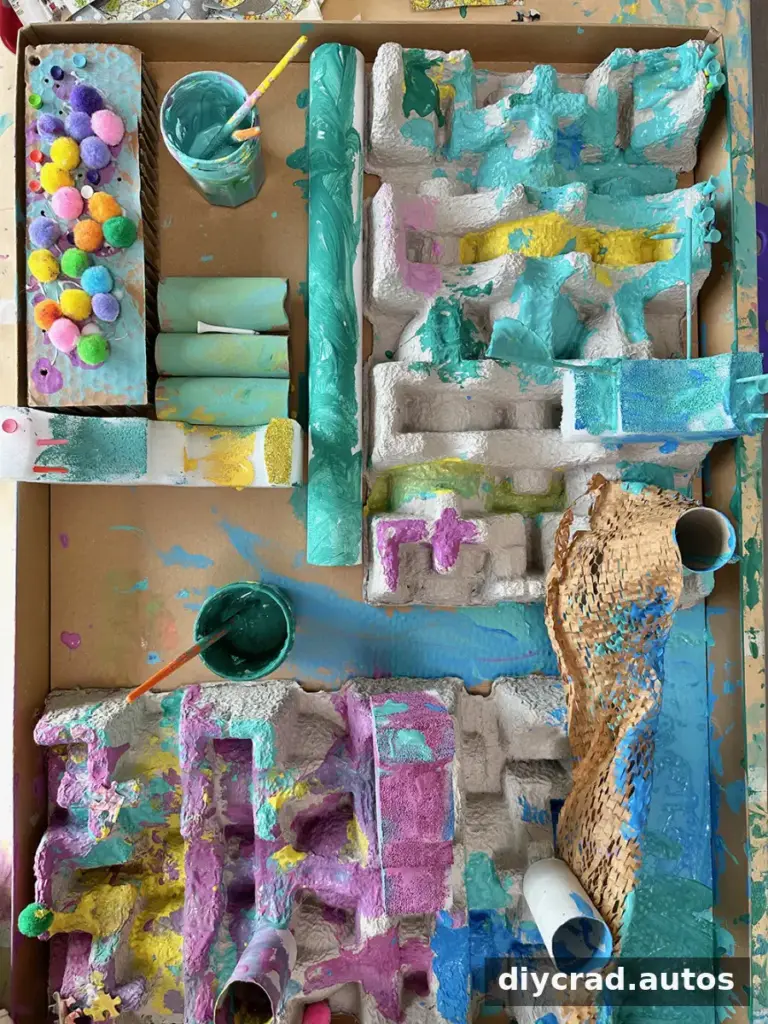
Overhead views can show the many layers of color, texture, and collage that are difficult to capture in a single photograph. The artwork developed through two hours of group work before being handed to the library fundraising team. For a recurring class, leaving a project available for several weeks can give children the opportunity to return and build on earlier contributions.
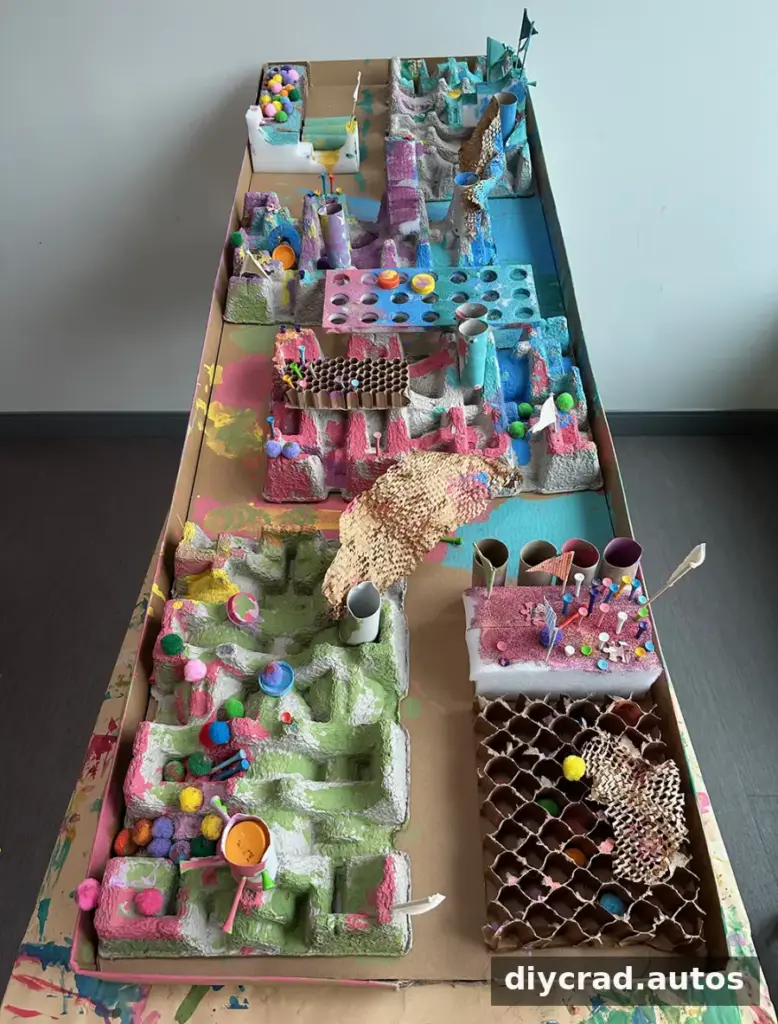
The finished piece was later placed on top of a bookcase in the children’s library room. A large group artwork can become a lasting display, but it is also useful to decide in advance how it will be stored, transported, or displayed once the activity ends.
What to consider when planning a group art session
- Prepare for the event format. In an earlier version in 2017, a group of 6–8 children built the structure together during a private class, and the artwork remained on display for 2 weeks. For a drop-in event, preparing the base in advance can make participation easier.
- Offer more than one way to create. Separate building, collage, and painting stations let children move between activities and follow their interests.
- Make the setup easy to navigate. Keep materials visible, organize them in baskets or jars, and leave clear space for children and caregivers to move around.
- Match tools to participants. Prepare pointed or hot tools ahead of time, and supervise small materials closely when young children are present.
- Allow different outcomes. Some children may decorate the shared structure, while others make an individual painting or build a separate object from the same materials.
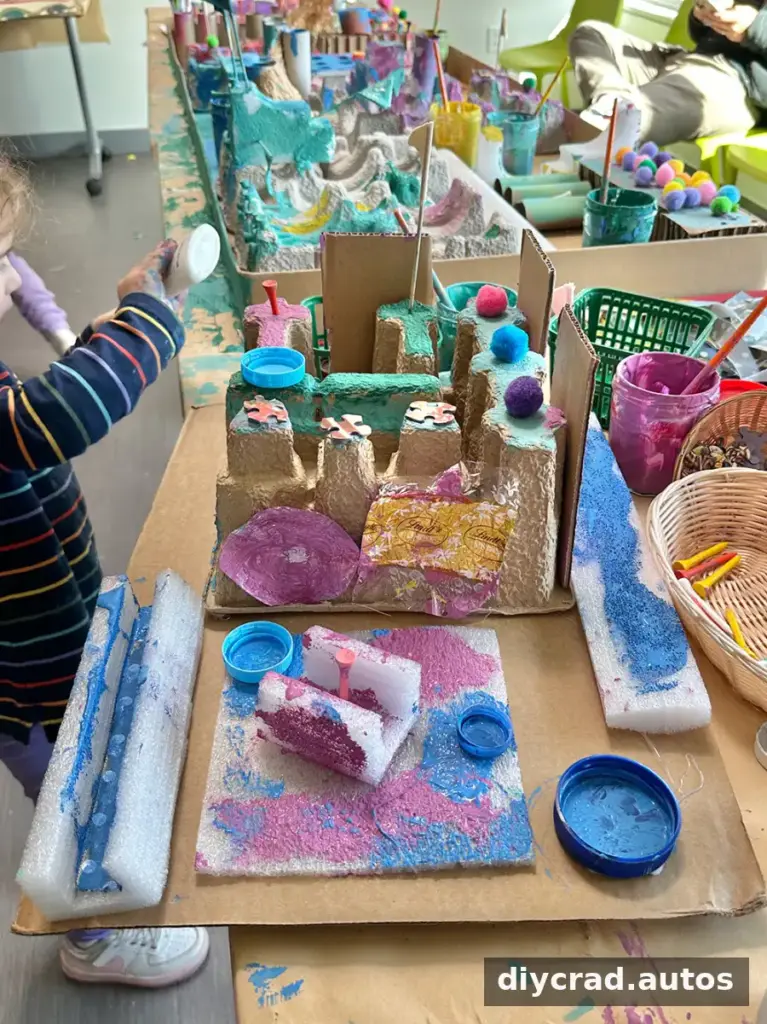
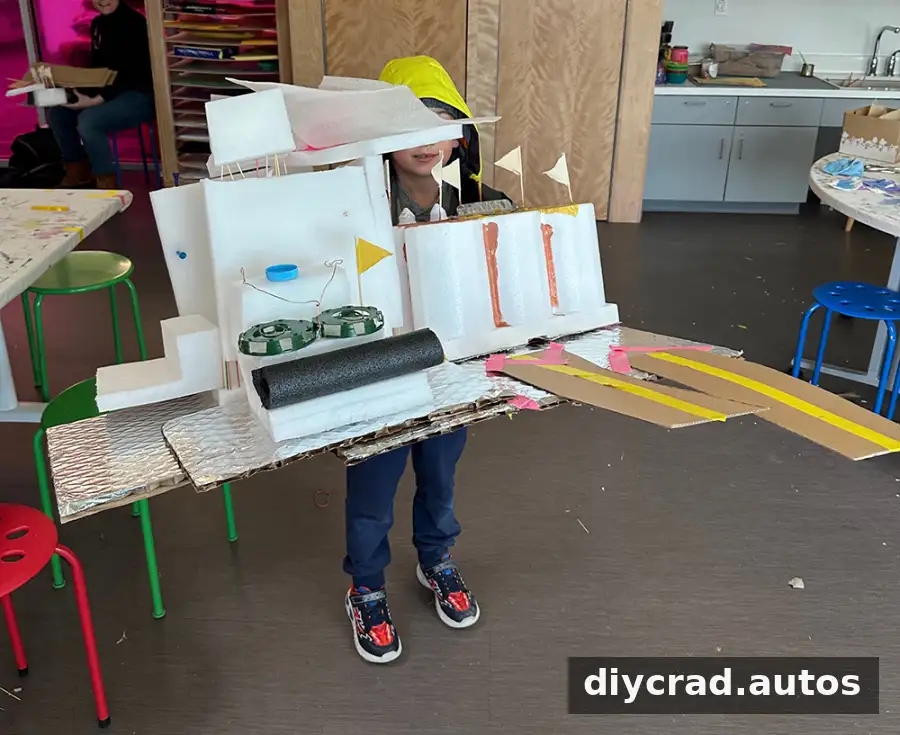
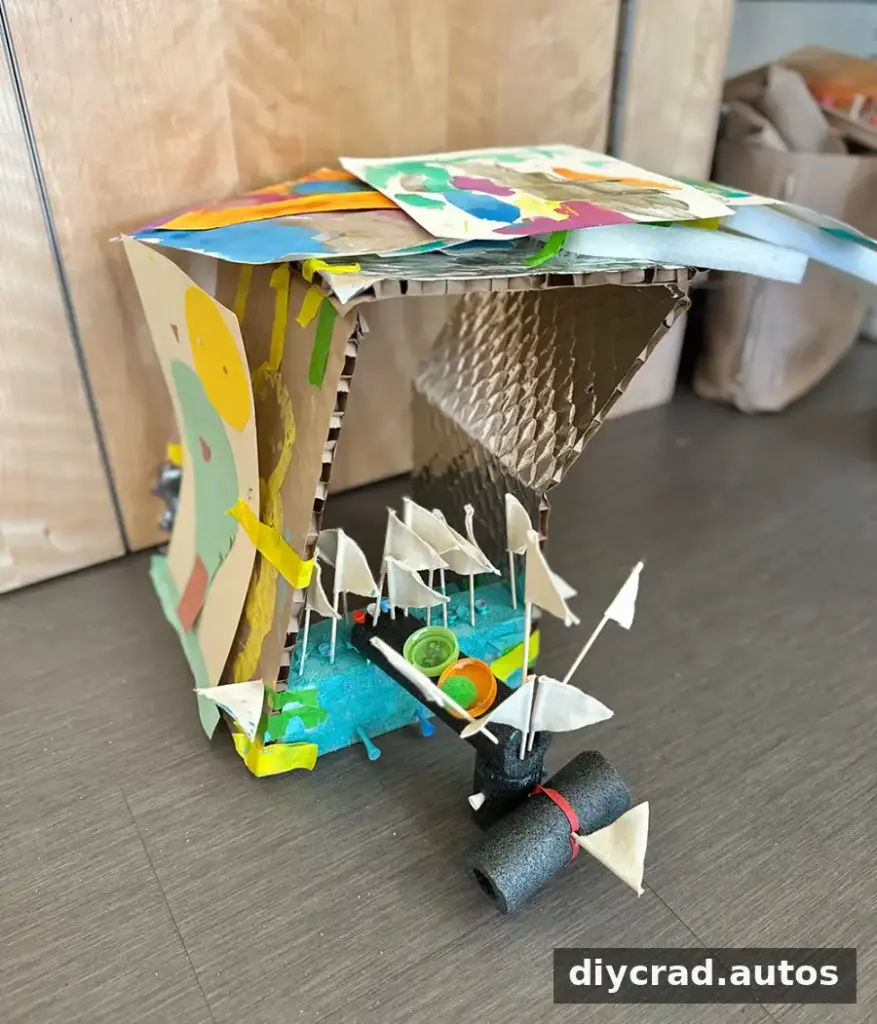
One young participant combined materials from several tables, adding paintings and collages to a constructed object. The handmade flags also became a popular detail. Providing a mixture of shared and individual supplies can encourage children to invent their own ways of connecting the materials.
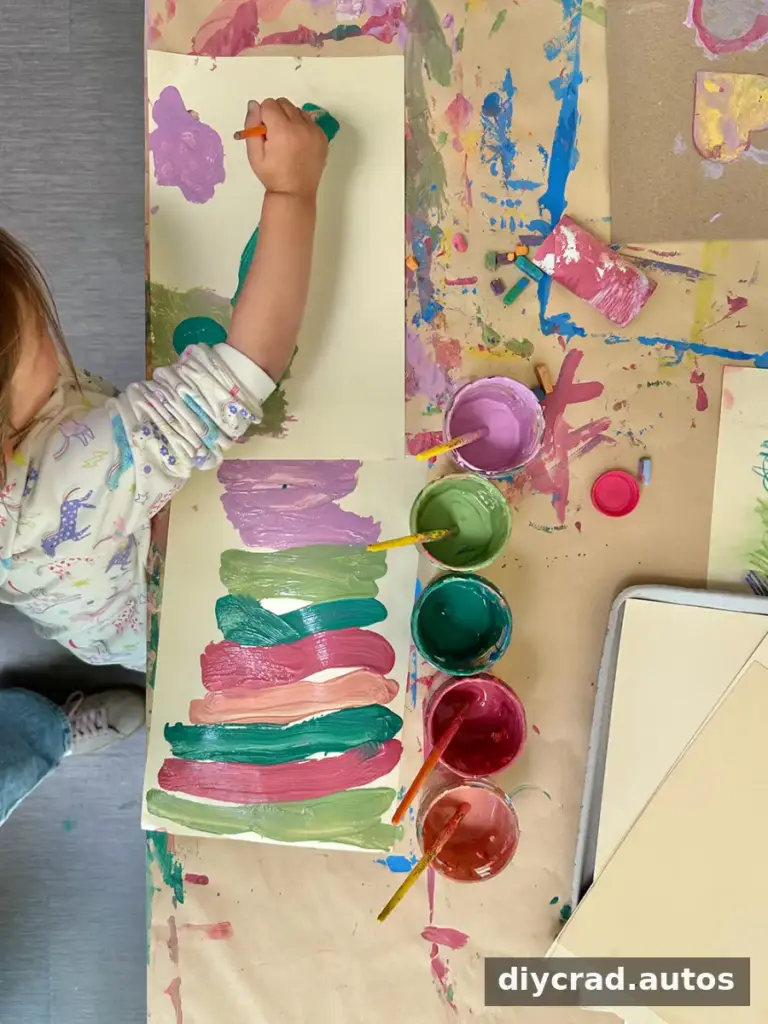
A small painting station with plain paper and jars of paint can complement a larger collaborative project. In this session, children used the table in turns, giving each person a chance to focus on an individual idea. A secondary station is especially useful when the main activity is busy or when a child wants to create something separate.
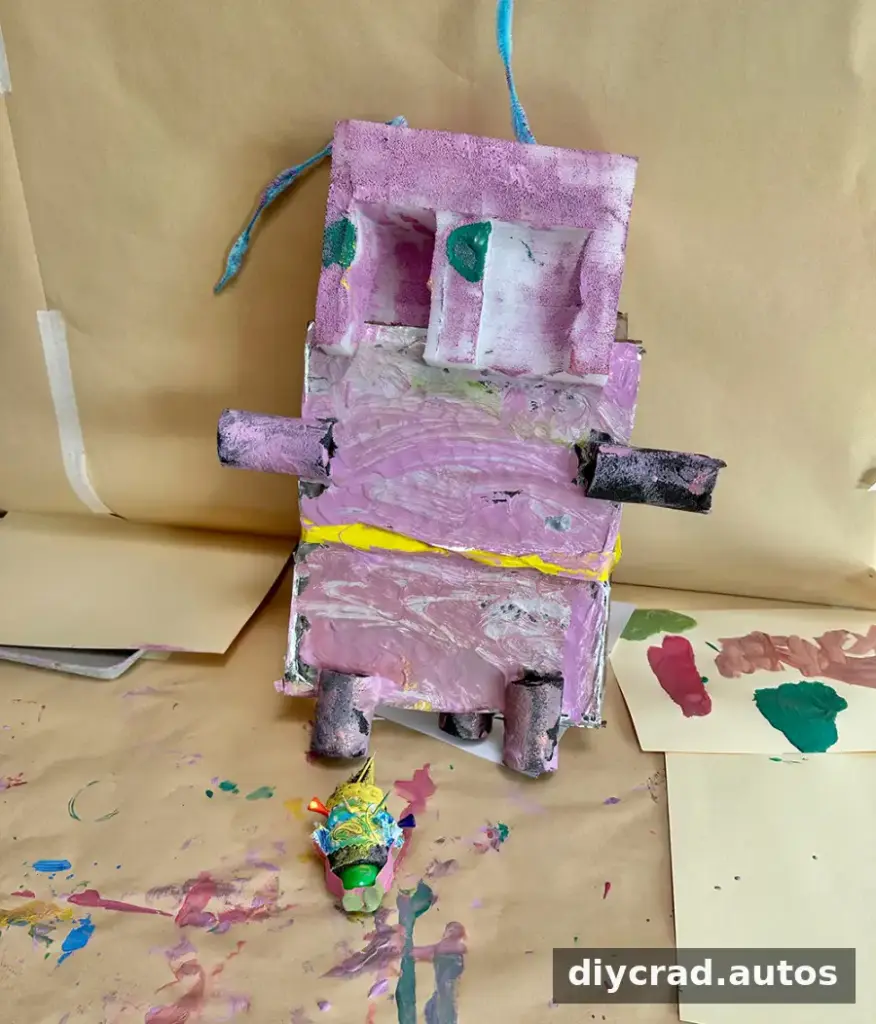
Collaborative recycled art can be adapted to a library, classroom, community event, or home studio. Start with a stable cardboard base, provide a variety of clean materials, and plan for different ages and ways of participating. With thoughtful setup and close supervision around tools and small parts, one large structure can become a welcoming space for shared experimentation.
More collaborative art ideas
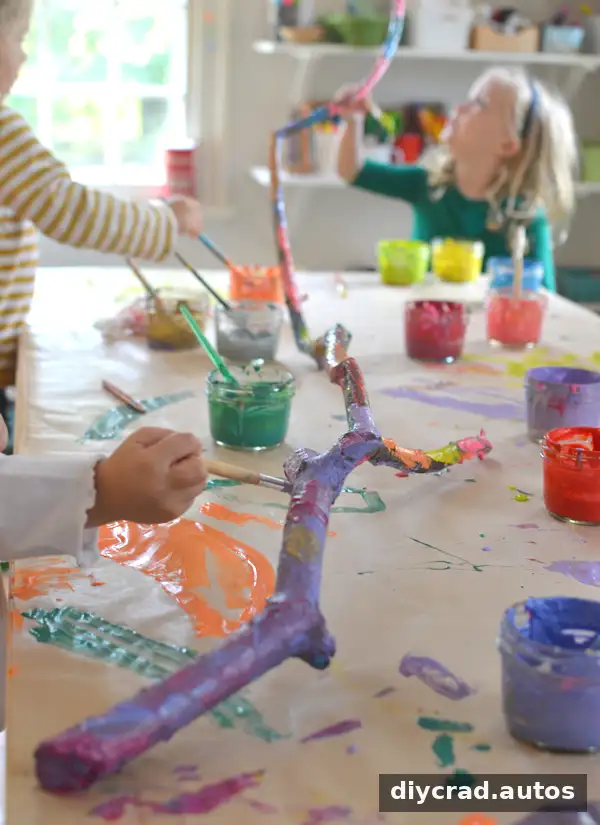
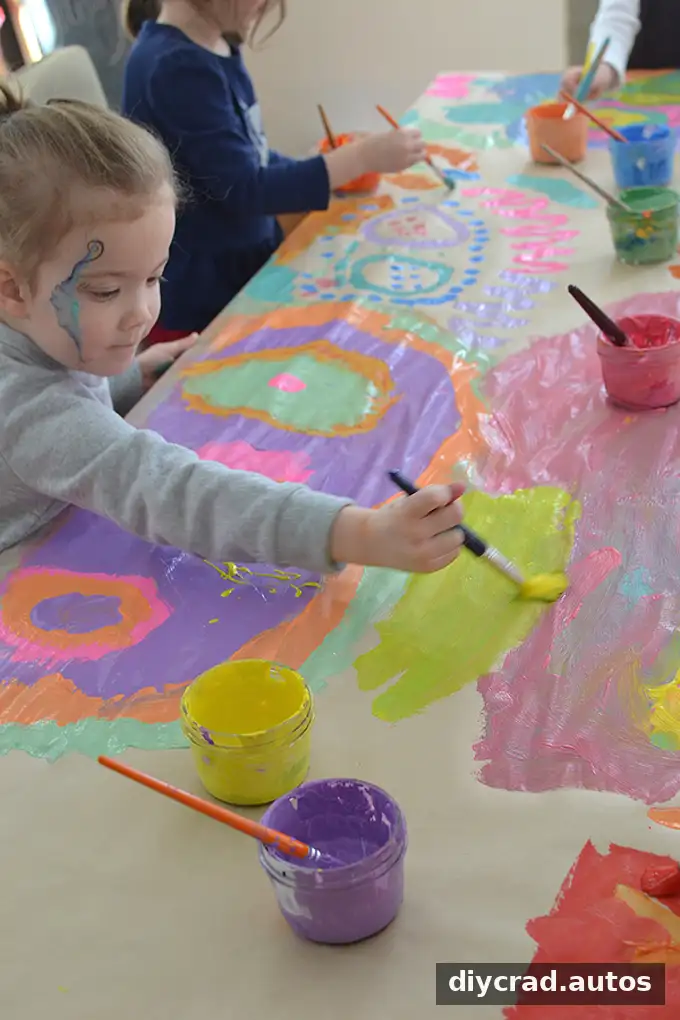
Other group projects to explore include a shoebox apartment, branch painting, and collaborative table painting. Each offers a different surface and scale for children to contribute individual ideas to a shared creative experience.
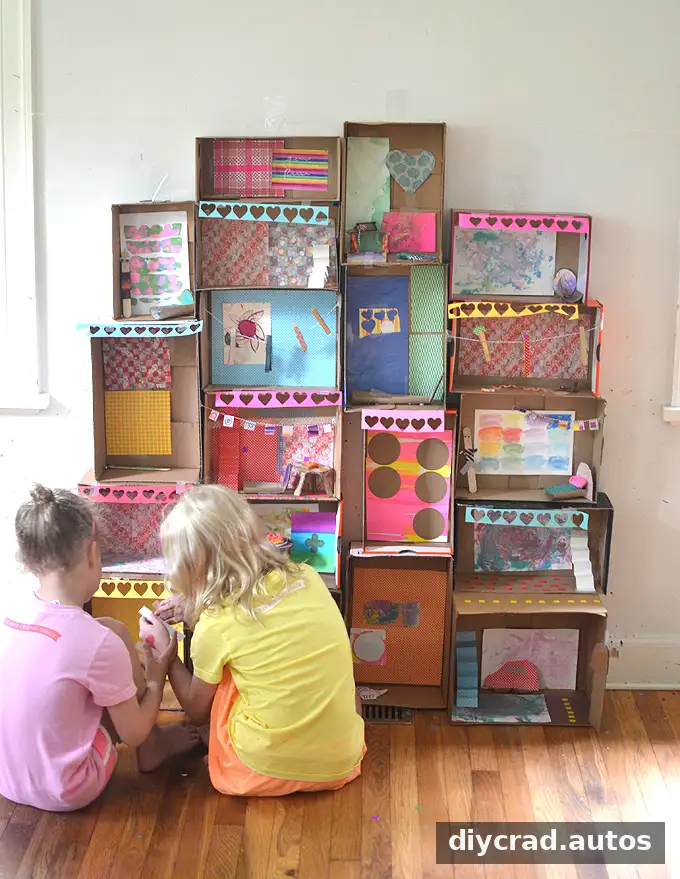
Shoebox apartment
Branch painting
Collaborative table painting

