A mixed-media exploration with wood gives children room to imagine, experiment, and make their own choices. With wood scraps, paint, collage materials, and a few simple tools, children can build structures, create pictures, or explore materials without needing to follow a single example. The goal is to make a welcoming space where the process matters as much as the finished work.
This activity can work in an early childhood classroom, a library, or a community art session. The setup and pace may change from one setting to another, but the central idea stays the same: offer a thoughtful range of materials, then let children decide how to use them.
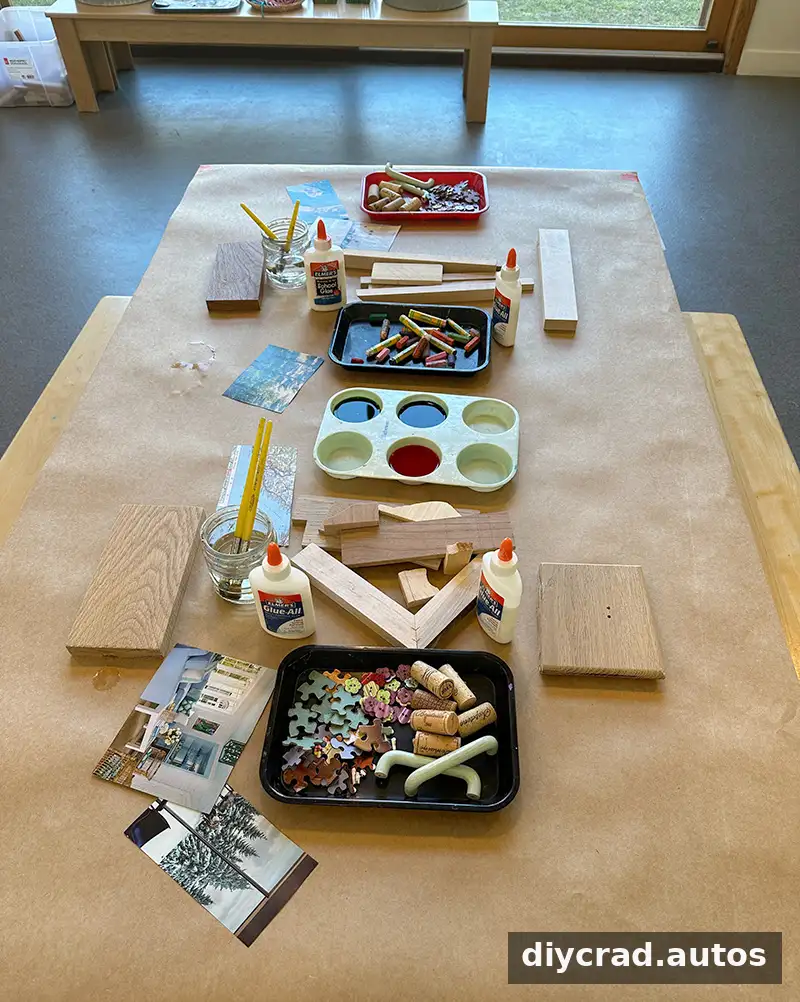
Materials for mixed-media exploration with wood
Gather a selection of materials with different colors, shapes, and textures. Reused items can make the activity affordable and encourage children to see new possibilities in familiar objects.
- Wood scraps, collected from a local high school wood shop
- Glue; wood glue may be useful when joining wood pieces
- Liquid watercolor, jars, and brushes
- Oil pastels and scissors
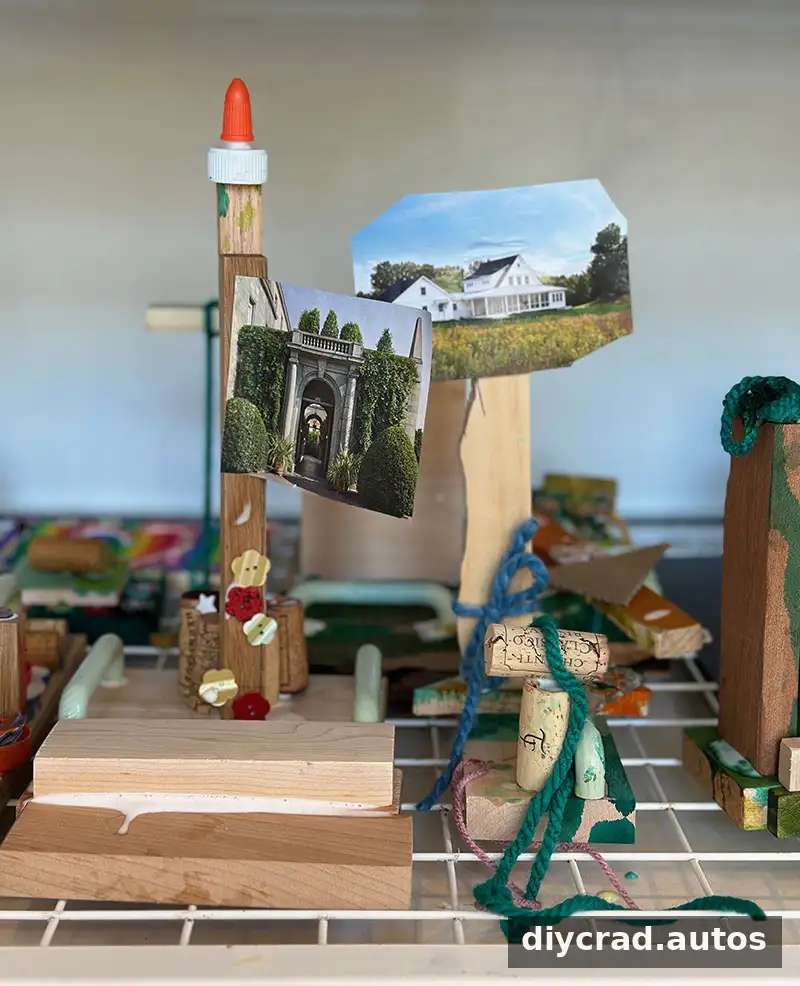
- Magazine clippings, especially images of homes, gardens, buildings, and landscapes
- Wooden cabinet handles
- Small building and collage materials such as bottle tops, corks, cardboard pieces, and egg carton pieces
- Buttons and puzzle pieces
- Yarn cut into lengths of about 18 inches to add a soft texture alongside the hard materials
Offer a mix of materials without putting every item within reach at once. A smaller selection on each worktable can help children focus, while a separate supply area lets them choose additional pieces when an idea develops.
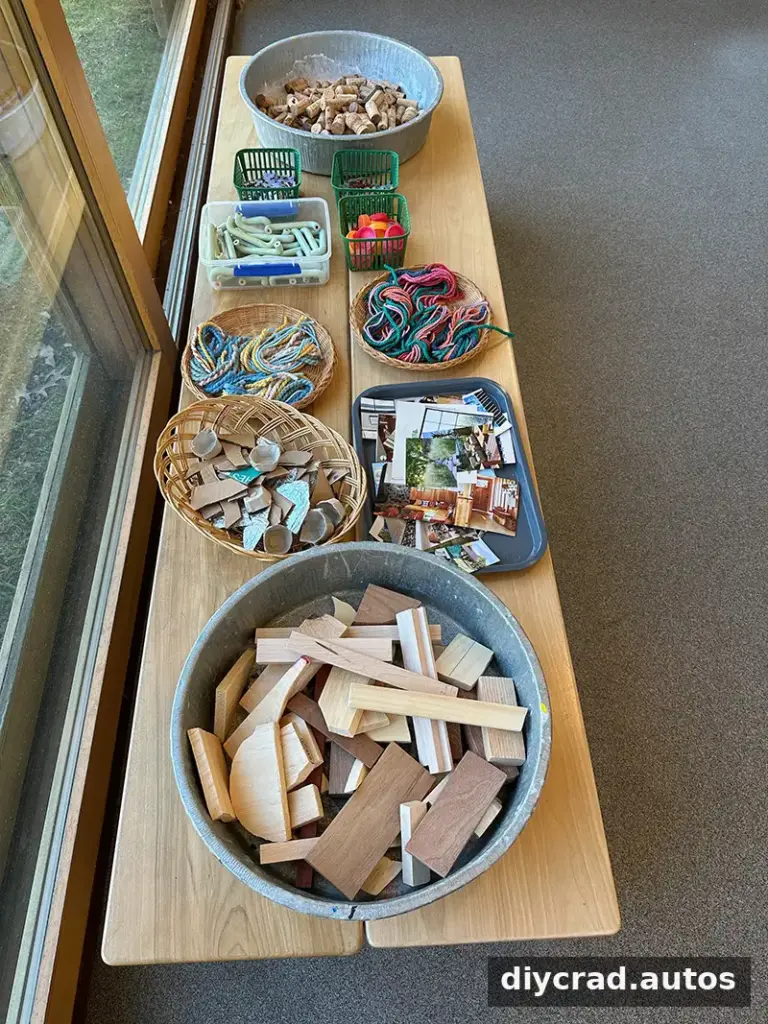
Setting up the materials
Think about how the materials will work together and how much space children need to create. In one classroom setup, four children shared each small table, so only a few items were placed there at the start. Most of the supplies were arranged on a separate “buffet” where children could choose what they wanted. The selection could be replenished as needed.
Keep wood pieces in an easy-to-reach box and provide a range of sizes. A sturdy base is helpful for children who want to build upward; a narrow or small base may make taller structures less stable. Leave enough clear table space for children to test arrangements before attaching pieces.
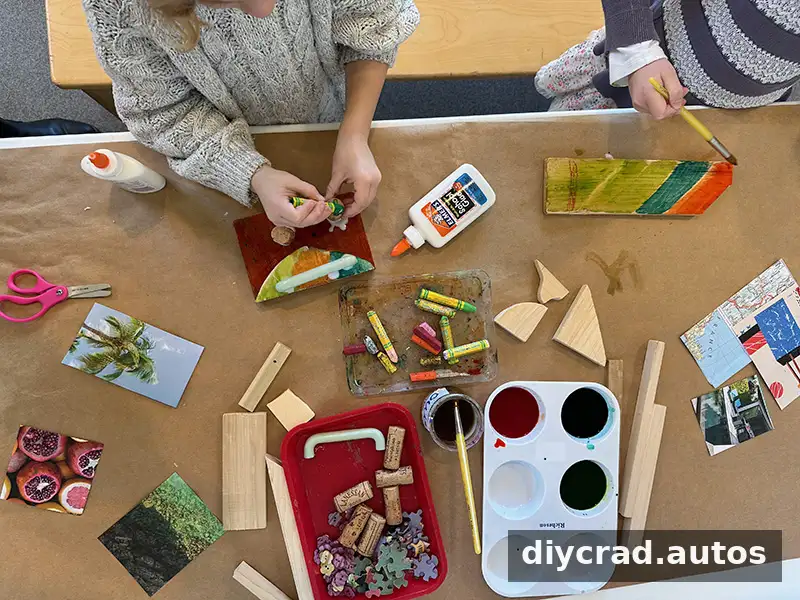
Preparing wood, paint, and collage supplies
Prepare enough wood for different ideas
For a school session serving 60 children in four groups of 30 minutes, one large base per child provided a starting point. Another 300 smaller pieces were sanded and set out, or about five per child. Children used different amounts, and only about 20 small pieces remained at the end. Having extra supplies can be helpful when children develop more ambitious plans.
Check wood scraps before the activity and sand rough edges. If children want to attach pieces into taller structures, choose an adhesive suitable for the materials and follow its package directions. An adult should handle any tools or preparation that are not appropriate for the age group.
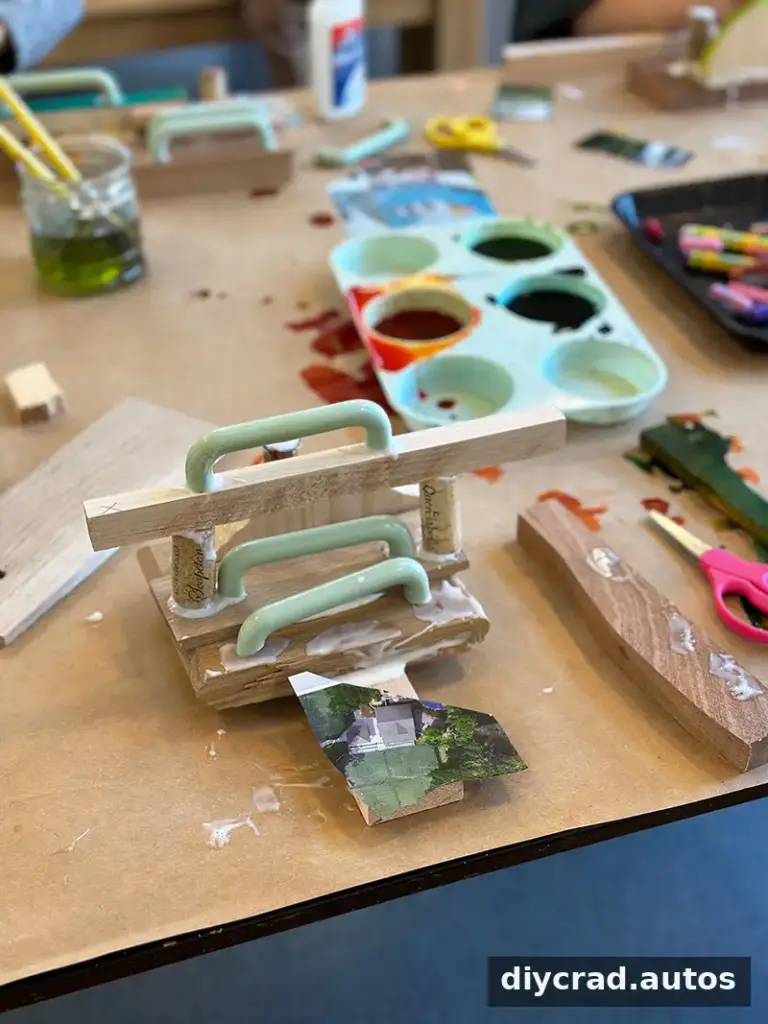
Make painting and collage easy to access
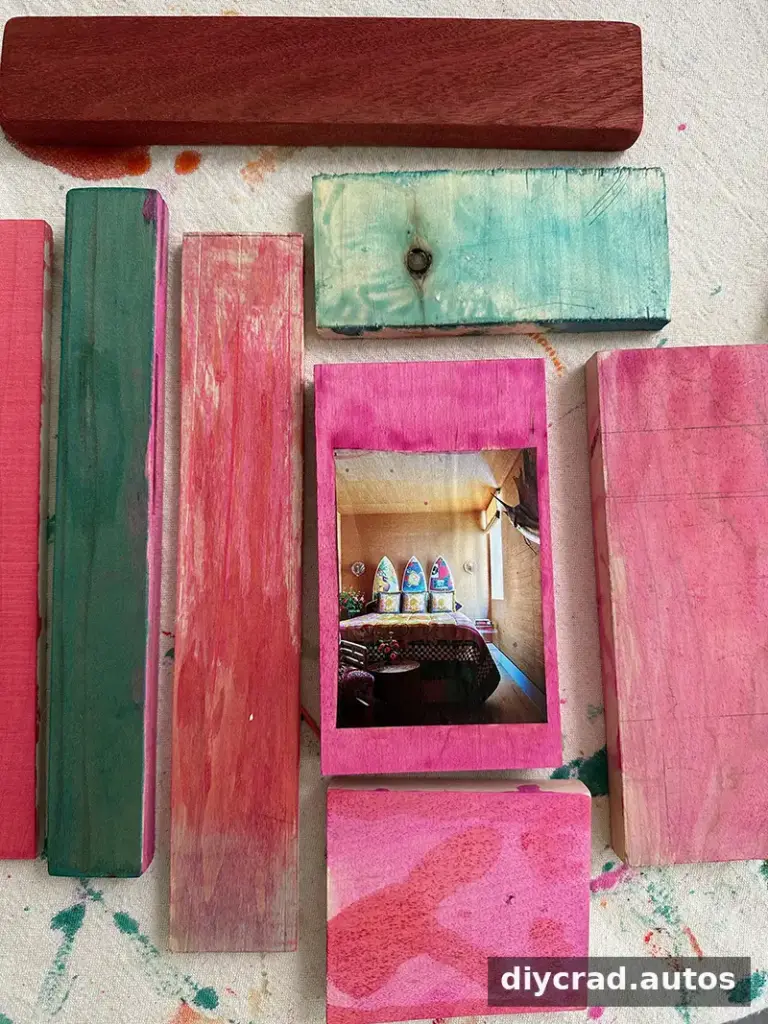
Liquid watercolor works well for coloring wood. Limiting the palette to warm colors or cool colors can help keep layered colors clear rather than muddy. For a tidy setup, prepare jars and brushes in advance and provide water in a stable container.
Recycled magazines, maps, and other paper materials can inspire designs without prescribing what children should make. Collect images with a variety of subjects and shapes, then cut or tear them into pieces that are easy to handle.
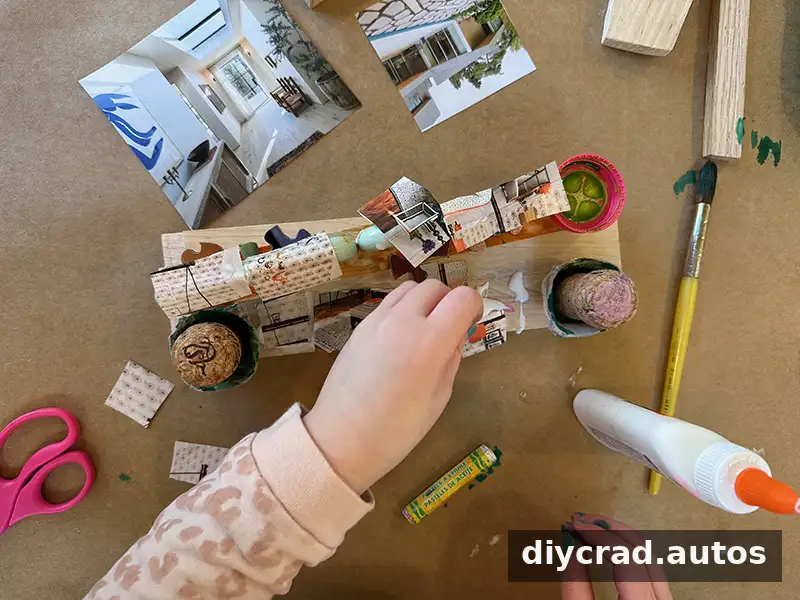
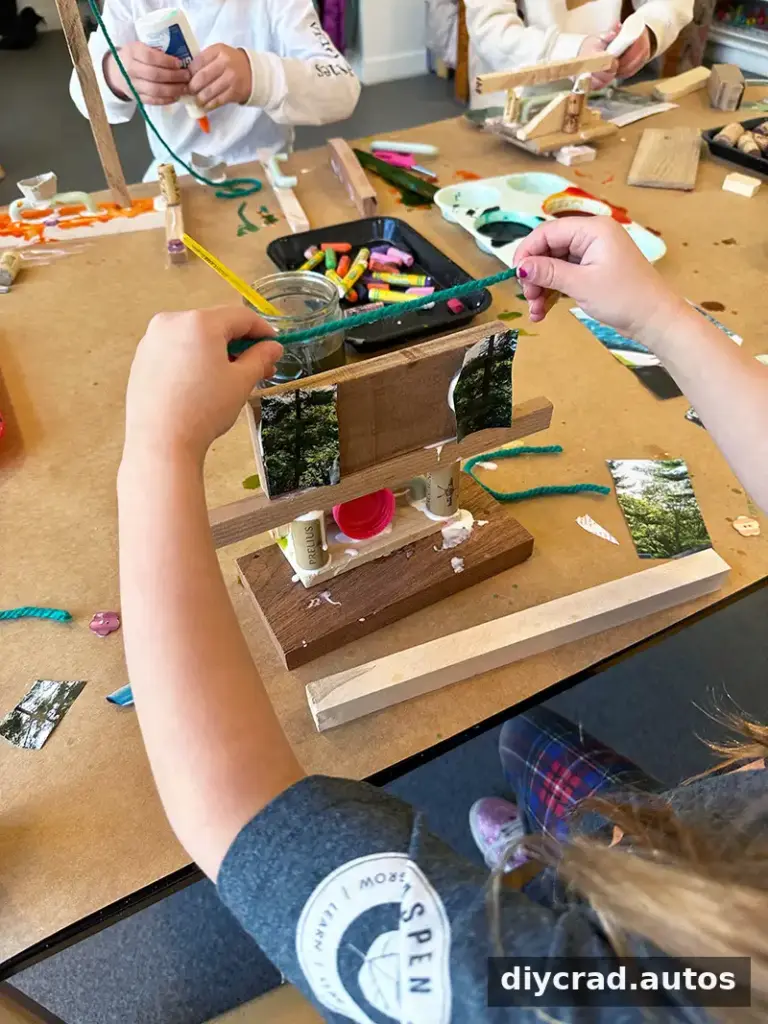
Offer a few contrasting textures as well as paper and wood. Yarn, cardboard, cork, and other small items can invite children to try different ways of combining materials. Keep small pieces appropriate to the ages in the group, and supervise young children closely.
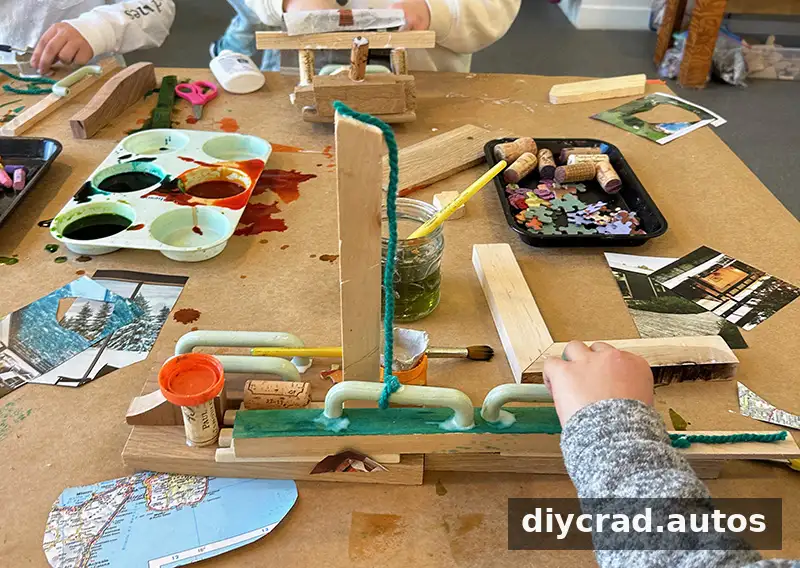
Support child-led making
A brief introduction can explain what is available and mention a few possibilities: wood can be painted, glued, or covered with collage materials, and a wide base can help support a taller construction. Then give children time to explore. Avoid presenting a model that suggests there is only one right result.
Adults can help when a child asks, offer practical support, and listen to the stories behind the work. Allowing children to observe, change direction, or leave a project unfinished is also part of an open-ended experience. The creative value does not depend on taking home a polished object.
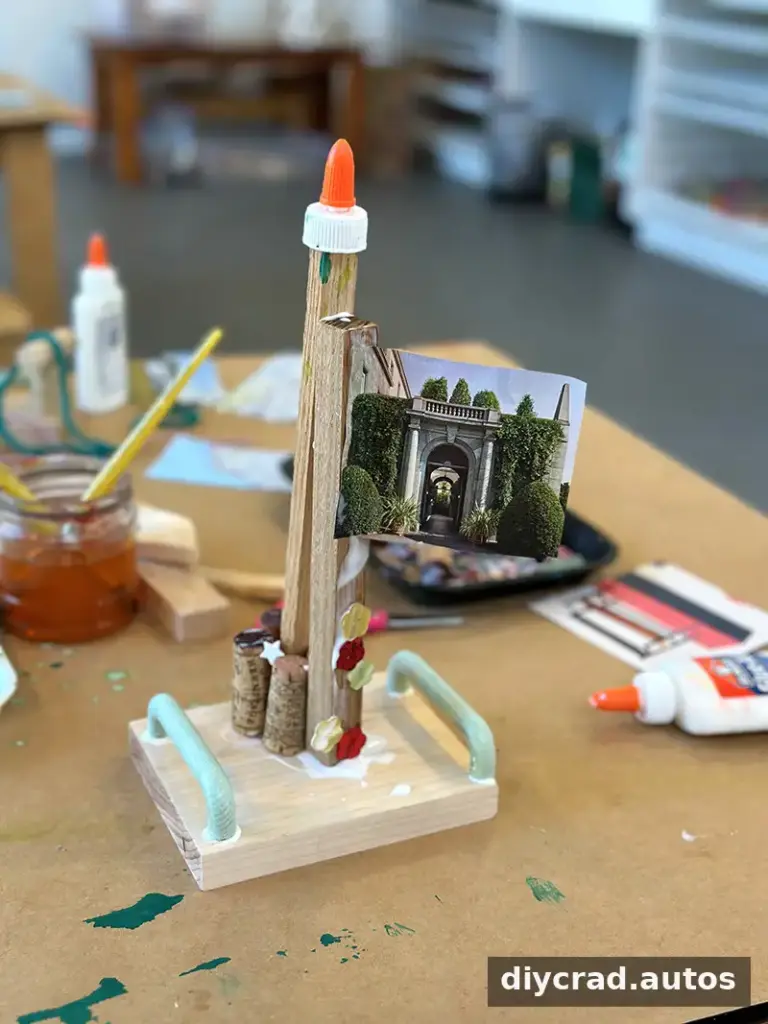
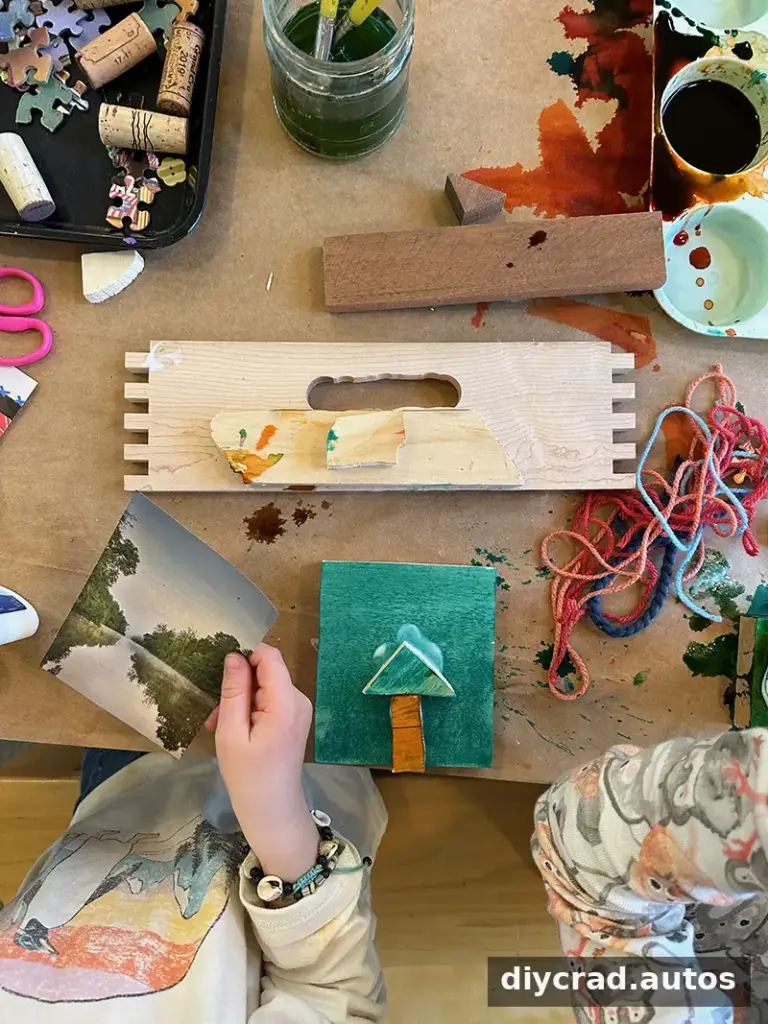
In the school sessions, children made a wide range of projects and often looked at one another’s work for inspiration. Ideas included a stage for the Rockettes, a pirate ship, a motion sensor, a video game, a vacuum, and an obstacle course. Some children made gifts for their mothers. A child who decorated six or seven separate wood pieces with magazine images described them as something for a mother who loved beautiful things.
A shared supply area can also encourage conversation: children may explain what they are building, notice a material another child has chosen, and return to their own work with a new idea. Give them enough time to revisit their projects rather than expecting every child to finish at the same pace.
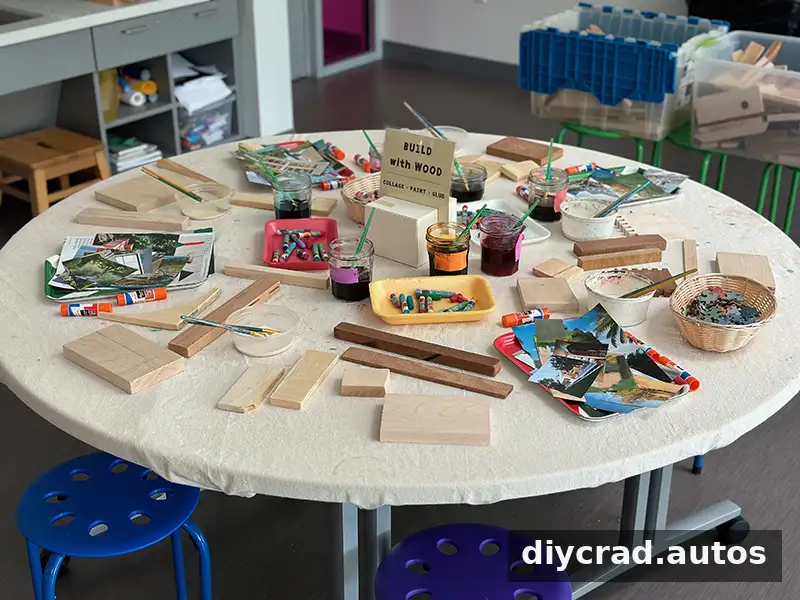
Adapting the activity for a library
A library event with a two-hour open period and about 20–30 children moving through the space calls for a different rhythm than a short classroom session. Participants may range from age 2 to teenagers, with many children between 3 and 10. Keep the activity description simple and open-ended so families understand that children can choose their own approach.
Parents and caregivers can support children by letting them lead, while making art alongside them if they wish. Because visitors may arrive and leave at different times, set out materials that are easy to understand and replenish. Children may move between tables, pause to look around, and return later to add to their work.
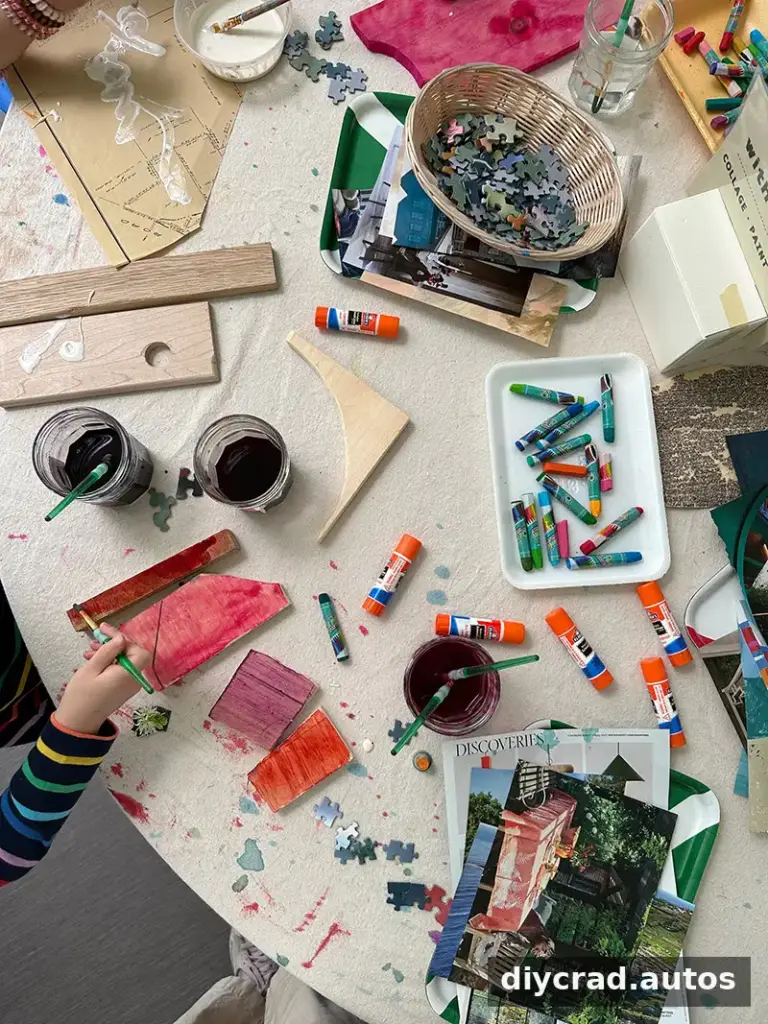
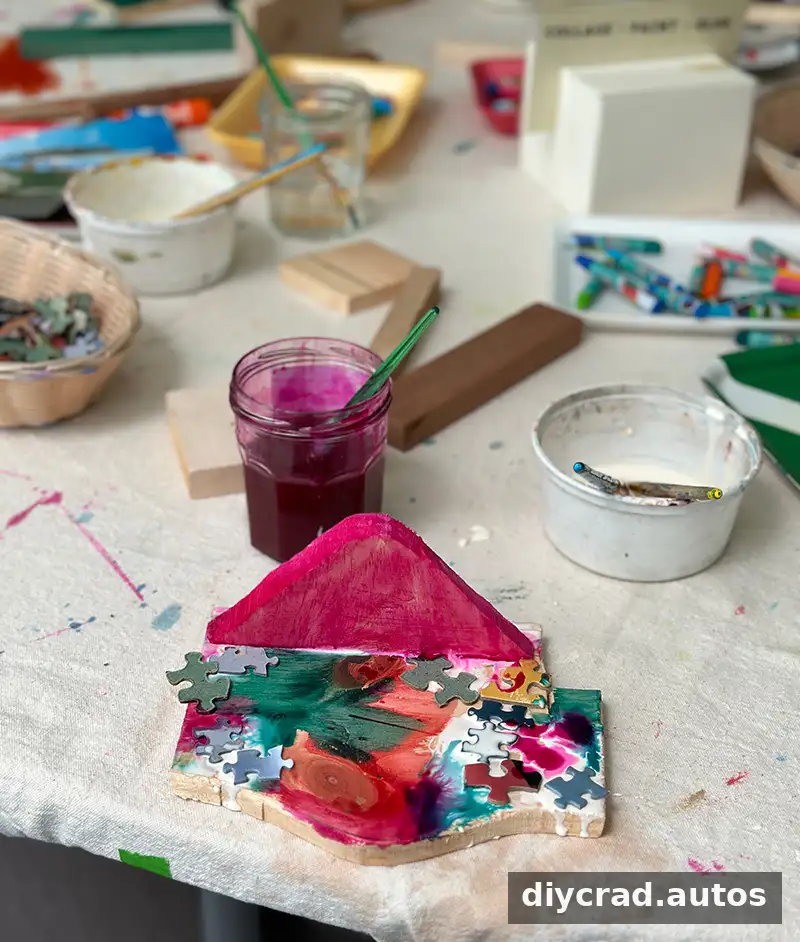
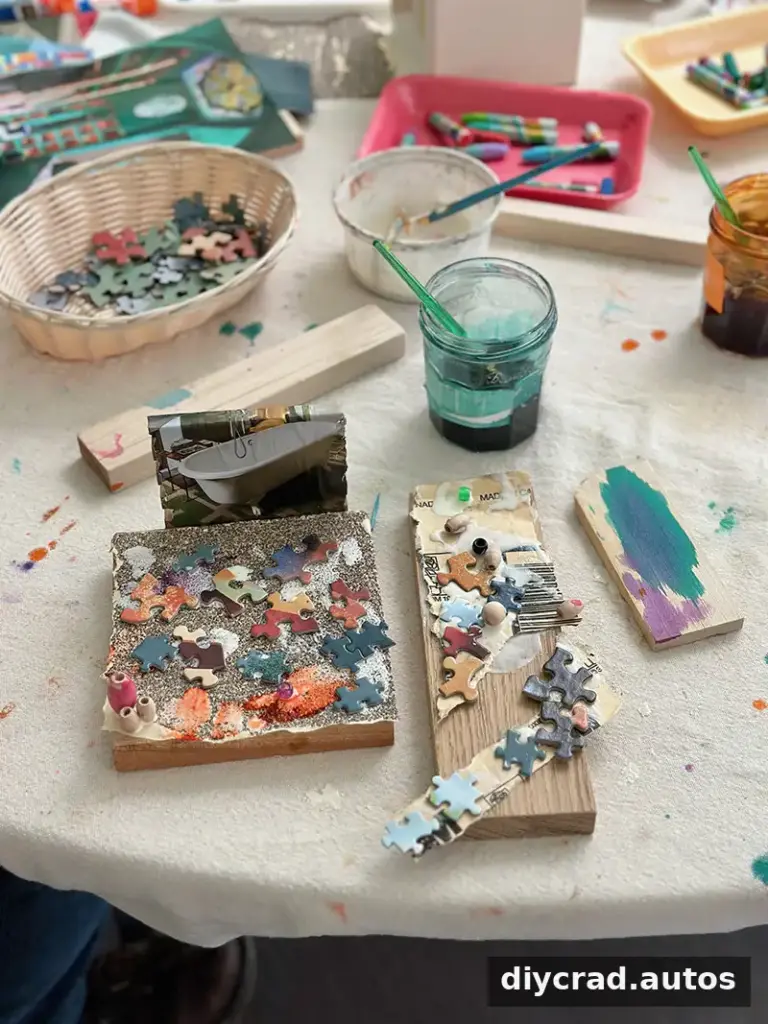
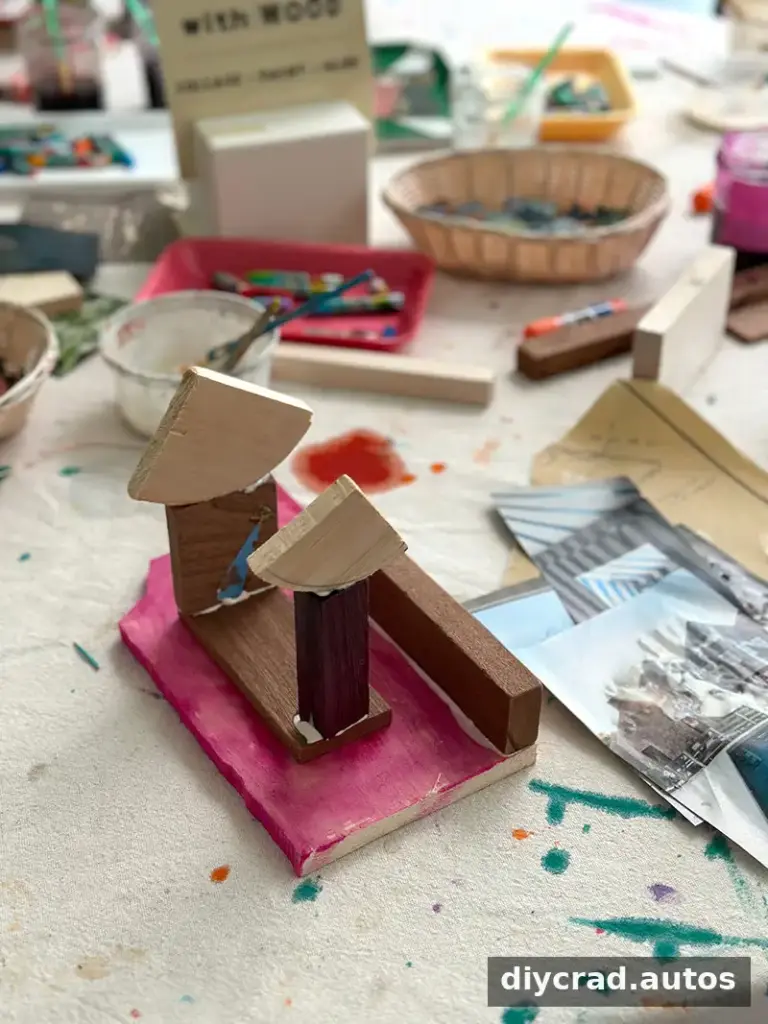
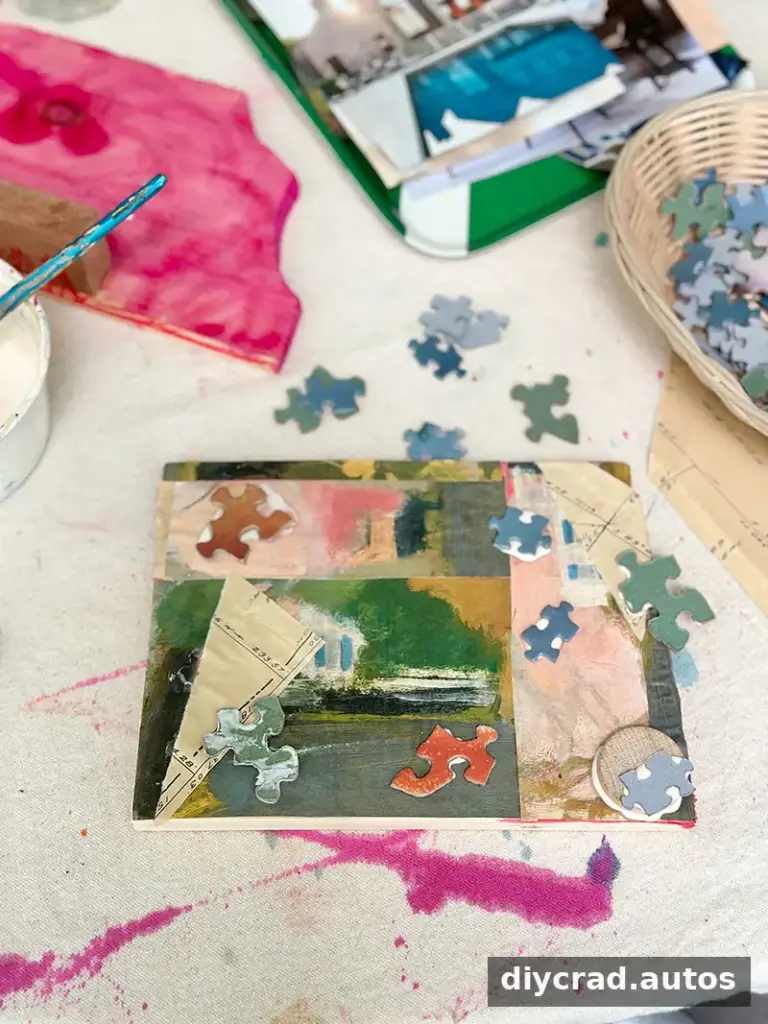
In the library setting, children did more painting and collage and less construction than in the school groups. One child found sandpaper among the wood pieces and used it in a bathroom collage. Some painted wood pieces were left behind, while other creations continued to be displayed after the event. These different outcomes are a reminder that exploration does not need to follow a planned sequence.
Why open-ended wood art is valuable
You do not need specialist art skills to set up an inviting materials table. A carefully chosen collection, enough room to work, and trust in children’s ideas can be a strong starting point. Open-ended making gives children opportunities to practice decision-making, explore textures and forms, share ideas, and collaborate at their own pace.
For the next session, try changing just one part of the setup: add a new texture, offer a different range of wood shapes, or create a separate materials buffet. Notice which items children return to and how their ideas develop. These observations can help you plan future sessions while keeping the experience flexible.
More open-ended art ideas
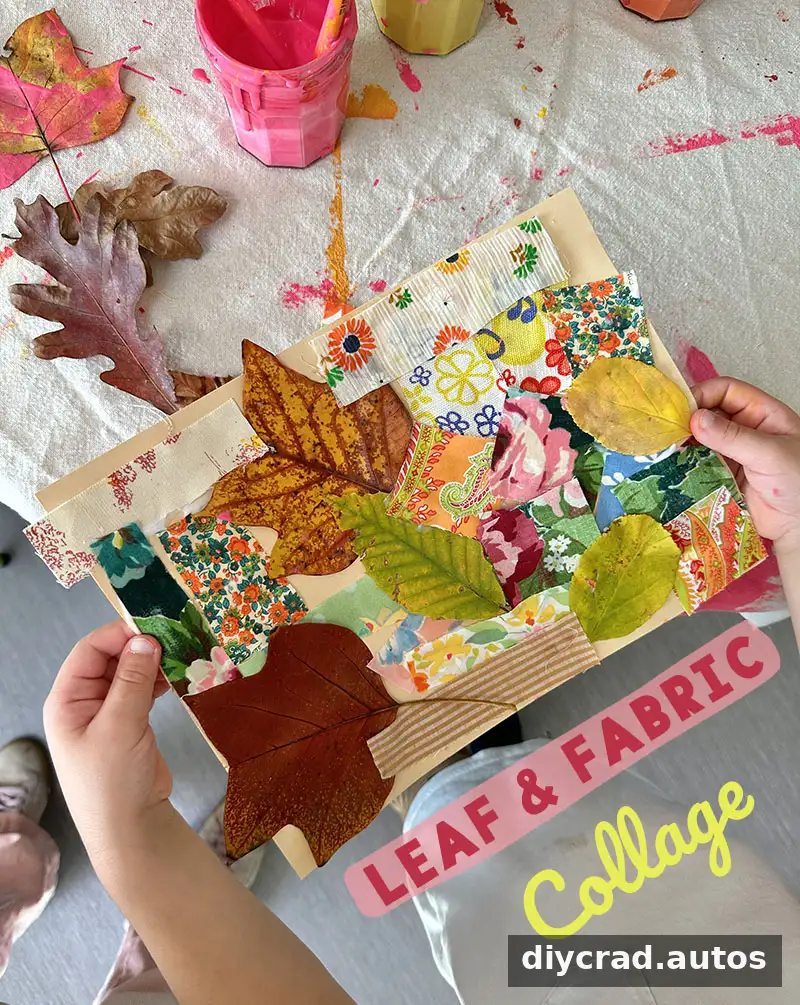
- Open-ended collage with leaves and textiles
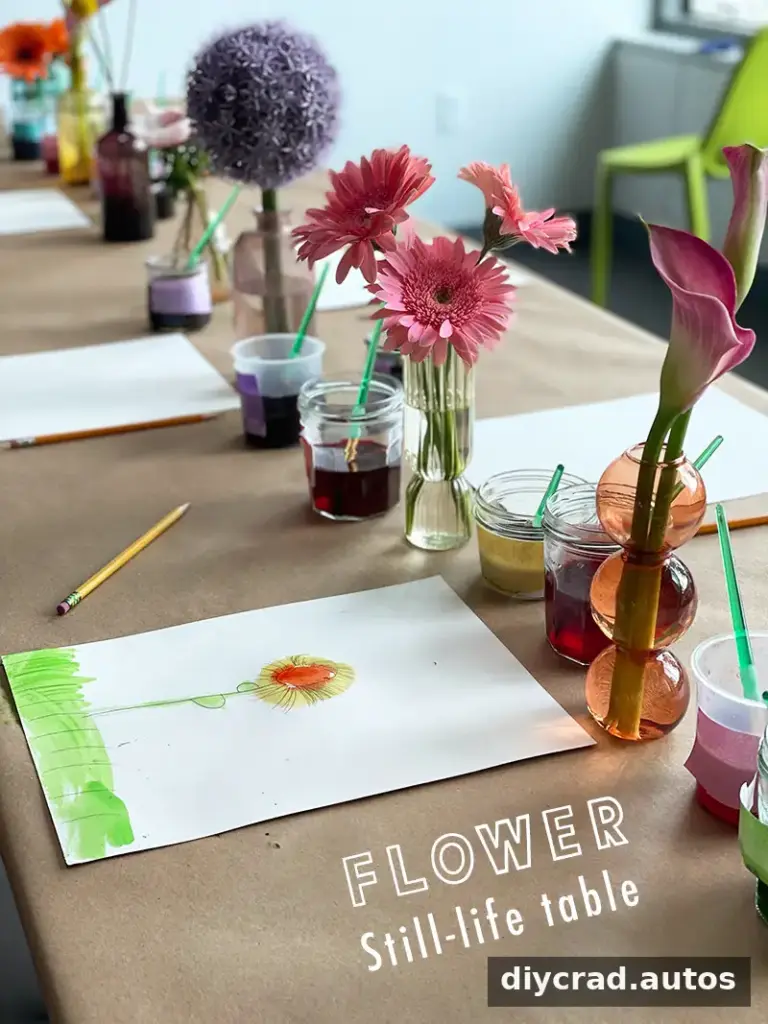
- Liquid watercolor exploration inspired by flowers
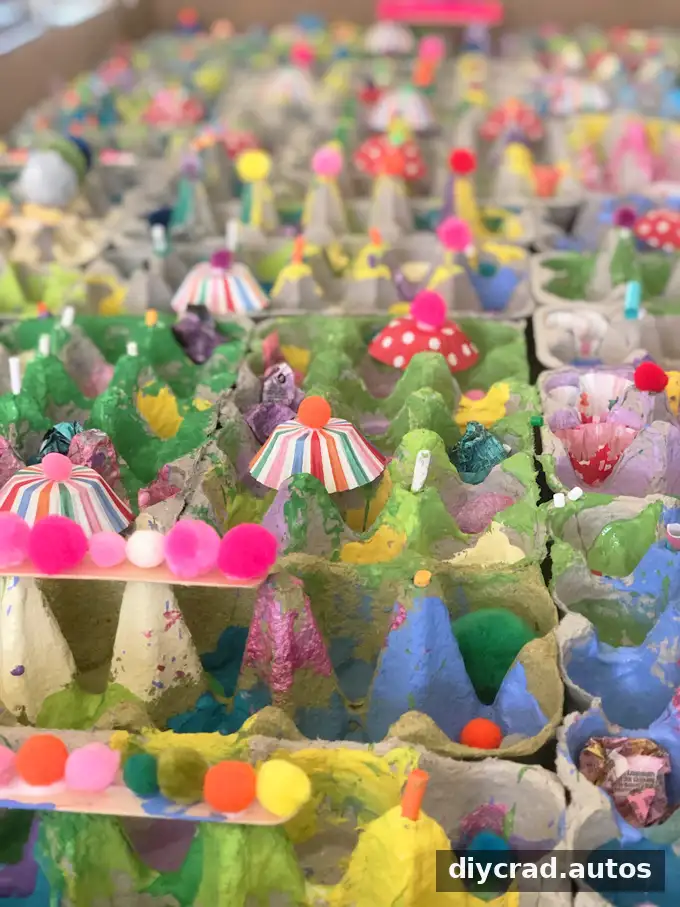
- Egg carton, paint, and collage exploration
A mixed-media exploration with wood is most successful when children have safe, varied materials and the freedom to decide what to make. Keep the setup manageable, make practical support available, and let curiosity guide the work.