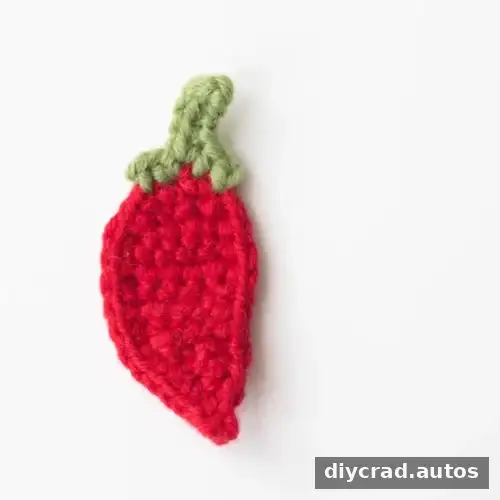
This crochet chili applique is a small, colorful project made with red yarn for the chili and green yarn for its stem. The pattern uses basic stitches and is suitable for beginners who are comfortable working chains, single crochet, and slip stitches. With the listed materials ready, the applique can be completed in about 15 minutes, making it a quick option for adding a handmade accent to accessories and other crochet projects.
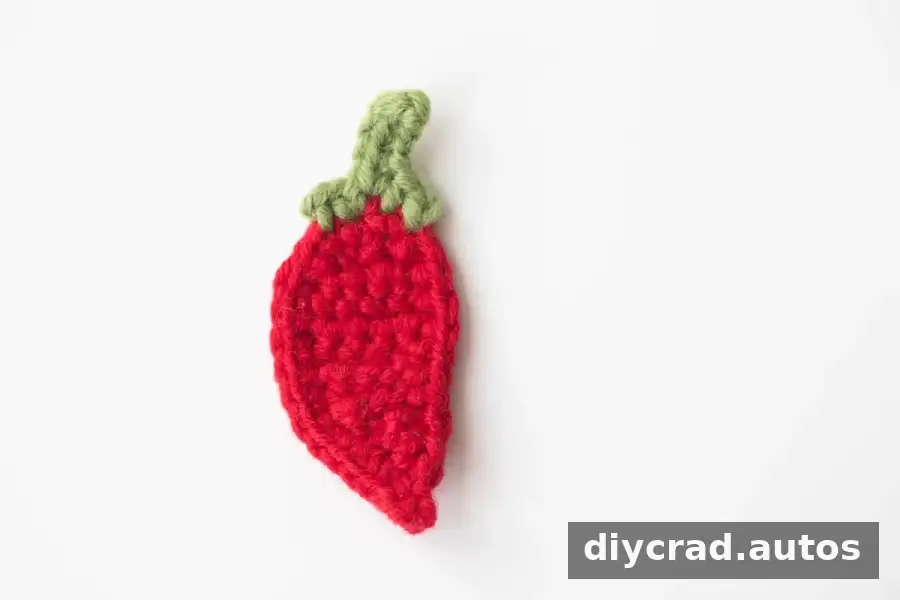
Crochet Chili Applique Pattern at a Glance
The chili is worked in rows to shape its main body, then finished with a single-crochet edging and a small picot at the tip. The green stem is worked along the top of the red piece. Instructions use US crochet terminology, and a video tutorial is available for extra visual guidance.
The design is flat, so it works well as an embellishment rather than a stuffed toy. Before starting, check that your yarn and hook are suitable for a small, firm fabric. Keep the stitches even so the outline is neat.
Materials and Abbreviations
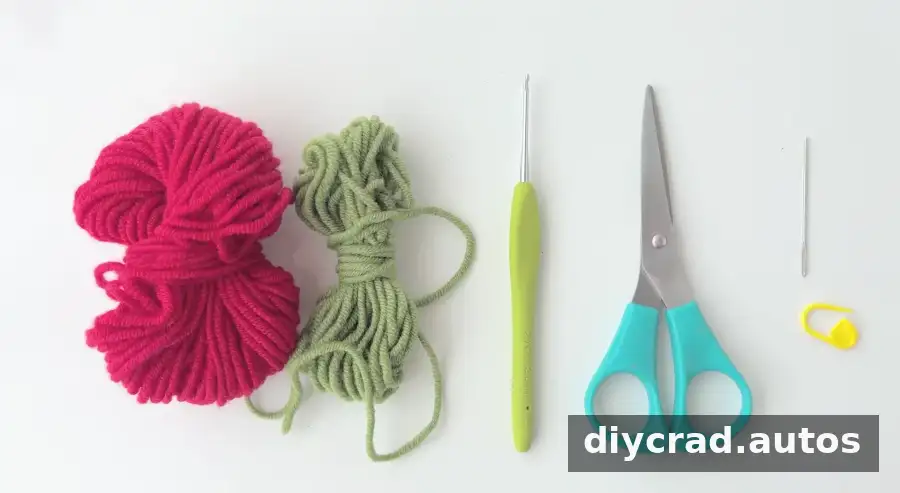
Gather the following supplies before you begin:
- Red yarn and green yarn
- 2.0 mm crochet hook
- Scissors
- Darning needle
- Stitch marker
Stitch abbreviations:
- ch: chain stitch
- sc: single crochet
- ss: slip stitch
- sk: skip
Use a stitch marker if it helps you keep track of the working point. A darning needle is useful for weaving in the yarn ends neatly when the applique is complete.
Step-by-Step Crochet Chili Applique Instructions
Main Body: Red
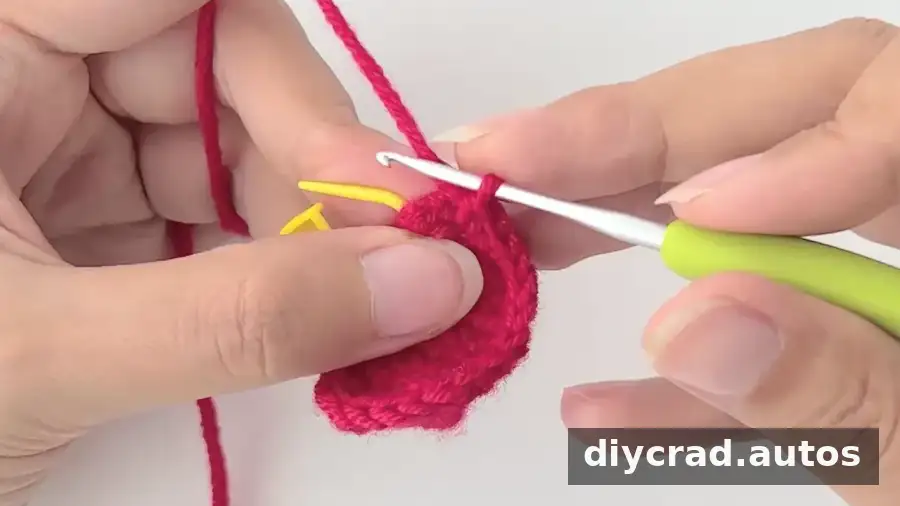
Work the chili body in rows. Turn where indicated, and make the stitches into the next stitch unless the instructions specify otherwise.
- R1: 4 ch, 3 sc
- R2: turn, 1 ch, 2 sc in next st, 1 sc, 2 sc in next st
- R3–R4: turn, 1 ch, 5 sc
- R5: turn, 1 ch, 3 sc, 2 ss
- R6: turn, 1 ch, sk 1st, 2 ss, 2 sc
- R7: turn, 1 ch, 2 sc, 2 ss
- R8: turn, 1 ch, 2 ss, 2 sc
- R9: turn, 1 ch, sk 1st, 1 sc, 2 ss
- R10: turn, 1 ch, sk 1st, 1 ss, 1 sc
- R11: turn, 1 ch, 1 sc
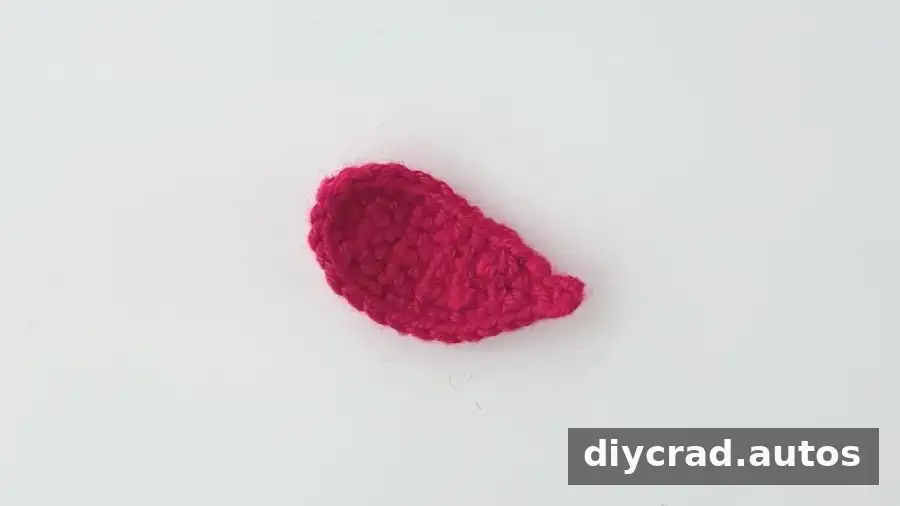
- R12: 1 ch, work sc around; at the tip, work 3 ch and 1 ss to make a picot stitch
As you work the edging, check that it lies flat. If the edge pulls or waves, review your stitch placement and keep the tension consistent.
Stem: Green
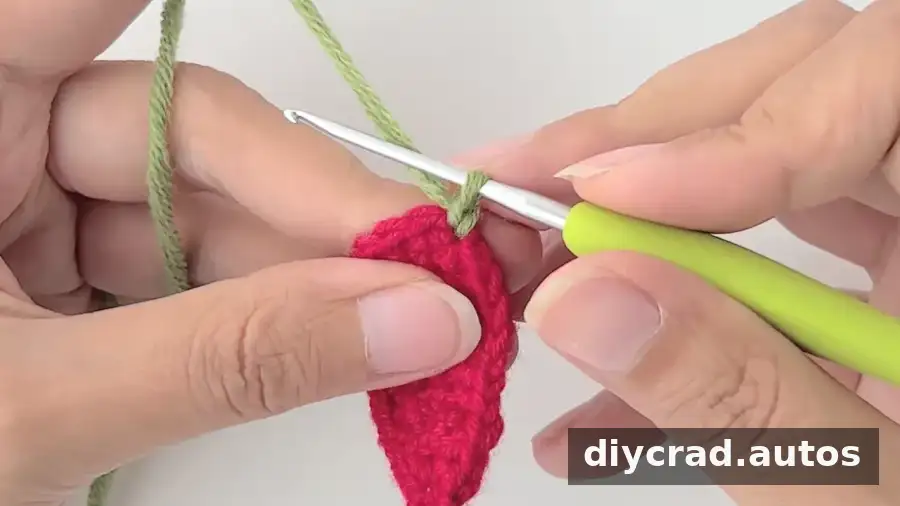
Join or work with green yarn at the top of the chili. Follow the sequence below to form the stem and its small leafy points:
- Work on the top: 2 sc, 5 ch, then starting from the 2nd st of the chain, 4 sc, 1 ss, 1 ch, 2 sc, 1 ch
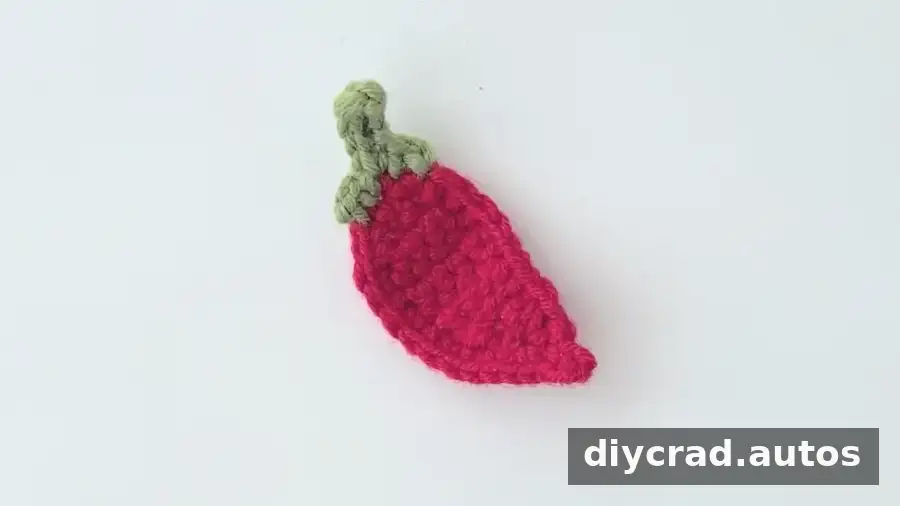
After finishing, fasten off and use the darning needle to secure and weave in the ends. Handle the small stitches carefully so the stem keeps its shape.
Ways to Use the Finished Chili
This crochet chili can be attached to a hairpin, made into a brooch, or used as a bookmark embellishment. It can also add a bright detail to crochet clothes, bags, or hats. When attaching it to an item, sew it down securely at several points so it stays in place during use. For accessories worn by young children, avoid small detachable parts and check that all ends are firmly secured.
The red-and-green combination gives the applique a recognizable chili look, but changing the colors can help it coordinate with a particular project. You can also use multicolored yarn for a different effect; keep in mind that color changes may make the small stitch details less distinct.
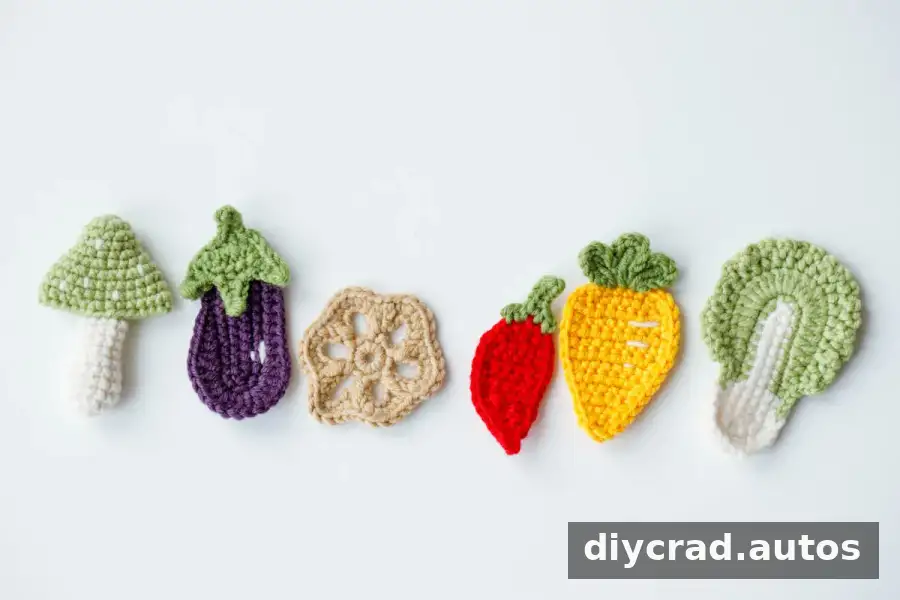
More Vegetable Applique Ideas
If you are building a collection of food-themed crochet decorations, these related applique projects can offer further inspiration:
- Crochet carrot
- Crochet eggplant
- Crochet Chinese cabbage
- Crochet mushroom
- Crochet lotus root
Finishing Tips
This is an easy, flat crochet project written in US terms, with a video tutorial available for additional guidance. The pattern does not specify a gauge or finished dimensions, so the final size will depend on your yarn, hook, and tension. If size matters for your intended use, make a sample and adjust your materials consistently rather than changing individual stitch counts.
Once the red body and green stem are complete, check the shape, trim any excess yarn, and weave in the ends. Your crochet chili applique is then ready to decorate a handmade item or become a small standalone craft embellishment.