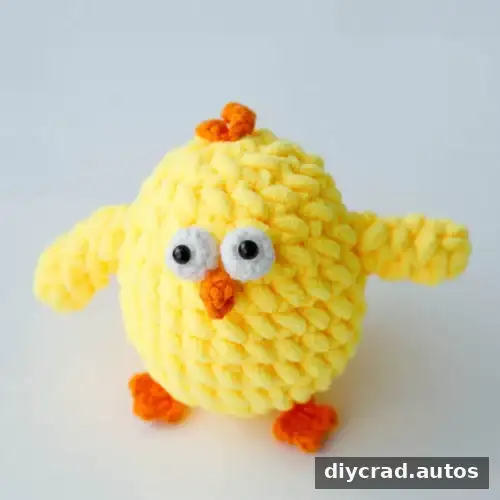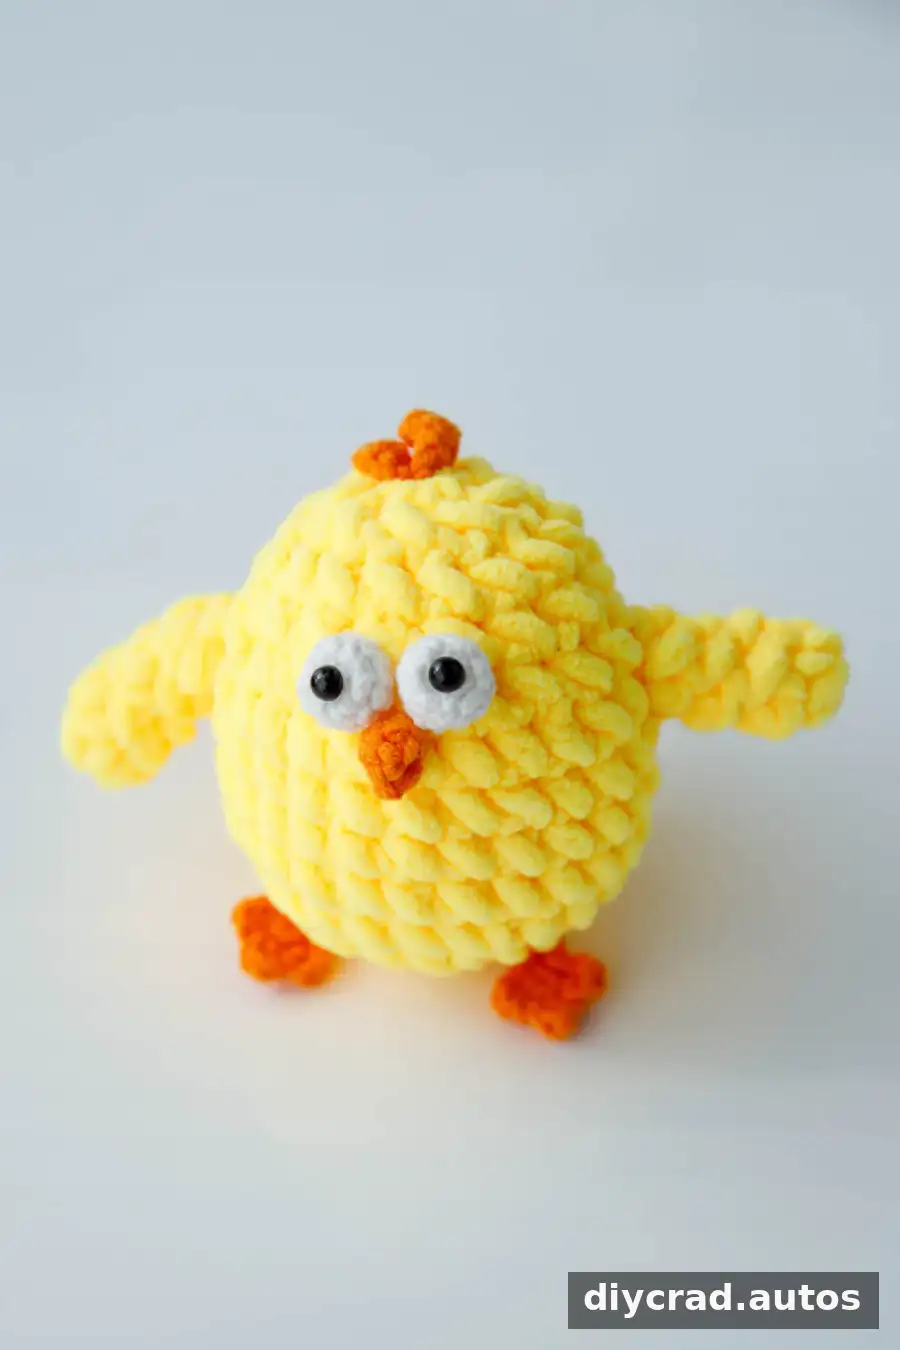
This Crochet Chick Amigurumi pattern guides you through making a small yellow plush chick, from crocheting the body and wings to attaching the feet, beak, comb, and eyes. The pattern uses US crochet terms and is listed as intermediate. Read through the materials and abbreviations before starting, and use a stitch marker to keep track of each round.
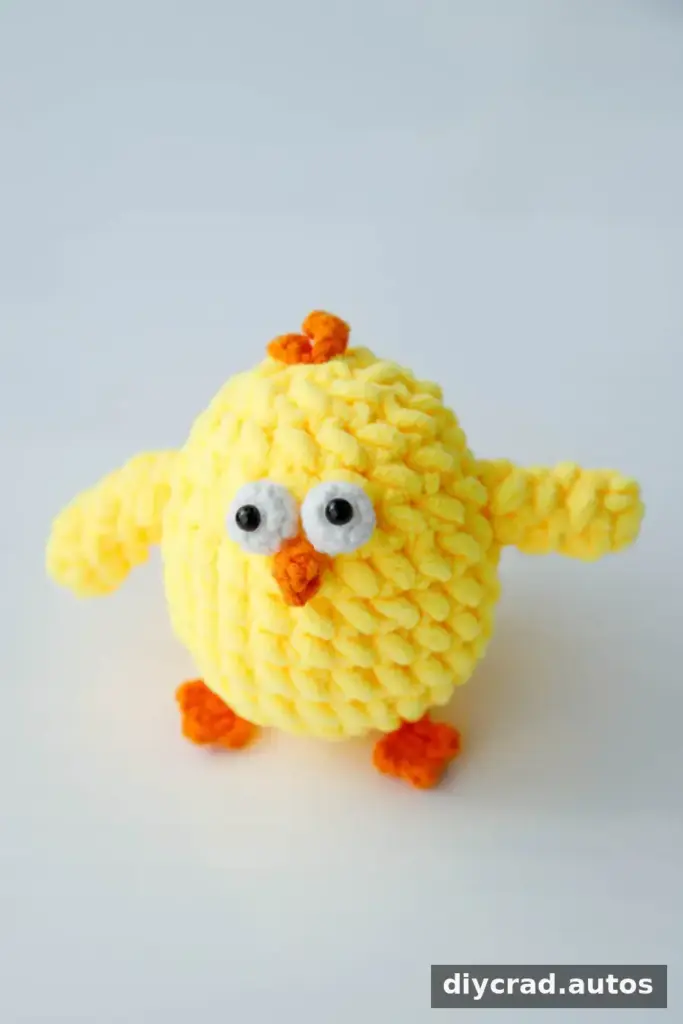
The finished chick can be used as a display piece, a toy, or a keychain. To make a larger, softer version, use thicker yarn and a larger hook; the finished size will vary with your materials and tension. Keep some yellow in the color scheme so the character still reads as a chick. If making the project for a young child, embroidered eyes are a safer option than small safety eyes, which can pose a choking hazard.
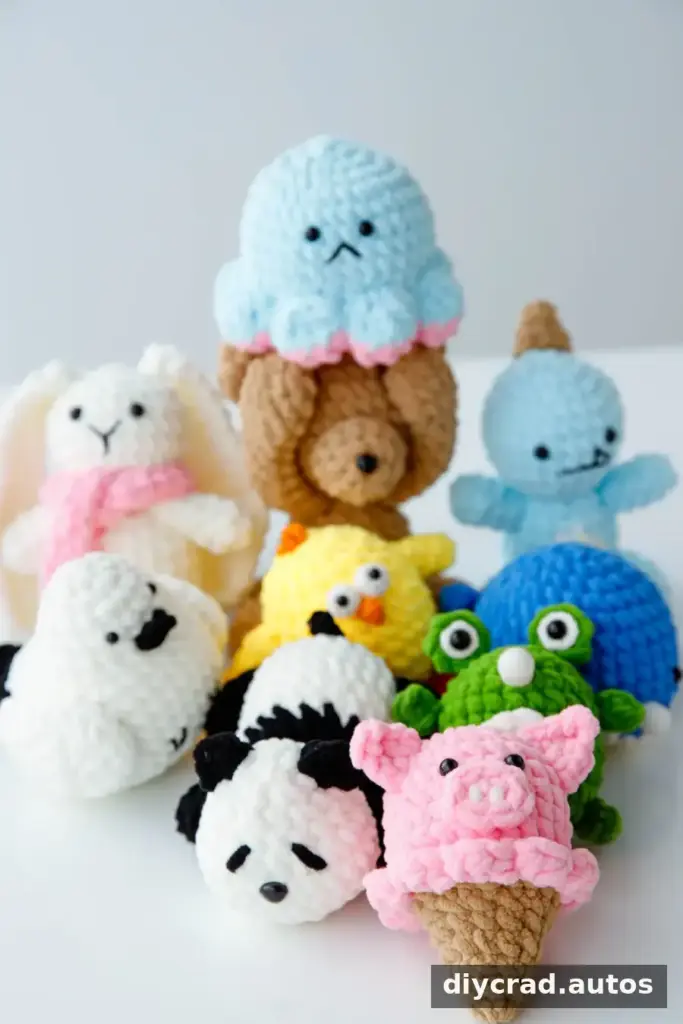
If you would like to explore other amigurumi animal projects, consider a crochet pig, whale, dinosaur, bear, octopus, frog, rabbit, panda, or bird. When choosing another pattern, check its recommended yarn, hook size, and skill level before beginning.
Before you start, lay out all the yarn, tools, and finished parts. This makes assembly easier and helps prevent small pieces from getting misplaced.
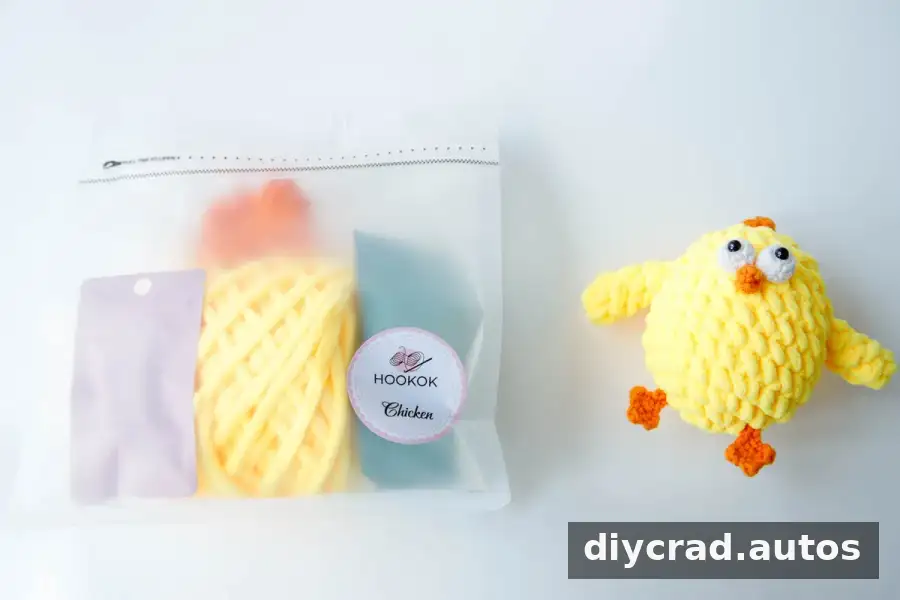
Materials for the Crochet Chick
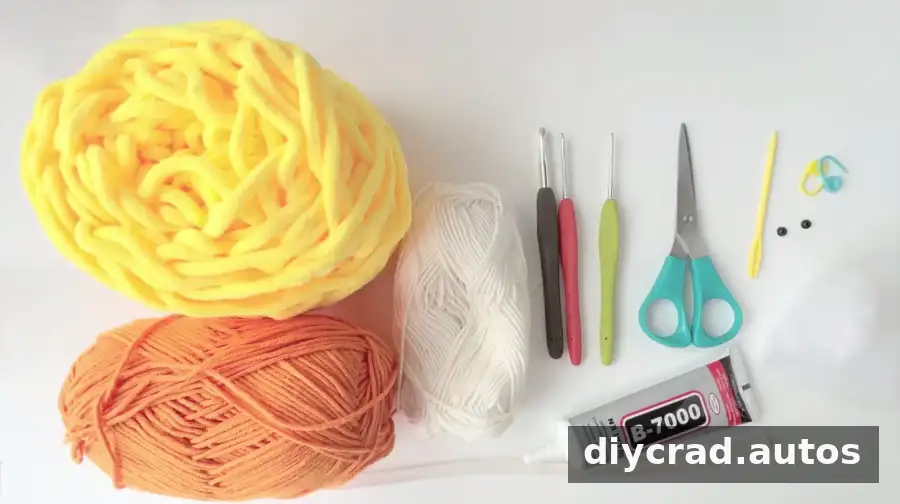
- Yellow plush yarn
- White cotton yarn for the eyes
- Orange cotton yarn for the accessories
- 6.0 mm, 2.5 mm, and 2.0 mm crochet hooks
- Darning needle
- Fiberfill
- Scissors
- Stitch marker
- Hot-melt adhesive or multipurpose glue
- One pair of 6 mm safety eyes
Practical tip: Plush yarn can make individual stitches harder to see. Feel along the fabric as you work, and place a marker in the first stitch of each round.
Stitches and Pattern Terms
The pattern is written in US crochet terminology. The stitch totals shown in brackets are the number of stitches at the end of the round.
- sc: single crochet
- dc: double crochet
- hdc: half double crochet
- ch: chain
- st: stitch
- ss: slip stitch
- sc2tog: single crochet two together, a decrease
- inc: increase by working 2 single crochet stitches into the next stitch
- R1, R2, R3: Round 1, Round 2, Round 3
How to make an increase and decrease
For an increase, work 2 single crochet stitches into the same stitch. For the pattern’s sc2tog decrease, insert the hook into the next stitch and pull up a loop, then repeat in the following stitch. Yarn over and pull through all 3 loops on the hook.
How to Crochet a Chick
Body and Wings
Use yellow plush yarn and a 6.0 mm hook.
Part 1: Make 2 wings
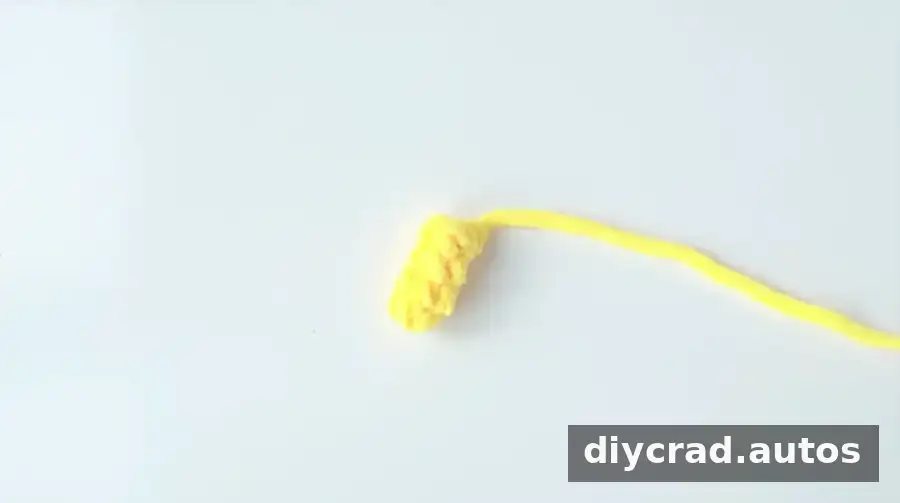
- Begin with a magic ring.
- R1–R4: Work 4 sc in each round. Fasten off and leave a yarn tail for sewing.
Part 2: Main body
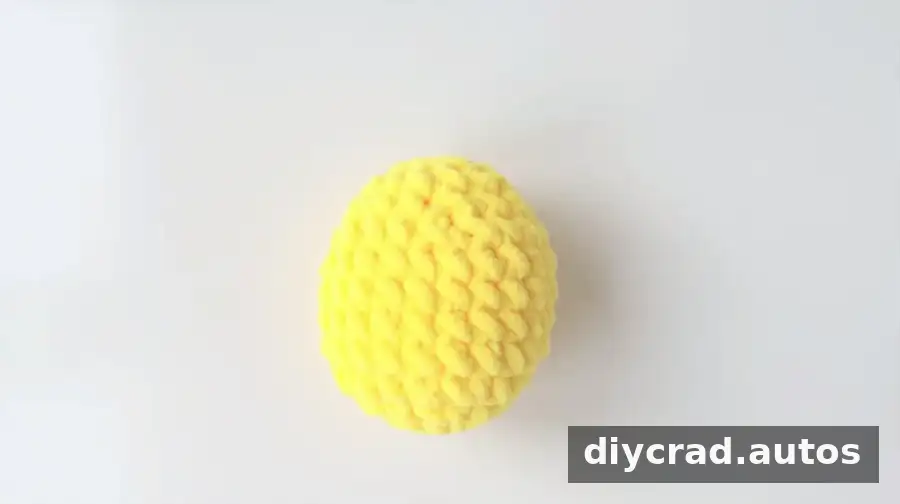
- R1: Work 6 sc into a magic ring, then 1 ss and 1 ch. [6]
- R2: Work 2 sc in each st 6 times, then 1 ss and 1 ch. [12]
- R3: Repeat (1 sc, 2 sc in next st) 6 times, then 1 ss and 1 ch. [18]
- R4: Repeat (2 sc, 2 sc in next st) 6 times, then 1 ss and 1 ch. [24]
- R5–R8: Work 24 sc, then 1 ss and 1 ch in each round. [24]
- R9: Repeat (2 sc, sc2tog, 2 sc) 4 times, then 1 ss and 1 ch. [20]
- R10: Repeat (1 sc, sc2tog, 1 sc) 5 times, then 1 ss and 1 ch. [15]
- R11: Work 15 sc, then 1 ss and 1 ch. [15]
- R12: Work sc2tog 6 times, then sc3tog. [7]
- Fill the body with fiberfill. Use a darning needle to weave in the ends.
Stuff the body before closing it completely, adding small amounts at a time to distribute the filling evenly. Avoid overfilling, which can stretch the stitches and make the fabric look uneven.
Feet: Make 2
Use orange cotton yarn and a 2.5 mm hook.
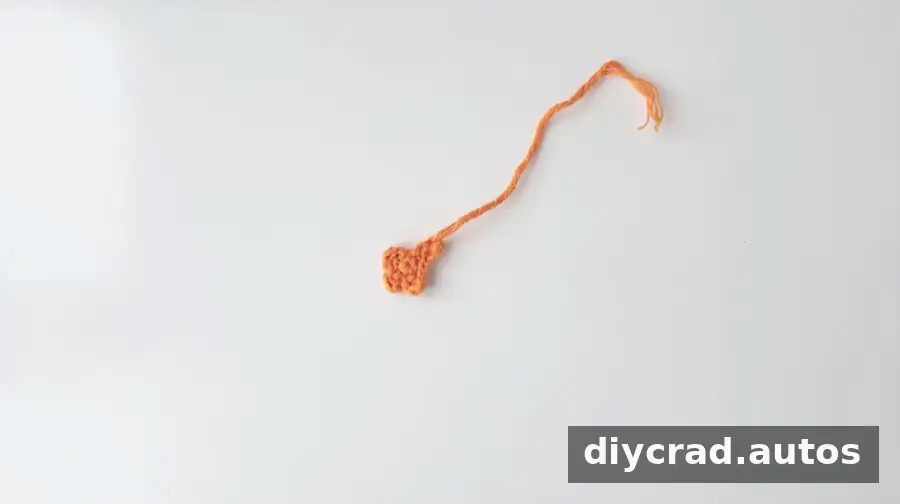
- R1: Work 6 sc into a magic ring, then 1 ss. [6]
- R2: Repeat 3 times: in the same st, work 1 ch, 1 dc, and 1 ch; then work 1 ss in the next st. Work 1 ss, then ch 3. Starting in the second chain from the hook, work 2 sc and 1 ss. Fasten off and weave in the ends.
Beak
Use orange cotton yarn and a 2.5 mm hook.
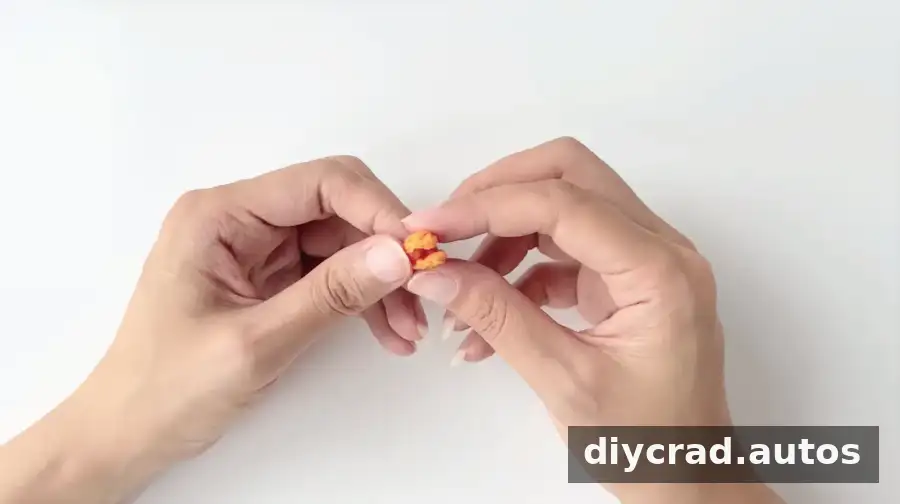
- Ch 3. Starting in the second chain from the hook, work 2 sc. Ch 4; starting in the second chain from the hook, work 1 sc, 1 hdc, and 1 sc. Fasten off and weave in the ends.
Comb
Use orange cotton yarn and a 2.5 mm hook.
- Larger piece: Ch 6. Starting in the third chain from the hook, work 1 hdc, 1 dc, 1 hdc, and 1 sc. Fasten off and leave a tail for sewing.
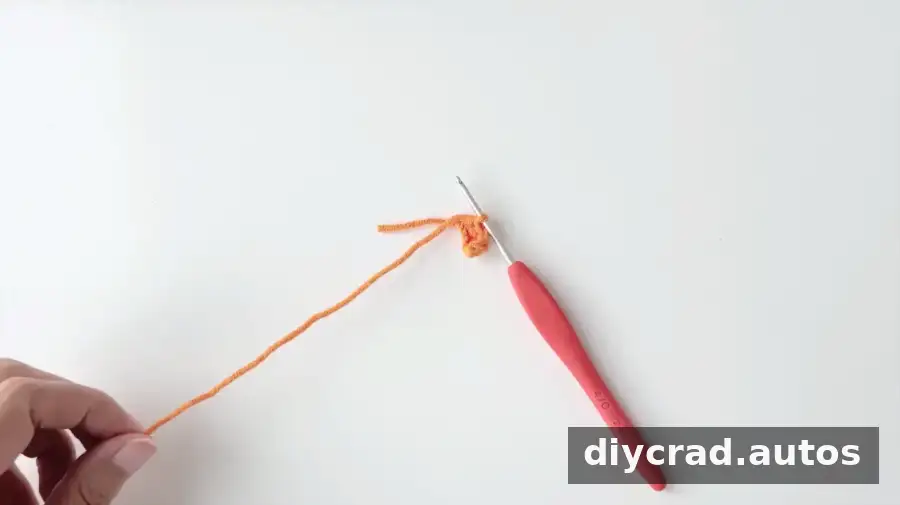
- Smaller piece: Ch 4. Starting in the second chain from the hook, work 1 sc, 1 hdc, and 1 sc. Fasten off and leave a tail for sewing.
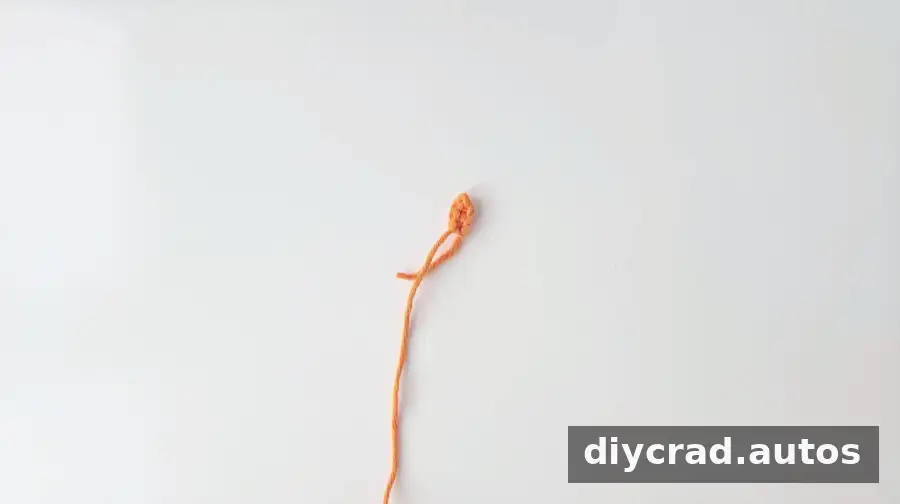
White Eye Pieces: Make 2
Use white cotton yarn and a 2.0 mm hook.
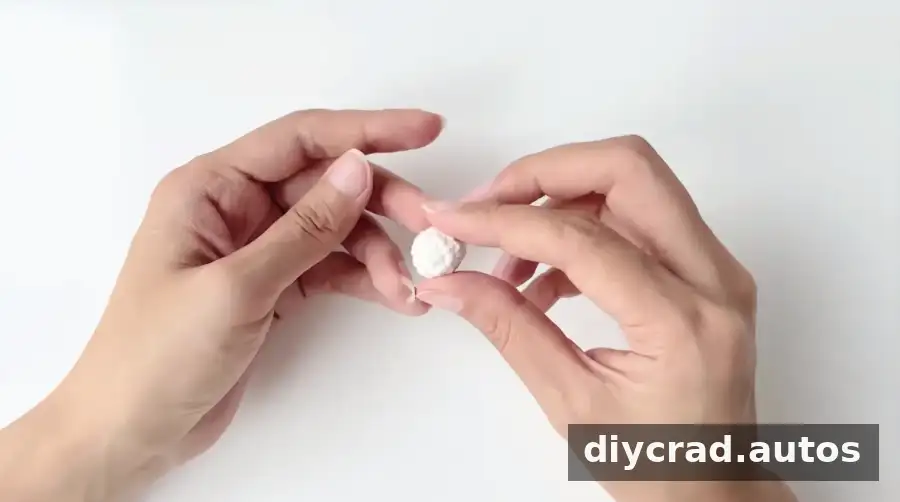
- R1: Work 6 sc into a magic ring, then 1 ss and 1 ch. [6]
- R2: Work 2 sc in each st 6 times, then 1 ss and 1 ch. [12]
- R3–R4: Work 12 sc in each round. Fasten off and weave in the ends. [12]
Assemble the Crochet Chick
Gather the body, 2 wings, 2 feet, 2 white eye pieces, beak, both comb pieces, and the pair of 6 mm safety eyes. Arrange the parts before sewing so you can check their placement and symmetry.
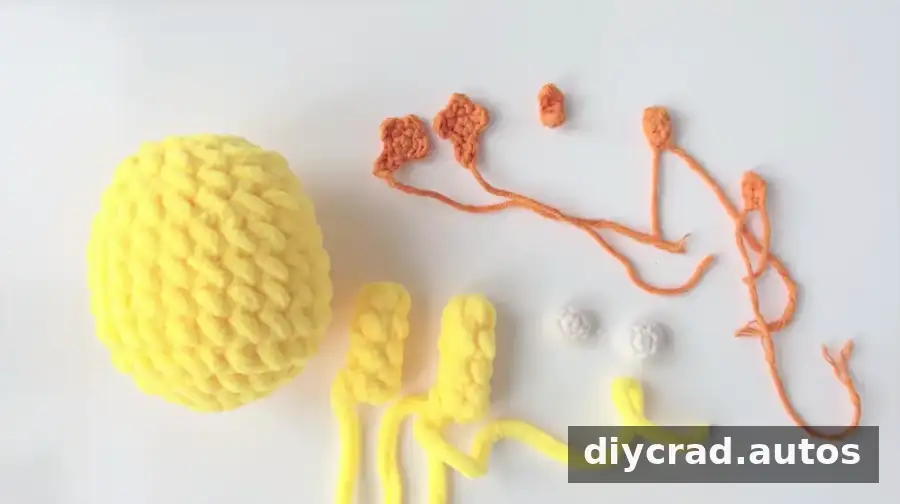
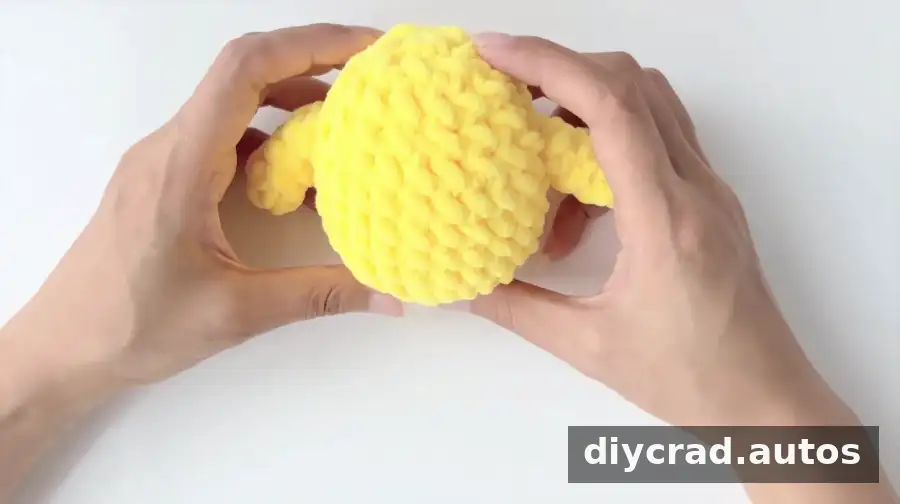
- Sew the wings to the body between R5 and R6. If desired, secure them further with a small amount of adhesive.
- Position the white crocheted eye pieces around R5, centered on the front of the body. A small amount of fiberfill or scrap yarn inside each piece can give it extra dimension.
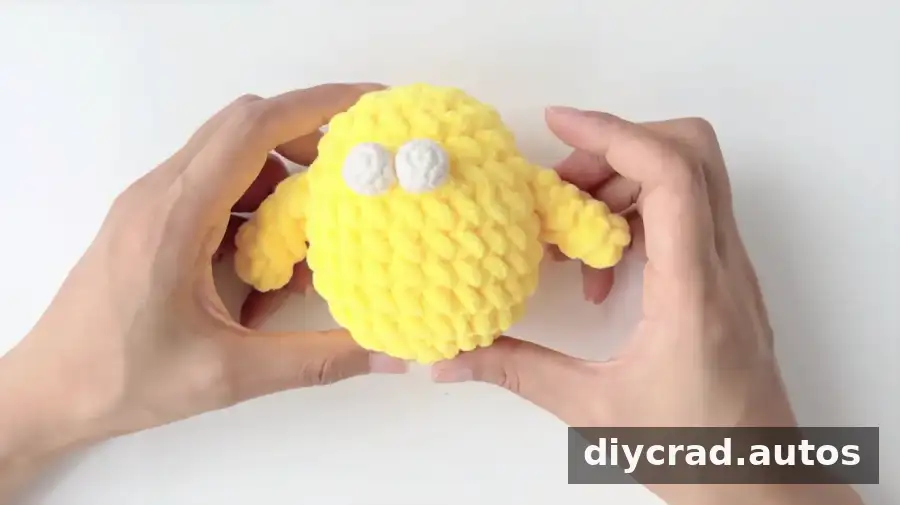
- Place the beak below the eyes and sew or secure it in place.
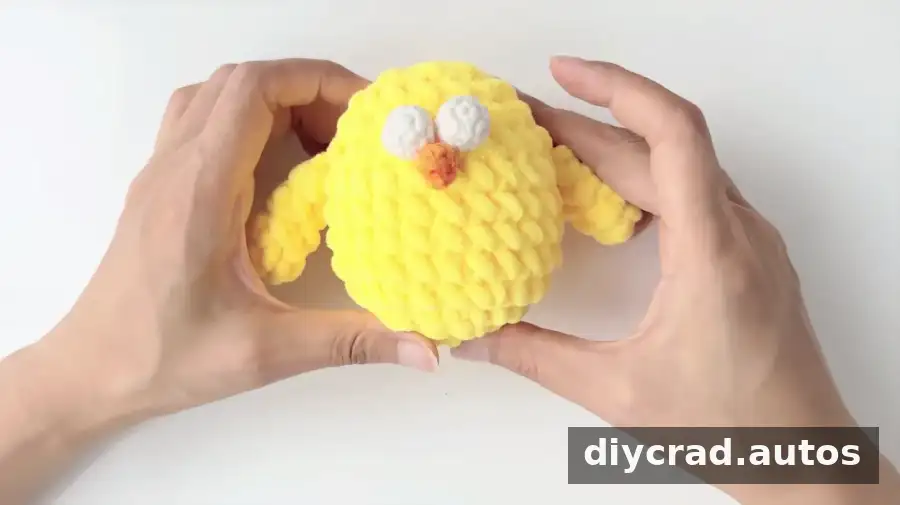
- Attach the feet between R10 and R11, leaving 3 stitches between them.
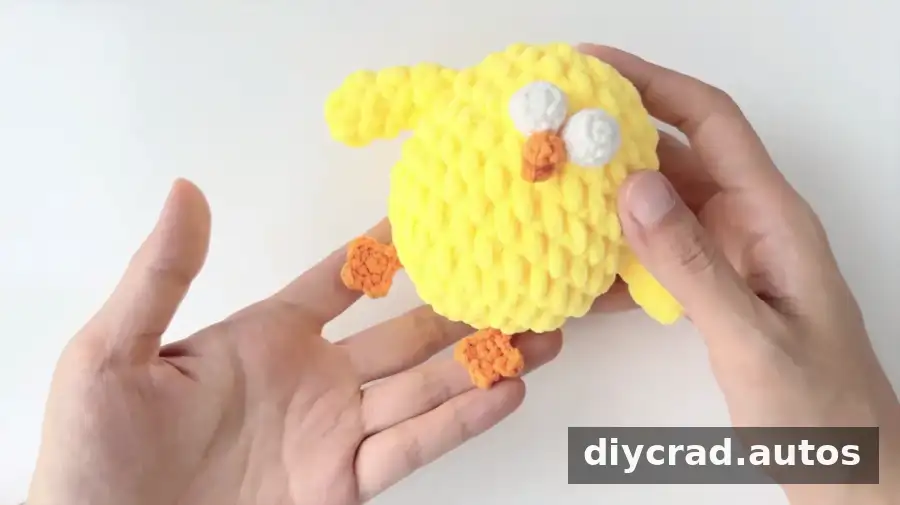
- Attach the smaller comb piece at the top of the chick, followed by the larger piece.
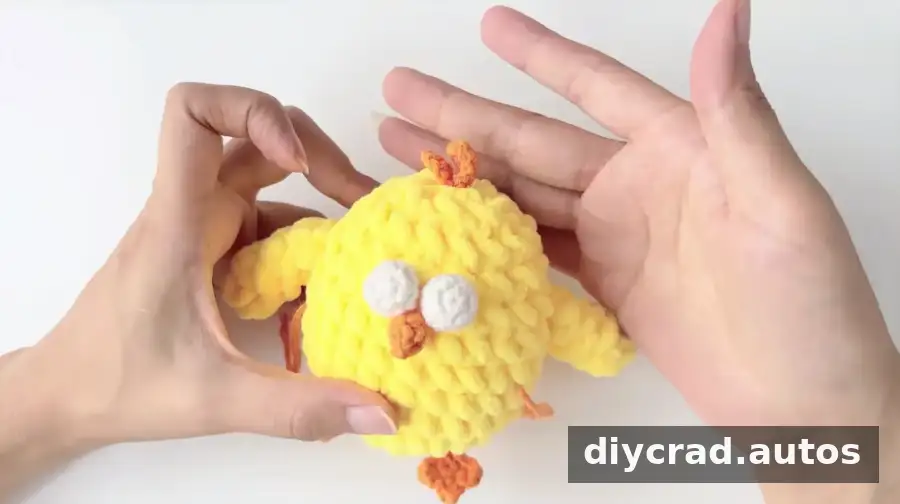
- Fit the safety eyes in place if using them. Follow the eye manufacturer’s instructions. If adhesive is needed, use only a small amount and allow it to dry fully before handling the toy.
- Cheek blush is optional. Apply it sparingly if you want to add a touch of color.
For a keychain, attach a keyring securely to the finished chick. A ribbon can also be added for display, but check that any added components are firmly attached if the item will be handled often.
Finishing the Crochet Chick Amigurumi
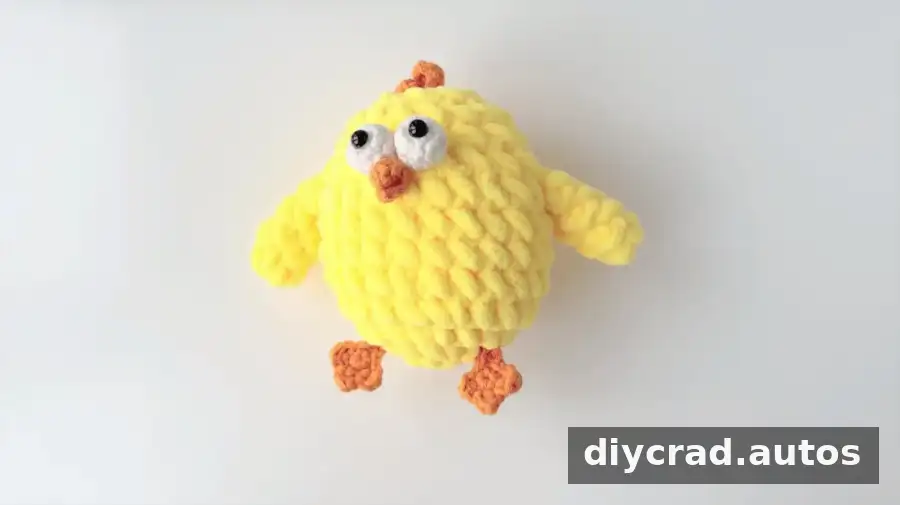
Check that the seams are secure, the stuffing is evenly distributed, and all yarn ends are woven in. The finished Crochet Chick Amigurumi can be displayed, used as a small handmade gift, or adapted into a keychain. The pattern does not specify a finished size, so the result will depend on yarn thickness, hook choice, and individual tension.
Pattern Summary
Project type: Crochet amigurumi animal
Difficulty: Intermediate
Terms: US crochet terms
Keyword: Crochet Chick, Crochet Chick Amigurumi
Use the stitch marker to identify the beginning of each round, follow the stitch counts carefully, and double-check the placement of the parts before attaching them. With those small checks, this Crochet Chick Amigurumi pattern provides a clear route from separate crocheted pieces to a finished chick.