

This crochet carrot applique is a quick, beginner-friendly project made with basic stitches and a 2.0 mm hook. The design features a yellow carrot shape, green leaves, and three embroidered lines. Follow the written instructions below or use the accompanying video tutorial for extra visual guidance. The piece can be finished in about 20 minutes, depending on your pace and familiarity with the stitches.
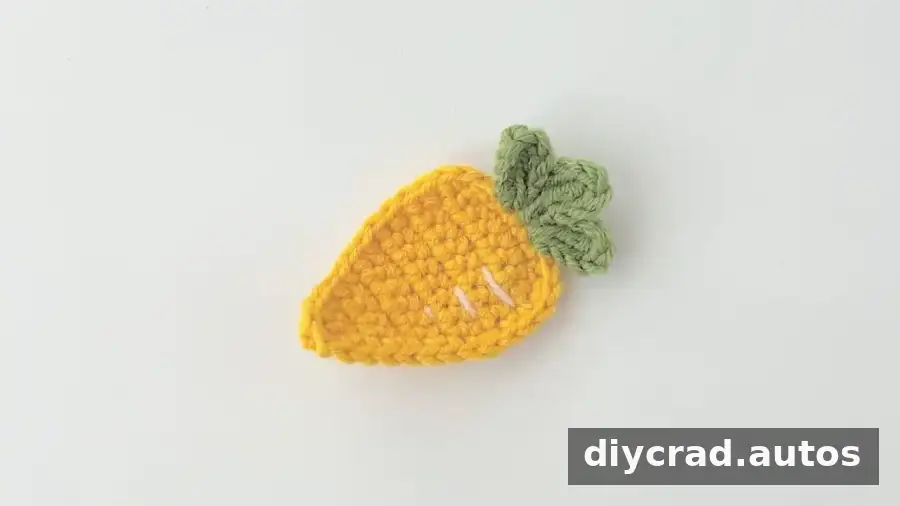
How to Use a Crochet Carrot Applique
Add the finished applique to projects that need a small decorative detail. It can be used on hairpins, brooches, bookmarks, or as an embellishment for clothes, bags, and hats. Before attaching it to a wearable item, check that the applique sits flat and secure the ends neatly on the back.
This design can also be made in other colors to suit a specific project. Keep the stitch count and shaping the same if you want to preserve the original form, and use a stitch marker to help track the start of the final round.
Materials and Pattern Notes
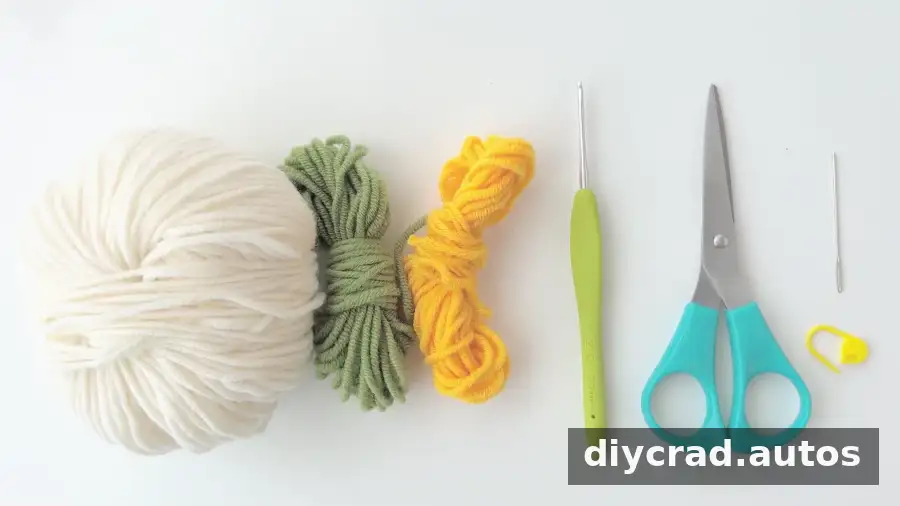
- Yarn in white, yellow, and green
- 2.0 mm crochet hook
- Scissors
- Darning needle
- Stitch marker
The pattern uses US crochet terminology. A video tutorial is available for additional guidance. The pattern does not specify yarn weight or finished dimensions, so use the same yarn and hook throughout to keep the carrot and leaves in proportion.
Stitches and Abbreviations
- ch: chain stitch
- sc: single crochet
- ss: slip stitch
- tr: triple crochet
- sc2tog: work two single crochet stitches together
Crochet Carrot Applique Instructions
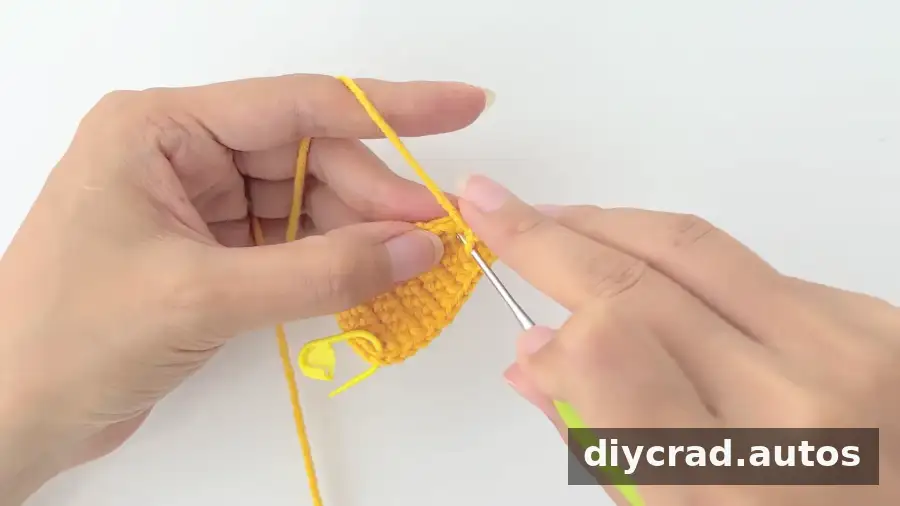
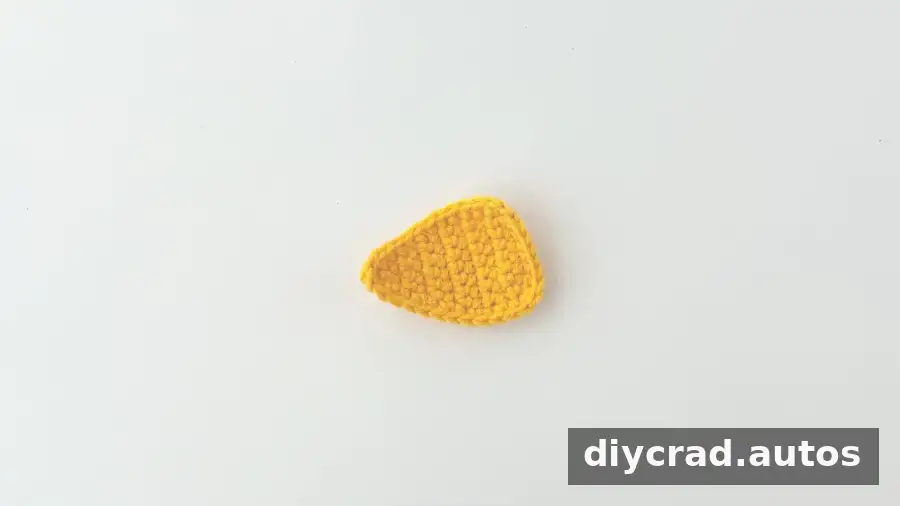
Work the main carrot section in yellow. Turn at the end of the rows as indicated. Keep your stitches even, particularly along the widening rows, to help the shape lie smoothly.
Main Carrot Section: Yellow
- R1: Ch 2. Working into the second chain from the hook, make 2 sc in the same stitch.
- R2: Turn, ch 1, make 1 sc, then 2 sc in the next stitch.
- R3: Turn, ch 1, make 2 sc, then 2 sc in the next stitch.
- R4: Turn, ch 1, make 3 sc, then 2 sc in the next stitch.
- R5: Turn, ch 1, make 4 sc, then 2 sc in the next stitch.
- R6: Turn, ch 1, make 5 sc, then 2 sc in the next stitch.
- R7: Turn, ch 1, make 6 sc, then 2 sc in the next stitch.
- R8–R11: Turn, ch 1, and make 8 sc in each row.
- R12: Turn, ch 1, work sc2tog, 4 sc, then sc2tog.
- R13: Ch 1, then work sc around the piece.
For the edging, distribute the single crochet stitches evenly around the shape. At the corners, take care not to pull the yarn too tightly, which can cause the edge to curl.
Carrot Leaves: Green
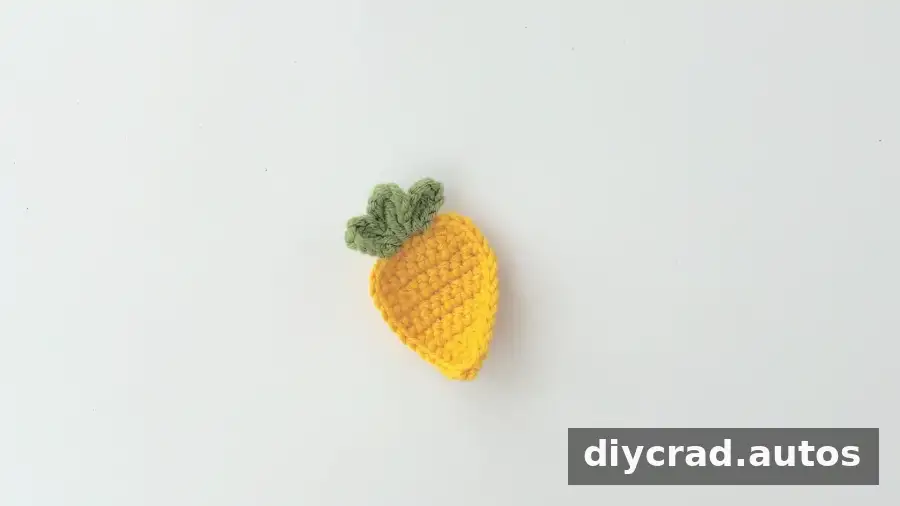
Join the green yarn at the middle of the top edge of the carrot. Work the following sequence three times: ch 4, 1 tr, ch 4, 1 ss. This creates three leaf sections. Keep the chains loose enough to form leaves without making them floppy.
Embroidered Details
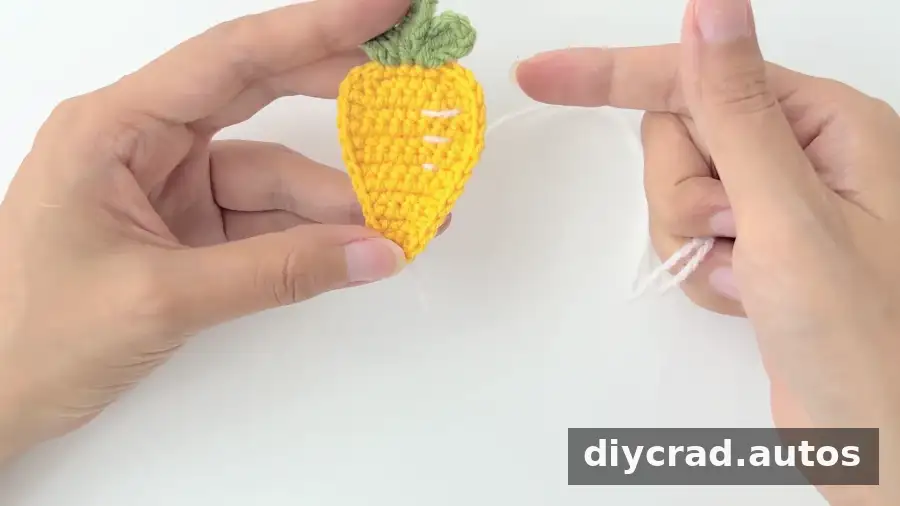
Thread the darning needle with white yarn and sew three lines of different lengths on the carrot. Weave in the yarn ends on the back and trim any excess. If you plan to attach the applique to clothing or an accessory, check that all ends and stitches are secure before use.
Finishing and Color Ideas
Your crochet carrot applique is ready to use once the ends are woven in. You can follow the yellow-and-green color combination or try other shades, including multicolored yarn, to coordinate with a larger decoration project. For a neat finish, arrange the leaves and embroidered lines before sewing the applique onto its final surface.
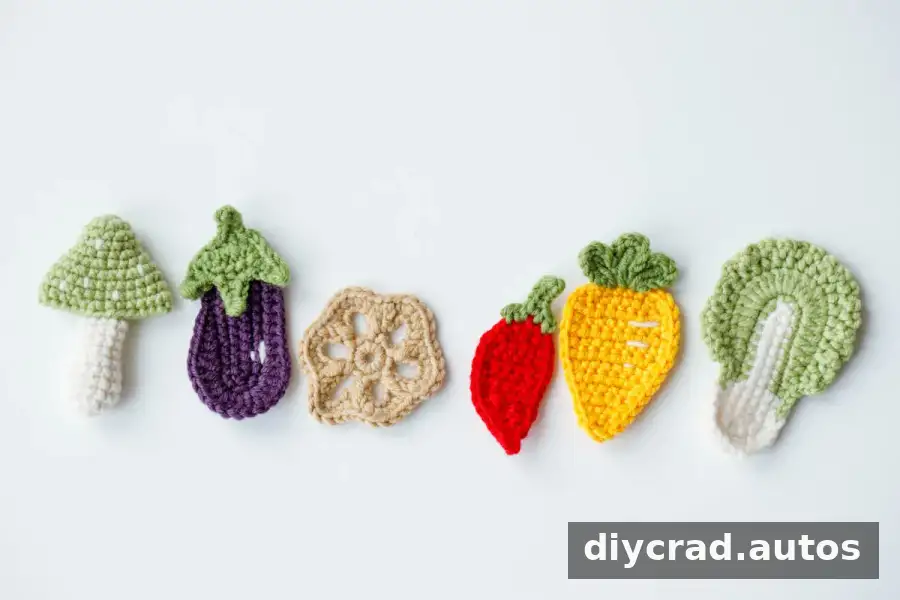
For more vegetable-themed crochet ideas, consider pairing this project with an eggplant, chili, Chinese cabbage, mushroom, or lotus root applique. These small motifs can be used together on decorative panels, bags, or other crochet projects.
Make a Crochet Carrot Applique
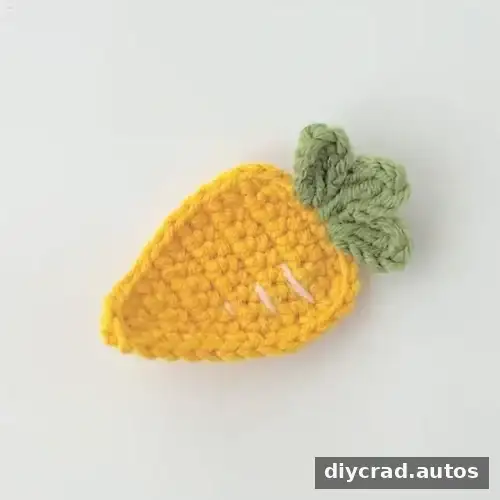
This crochet carrot applique pattern brings together simple shaping, a small green leaf detail, and embroidered finishing lines. Use the written rows as your guide, refer to the video tutorial when helpful, and keep your tension consistent for an even result. Once complete, add the applique to a suitable accessory or decoration and secure it carefully.

