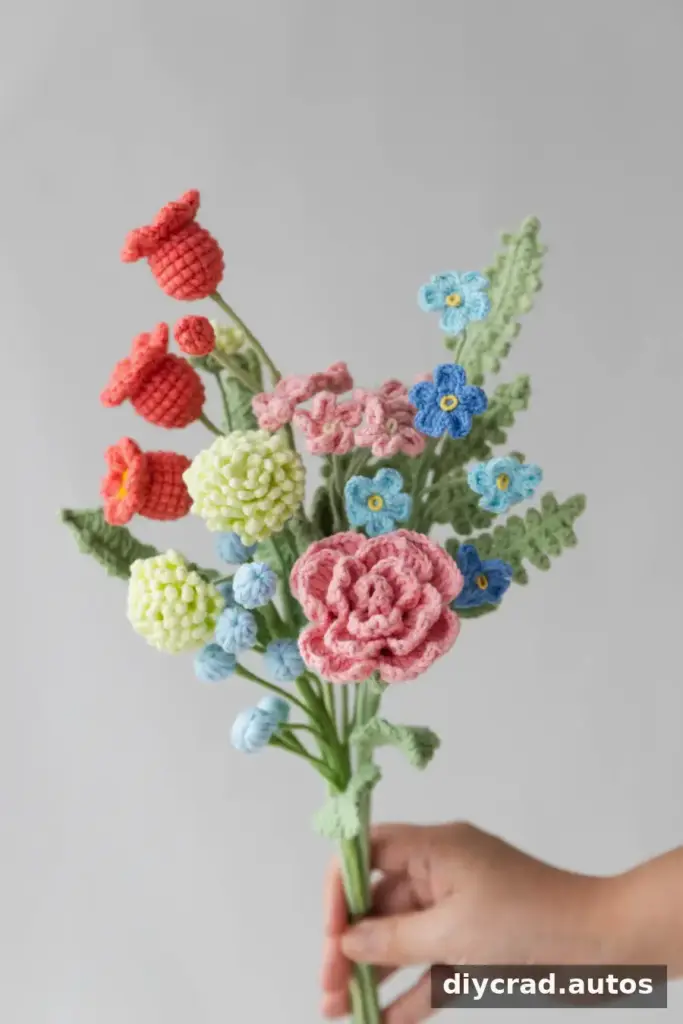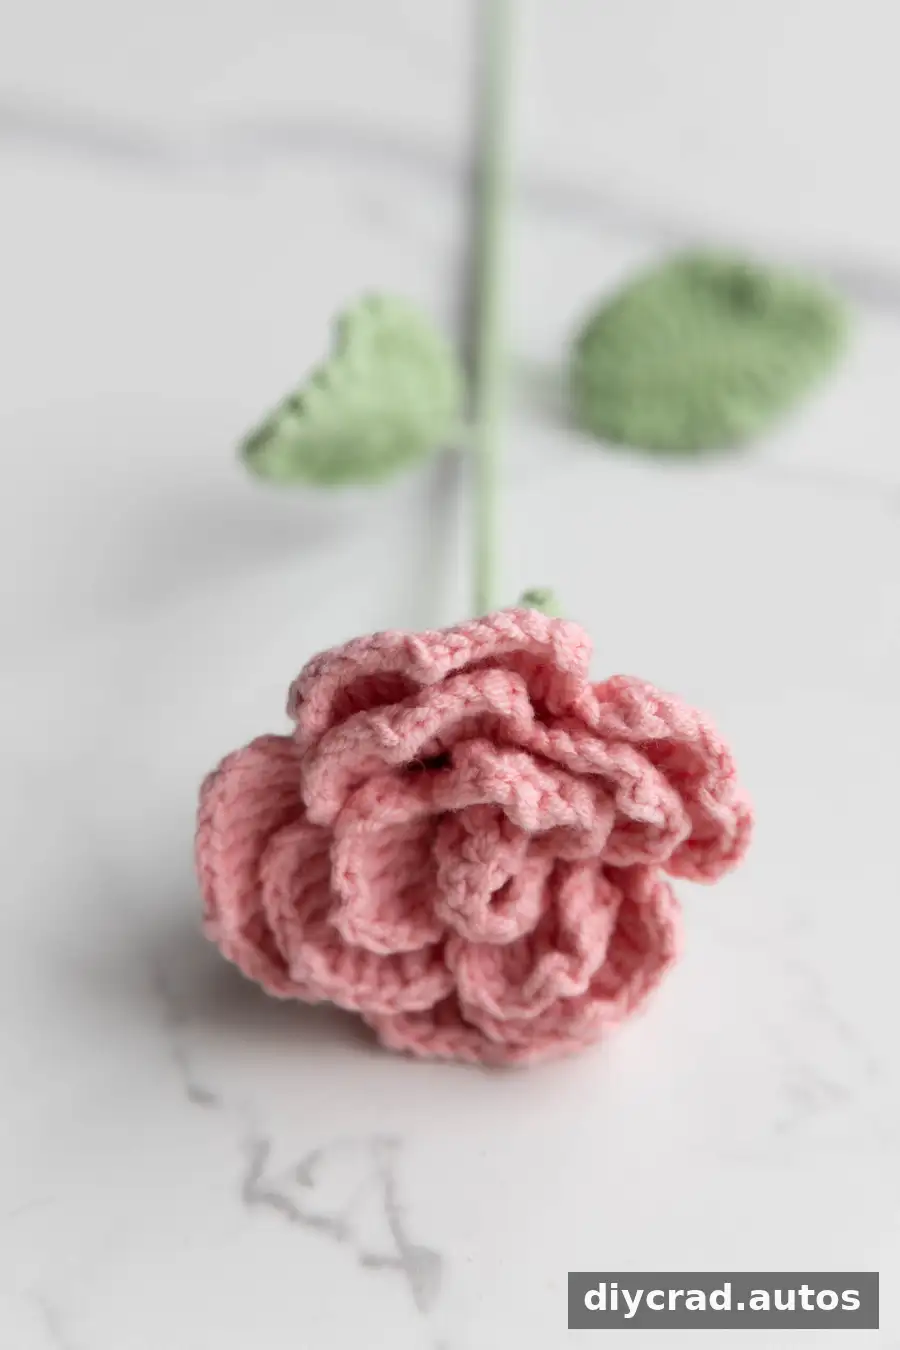
This Crochet Cappuccino Rose pattern explains how to crochet the flower, sepals, and leaf, then assemble the pieces into a stemmed decoration. The project uses pink and green yarn, a 2.0 mm hook, and a few basic tools. The pattern is written in US crochet terms and is rated intermediate, so take care when following the stitch sequences and shaping the petals.
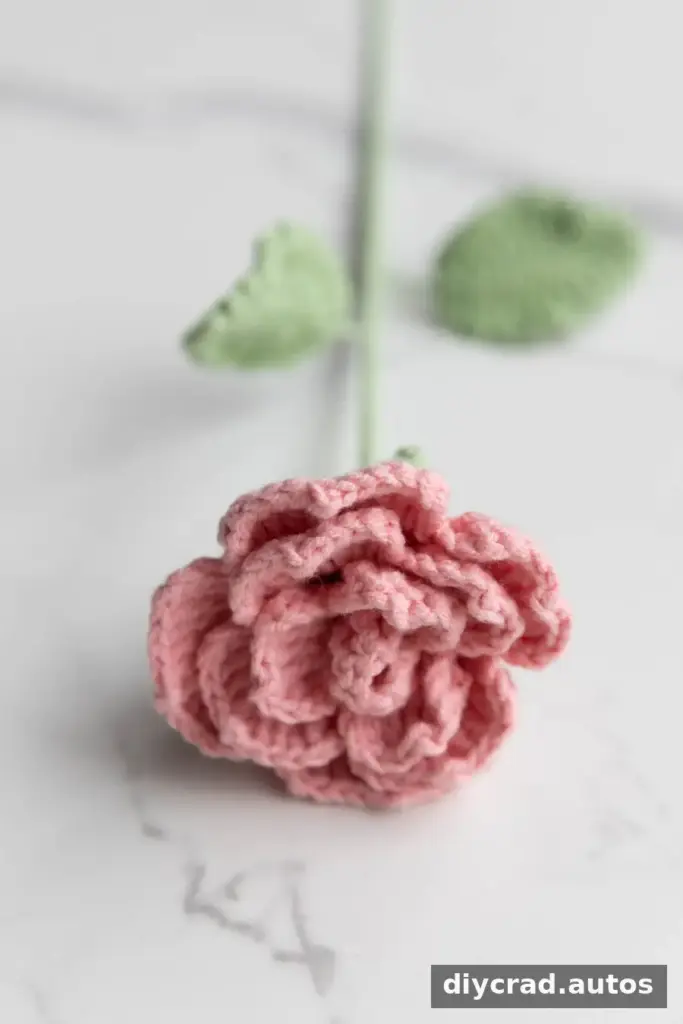
The finished rose can be displayed on its own or arranged with other crocheted flowers. Before starting, read through the materials and instructions, and check that you can identify each abbreviation. Keeping a stitch marker, scissors, and darning needle nearby can make the work easier to manage.
Crochet Cappuccino Rose Materials
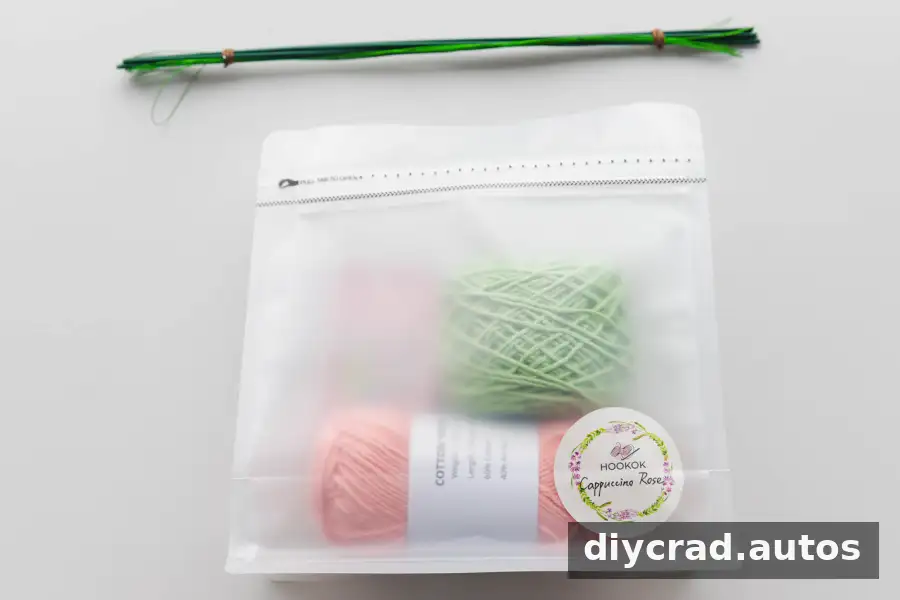
Gather the following supplies before crocheting. The flower rod measures 16 inches long by 0.08 inches in diameter (40 cm × 2 mm), and the iron wire is 0.5 mm thick.
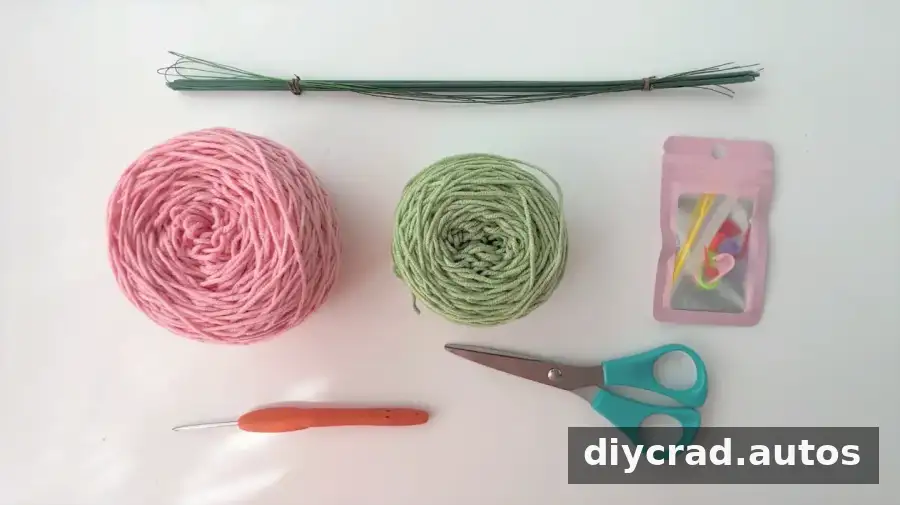
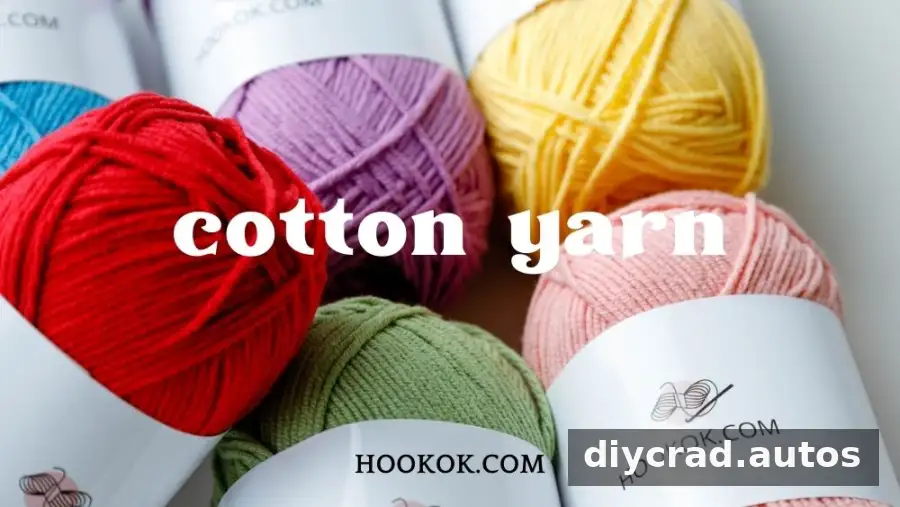
- Pink and green yarn
- 2.0 mm crochet hook
- Scissors
- Darning needle
- Stitch marker
- Flower rod: 16 inches long × 0.08 inches in diameter (40 cm × 2 mm)
- 0.5 mm iron wire
- Hot melt adhesive
Choose yarn colors that work well together and make sure the hook size suits your yarn. Use hot melt adhesive carefully during assembly, and allow it to set before handling the finished stem.
Stitches and Abbreviations
The instructions use these US crochet abbreviations:
- sc: single crochet
- hdc: half double crochet
- dc: double crochet
- tr: treble crochet
- ch: chain stitch
- sk: skip
- ss: slip stitch
- RSC: reverse single crochet
- Picot st: picot stitch
Special stitches
- Reverse single crochet (RSC): Also called crab stitch, this stitch is worked from left to right. Insert the hook into the previous stitch to the right, yarn over and pull up a loop, then yarn over and draw through both loops. It creates a raised, decorative edge.
- Picot stitch: A small decorative loop made by chaining and slip stitching back into the first chain. Follow the chain count specified in the pattern.
Flower Instructions
Work the flower as a strip that will be shaped into petals during assembly. Keep the rows aligned and check your stitch placement as you go. The pattern uses the following sequence:
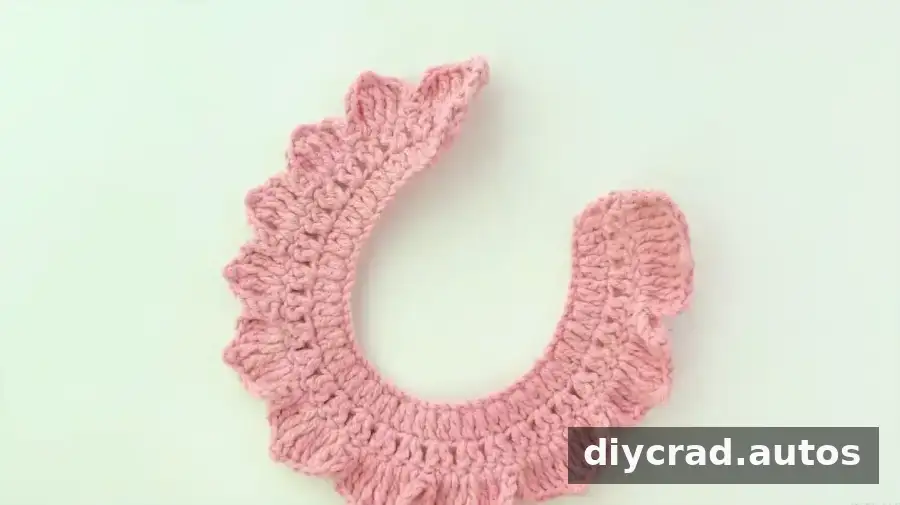
- R1: Make a foundation chain of 64 chains.
- R2: Starting in the 4th stitch from the hook, work (2 dc in the next stitch, sk 1, 2 dc in the next stitch, sk 1) 30 times, then work 2 dc in the next stitch.
- R3: Turn, ch 3, then work (sk 1, 2 dc in the next stitch, sk 1, 2 dc in the next stitch) 30 times, followed by 2 dc in the next stitch.
- R4: Work (ch 3, 1 tr, 3 tr in the same stitch, 1 tr, ch 3, 1 ss). Then work (1 ss, ch 3, 1 tr, 1 tr in the next stitch, 1 tr, ch 1, 1 RSC, 1 tr, 1 tr in the same stitch, ch 3, 1 ss) 4 times. Work (1 ss, ch 3, 1 tr, 2 tr in the next stitch, 1 tr, ch 1, 1 RSC, 1 tr, 2 tr in the next stitch, 1 tr in the same stitch, ch 3, 1 ss) 4 times. Work (1 ss, ch 3, 1 tr, 2 tr in the next stitch, 1 tr, 1 tr, ch 1, 1 RSC, 1 tr, 1 tr in the next stitch, 2 tr in the next stitch, 1 tr, ch 3, 1 ss) 3 times. Ch 1, cut the yarn, and weave in the end.
Row 4 contains several repeated stitch groups. Work slowly through each group and use the accompanying visual reference to check the petal shaping.
Flower Sepals
The sepals form the green base beneath the flower. Make them before attaching the flower to the stem.
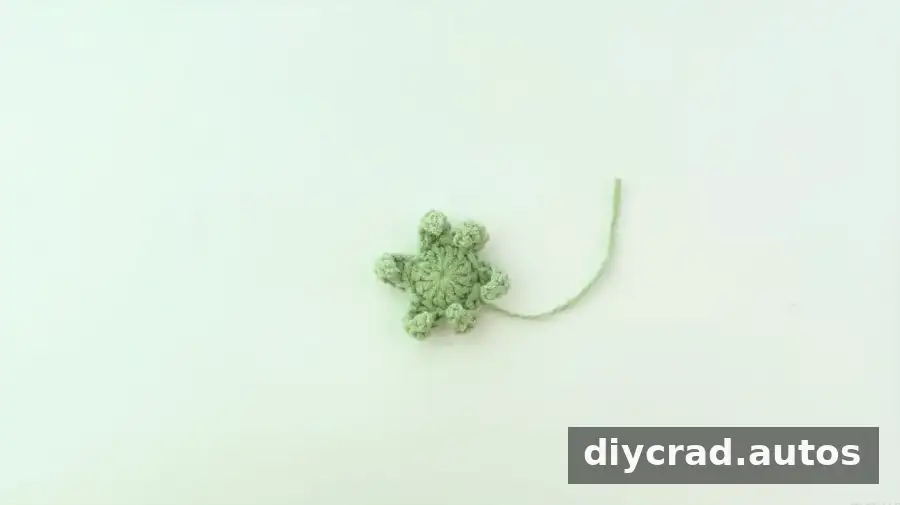
- R1: Make a magic ring, ch 3, and work 12 dc into the ring.
- R2: Work (ch 6, starting in the 2nd stitch from the hook, 1 ss, 1 sc, 1 hdc, 2 dc, then 1 ss in the next stitch) 6 times. Ch 1, cut the yarn, and weave in the ends.
Leaf Instructions
The wire gives the leaf support. Add it while working the second round, then leave a yarn tail to wrap around the wire when the leaf is complete.
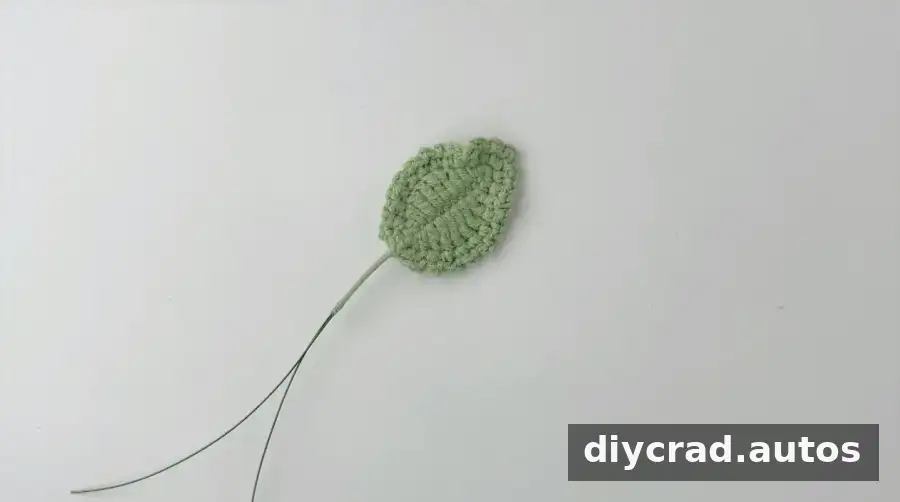
- R1: Make a foundation chain of 12 ch.
- R2: Add the wire. Starting in the 2nd stitch from the hook, work 1 sc, 1 hdc, 1 dc, 4 tr, 1 dc, 1 hdc, 1 sc, and 3 sc in the same stitch. Continue with 1 sc, 1 hdc, 1 dc, 4 tr, 1 dc, 1 hdc, 1 sc, 1 ss, and ch 1. Work 1 sc, then repeat (1 sc, ch 2) 10 times. In the same stitch, work 1 sc, a ch-2 picot stitch, 1 sc, and ch 2. Repeat (1 sc, ch 2) 10 times, then work 1 sc and 1 ss. Cut the yarn, leaving a tail to wrap around the wire.
How to Assemble the Crochet Cappuccino Rose
Arrange the flower evenly around the rod so the petals sit neatly. Attach each part securely and let the adhesive set before moving on to the next step.
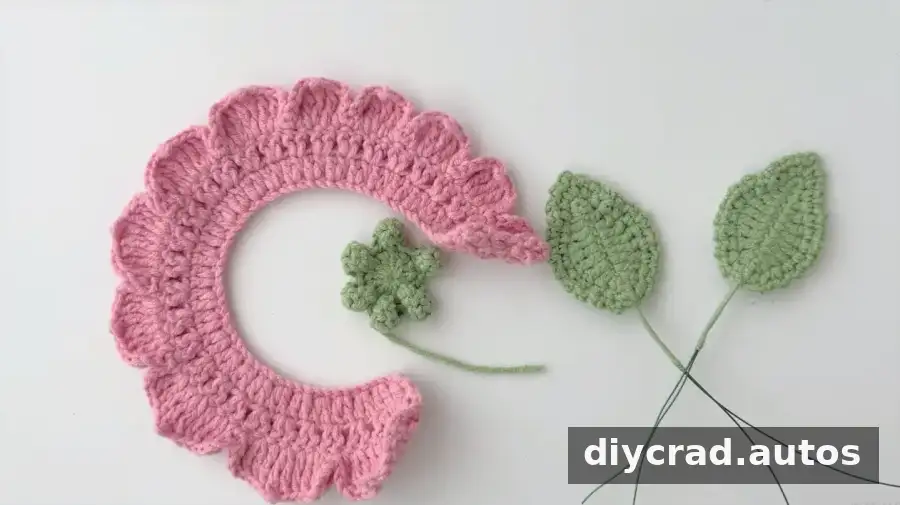
- Prepare the stem: Set out the flower rod and crocheted flower.
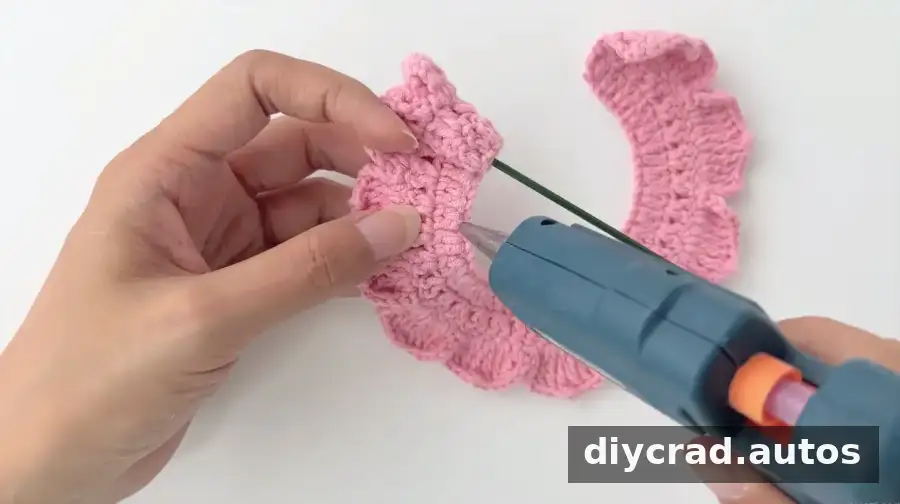
- Attach the flower: Position the crocheted flower evenly around the rod. Secure it to the rod with hot melt adhesive.
- Add the sepals: Place the sepals evenly around the base of the flower and attach them with hot melt adhesive. They create a green base beneath the petals.
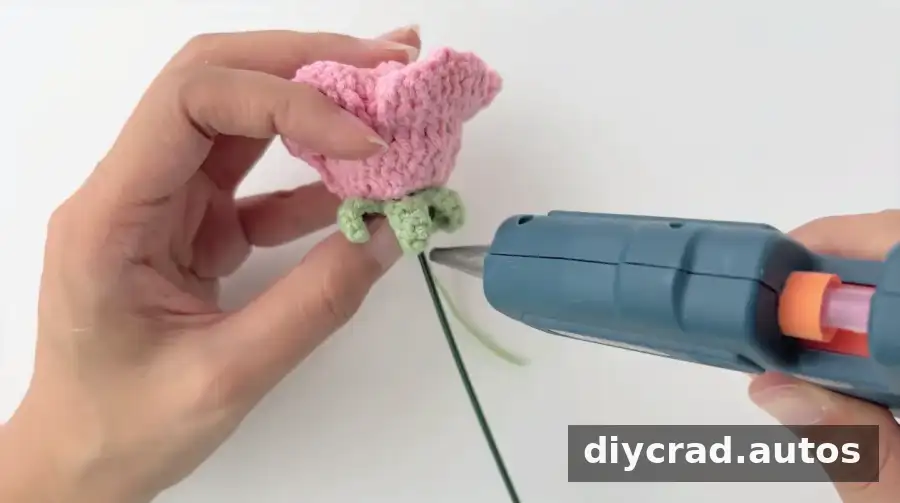
- Wrap the stem: After the sepals are attached, wrap green yarn around the flower stem.
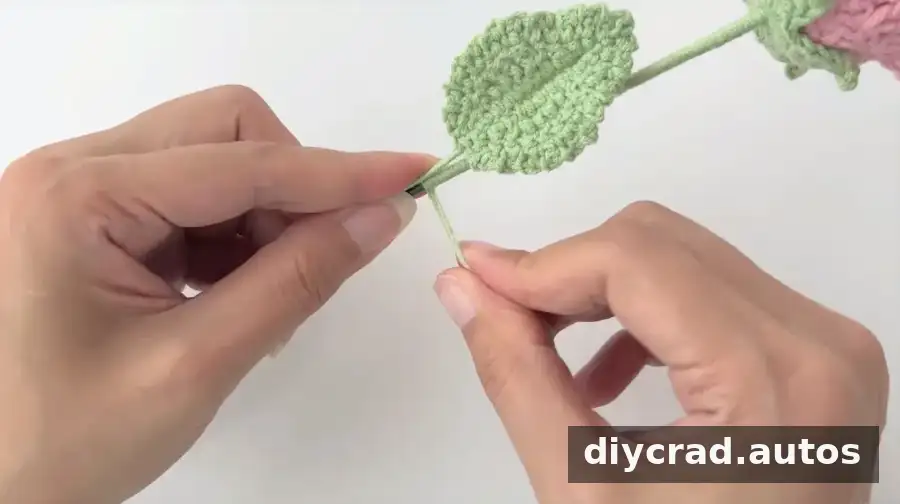
- Attach the leaf: Position the crocheted leaf against the stem while wrapping. Secure the yarn tail with hot melt adhesive.
Refer to the accompanying video for a visual guide to the assembly process, especially when positioning the flower and leaf.
Finishing and Project Tips
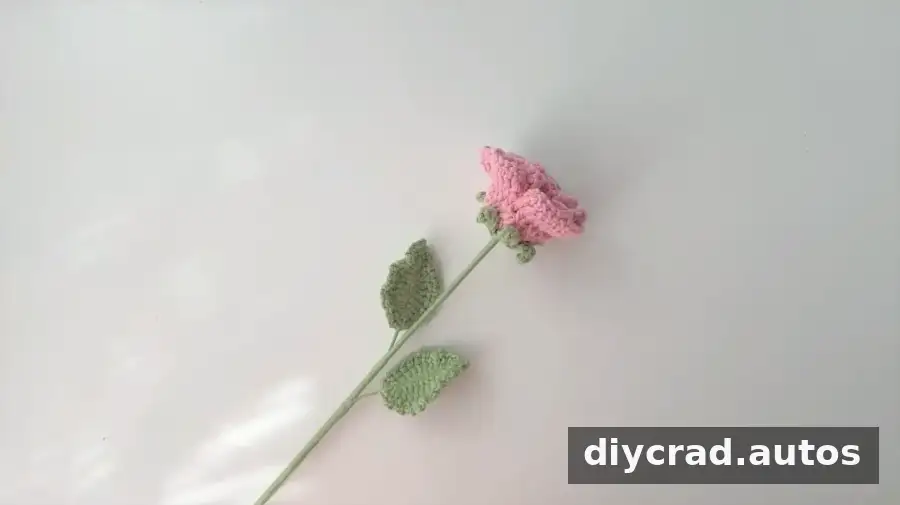
When the Crochet Cappuccino Rose is assembled, check that the flower, sepals, and leaf are firmly attached. Trim any loose yarn ends and allow the adhesive to cool and set completely. You can make additional flowers in other colors, including pink or blue, and combine them into a crocheted bouquet.
This pattern is an intermediate project and requires attention to stitch placement, particularly in the flower’s fourth row and the wired leaf. Follow the stitch counts as written and use the visual instructions to help check the shape as you work.