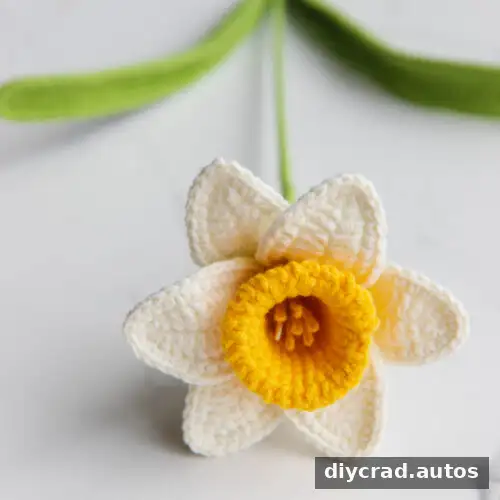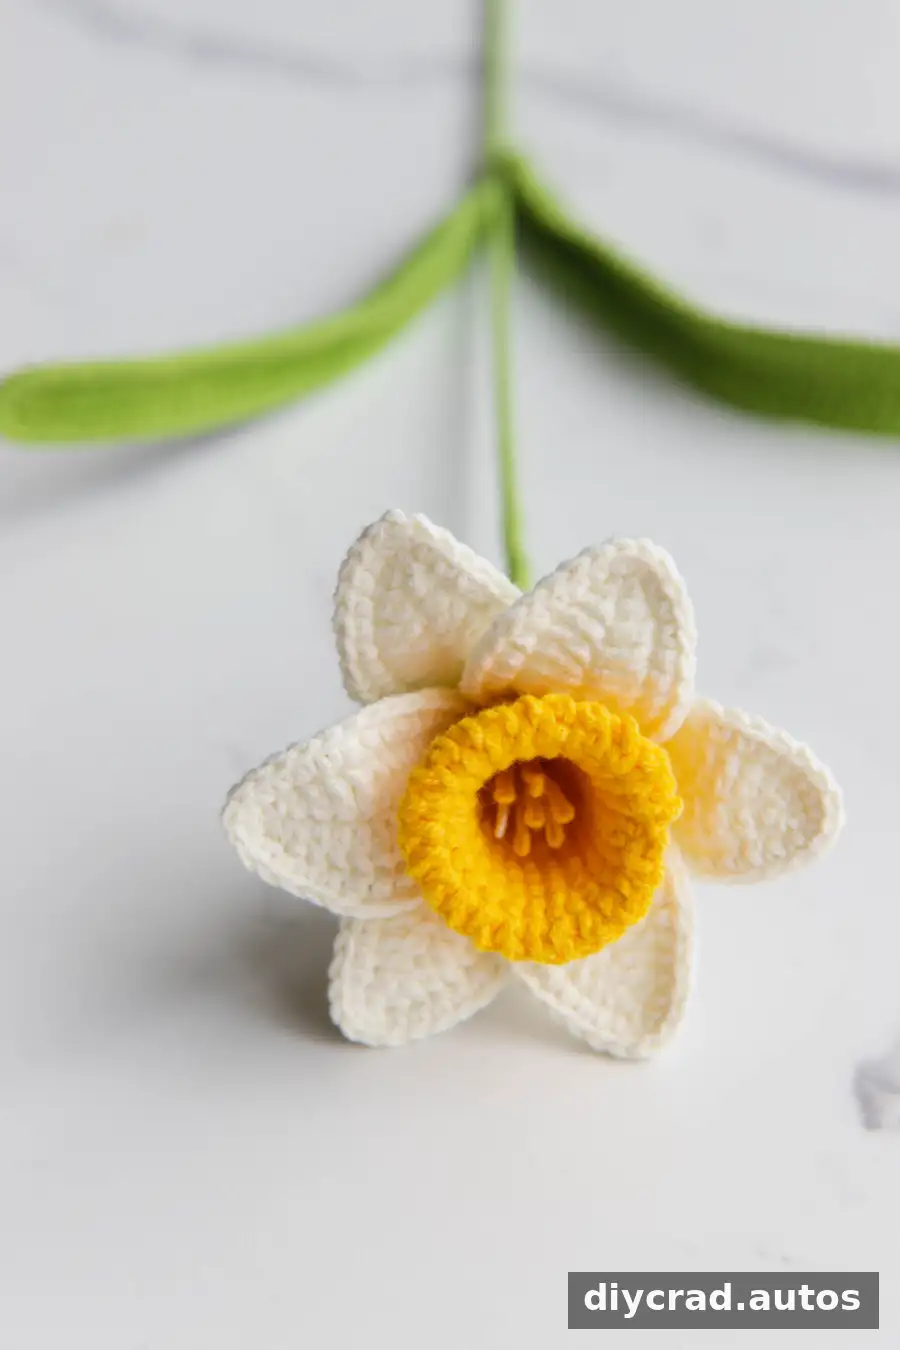
This Crochet Narcissus pattern explains how to make a decorative flower from yarn, wire, and a 2.0 mm crochet hook. The project includes six petals, a crocheted center, seven stamens, and two leaves, followed by instructions for assembling the flower onto a stem. The pattern uses US crochet terms and is best suited to crocheters comfortable following stitch sequences and shaping with wire.
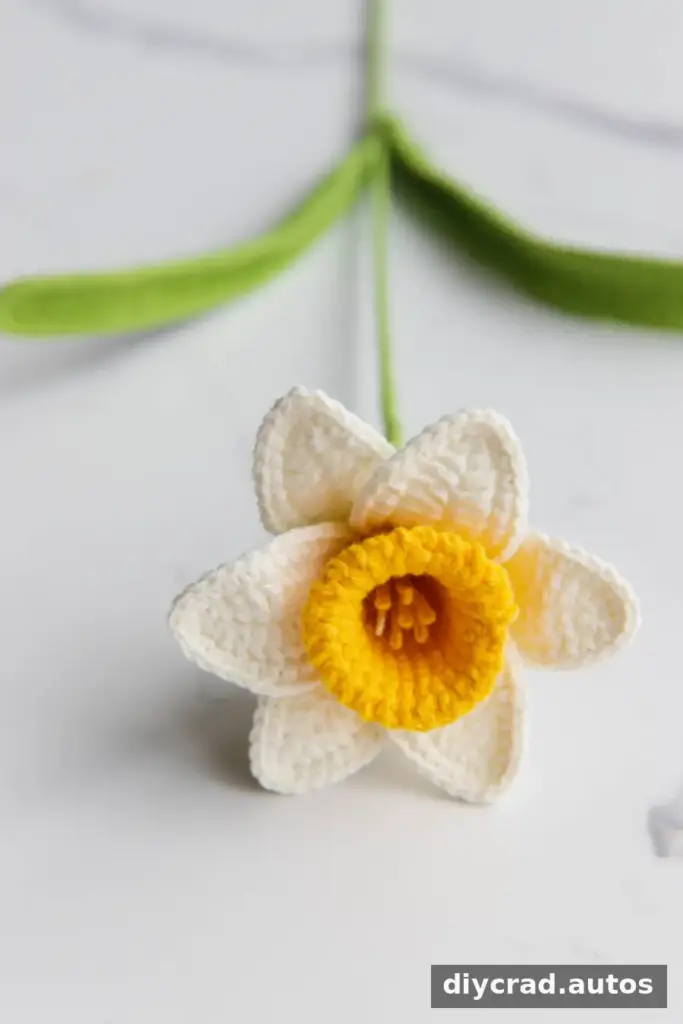
Make a single flower or combine several crocheted blooms into a handmade bouquet. Other flowers, such as freesia, sunflower, rose, tulip, and lavender, can also be used to create a varied arrangement.
- Crochet freesia
- Crochet sunflower
- Three-dimensional crochet rose
- Crochet tulip
- Crochet lavender
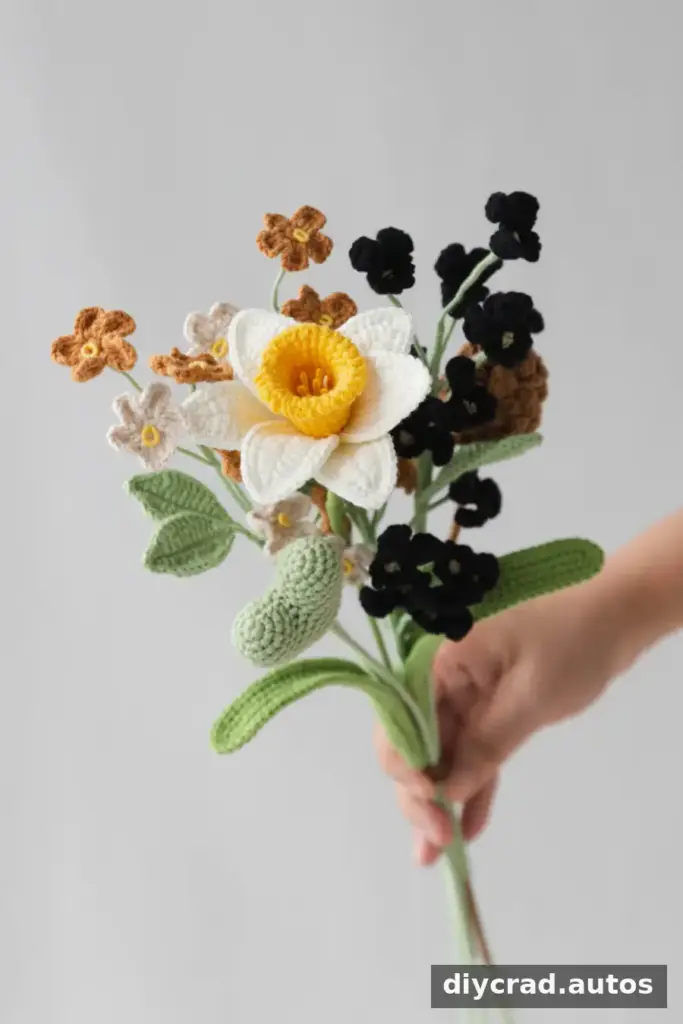
Choosing Colors for a Crochet Narcissus
White and yellow are classic choices, while pink, purple, and orange can give the flower a different look. Choose shades that complement the room or bouquet where you plan to display it. If making several flowers, use the same colors for a coordinated arrangement or vary the petals for a more playful effect.
Narcissus flowers are associated with meanings such as respect and love in some gift-giving traditions. A handmade flower can be a keepsake for a friend or loved one, and unlike a fresh bloom, it does not need water.
Materials for the Crochet Narcissus
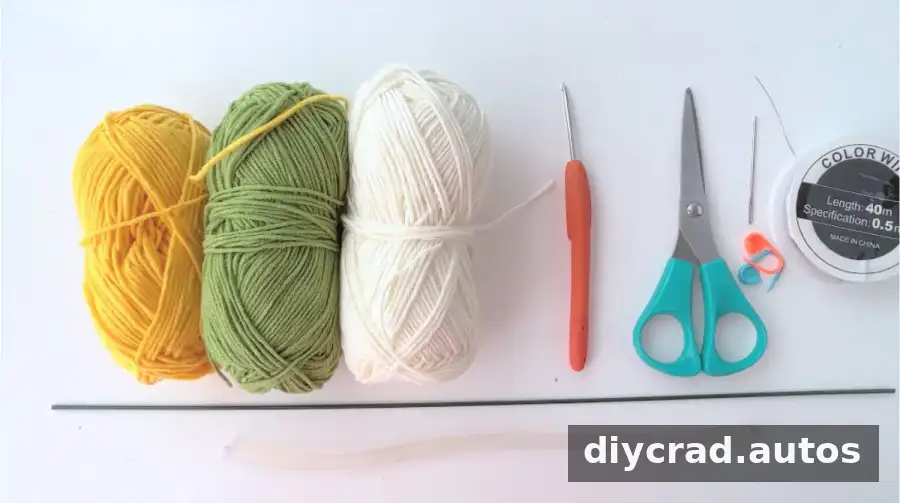
- Yarn in yellow, white, and green
- 2.0 mm crochet hook
- Scissors
- Darning needle
- Stitch marker
- Flower rod, 30 cm long
- Iron wire, 0.5 mm
- Hot-melt adhesive
Keep the wire, scissors, and hot adhesive away from children and handle them carefully. A stitch marker is useful for identifying the start of each round, especially when working the center.
Stitches and Abbreviations
- ch: chain
- st: stitch
- sc: single crochet
- hdc: half double crochet
- dc: double crochet
- ss: slip stitch
Special Stitches
- sc2tog: Single crochet two together; work two stitches together to decrease the stitch count.
- FLO: Work into the front loop only, leaving the back loop unworked.
- BLO: Work into the back loop only, leaving the front loop unworked.
Pattern Notes
- The instructions use US crochet terminology.
- Follow the stated stitch counts and repeat instructions carefully.
- Use a stitch marker to keep track of the beginning of each round.
- For petals and leaves, the instructions work along both sides of the foundation chain to form an elongated shape.
- Shape wired pieces gently so the yarn does not snag or pull away from the wire.
Step-by-Step Crochet Narcissus Pattern
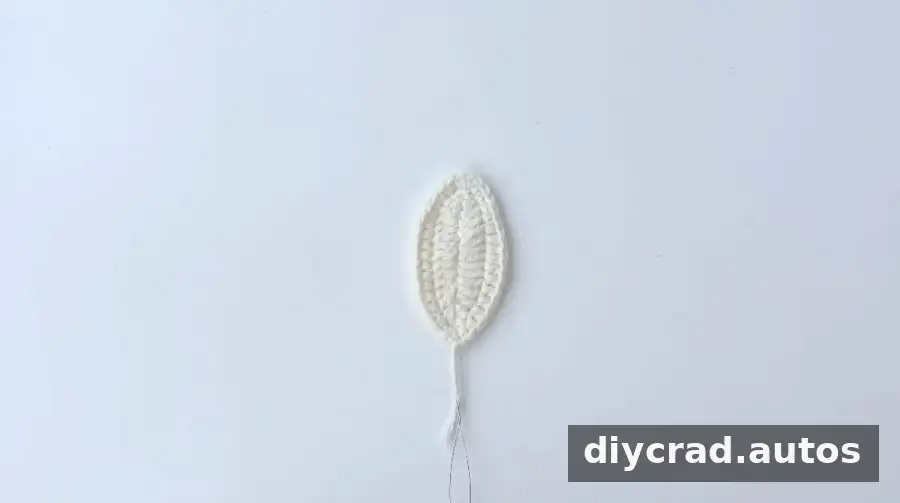
Make 3 small petals
- Chain 13.
- R1: Starting in the second chain from the hook, work 1 sc, 1 hdc, then (1 dc, 2 dc in the next st) 3 times, 2 dc, 1 hdc, 3 sc in the same st, 1 hdc, 2 dc, then (2 dc in the next st, 1 dc) 3 times, 1 hdc, and 1 sc. Work 1 ss and 1 ch.
- R2: Add the wire. Work 2 sc, 9 hdc, 4 sc, 3 sc in the same st, 4 sc, 9 hdc, 1 sc, and 2 sc in the next st. Work 1 ss, cut the yarn, and wrap the yarn tail around the wire.
Make 3 big petals
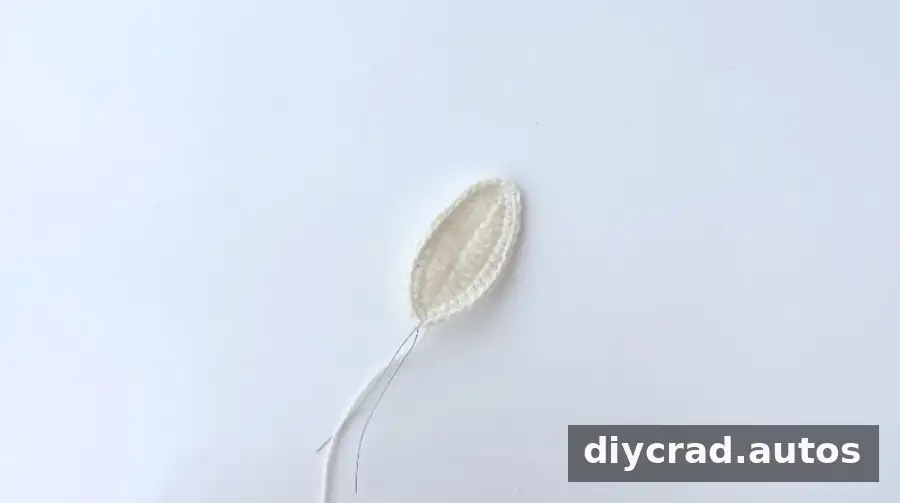
- Chain 13.
- R1: Starting in the second chain from the hook, work 2 sc, 1 hdc, then (2 dc in the next st, 1 dc) 3 times, 2 hdc, 3 sc in the same st, 2 hdc, then (1 dc, 2 dc in the next st) 3 times, 2 hdc, and 1 sc. Work 1 ss and 1 ch.
- R2: Add the wire. Work 3 sc, 6 hdc, 6 sc, 3 sc in the same st, 6 sc, 6 hdc, 2 sc, and 2 sc in the next st. Work 1 ss, cut the yarn, and wrap the tail around the wire.
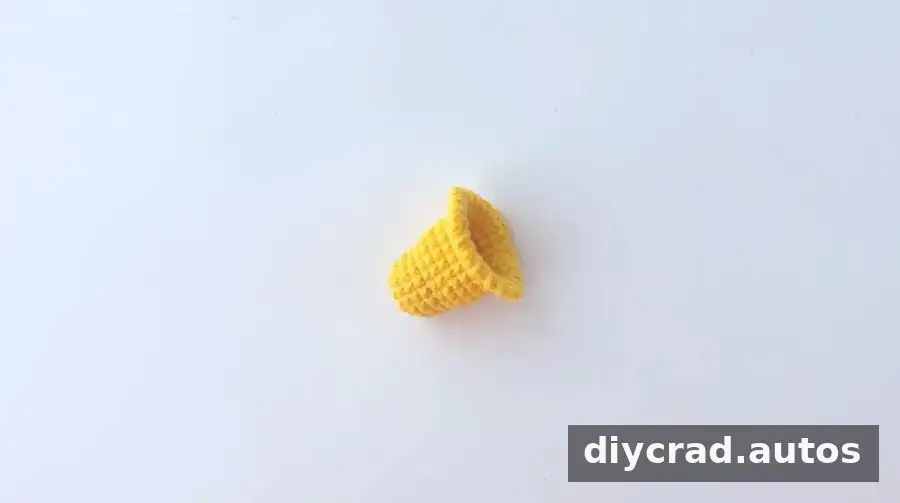
Make the corolla
- R1: Make a magic ring and work 10 sc into it. Work 1 ss and 1 ch.
- R2: Repeat (1 sc, 2 sc in the next st) 5 times. Work 1 ss and 1 ch.
- R3: Repeat (4 sc, 2 sc in the next st) 3 times. Work 1 ss and 1 ch.
- R4–6: Work 18 sc in each round. Work 1 ss and 1 ch at the end of each round.
- R7: Repeat (5 sc, 2 sc in the next st) 3 times. Work 1 ss and 1 ch.
- R8–10: Work 21 sc in each round. Work 1 ss and 1 ch at the end of each round.
- R11: Repeat (6 sc, 2 sc in the next st) 3 times. Work 1 ss.
- R12: Repeat (2 ch, 1 ss in the same st) 24 times.
- Cut the yarn and weave in the ends.
Make 7 stamens
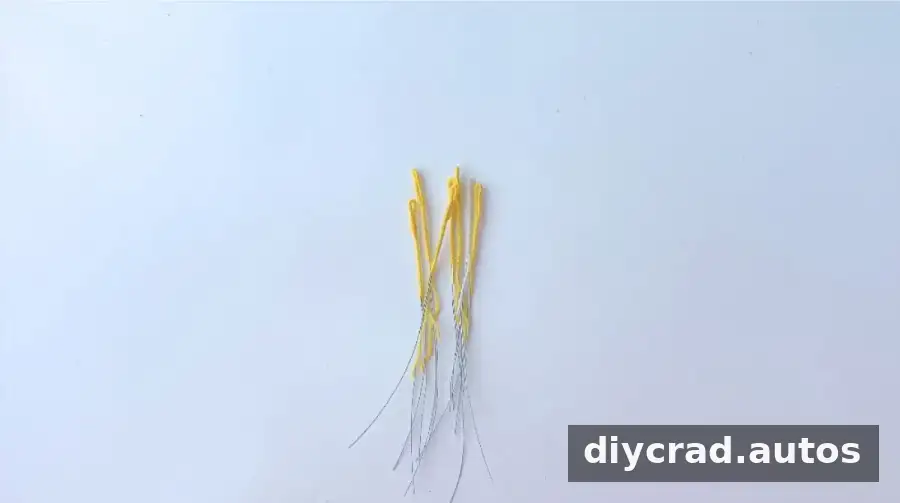
Using yellow yarn, separate out 3 strands. Wrap them around the middle of the wire, fold the wire in half, and continue wrapping the strands down to the end. Keep the wraps close together so the stamens stay neat.
Make the small leaf
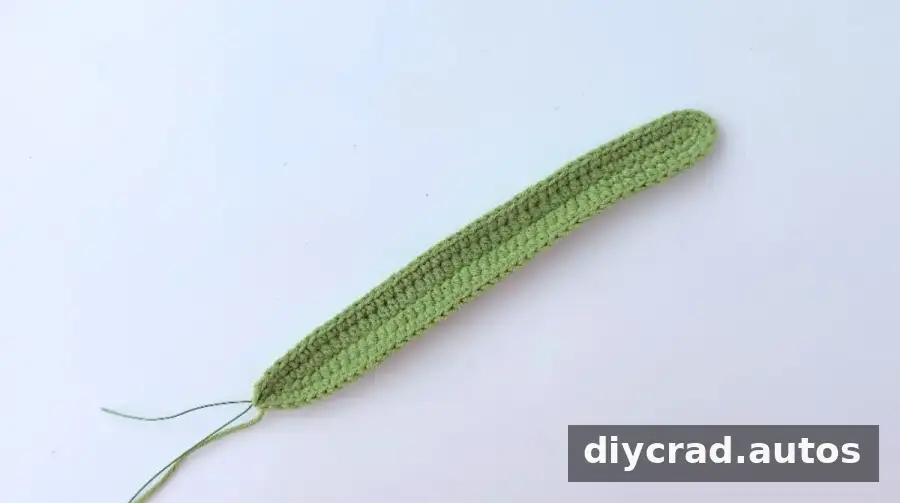
- Chain 45.
- R1: Starting in the second chain from the hook, work 5 sc, 30 hdc, 8 sc, 3 sc in the same st, 8 sc, 30 hdc, and 5 sc. Work 1 ss and 1 ch.
- R2: Add the wire. Work 44 sc, 3 sc in the same st, and 44 sc. Work 1 ss, cut the yarn, and weave in the ends.
Make the big leaf
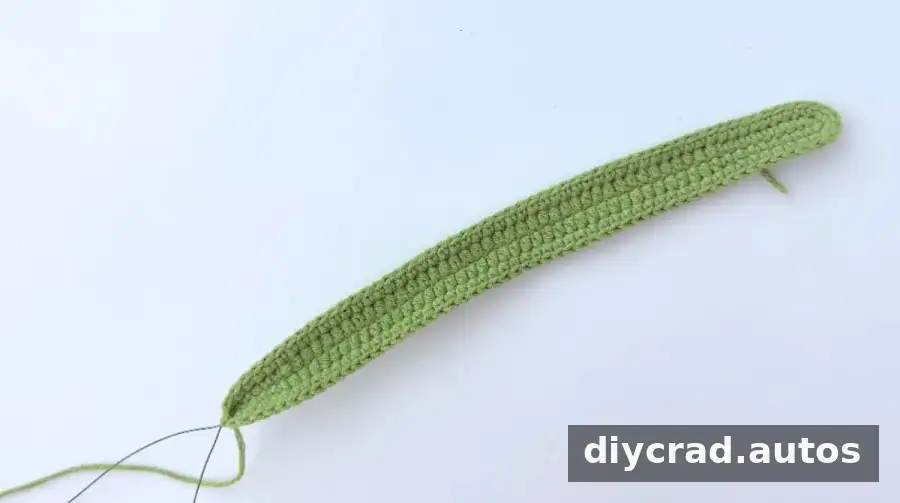
- Chain 55.
- R1: Starting in the second chain from the hook, work 5 sc, 40 hdc, 8 sc, 3 sc in the same st, 8 sc, 40 hdc, and 5 sc.
- R2: Add the wire. Work 54 sc, 3 sc in the same st, and 54 sc. Work 1 ss, cut the yarn, and weave in the ends.
How to Assemble the Crochet Narcissus
- Secure the stamens: Tie the stamens together tightly with green yarn. Use a small amount of hot-melt adhesive to hold the bundle in place.
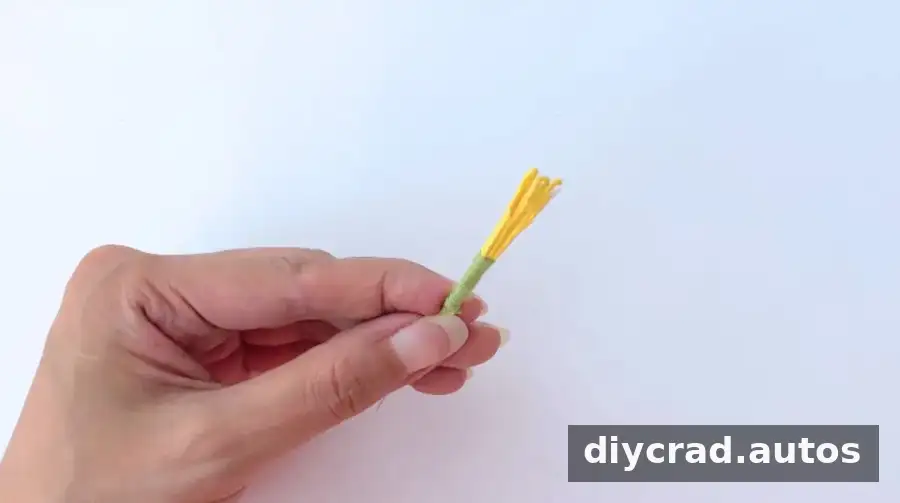
- Add the corolla: Place the stamens in the center of the crocheted corolla.
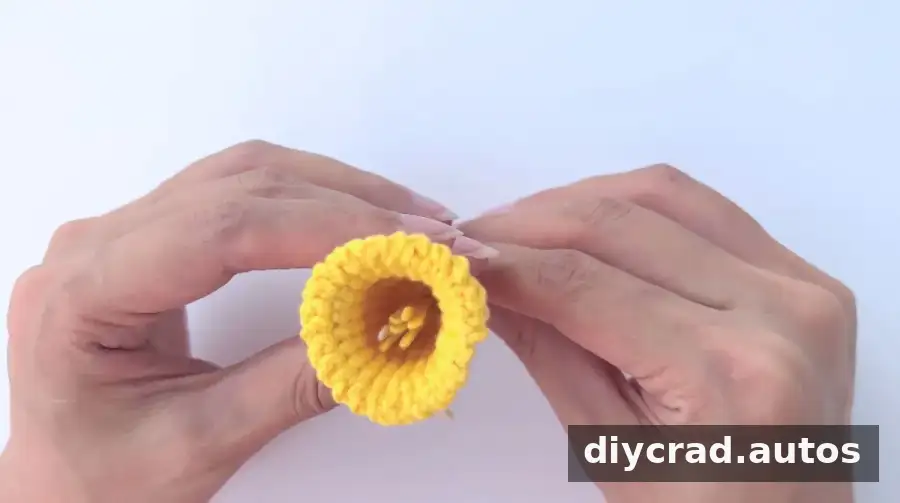
- Attach the petals: Arrange the three small petals around the center, then position the three big petals between them. Secure the layers with hot-melt adhesive, tie them together with green yarn, and fasten the yarn end with adhesive.
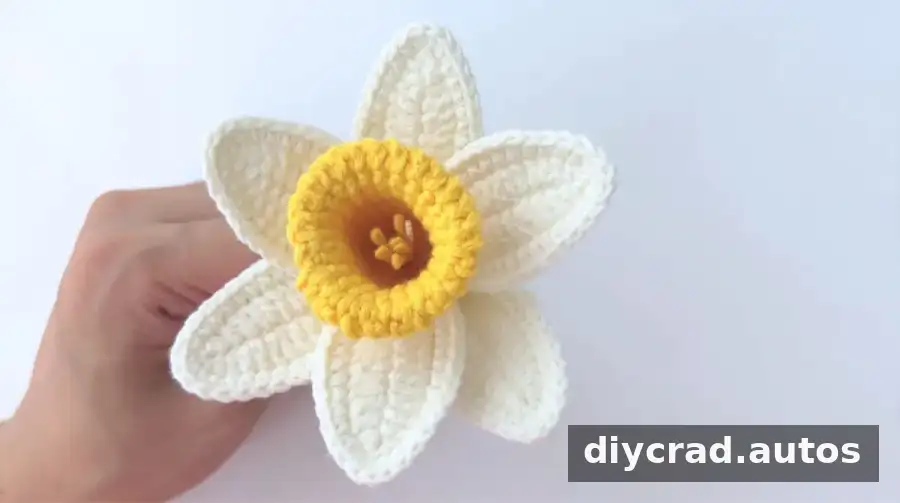
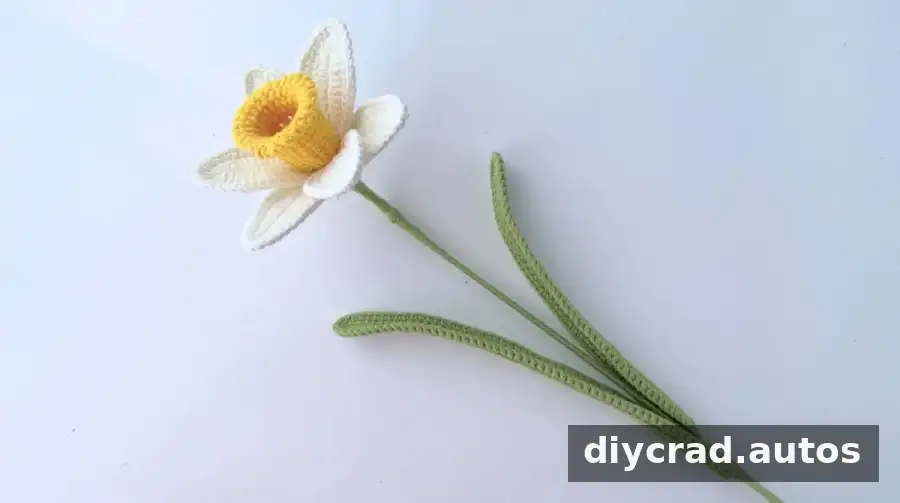
- Finish the stem: Attach the flower rod to the end of the wrapped wire. Continue wrapping the stem, adding the leaves as you go. Secure the wrapped end with hot-melt adhesive and allow it to cool before handling.
Finishing Tips
Before securing every part permanently, arrange the petals and leaves and check that the flower looks balanced from different angles. Bend the wire gradually to shape the petals and leaves; sharp folds can distort the crochet fabric. Let any adhesive cool fully, then trim loose yarn ends and check that the stem and flower head feel secure.
This pattern is rated 5 out of 5 from 43 votes and is listed as an intermediate crochet flower project. Take your time with the wire and assembly, and use the stitch marker to keep the center rounds easy to follow.
Enjoy Your Crochet Narcissus
Once the pieces are assembled, your Crochet Narcissus is ready to display on its own or as part of a handmade bouquet. Try different petal colors to suit your decor, and keep the stitch counts consistent when making matching flowers. A careful finish around the stem and leaves helps the finished flower hold its shape.