A budget kitchen facelift can bring cottagecore character to a dated room without the cost or disruption of a full renovation. Paint, updated lighting, simple storage improvements, and a few carefully chosen details can make a noticeable difference while keeping existing cabinets, counters, and other usable features in place.
Major remodels often involve new layouts, cabinets, countertops, flooring, and lighting. If those changes are not practical right now, smaller cosmetic updates can refresh the kitchen gradually. The example below took shape over five years, using paint and DIY projects instead of demolition.
Before and After: A Cottagecore Kitchen Facelift
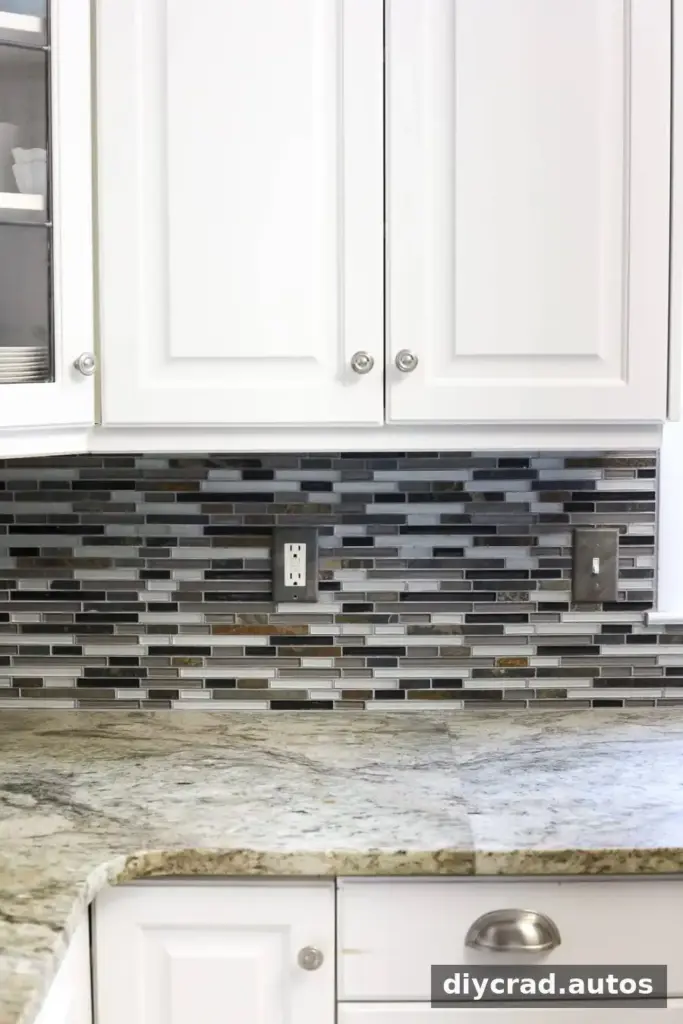
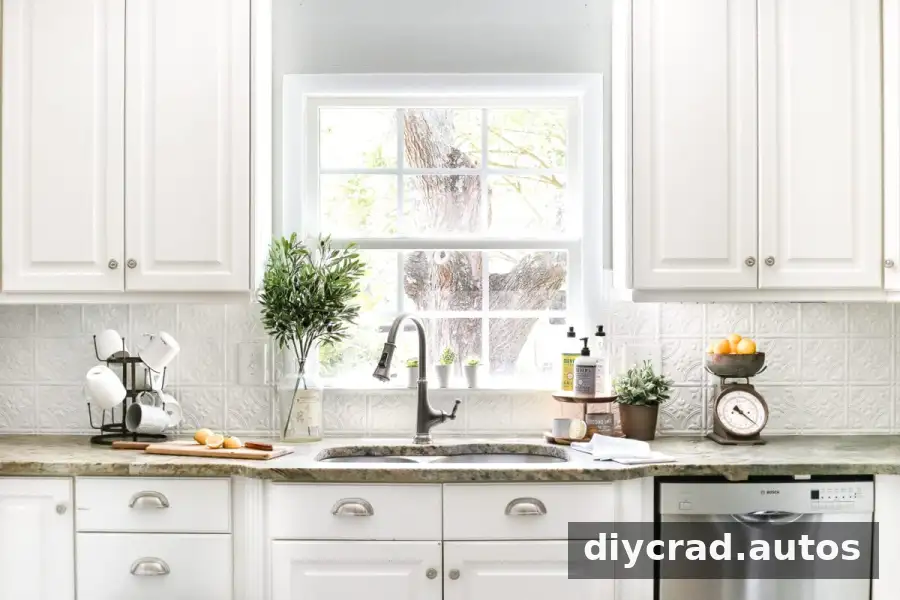
The kitchen already had cabinets less than 30 years old and leathered granite countertops, but the cabinets were yellowed and scuffed, and the room felt dated. Rather than replace functional features, the makeover focused on giving them a more cohesive look.
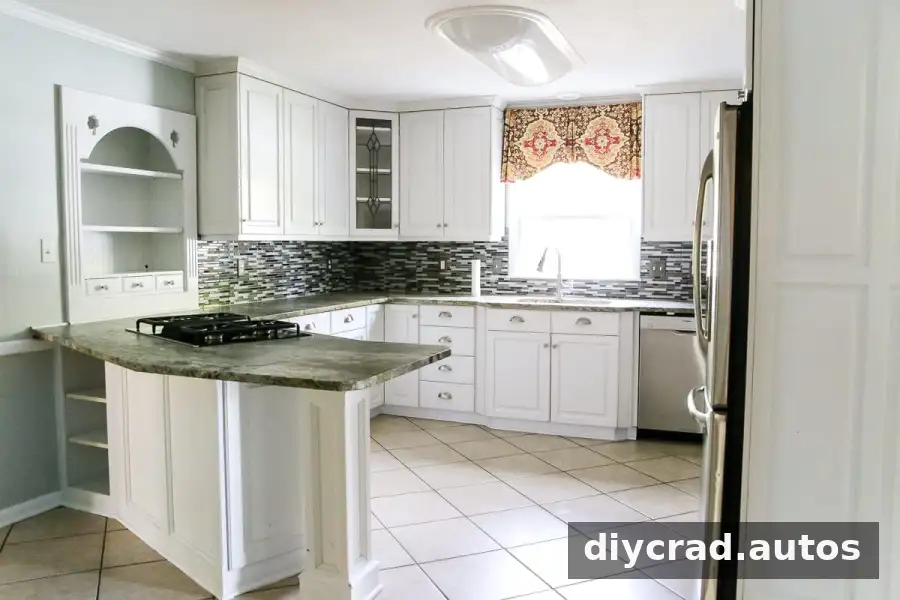
This gradual approach can be useful when a full renovation is not in the budget. Start with the parts that bother you most, and plan projects around your available time and money. Before painting or installing materials, check that the surfaces are suitable and follow the product instructions.
Budget Kitchen Facelift Ideas That Make a Difference
- Refresh cabinets with paint. Painting can transform the room; the example cabinet project cost about $280 when completed as a DIY job.
- Update the backsplash. A peel-and-stick finish or a lightweight panel may help cover an existing backsplash without removing the original tile. Confirm that the surface and location are suitable for the material.
- Improve the floor without demolition. Painting or installing floating luxury vinyl plank (LVP) over tile may be an option when removing the old floor is not practical. Check floor condition, transitions, and installation guidance first.
- Change the lighting. A pendant or track fixture with a warmer finish can add character. Electrical work should be handled safely and by a qualified professional when needed.
- Replace cabinet hardware. New knobs and pulls are a relatively small change that can help older cabinets feel more current.
- Keep counters useful. Limit countertop decor to items that are functional or meaningful so preparation space stays clear.
Small changes do not require every dated feature to be fixed at once. A phased plan can make it easier to save for larger work while making the existing kitchen more comfortable in the meantime.
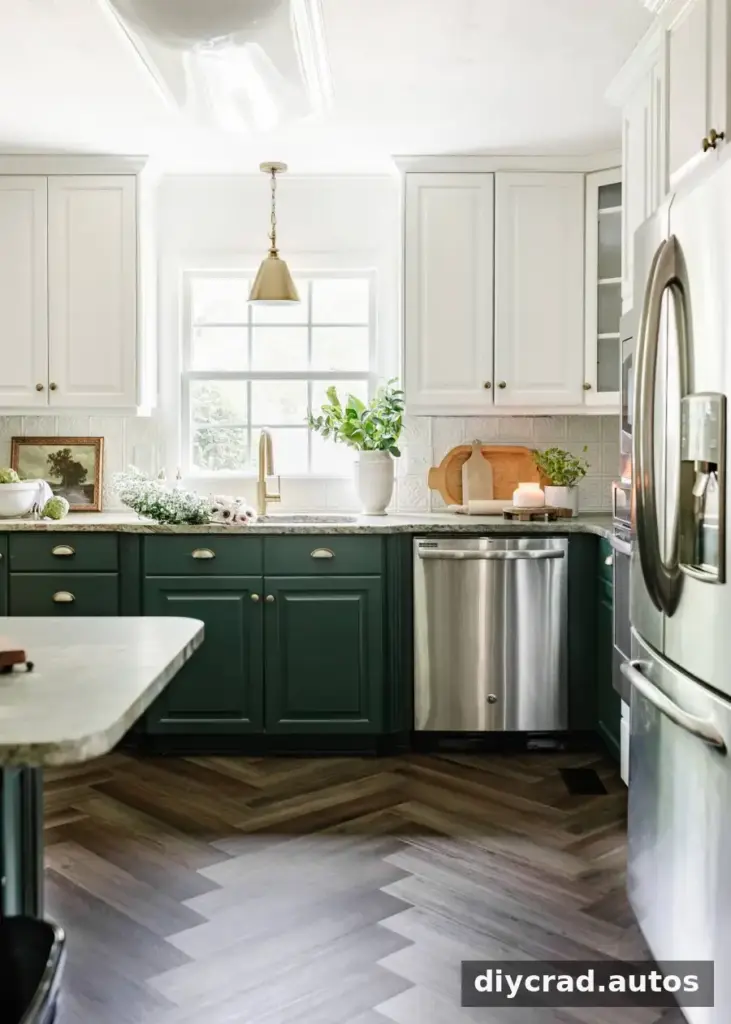
Painted Cabinets
Cost: $280
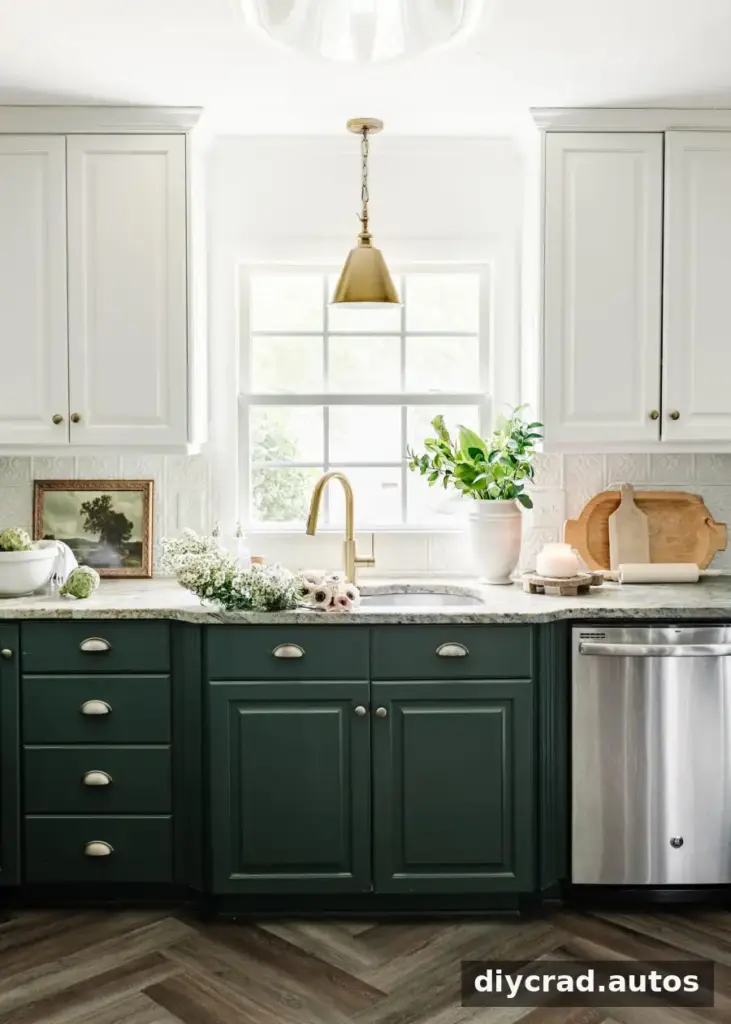
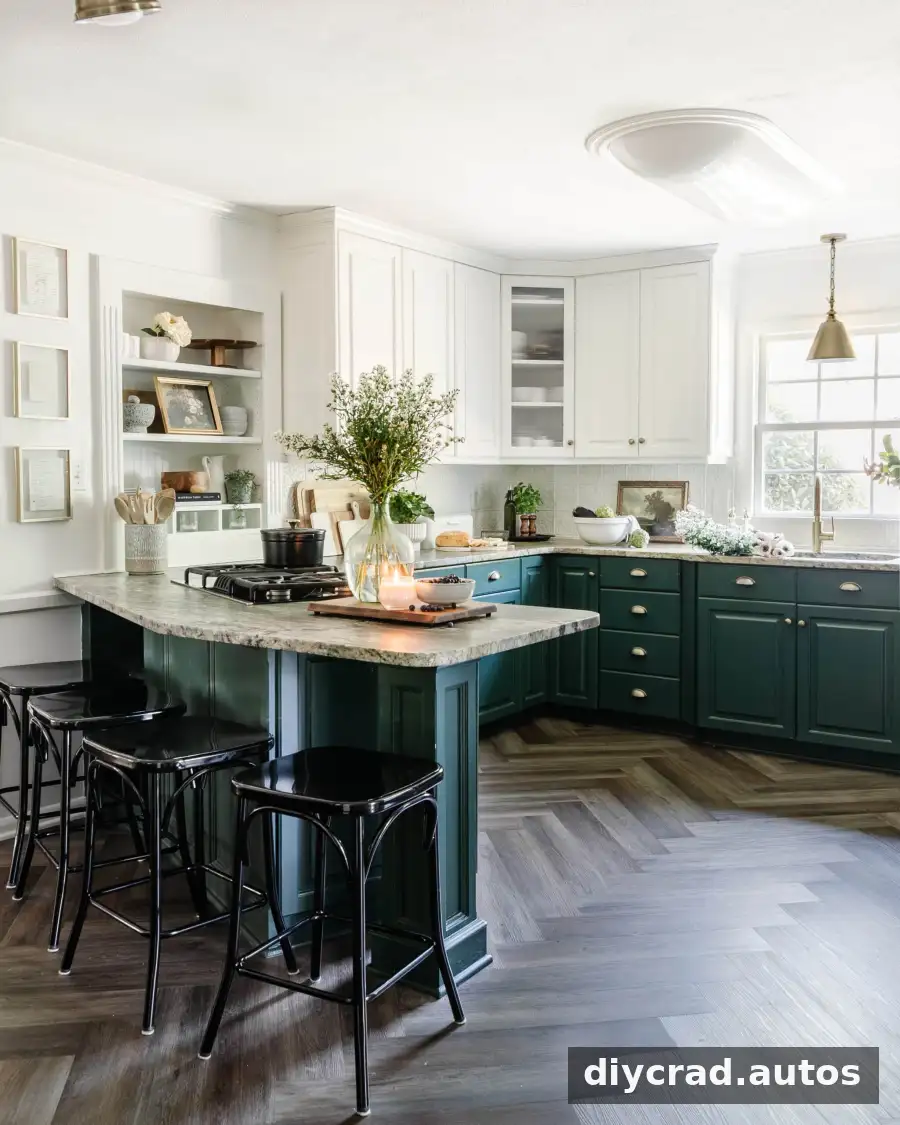
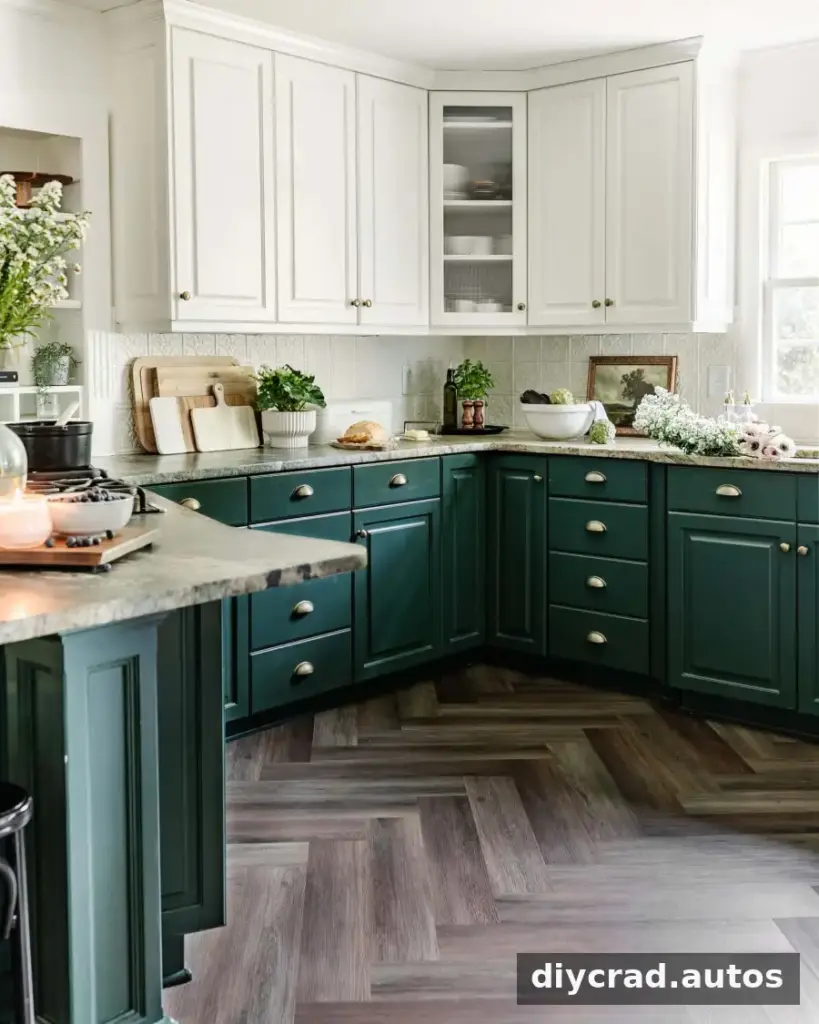
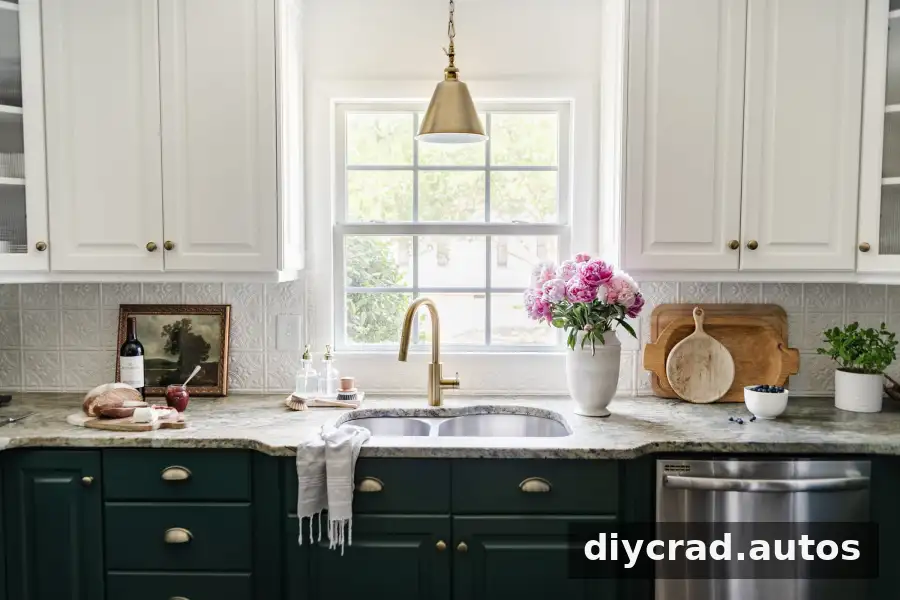
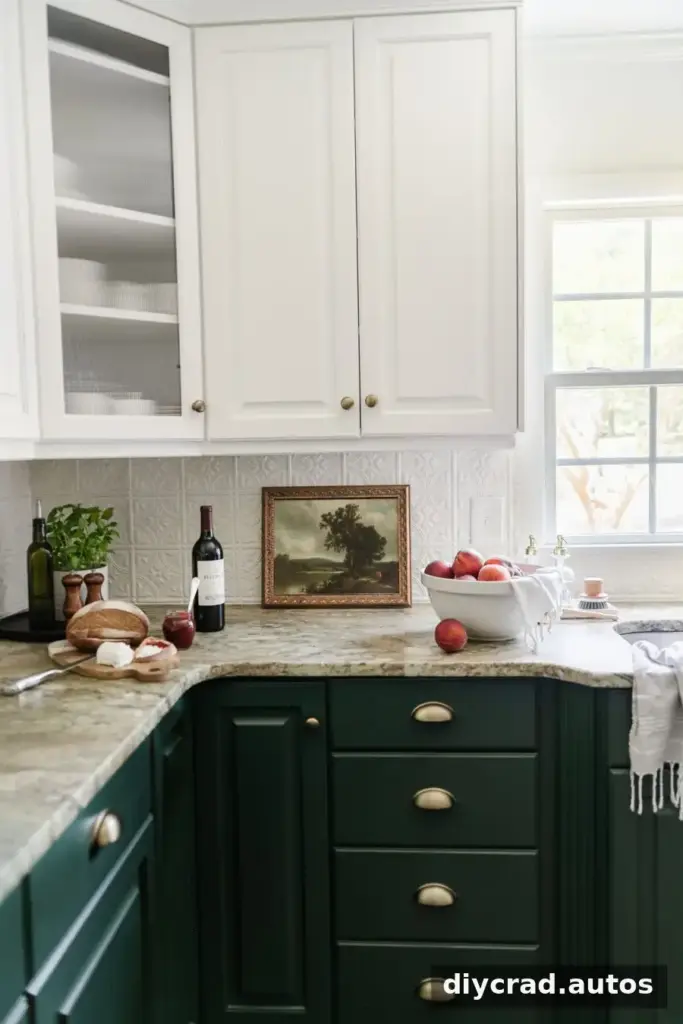
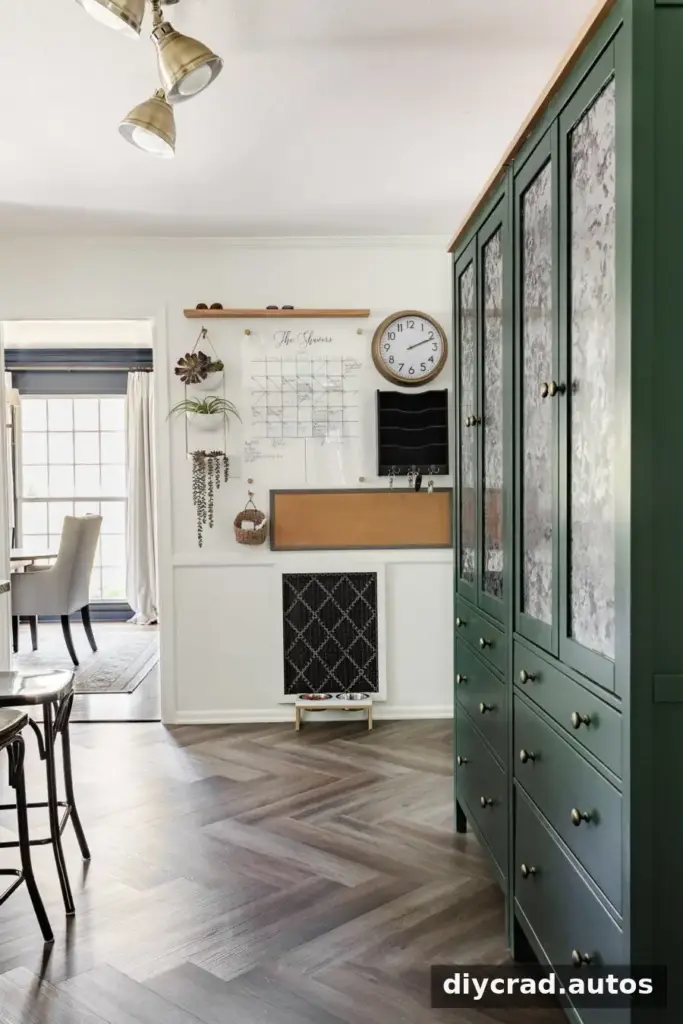
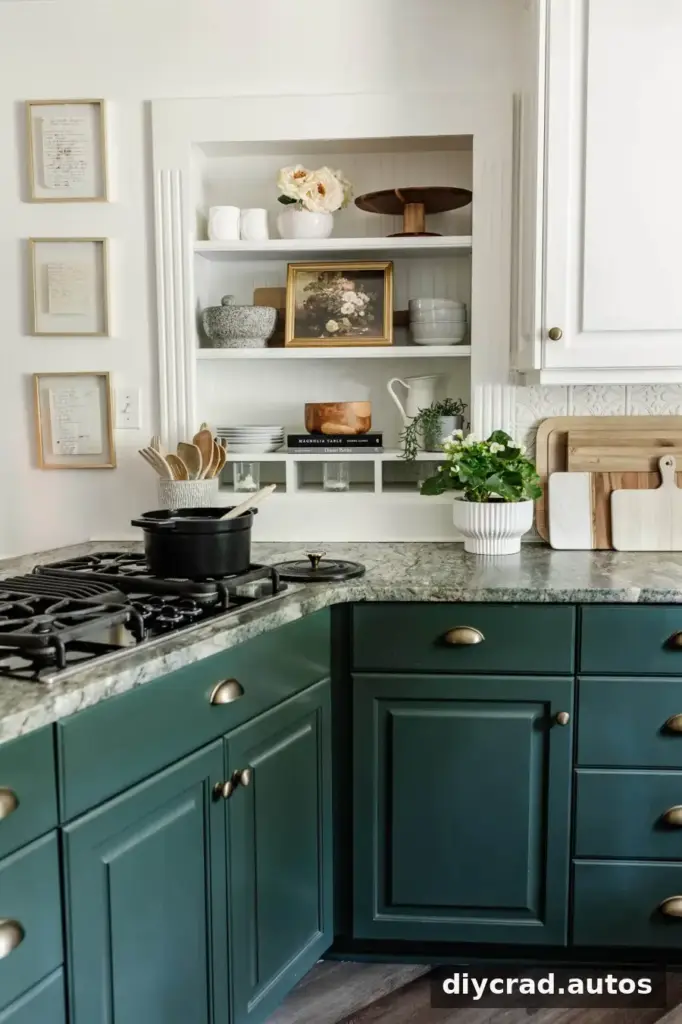
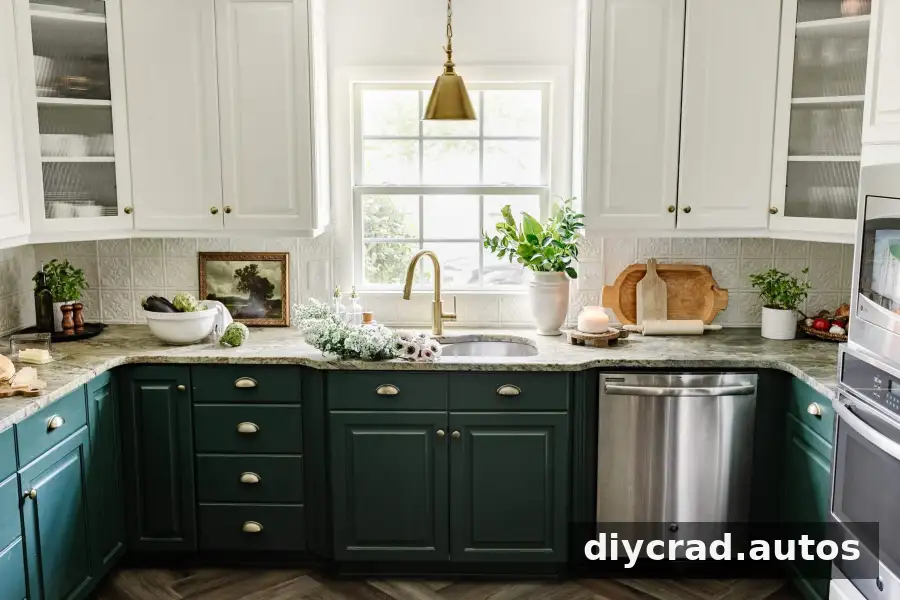
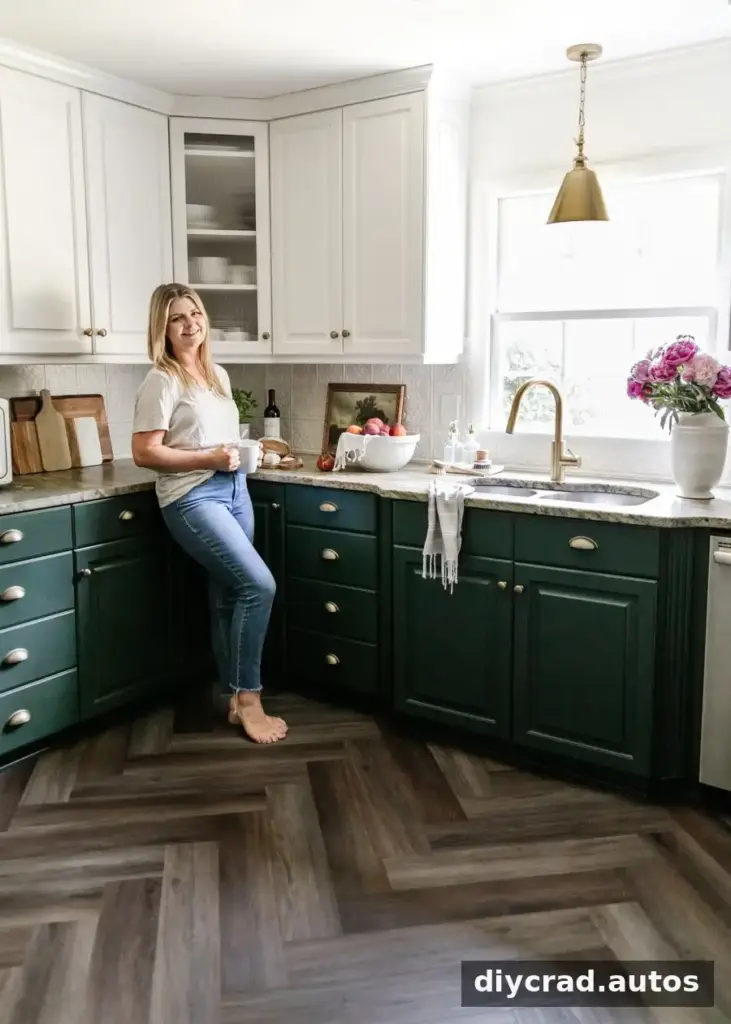
The upper cabinets were painted Simply White, while the lower cabinets were painted Billiard Green. The green was chosen to work with the subtle green tint in the existing leathered granite. Aged-brass knobs and pulls added warmth in place of the previous brushed-nickel hardware.
After four years, the paint was still holding up well. Good preparation and suitable paint are important for a durable cabinet finish; allow adequate time for cleaning, sanding or priming as directed, and curing before putting the cabinets back into regular use.
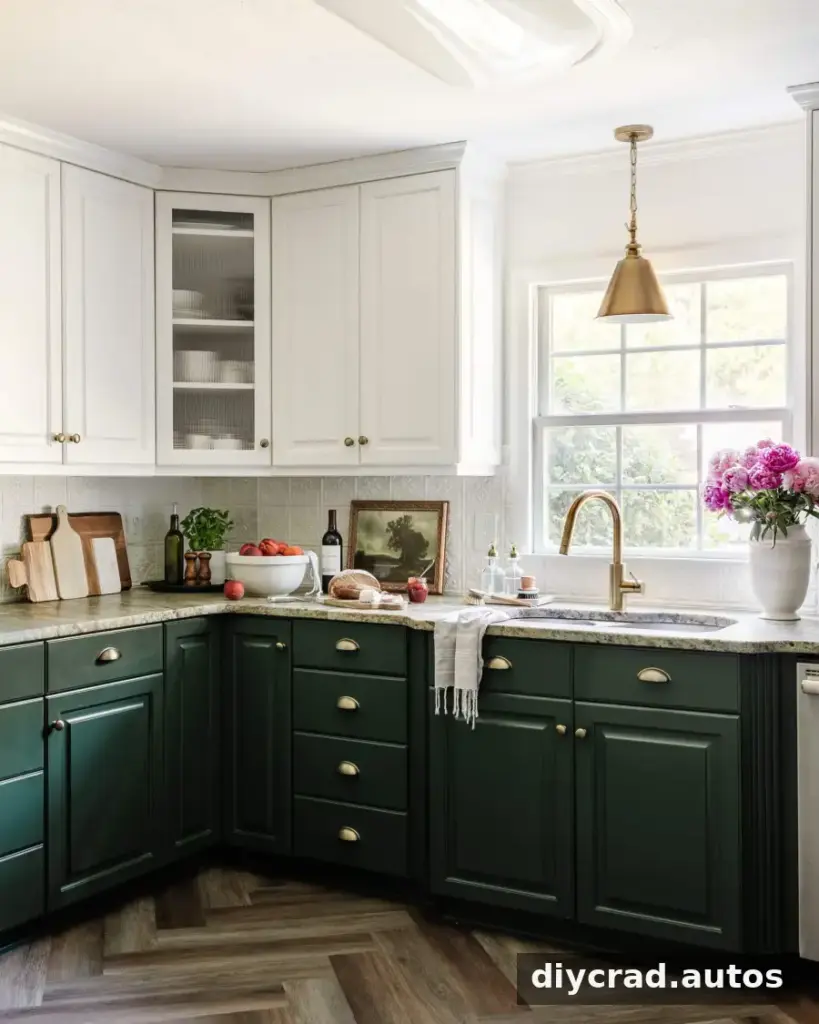
White paint can brighten a kitchen, but using it everywhere may leave the room looking flat. A contrasting lower-cabinet color, natural materials, or warm metal finishes can help create visual depth.
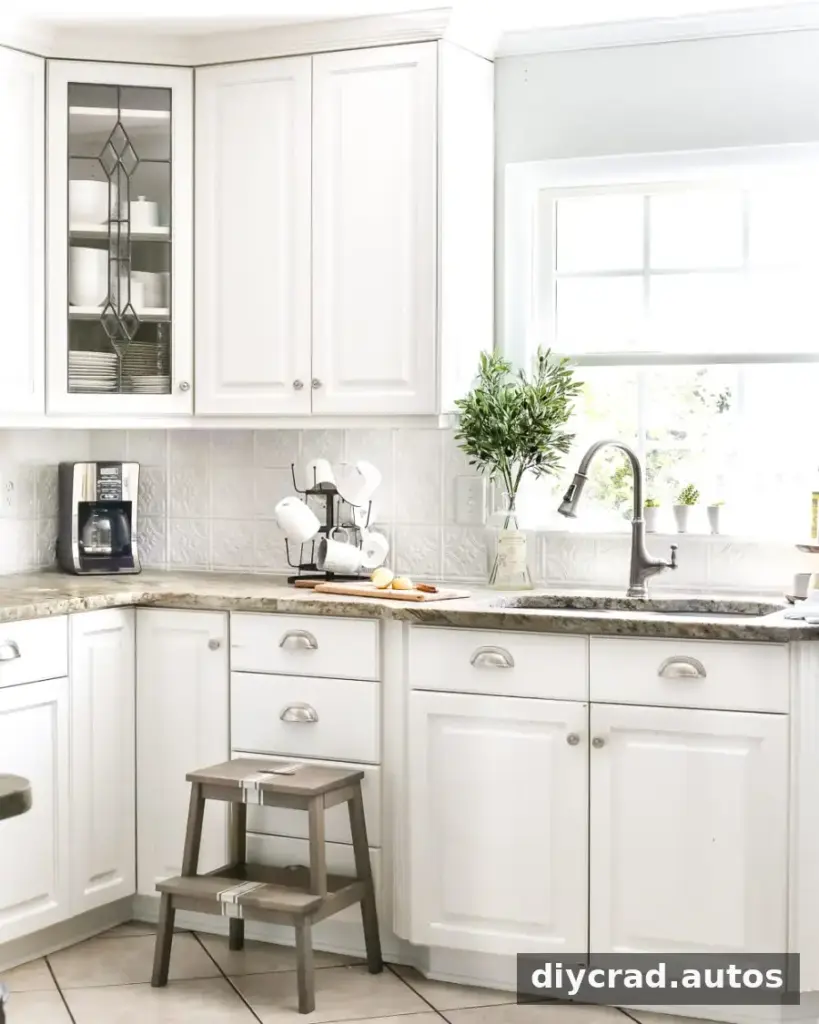
Herringbone LVP Flooring
Cost: $815
Because removing the existing tile was not part of the plan, floating LVP was installed over it. The herringbone pattern was selected for its vintage cottage feel. Installation took about four days, and the flooring cost approximately $815 for the kitchen.
A straight-plank layout may take less time and cost less than a patterned installation. Before laying any floating floor over tile, check the manufacturer’s requirements for the existing surface and make sure the floor is suitable for the added height.
Pantry Cabinets
Cost: $980
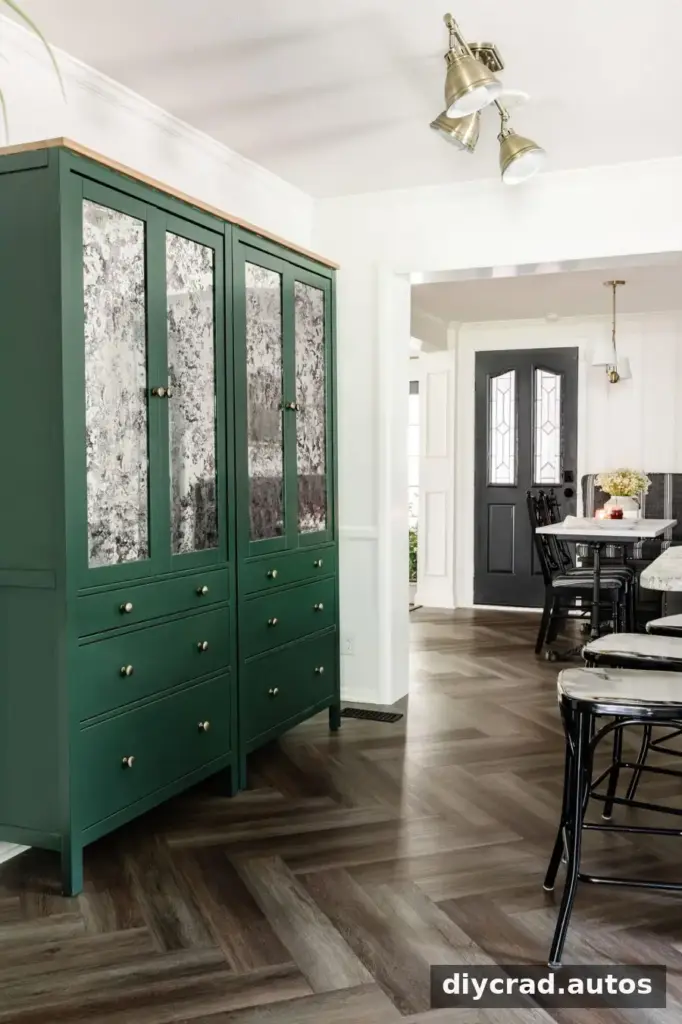
The kitchen had no dedicated food-storage space, so two HEMNES cabinets were placed along an otherwise unused wall and painted Billiard Green to match the lower cabinets. Antique mirror window film on the doors helped conceal the contents.
Using an underused wall for pantry storage can improve organization without changing the main kitchen layout. Measure the available area and check door clearance before choosing cabinet placement.
Lighting and Faucet Updates
Lighting cost at time of purchase: $391
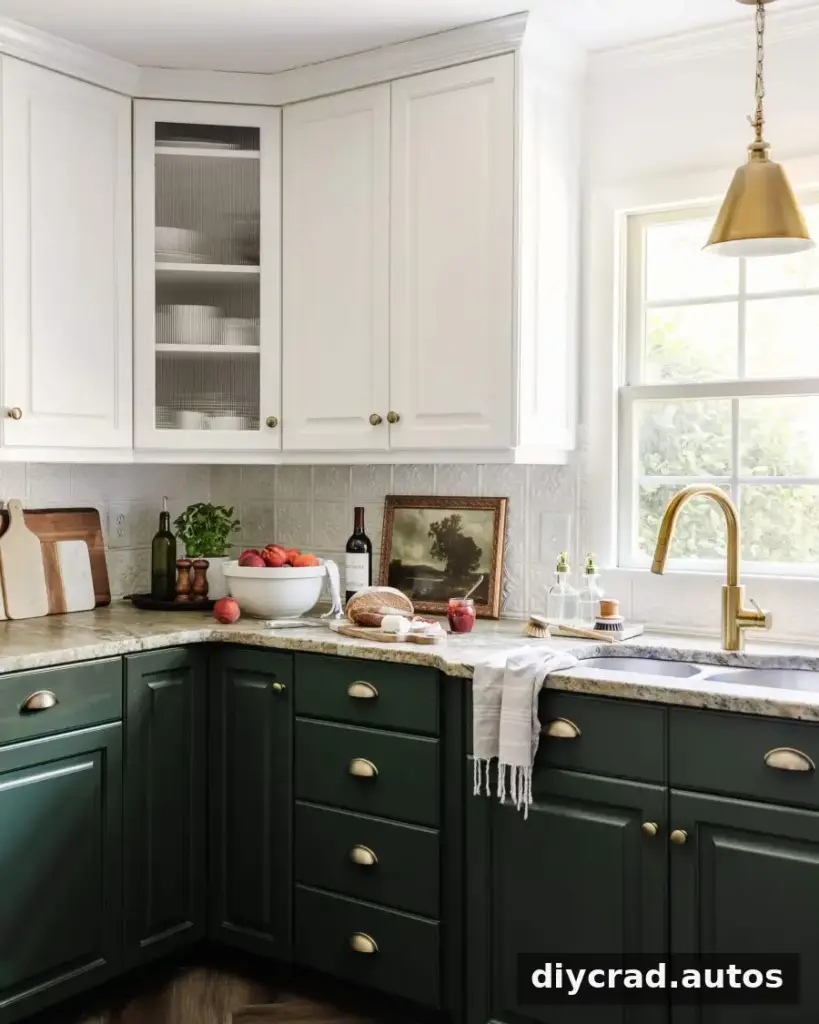
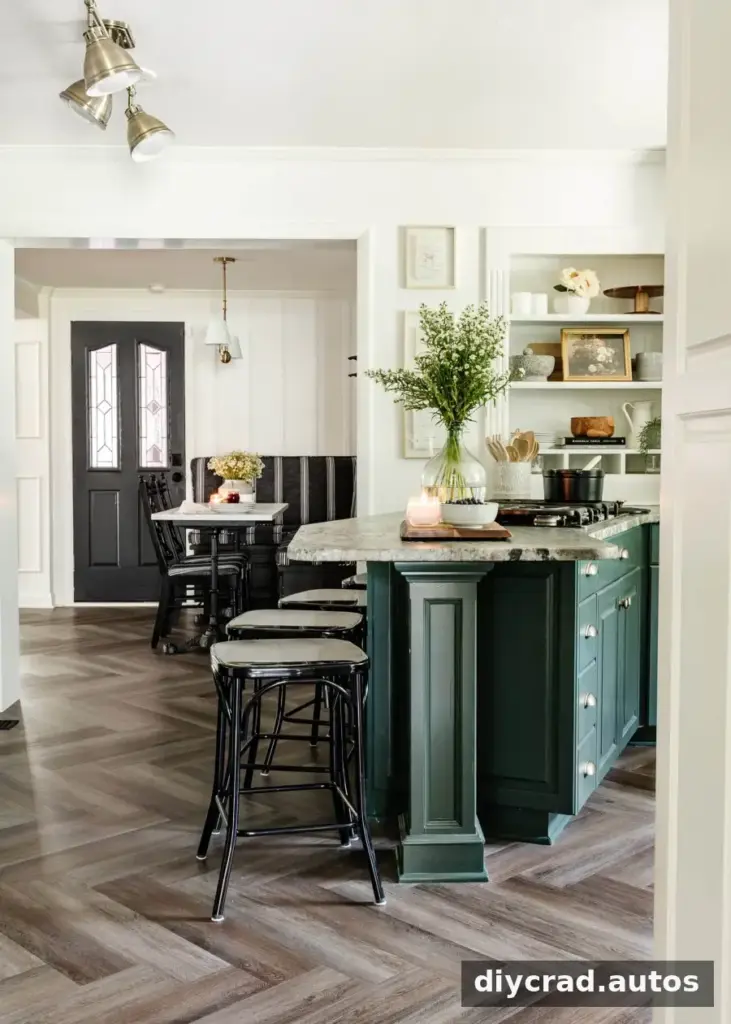
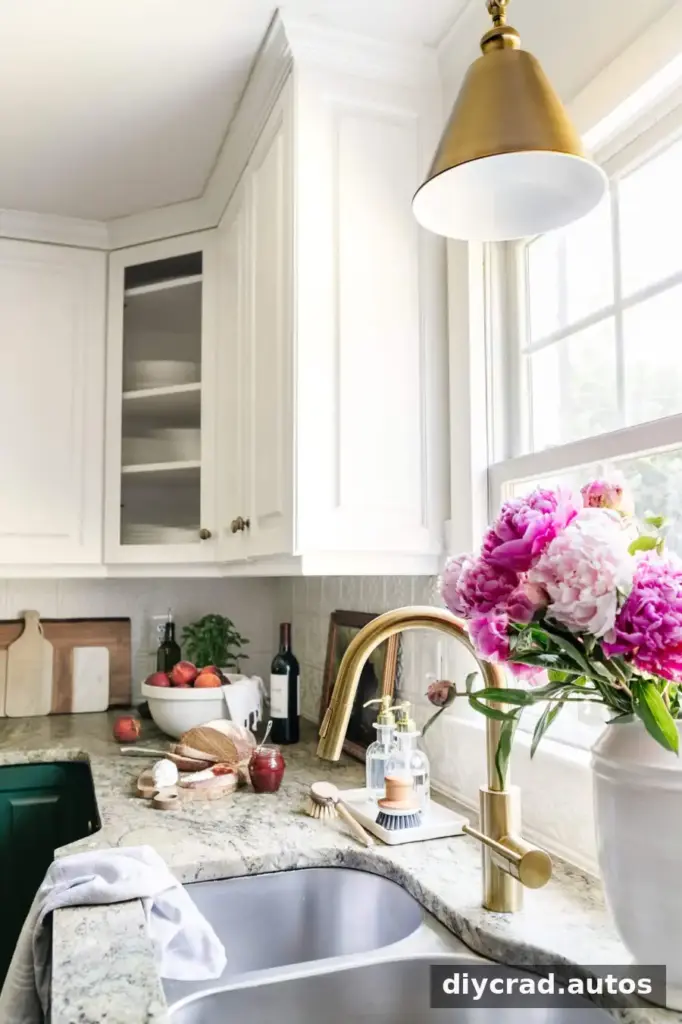
An aged-brass pendant replaced the recessed light above the sink, and an aged-brass track fixture took the place of an older yellowed track light in the walkway. The two fixtures introduced a warmer finish, while a large fluorescent ceiling light was left in place because removing it would have required a more extensive project.
Faucet cost at time of purchase: $288
A worn faucet was replaced with a modern aged-brass model. The existing undermount sink remained because it was cut into the granite countertop. Keeping a sink or countertop that is still in good condition can help avoid the added cost and complexity of replacing connected fixtures.
Pressed-Tin-Style Backsplash
Cost: $160
A pressed-tin-style backsplash update was completed in an afternoon without power tools. It created a simpler backdrop for the existing counters and added a subtle pattern. The surface has also been easy to wipe clean and remained in good condition over time.
For any backsplash material, check its cleaning and heat-resistance guidance before using it near a stove or other heat source.
Command Center, Vent Cover, and Open Shelving
Command center and vent cover cost: $275
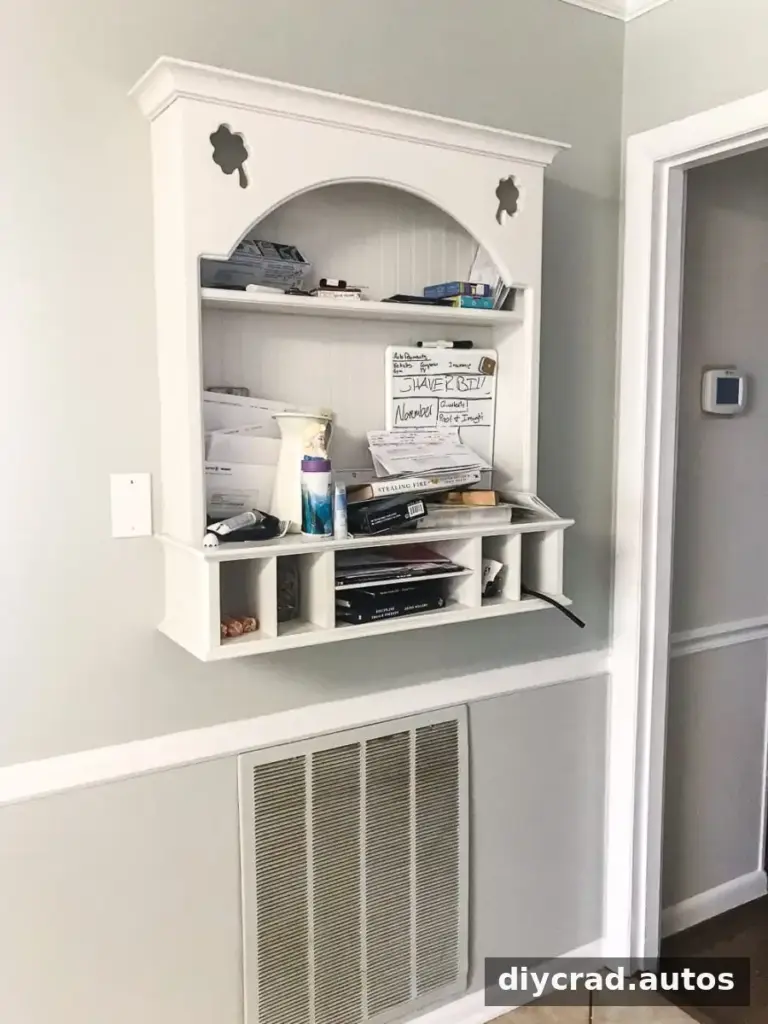
A shelf beside the pantry had become a place where clutter collected. It was removed, the wall was painted Chantilly Lace, and a command center was added for a calendar, mail, and reminders. Giving everyday items a designated home can make a busy kitchen easier to manage.
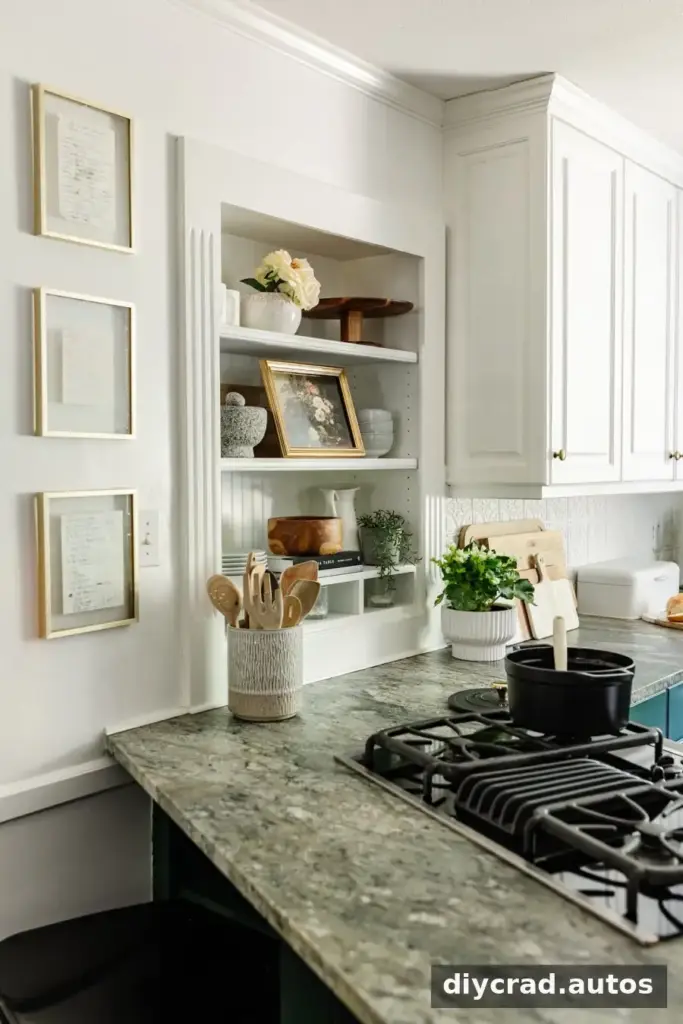
An existing built-in shelf beside the stove was simplified by removing its decorative cut-outs. A small selection of dishes and serving pieces keeps the open shelf useful without overfilling it.
Framed Handwritten Recipes
Cost: $54
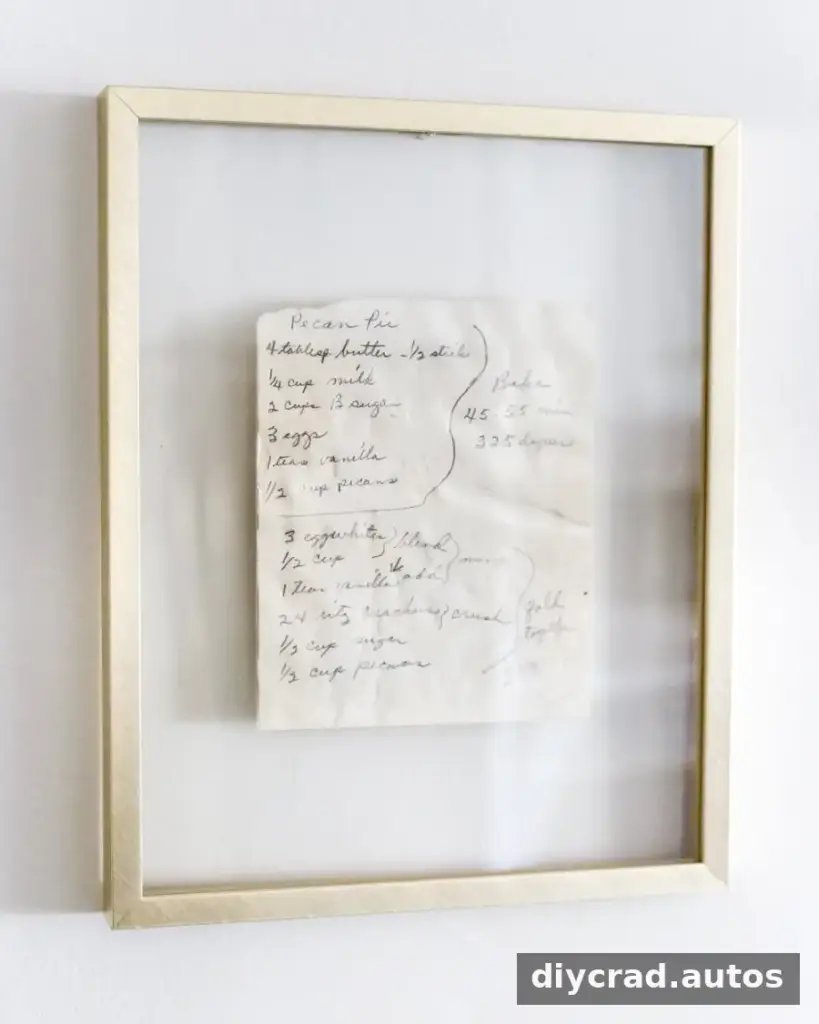
Three handwritten family recipes were displayed in a float frame, allowing the edges of the old paper to remain visible. UV film was used to help protect the ink from fading. Personal items such as recipes can bring warmth to a kitchen without requiring a large decorative budget.
The Finished Cottagecore Kitchen
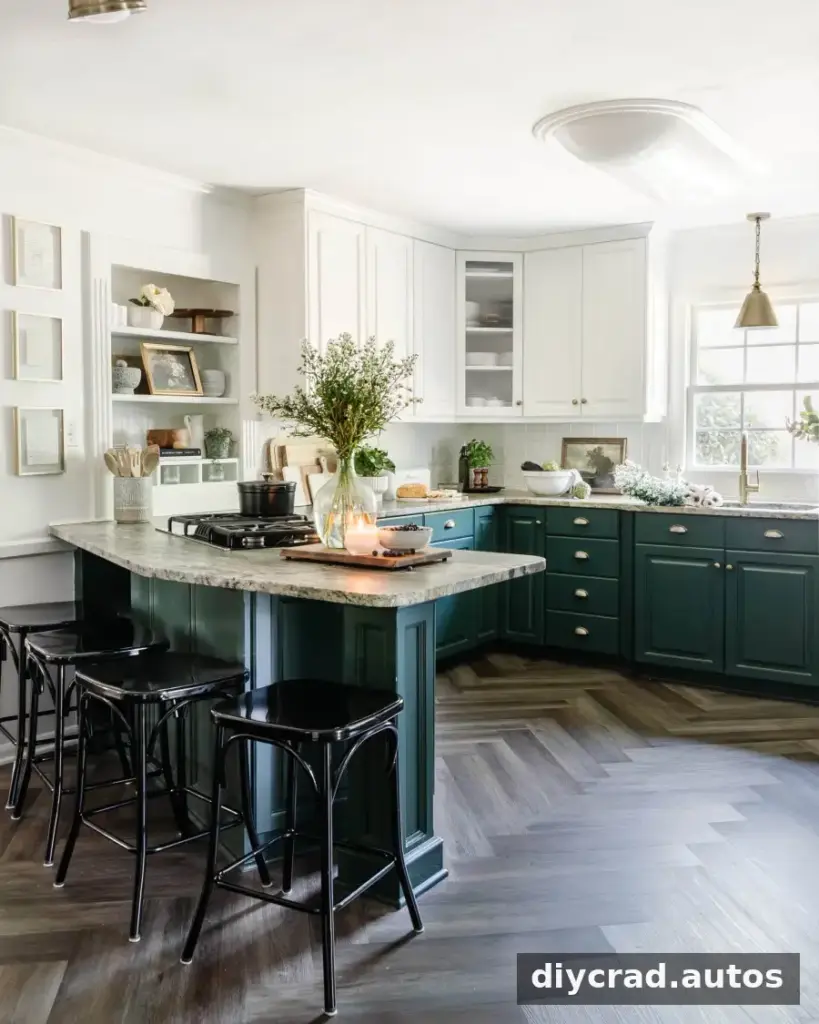
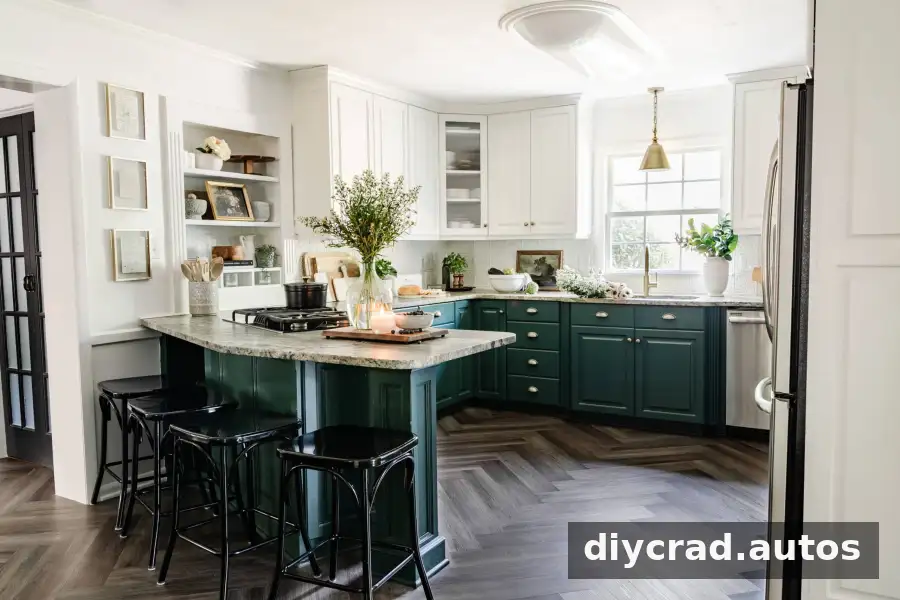
The finished room combines white upper cabinets, green lower cabinets, patterned flooring, warm brass details, practical storage, and personal artwork. The overall look came together gradually, rather than through a single large renovation. This kind of phased approach leaves room to enjoy the kitchen now while postponing major layout changes until they are affordable or necessary.
Kitchen Colors and Budget Breakdown
- Wall color: Chantilly Lace
- Upper cabinet color: Simply White
- Lower cabinet color: Billiard Green
- Herringbone LVP flooring
- Antique-brass cabinet pulls and knobs
- Aged-brass pendant and track lights
- Aged-brass faucet
- Pressed-tin-style backsplash
- Pantry cabinets and mirror window film
- Framed recipes, a wall calendar, mail sorter, and other kitchen accessories
Total kitchen facelift budget: $3,921
The projects were spread across five years, allowing time to save and complete DIY work gradually. The total averages about $785 per year. Because the listed total includes the broader makeover, individual project costs should be treated as examples rather than a complete itemized sum.
A thoughtful budget kitchen facelift does not have to solve every design problem at once. Prioritize useful updates, preserve features that still work, and choose finishes that complement what is already in the room. Paint, storage, lighting, and a few personal details can create a more inviting kitchen while a larger renovation waits.