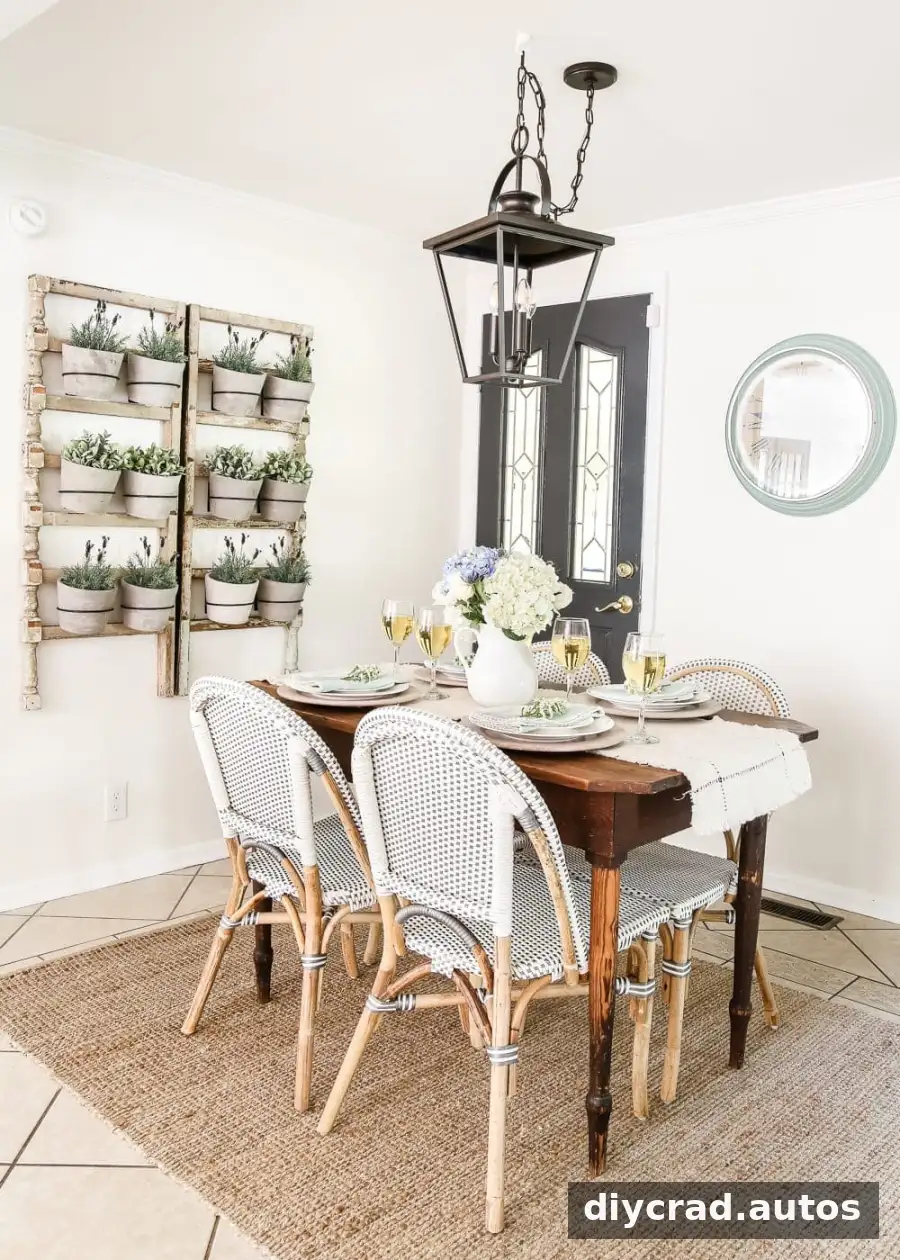
A chandelier makeover can give a dining nook a more cohesive look without the cost of replacing a fixture that is otherwise in good condition. In this project, a new brushed-nickel chandelier was updated with metallic gold spray paint to better suit a warm, aged-brass finish. The simple approach uses primer, several light coats of paint, and careful protection of electrical parts.
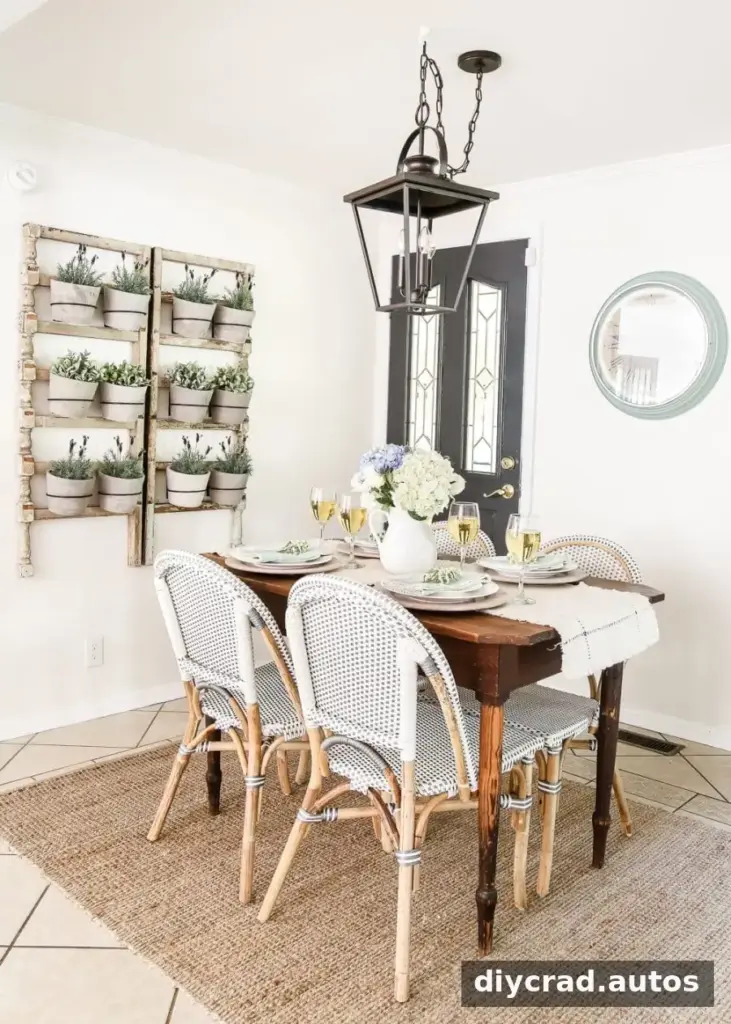
Choosing a chandelier for the breakfast nook
The breakfast nook had gone through several furniture changes as its layout took shape. An oversized table made the small area feel crowded, so it was replaced with a smaller option that allowed for easier movement. Finding a fixture that balanced traditional and modern details was the next step.

A new chandelier originally priced at $330 was found through a secondhand marketplace for $100. Its shape suited the room, but the brushed-nickel finish did not match the aged-brass look planned for the space. Rather than pass on a suitable fixture, the finish was changed with spray paint.

When considering a pre-owned light fixture, inspect it carefully before installation. A low price does not confirm that the wiring or other electrical components are safe. If the fixture is used, damaged, or unfamiliar, have a qualified electrician assess it before connecting it to household wiring.
Materials for this chandelier makeover
The finish update required only a few supplies. Use painter’s tape that adheres well to the fixture, and follow the instructions on each product label.
- Frog Tape or another painter’s tape
- Krylon spray primer
- Rust-Oleum Modern Farmhouse Metallic Gold spray paint
The metallic gold paint was selected for its brass-like appearance. The project had involved trying several gold spray-paint shades, and this finish was considered the closest match to the desired look. Keep in mind that the final color can vary depending on the fixture’s shape, the lighting in the room, and the number of coats applied.

How to paint a chandelier safely
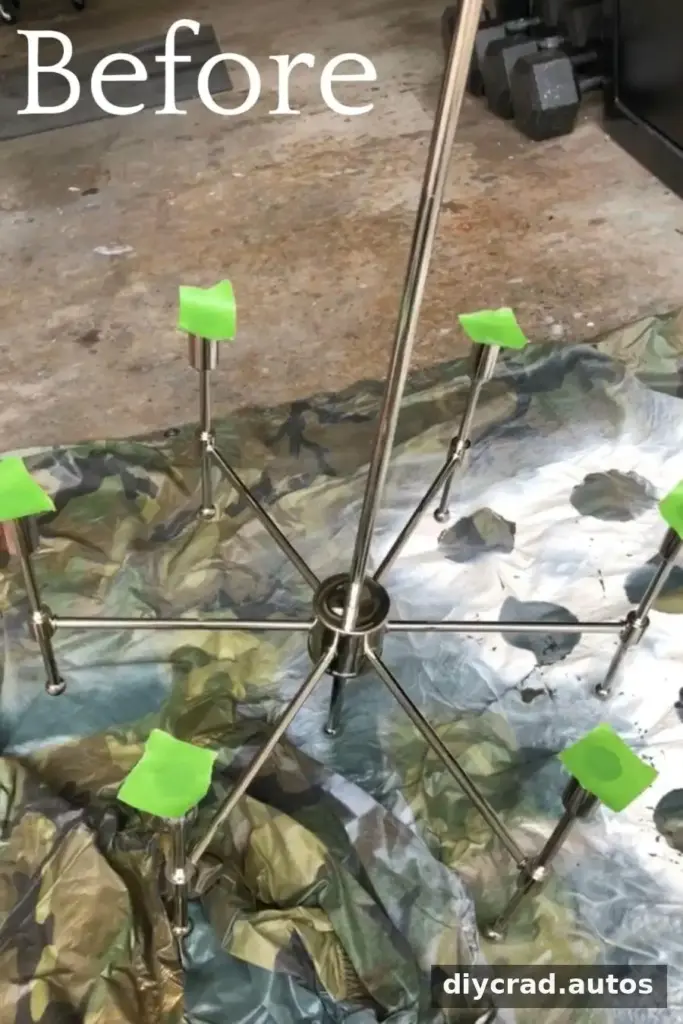
Before painting, the fixture should be disconnected from power and removed from the ceiling. If removing or handling the fixture is outside your experience, arrange for an electrician to do this work. Cover bulb sockets, wiring, and any other electrical connections with painter’s tape so paint cannot enter or coat those areas.
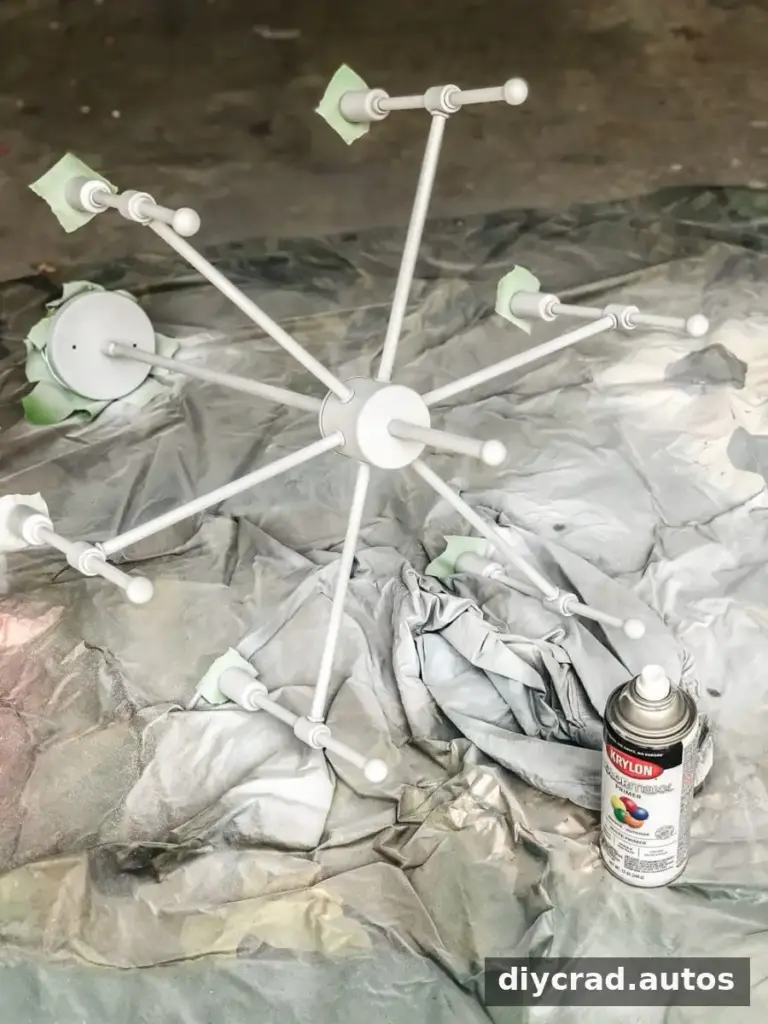
Work in a well-ventilated area and protect the surrounding surface from overspray. Apply a coat of spray primer first, even when the paint can describes the product as paint and primer combined. Primer helps create a consistent base for the topcoat. Let it dry according to the directions on the can before continuing.
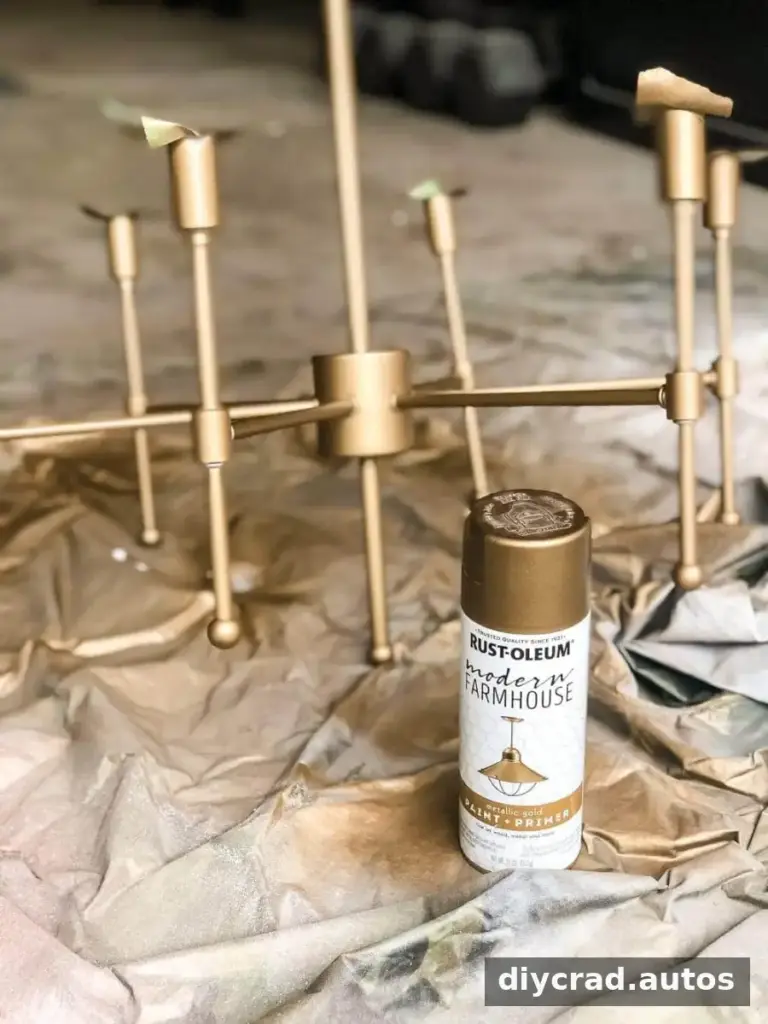
After the primer has dried, apply three thin coats of Rust-Oleum Modern Farmhouse Metallic Gold spray paint. Thin, even layers are less likely to run or pool than one heavy coat. Follow the label for application distance and drying time, and allow the finish to dry fully before handling or reinstalling the fixture.

Do not remove the tape or reconnect the chandelier while paint is still wet or tacky. Check that sockets and wiring remain free of paint before installation. If any electrical part has been damaged or coated, do not use the fixture until it has been assessed by a qualified professional.
How the finished chandelier changes the room
The refreshed fixture brings a warmer metal tone to the breakfast nook and works with the room’s mix of traditional architecture and more contemporary furniture. The smaller table also leaves more usable space around the dining area, helping reduce the crowded feeling caused by the previous setup.

Vintage bentwood chairs found through a secondhand marketplace add another layer of character. Their orange-toned wood could be repainted black to complement the updated room, though leaving them as they are would preserve their original finish. The choice depends on whether contrast or a more natural, collected look is preferred.
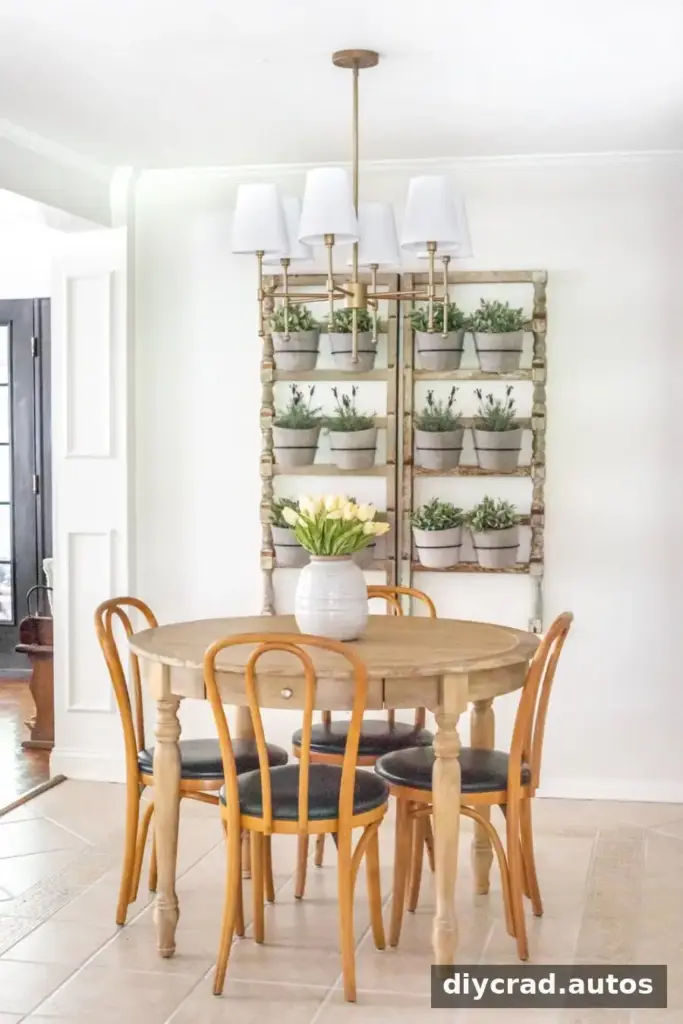
Other elements of the nook can be adjusted over time. A planter that feels too rustic for the interior may still work well outdoors, while smaller changes to furniture and lighting can gradually bring the room together. A cohesive space does not have to be completed all at once.
More Trash to Treasure transformations
This chandelier update is part of a group of budget-minded makeovers that give existing or secondhand pieces a new role. The contributors featured in this month’s collection are listed below.

Clockwise from top left:
Prodigal Pieces | Confessions of a Serial DIYer | Girl in the Garage | Artsy Chicks Rule
Earlier Trash to Treasure transformations offer more ideas for updating furniture and home accessories. For a similar chandelier makeover, focus on protecting electrical components, applying primer, and building the color with multiple light coats. Always follow product directions and confirm the fixture is safe before putting it back into use.