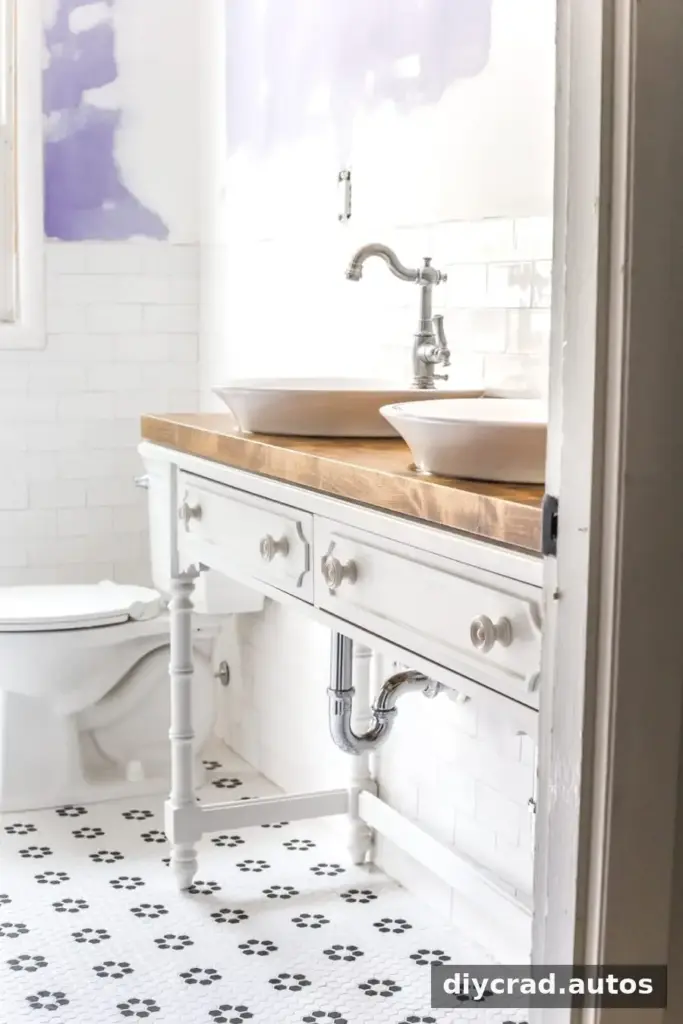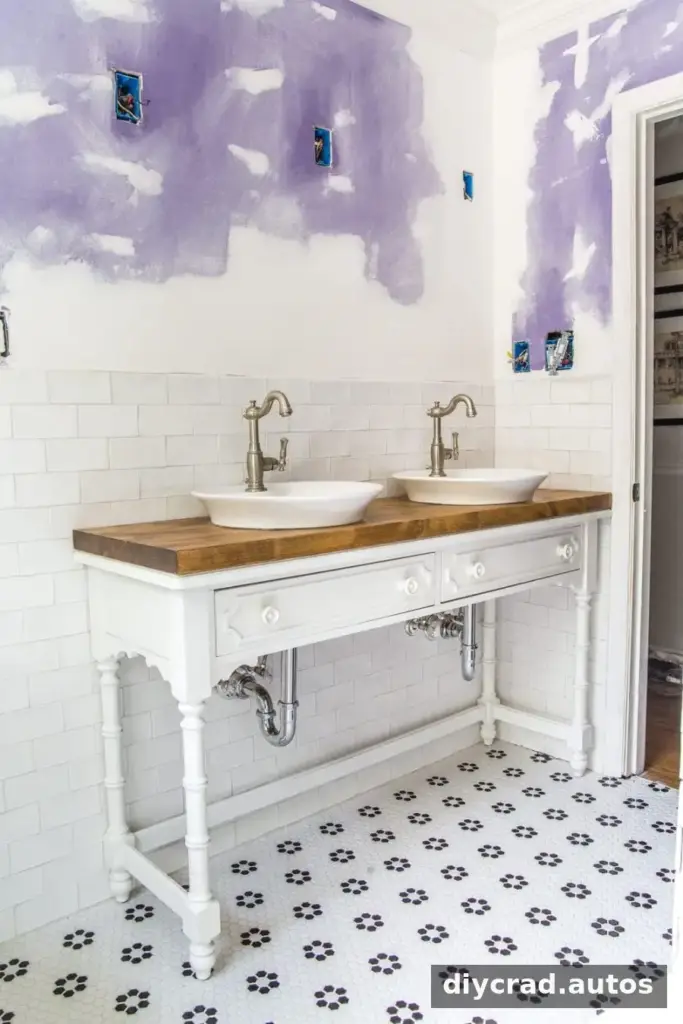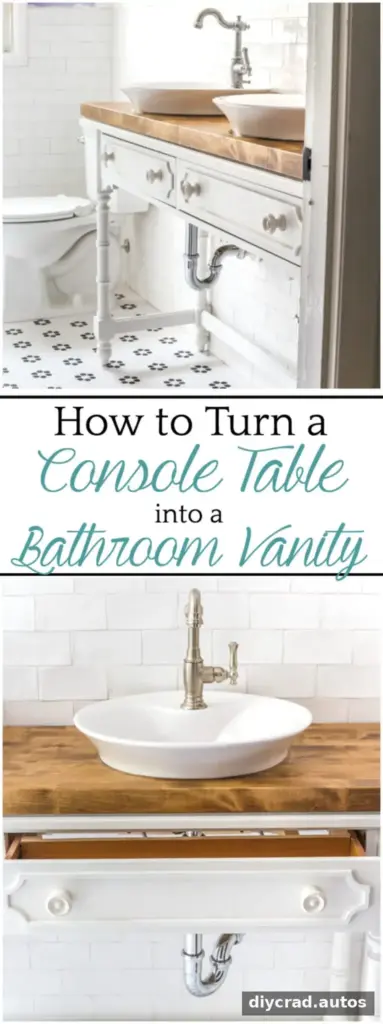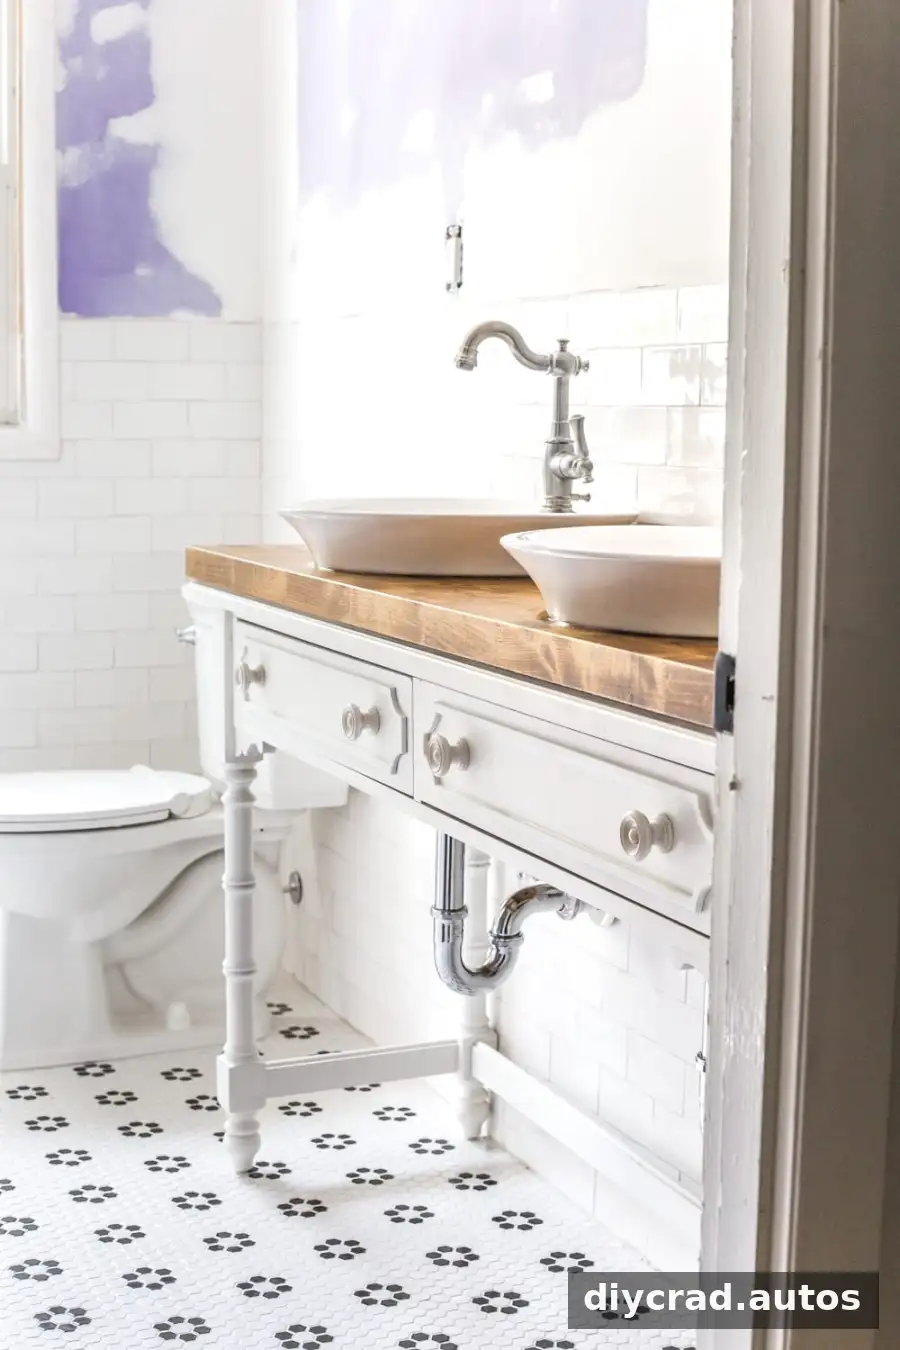
Turning a console table into a bathroom vanity can add character while making good use of a narrow space. With careful measuring, a sturdy table, and cutouts planned around the sink drains, you can create a furniture-style vanity and keep the drawers functional for everyday essentials.
Why Choose a Console Table Bathroom Vanity?
An open console table can be a practical alternative to a traditional vanity when a bathroom has limited floor space or already has enough storage elsewhere. Vessel sinks sit above the counter, and a furniture-style base keeps the room feeling visually open. A table with solid construction and sturdy joinery is especially important because it must support the countertop and sinks.
Before choosing a table, check its dimensions against the available wall space and the planned sink positions. Also consider where the drain and plumbing will sit in relation to the drawers. A table that looks right may still need modifications to fit around the plumbing.
Materials and Tools
Gather the necessary tools and materials before beginning. Sink templates are often included with vessel sinks; check the packaging before tracing any cutouts.
- Jigsaw
- Power drill
- Circular saw
- Finishing nail gun
- Sink template, usually supplied with the vessel sink
- Vessel sink or sinks
- Pencil
- Butcher-block countertop, if desired
- Stain, if desired; the project materials included Minwax Special Walnut and Weathered Oak
- Spar Urethane in satin
- Two stain or polyurethane brushes
- Clear silicone caulk
- Hammer and pry bar or mallet
- Scrap wood, approximately 1″ x 2″, for drawer stops
How to Turn a Console Table Into a Bathroom Vanity
1. Prepare the table and plan the drawer depth
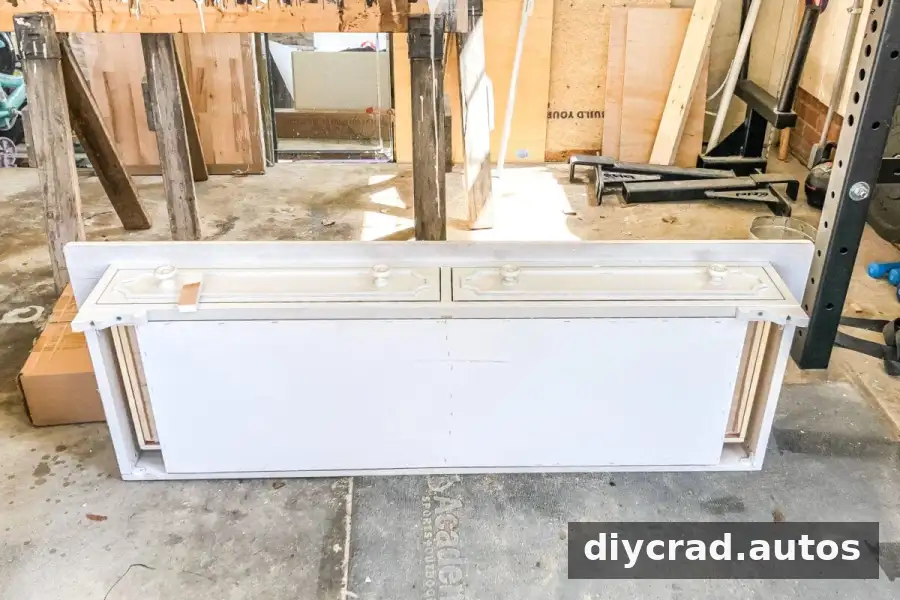
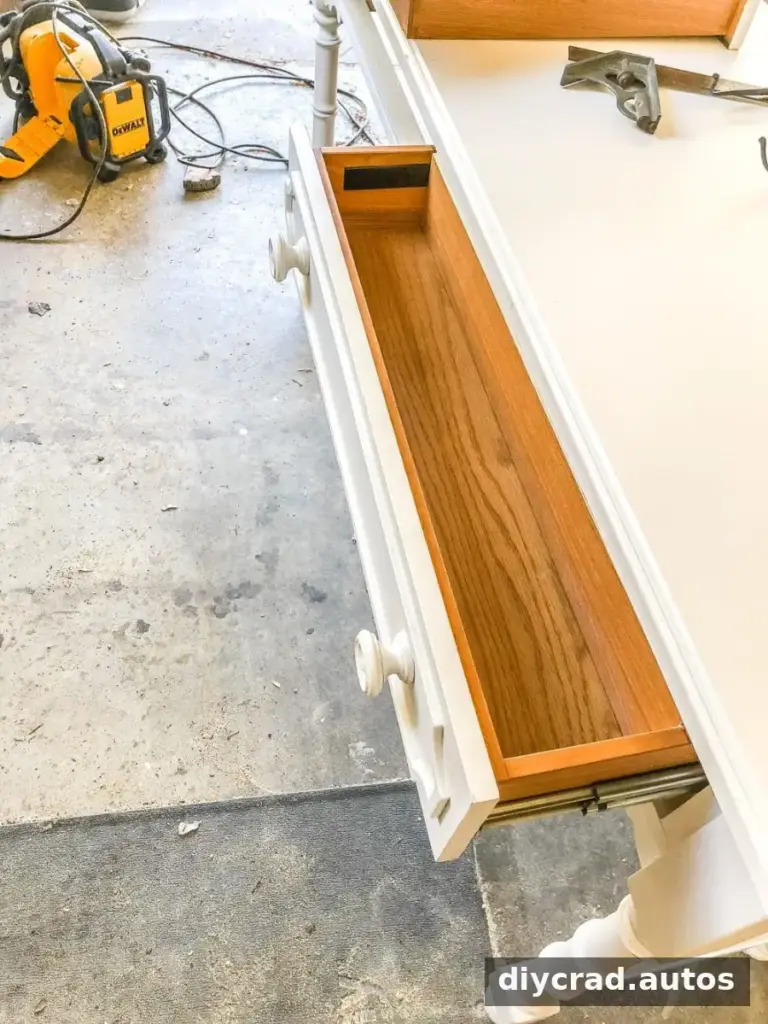
Remove the board beneath the table using a pry bar and a hammer or mallet. Decide whether the drawers will remain usable. If you do not need functional drawers, the drawer can be cut out with a circular saw and its front reattached as a false drawer front.
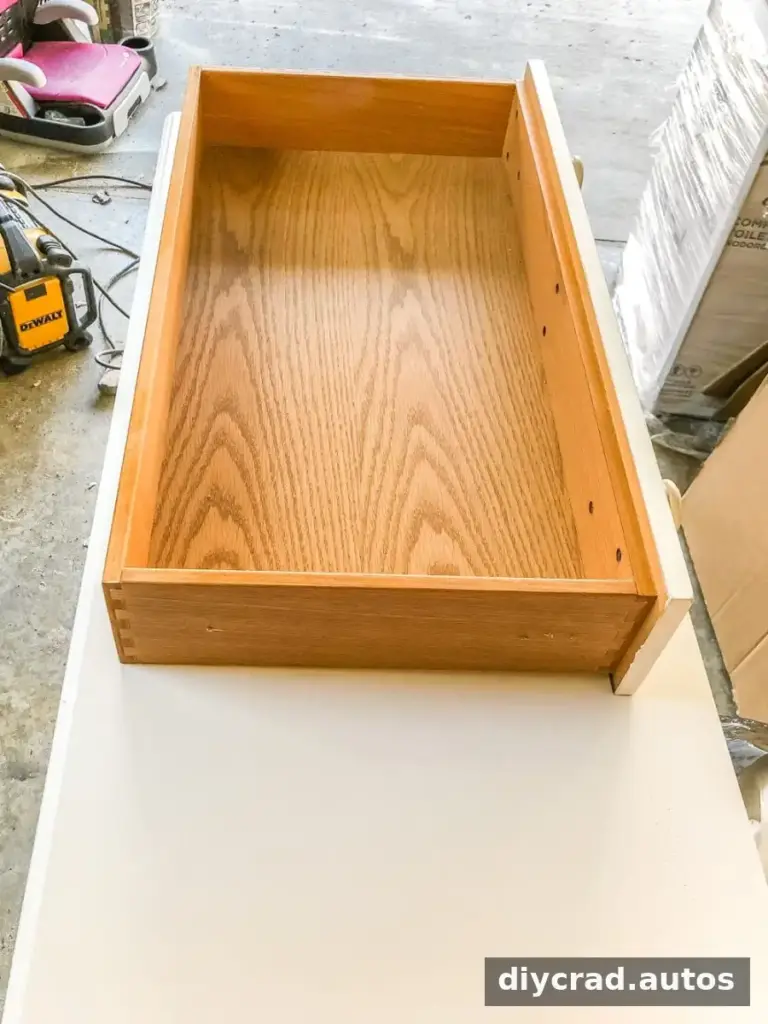
To retain storage, remove each drawer and measure the distance from the wall to the planned sink drain. Use this measurement to determine how much of the drawer must be shortened so it can clear the drain. Measure carefully before cutting, and account for the sink’s final position.
2. Modify the drawers
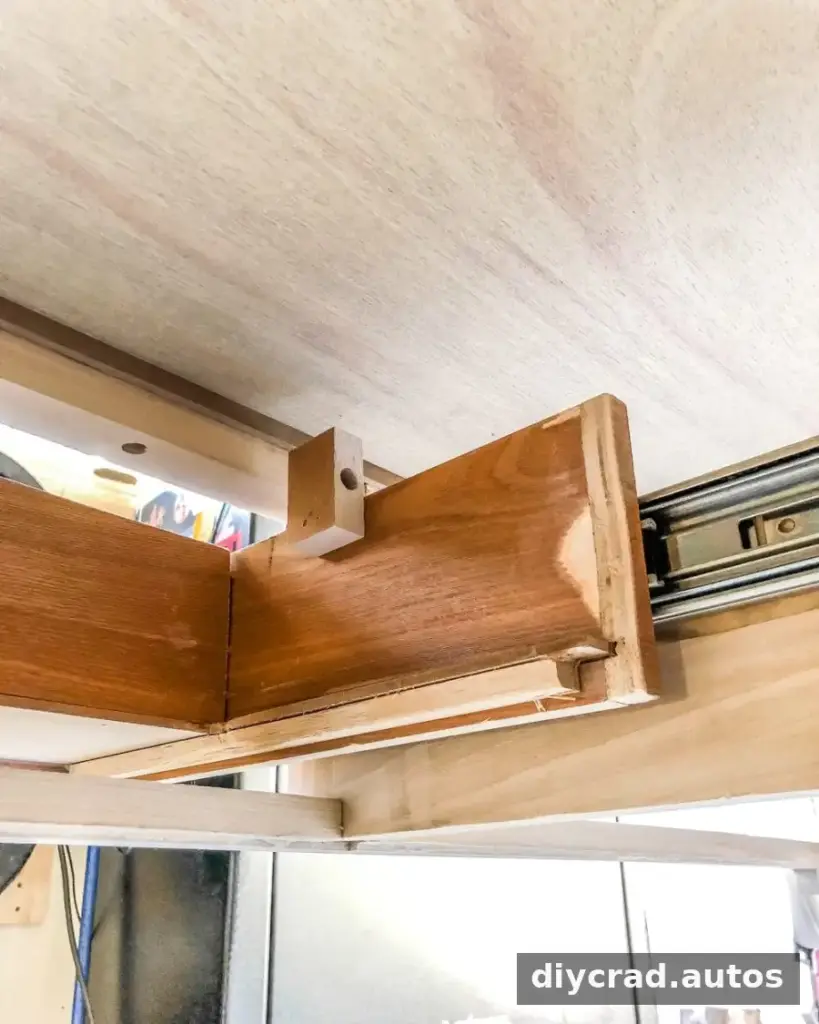
Mark the required depth on the drawer. Use a jigsaw to cut the drawer’s back and bottom at that point, keeping the sides intact. Move the detached back panel forward to the new depth, then secure it to both sides with finishing nails.
To stop the shortened drawer from sliding too far out, nail a piece of scrap wood—approximately 1″ x 2″—to each side of the drawer. Position the stops so they catch the table’s lip. Test the drawer’s movement before moving on.
3. Mark and cut the sink openings
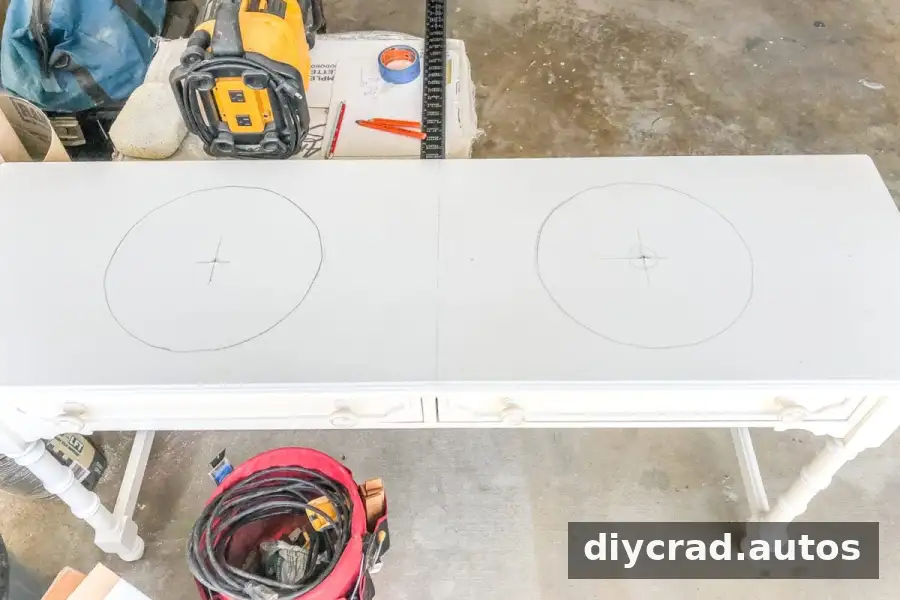
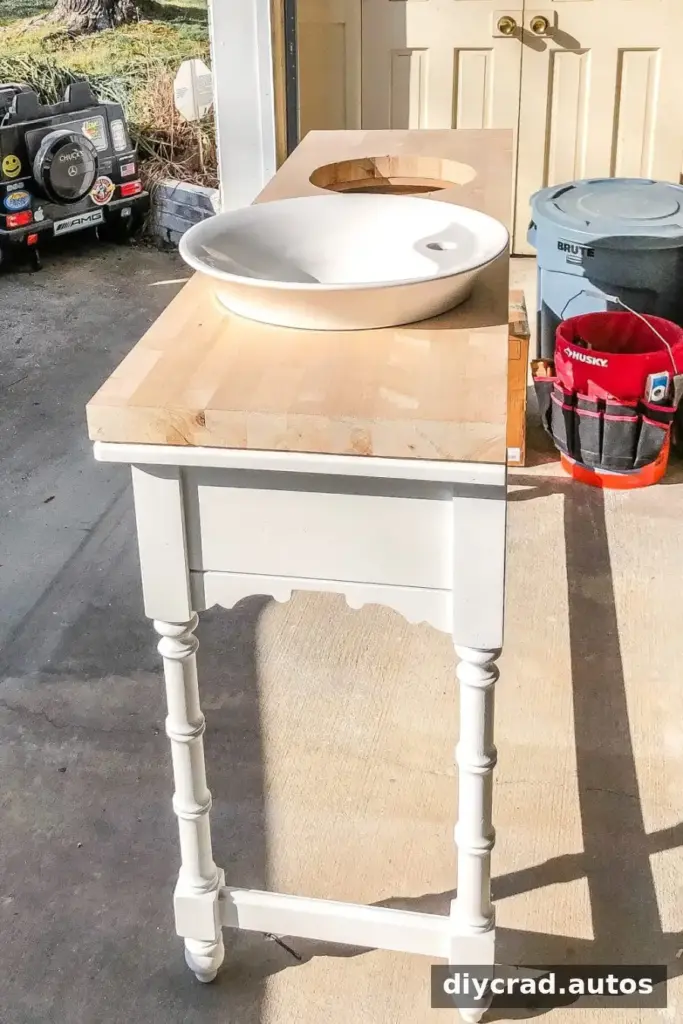
If the vessel sink came with a template, use it to mark the opening. If no template is included, trace the bottom of the sink onto cardboard to make one. Place the template where each sink should sit and trace the outline onto the vanity surface.
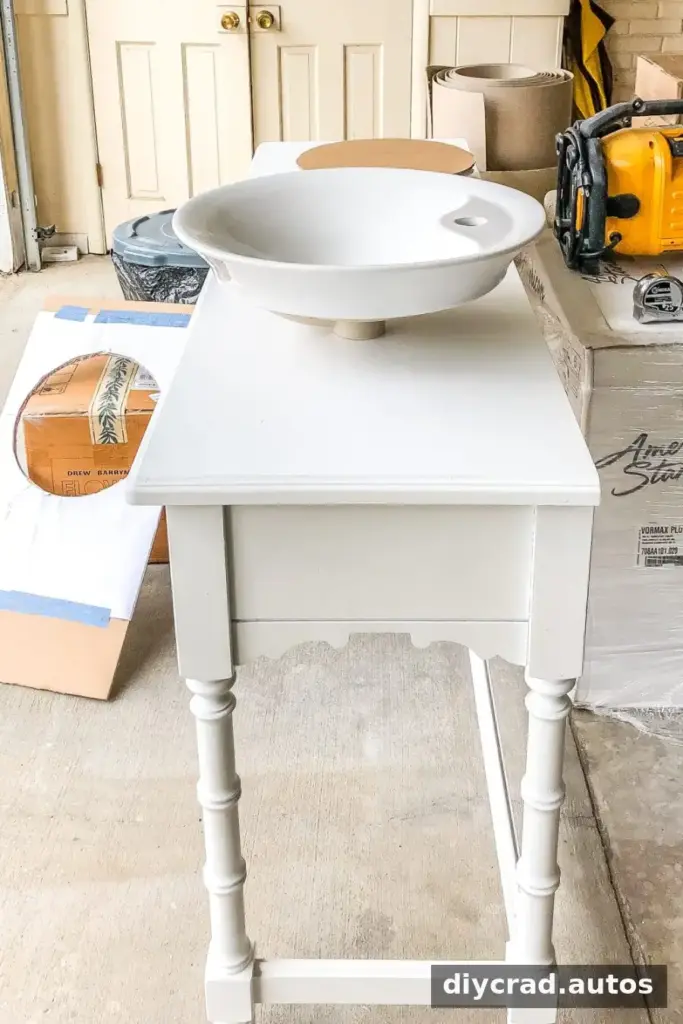
Check that the marked locations align with the planned plumbing and leave enough room for the sink fittings. Once the placement is confirmed, use a jigsaw to cut the traced openings.
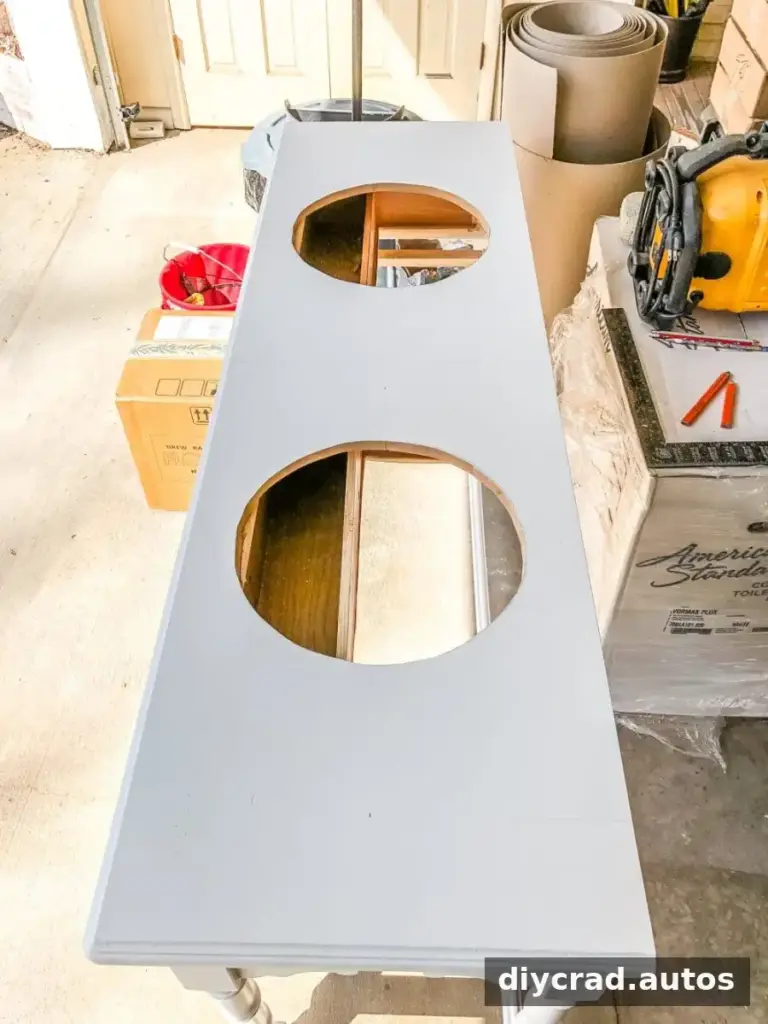
4. Cut and finish the countertop
If adding a butcher-block countertop, transfer the sink-opening positions to the wood and repeat the template, trace, and cut process. Test the fit of the countertop and sinks before applying a finish. A dry fit can reveal alignment issues while adjustments are still easier to make.
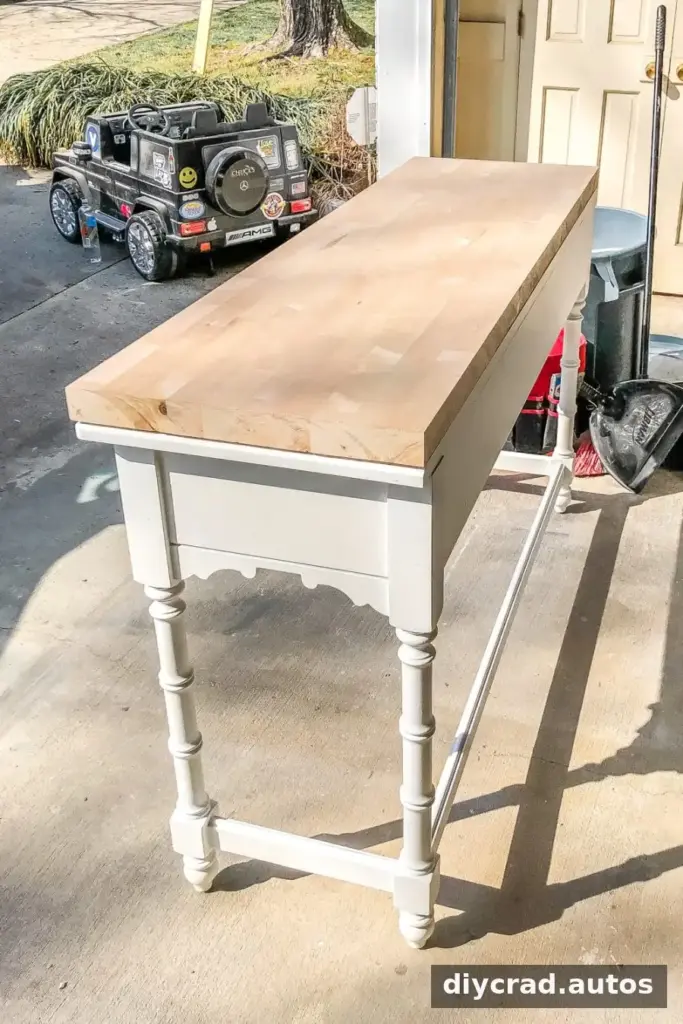
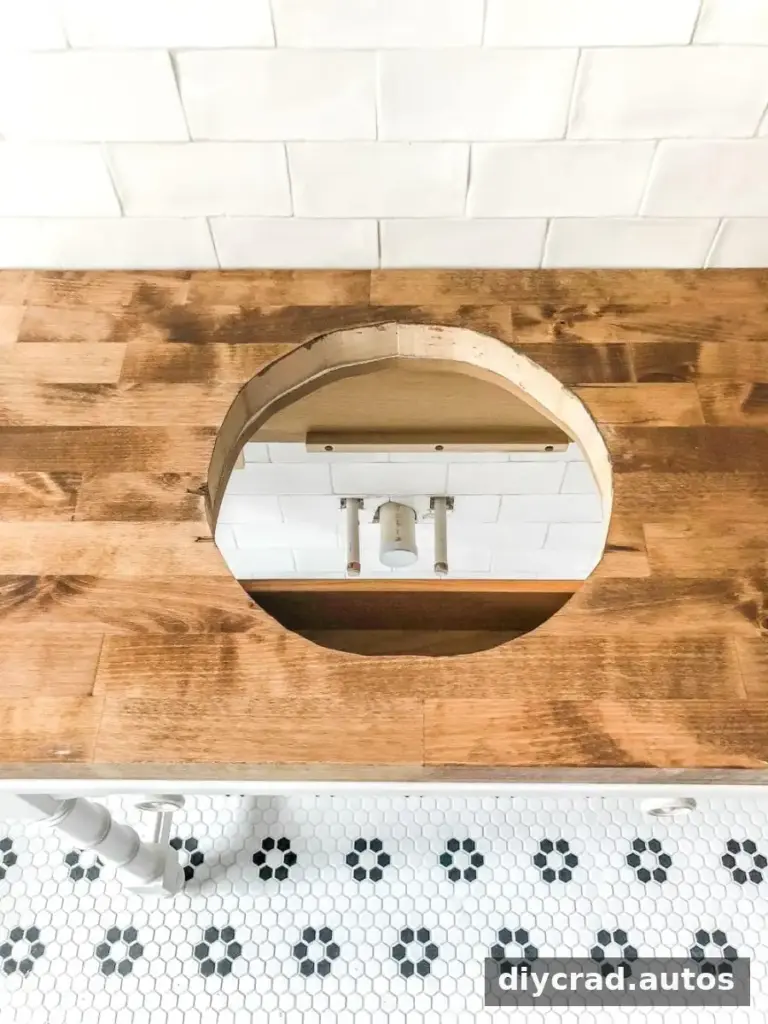
In this project, the butcher block received two coats of Minwax Special Walnut stain followed by four coats of satin Spar Urethane. The protective finish helps shield the wood from bathroom splashes. Follow the product labels for application and drying guidance, and make sure the finish is fully ready for use before exposing the surface to water.
5. Seal the edges and install the sinks
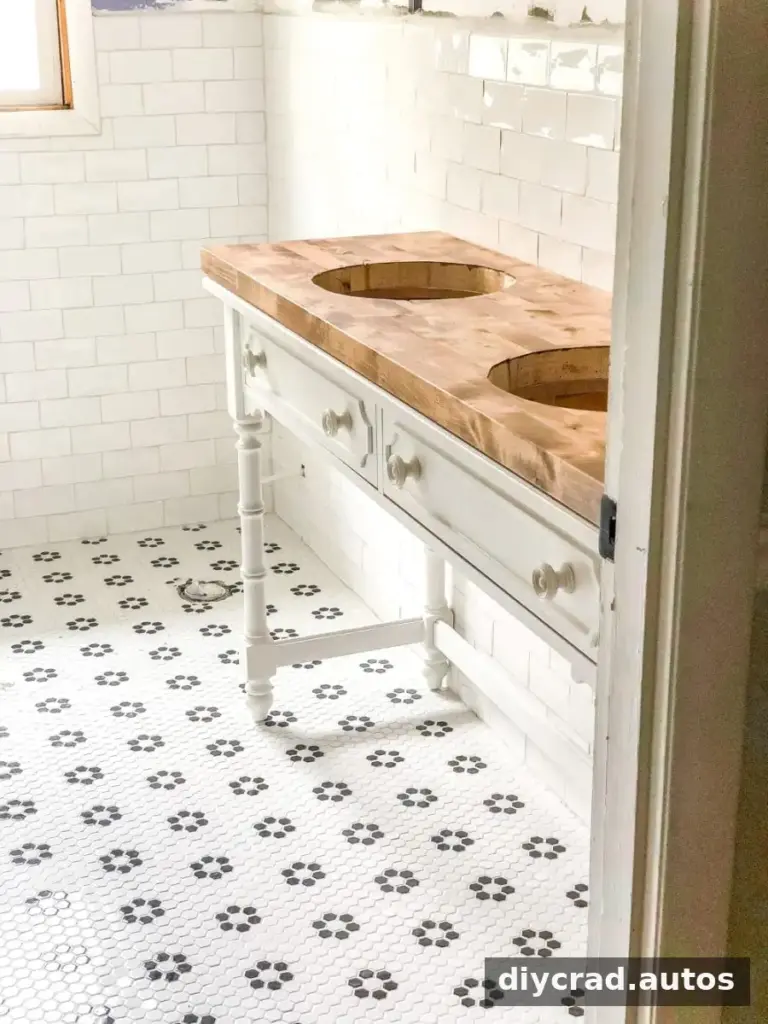
Apply clear silicone caulk along the back and side edges where the countertop meets the wall. This helps seal the joints against splashes. Install each vessel sink according to its manufacturer’s instructions, since mounting and sealing requirements can differ by product.
Final Checks for Your Console Table Bathroom Vanity
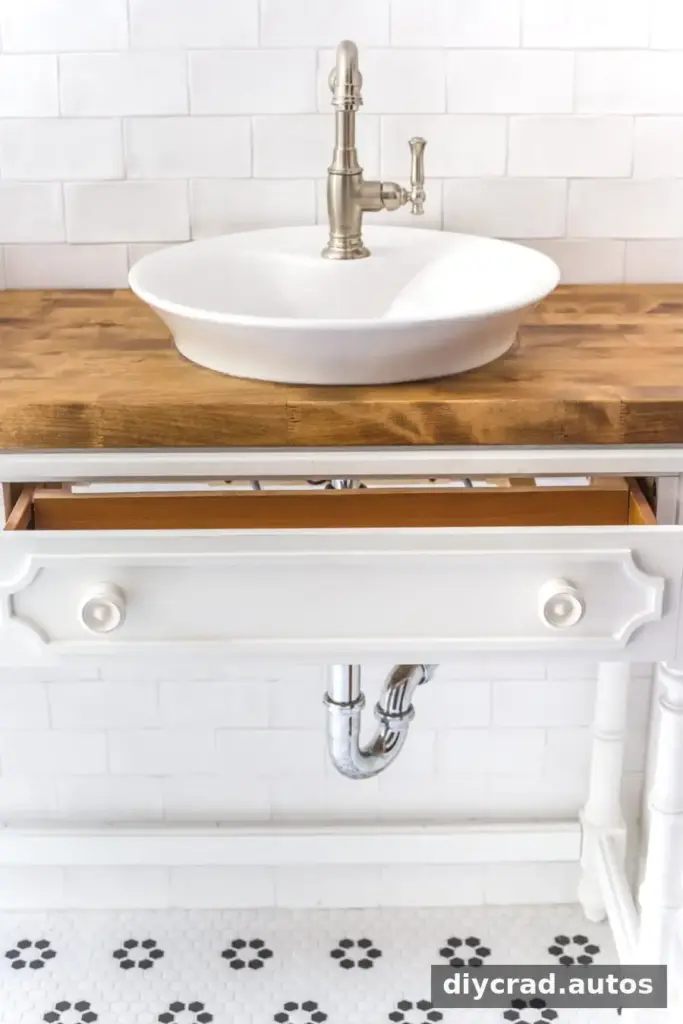
Before using the finished vanity, check that the drawers open without contacting the sink drains and that the countertop sits securely. Confirm that the sink openings and wall joints are properly sealed, and follow the sink and finish manufacturers’ care instructions.
A console table bathroom vanity can bring distinctive furniture details into a bathroom while preserving useful storage. Careful planning around the plumbing, sturdy construction, and a protective countertop finish are the keys to making this conversion both attractive and practical.