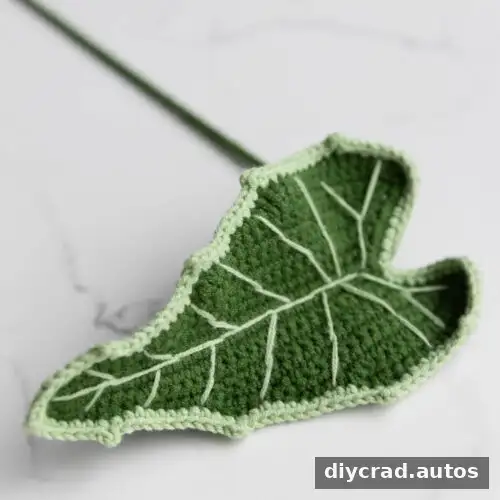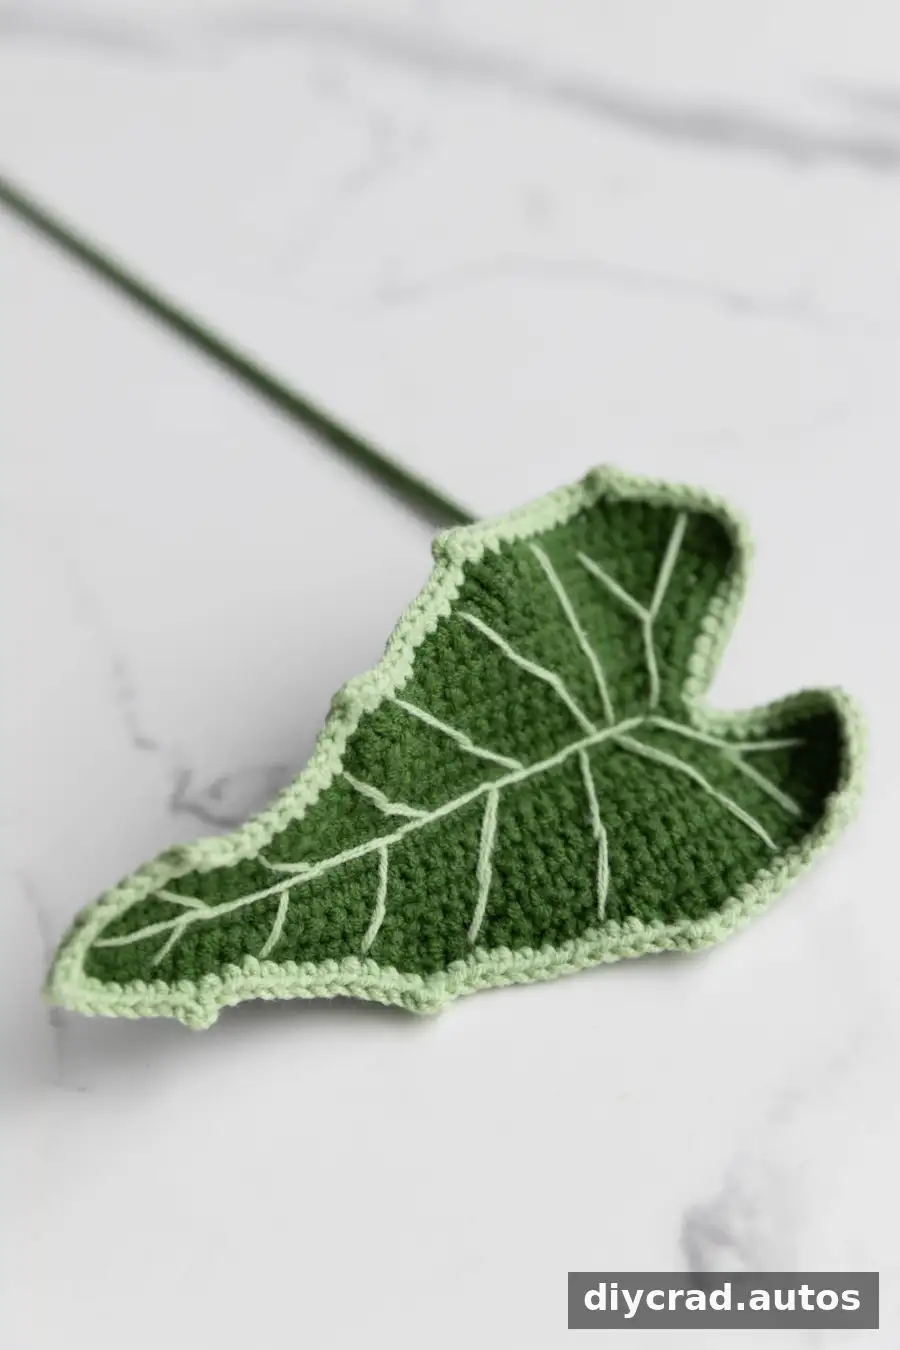
A crochet Alocasia leaf adds bold greenery and a distinctive heart-shaped silhouette to a handmade flower bouquet or home decoration. This free pattern uses dark green yarn for the leaf, light green yarn for its prominent veins, and wire to help the finished piece hold its shape. The instructions include the materials, stitches, and assembly steps needed to make the leaf.
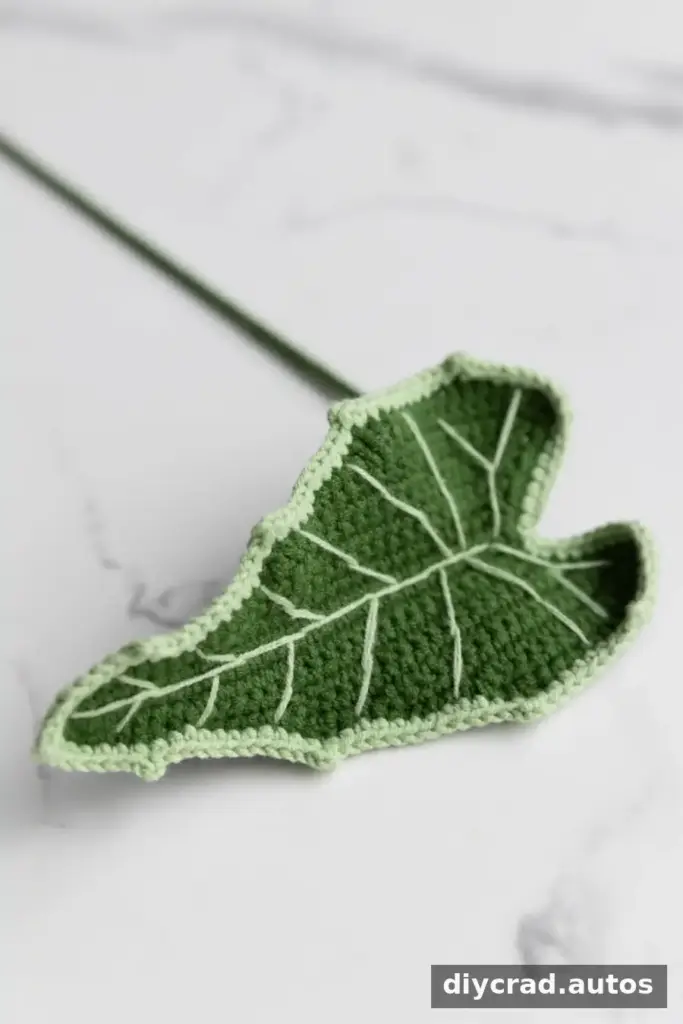
Alocasia plants are known for their large, heart- or arrow-shaped foliage, often compared to elephant ears. This crochet version recreates that dramatic look with a deep green leaf and contrasting light green veining. Use it as part of a crochet bouquet or display it on its own.
Why Add a Crochet Alocasia Leaf to a Bouquet?
Greenery helps a crochet bouquet look balanced and complete. A statement leaf such as this one can also add structure and texture alongside crocheted flowers.
- Adds fullness: Leaves fill open spaces between flowers and give an arrangement a lush appearance.
- Creates texture: Different leaf shapes bring variety and visual interest to a bouquet.
- Balances color: Green provides a calm backdrop for bright or dark flower shades, helping them stand out.
- Guides the eye: Leaf placement can draw attention to the bouquet’s focal flowers.
- Supports the arrangement: Wired foliage can help create a framework for positioning flowers.
- Brings a natural touch indoors: Crochet greenery offers a garden-inspired detail that can be enjoyed as home decor.
The Alocasia leaf can be used as a finishing detail in arrangements such as these bouquets.
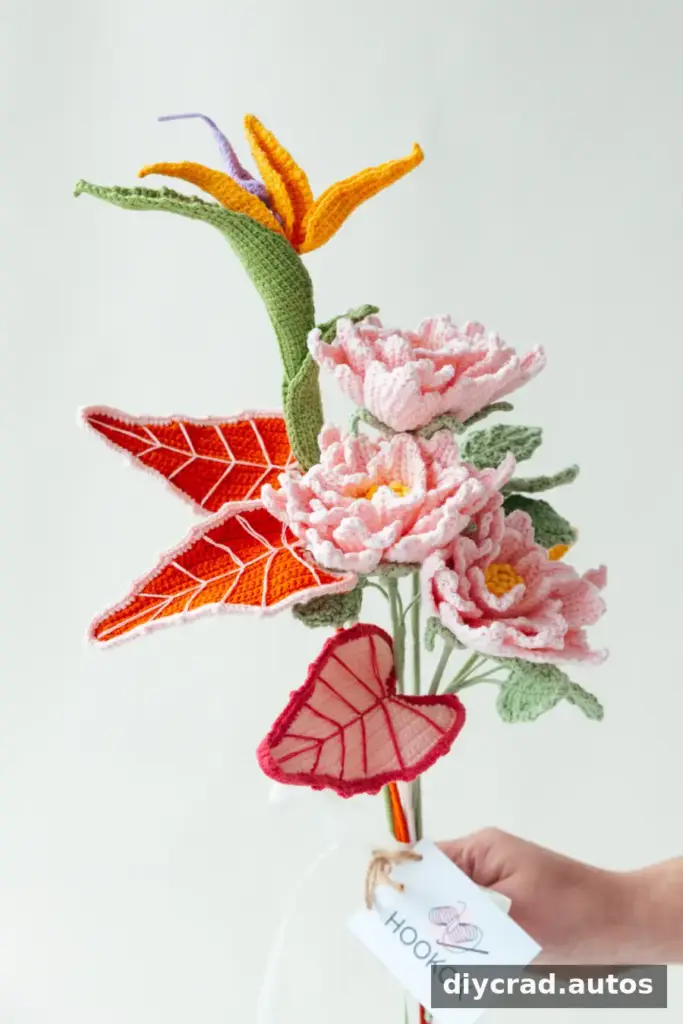
Pink Couture Rose Tilia and Bird of Paradise Bouquet

Purple Dahlia Fairy Bouquet
More Crochet Greenery Patterns
For variety in a bouquet or decorative arrangement, consider combining this design with other leaf shapes. Large leaves can create a bold backdrop, while fern-style foliage adds a finer, more delicate texture.
- Crochet large leaf pattern
- Crochet fern leaf pattern
Crochet Alocasia Leaf Pattern Notes
- The pattern uses US crochet terms.
- Use a stitch marker to identify the beginning of each round or working section.
- A video tutorial is available for additional visual guidance.
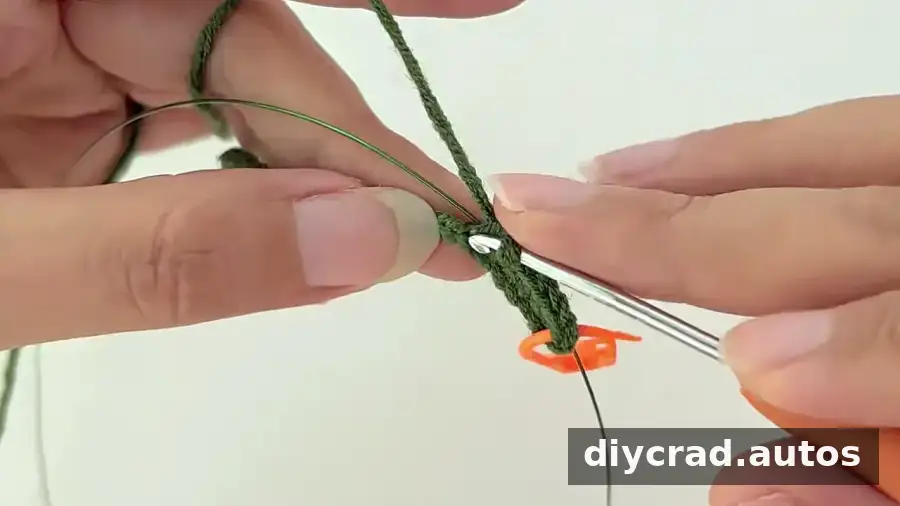
Keep the wire positioned neatly as you crochet around it. This helps support the leaf while keeping the edges comfortable to handle.
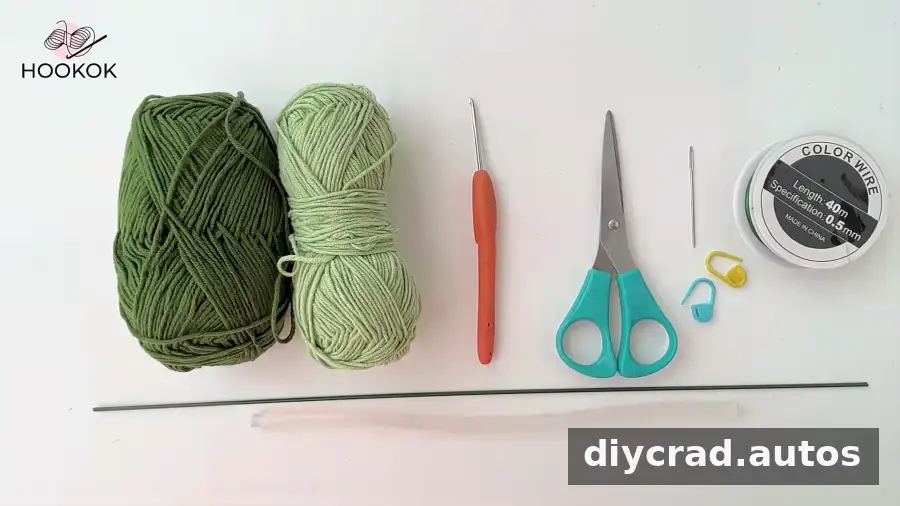
Materials for a Crochet Alocasia Leaf
- Yarn in light green and dark green
- 2.0 mm crochet hook
- Scissors
- Darning needle
- Stitch marker
- Flower rod, 30 cm long
- Iron wire, 0.5 mm
- Hot melt adhesive
Difficulty: Advanced intermediate. A beginner who wants a challenge can also try the project by following the step-by-step instructions and video guidance.
Stitches and Abbreviations
- ch: chain stitch
- ss: slip stitch
- sc: single crochet
- hdc: half double crochet
- dc: double crochet
- 3 ch picot st: three chain stitches and a single crochet, forming a small pointed detail
Before starting, review the abbreviations and keep the stitch marker close by. Consistent stitch tension will help both sides of the leaf look even.
Step-by-Step Crochet Alocasia Leaf Pattern
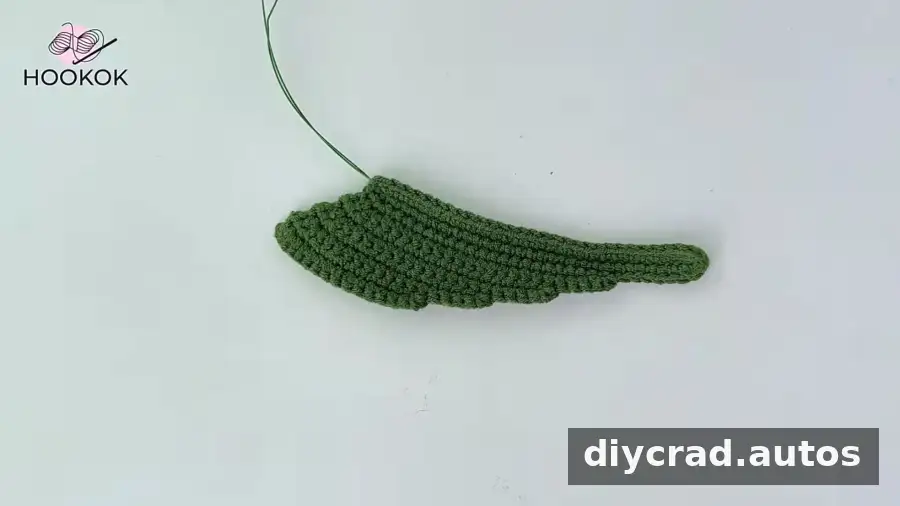
First Side of the Leaf: Dark Green
- R1: Make a foundation chain of 31 ch.
- R2: Add the wire. Starting in the second stitch from the hook, work 29 sc, (3 sc in the same st), 29 sc, 1 ss, 1 ch.
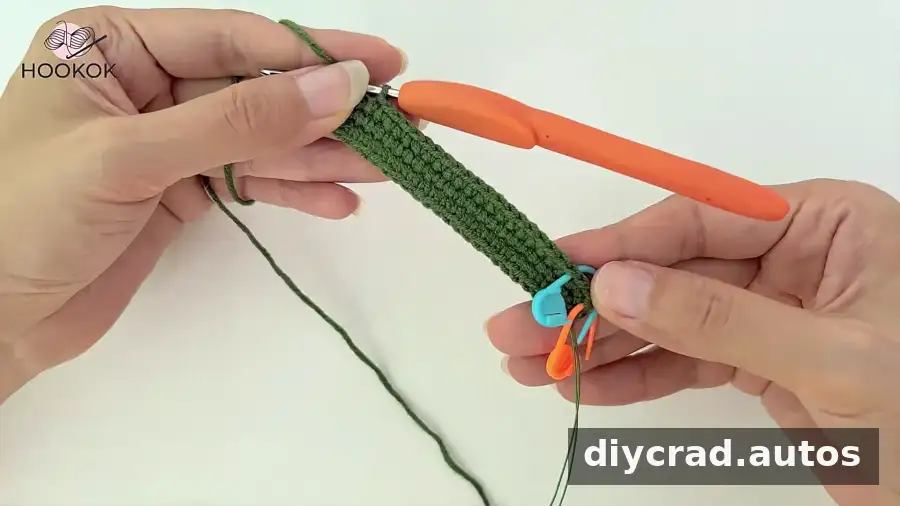
- R3: Work 1 sc, (2 sc in next st), 20 sc, 1 ss, 1 ch. Turn, then starting in the second stitch from the hook, work 21 sc, (2 sc in next st), 1 sc.
- R4: Make 1 ch and turn. Work 1 sc, (2 sc in next st), 17 sc, 1 ss, 1 ch. Turn, then starting in the second stitch from the hook, work 18 sc, (2 sc in next st), 1 sc.
- R5: Make 1 ch and turn. Work 1 sc, (2 sc in next st), 14 sc, 1 ss, 1 ch. Turn, then starting in the second stitch from the hook, work 15 sc, (2 sc in next st), 1 sc.
- R6: Make 1 ch and turn. Work 1 sc, (2 sc in next st), 11 sc, 1 ss, 1 ch. Turn, then starting in the second stitch from the hook, work 12 sc, (2 sc in next st), 1 sc, 1 ch.
- Cut the yarn and weave in the ends.
Take care when working around the wire, and check that it follows the edge without pulling the stitches out of shape.
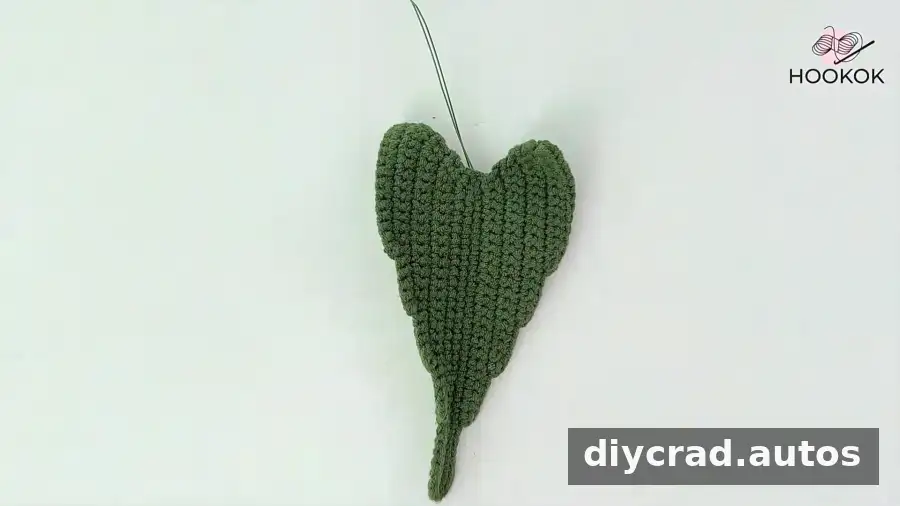
Second Side and Leaf Edging
Work from the first chain stitch of R1 and repeat R3–R6 to make the other side of the leaf.
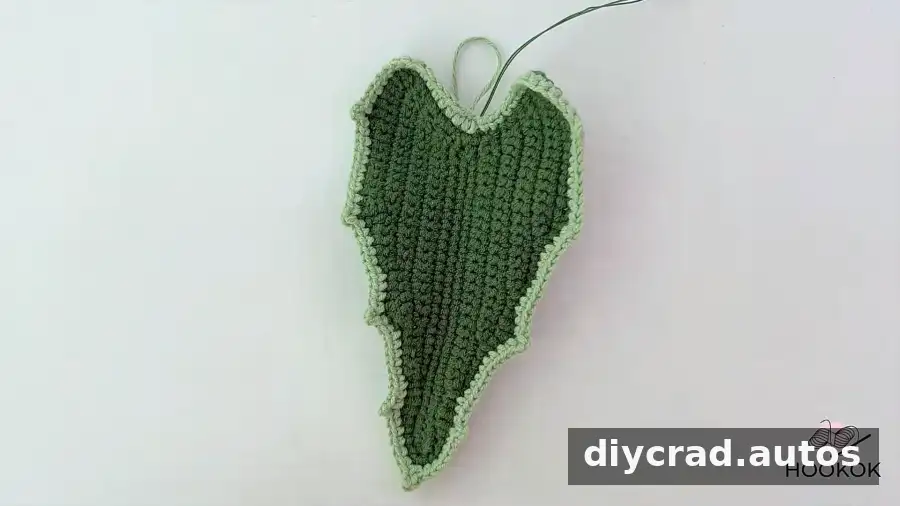
- R7: Starting from the middle of the leaf, work sc around. Choose where you want the corner to sit. In the corner, work 1 sc, 1 hdc, 2 dc, 1 hdc, 1 sc.
- R8: Change to light green yarn. Starting from the middle of the leaf, work sc around. In the corner, work 1 sc, 2 ch picot st, 1 sc. At the leaf tip, work 1 sc, 3 ch picot st, 1 sc.
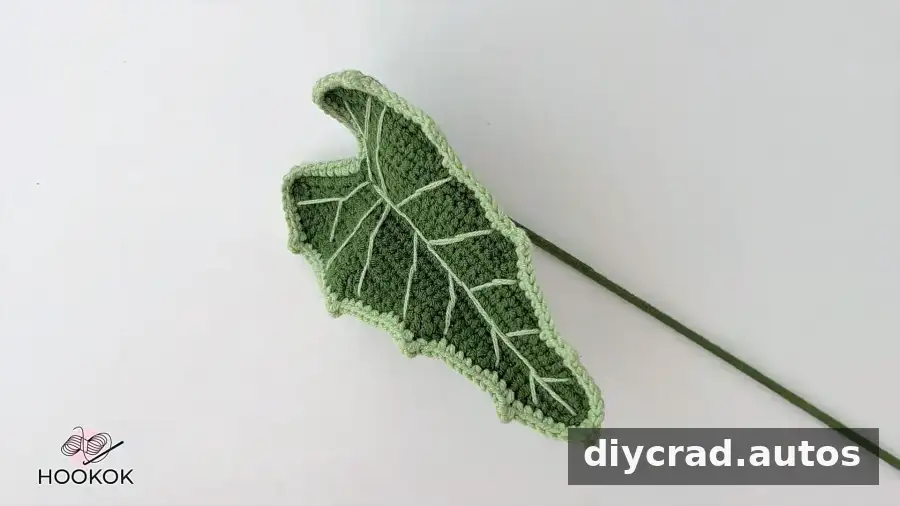
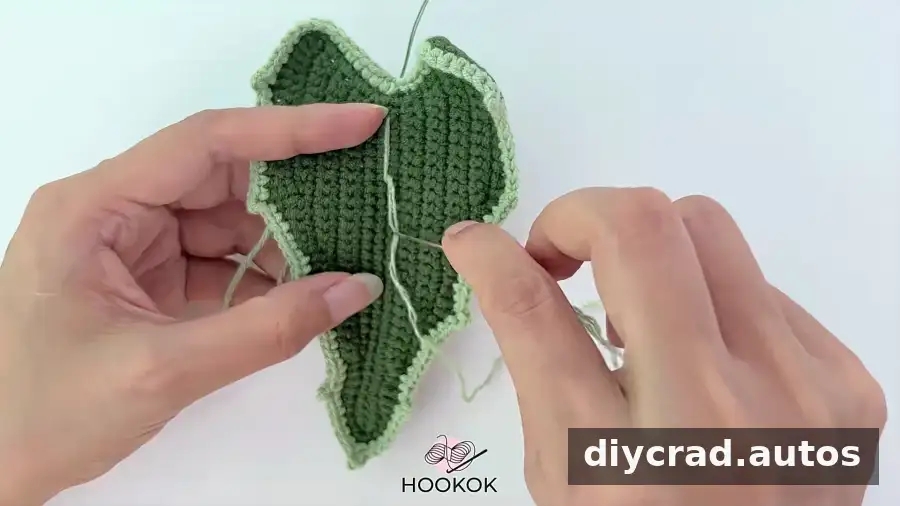
- Using light green yarn, separate the yarn into 2 strands. Sew the leaf veins with a darning needle, referring to the video for visual guidance.
Keep the vein stitches spaced evenly to make the contrasting lines clear without puckering the leaf fabric.
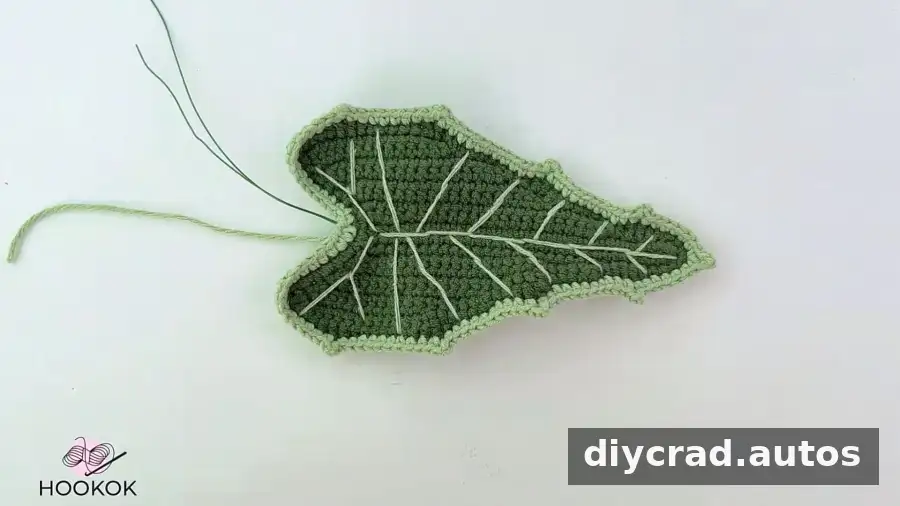
Assembling the Leaf
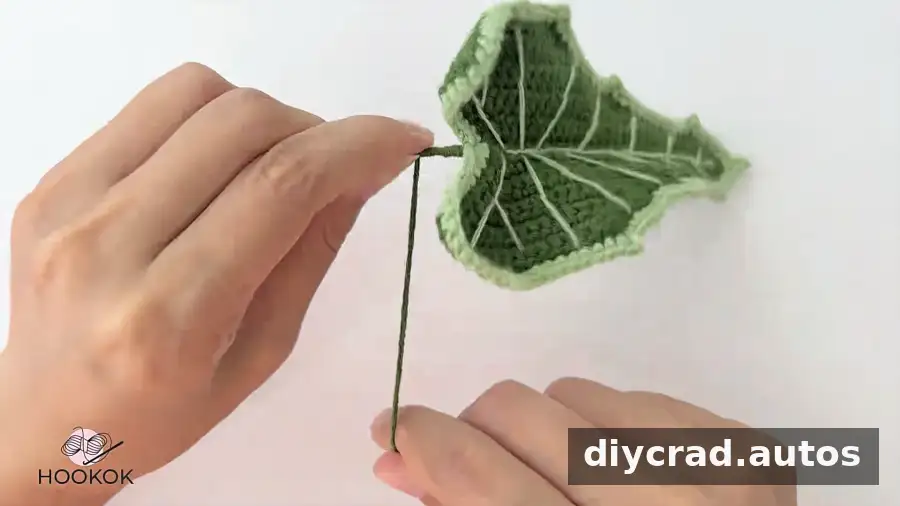
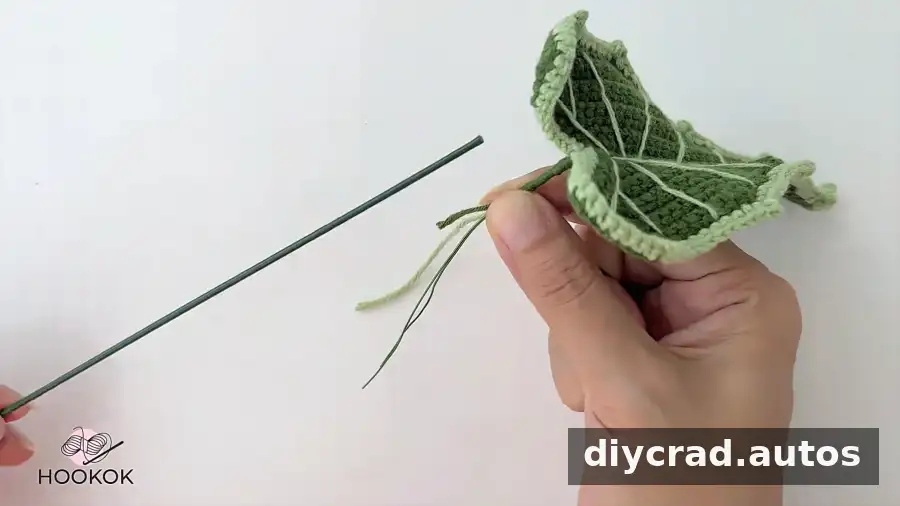
- Wrap the wire with dark green yarn.
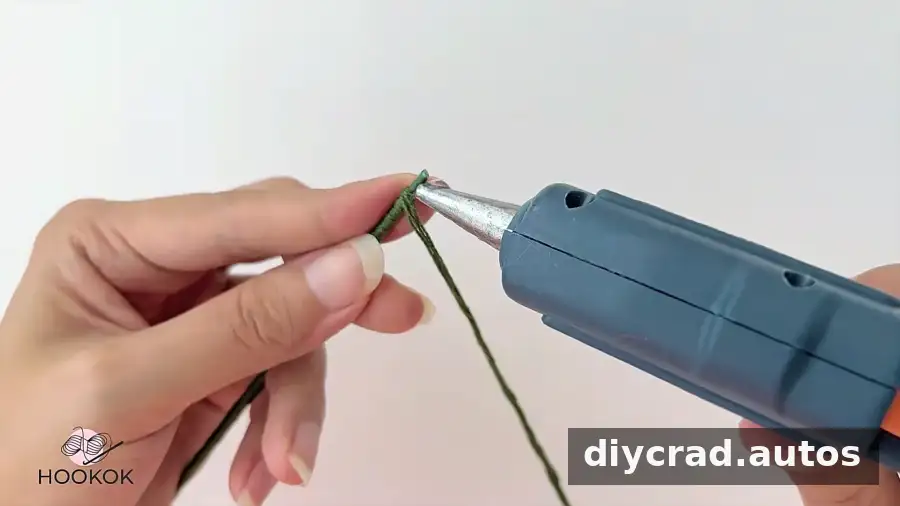
- Position the leaf around the flower stem and wrap it in place. Secure the yarn tail with hot melt adhesive.
Use care when handling hot melt adhesive, and allow it to set before arranging the finished leaf with other pieces.
Finishing and Using Your Crochet Alocasia Leaf
Once the leaf is assembled, gently shape it so its outline and veining are easy to see. You can adjust the placement of the wired stem to suit a bouquet or display. Experimenting with different color combinations can give the leaf a different look, while the dark green and light green pairing emphasizes its decorative veins.
This crochet Alocasia leaf works well as part of a crochet flower bouquet or as a standalone decoration. Follow the stitch sequence carefully, use the wire to support the shape, and enjoy adding handmade greenery to your project.