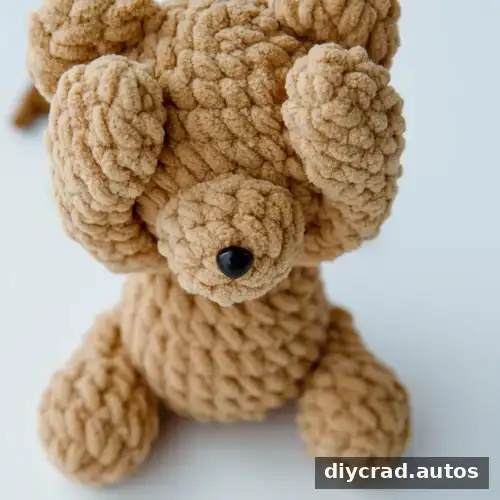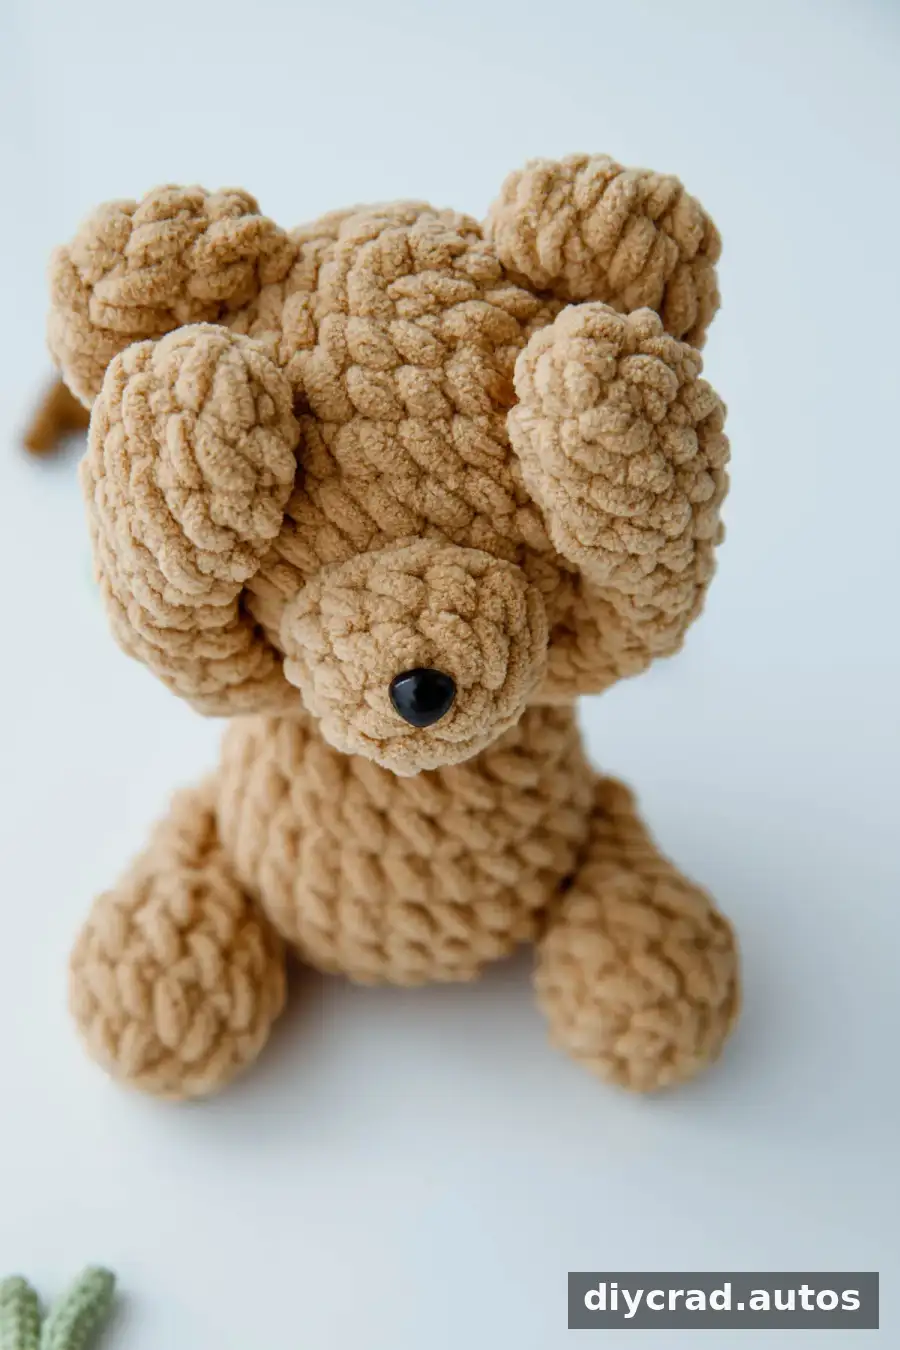
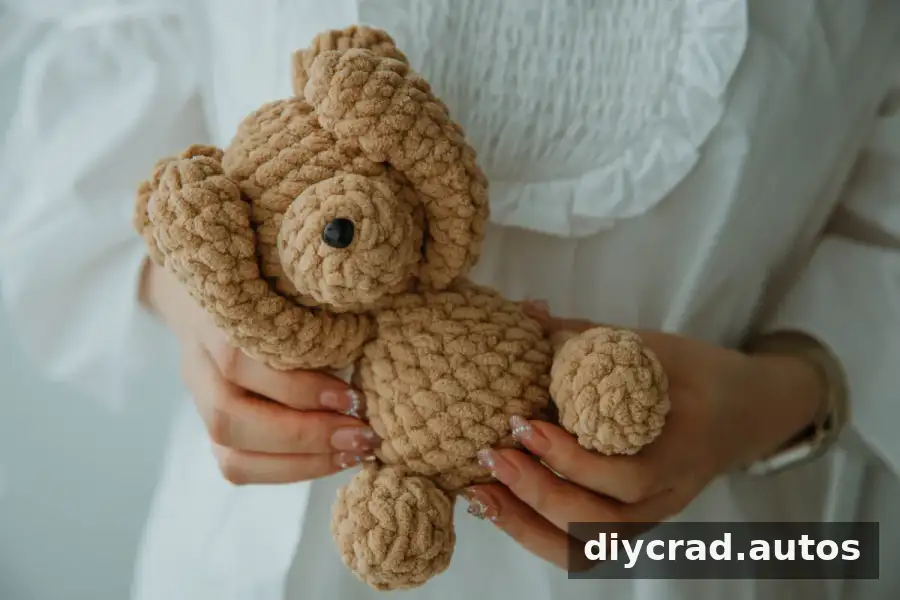
This crochet bear pattern makes a soft amigurumi toy measuring approximately 18 cm (7 inches) tall. The project is worked in separate pieces using plush light-brown yarn, then stuffed and assembled. Read through the instructions before you start, and use a stitch marker to keep track of the first stitch in each round.
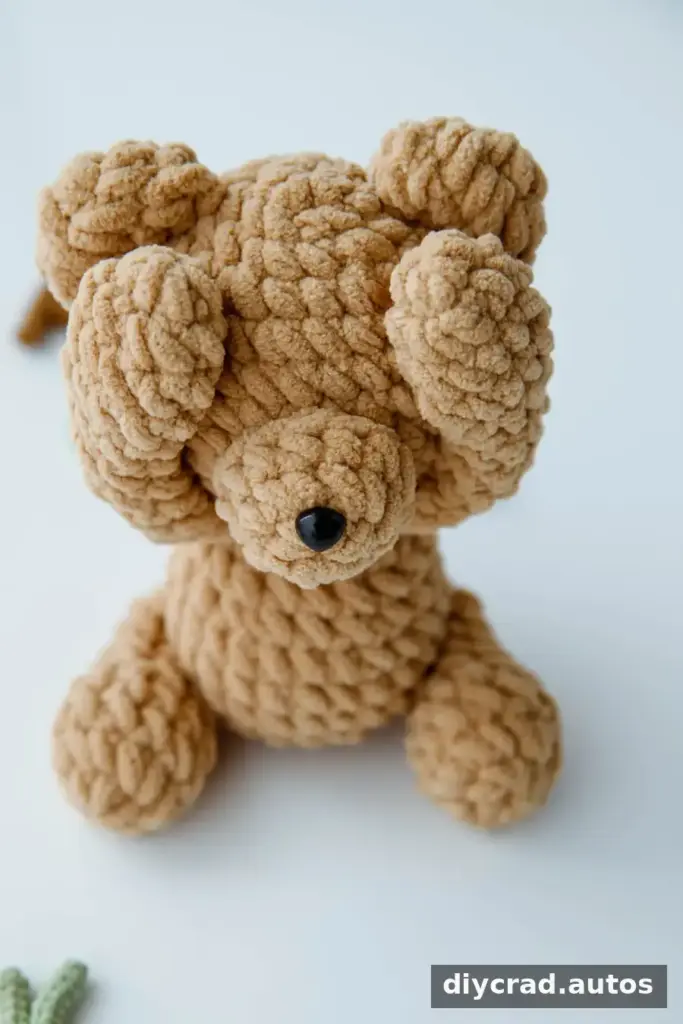
Crochet Bear Pattern: Materials and Details
The pattern is written in US crochet terms and is listed at an intermediate difficulty level. The finished size may vary depending on your yarn, hook, and individual tension. If you are new to plush yarn, making a small practice swatch can help you get comfortable seeing and counting the stitches.
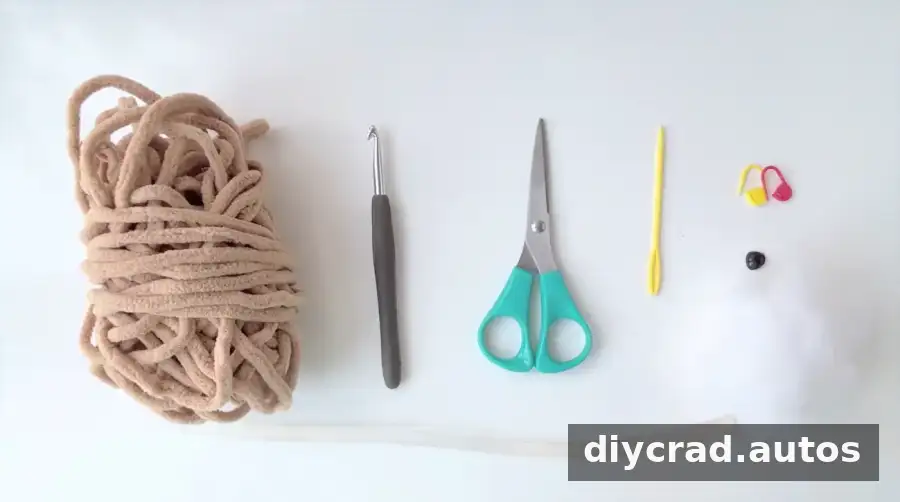
- Light-brown plush yarn
- 6.0 mm crochet hook
- Darning needle
- Fiberfill
- Scissors
- Stitch marker
- Hot-melt adhesive
- One safety nose
Keep the stitch marker in the first stitch of each round, especially when working with fuzzy yarn, where individual stitches can be harder to see. Stuff the pieces gradually so the filling is evenly distributed without stretching the fabric.
Abbreviations and Pattern Notes
- sc: single crochet
- ch: chain
- st: stitch
- ss: slip stitch
- sc2tog: single crochet two stitches together; a decrease
- [number]: stitch count at the end of the round
- R1, R2, R3: Round 1, Round 2, Round 3
To make an increase, work 2 single crochets into the next stitch. To decrease with sc2tog, insert the hook into the next stitch, yarn over and pull up a loop; insert the hook into the following stitch and pull up another loop, then yarn over and pull through all 3 loops on the hook. The pattern includes a slip stitch and chain at the ends of several rounds; follow each round as written and check the stitch count before moving on.
- Use US crochet terminology throughout.
- Check the stitch count shown in brackets after each round.
- Use a stitch marker to identify the beginning of each round.
- Instructions in italics are additional notes.
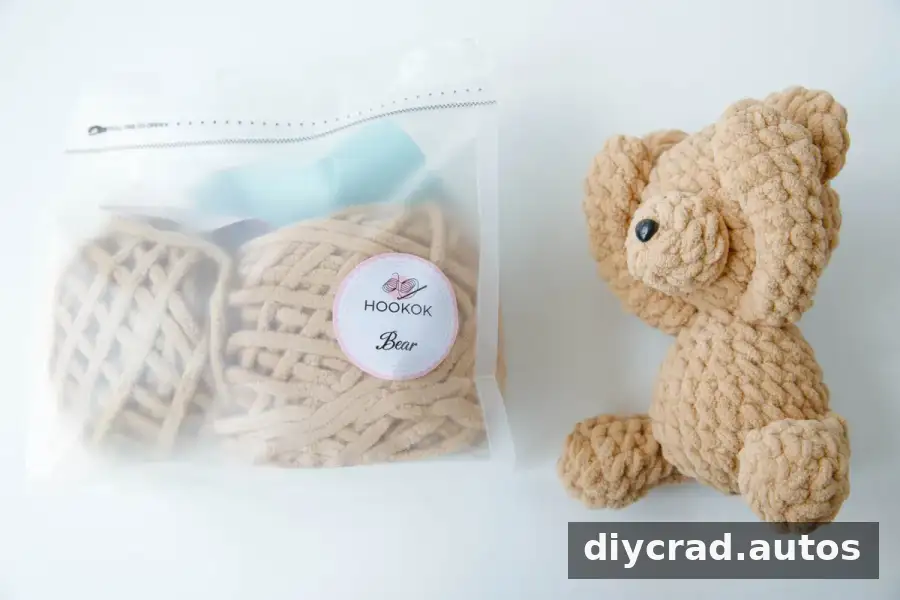
Step-by-Step Crochet Bear Instructions
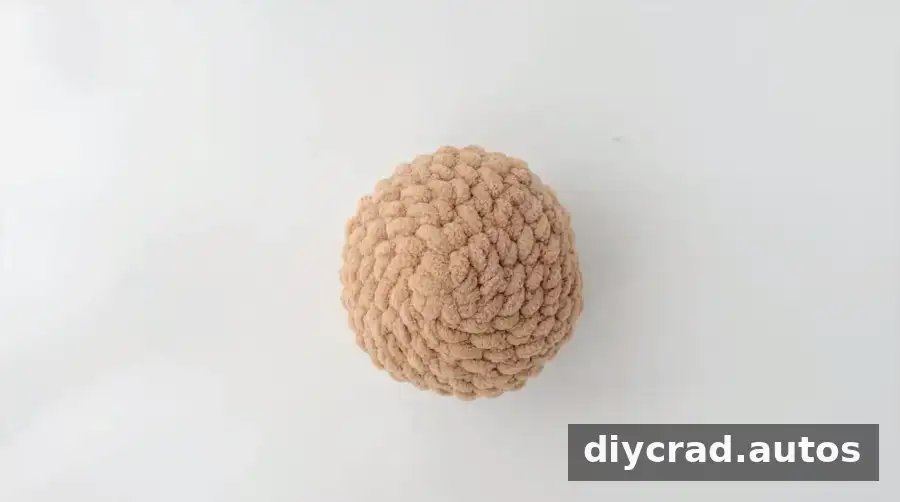
Head
- R1: Start with 6 sc in a magic ring. 1 ss, 1 ch [6]
- R2: (2 sc in next st) 6 times. 1 ss, 1 ch [12]
- R3: (1 sc, 2 sc in next st) 6 times. 1 ss, 1 ch [18]
- R4: (2 sc, 2 sc in next st) 6 times. 1 ss, 1 ch [24]
- R5: (3 sc, 2 sc in next st) 6 times. 1 ss, 1 ch [30]
- R6–R9: 30 sc. 1 ss, 1 ch [30]
- R10: (3 sc, sc2tog) 6 times. 1 ss, 1 ch [24]
- R11: (1 sc, sc2tog, 1 sc) 6 times. 1 ss, 1 ch [18]
- R12: (1 sc, sc2tog) 6 times. Cut the yarn and weave in the end [12]
Keep the stuffing even as the head takes shape. Avoid overfilling, which can make the fabric gaps more visible.
Body
- R1: Start with 6 sc in a magic ring. 1 ss, 1 ch [6]
- R2: (2 sc in next st) 6 times. 1 ss, 1 ch [12]
- R3: (1 sc, 2 sc in next st) 6 times. 1 ss, 1 ch [18]
- R4: (2 sc, 2 sc in next st) 6 times. 1 ss, 1 ch [24]
- R5–R7: 24 sc. 1 ss, 1 ch [24]
- R8: (1 sc, sc2tog, 1 sc) 6 times. 1 ss, 1 ch [18]
- R9: 18 sc. 1 ss, 1 ch [18]
- R10: (1 sc, sc2tog) 6 times. 1 ss, 1 ch [12]
- R11: 12 sc [12]. Leave a longer yarn tail for sewing the body to the head.
Ears and Nose
Make two ears and one nose using the same instructions for each piece:
- R1: Start with 6 sc in a magic ring. 1 ss, 1 ch [6]
- R2: (2 sc in next st) 6 times. 1 ss, 1 ch [12]
- R3: 12 sc. Cut the yarn and leave a tail [12]
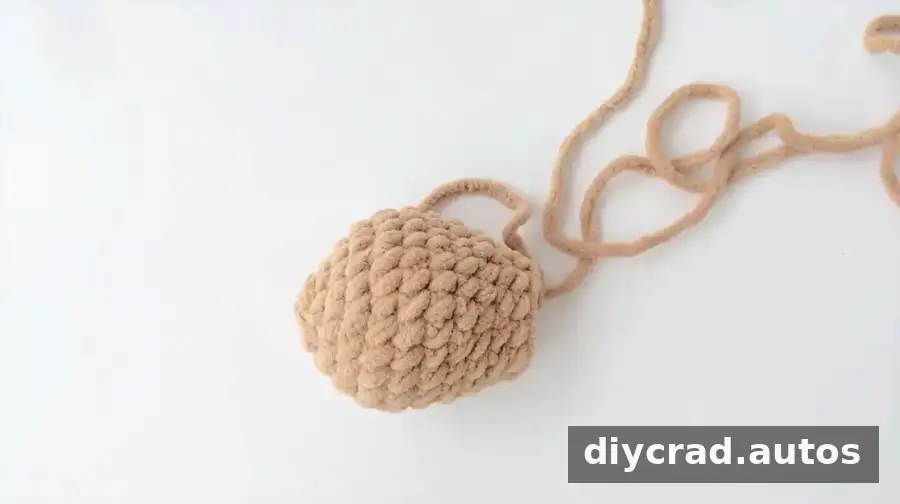
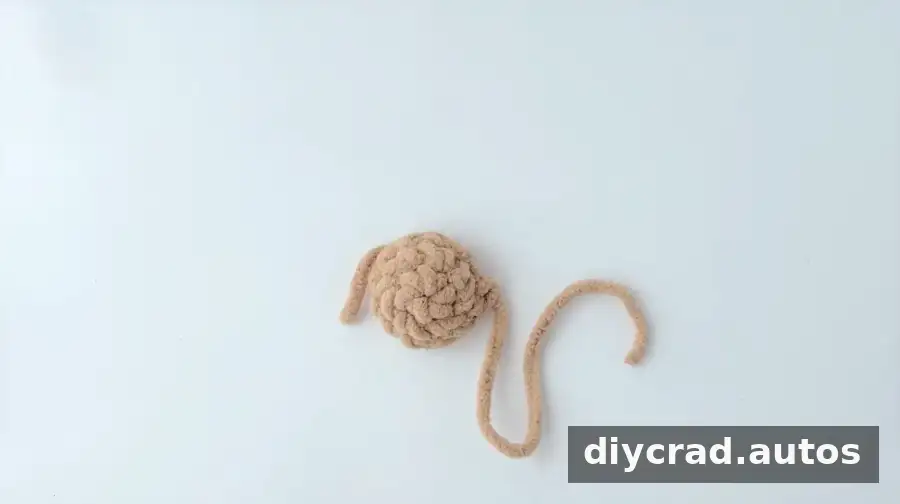
Tail
- R1: Start with 6 sc in a magic ring. 1 ss, 1 ch [6]
- R2: (1 sc, 2 sc in next st) 3 times. 1 ss, 1 ch [9]
- R3: 9 sc. Cut the yarn and weave in the end [9]
Feet
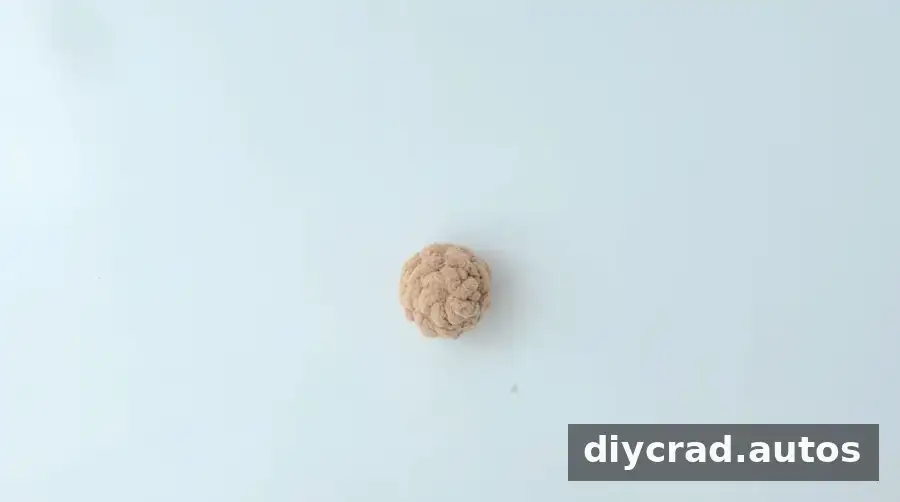
Make two feet:
- R1: Start with 6 sc in a magic ring. 1 ss, 1 ch [6]
- R2: (2 sc in next st) 6 times. 1 ss, 1 ch [12]
- R3–R4: 12 sc. 1 ss, 1 ch [12]
- R5: (1 sc, sc2tog) 4 times. 1 ss, 1 ch [8]
- R6–R8: 8 sc. Cut the yarn and leave a tail [8]
Front Feet
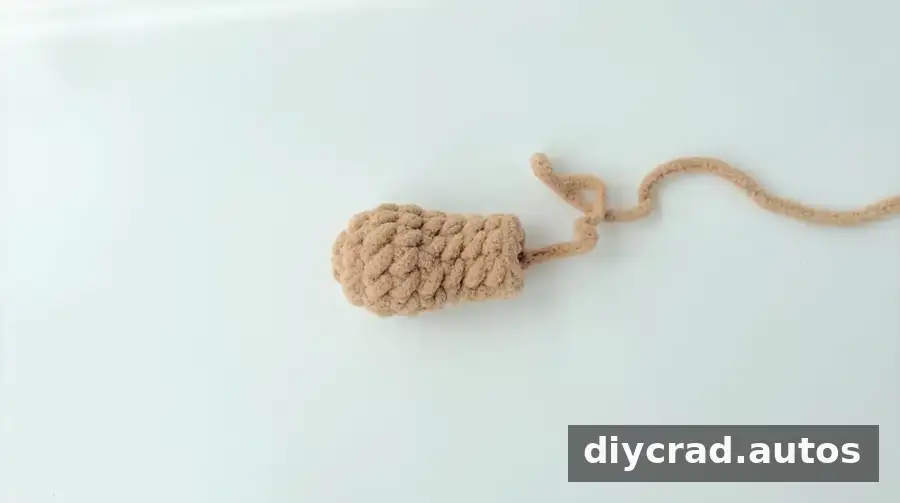
Make two front feet:
- R1: Start with 6 sc in a magic ring. 1 ss, 1 ch [6]
- R2: (1 sc, 2 sc in next st) 3 times. 1 ss, 1 ch [9]
- R3–R4: 9 sc. 1 ss, 1 ch [9]
- R5: (1 sc, sc2tog) 3 times. 1 ss, 1 ch [6]
- R6–R11: 6 sc. Cut the yarn and leave a tail [6]
Leave yarn tails on the pieces that will be sewn together. These make it easier to attach the parts securely during assembly.
Assembling the Crochet Bear
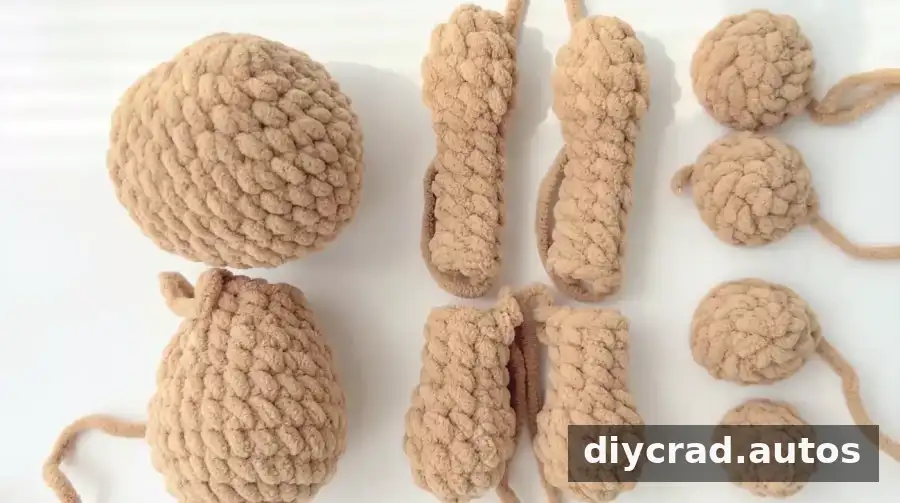
Before joining the pieces, check that you have the head, body, two ears, one nose, tail, two feet, two front feet, safety nose, fiberfill, and the chosen adhesive. Position the parts before sewing or gluing so you can check the bear’s shape and facial placement.
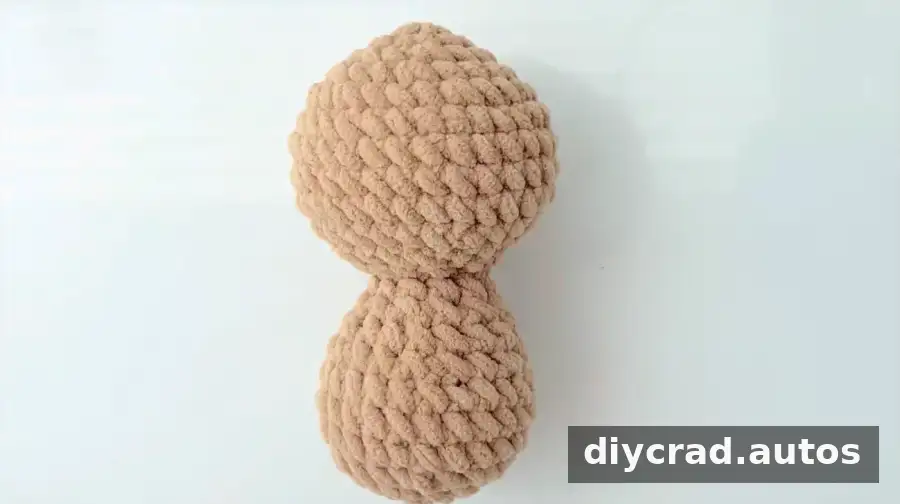
- Step 1: Add fiberfill to the head and body. Sew the remaining openings closed, then sew the head to the body.
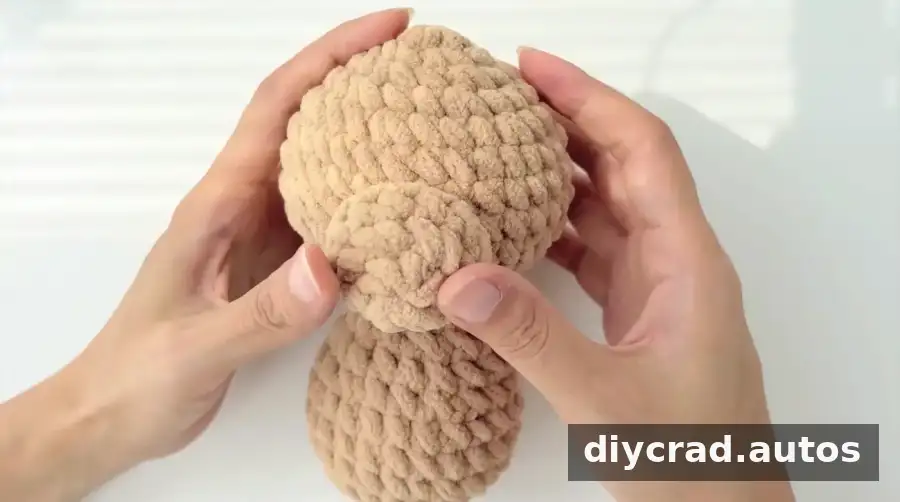
- Step 2: Attach the nose at the center of the head.
- Step 3: Flatten each ear and sew along its lower edge.
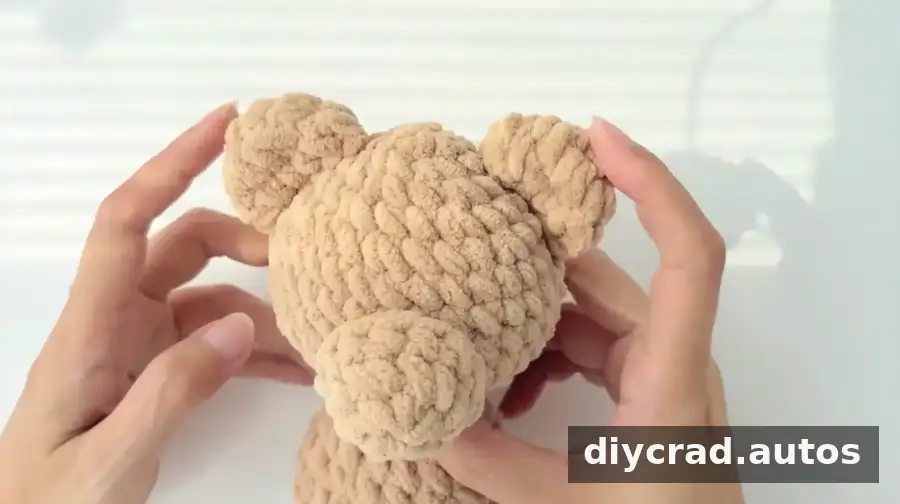
- Step 4: Sew the ears to the left and right sides of the head, between R3 and R7. The pattern also suggests securing them with hot-melt adhesive.
- Step 5: Attach the tail to the back of the body using hot-melt adhesive, as directed in the pattern.
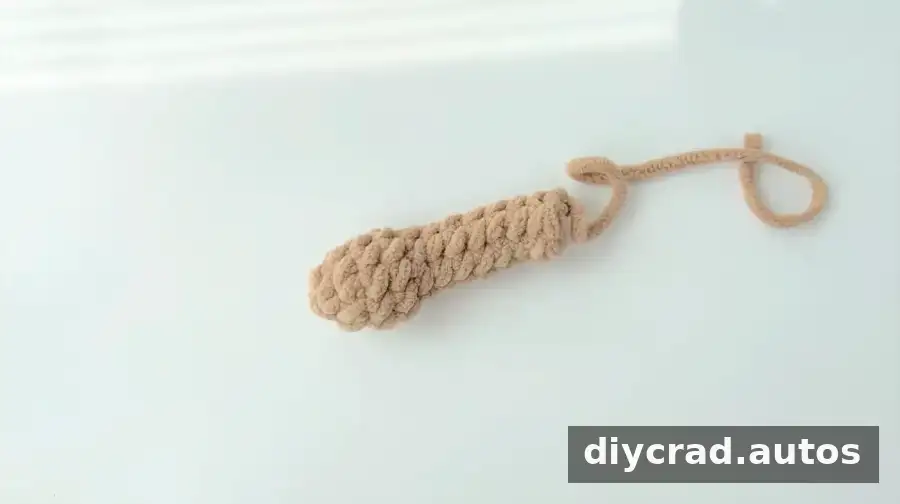
- Step 6: Fill both feet with fiberfill and sew their open ends closed.
- Step 7: Sew the feet to the body between R6 and R10. The pattern suggests using hot-melt adhesive to secure them.
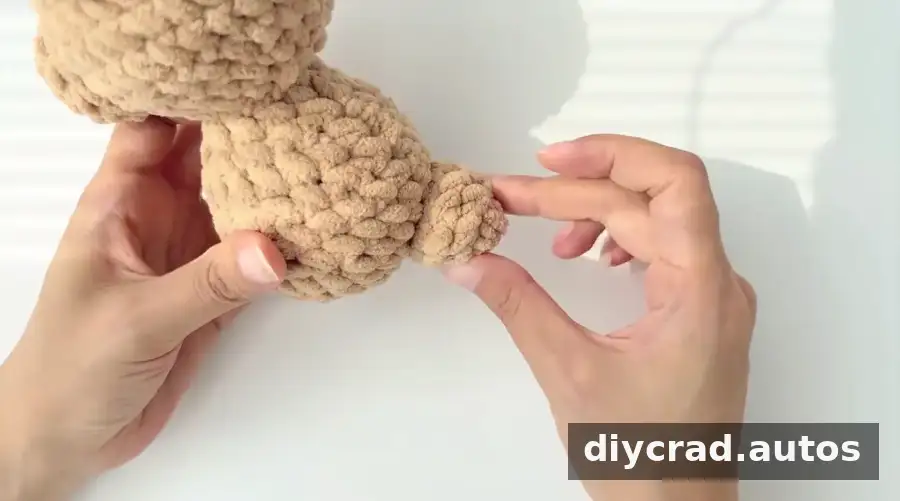
- Step 8: Sew the two front feet to the neck area, making sure the stitches hold them firmly in place.
- Step 9: The pattern also describes applying hot-melt adhesive to the front feet and pressing them into position. Test the placement before applying adhesive, and follow the adhesive manufacturer’s safety instructions.
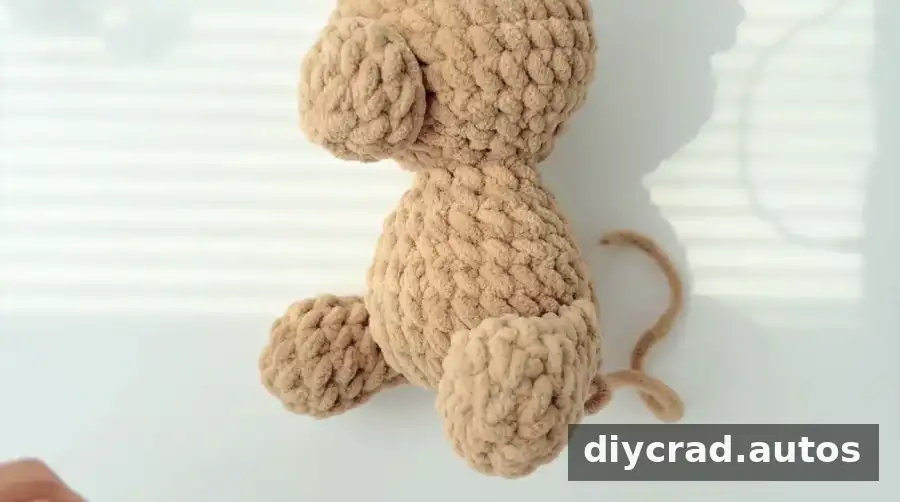
- Step 10: Attach the safety nose to the bear’s face, then check that all parts are secure.
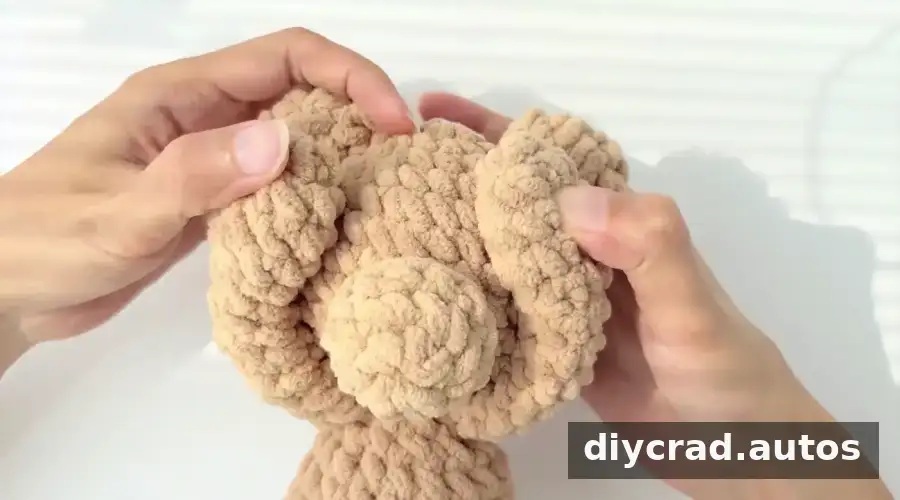
Take care when using hot-melt adhesive, as it can cause burns. If the bear is intended for a young child, check that all small parts and attachments are suitable for the child’s age and use.
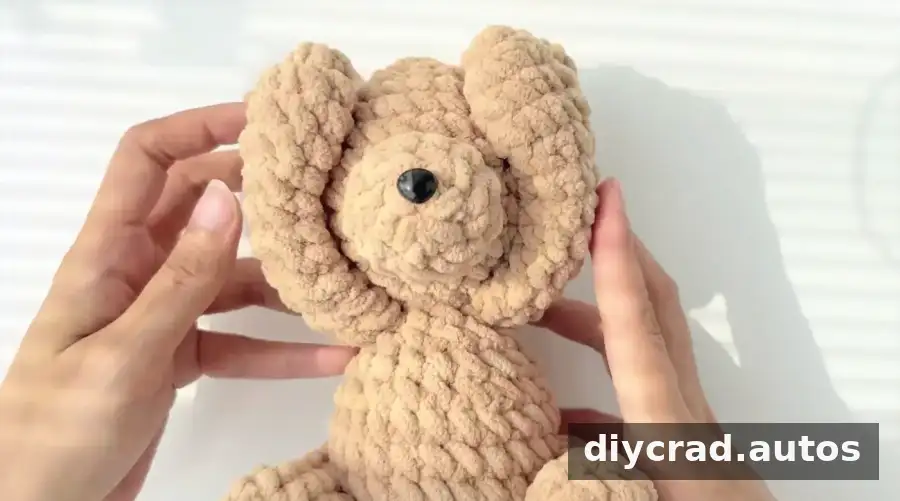
Finishing and Customizing Your Crochet Bear
Once the pieces are assembled, check the seams and make sure the stuffing is evenly distributed. The bear can be made in another yarn color for a different look. Changing the yarn and hook size can also change the finished dimensions; the stated size of approximately 18 cm (7 inches) applies to the materials and tension used for this pattern.
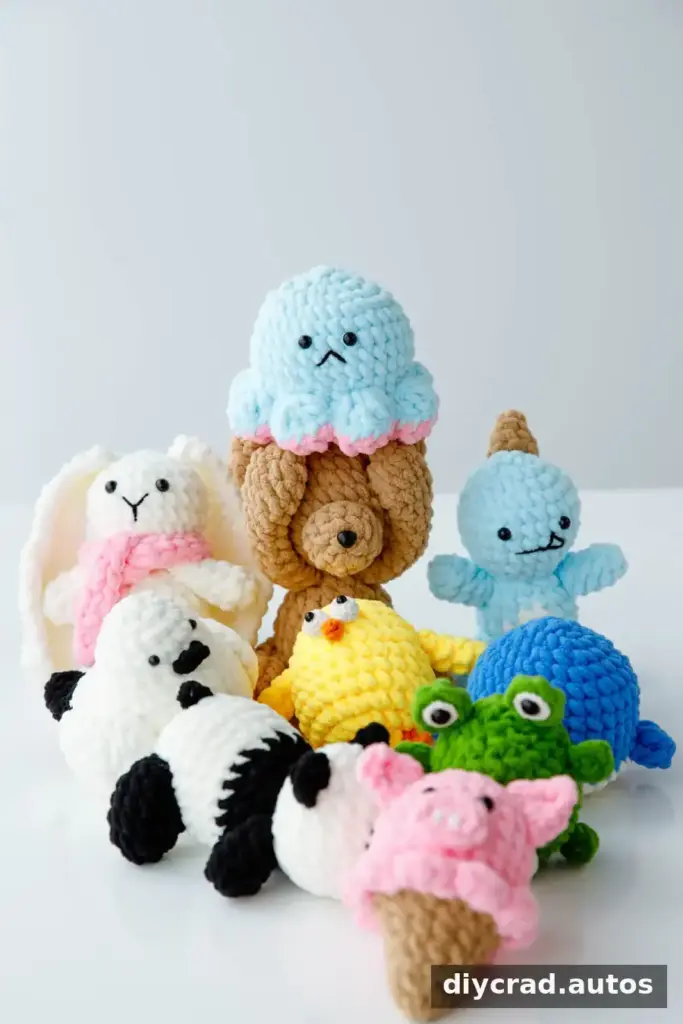
The pattern pieces can also inspire other small amigurumi projects, such as a pig, whale, dinosaur, chick, octopus, frog, rabbit, panda, or bird. For a neat finish, weave in loose yarn ends and gently shape the stuffed parts by hand.
Final Notes on This Crochet Bear Pattern
This crochet bear pattern includes instructions for the head, body, ears, nose, tail, feet, and front feet, followed by assembly guidance. Keep a close eye on the stitch counts and mark the start of each round to make the pieces easier to follow. With careful stuffing and secure seams, you can finish an approximately 18 cm amigurumi bear that is ready to display or enjoy as a handmade toy.