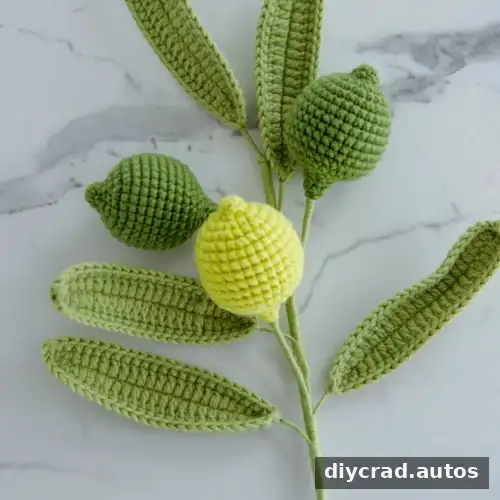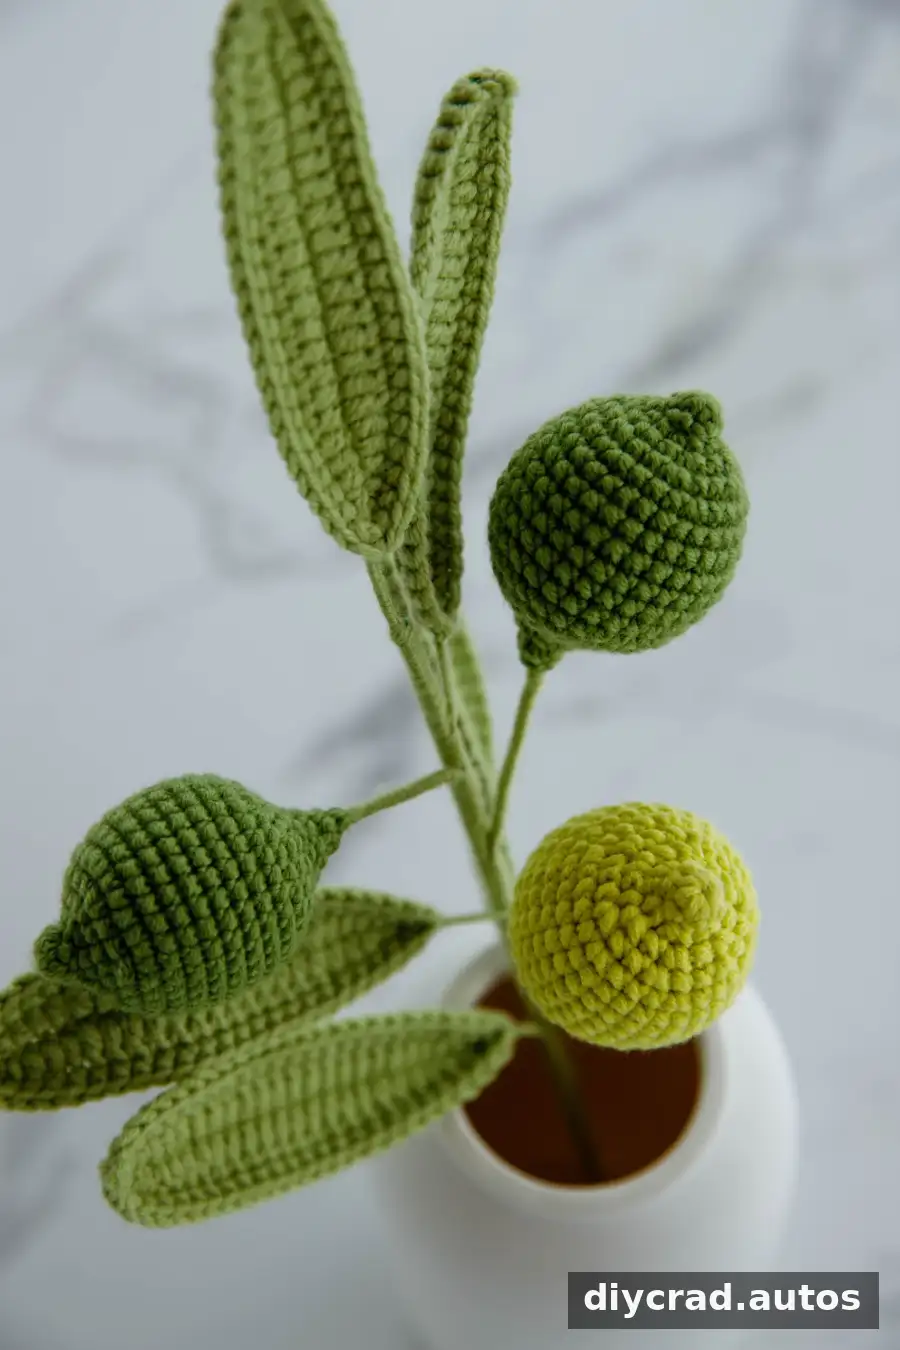
This crochet lemon pattern shows how to make a small amigurumi fruit, a pointed leaf, and a long stem using basic crochet stitches. The project uses yellow and green yarn, fiberfill, wire, and a 2.5 mm hook. Read through the materials and stitch notes first, then follow the rounds in order; a stitch marker can help you keep track of your work.
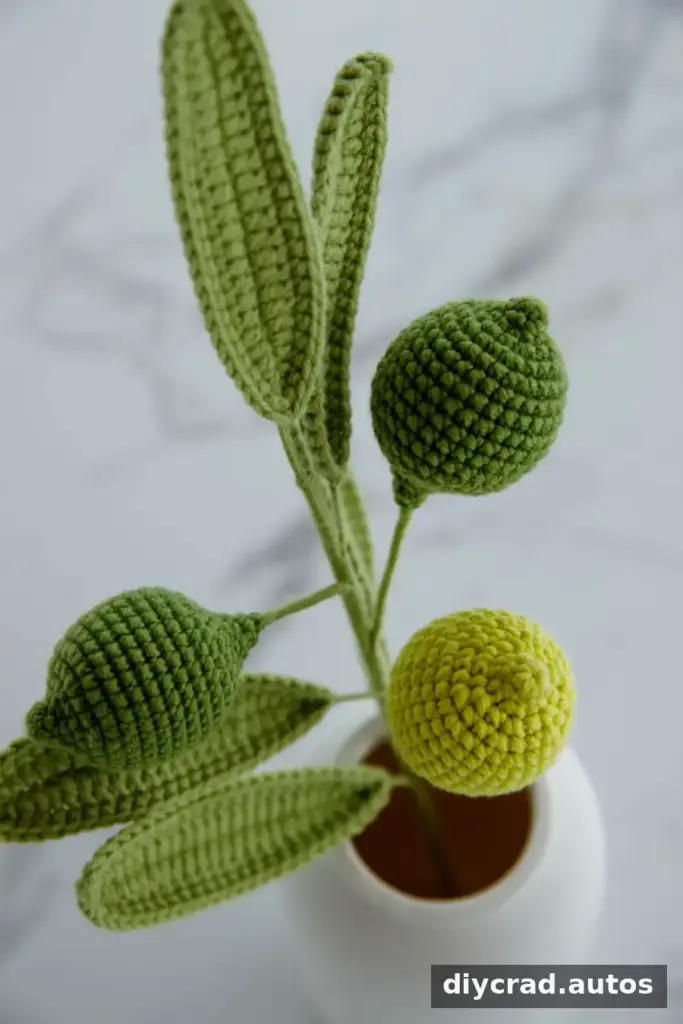
A crocheted lemon can brighten a shelf, become a handmade gift, or add a playful detail to a bag, keychain, blanket, scarf, or hat. The pattern is worked in rounds and uses US crochet terms. It is approachable for crocheters familiar with single crochet, while the decreases and picot stitch may take a little practice.
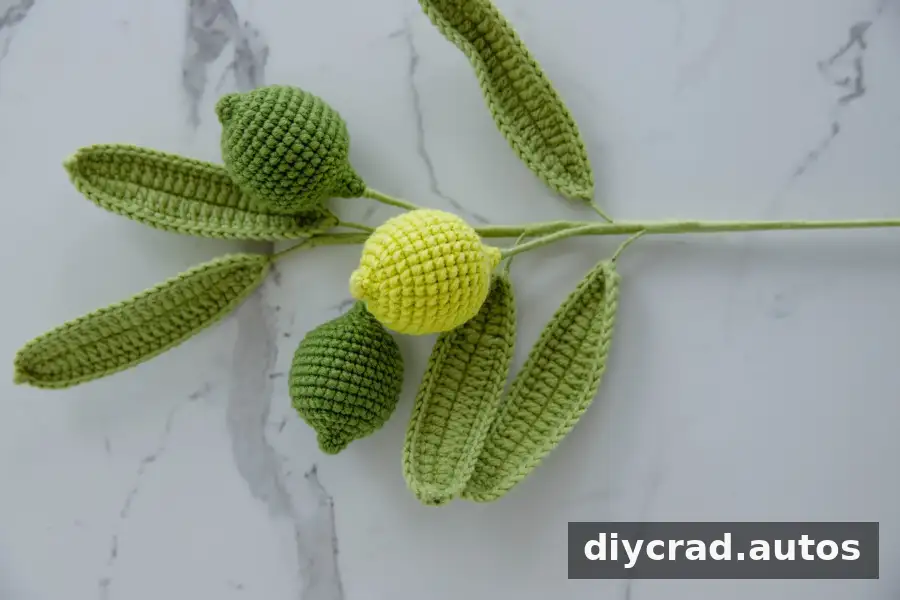
Crochet Lemon Uses and Project Overview
Use the finished lemon as a decorative accent or attach it to another crochet project. If you plan to use it on a frequently handled item, secure the yarn ends and embellishments carefully. The pattern includes a wired stem, so the finished piece is best treated as décor rather than a toy for young children.
- Decorative use: Display the lemon on a shelf or use it as a small handmade gift.
- Accessory embellishment: Attach it to a bag or keychain, making sure the attachment is firmly secured.
- For other crochet projects: Add it to a blanket, scarf, or hat for a bright fruit-themed detail.
Materials for the Crochet Lemon
- Yarn in three colors: yellow, light green, and dark green
- 2.5 mm crochet hook
- Flower rod: 16 inches long x 0.08 inches diameter (40 cm x 2 mm)
- Iron wire: 6 inches long x 0.02 inches diameter (15 cm x 0.4 mm)
- Stitch marker
- Darning needle
- Scissors
- Fiberfill
- Hot melt adhesive
Keep the wire and adhesive away from children while crafting. Tuck or cover wire ends, and let hot melt adhesive cool fully before handling the assembled piece.
Difficulty, Gauge, and Pattern Notes
The pattern card describes the difficulty as middle level. The individual stitches are commonly used, but beginners may want to practice the magic ring, single crochet decrease, and picot before starting. Gauge is not specified, so the finished size will vary with yarn, hook, and personal tension. To adjust the size, change yarn weight and hook together, keeping in mind that this will also affect the finished proportions.
- The instructions use US crochet terms.
- The lemon is worked in rounds, beginning with a magic ring.
- Each round begins with chain 1 unless a round says otherwise.
- Join the rounds with a slip stitch as instructed.
Stitches and Abbreviations
- sc: single crochet
- ss: slip stitch
- ch: chain
- hdc: half double crochet
- dc: double crochet
- sc2tog: single crochet two together
- ps: picot stitch
Special Stitches
Single crochet two together (sc2tog): Insert the hook into the indicated stitch, yarn over, and pull up a loop. Insert the hook into the next stitch, yarn over, and pull up another loop. Yarn over once more and draw through all three loops on the hook. This decrease shapes the tapered end of the lemon.
Chain 1 picot: Chain 1, then slip stitch into the chain just made to form a small loop. The picot is worked at the tip of the leaf for a decorative finish.
Step-by-Step Crochet Lemon Pattern
Amigurumi Lemon
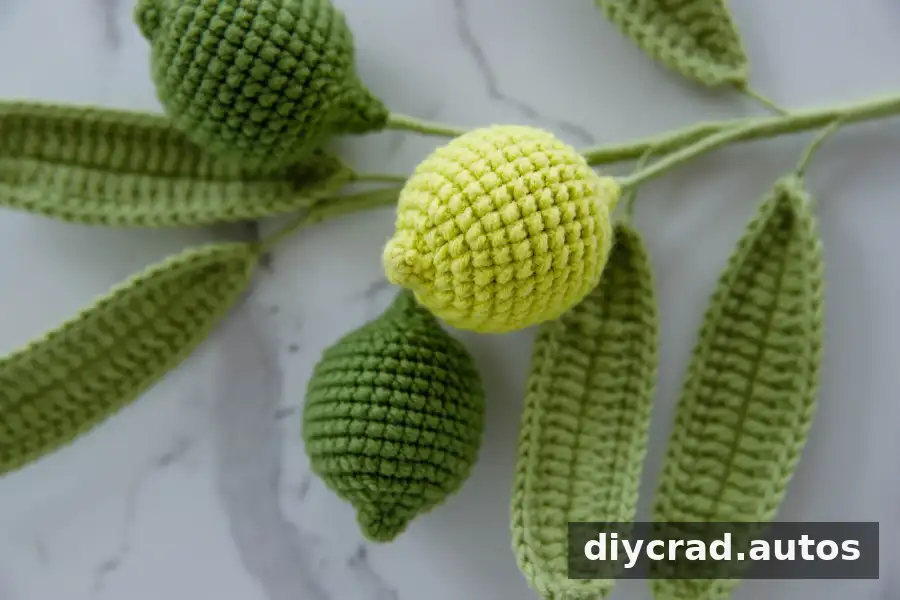
- Round 1: Make a magic ring and work 6 sc into it. Join with ss.
- Round 2: Ch 1 and work 6 sc around. Join with ss.
- Round 3: Ch 1, then work 2 sc in each stitch 6 times. Join with ss.
- Round 4: Ch 1, then repeat 1 sc and 2 sc in the next stitch 6 times. Join with ss.
- Round 5: Ch 1, then repeat 1 sc, 2 sc in the next stitch, and 1 sc 6 times. Join with ss.
- Round 6: Ch 1, then repeat 3 sc and 2 sc in the next stitch 6 times. Join with ss.
- Rounds 7–13: Ch 1 and work 30 sc. Join with ss at the end of each round.
- Round 14: Ch 1, then repeat 3 sc and sc2tog 6 times. Join with ss.
- Round 15: Ch 1, then repeat 1 sc, sc2tog, and 1 sc 6 times. Join with ss.
- Round 16: Ch 1, then repeat 1 sc and sc2tog 6 times. Join with ss.
- Round 17: Ch 1, then repeat 1 sc and sc2tog 4 times. Join with ss. Lightly stuff the lemon with fiberfill.
- Round 18: Ch 1, work 8 sc, and join with ss. Cut a small piece of wire, fold it twice, and tie yarn around its middle. Place it at the center of the lemon.
- Round 19: Ch 1, then repeat sc2tog 4 times. Cut the yarn and hide the end with a darning needle.
Use small amounts of fiberfill at a time so the shape stays even. Keep the filling away from the final stitches to make closing the opening easier.
Crochet Leaf
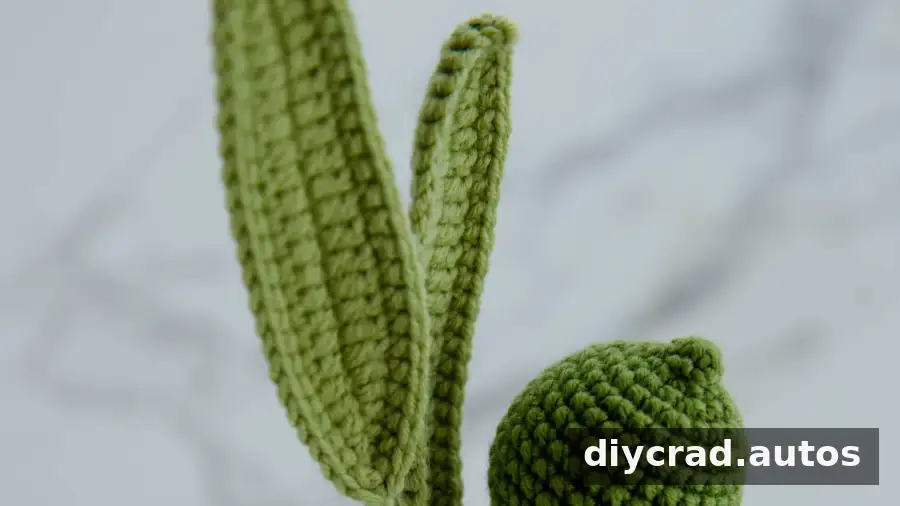
- Foundation chain: Ch 24.
- Round 1: Starting in the second stitch from the hook, work 2 sc, 3 hdc, 13 dc, 3 hdc, and 1 sc. Work 3 sc in the same stitch to form the leaf tip. Continue on the other side with 1 sc, 3 hdc, 13 dc, 3 hdc, and 2 sc. Work 1 ss and 1 ch.
- Round 2: Add the wire and work sc all around. Make a chain 1 picot at the leaf tip. Work 1 ss and 1 ch, then cut the yarn and leave a tail.
As you work around the wire, keep the stitches snug but not so tight that the leaf curls. The picot marks the pointed end of the leaf.
Assemble the Lemon, Leaf, and Stem
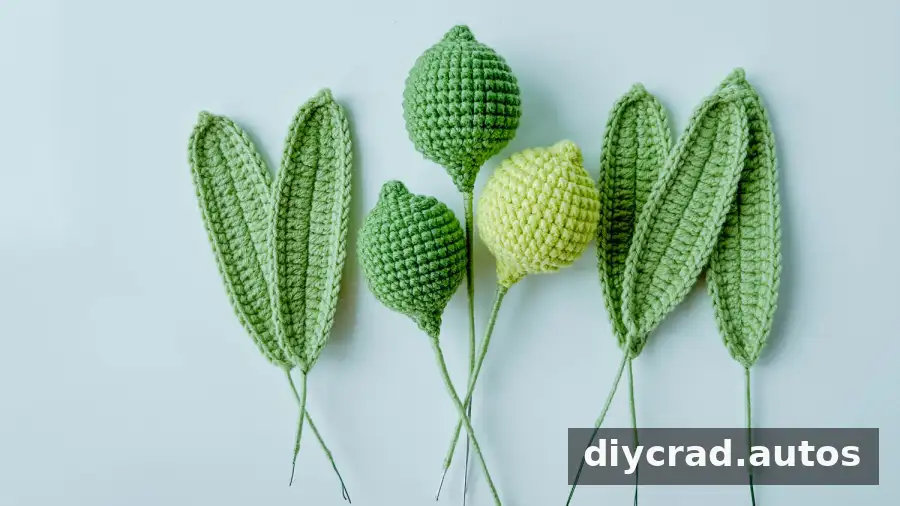
- Secure the leaf: After finishing the leaf, wrap its yarn tail around the wire and use hot melt adhesive to hold it in place.
- Attach the lemon: Wrap yarn around the wire at the lemon and secure it with hot melt adhesive.
- Arrange the pieces: Add a leaf at the top of the stem, then attach the leaves and lemons one by one.
- Finish the stem: Continue wrapping yarn around the stem and secure the end with hot melt adhesive.
Check that each component is firmly attached and that no wire ends are exposed. Allow the adhesive to cool completely before displaying or using the finished decoration.
Finishing Your Crochet Lemon
This crochet lemon combines simple rounds with a shaped leaf and a wrapped stem to create a colorful fruit decoration. The pattern uses yellow, light green, and dark green yarn, and the final size depends on your materials and tension. Take time to check the shaping as you work, especially in the decrease rounds, and use the video subtitles if you need help following the visual steps.