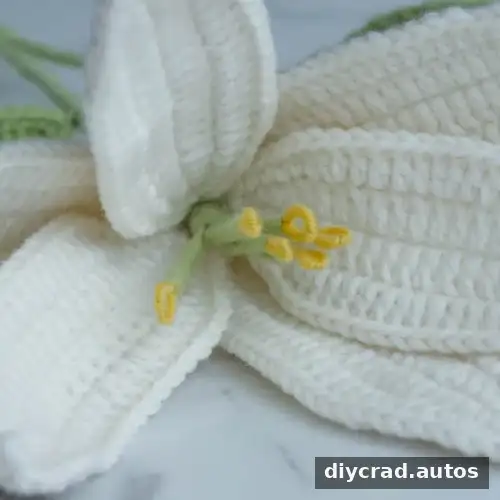
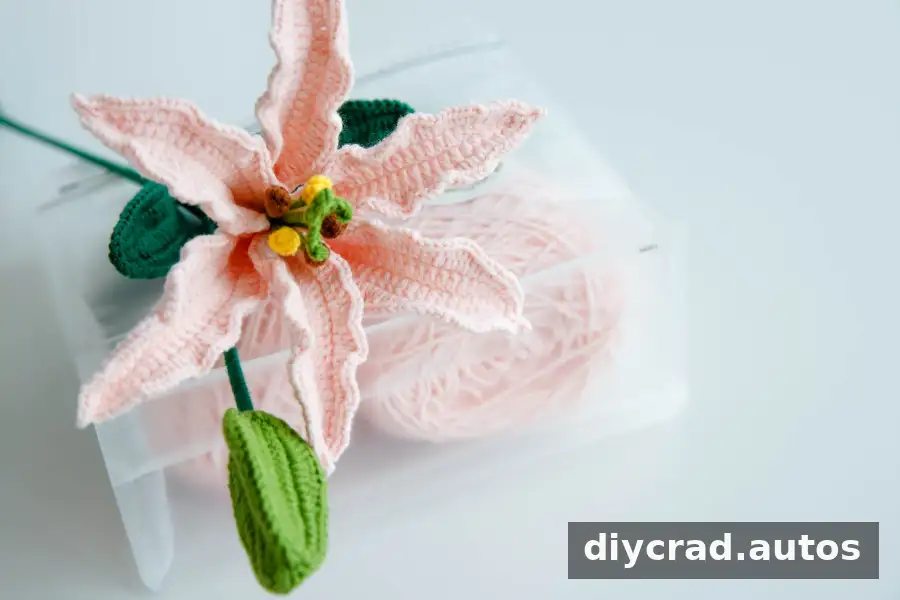
This Crochet Lily pattern explains how to make a dimensional flower with crocheted petals, a leaf, a bud, and wrapped stems. Use the finished lily on its own, arrange it in a bouquet, or attach individual pieces to other crochet projects. The pattern uses US crochet terminology and is rated advanced intermediate; take time to count stitches carefully, especially when working around both sides of a foundation chain.
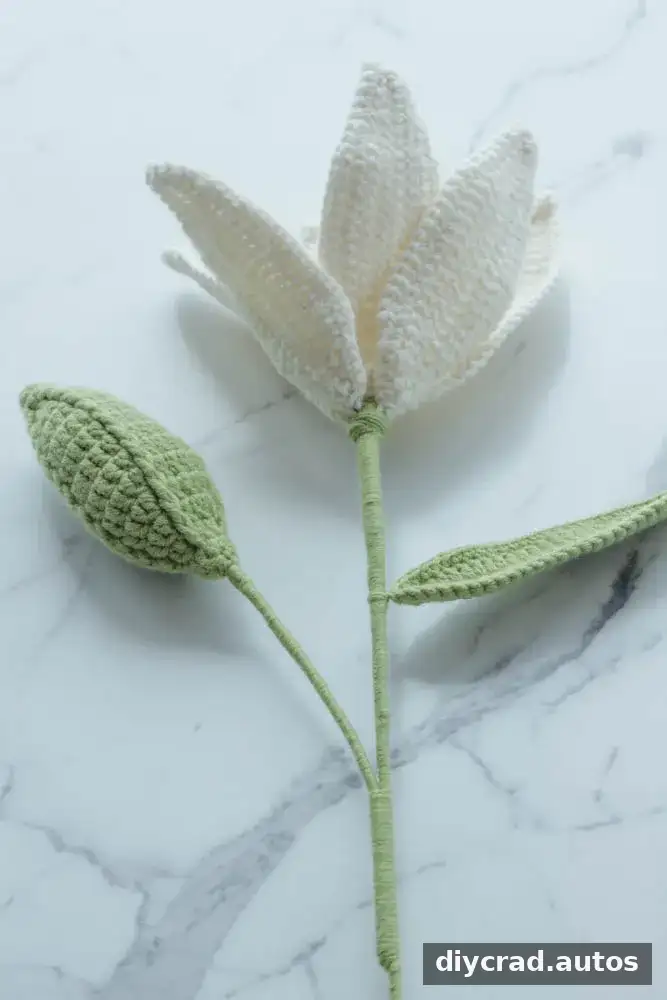
Why Make a Crochet Lily?
The shaped petals, curved leaf, and central stamens give this flower a detailed look. Choose white, cream, or soft yellow for a classic lily-inspired palette, or try purple, pink, orange, or red for a brighter design. A gradient yarn can add color variation without changing the pattern.
- Arrange the flower, leaf, and bud in different positions to create varied displays.
- Use a finished flower as bouquet decor or as a centerpiece.
- Make individual petals or leaves as appliques for clothing and other crochet projects.
When choosing colors, lay the yarns together before starting to check that the shades work well as a set.
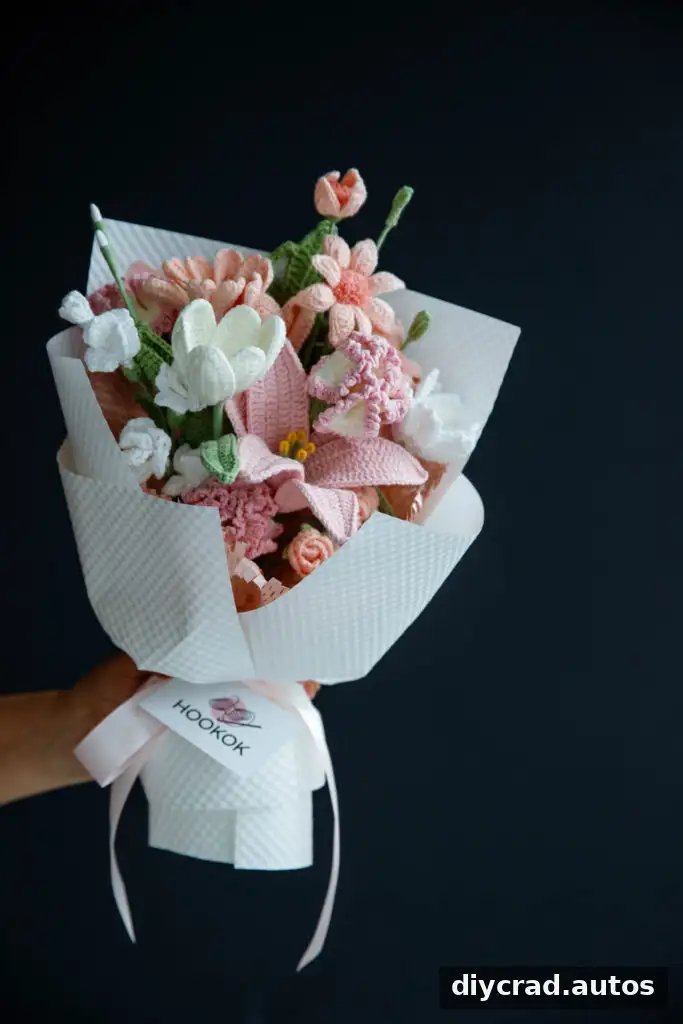
Floral arrangement inspiration
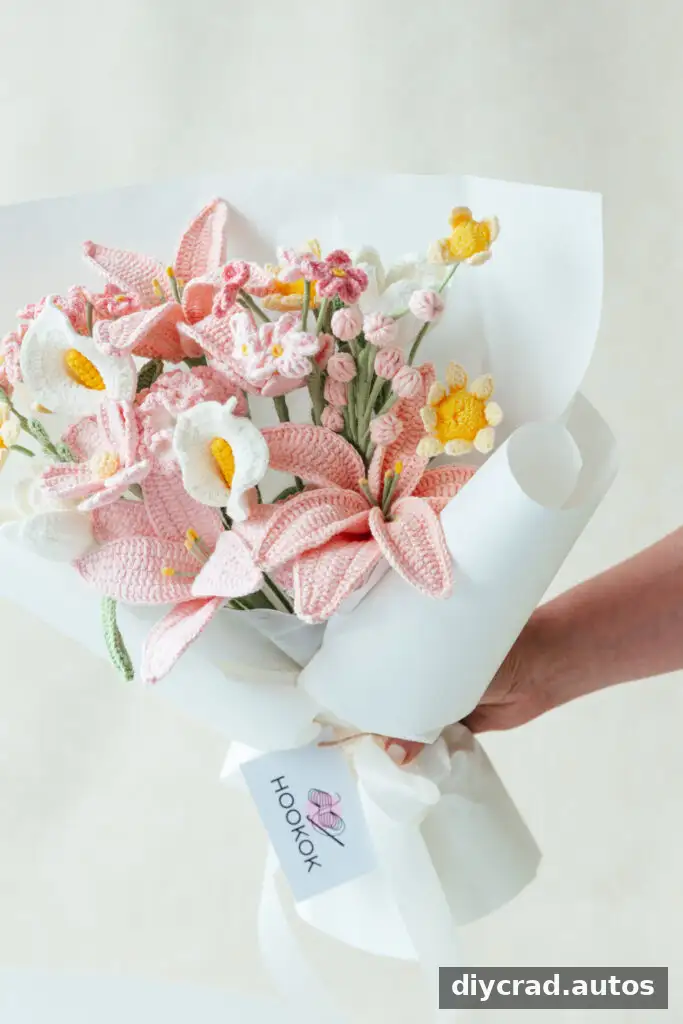
Pink lily and calla lily arrangement inspiration
Materials and Pattern Details
- Yarn in three colors: white, yellow, and green. Cotton yarn may be substituted with another yarn type.
- Crochet hook: 2 or 2.5 mm.
- Flower rod: 16 inches long, 0.08 inches in diameter (40 cm x 2 mm).
- Iron wire: 0.4 mm or 0.5 mm in diameter.
- Stitch marker, darning needle, scissors, polyfill, and hot-melt adhesive.
Difficulty: Advanced intermediate. A beginner looking for a challenge can also try the pattern by following each round carefully. Gauge: Not applicable; changing the yarn or hook size will change the finished dimensions.
Stitch abbreviations: dc = double crochet; dc2tog = double crochet two stitches together; fpdc = front-post double crochet; hdc = half double crochet; sc = single crochet; ss = slip stitch; ch = chain.
Picot stitch: Work one sc in the next stitch, ch 2, then ss at the base of that same stitch. The pattern is written in US terms, and the rounds are worked in the round. Italicized text in the original instructions indicates additional notes.
Crochet Lily Pattern
Make six petals, one bud, one leaf, and six stamens. The wire is added to the petal and leaf edges to help them hold their shape. Handle cut wire carefully and cover any exposed ends during assembly.
Flower Petals (Make 6)
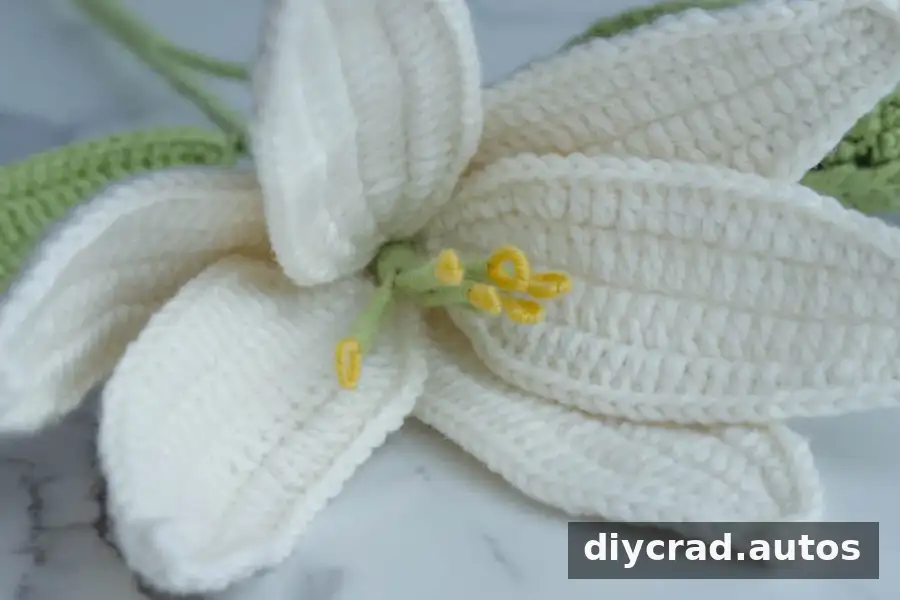
- Foundation: Ch 25.
- Round 1: Work 2 sc in the 2nd ch from the hook, 2 hdc, 14 dc, 3 hdc, 2 sc, then 3 sc in the last stitch. Do not turn. Working along the other side of the foundation chain, work 2 sc, 3 hdc, 14 dc, 2 hdc, 2 sc, and ss.
- Round 2: Ch 1 and add iron wire. Work 2 sc in the next st, 2 sc, 2 hdc, dc, 2 dc in the next st, 4 dc, 2 dc in the next st, 5 dc, 3 hdc, 4 sc; then work (1 sc, ch 2 picot, 1 sc). Working along the other side of the foundation chain, work 4 sc, 3 hdc, 5 dc, 2 dc in the next st, 4 dc, 2 dc in the next st, dc, 2 hdc, 2 sc, 2 sc in the next st, and ss. Cut the yarn, leaving a tail for wrapping.
Finish the first petal, then repeat the instructions to make five more. Keep the wire along the edge as you crochet so it is enclosed by the stitches.
Flower Bud (Make 1)
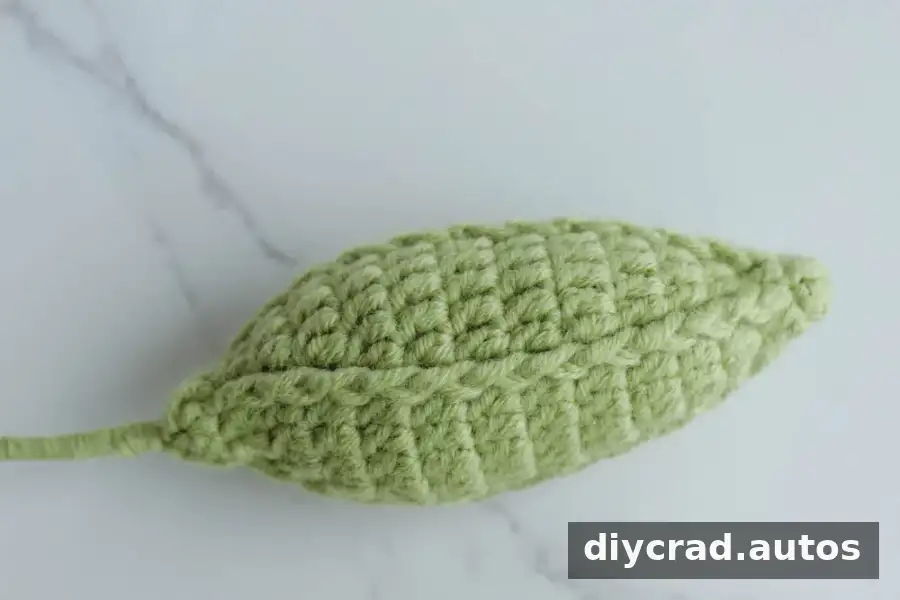
- With green yarn, begin with a magic ring.
- Round 1: Ch 3, work 5 dc into the ring, close it tightly, and ss to the top of ch 3.
- Round 2: Ch 3, (dc, 2 dc in the next st) twice, 2 dc in the next st, ss.
- Round 3: Ch 3, (fpdc, 2 dc in the next st) 4 times, ss.
- Round 4: Ch 3, (fpdc, dc, 2 dc in the next st) 4 times, ss.
- Round 5: Ch 3, (fpdc, 2 dc, 2 dc in the next st) 4 times, ss.
- Round 6: Ch 3, (fpdc, 3 dc, 2 dc in the next st) 4 times, ss.
- Rounds 7–9: Ch 3, (fpdc, 5 dc) 4 times, ss.
- Round 10: Ch 3, (fpdc, 3 dc, dc2tog) 4 times, ss.
- Round 11: Ch 3, (fpdc, 2 dc, dc2tog) 4 times, ss.
- Round 12: Ch 3, (fpdc, dc, dc2tog) 4 times, ss.
- Round 13: Ch 3, (fpdc, dc2tog) 4 times, ss. Add polyfill.
- Round 14: Ch 3, (dc, dc2tog). Take a 40 cm flower stem, bend one end, and insert it into the bud. Work (1 dc, dc2tog), dc2tog, and 1 ss; ch 1, then cut the yarn, leaving a tail for wrapping.
Leaf (Make 1)
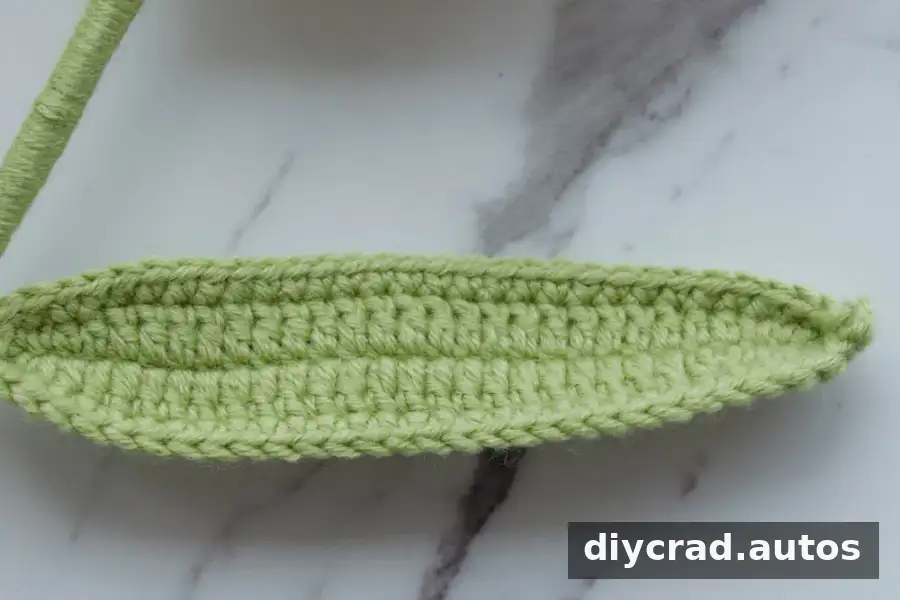
- Foundation: Ch 30.
- Round 1: Add iron wire. Work 2 sc in the 2nd ch from the hook, 2 hdc, 20 dc, 2 hdc, 2 sc, then 3 sc in the last stitch. Working along the other side of the chain, work 2 sc, 2 hdc, 20 dc, 2 hdc, 2 sc, and ss.
- Round 2: Ch 1, sc 30, make a ch 2 picot, sc 29, and ss. Cut the yarn, leaving a tail for wrapping.
Stamens (Make 6)
- Cut six 6-inch (15 cm) lengths of iron wire. Starting 2 inches (5 cm) from one end, wrap yellow yarn around the wire for 1 inch (2.5 cm).
- Fold the wire in half, keeping the yellow yarn ends aligned.
- Wrap green yarn around both wire strands for 1 inch (2.5 cm), then cut and tie a knot.
Assemble the Crochet Lily
Before wrapping, arrange the petals and leaf around the stem to check their placement. Keep the yarn wrap snug and even, but avoid pulling so tightly that the crocheted pieces distort.
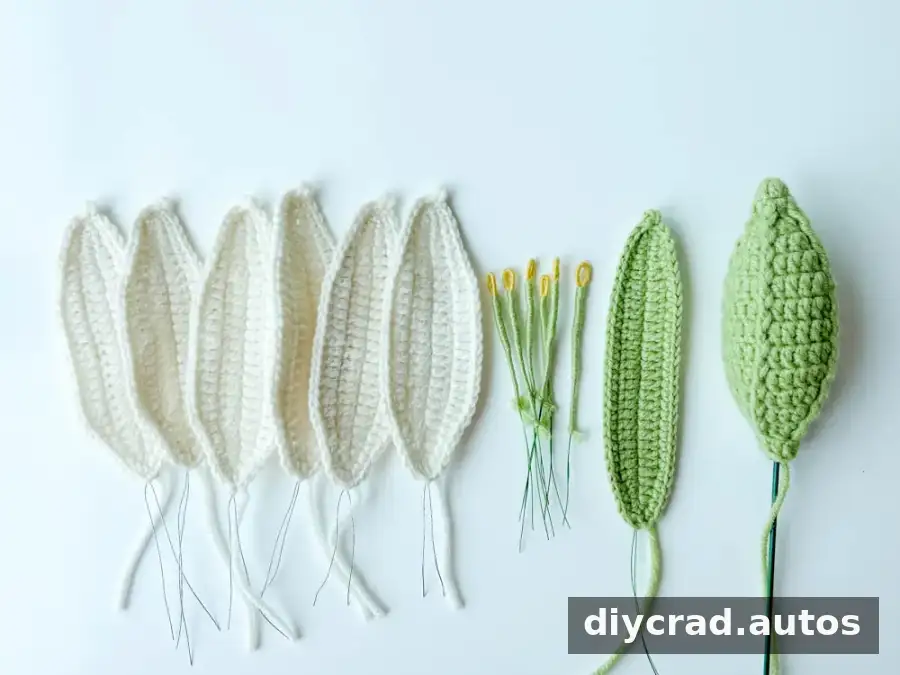
- Cut the flower rod in half and set one half aside. Use the stamen yarn tail to wrap the other rod half for the bud stem. Cut the tail and secure the end with hot-melt adhesive.
- With the reserved rod, position the flower stamens and wrap them to the rod with green yarn. Do not cut the yarn.
- Wrap the six petals around the stamens one at a time. Continue wrapping down the stem until the petal yarn tails are covered.
- Join and wrap the leaf onto the stem, covering its tail. Attach the bud and continue wrapping. Cut the yarn and secure the end with hot-melt adhesive.
Allow the adhesive to set before handling the finished flower. Keep hot-melt adhesive and wire away from children and use them carefully.
Finishing Tips and Conclusion
This Crochet Lily can be adapted with different yarn colors and arrangements while keeping the same stitch instructions. If the finished flower looks larger or smaller than expected, remember that yarn type and hook size affect its dimensions because the pattern has no specified gauge. For a neat result, check the stitch counts as you work and cover loose yarn tails during assembly.