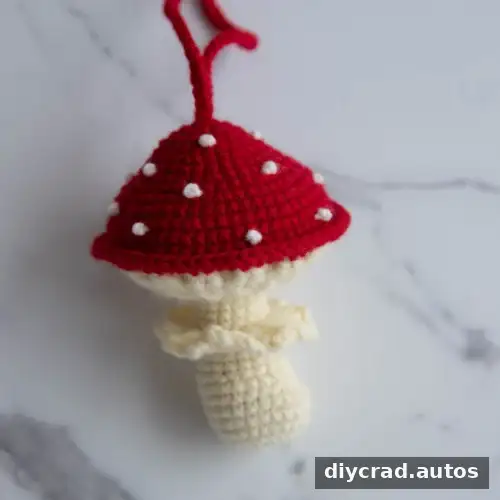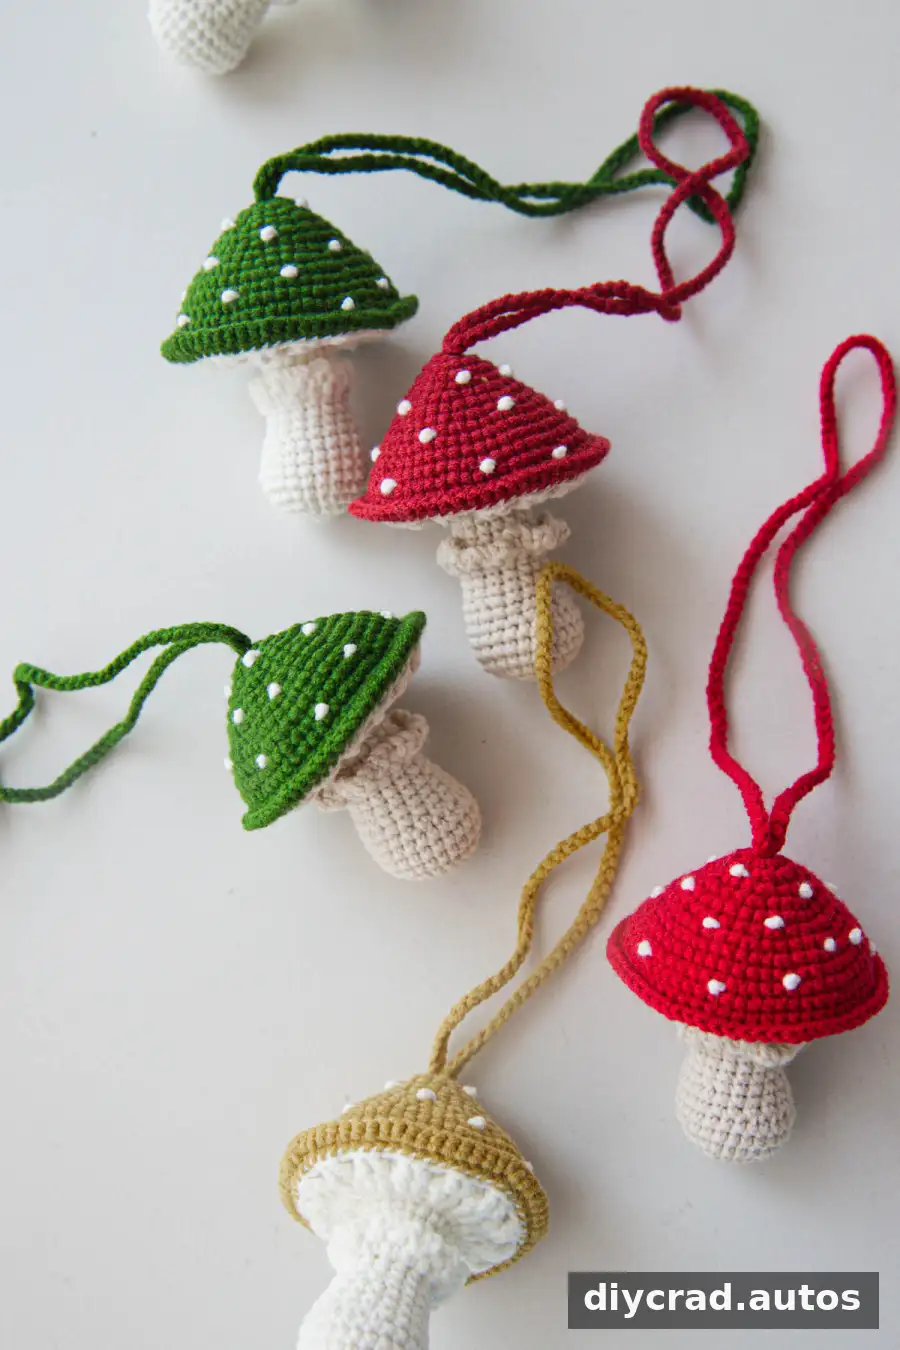
A Crochet Mushroom Car Hanging is a colorful handmade decoration that can also be used as a small ornament elsewhere. This pattern uses a red cap, cream stem, and white details, but you can choose other yarn colors to create your own look. Read through the instructions before starting, as the pattern includes increases, decreases, and post stitches.
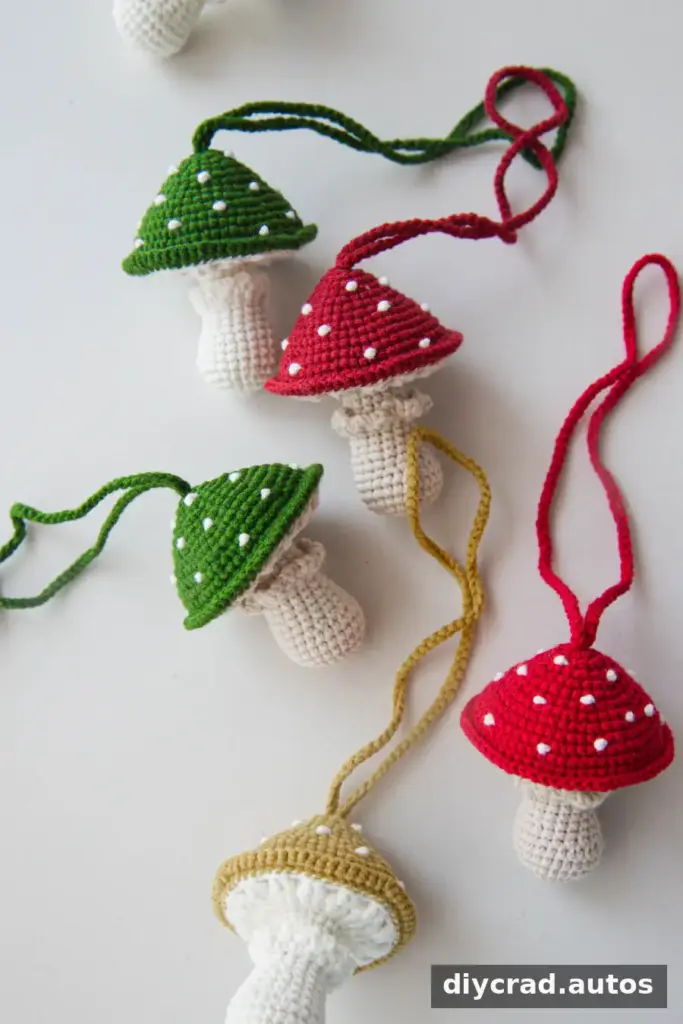
The cap can be made in red, dark red, yellow, green, or another color. Variegated yarn is another option for a playful finish. Use a stitch marker to keep track of the start of each round, especially when working the textured stitches on the stem.
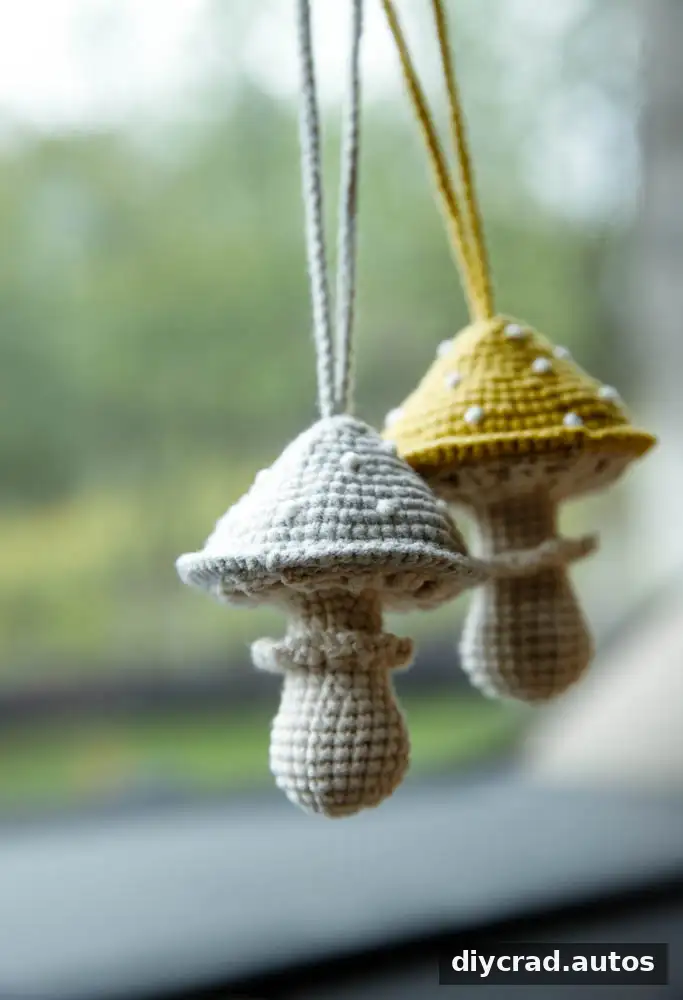
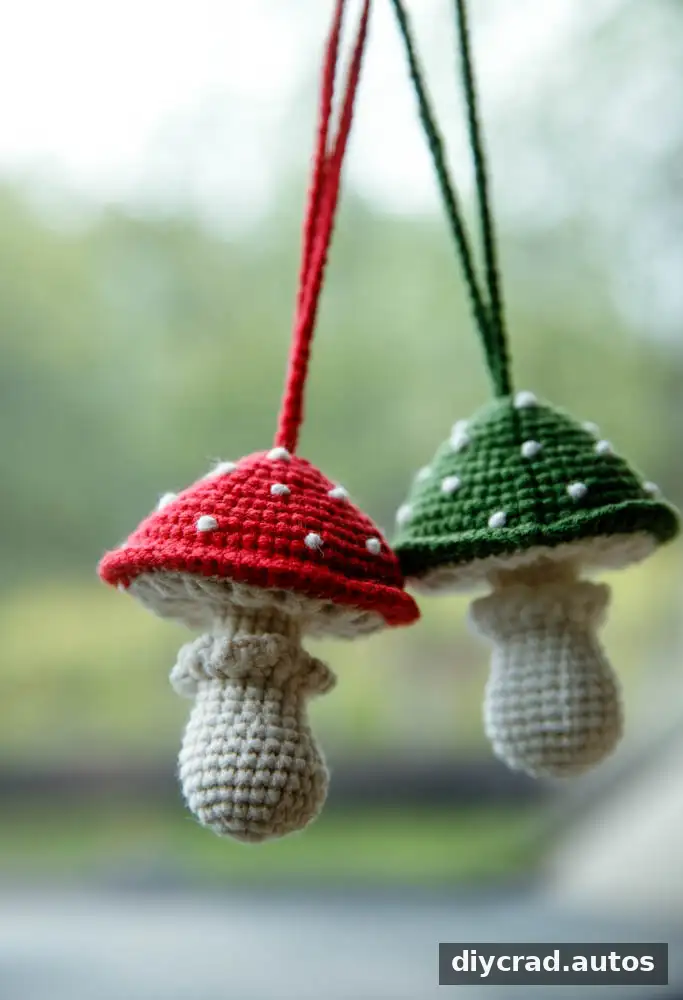
Materials for the Crochet Mushroom Car Hanging
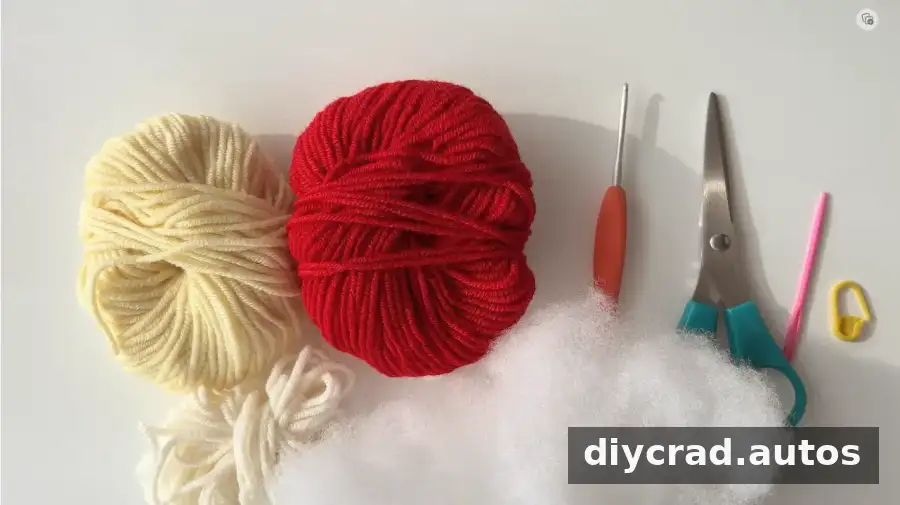
- Yarn in three colors: red for the mushroom cap, cream for the stem, and white for the spots
- 2.5 mm crochet hook
- Fiberfill
- Stitch marker
- Scissors
- Darning needle
Keep the hook and yarn consistent throughout the project for an even fabric. The finished size depends on the yarn and hook you use; no specific gauge or finished measurements are provided.
Difficulty and Pattern Notes
The detailed pattern describes the project as advanced because it uses sc2tog decreases, FLO and BLO stitches, and BPDC and FPDC post stitches. The pattern summary also labels the difficulty as middle. If these techniques are new to you, practise them on a small swatch before making the mushroom.
- The pattern uses US crochet terms.
- Mark the first stitch of every round, particularly in rounds with BPDC and FPDC.
- Follow the repeats carefully and check your stitch placement as you work.
Stitches and Abbreviations
- ch: chain
- sc: single crochet
- sc2 in next st: increase by working two single crochet stitches in the next stitch
- sc2tog: single crochet two stitches together; a decrease
- dc: double crochet
- bpdc: back post double crochet
- fpdc: front post double crochet
- hdc: half double crochet
- tr: treble crochet
- FLO: front loop only
- BLO: back loop only
- ss: slip stitch
How to work the special stitches
BLO: Insert the hook from back to front through the back loop only. Yarn over and pull up a loop, then yarn over and pull through both loops on the hook.
FLO: Insert the hook from front to back through the front loop only. Yarn over and pull up a loop, then yarn over and pull through both loops.
BPDC: Yarn over, insert the hook from the back around the post of the indicated double crochet, and bring it back to the rear. Yarn over and draw up a loop, then complete the double crochet by pulling through two loops twice.
FPDC: Yarn over, insert the hook from the front around the post of the indicated double crochet, and bring it back to the front. Yarn over and draw up a loop, then complete the stitch by pulling through two loops twice.
Step-by-Step Crochet Mushroom Car Hanging Pattern
Make the mushroom cap
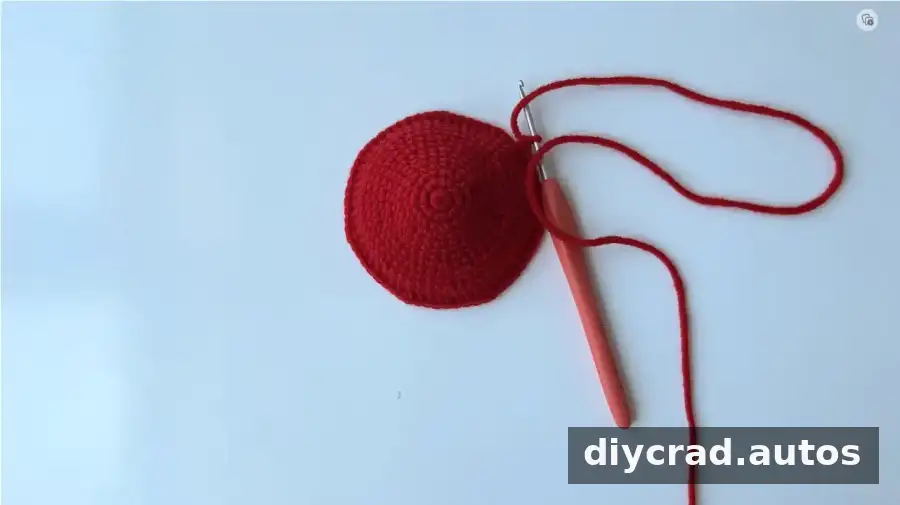
Using red yarn, begin with a magic ring. Work the rounds as written below. Join with a slip stitch and chain one at the end of each round where indicated.
- Round 1: Make 7 sc in the magic ring. 1 ss, 1 ch.
- Round 2: Work 2 sc in each stitch around; repeat 7 times. 1 ss, 1 ch.
- Round 3: (1 sc, 2 sc in next stitch) repeat 7 times. 1 ss, 1 ch.
- Round 4: Work 21 sc around. 1 ss, 1 ch.
- Round 5: (1 sc, 2 sc in next stitch, 1 sc) repeat 7 times. 1 ss, 1 ch.
- Round 6: Work 28 sc around. 1 ss, 1 ch.
- Round 7: (3 sc, 2 sc in next stitch) repeat 7 times. 1 ss, 1 ch.
- Round 8: (2 sc, 2 sc in next stitch, 2 sc) repeat 7 times. 1 ss, 1 ch.
- Round 9: (5 sc, 2 sc in next stitch) repeat 7 times. 1 ss, 1 ch.
- Round 10: Work 49 sc around. 1 ss, 1 ch.
- Round 11: (3 sc, 2 sc in next stitch, 3 sc) repeat 7 times. 1 ss, 1 ch.
- Rounds 12–13: Work 56 sc in each round. 1 ss, 1 ch.
- Round 14: Work in the FLO: (7 sc, 2 sc in next stitch) repeat 7 times. Cut the yarn and leave a tail.
Add a hanging rope
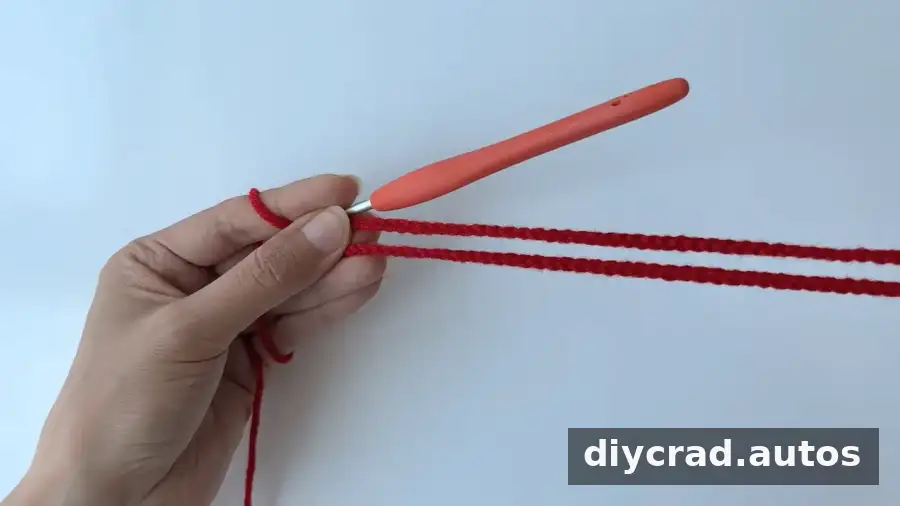
Make this part only if you plan to use the mushroom as a car hanging. Chain to the length you want, then attach the rope to the mushroom cap and secure it with a knot. Check that the attachment is firm before hanging the finished piece.
Crochet the mushroom stem
Use cream yarn for the stem. Brown or black yarn can be used instead if you prefer a different color combination. Begin with a magic ring.
- Round 1: Make 8 sc in the magic ring. 1 ss and 1 ch.
- Round 2: Work 2 sc in each stitch around; repeat 8 times. 1 ss and 1 ch.
- Round 3: (1 sc, 2 sc in next stitch) repeat 8 times. 1 ss and 1 ch.
- Rounds 4–6: Work 24 sc. 1 ss and 1 ch.
- Round 7: Work 8 sc, decrease with sc2tog 4 times, then work 8 sc. 1 ss and 1 ch.
- Round 8: Work 20 sc around. 1 ss and 1 ch.
- Round 9: Work 4 sc, sc2tog, 8 sc, sc2tog, and 4 sc. 1 ss and 1 ch.
- Round 10: (7 sc, sc2tog) repeat 2 times. 1 ss and 1 ch.
- Rounds 11–12: Work 16 sc in each round. 1 ss and 1 ch.
- Round 13: Work 16 sc in the BLO. 1 ss and 1 ch.
- Rounds 14–15: Work 16 sc. 1 ss and 1 ch.
- Add fiberfill before continuing.
- Round 16: (7 sc, 2 sc in next stitch) repeat 2 times. 1 ss and 1 ch.
- Round 17: (5 sc, 2 sc in next stitch) repeat 3 times. 1 ss, 3 ch.
- Round 18: (2 dc, 2 dc in next stitch) repeat 7 times. 1 ss, 3 ch.
- Round 19: (1 bpdc, 2 fpdc in next stitch) repeat 14 times. 1 ss, 3 ch.
- Round 20: (2 bpd, 2 fpdc in next stitch) repeat 14 times. Cut the yarn and leave a tail.
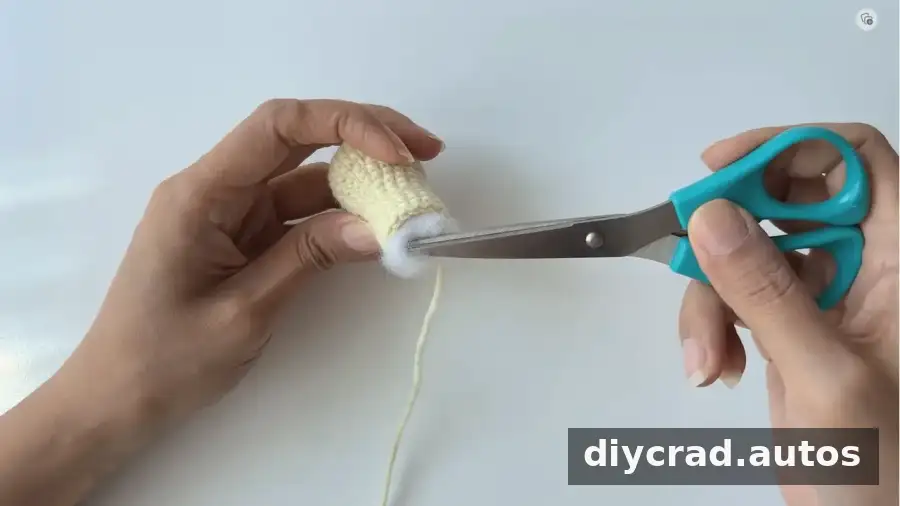
Use a darning needle to weave in the loose ends. With white yarn, add spots to the cap. When making FPDC, keep the hook in front of the post; for BPDC, position it behind the post. A stitch marker can help you identify the start of each textured round.
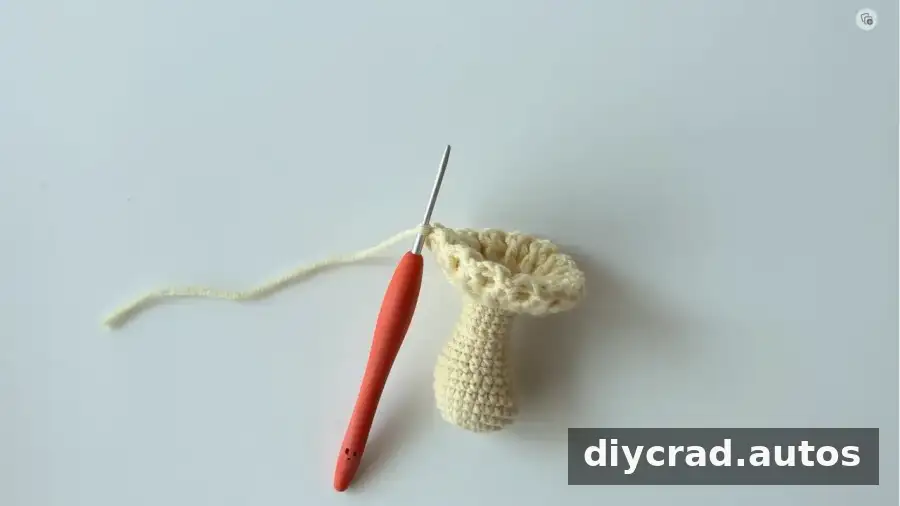
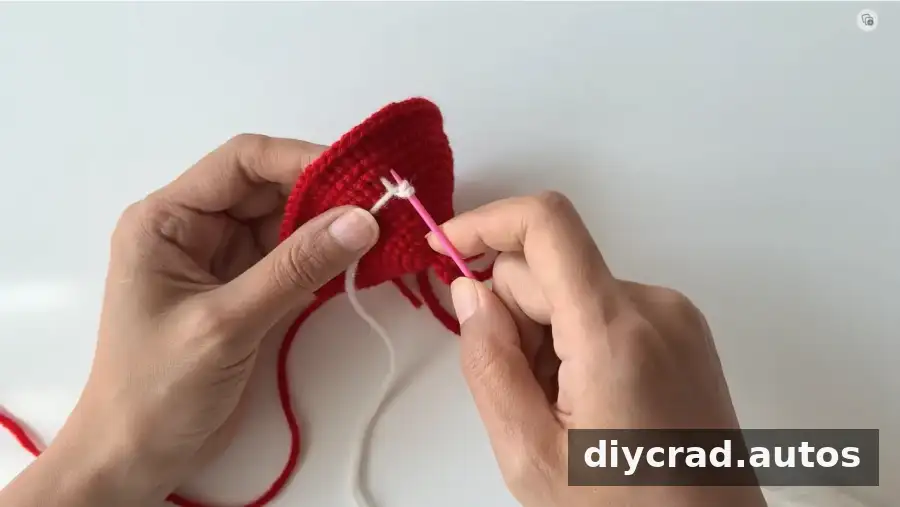
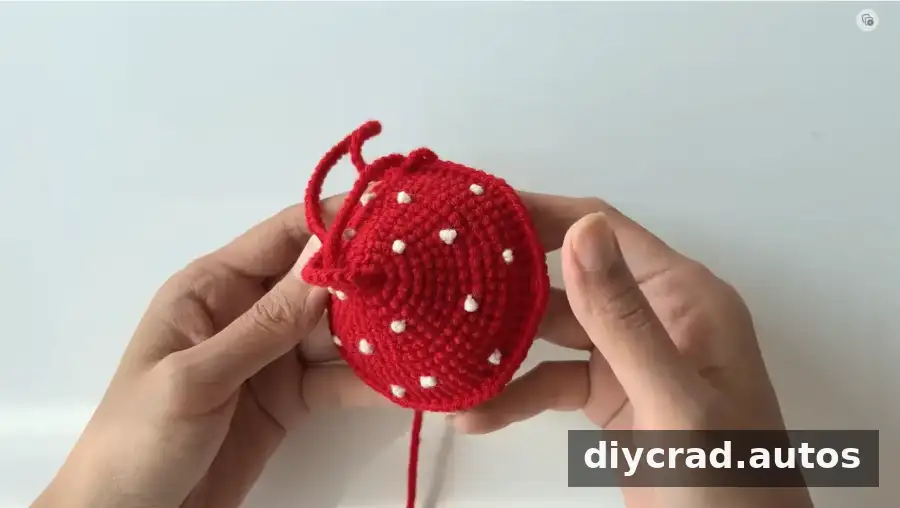
Add the decorative lace
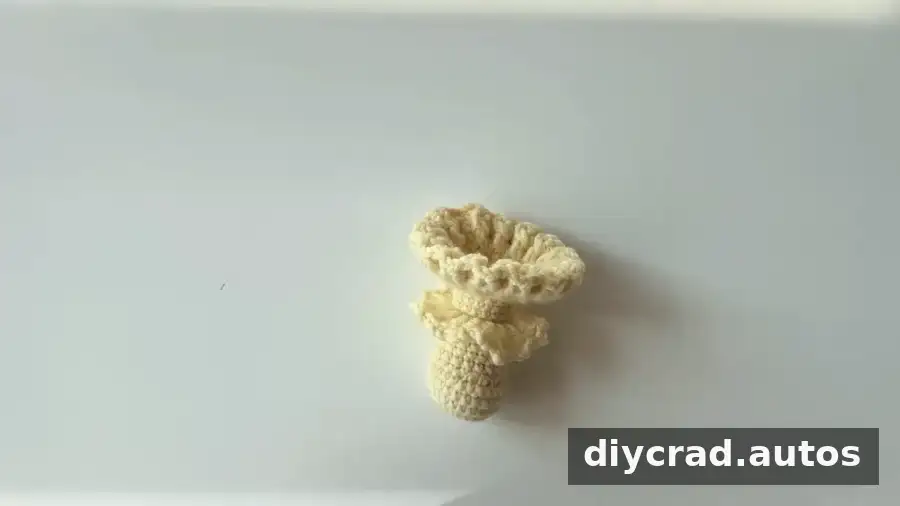
On round 13 of the stem, work into the FLO: chain 3, then repeat (dc, chain 3) in each stitch around. Keep the chain loops even for a consistent decorative edge.
Assemble the mushroom
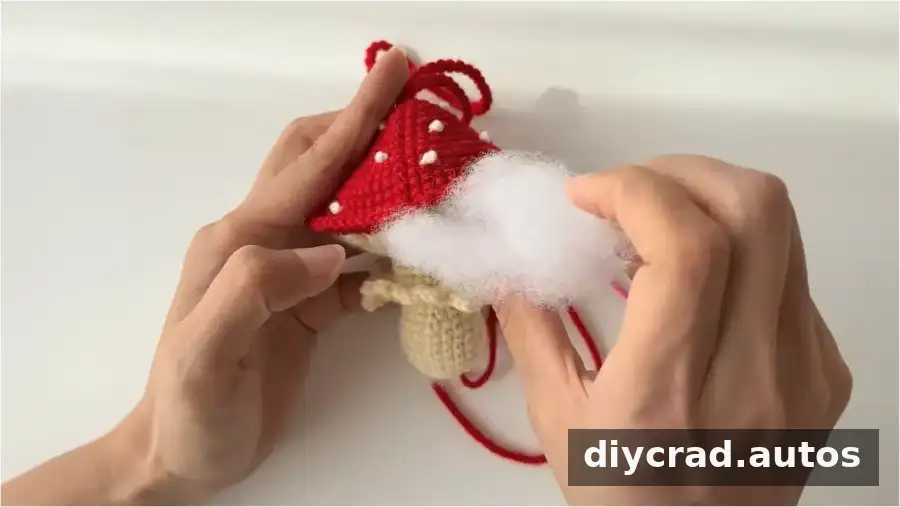
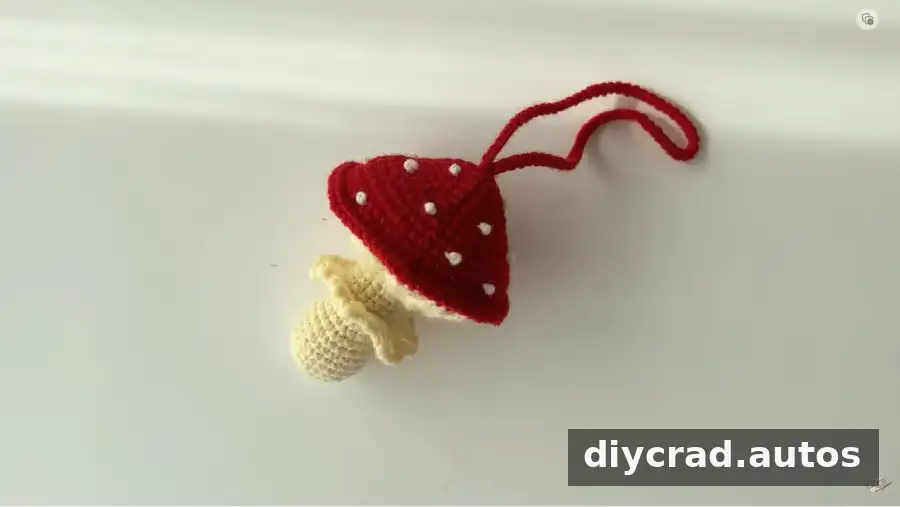
Prepare one finished stem, one finished cap, a darning needle, and fiberfill. Position the stem beneath the cap and use the yarn needle to sew the pieces together. Add or adjust the stuffing before closing the seam, then weave in and hide the remaining ends.
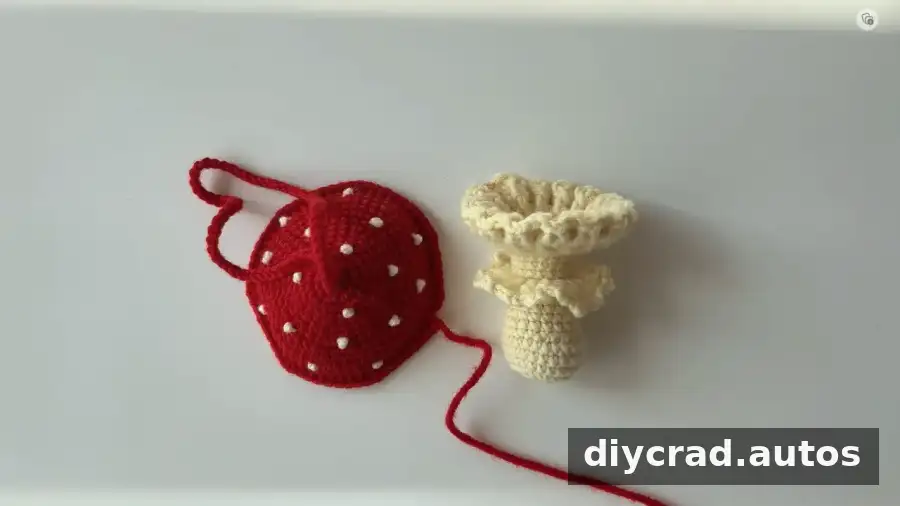
- 1 mushroom stem
- 1 mushroom cap
- 1 darning needle
- Fiberfill
- Use the needle to attach the cap and stem.
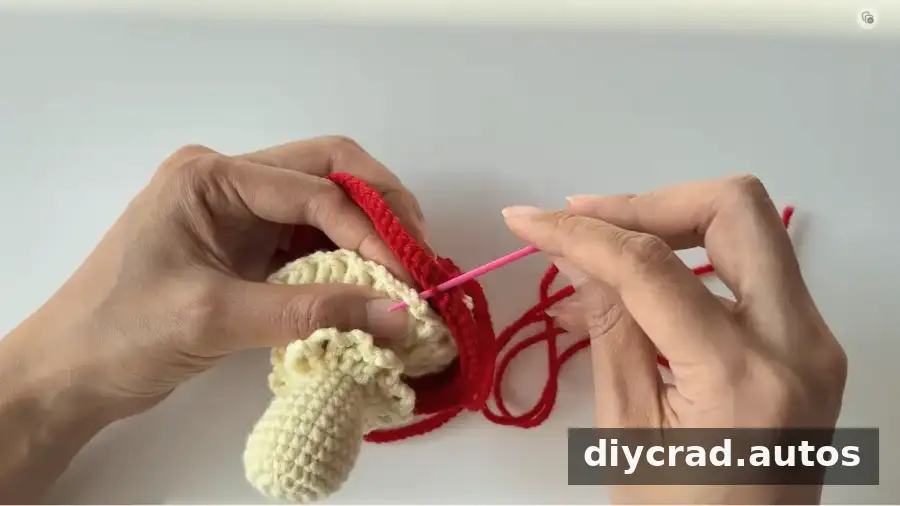
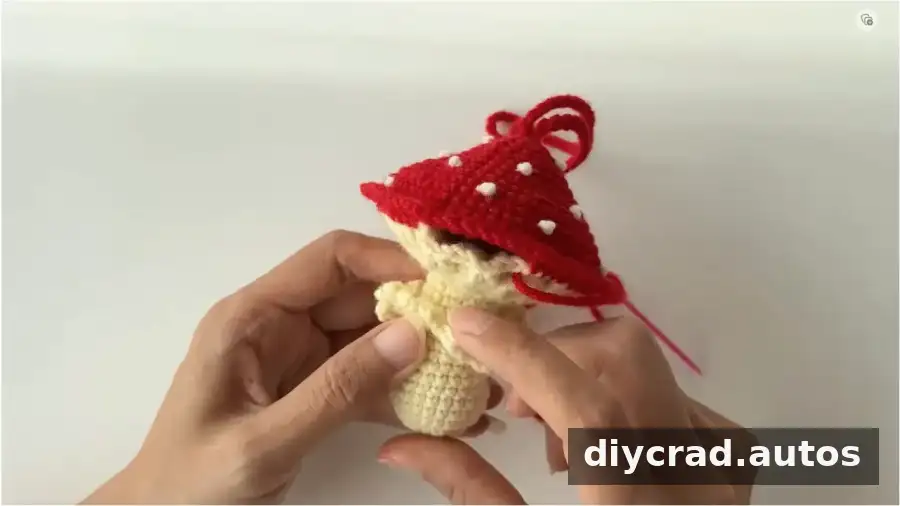
- Before closing the join, add fiberfill as needed. Secure the seam and hide the yarn ends.
Finishing your Crochet Mushroom Car Hanging
Check the seams, loose ends, and hanging rope before using the finished decoration. If it will hang in a vehicle, position it so it does not obstruct the driver’s view or interfere with safe driving. The finished size will vary with your yarn and hook, so adjust the chain length to suit the intended placement.
This Crochet Mushroom Car Hanging combines a rounded cap, textured stem, and optional hanging rope in one small project. Keep track of your rounds, take extra care with the post stitches, and use your preferred color choices to make a version that suits your style.