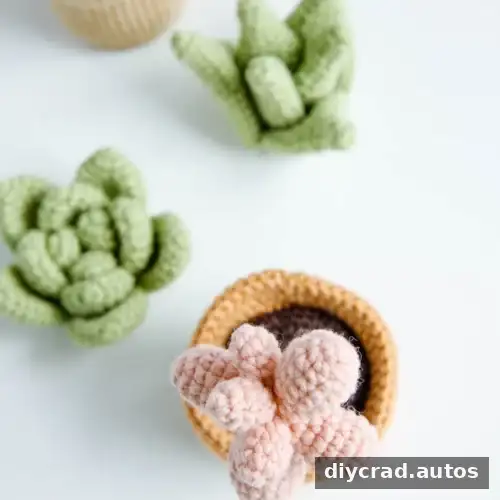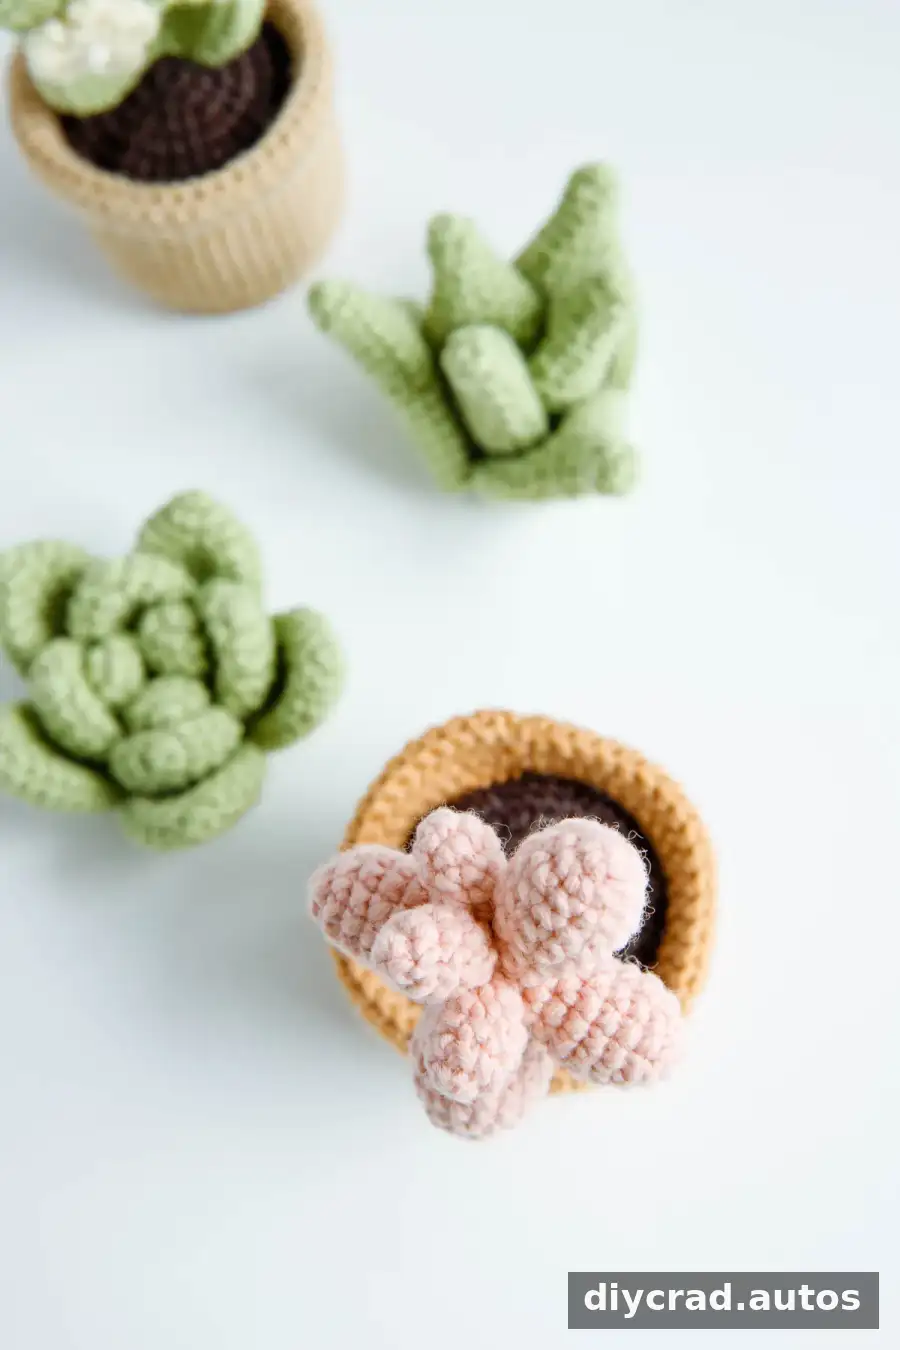
This Crochet Pink Succulent pattern makes a small handmade plant with layered petals and a dark brown stem. It is a decorative project for a crochet plant collection or a mini indoor garden, and you can customize the look by choosing different yarn colors. The pattern uses US crochet terms and includes instructions for one large petal, three medium petals, three small petals, and one stem.
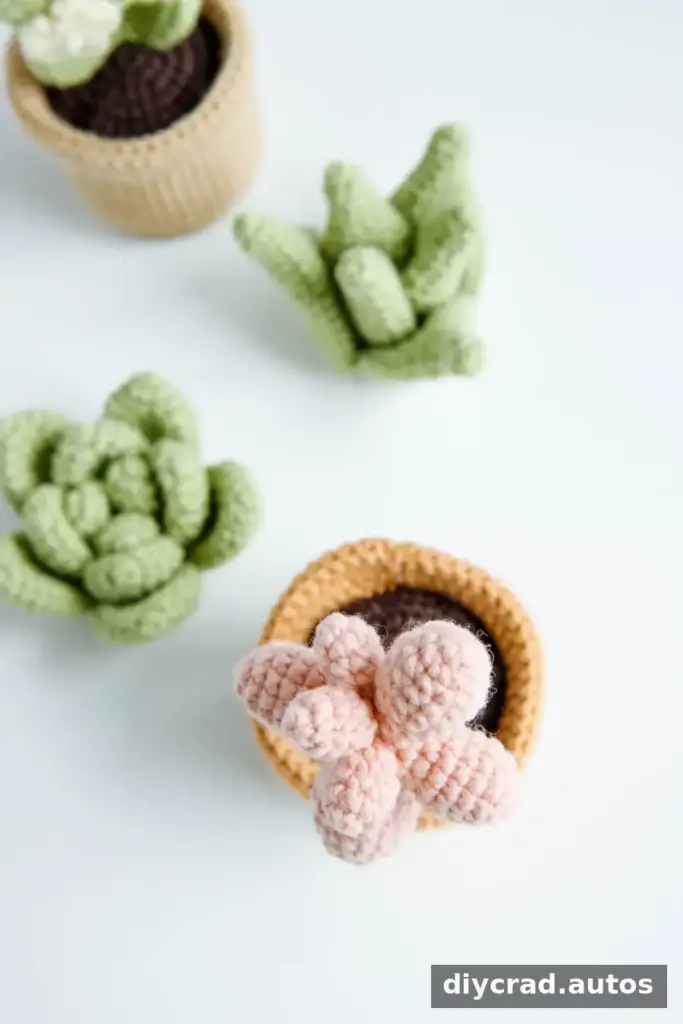
Pair the finished succulent with other crocheted plants and flowers, such as a potted cactus, green succulent, wild flower, water lily, or anemone. Pastel blue, purple, pink, and yellow are possible color choices; using different shades of pink can also add contrast between the petals.
Materials for the Crochet Pink Succulent
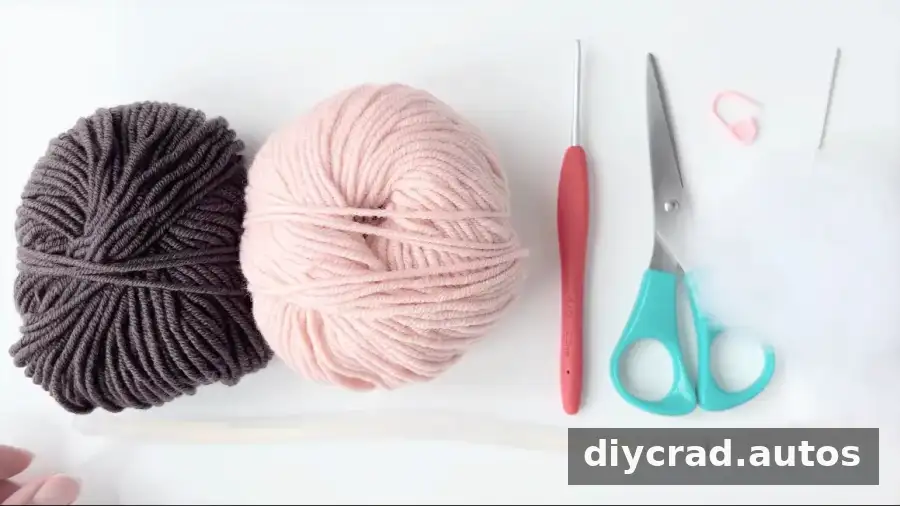
- Pink yarn
- Dark brown yarn
- 2.5 mm crochet hook
- Iron wire, 0.02 inches (0.4 mm) in diameter
- Darning needle
- Fiberfill
- Scissors
- Stitch marker
- Hot-melt adhesive
A stitch marker can help you keep track of the start of each round, especially when working in a spiral. Use care when handling the wire and hot-melt adhesive; follow the adhesive product’s safety instructions and keep hot glue away from your skin.
Terms and Pattern Notes
The pattern is written using US crochet terminology. Read each round carefully and check the stitch total in brackets before moving on. No gauge or finished measurements are specified, so the finished size may vary with yarn, hook, and individual tension.
- Sc: single crochet
- Ch: chain
- St: stitch
- Ss: slip stitch
- Inc: increase; work 2 sc in the next stitch
- Dec: decrease; work sc2tog (single crochet two stitches together)
- [00]: stitch count at the end of a round
- R1, R2, R3: Round 1, Round 2, Round 3
Before starting, it may help to review how to make a magic ring, read crochet patterns, and work increases and decreases. The tutorial video can provide additional visual guidance; turn on subtitles in the video settings if needed.
Step-by-Step Crochet Pink Succulent Pattern
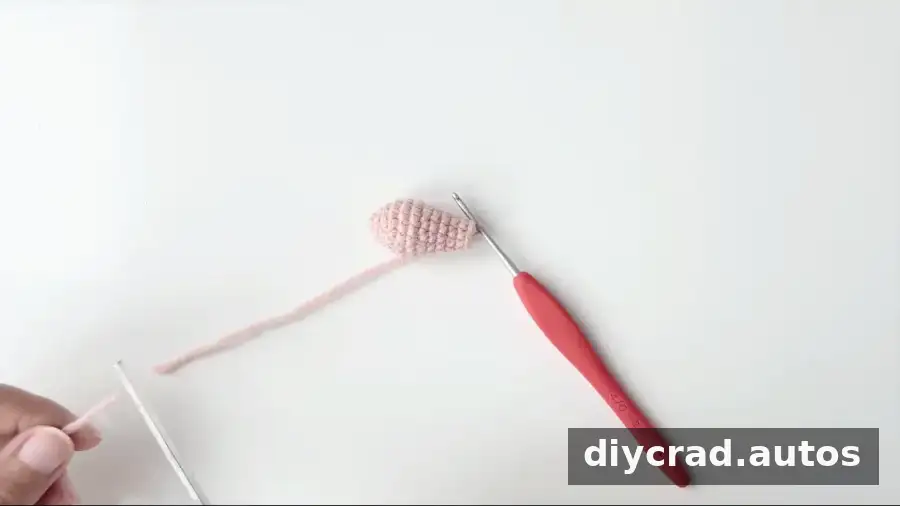
Make 1 Large Petal
- Start with a magic ring.
- R1: Work 4 sc in the magic ring, 1 ss, 1 ch. [4]
- R2: Work 2 sc in each stitch 4 times, 1 ss, 1 ch. [8]
- R3: Repeat (1 sc, 2 sc in next st) 4 times, 1 ss, 1 ch. [12]
- R4: Repeat (2 sc, 2 sc in next st) 4 times, 1 ss, 1 ch. [16]
- R5–6: Work 16 sc, 1 ss, 1 ch. [16]
- R7: Repeat (2 sc, sc2tog) 4 times, 1 ss, 1 ch. [12]
- R8–9: Work 12 sc, 1 ss, 1 ch. [12]
- R10: Repeat (1 sc, sc2tog) 4 times, 1 ss, 1 ch. Add fiberfill. [8]
- R11: Work 8 sc, 1 ss, then cut the yarn and leave a tail. [8]
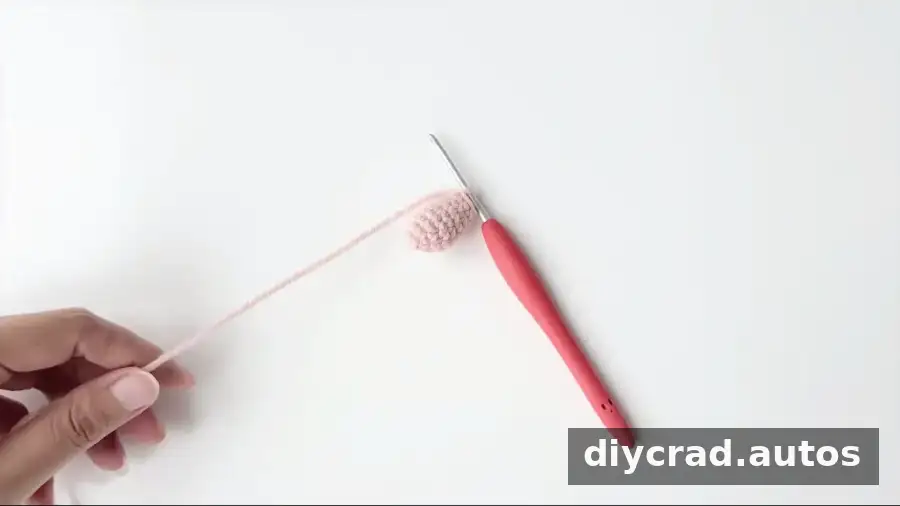
Make 3 Medium Petals
- Start with a magic ring.
- R1: Work 4 sc in the magic ring, 1 ss, 1 ch. [4]
- R2: Work 2 sc in each stitch 4 times, 1 ss, 1 ch. [8]
- R3: Repeat (1 sc, 2 sc in next st) 4 times, 1 ss, 1 ch. [12]
- R4–6: Work 12 sc, 1 ss, 1 ch. [12]
- R7: Repeat (1 sc, sc2tog) 4 times, 1 ss, 1 ch. Add fiberfill. [8]
- R8: Work 8 sc, 1 ss, then cut the yarn and leave a tail. [8]
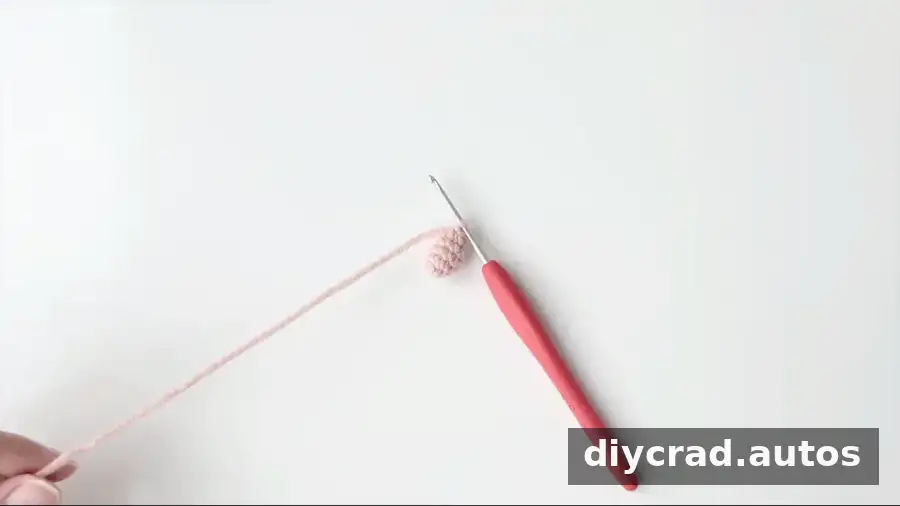
Make 3 Small Petals
- Start with a magic ring.
- R1: Work 4 sc in the magic ring. [4]
- R2: Work 2 sc in each stitch 4 times, 1 ss, 1 ch. [8]
- R3–4: Work 8 sc, 1 ss, 1 ch. [8]
- R5: Work sc2tog 4 times, then 1 ss. [4]
Make 1 Stem
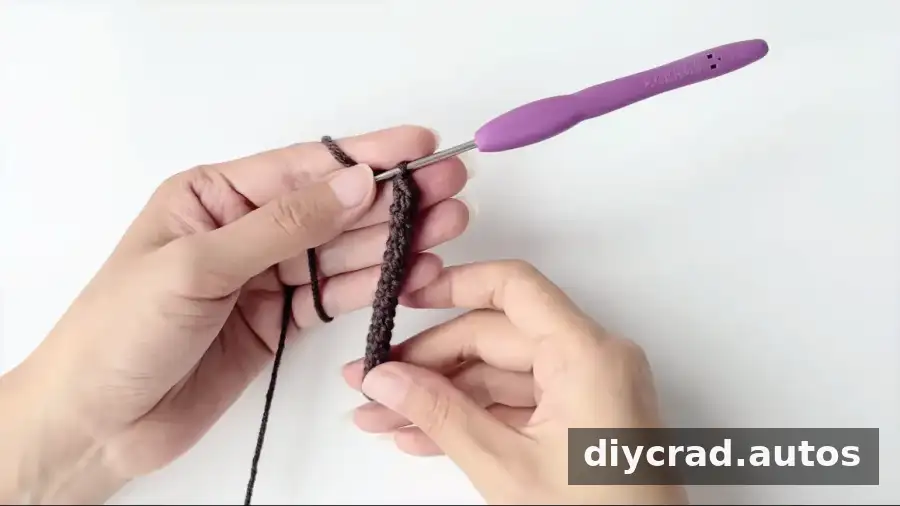
Using dark brown yarn, begin with 4 sc in a magic ring. Continue crocheting 4 sc in each row in a spiral until the stem reaches the desired length. Place the iron wire or a flower rod inside the stem if you want it to stand more firmly. Take care that the wire does not protrude from the crocheted fabric.
The finished succulent can be placed in a crochet pot or used as a decorative accent on a wall, living room shelf, study table, or window sill. If you plan to display it upright, shape the stem and petals before attaching them so the plant sits securely.
How to Assemble the Succulent
Before assembly, check that you have three small petals, three medium petals, one large petal, the stem, and hot-melt adhesive. Arrange the petals first without glue to preview their positions and make adjustments.
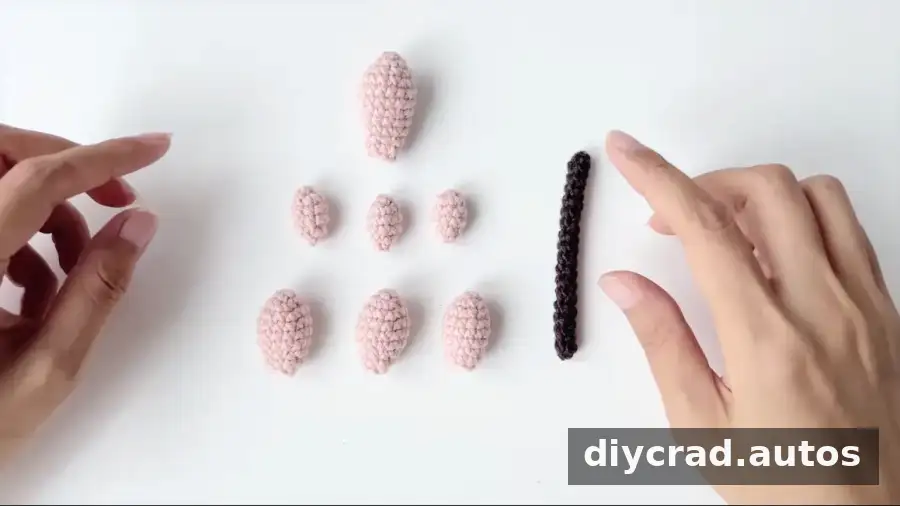
Attach the Petals
- Step 1: Attach the large petal to a medium petal with hot-melt adhesive, then position this piece around the top of the stem.
- Step 2: Add a small petal, followed by two medium petals, attaching them around the large petal arrangement to form a flower-like layer.
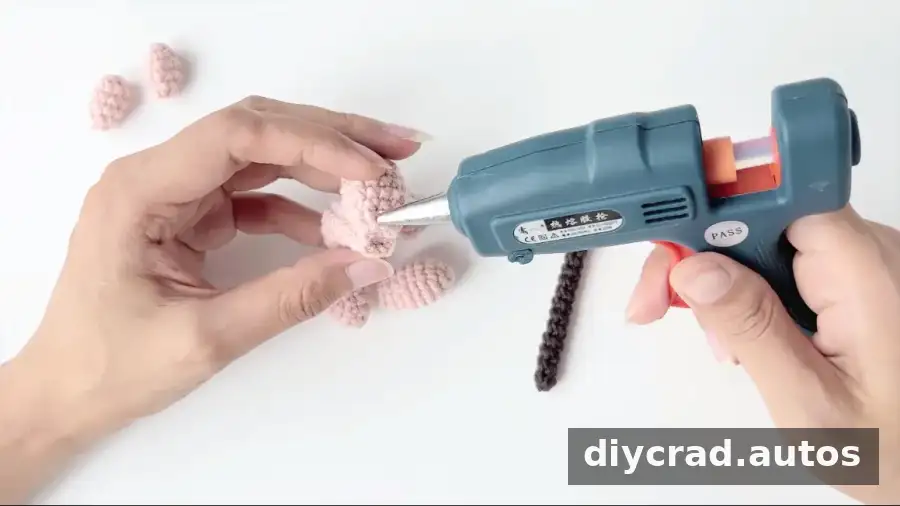
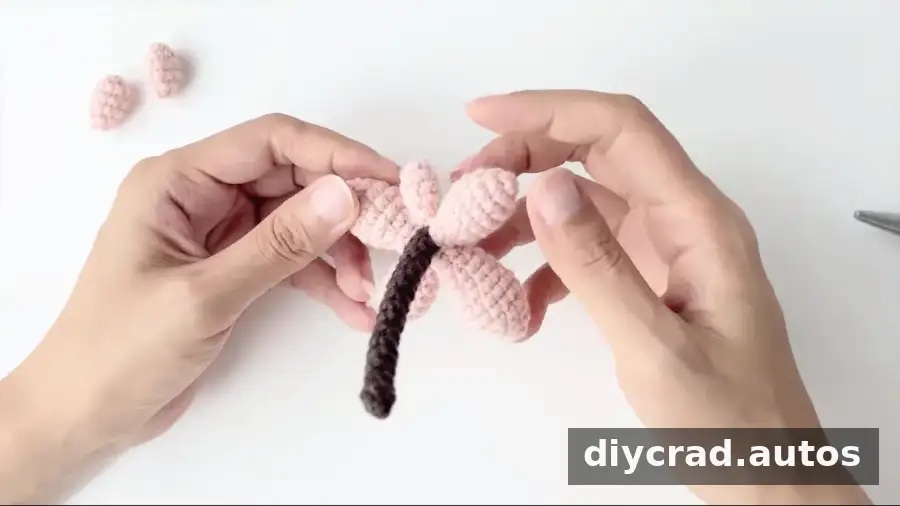
- Step 3: Attach the remaining two medium petals around the middle of the succulent. Position the petals to cover the brown stem as much as possible.
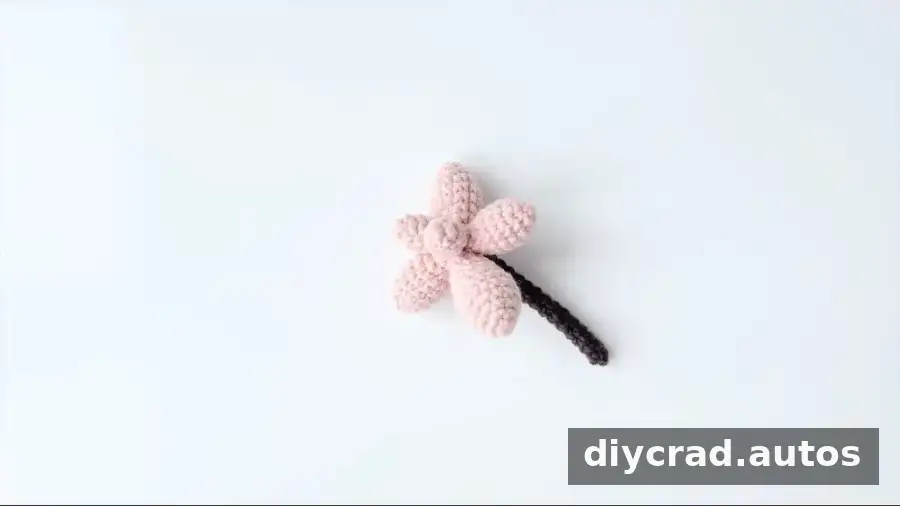
Allow the adhesive to set before moving or displaying the piece. Adjust the petals gently once the glue has cooled to create a balanced, layered shape.
Finishing the Crochet Pink Succulent
Your Crochet Pink Succulent is ready to display once the petals are secure and the stem is shaped. Keep the stitch counts consistent as you work, use the stitch marker to track rounds, and test the petal arrangement before gluing. These small checks make the project easier to assemble and help the finished crochet plant hold its shape.