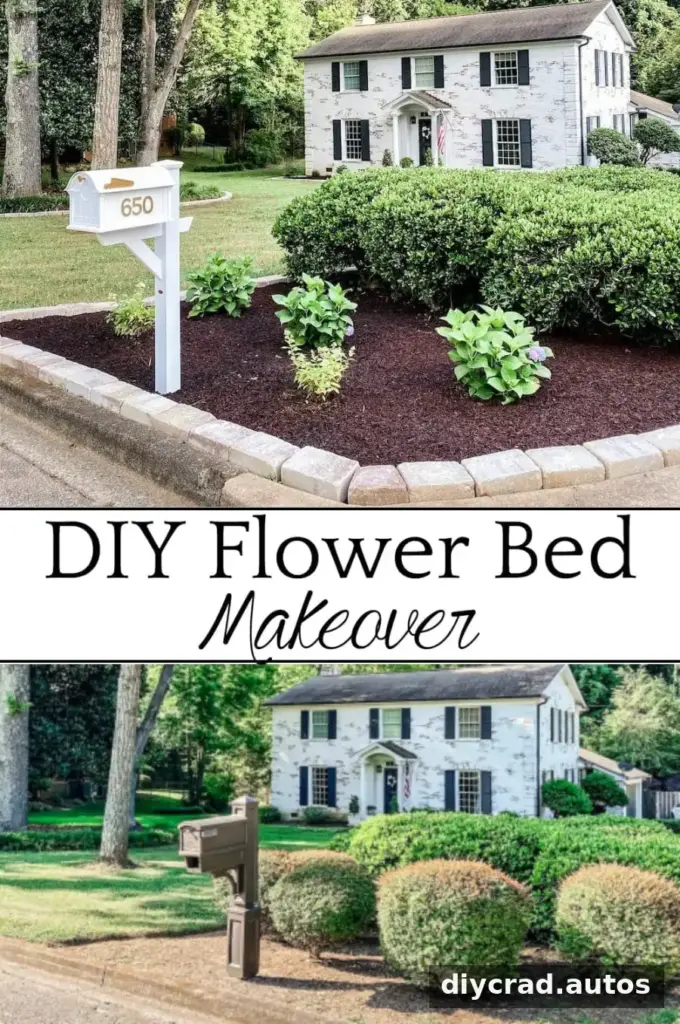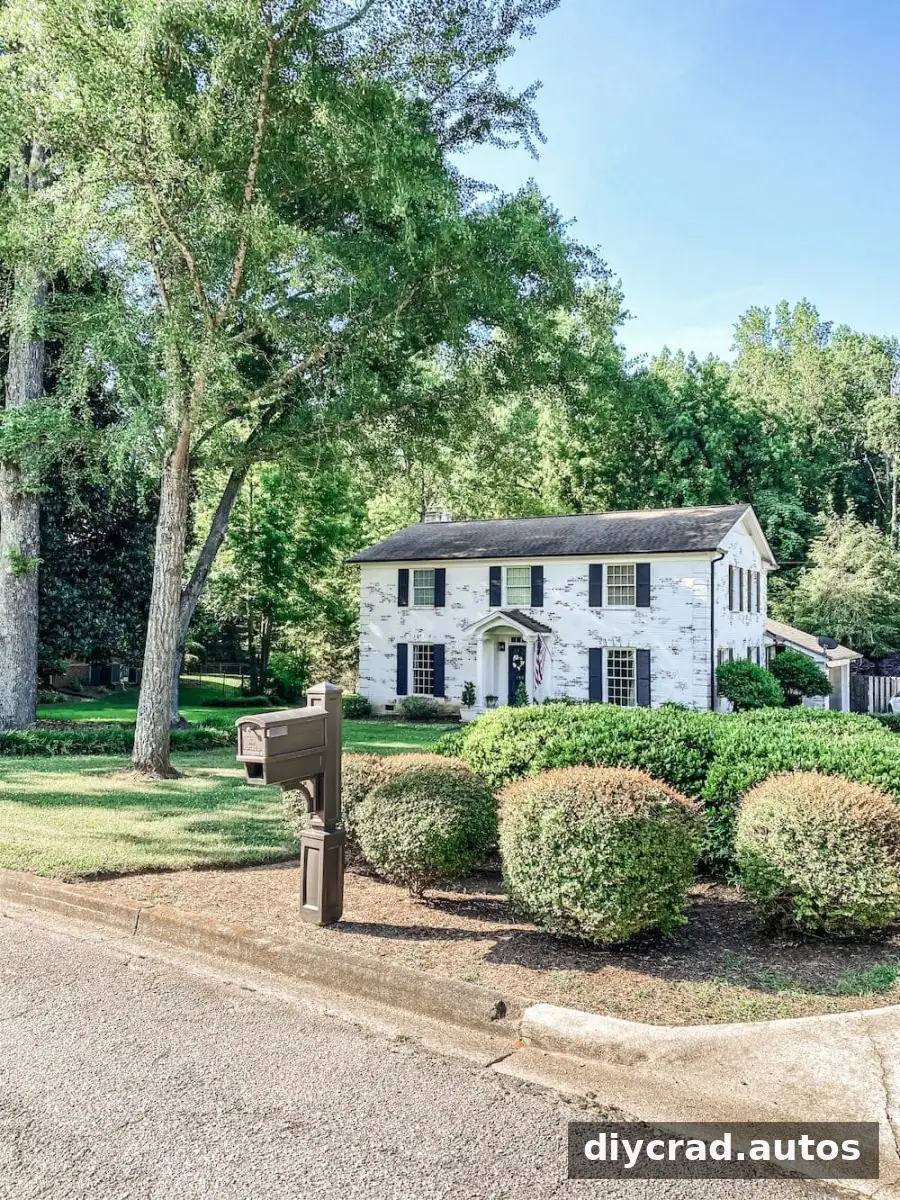
A DIY flower bed makeover can make a front yard look more cared for while creating a better space for shrubs and flowers to grow. With a clear plan, suitable tools, and attention to plant needs, an overgrown bed can be refreshed in manageable stages. This project covers measuring, removing unwanted growth, preparing the soil, planting, adding edging, and spreading mulch.
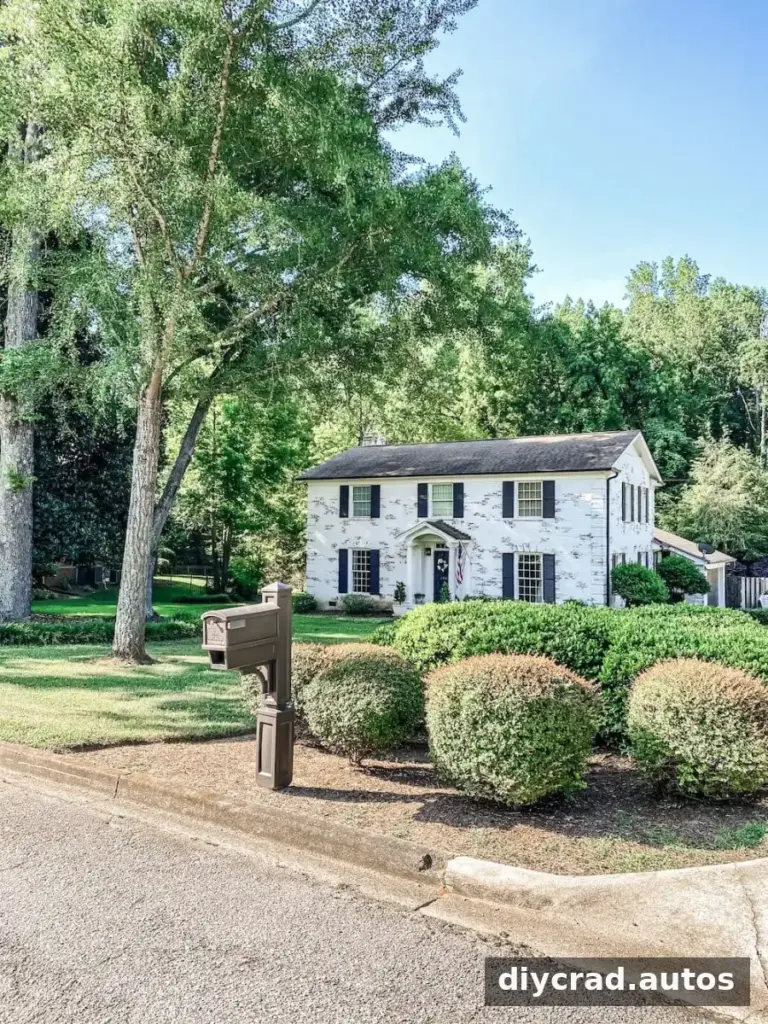
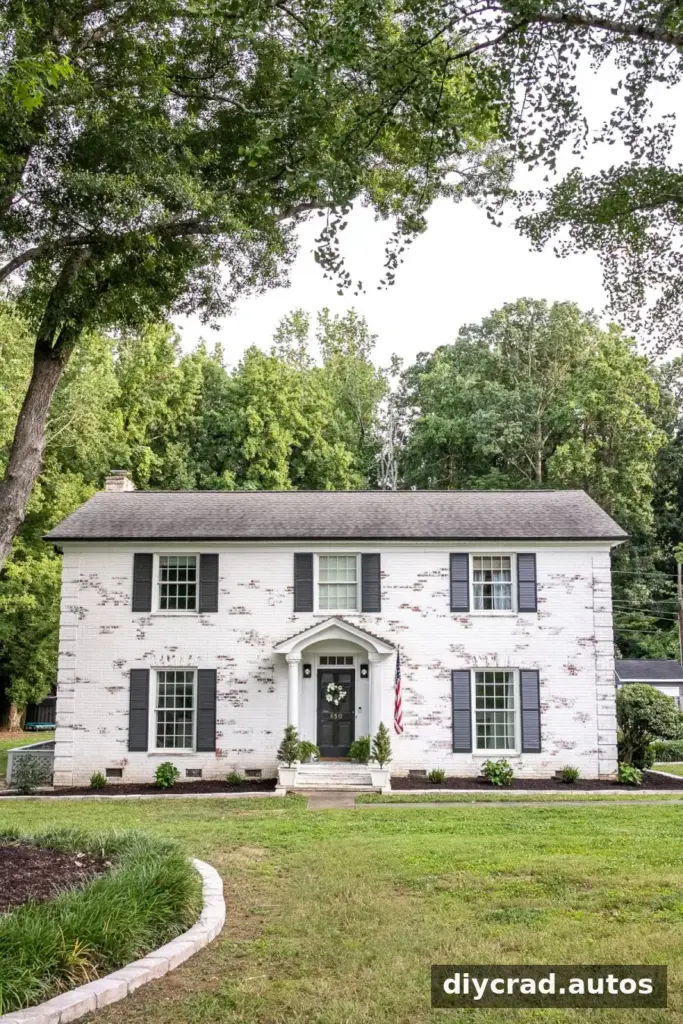
Front-yard improvements often happen gradually. Even after updating the house exterior, clearing dead trees, and tidying the porch, weeds and overgrown shrubs can make garden beds feel unfinished.

Rather than continuing to work around unruly plants, the beds were cleared and reshaped. The steps below explain the process and share practical considerations for planning a similar project.
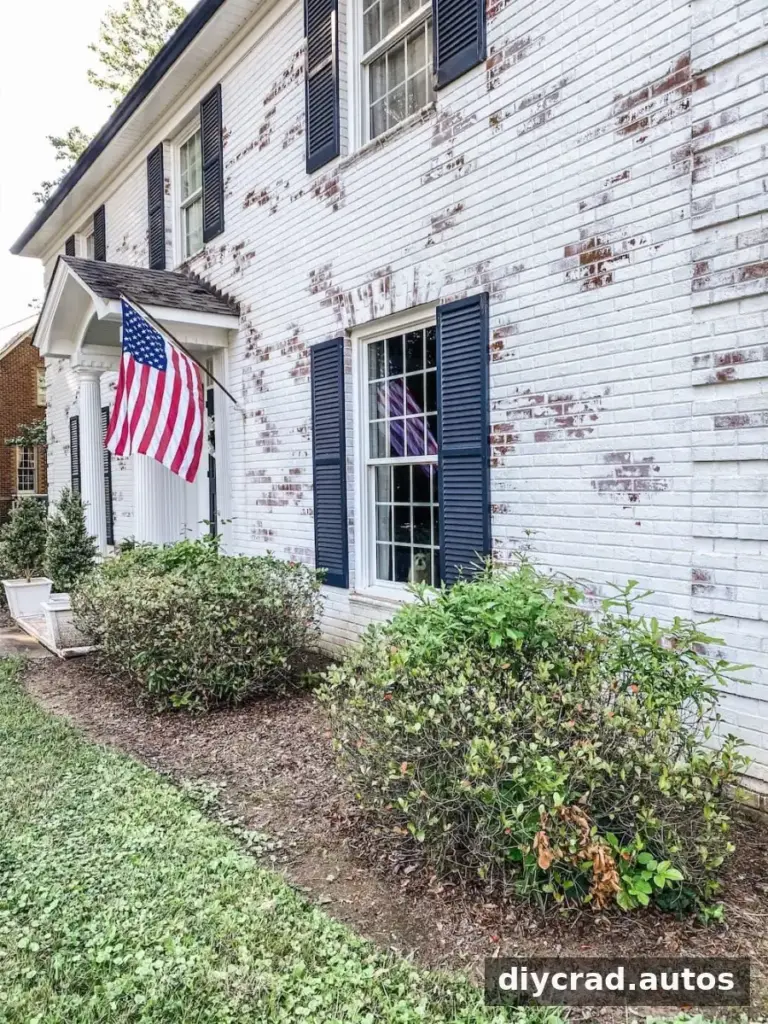
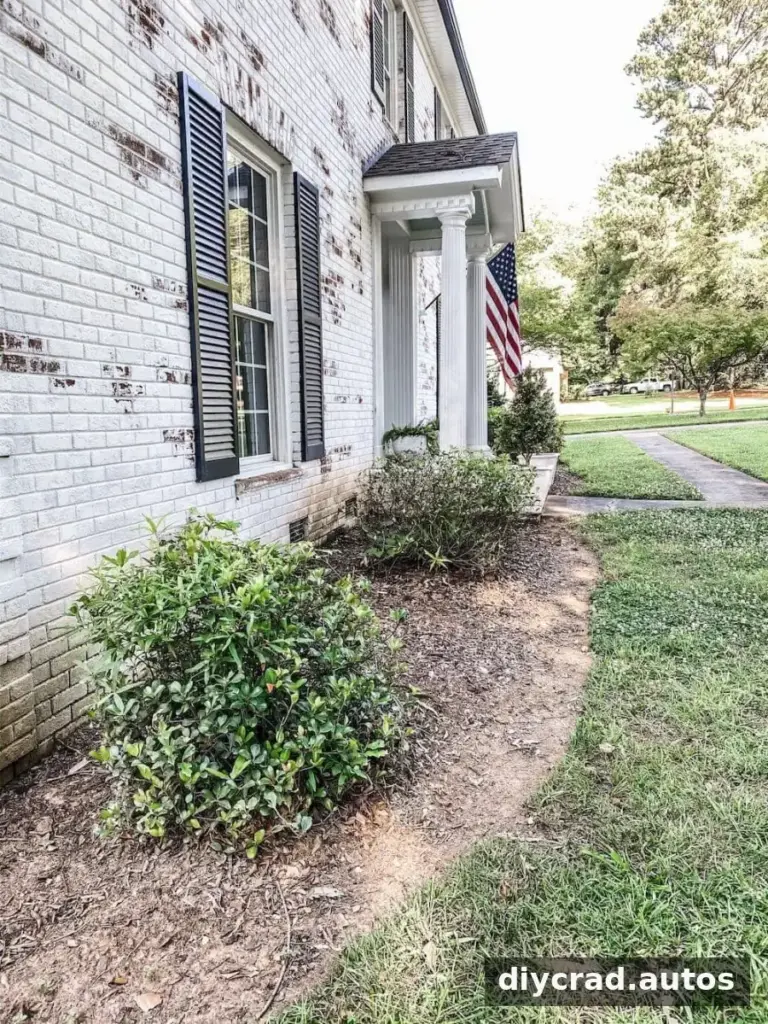
DIY Flower Bed Makeover: Supplies and Preparation
Gathering materials before starting can reduce interruptions and help you work more safely. The project used a tape measure, white spray paint, a garden cultivator with a bed-edger attachment and wheel kit, a chainsaw, landscape fabric, garden staples, a utility knife, brown rubber mulch, edging stones, work gloves, woodcutter chaps, safety glasses, hearing protection, a garden hose, and the shrubs and flowers selected for the yard.
The plant selection included boxwoods, azaleas, hydrangeas, and camellias. Tool requirements vary by yard and equipment, so read the operating instructions and use the protective equipment specified by the manufacturer. Keep children and pets away from active work areas.
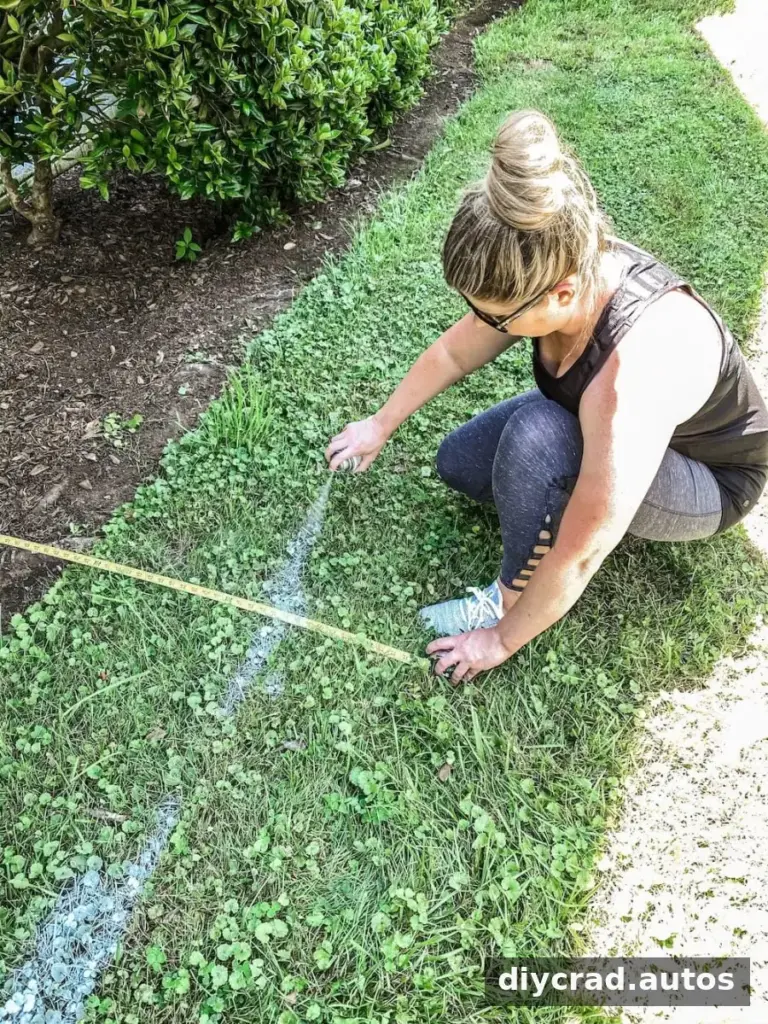
1. Plan, Measure, and Mark the Beds
Measure the intended length and width of each bed, then mark its outline with white spray paint. Take time to check the shape from the street and from the house before digging. A visible guide helps keep the edges consistent and makes it easier to estimate how much edging and mulch you will need.
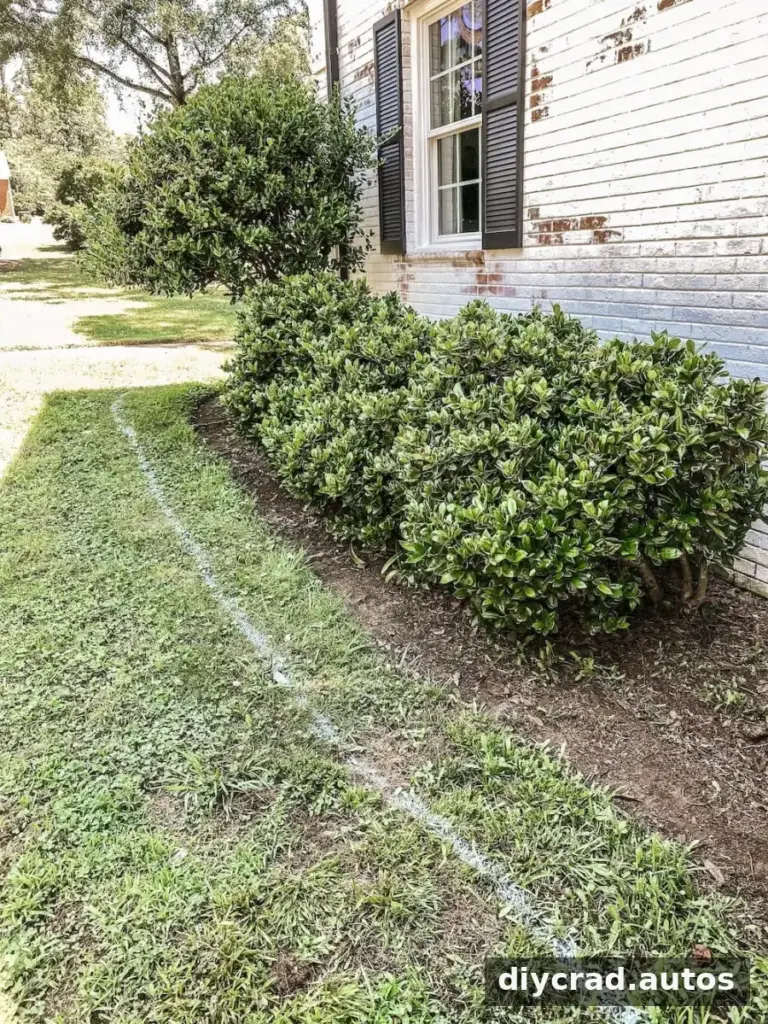
2. Remove Unwanted Shrubs and Roots
Large shrubs can be cut into manageable sections before removal. Trim carefully, and use a chainsaw only if you are trained to operate one and can follow its safety instructions. Dig out as much of the root system as practical; roots left in the ground may produce new growth, depending on the plant.
3. Cut a Clean Edge
Once unwanted plants are removed, follow the painted outline to define the bed. A powered bed edger can make this task more consistent, while a hand edger is another option for smaller areas. Move slowly and check for buried cables, pipes, irrigation lines, or other obstacles before cutting into the ground.
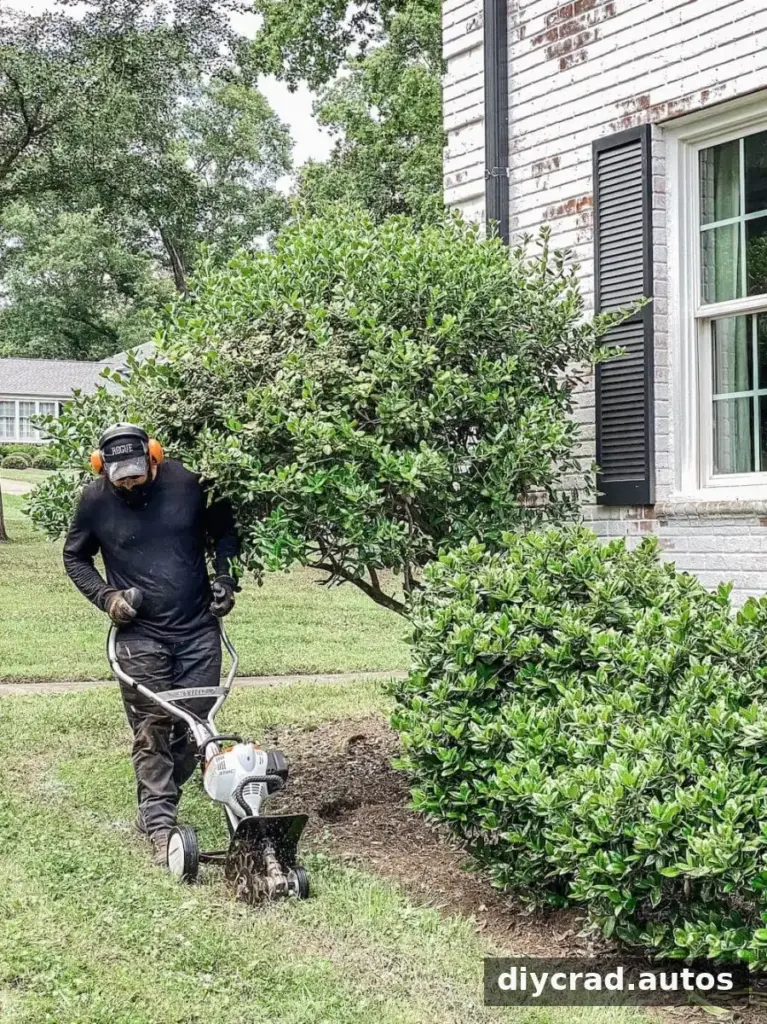
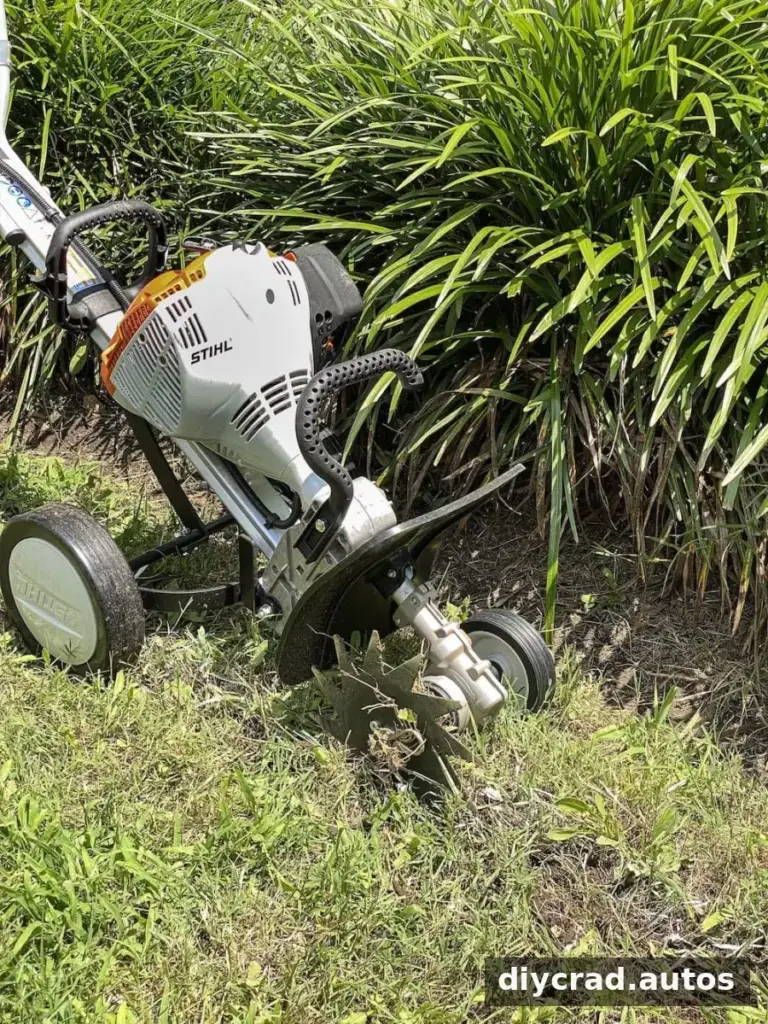
The marked line provides a straightforward guide, reducing guesswork and helping create a clear boundary between the lawn and planting area.
4. Loosen the Soil
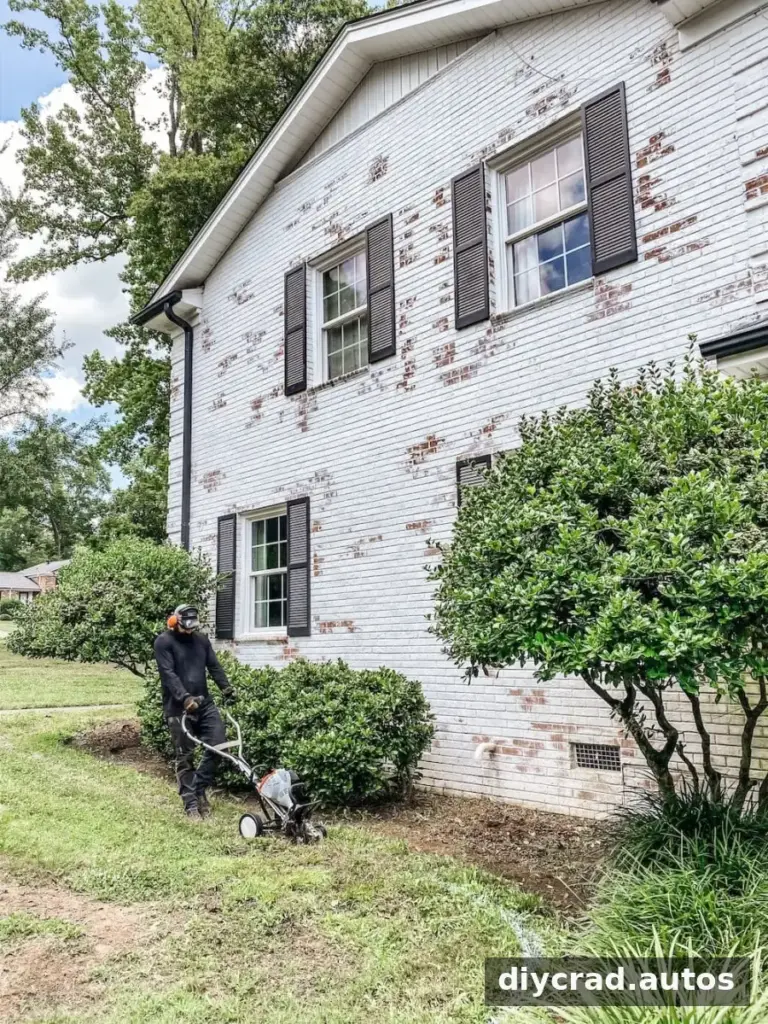
Turn and loosen compacted soil with a cultivator or appropriate hand tools, then remove remaining weeds and roots. Avoid working soil when it is very wet, since digging in saturated ground can compact it further. This is also a useful point to assess drainage and make sure the bed is suitable for the plants you plan to install.
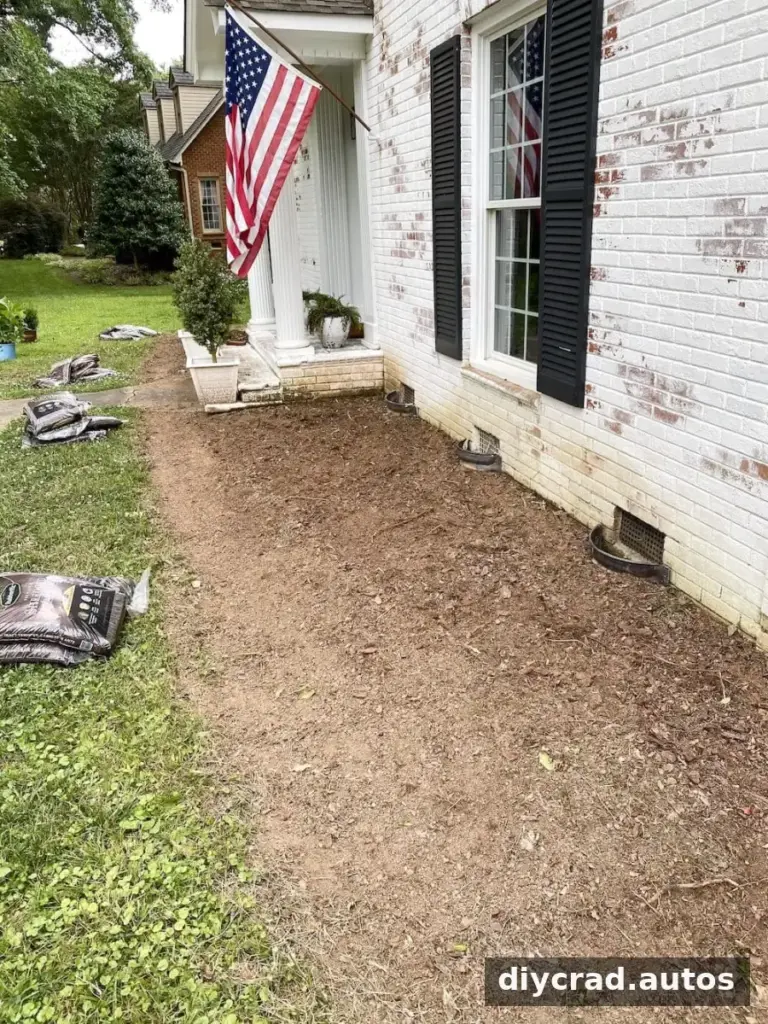
Preparing a garden bed is physical work, so pace the task, take breaks, and use tools that are appropriate for the size of the area.
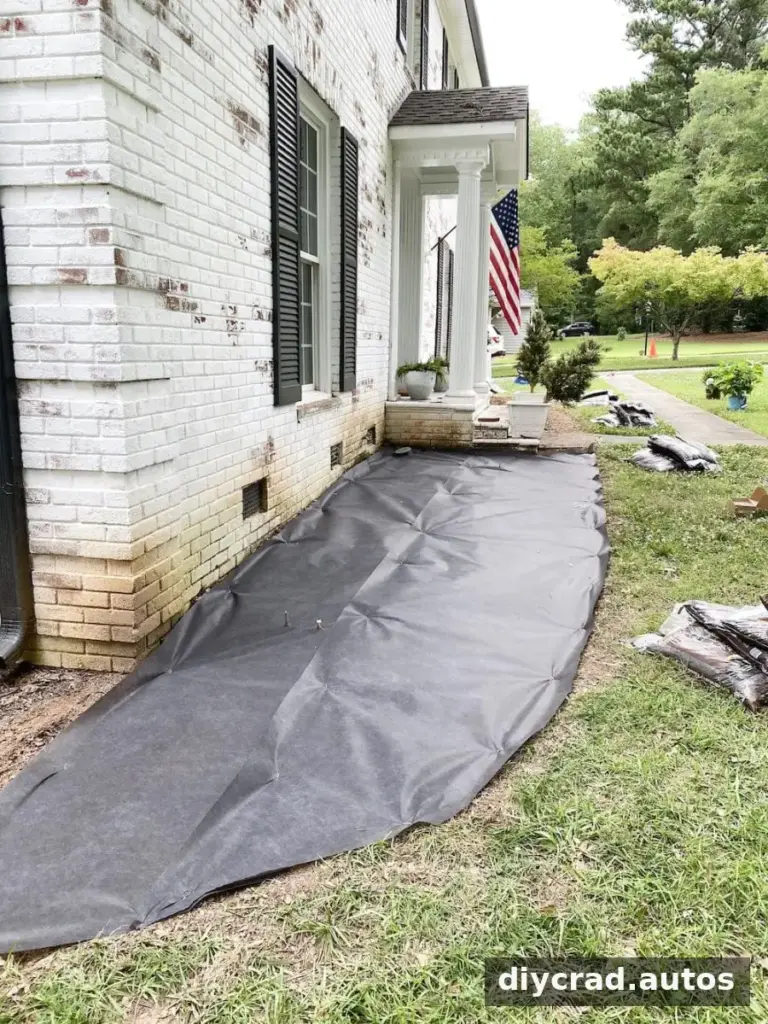
5. Install Landscape Fabric
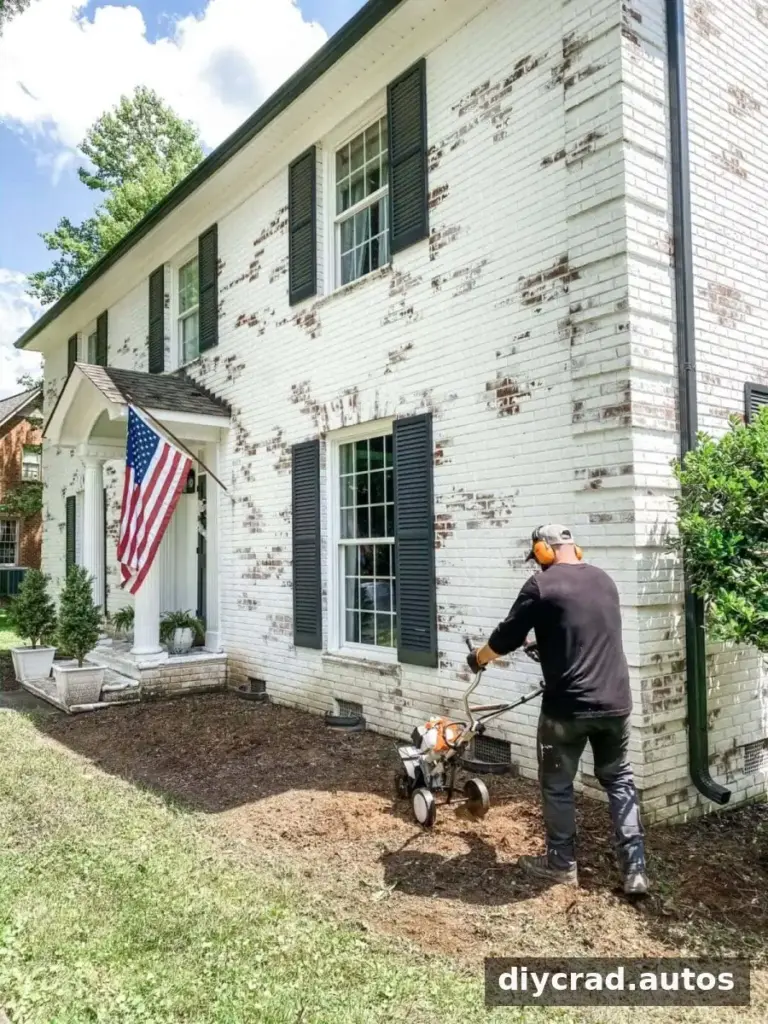
Roll landscape fabric over the prepared soil and secure it with garden staples. Cut openings only where plants will go. Fabric can limit some weed growth and help keep soil from mixing with mulch, but it is not a permanent substitute for maintenance; weeds may still grow through openings or on top of accumulated debris.
6. Plant Shrubs and Flowers
Use a utility knife to make openings in the fabric, then dig holes suited to the plants’ root systems. Research each plant before buying it, paying attention to mature size, sunlight, drainage, and local growing conditions. Allow enough room between plants so they can grow without becoming overcrowded.
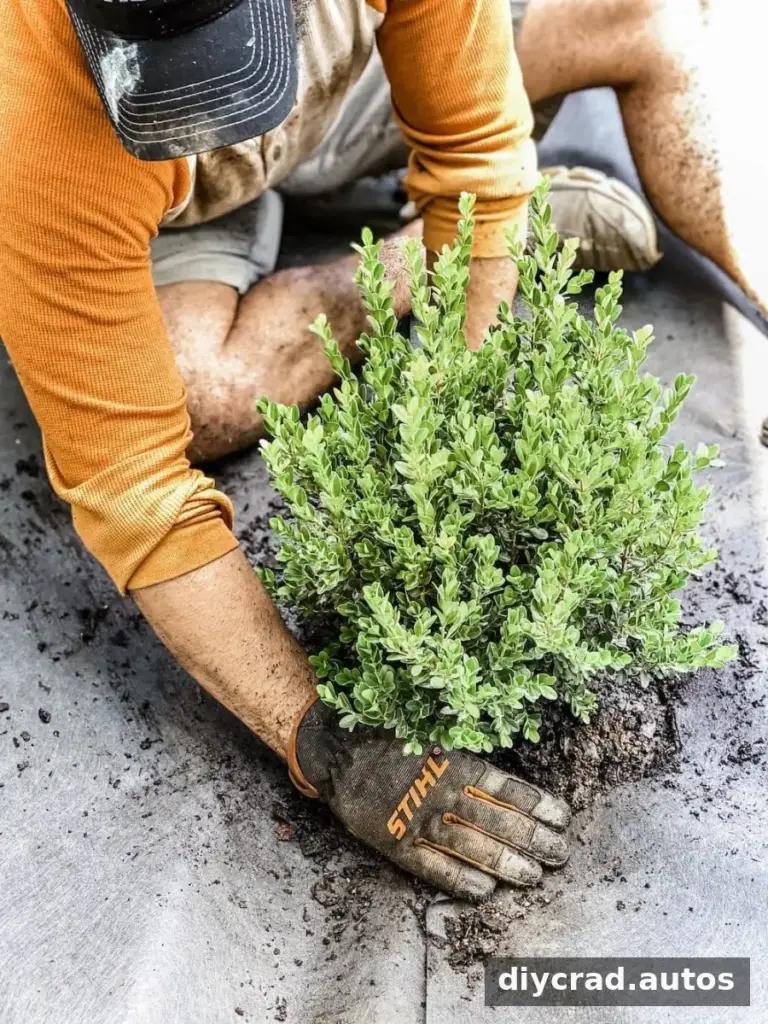
Plants selected for this garden:
- Limelight Hydrangea
- Original Hydrangea
- Baby Light Hydrangea
- Baby Gem Boxwood
- Autumn Moonlight Azalea
- White Camellia
- Primrose
Each shrub selected needs about 2–3 feet of space to allow for growth. Check the recommended spacing for the specific variety and consider its mature width, not only its size at planting.
7. Water the Roots
After planting, soak the root zones thoroughly to help settle the soil around the plants. Continue watering according to each plant’s needs and local weather. Spring and fall are generally preferred planting seasons for many shrubs because conditions can be less stressful than summer heat; planting in summer may require extra attention to watering.
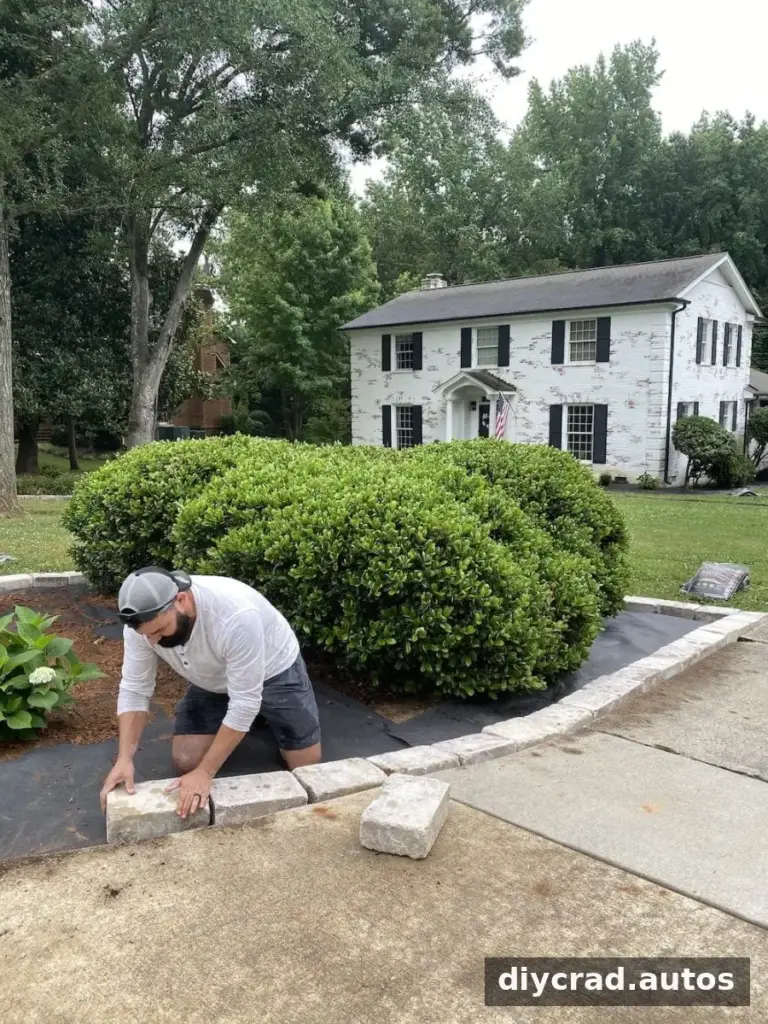
8. Add Edging Stones
Edging helps define the bed and can keep mulch from spreading into the lawn. The project used stone blocks in a Sand Dune color. Simpler edging strips can also work where a more understated finish is preferred. Follow the edging product’s installation guidance and create a stable base so the pieces stay in place.
9. Spread Mulch
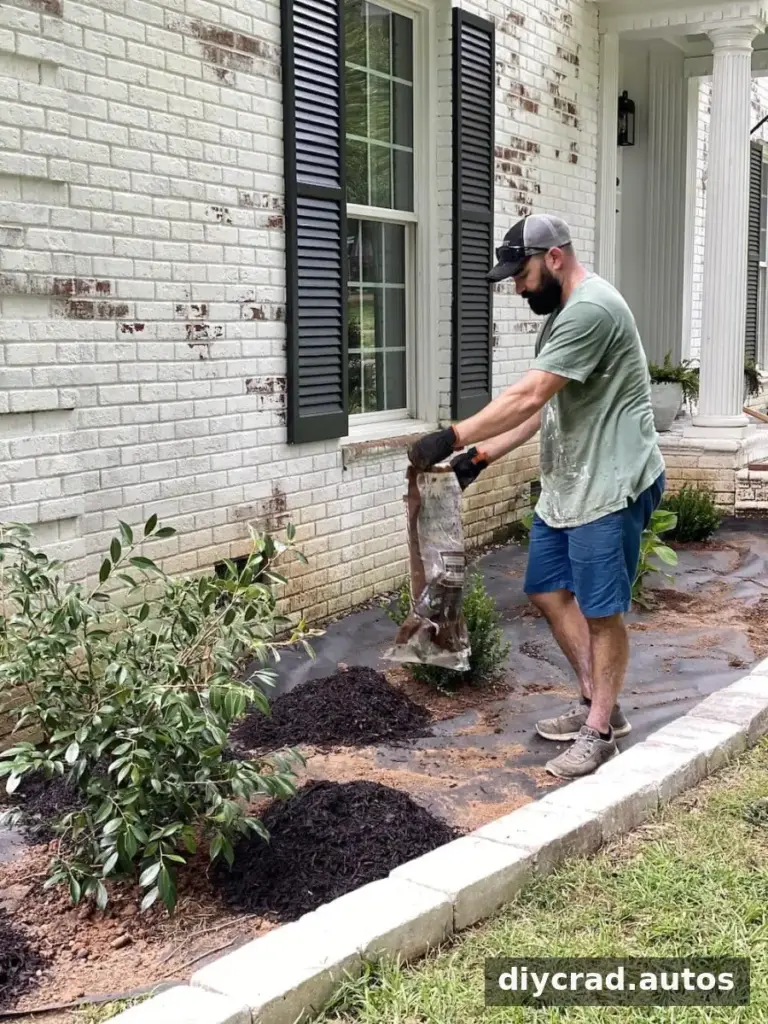
Spread brown rubber mulch over the fabric, keeping it clear of plant stems and trunks. Rubber mulch can cost more than wood mulch, but it may last longer and retain its color more consistently. Compare material, cost, maintenance, and local conditions before choosing a type. Mulch can help reduce soil splash and suppress some weeds, but it does not eliminate the need for upkeep.
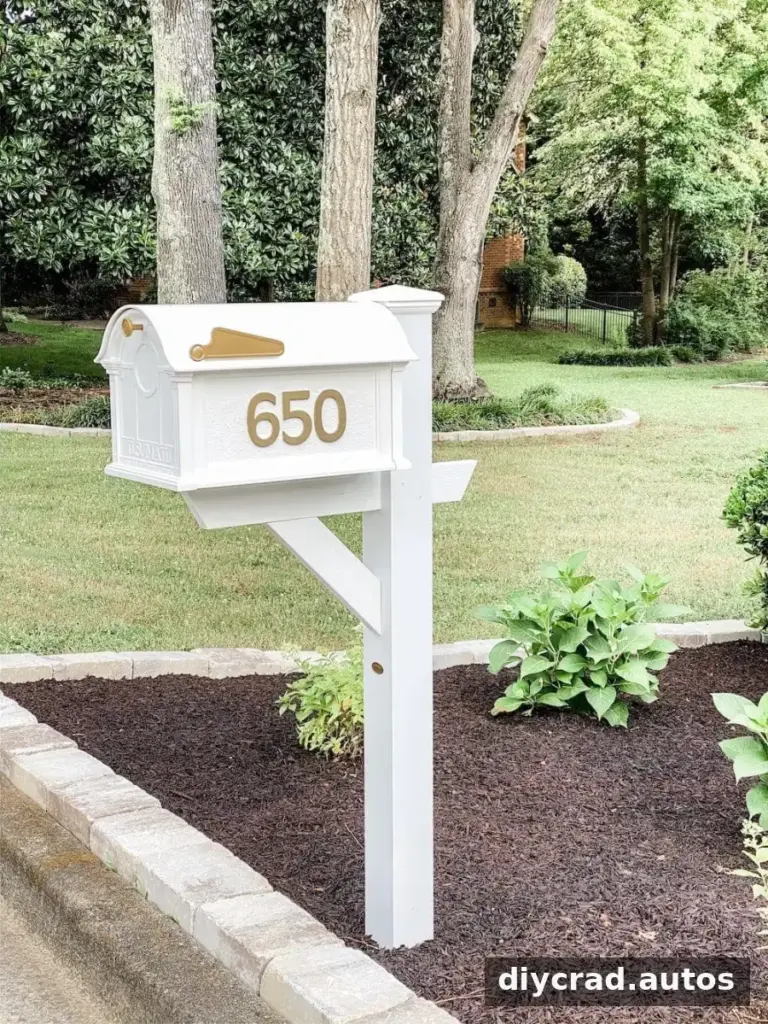
A refreshed mailbox was another finishing touch for the front exterior. Small details like this can complement a landscape update, but completing the beds first makes it easier to judge what else the space needs.
DIY Flower Bed Makeover: Before and After
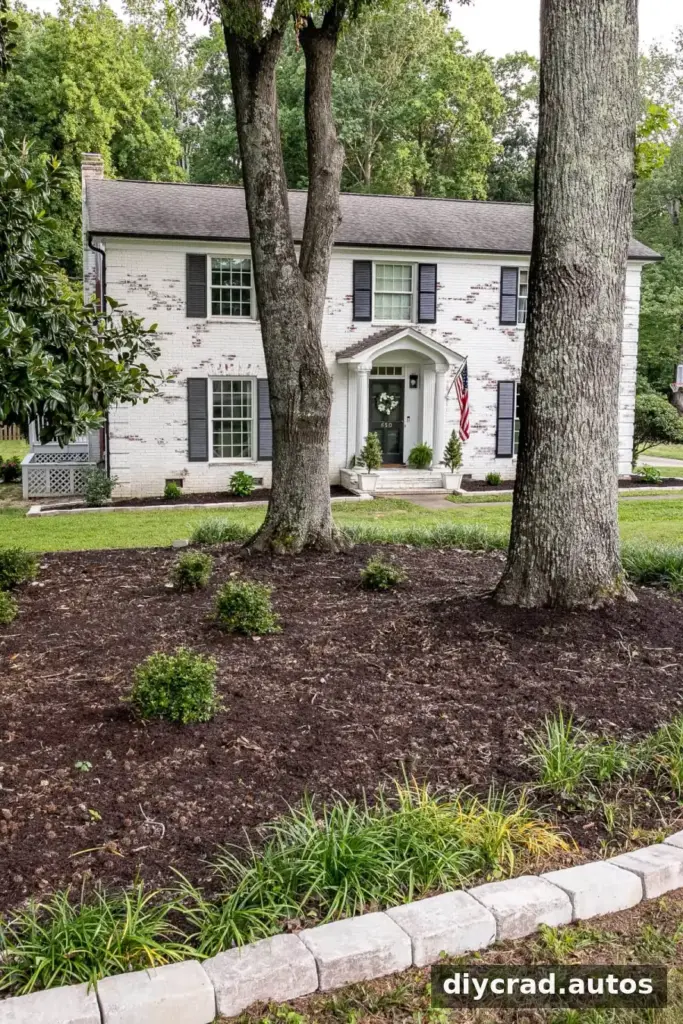
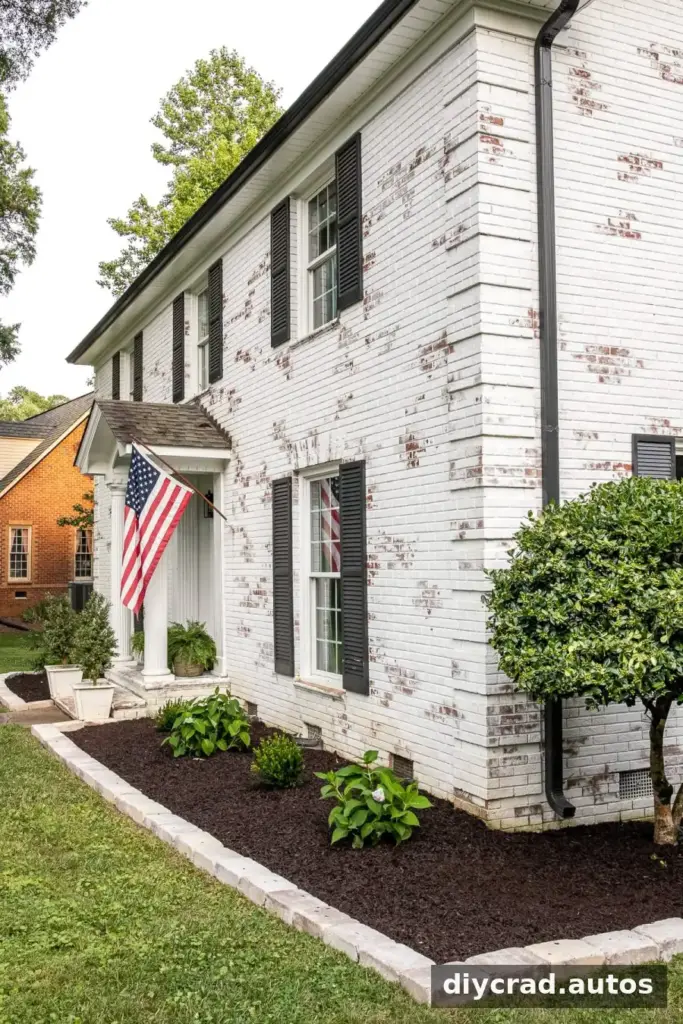
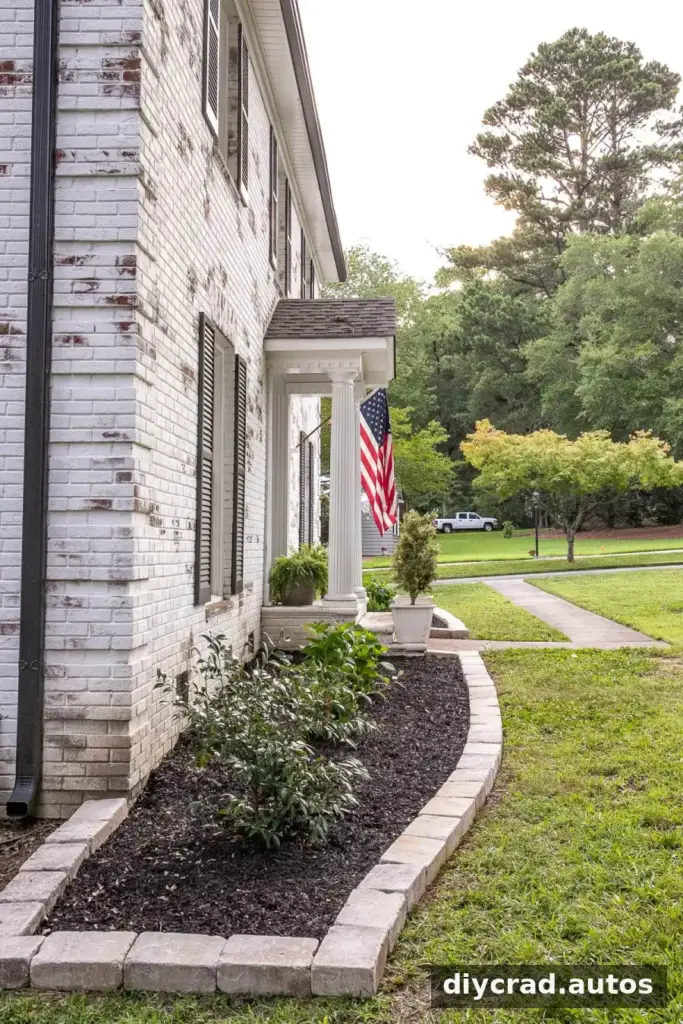
The renewed beds gave the front yard a more organized appearance. Comparing the original yard, the beds before work began, and the finished planting areas shows how clearing growth, defining edges, and adding mulch can change the overall look.
The yard when the residents moved in:

Before refreshing the flower beds:
After the makeover, azaleas and mulch helped improve a section that still includes two sweet gum trees planned for removal later. Evaluate trees for safety and health, and consult a qualified professional when removal may be complex.

The newly planted shrubs may look modest at first. Their eventual size depends on variety and growing conditions, so allow for mature height and width when planning the layout. Additional flowers can be added later once the shrubs’ growth is easier to assess.
A small camellia was also placed near the side of the house, where it may help screen utilities as it grows. Keep access to utility equipment and service areas clear, and check plant spacing as the camellia matures.
Lawn care can be handled as a separate stage. Seasonal tasks may include removing weeds, aerating the lawn, and applying grass seed or fertilizer when appropriate for the grass type and local climate. Follow product directions and avoid applying treatments where they could affect nearby plants.

Final Tips for a Successful Flower Bed Refresh
A DIY flower bed makeover does not need to be completed all at once. Measure before digging, identify hazards, remove as much unwanted root growth as practical, and choose plants for the light and drainage conditions in your yard. Water new plants carefully, keep mulch away from stems, and expect to monitor the beds as they become established.
With thoughtful preparation and regular maintenance, a few days of work can create a more defined, attractive front garden that continues to improve as the plants grow.