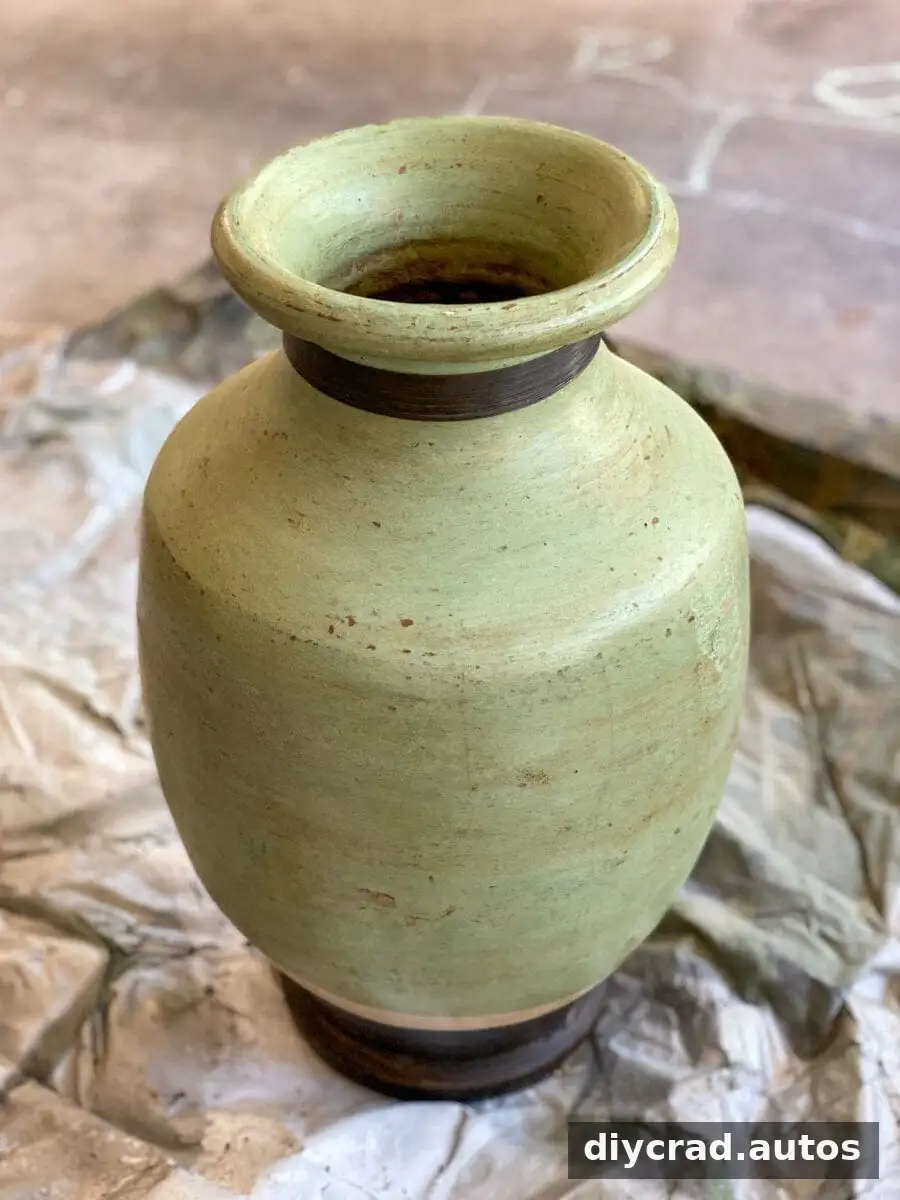
A DIY hobnail vase is a simple way to give a plain vessel a raised, textured finish using a few easy-to-find materials. Arrange small half beads in neat rows, secure them with glue, and finish the vase with spray paint for a coordinated look. The same idea can also refresh a planter or canister, provided its material and shape suit the adhesive and paint you plan to use.
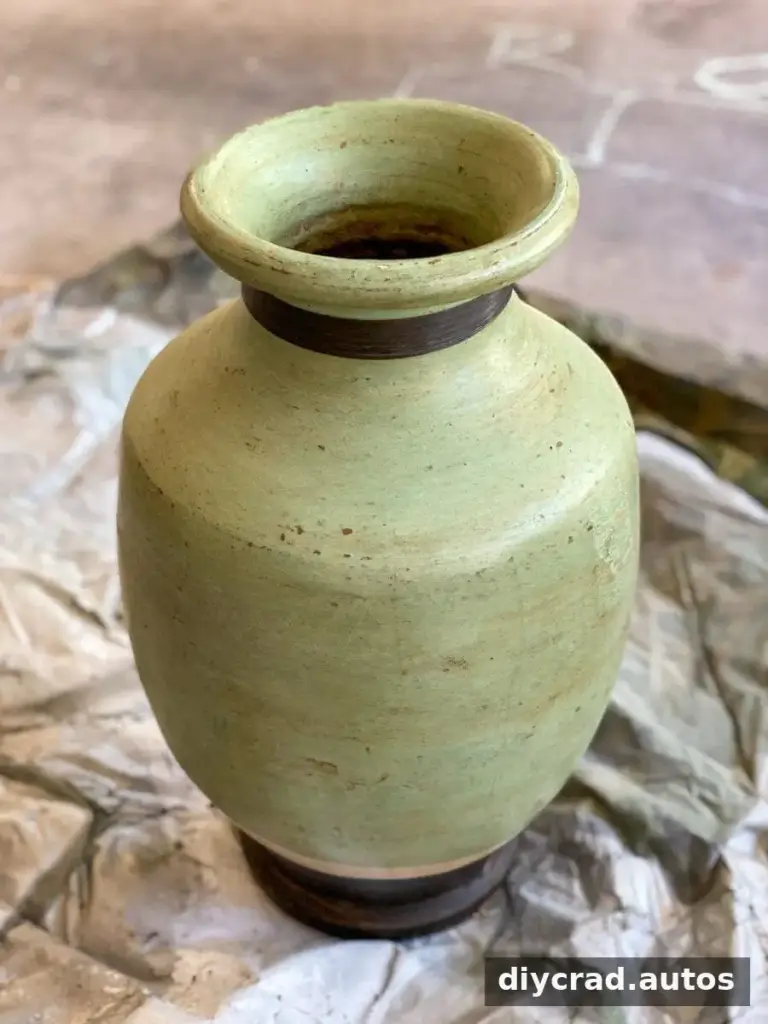
DIY Hobnail Vase Supplies
Gather everything before you begin so you can place the beads while the adhesive is ready to use. Choose a vase with a surface that is clean, dry, and suitable for the glue and spray paint.
- A vase, planter, or canister
- Half beads, or glass gems that can be attached securely
- Super glue
- Spray paint in your chosen finish; white gloss spray paint creates a bright, classic result
Helpful tip: Arrange a few beads on the vase before gluing to check the spacing and pattern. This makes it easier to keep the rows even as you work.
How to Make a DIY Hobnail Vase
1. Attach the half beads
Start with a clean, dry vase. Apply a small amount of super glue to each half bead and press it onto the surface. Work in a linear pattern, spacing the beads evenly around the vase. Continue row by row, checking the alignment as you go. If the vase is curved, take your time: a short section at a time can make it easier to keep the pattern consistent.
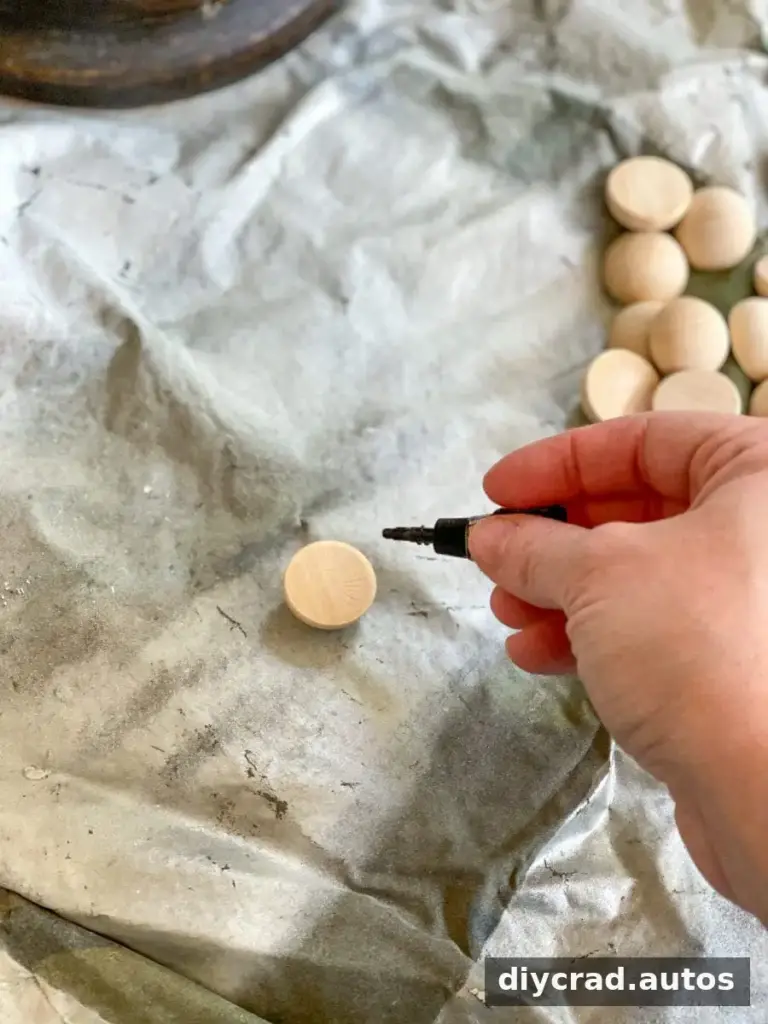
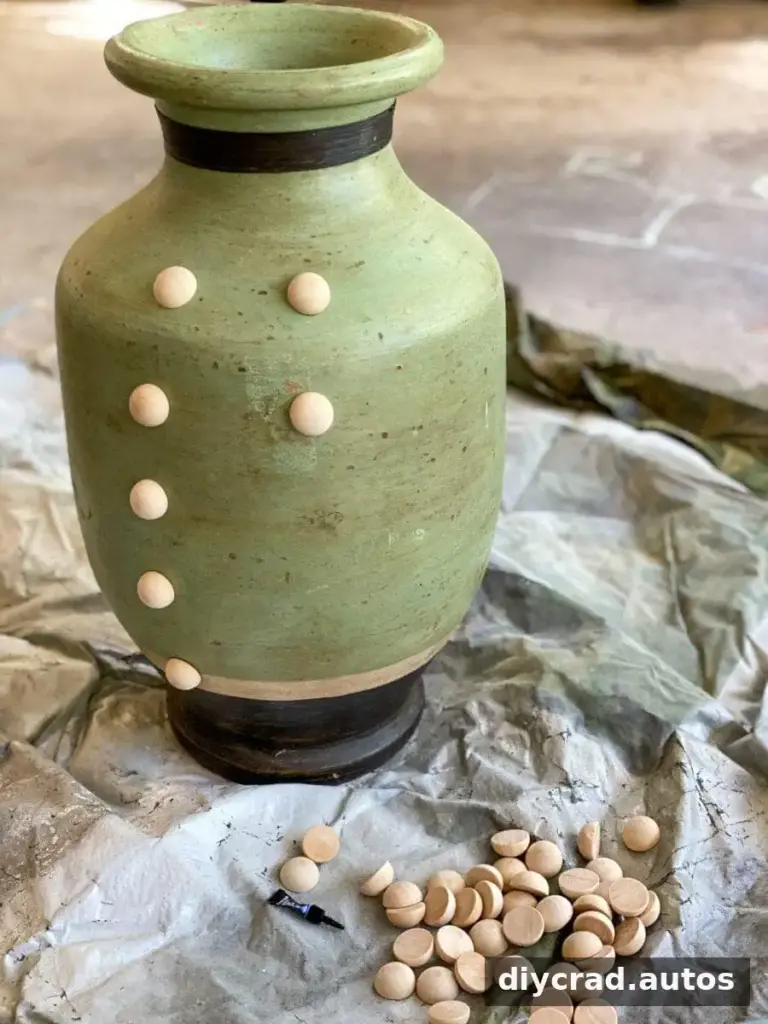
Use the adhesive according to its package directions, and allow it to dry fully before moving on. Keep glue away from skin and work in a well-ventilated area. If you are using glass gems instead of half beads, check that their shape allows them to sit securely against the vase.
2. Apply the spray paint
Once the adhesive has dried, apply spray paint to the vase. Follow the paint label for application, drying time, and ventilation guidance. Light, even passes can help create a more consistent finish than applying a heavy coat at once. Make sure the paint reaches the spaces around the raised beads, and allow the finish to dry fully before handling the vase.
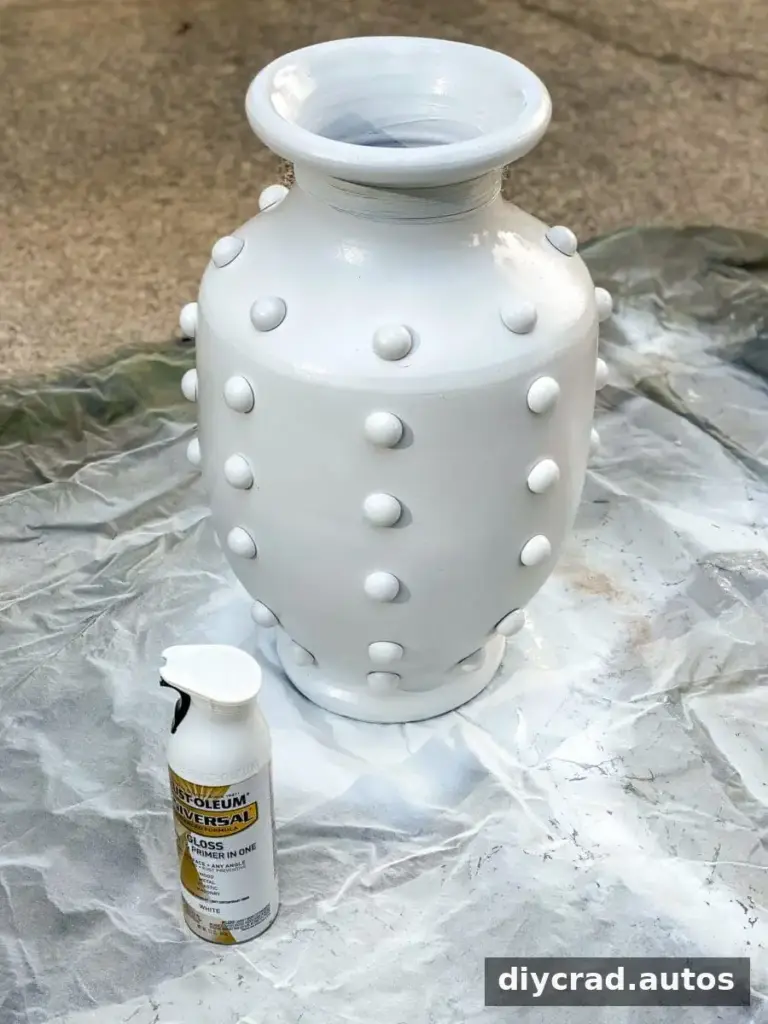
That is the basic two-step process: attach the beads, then paint. The result is a textured decorative accent that can give an older or plain vessel a noticeably different appearance.
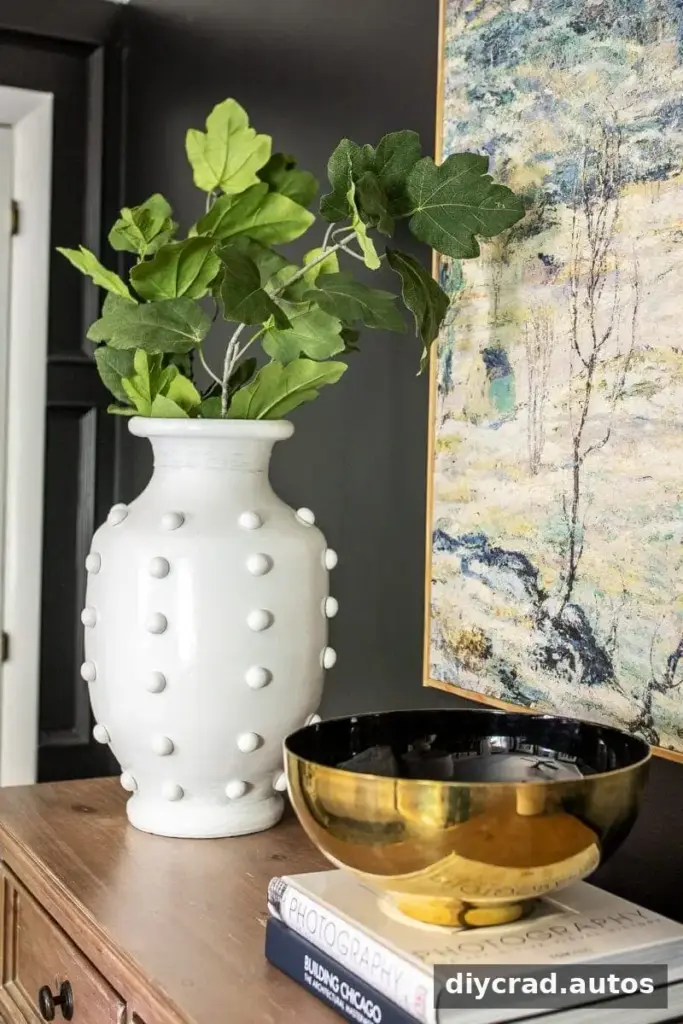
Finishing and Display Tips
Let the vase cure for the amount of time specified by the paint and adhesive manufacturers before placing it on display. A finished hobnail-style vase can work on a bedroom dresser, shelf, or table, and a coordinated paint color can help it complement nearby decor.
Because this project uses glue and spray paint, treat the finished piece as decorative unless the product labels confirm it is suitable for another use. Avoid putting water or food inside unless the materials are specifically rated for contact with them. For a vase intended to hold fresh flowers, a separate container placed inside may be an option, as long as it fits without disturbing the finish.
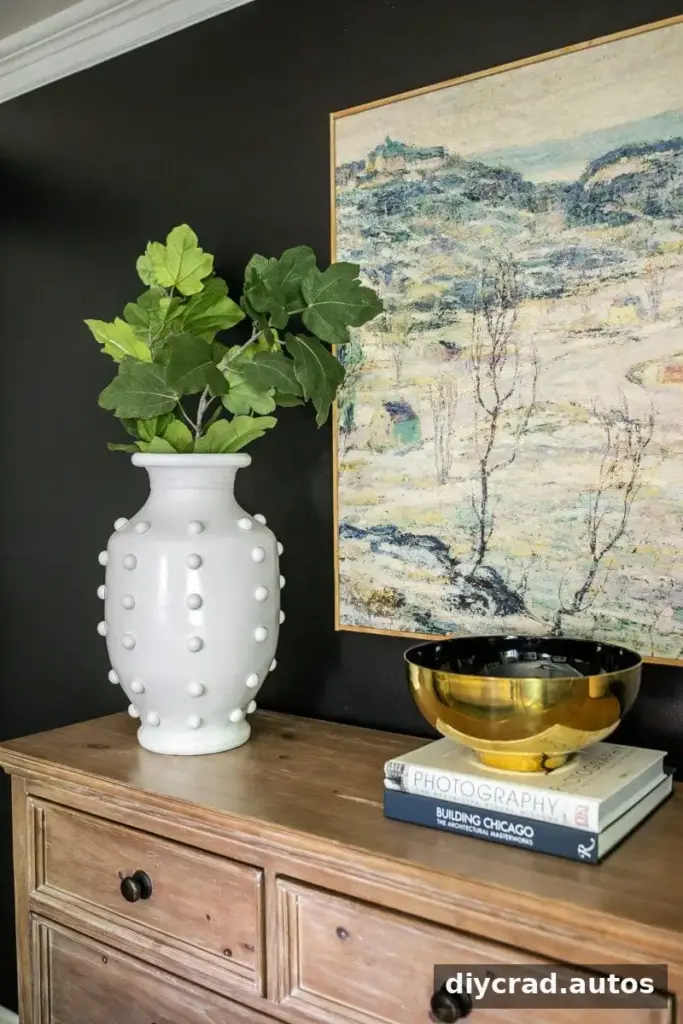
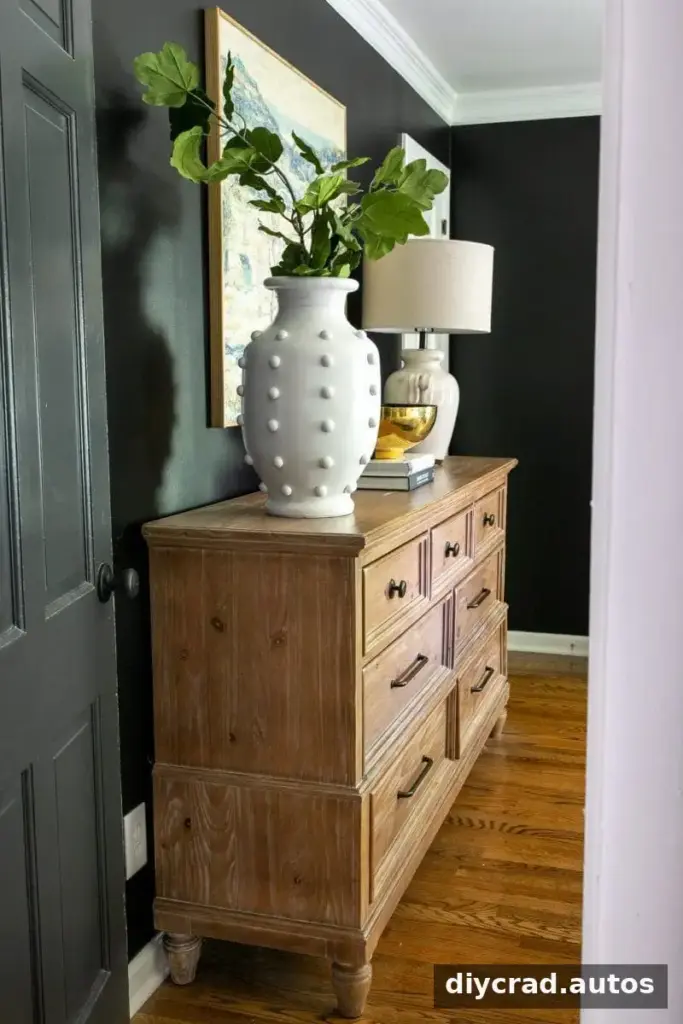
A Simple Vase Makeover
This project uses a straightforward pattern and only a few supplies, making it an approachable way to update a thrifted find or another plain vessel. Adjust the bead spacing and paint color to suit the shape of your piece, and always follow the product instructions for safe use and drying. With those details in mind, a DIY hobnail vase can add an easy, personalized texture to your home decor.