

DIY personalized step stools are a practical way to add names or simple designs to plain wooden furniture. With a printed paper template, a ballpoint pen, and craft paint, you can transfer lettering onto wood without needing to draw it freehand. This project uses a pair of reclaimed stools, but the same method can also work for signs and other flat wooden surfaces.
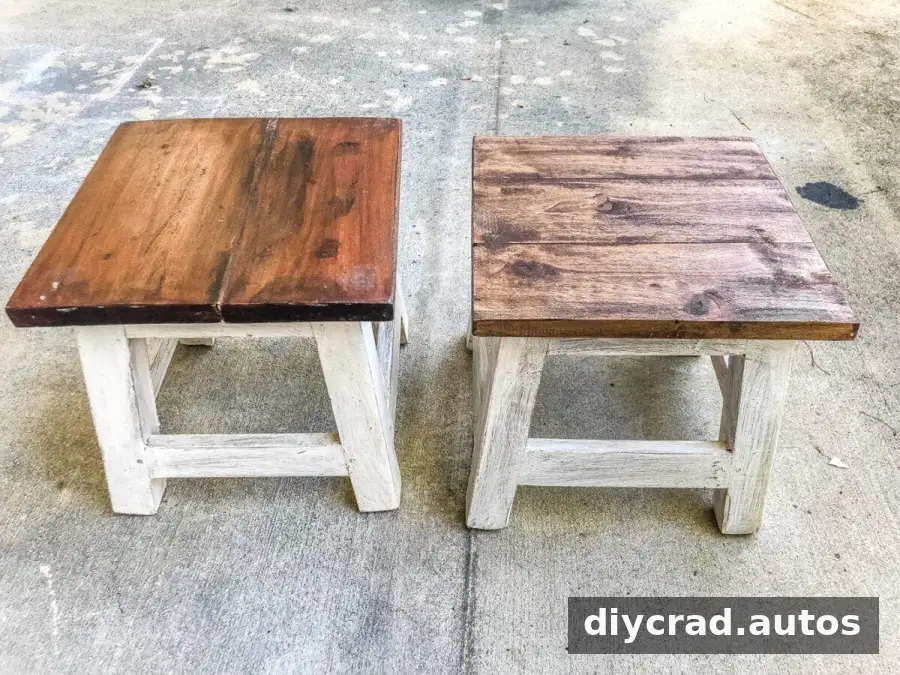
Personalizing the tops can help distinguish stools used by different family members, while matching paint and stain can make mismatched pieces look more coordinated. Before decorating, check that each stool is stable and suitable for its intended use. A decorative finish should never take the place of secure construction.

DIY Personalized Step Stools: Supplies and Preparation
Supplies
- Wooden step stools
- Names or designs printed on plain computer paper
- Ballpoint pen
- Tape
- Acrylic craft paint in your chosen colors
- Small artist brush
- Small chip brush
- Clear spray sealer
- Sander and coarse-grit sanding pads (optional)
- Wood stain and a dry rag (optional)
Choose stools with a sound, even surface. If the pieces have different finishes, sanding and restaining them can help create a more consistent appearance. Work in a well-ventilated area when sanding or applying spray sealer, and follow the product instructions for protective equipment and drying times.
Step-by-step instructions
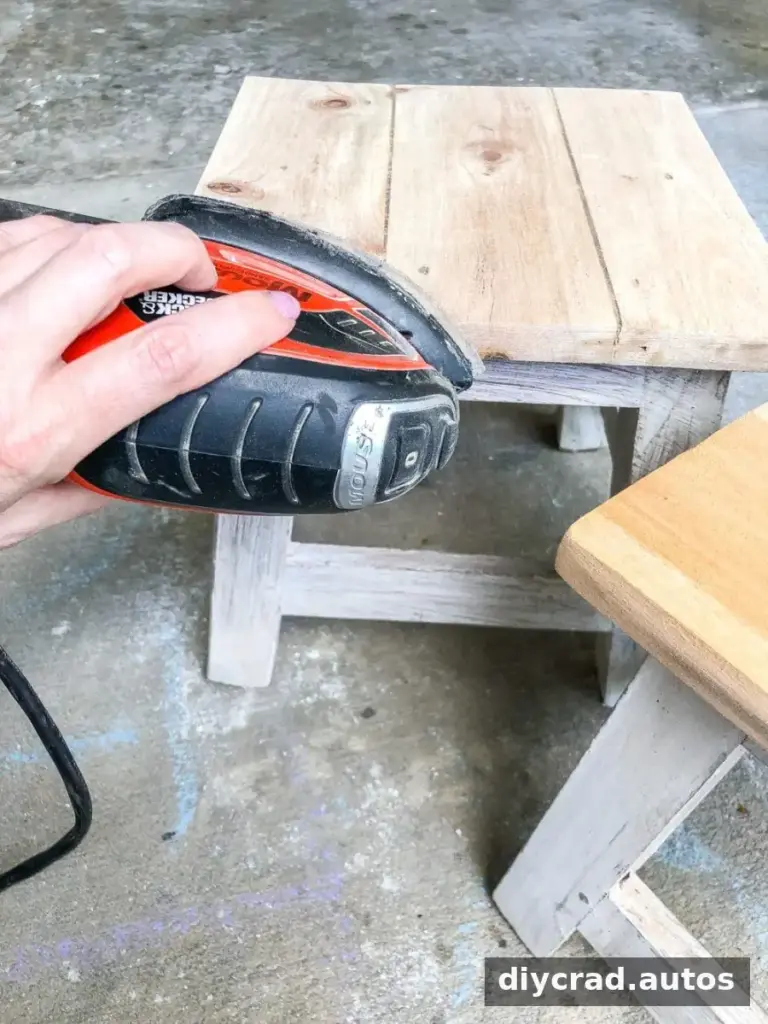
- Prepare the stool tops. If the stools have different-colored stains or a finish that would interfere with the new look, sand the top surfaces. For a bare-wood appearance, continue until the old stain is removed. Remove sanding dust before applying a new finish.
- Apply stain if desired. The original project used one coat of weathered oak stain followed by one coat of special walnut stain. For another color combination, test the stain on an inconspicuous area or scrap wood first. Let each coat dry according to its label.
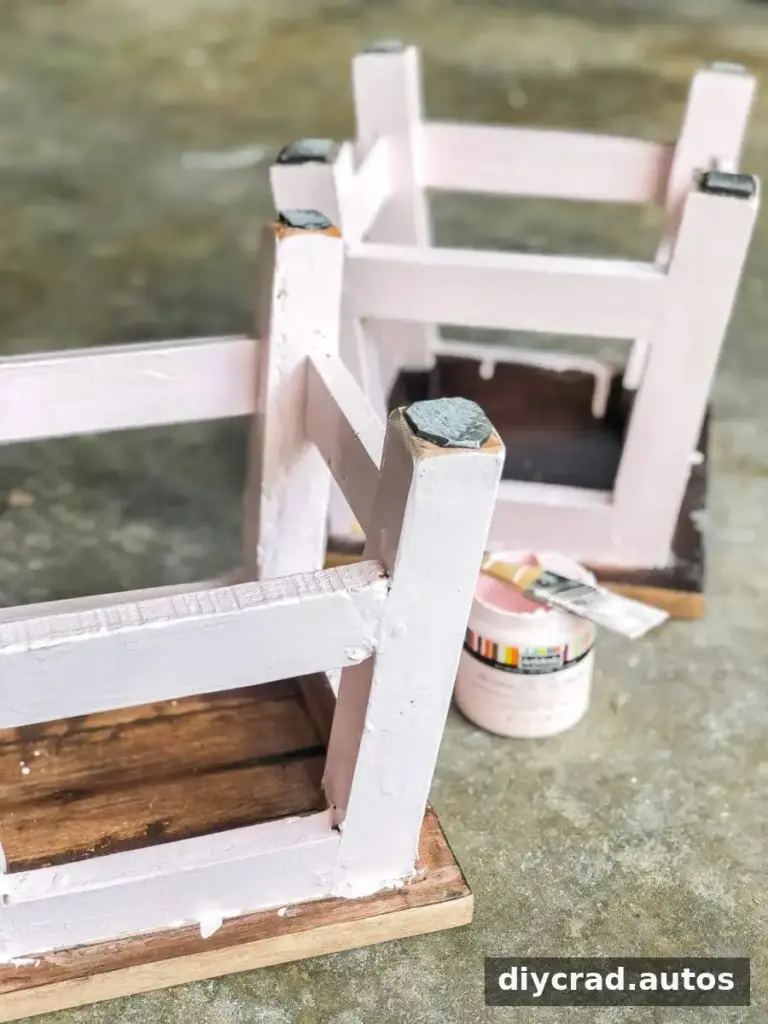
- Paint the bases. Brush on a couple of coats of acrylic craft paint, allowing the paint to dry between coats. A small chip brush is useful for larger areas; use a smaller brush around corners and details.
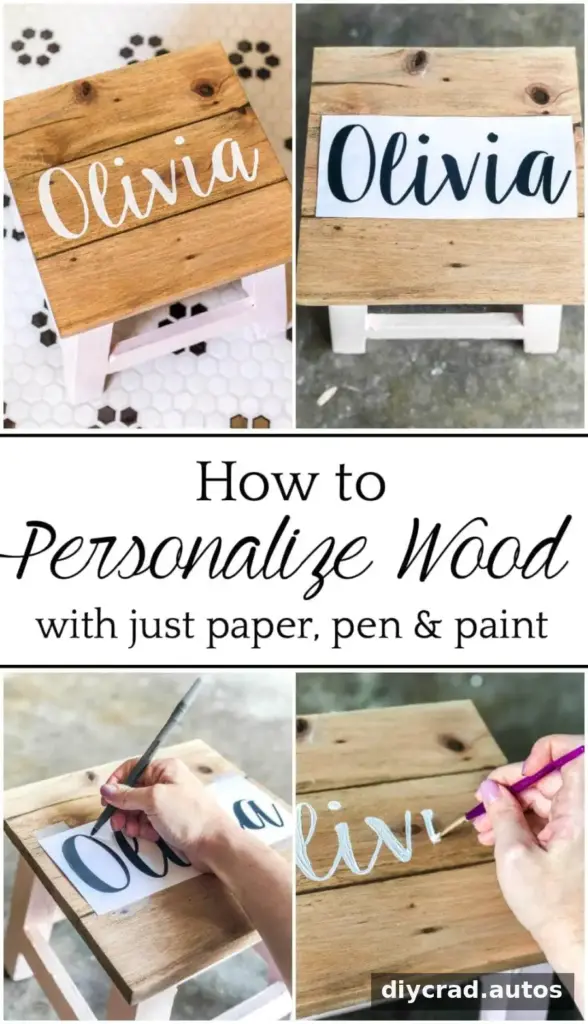
- Print the lettering. Type the names or design in a document and print them on ordinary computer paper. Select a font with letter shapes that will be easy to trace and paint. Adjust the size to fit the stool top before printing.
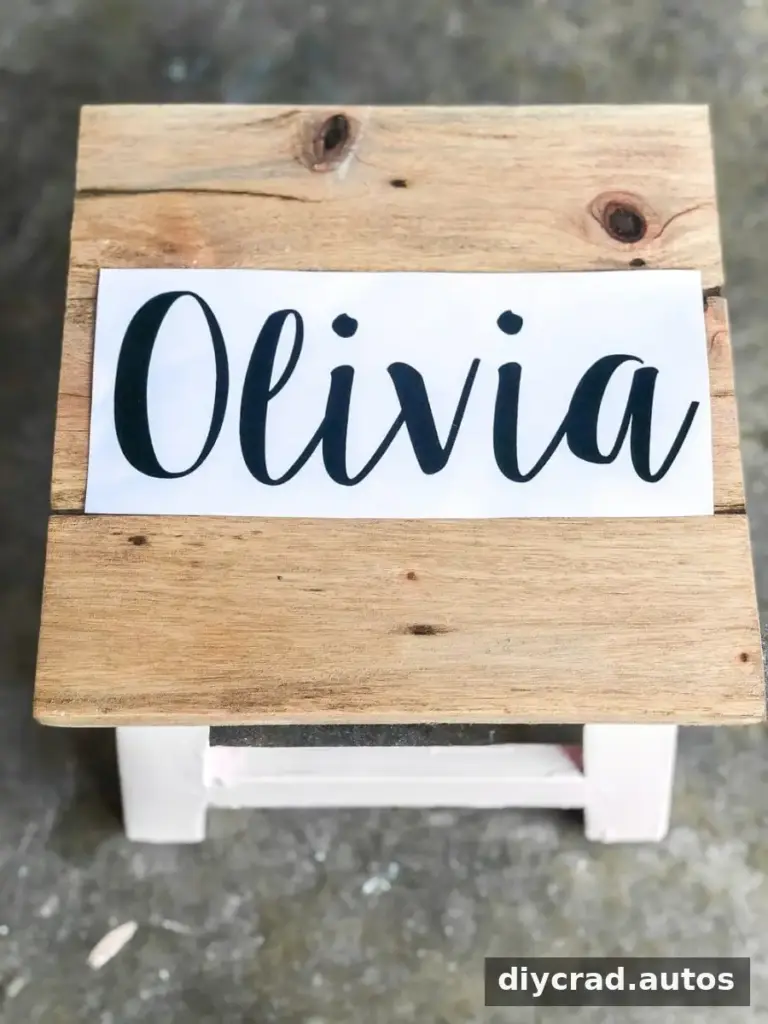
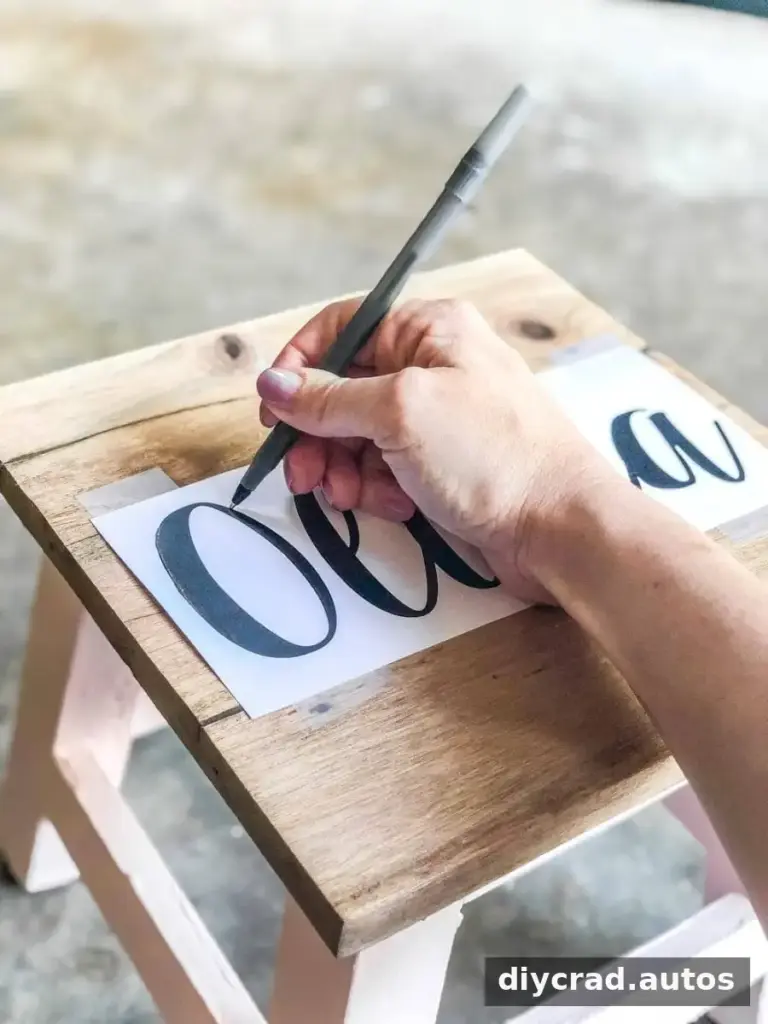
- Position the paper. Trim around the printed lettering, place it where you want it on the stool, and secure it with tape so it does not shift while tracing.
- Transfer the design. Trace the lettering with a ballpoint pen, pressing firmly enough to leave an indentation in the wood. Take care not to move the paper; check a small section if you are unsure whether the lines are transferring clearly.
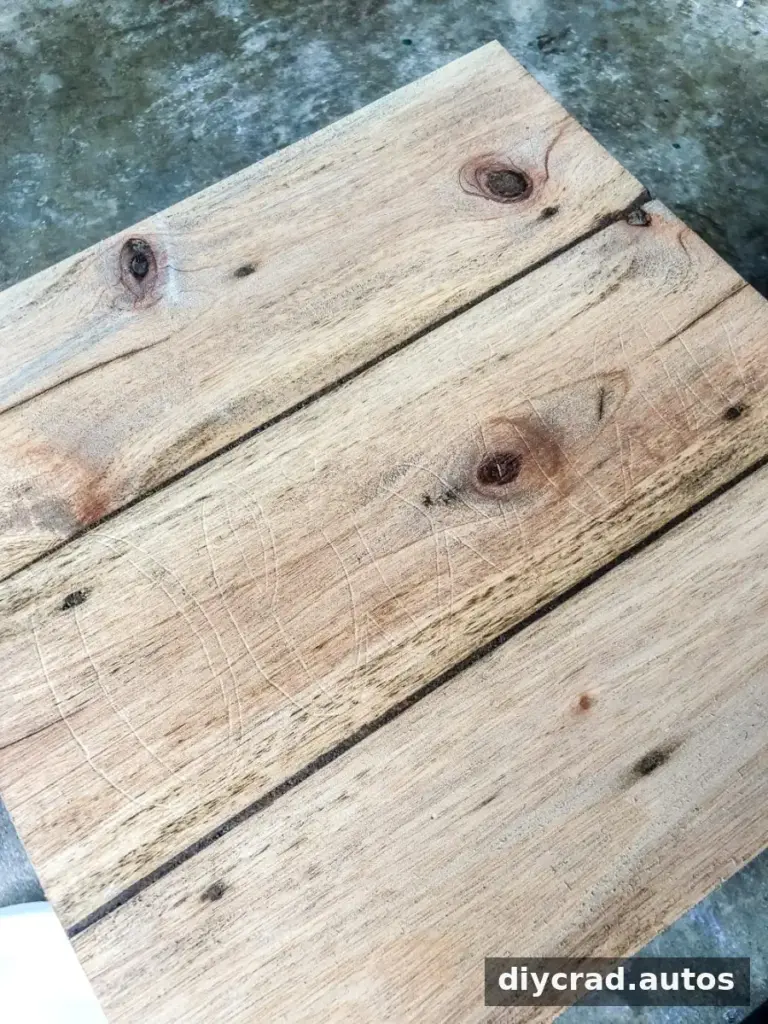
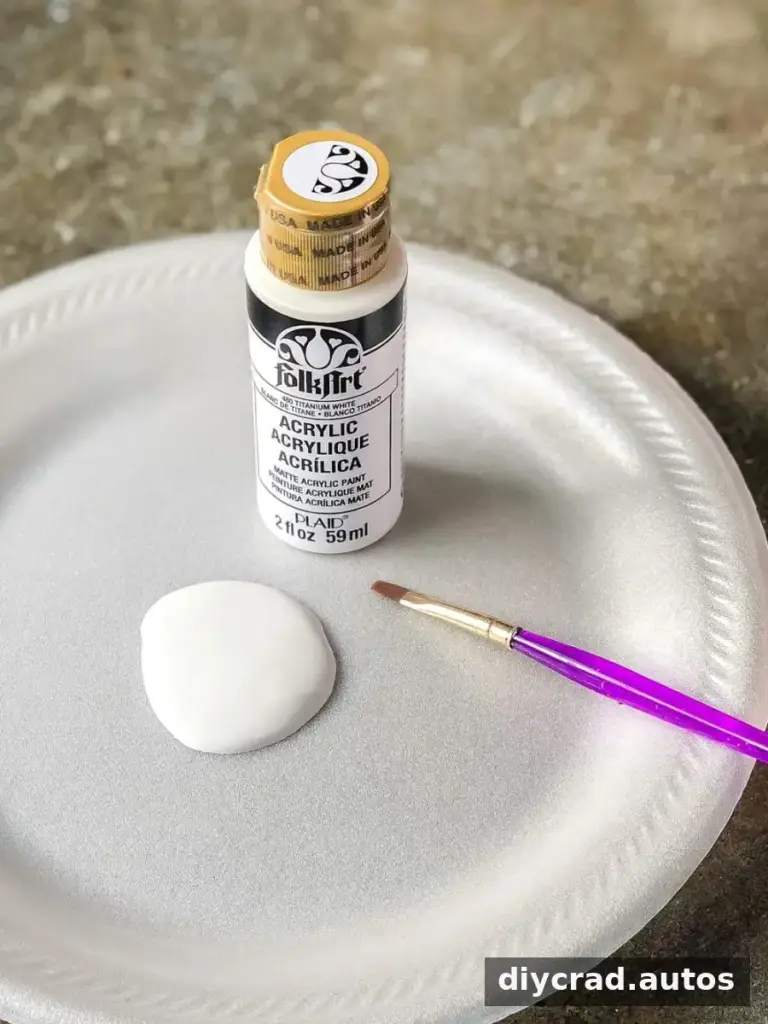
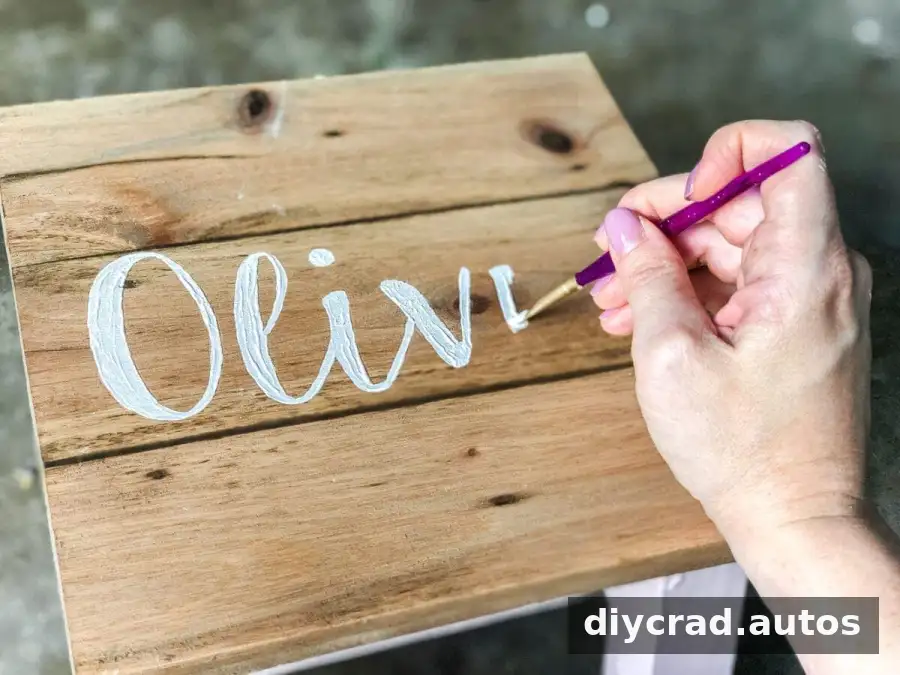
- Paint the lettering. Remove the paper and use the indentations as a guide. Apply craft paint with a small artist brush; the project used two coats of white paint. Let the first coat dry before adding the second for more even coverage.
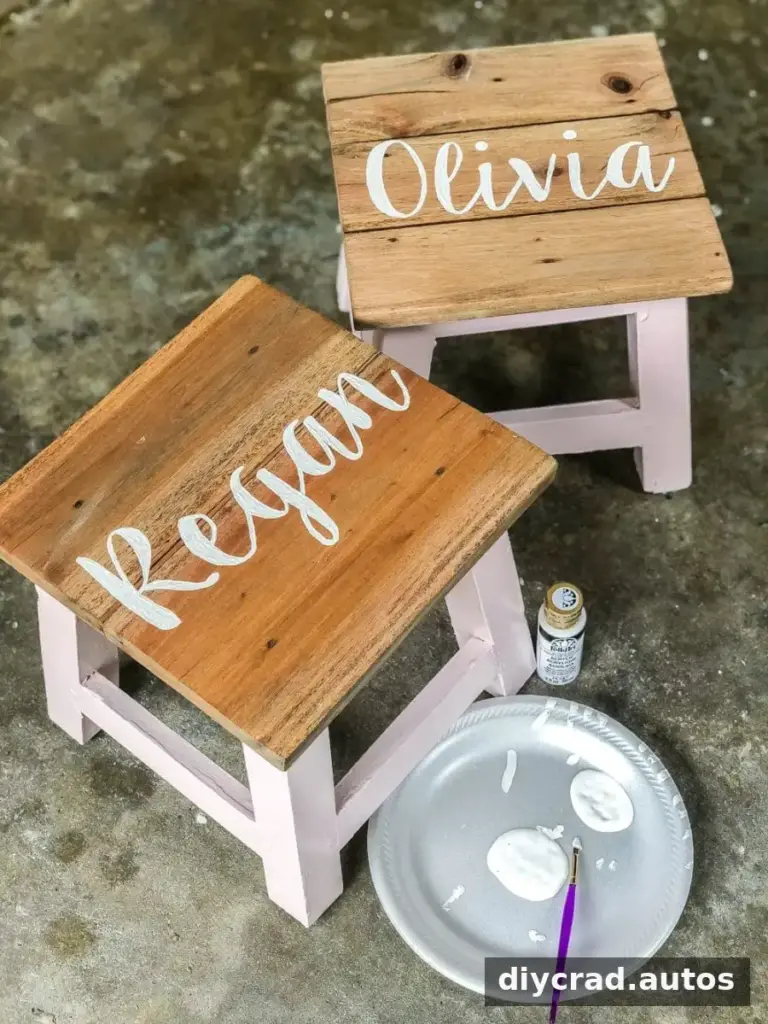
- Seal the finished surface. Once the paint is dry, apply two coats of clear spray sealer to protect the lettering. Follow the can’s directions for distance, ventilation, and the interval between coats. Allow the finish to cure fully before putting the stool back into use.
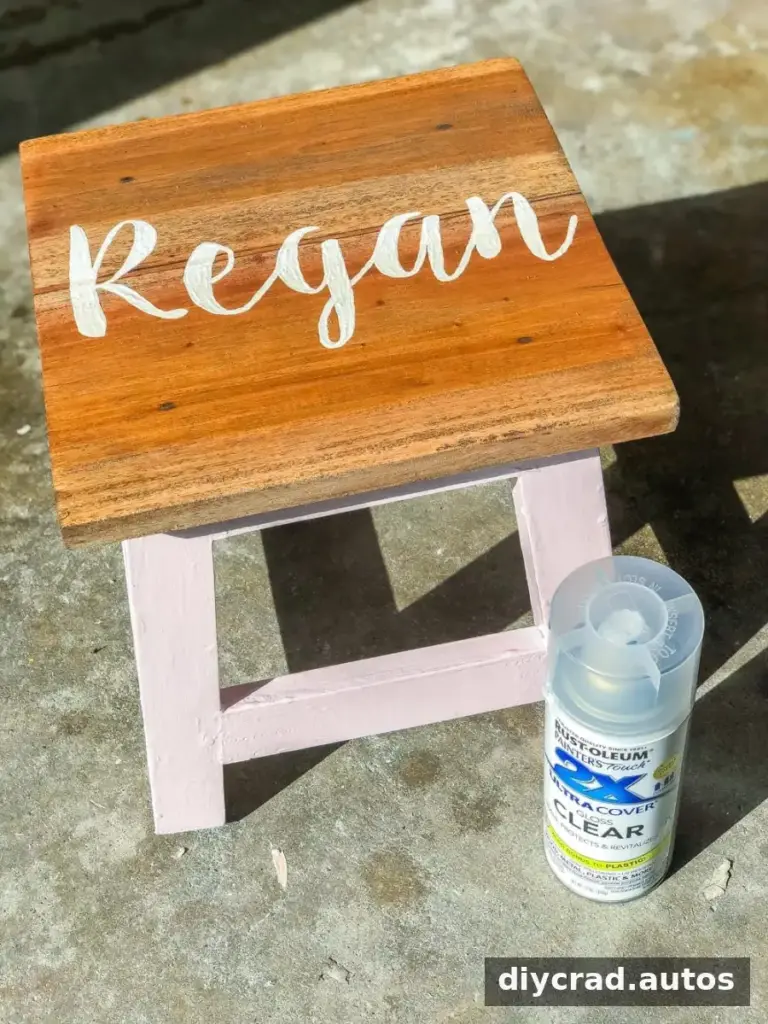
Tips for a Neat, Durable Finish
The paper-tracing technique is useful when you want consistent lettering but do not feel comfortable painting directly from a sketch. Firm pressure creates a visible guide, while taping the template helps keep letters aligned. For detailed designs, work slowly and use a brush suited to the size of the lines. Keep the lettering away from edges or areas that receive frequent impacts, where the finish may wear more quickly.
Let paint and sealer dry completely between coats and before use. Because step stools are used for standing, inspect the legs, joints, and top regularly, and do not use a stool that wobbles or has loose parts. Keep children supervised around stools, especially while they are climbing or reaching.
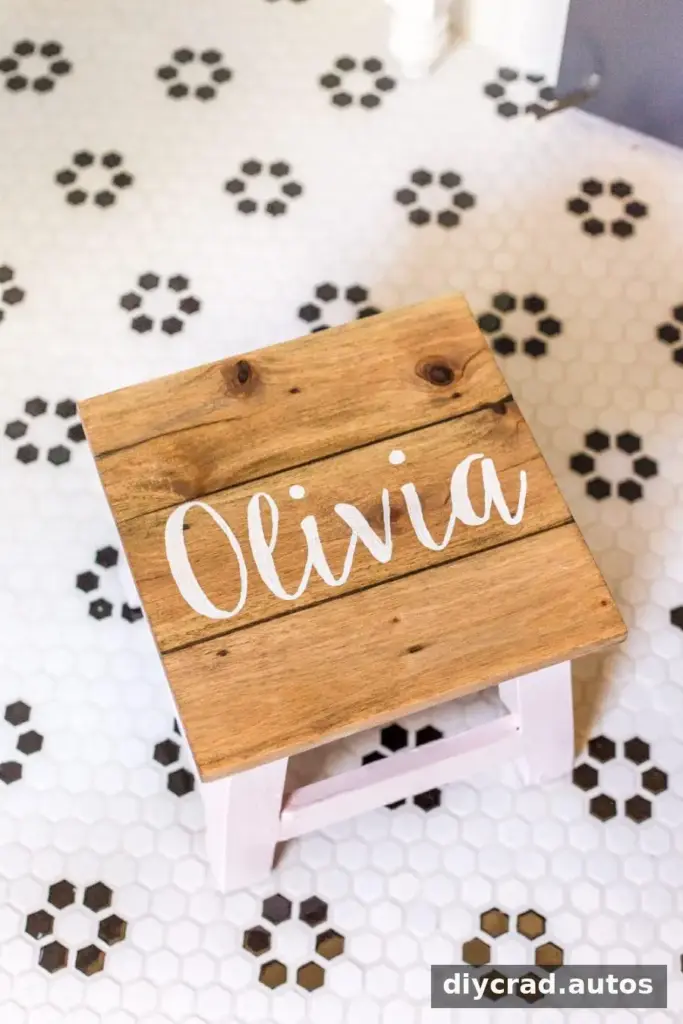
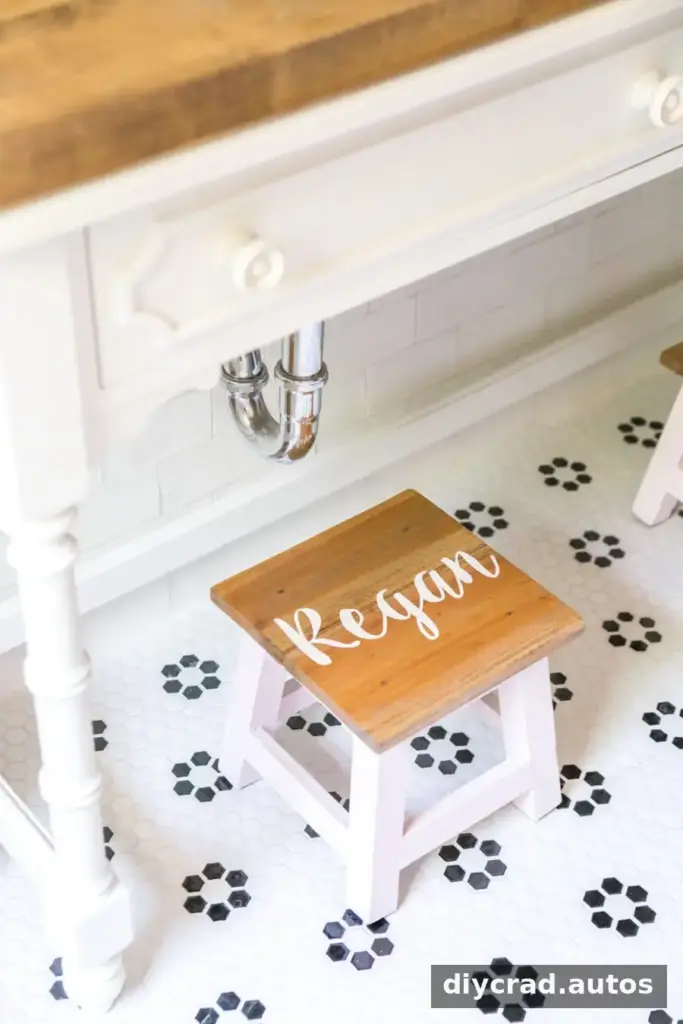
Once the finish has cured, the customized stools can provide useful extra height while adding a personal detail to a bathroom or bedroom. The same inexpensive transfer approach can be adapted for wooden signs and other suitable surfaces.
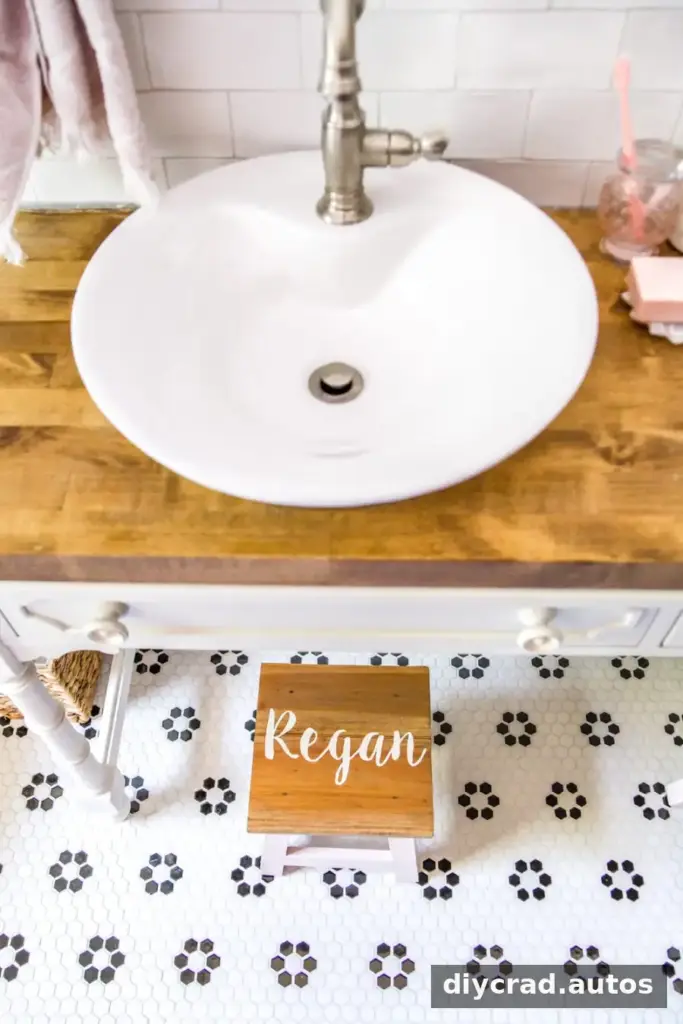
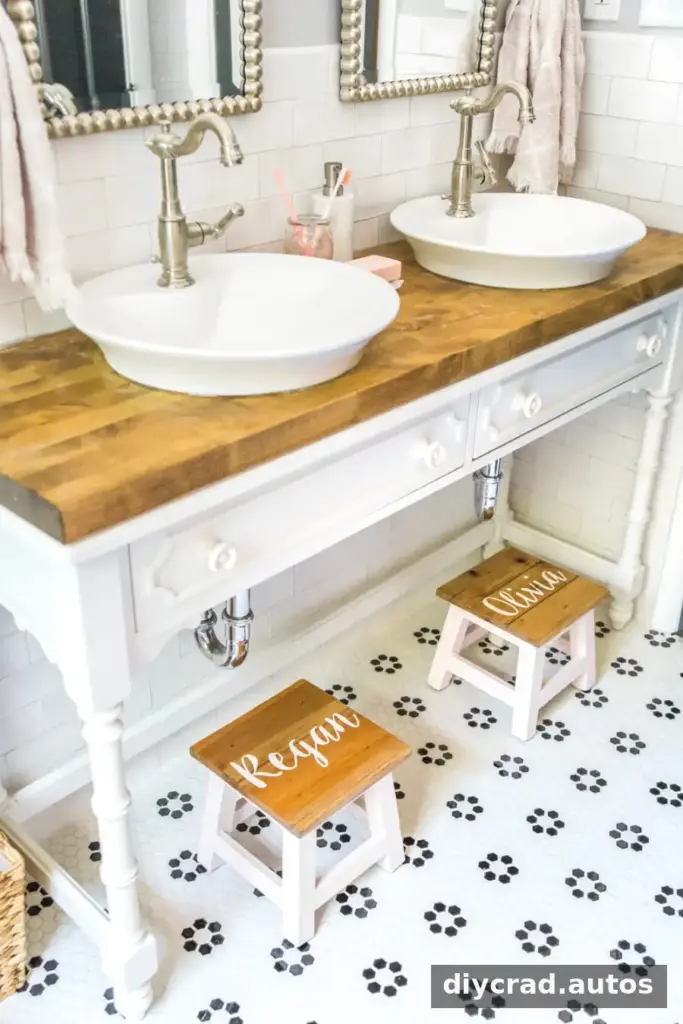
The project was shared as part of a monthly thrifted-makeover roundup. The accompanying bathroom makeover was described as nearly complete, with one small shower detail still pending.
More thrifted makeover ideas from the roundup:
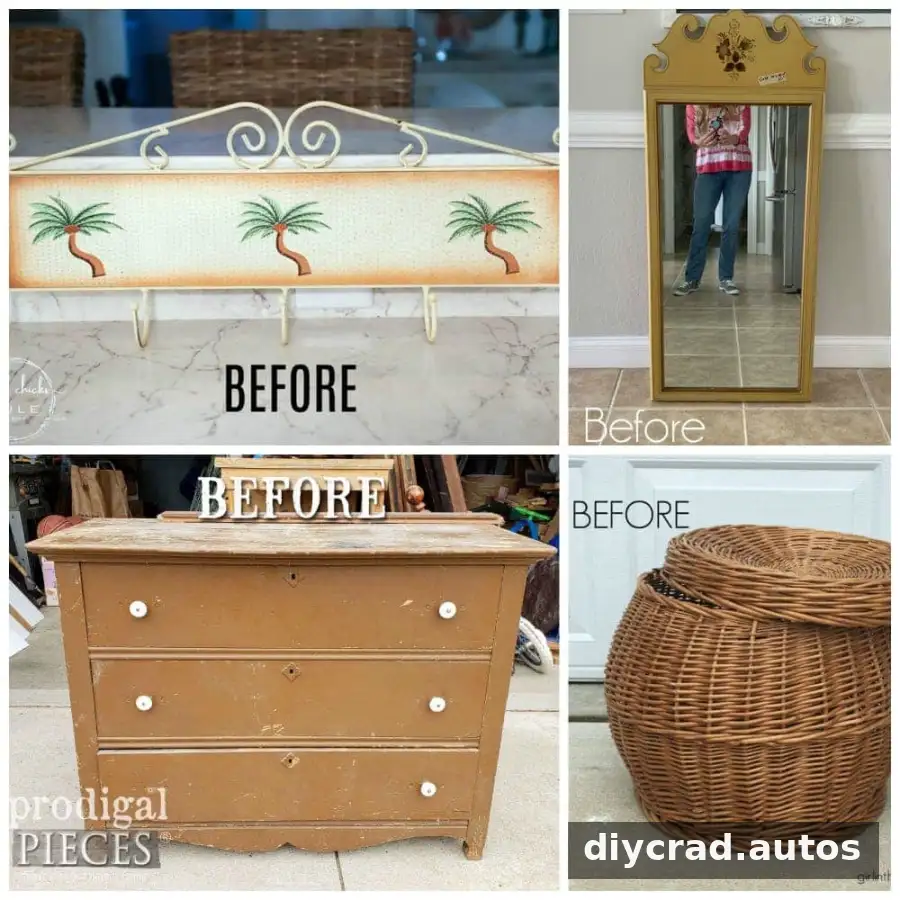
Clockwise from top left:
Artsy Chicks Rule | Confessions of a Serial DIYer | Girl in the Garage | Prodigal Pieces
Past monthly thrifted makeovers were also mentioned as a source of additional project ideas.
Save this project idea for later:

Conclusion
DIY personalized step stools can be made with basic supplies and a simple paper-transfer technique. Sanding and staining help coordinate the wood, while painted lettering and clear sealer add a customized finish. Take time to prepare the surface, let each coat dry as directed, and check the stool’s stability before use.

