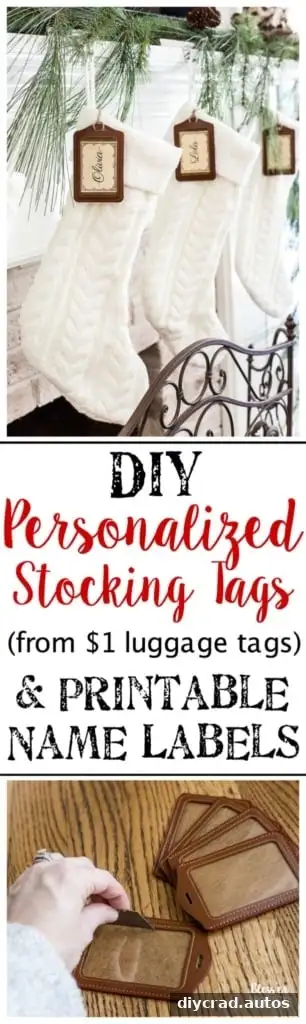
Personalized stockings add a thoughtful finishing touch to holiday decorations, but custom sets can be expensive. These DIY stocking name tags offer a simple, budget-friendly way to label each stocking using cardstock, a luggage tag, and a few basic supplies. You can customize the names and style to suit your holiday decor.
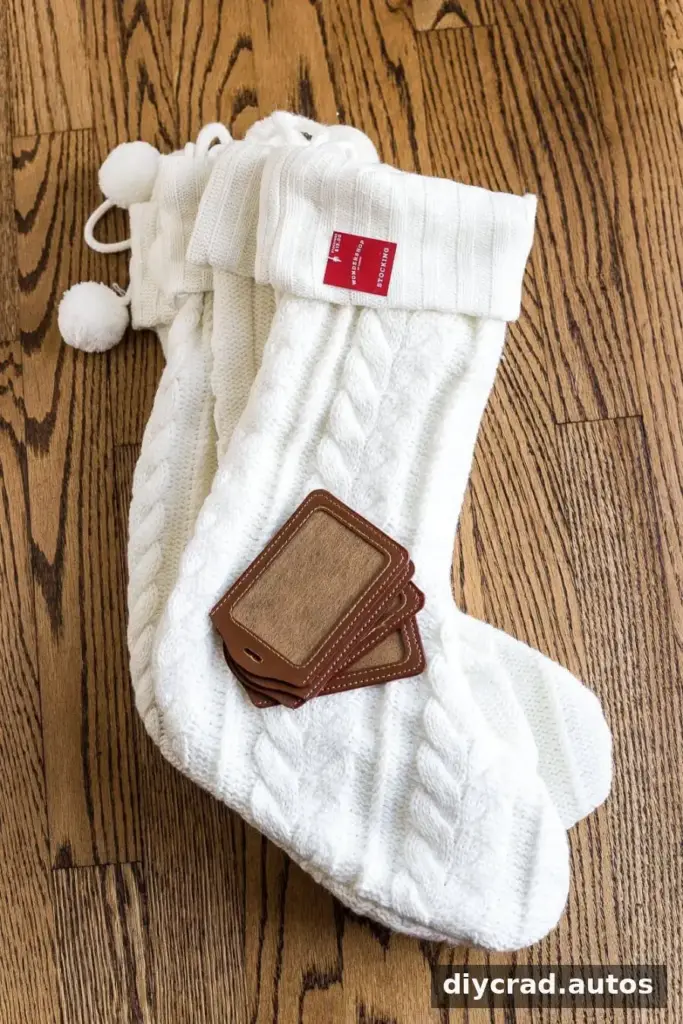
The original project cost $38 for five personalized stockings, compared with the idea of spending $300 on a customized set. The method is flexible, too: use a printable design, choose a font you like, or write each name by hand.
DIY Stocking Name Tags: Supplies
Gather the materials before you begin. Check that your stockings have a tag or loop where the finished label can be attached.
- Basic Christmas stockings
- Luggage tags with a clear plastic window
- Utility knife blade
- White cardstock and a printer
- Twine
- Safety pins
Use a cutting mat or another stable, protected surface when working with a utility blade. Keep the blade pointed away from your hands, and ask an adult to handle this step if children are helping.
How to Make Personalized Stocking Labels
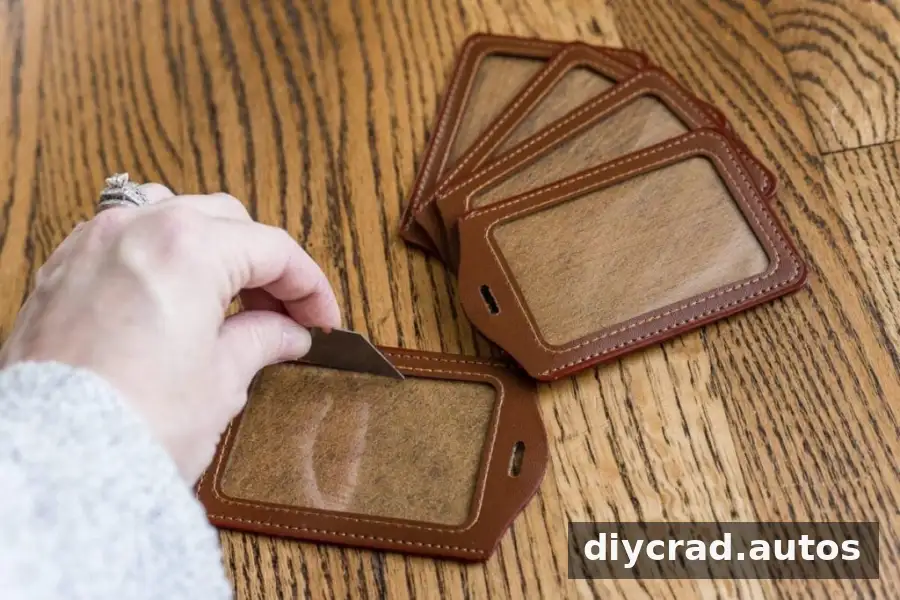
1. Remove the clear window from the tag
Carefully cut out the transparent plastic window from the luggage tag. Removing it helps prevent glare over the printed name and gives the label a paper-like finish. Work slowly so the tag frame stays intact.
2. Add names to the printable design
Open a blank stocking-label design in an image editor or document program, such as Canva, PicMonkey, Google Docs, or Kapwing. Add each family member’s name, then adjust the font size and placement so the text fits inside the label. A decorative script font such as Parisienne can create a vintage-inspired look.

Print a test copy on regular paper first if you are unsure about the layout. Once the names are positioned correctly, print the final sheet on white cardstock and cut out the individual cards.
3. Assemble and attach each tag
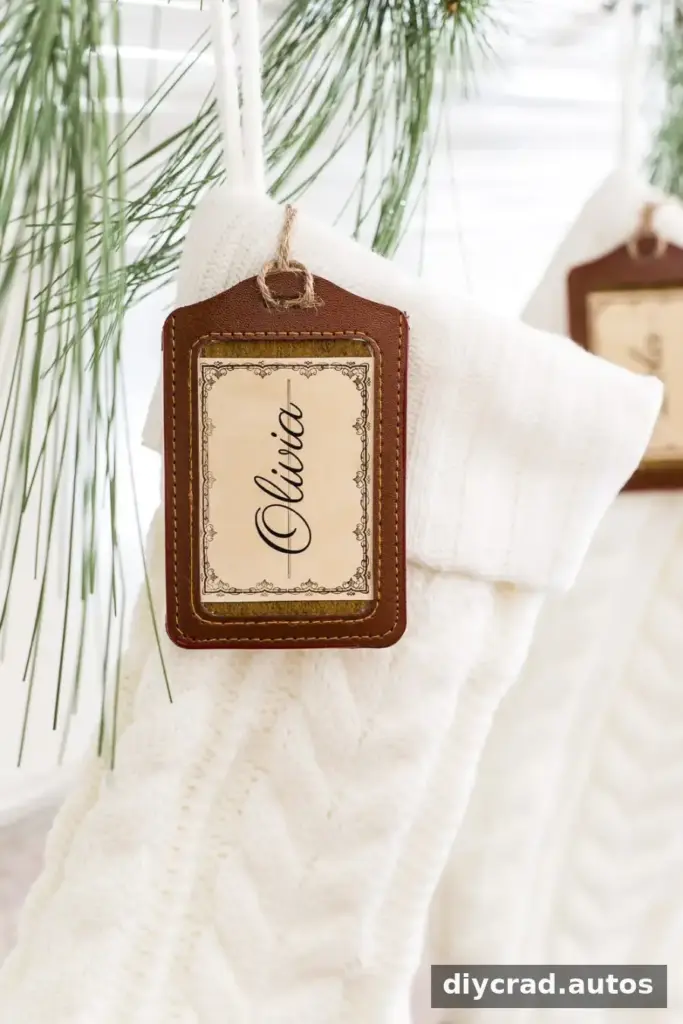
Slide a printed name card into the luggage tag slot. Thread a piece of twine through the tag, then use a safety pin to attach the twine to the inside top edge of the stocking. Make sure the pin is closed and positioned where it will not catch on clothing or be easily reached by small children.
Repeat these steps for each stocking. Using the same paper, font, and tag style across the set helps the finished labels look coordinated.
The same style of label can also be used on pantry containers or other household storage. Keeping the lettering consistent makes it easy to carry a simple, charming look from seasonal decor into everyday organization.
How to Add Text to a Stocking Name Tag in PicMonkey
PicMonkey’s menus may change over time, but the general process is to open the printable file, add a text layer, and position the name over a blank label. These steps outline the workflow:
- Open PicMonkey and choose the option to edit an image.
- Open the printable file saved on your computer.
- Select the text tool, often shown as a Tt icon, and add a text box.
- Choose a font, type a name, and resize the text to fit the label.
- Move the text box into position over a blank label.
- Repeat for each additional name.
- Export or download the finished design, then print it on white cardstock.
In Google Docs or another design program, use the same basic approach: insert the label image, add text on top, and check the layout before printing. If you prefer a handmade finish, write names directly on cardstock with a permanent marker. Test the pen on a scrap first to check that it does not smudge or bleed through.
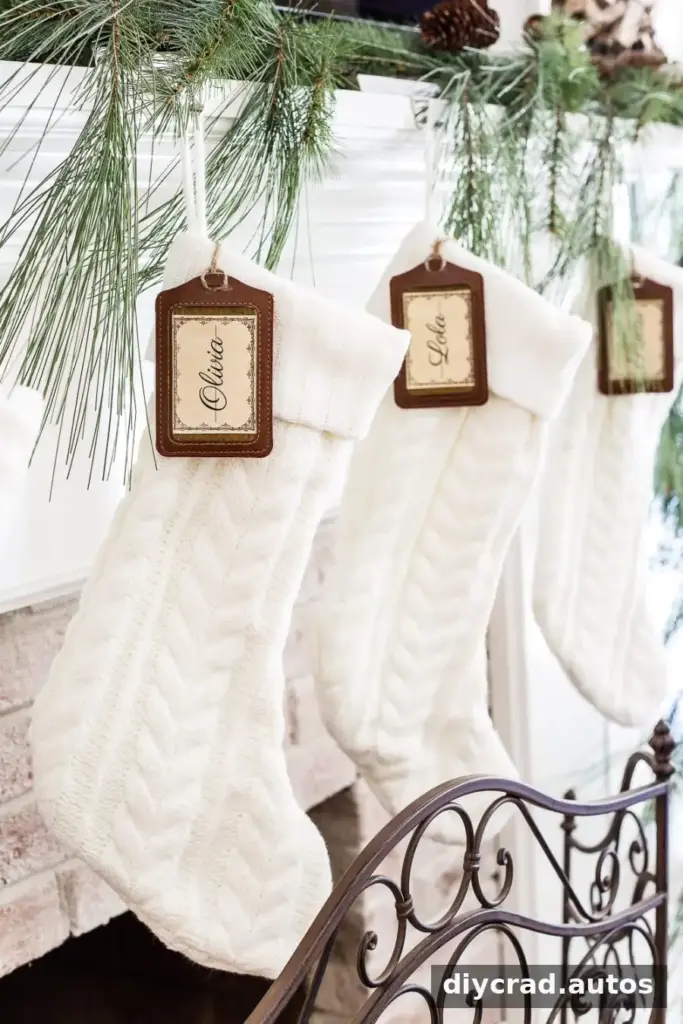
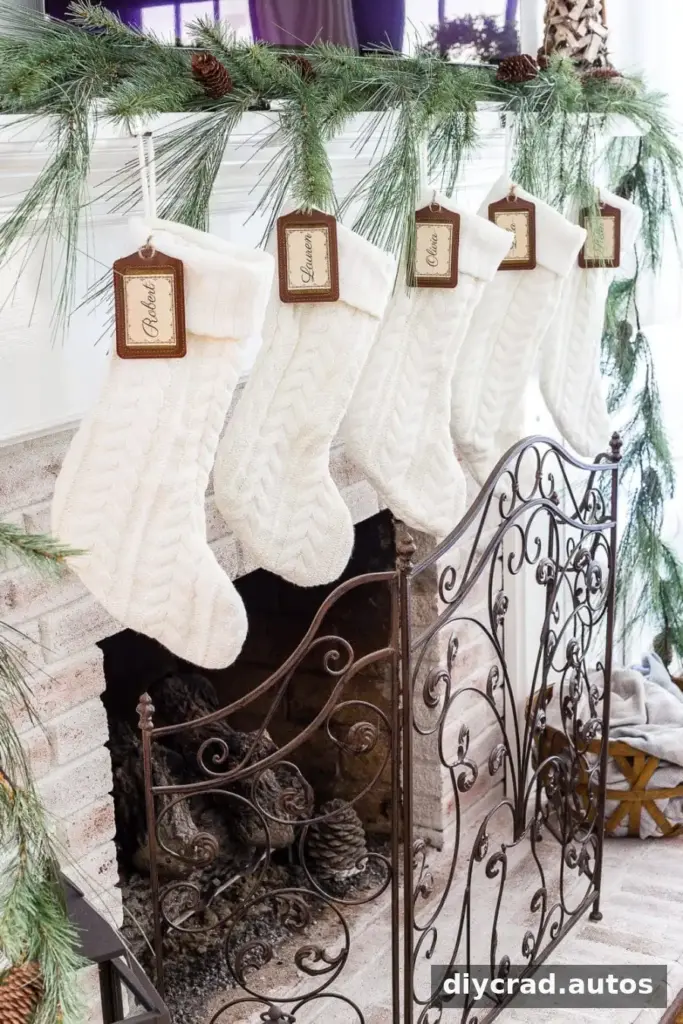
With five personalized stockings costing $38 in this project, printable tags can be a practical alternative to more expensive custom designs. The final result can still feel special when you choose colors and lettering that complement the rest of your decorations.
More DIY Stocking Name Tag Ideas
If you do not have luggage tags, try using lettered Christmas ornaments or initial keychains from a craft store as stocking labels. Small initial keychains cost $1 each in this project and were spray-painted gold for a coordinated finish.
Before painting any ornament or keychain, check that its material is suitable for spray paint and follow the paint label’s directions. Work in a well-ventilated area and allow the paint to dry fully before attaching the decoration to a stocking.
Stocking Stuffer Ideas for Family
After labeling the stockings, make a list of small gifts that suit each person’s interests. Snacks, practical little items, and compact activities are common options. Check product sizes before buying so the items will fit comfortably inside the stocking.


More DIY Christmas Decorating Ideas
Continue your seasonal decorating with other handmade projects. Consider making a mantel garland, creating a dried orange garland, or adding ribbon decorations to a Christmas tree. For a polished result, choose materials and colors that work well together across the room.
- How to Make Beautiful DIY Mantel Garland for Christmas
- Easy Tutorial: How to Make DIY Dried Orange Garland
- How to Put Christmas Tree Ribbon Decorations on Trees
DIY stocking name tags are an easy way to personalize holiday stockings without investing in a full set of custom labels. With cardstock, a luggage tag, and a little twine, you can make a coordinated set that is simple to update and reuse from year to year.