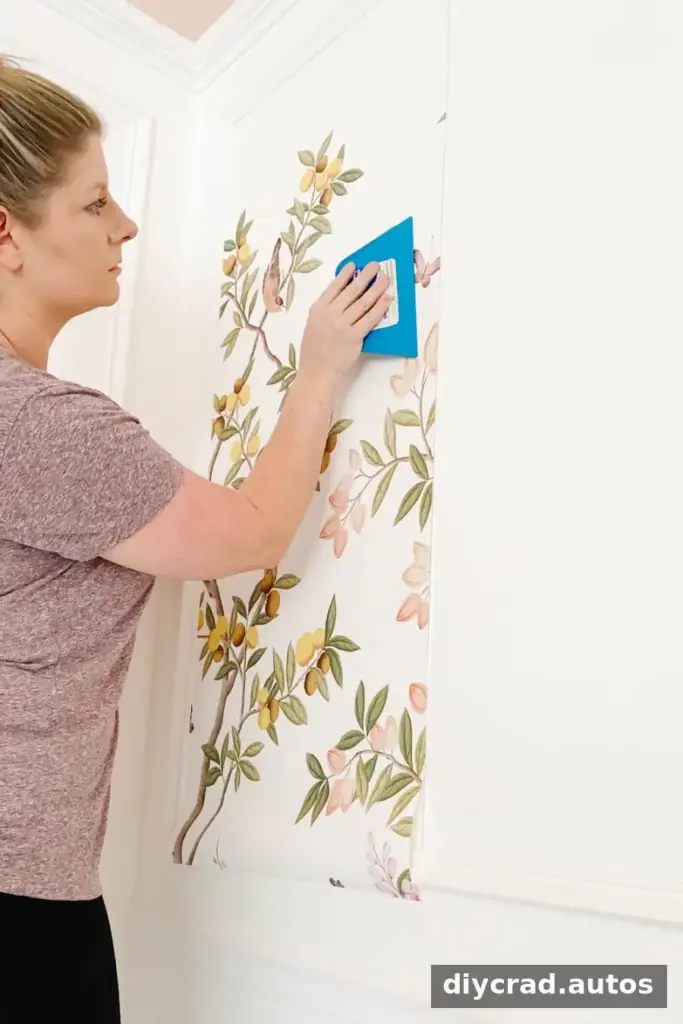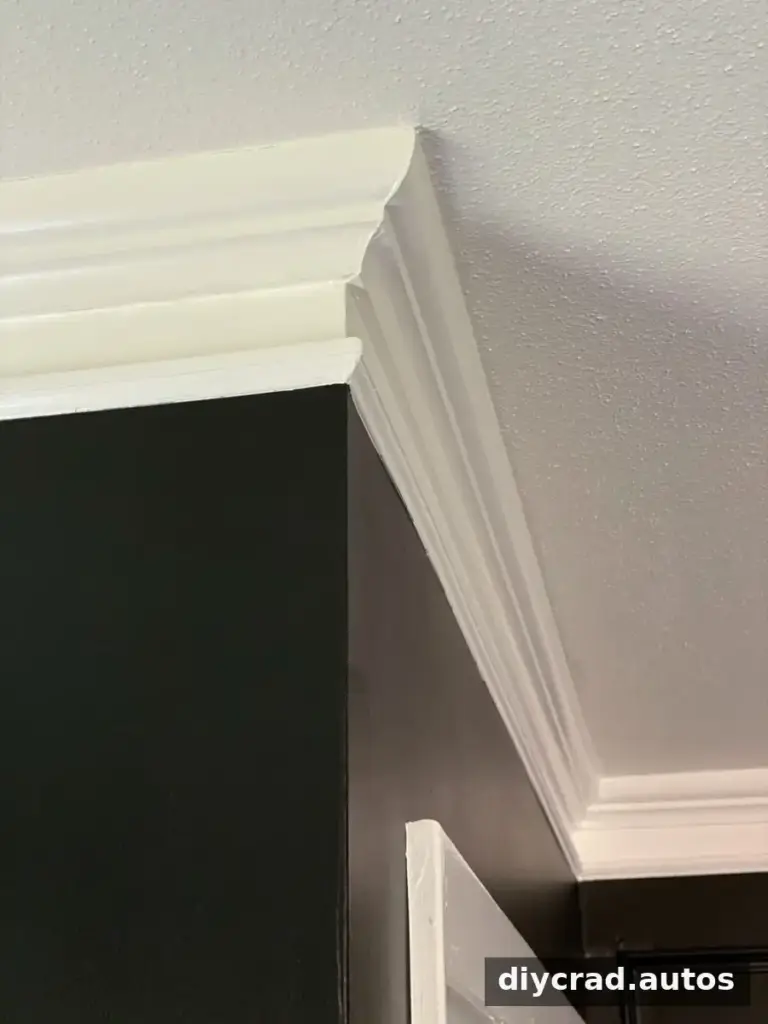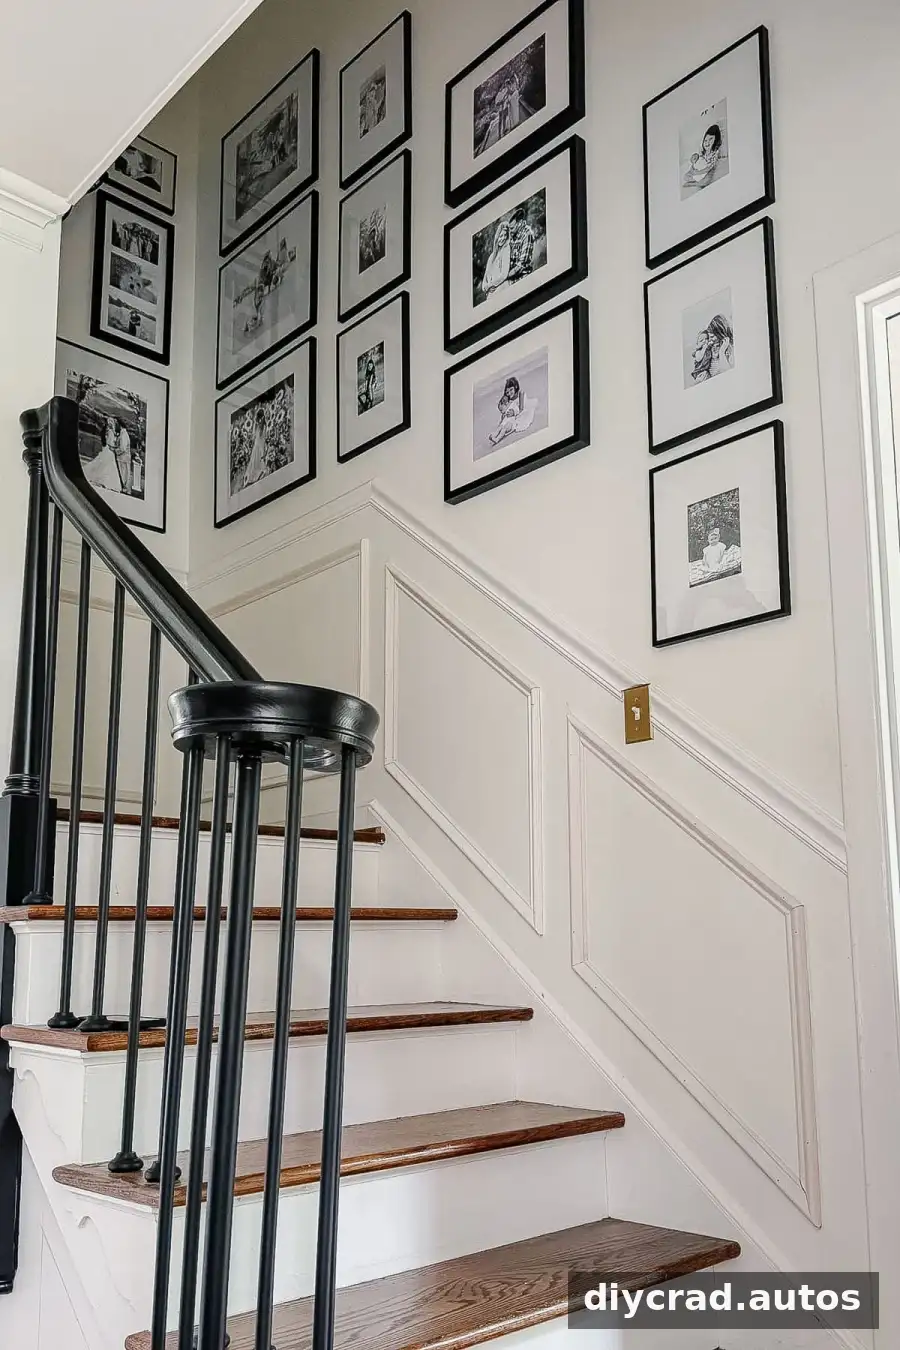
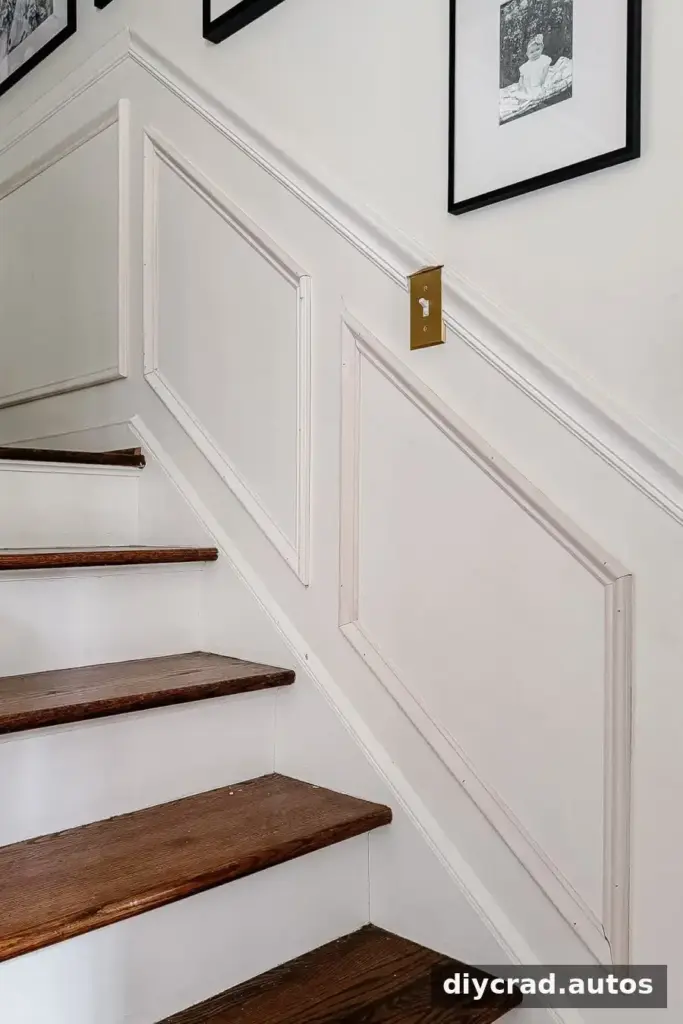
DIY stair wainscoting can add detail and a finished look to a staircase without covering the wall in heavy panels. Picture-frame molding is a relatively simple option: mark out the frames beneath the chair rail, calculate the angled cuts, then attach and finish the trim. Careful measuring is especially important on stairs, where the frames follow a slope.
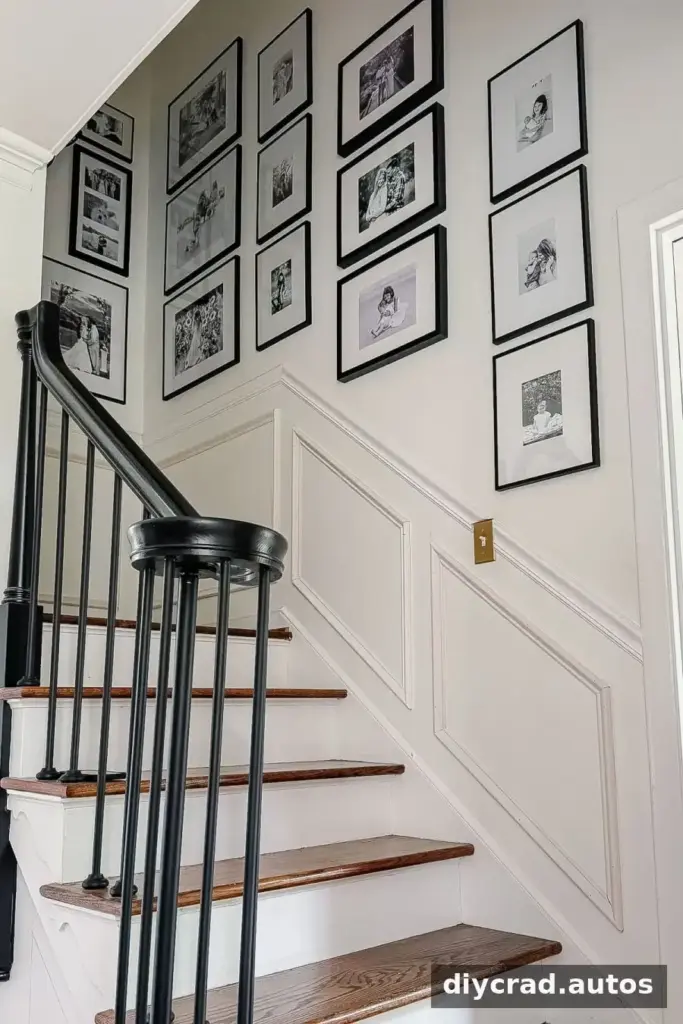
Why Choose Picture-Frame Molding for Stair Wainscoting?
Picture-frame molding creates a traditional, paneled appearance using narrow strips of trim attached directly to the wall. It adds dimension while keeping the design adaptable to the proportions of the staircase. Board-and-batten or traditional grid molding can also be used if those styles better suit the room.
Before buying materials, sketch the staircase wall and decide how many frames you want. Consistent spacing usually makes the finished layout feel more balanced. Keep the overall design in mind if you may later paint the trim a contrasting color or add other carpentry details nearby.
Supplies and Tools
- 5/16 in. x 11/16 in. panel colonial moulding
- Finger joined chair rail moulding
- Miter saw, or a miter box and hand saw
- Cordless brad nailer
- Carpentry pencil and level
- 2×4 board cut to 24 inches for use as a spacer
- Wood filler, paintable caulk, and fine-grit sandpaper
- Military protractor
- Clamps and a suitable board for the saw guide described below
A miter saw and brad nailer may be available to rent. A miter box and hand saw are alternatives, but they may require extra test cuts to achieve accurate angles. Wear appropriate eye and hearing protection when cutting, keep hands clear of the blade, and follow the tool manufacturer’s instructions.
How to Install DIY Stair Wainscoting
Step 1: Install or Check the Chair Rail
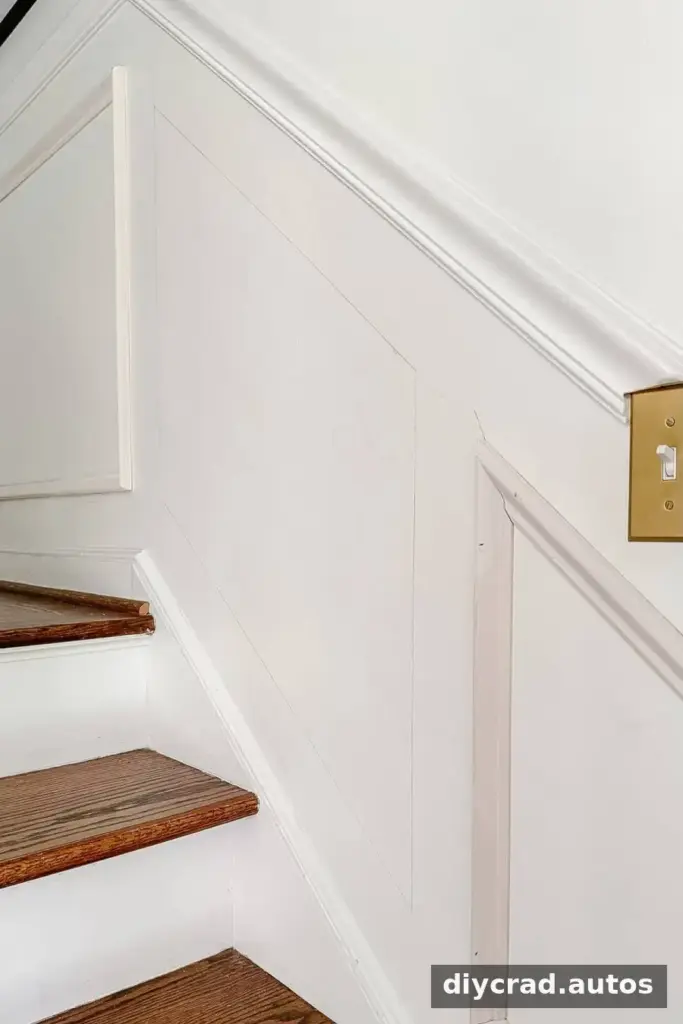
If a chair rail is already in place, check that it is secure and provides a suitable reference for the frames. To install one, mark a height of 36 inches from the stair tread onto the wall, then draw a guide line that follows the angle of the stair baseboard. Confirm that the line looks consistent along the full run before cutting any trim.
Cut the first chair rail piece to the wall width and position it along the marked line. Attach it with a brad nailer, driving nails at alternating angles to help hold the rail flush. For a joining piece, cut a 45-degree end and use a coping saw to trim the profile so it fits closely against the installed rail.
Step 2: Mark the Picture Frames
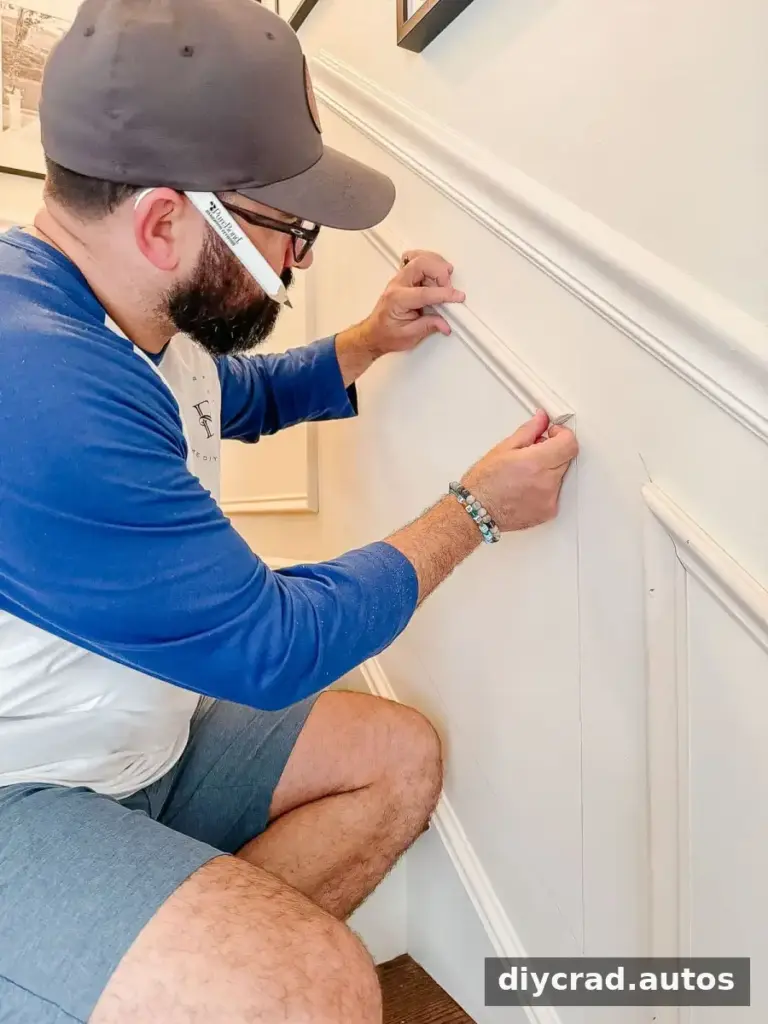
Choose the width of each frame, then use a level to mark its two vertical sides. A 2×4 cut to 24 inches can serve as a spacer: hold it against the chair rail and mark the frame’s top edge, then hold it against the baseboard, also called the wall stringer, to mark the bottom edge.
Repeat the process for the remaining frames. Measure the gaps between frames as well as their widths, and check the layout from several points on the stairs before cutting. A small adjustment at this stage is easier than correcting trim after it has been nailed up.
Step 3: Measure the Angles
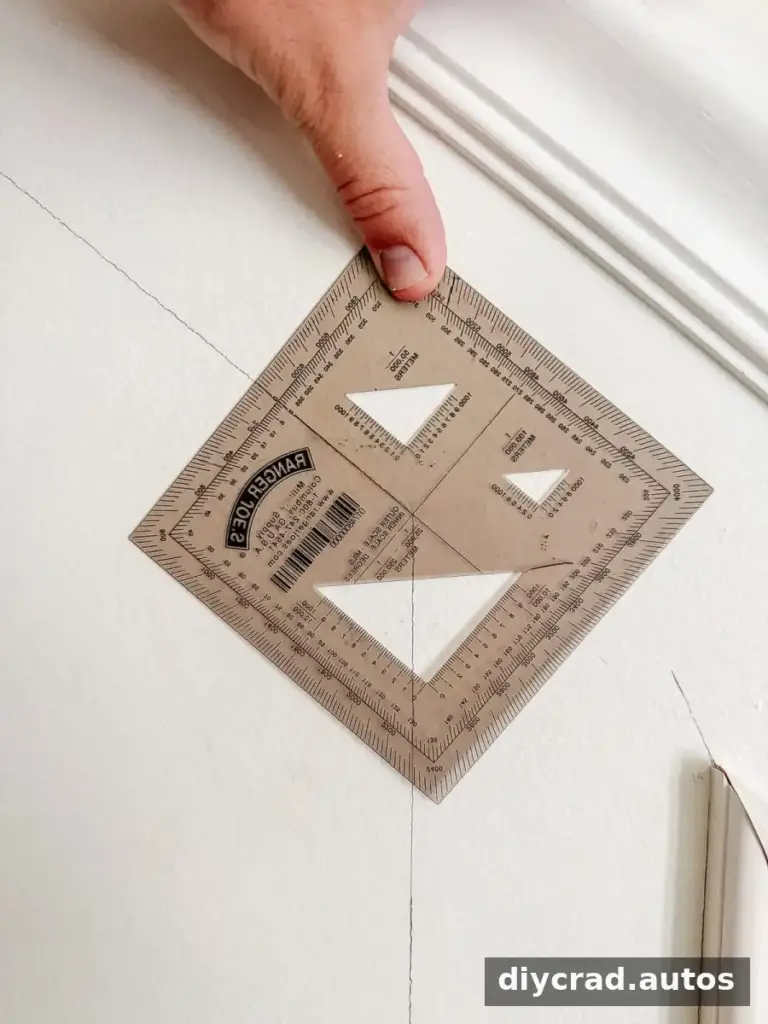
Use a protractor to measure the angles where the molding pieces will meet. The cut angle depends on whether the corner is obtuse or acute, so label each measurement and its location before doing the calculations.
Calculating an Obtuse-Angle Cut
Divide the obtuse angle by two, then subtract the result from 90 degrees. For example, if the measured angle is 130 degrees, the calculation is 130 ÷ 2 = 65, followed by 90 − 65 = 25 degrees. The example cut setting is 25 degrees.
Calculating an Acute-Angle Cut
Subtract the acute angle from 180 degrees, then divide the result by two. For an angle of 50 degrees, the calculation is 180 − 50 = 130, followed by 130 ÷ 2 = 65 degrees. The example cut setting is 65 degrees before accounting for the saw guide.
Step 4: Make a Saw Guide
Some miter saws may not make the required cuts easily at their standard settings. A triangular guide can change the reference point for the cut, but it must be secured firmly and checked against the saw before use.
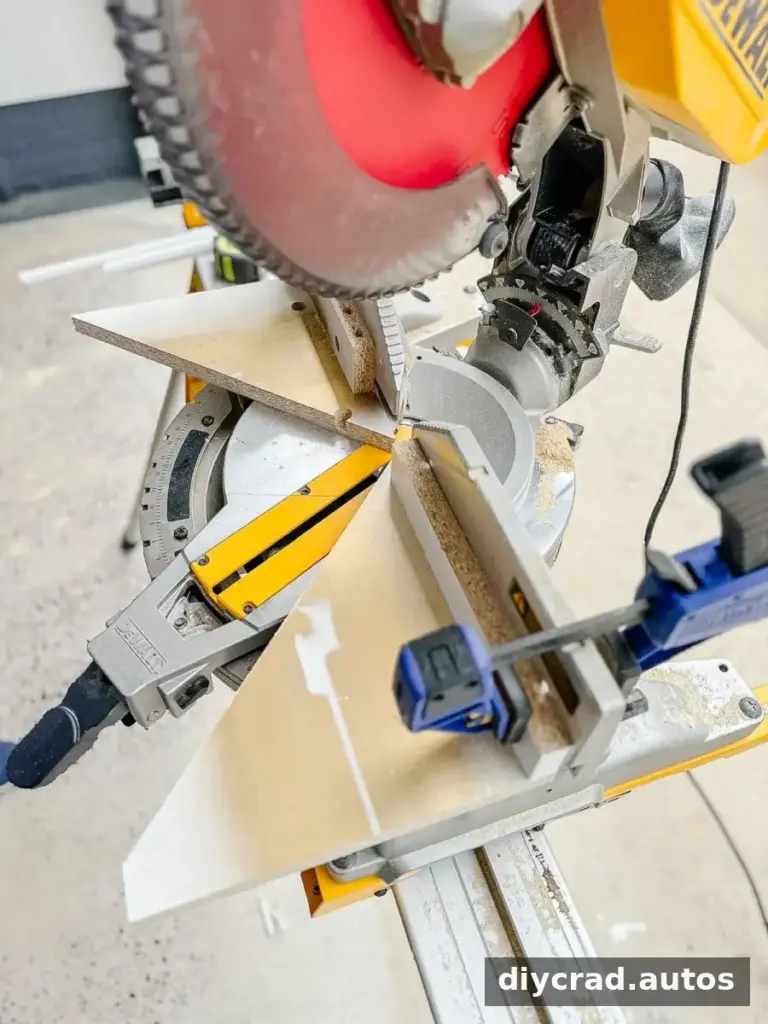
To make the guide, cut a 1×6 board into a 10-by-6-inch, 90-degree triangle. Follow these steps:
- Mark 10 inches on the 1×6 board and make the cut at a 45-degree saw setting.
- Repeat the cut to prepare a guide for each side of the saw platform.
- Cut a 1×2 board to 10 inches.
- Screw the 10-inch 1×2 to the 10-inch side of the triangle.
- Set the 10-inch side of the triangular guide on the miter saw platform, with the 2-inch portion pointing up, then clamp the guides to the back of the platform.
Leave enough clearance for the saw blade. The guide’s tips must not cross beneath the blade’s path. Before cutting project pieces, check that the guide is stable and make a test cut on scrap material.

Step 5: Cut the Molding
With the guide in place, the reference for the saw’s zero setting becomes 45 degrees instead of 90 degrees. For the acute cuts, subtract 45 degrees from the calculated angle. In the example above, 65 − 45 = 20 degrees. Set the saw to 20 degrees and cut the adjoining pieces, checking that their ends meet as intended.
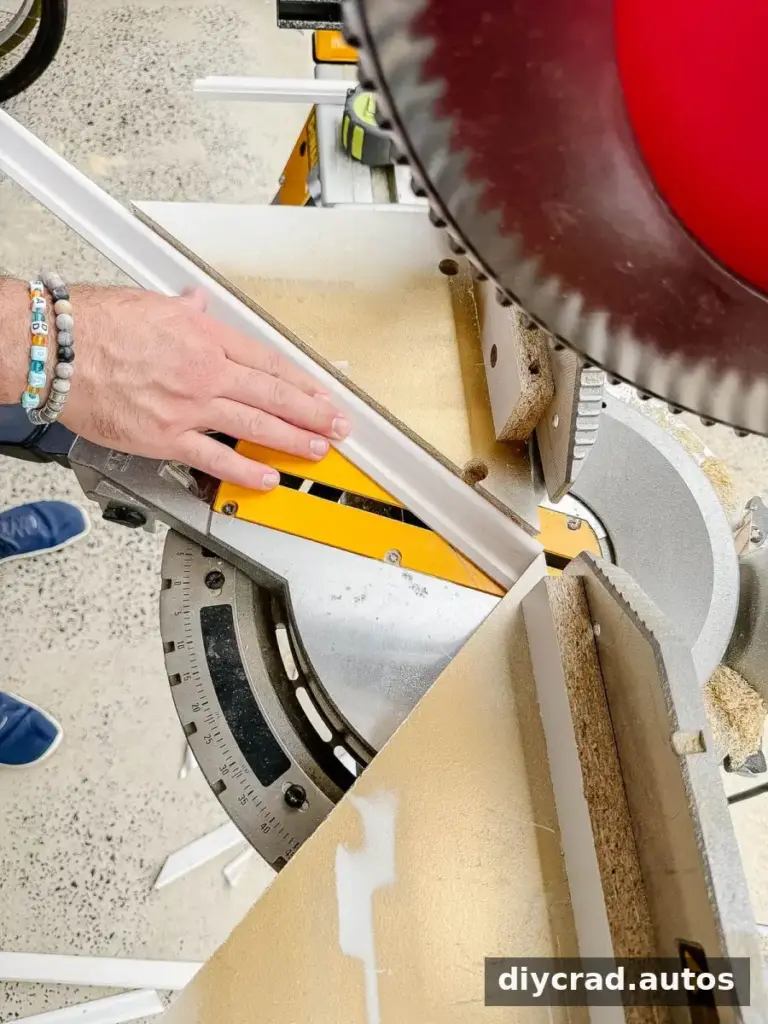
Make a test cut first and compare the piece with the marks on the wall. Small variations in the staircase or measuring can affect the fit, so label each finished piece with its location.

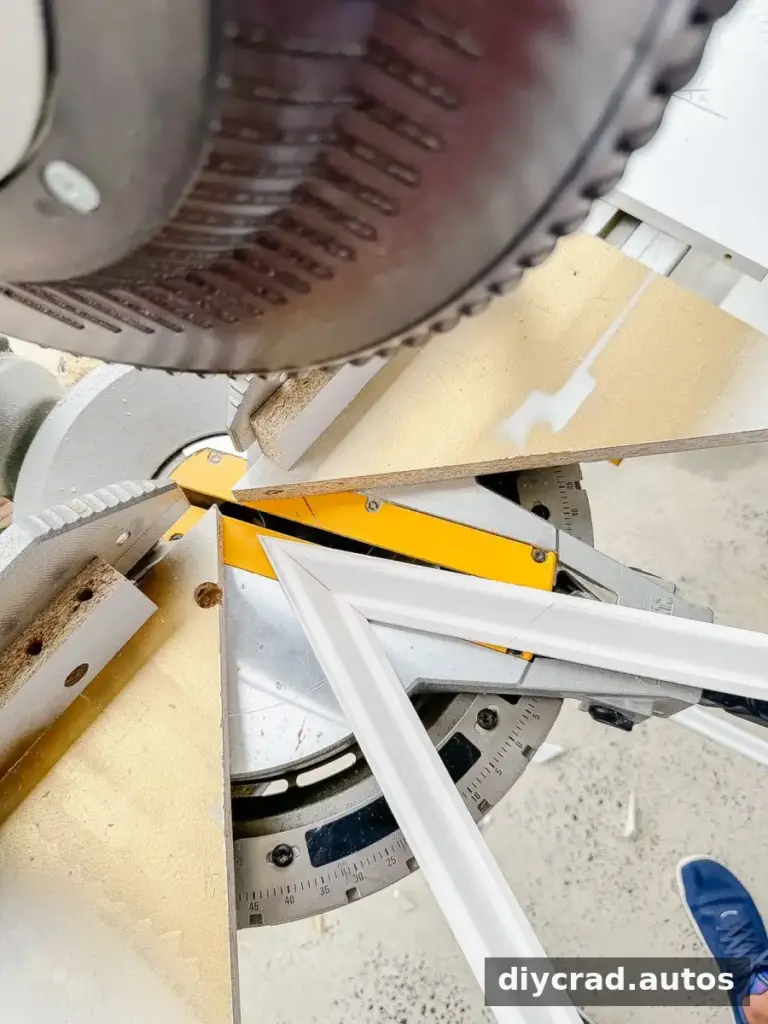
For the example obtuse cut, set the saw to 25 degrees, starting from zero, and cut the corresponding molding pieces. Dry-fit the pieces before attaching them to confirm they form the planned corner.
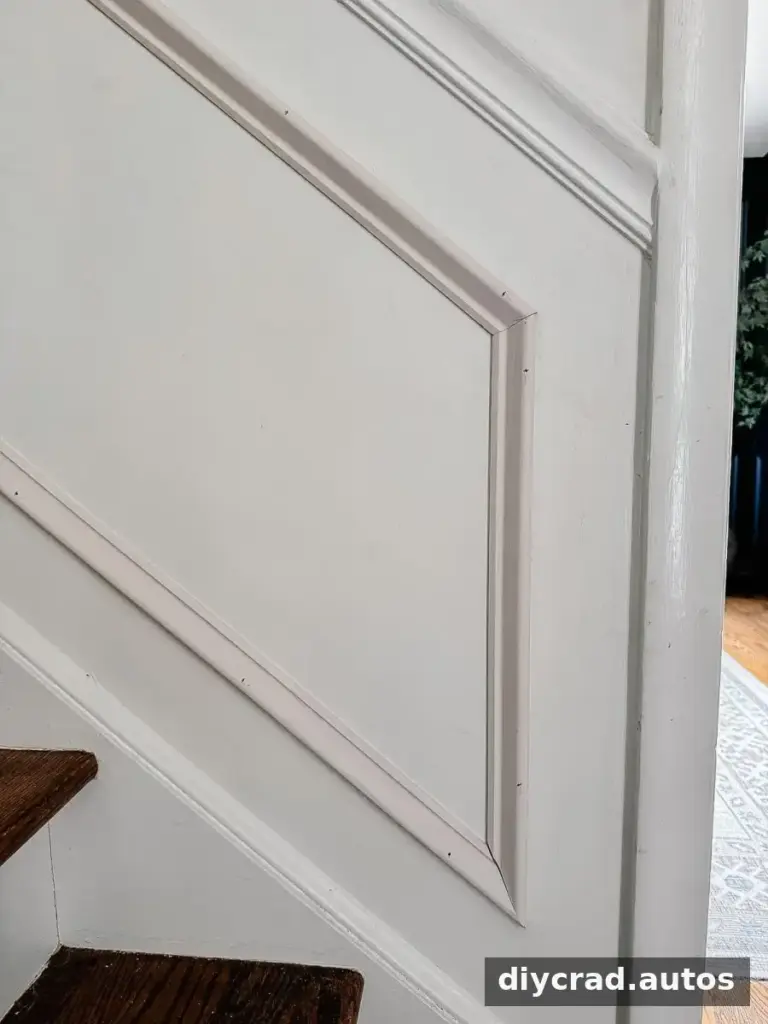
Step 6: Attach the Molding
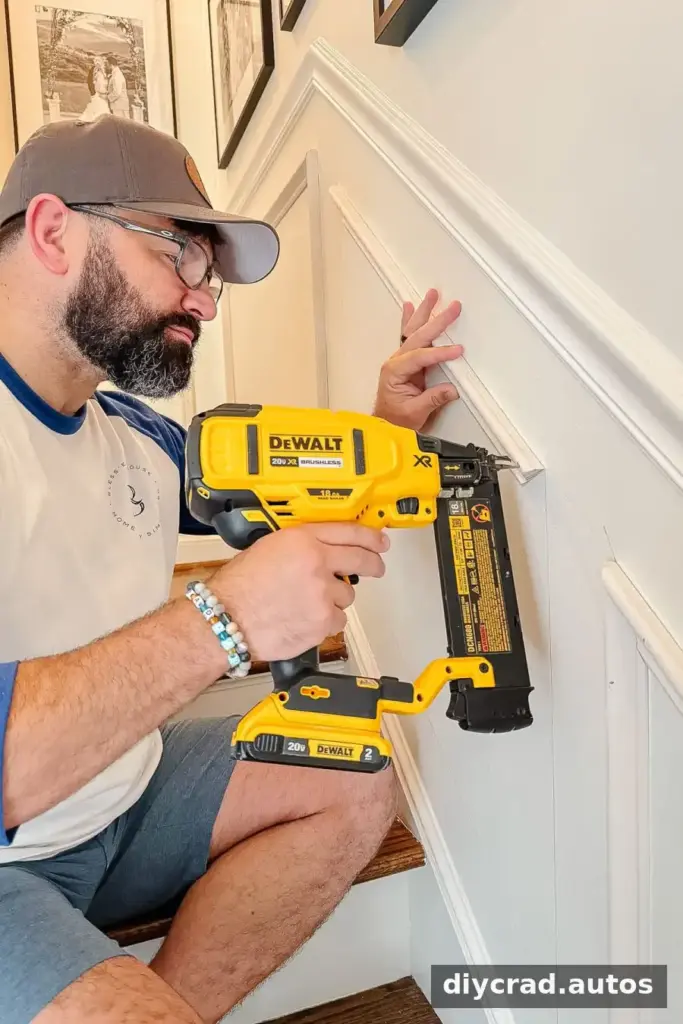
Place each piece along its pencil marks and secure it to the wall with the brad nailer. Drive the nails at alternating angles to help keep the molding flush. Work one frame at a time and recheck alignment before fastening each piece.
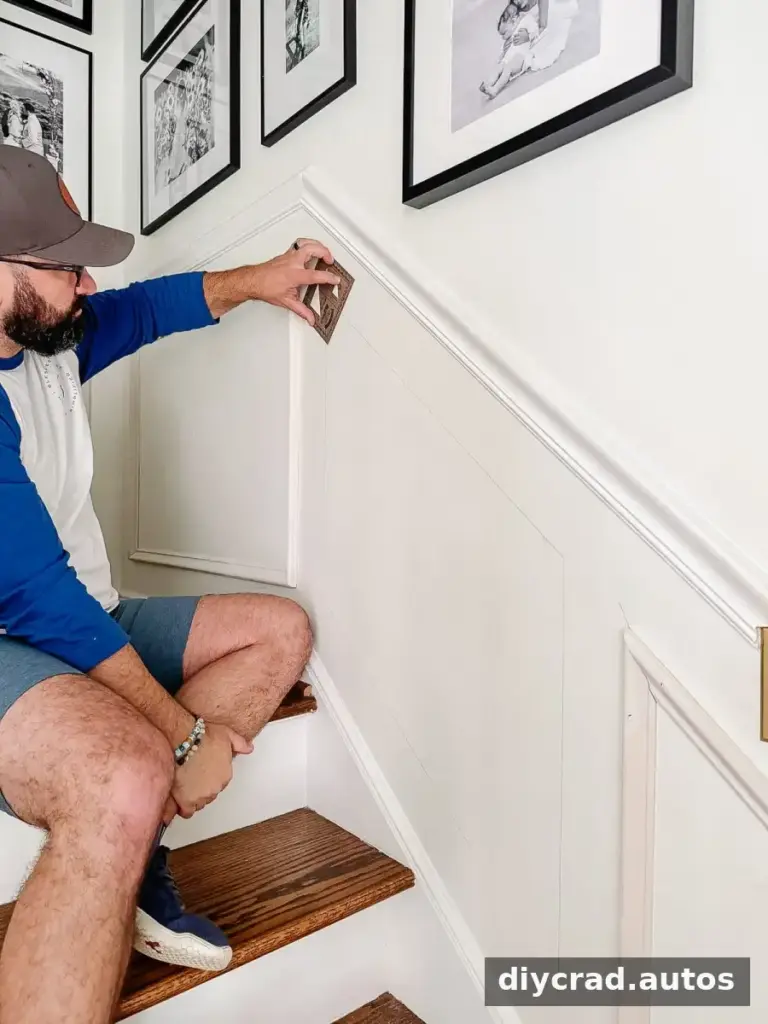
Step 7: Fill, Caulk, and Sand
Fill nail holes with wood filler and use paintable caulk for gaps along the trim. Avoid using caulk in nail holes, as it may crack over time and reveal the holes. Once the filler has dried fully, sand it smooth and remove sanding dust before painting.
Step 8: Paint the Trim
Apply a paint suitable for trim and follow its label for surface preparation, drying time, and recoating. Trim enamel is commonly used where a harder, more durable finish is desired. Test the chosen color in the stairwell lighting before painting the entire installation.
DIY Stair Wainscoting: Common Questions
What paint is suitable for trim?
Urethane alkyd enamel is one option for trim because it cures to a hard finish. Choose a product intended for the surface and follow the manufacturer’s directions for preparation and application.
How high should wainscoting be on stairs?
There is no single height that suits every staircase. One guideline is to place the top of the stair wainscoting 2 1/2 inches below the height of the first-floor wainscoting panel; traditionally, wainscoting is about one-third of the wall’s height. Check the proportions along the stairs and adapt the layout to the existing chair rail and wall stringer.
Does wainscoting increase home value?
Wainscoting does not guarantee an increase in a home’s market value. A well-finished installation may improve the room’s appearance, but its effect on buyer interest depends on the home and local market.
Final Tips for Stair Wainscoting
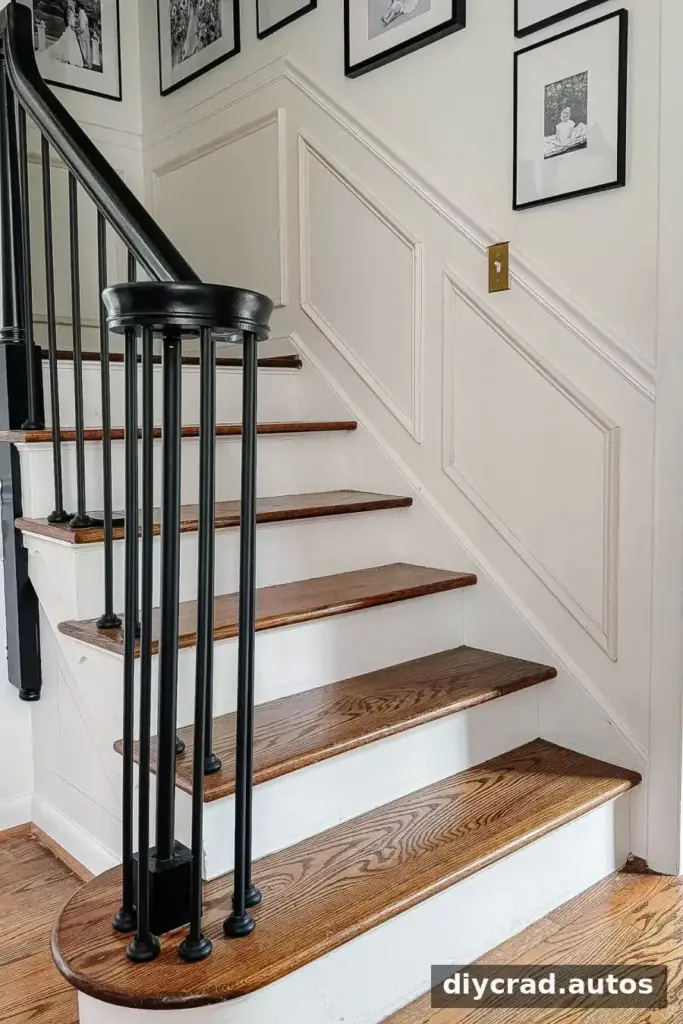
Picture-frame trim can give a staircase a more finished, traditional appearance without requiring full wall panels. For successful DIY stair wainscoting, plan the frame spacing first, measure each angle carefully, and test the saw setup on scrap before cutting the finished molding. Fill, sand, and paint only after the pieces are securely fitted and aligned.