

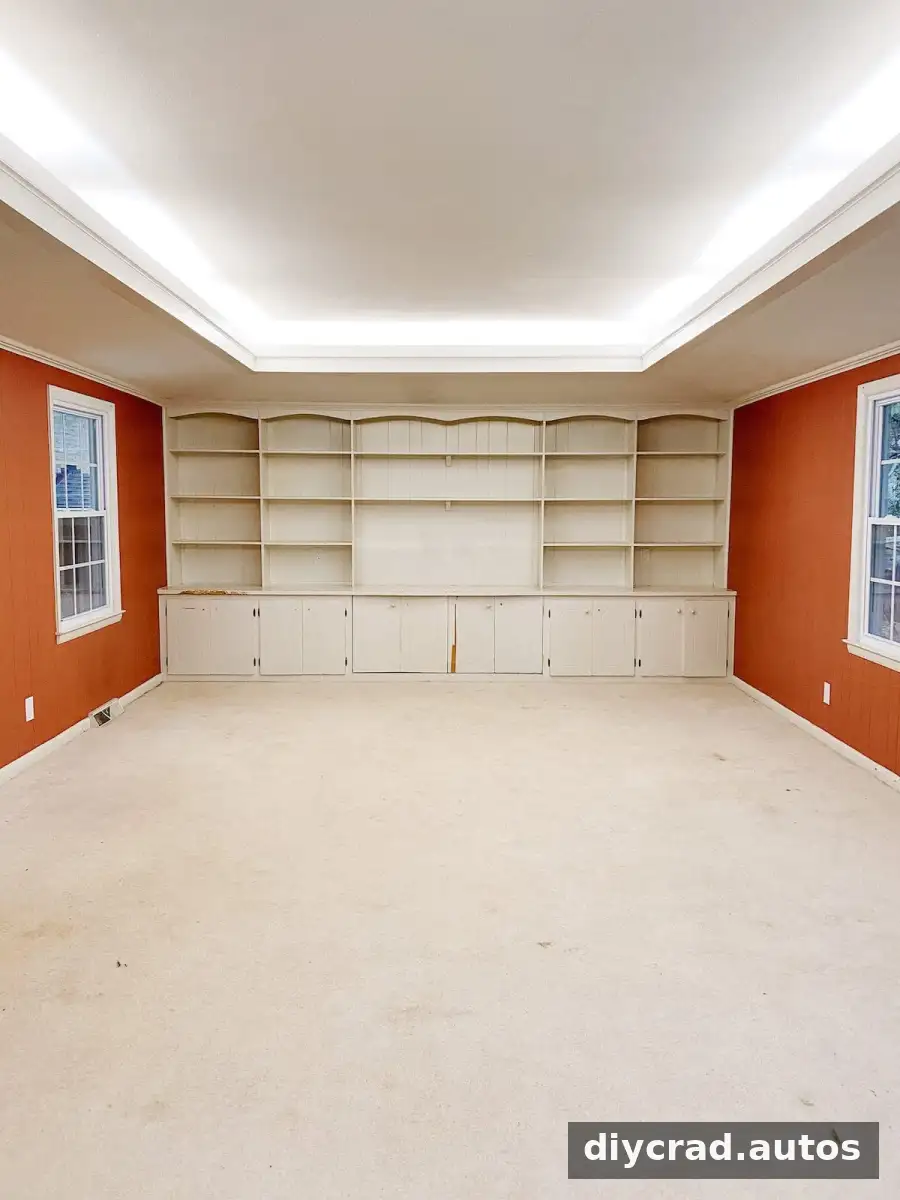
Luxury vinyl plank flooring installation can be a manageable DIY project when the room is prepared carefully and each plank is fitted according to the flooring manufacturer’s instructions. This step-by-step guide covers planning, cutting, locking the planks together, and finishing the room. Luxury vinyl plank (LVP) is often chosen for its wood-like appearance and practical surface, but check the specific product’s care and moisture-resistance requirements before you begin.
Why Choose Luxury Vinyl Plank Flooring?
LVP is a popular option for busy homes because many products are designed to resist everyday wear and are simpler to install than some traditional flooring types. Styles and colors vary, so compare samples in the room where the flooring will be used; lighting and nearby finishes can affect how a color appears.
In this project, the existing floor was uneven, so a new plywood subfloor was installed before the planks. Once that surface was ready, no further preparation was needed for this particular installation. Requirements differ by product and subfloor, so check the instructions for allowable flatness, moisture conditions, and underlayment before laying anything.
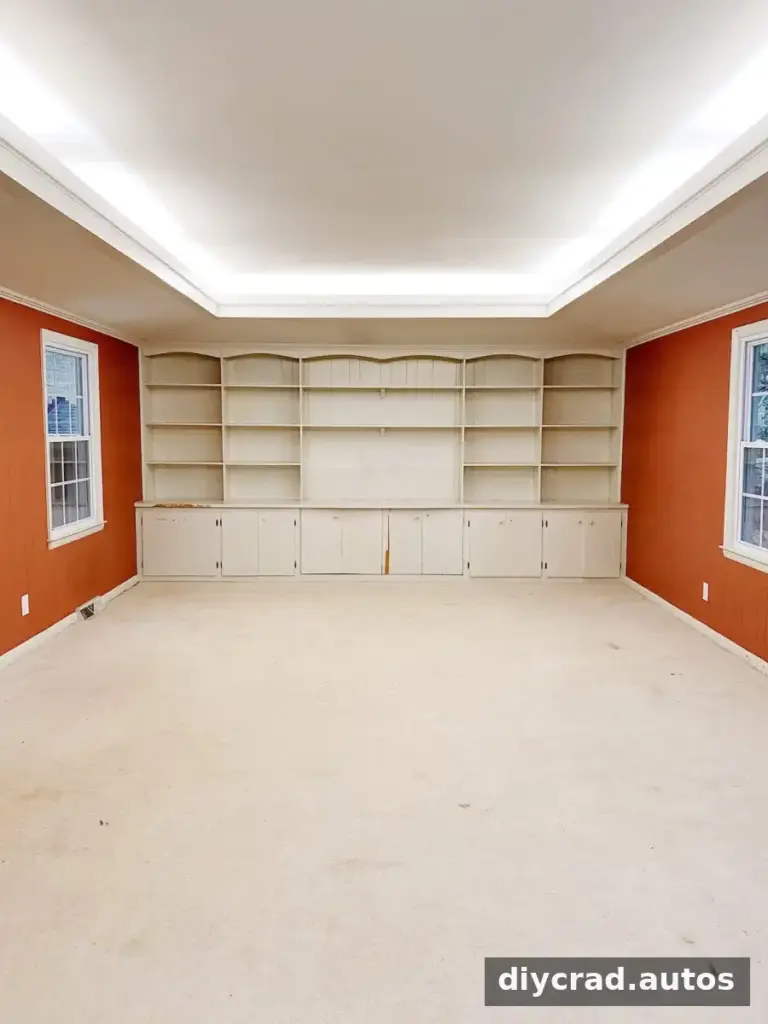
Floating LVP is designed to sit over a suitable prepared surface without being fastened to the subfloor. The floor must still meet the product’s requirements: an uneven or unsuitable base can affect the joints and finished appearance.
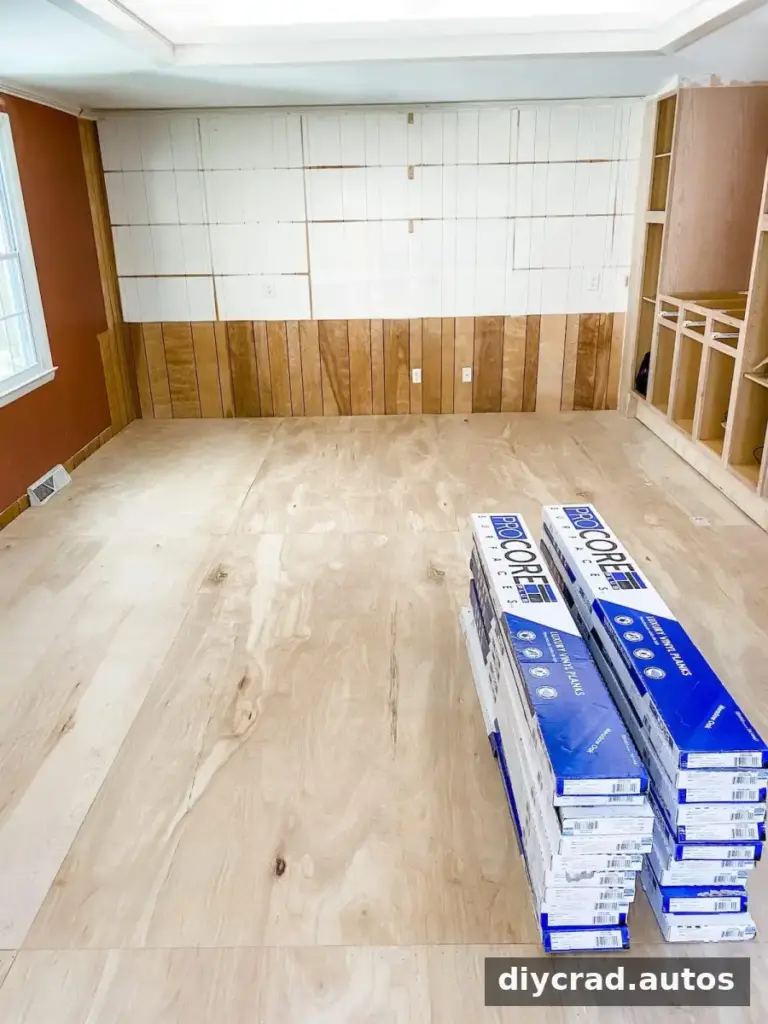
Allow the planks to acclimate in the installation room for 48 hours, as was done here, and follow the packaging instructions for the product you have. This helps the material adjust to the room before installation.
Choose a Color and Gather Supplies
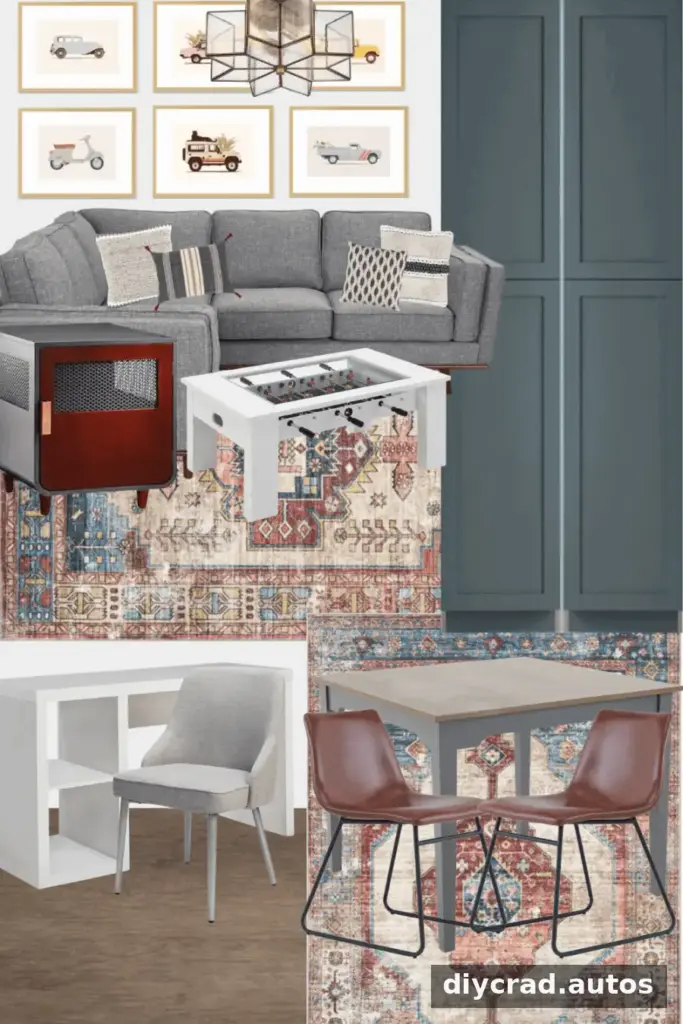
When possible, view flooring samples in the room rather than choosing a shade from a screen alone. Compare them with existing floors and furnishings at different times of day. The selected finish for this project was Meadow Oak, a medium-to-dark brown with a hand-scraped texture.
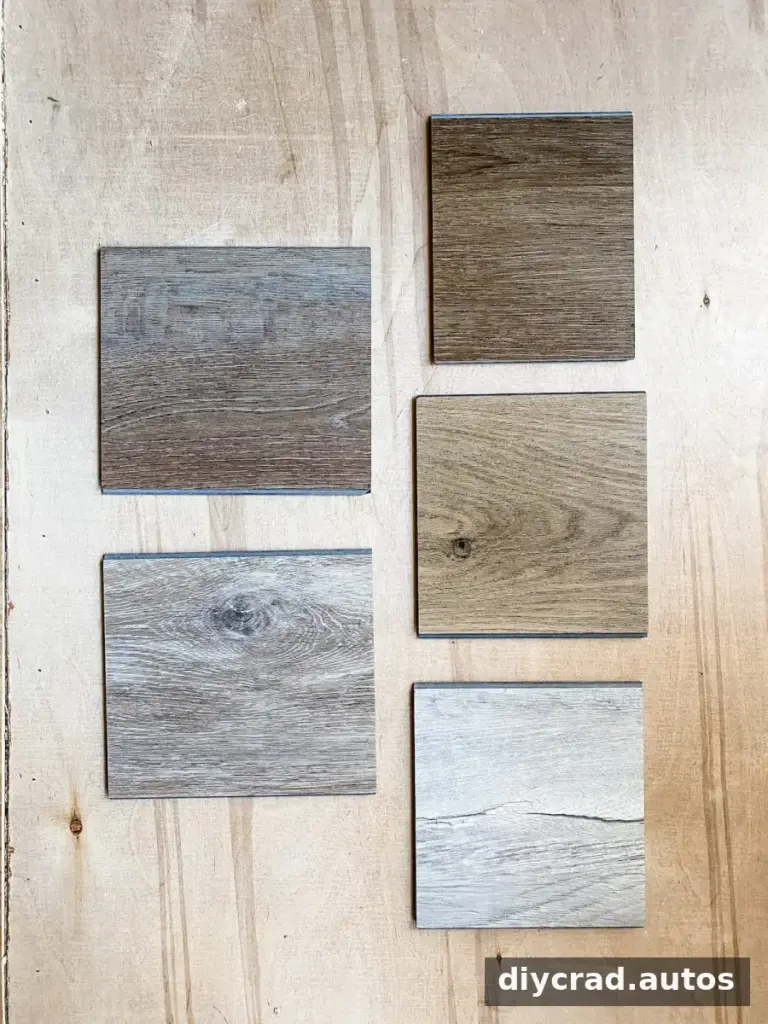
A sample board can help you judge undertones and texture alongside the room’s fixed finishes. Set samples on the floor and view them in both natural and artificial light before making a final choice.
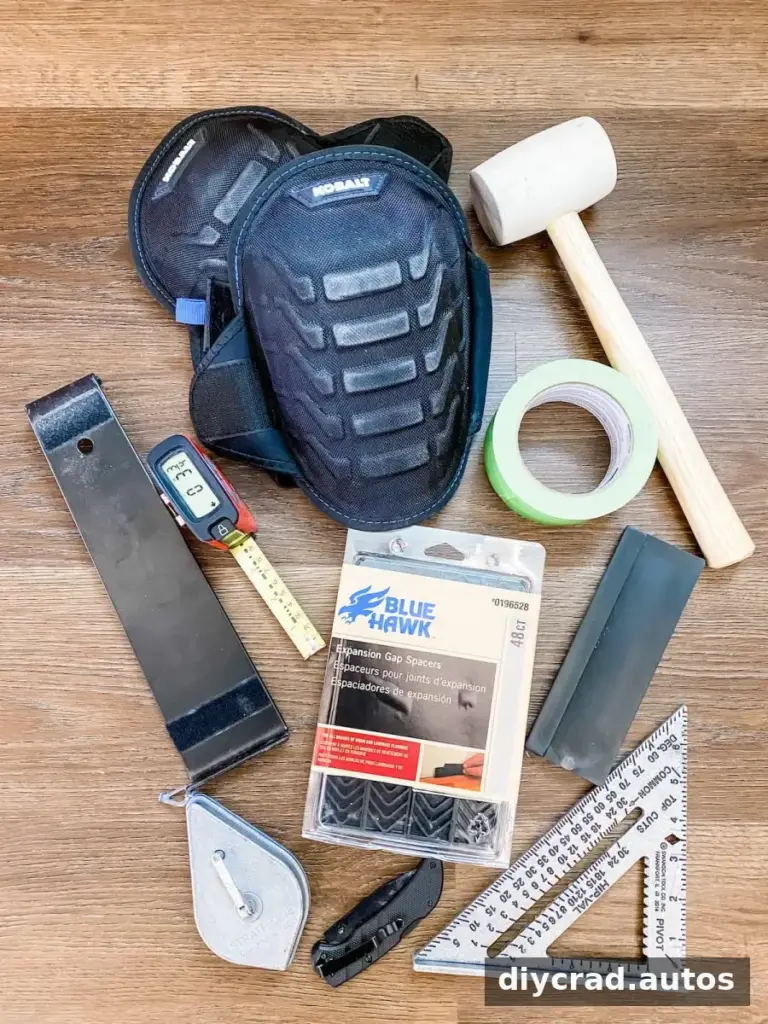
Gather the tools before starting so you can measure and cut without interrupting the layout. The supplies used for this project were:
- All-in-1 Flooring Kit
- Rubber mallet
- Knee pads
- Utility knife
- Speed square
- Extra spacers, if needed
- Chalk line
- Jigsaw (optional)
- Tape measure
- Contour gauge (optional)
- Oscillating multi-tool
- Painter’s tape
Prepare and Plan the Room
1. Clear the floor. Remove the existing flooring and, if needed, the baseboards. To reuse baseboards, score the caulk line and carefully pry them from the wall. Another option is to leave the baseboards in place and remove only the shoe molding.
2. Choose the plank direction. Planks are often laid parallel to the room’s longest wall. Starting near a doorway can also make it easier to slide the flooring beneath an undercut door jamb.
3. Measure the room. Measure the floor area and the usable width of a plank, excluding its locking edge, to estimate how many planks will span the room. Plan the first and last rows together so the final strip is not unnecessarily narrow.
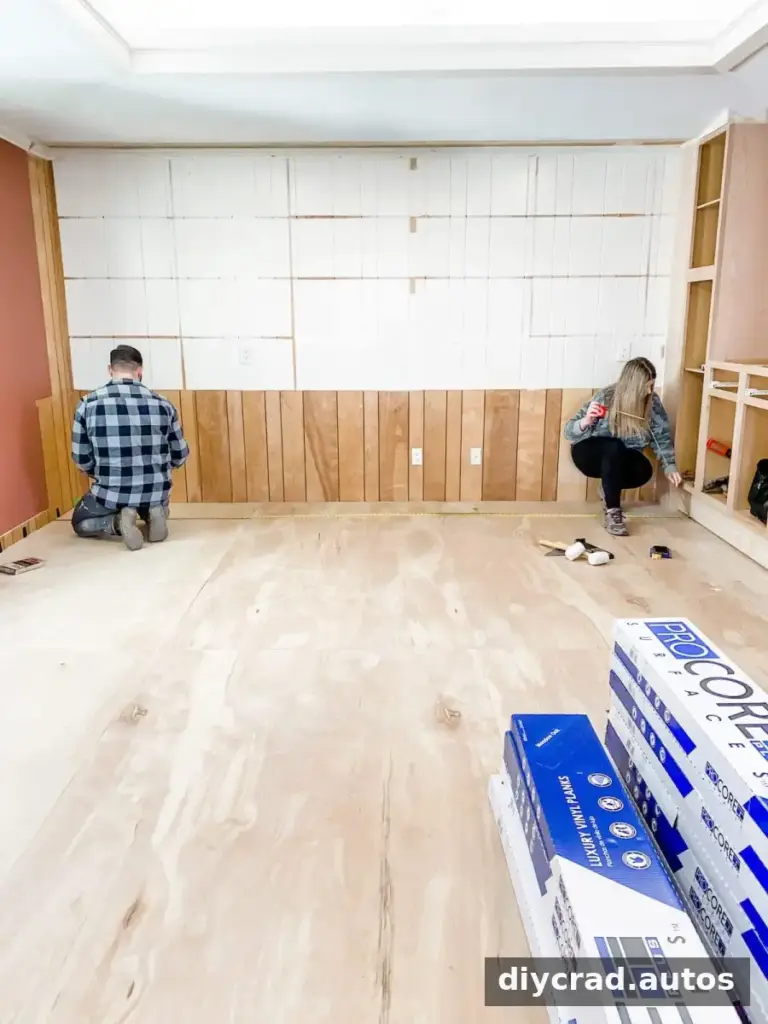
In this room, beginning with a full-width plank would have left a 1-inch cut along the last row. Trimming 2 inches from the starting row instead made the final cut 3 inches wide. These measurements apply to this project; calculate the dimensions for your own room before cutting.
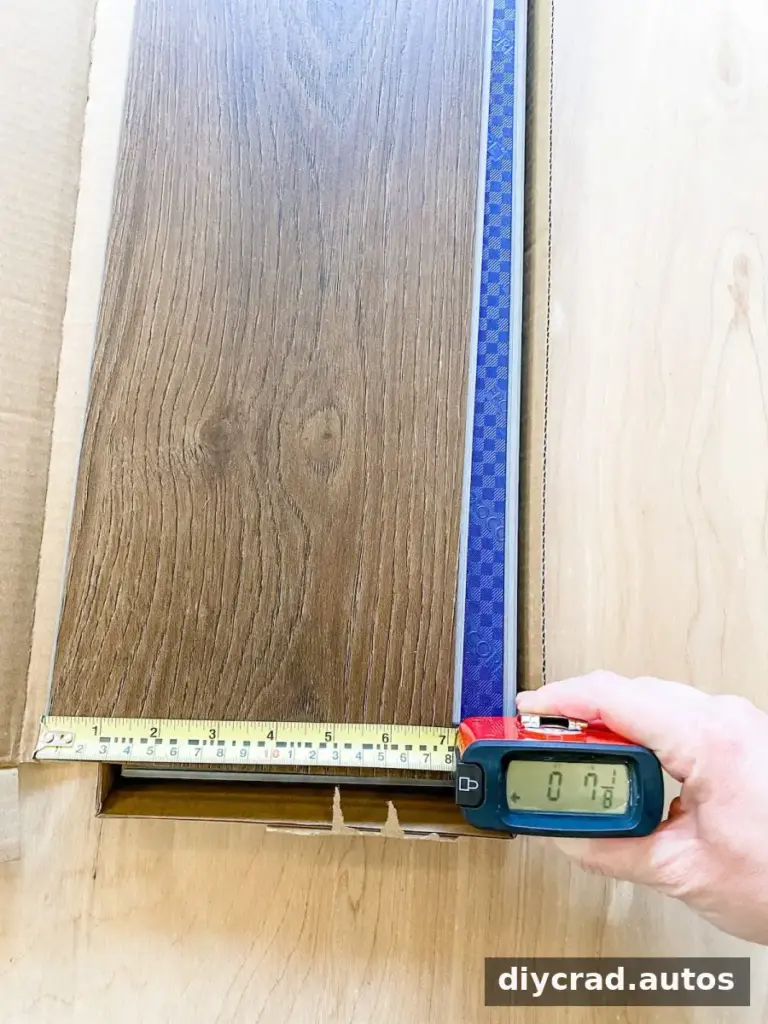
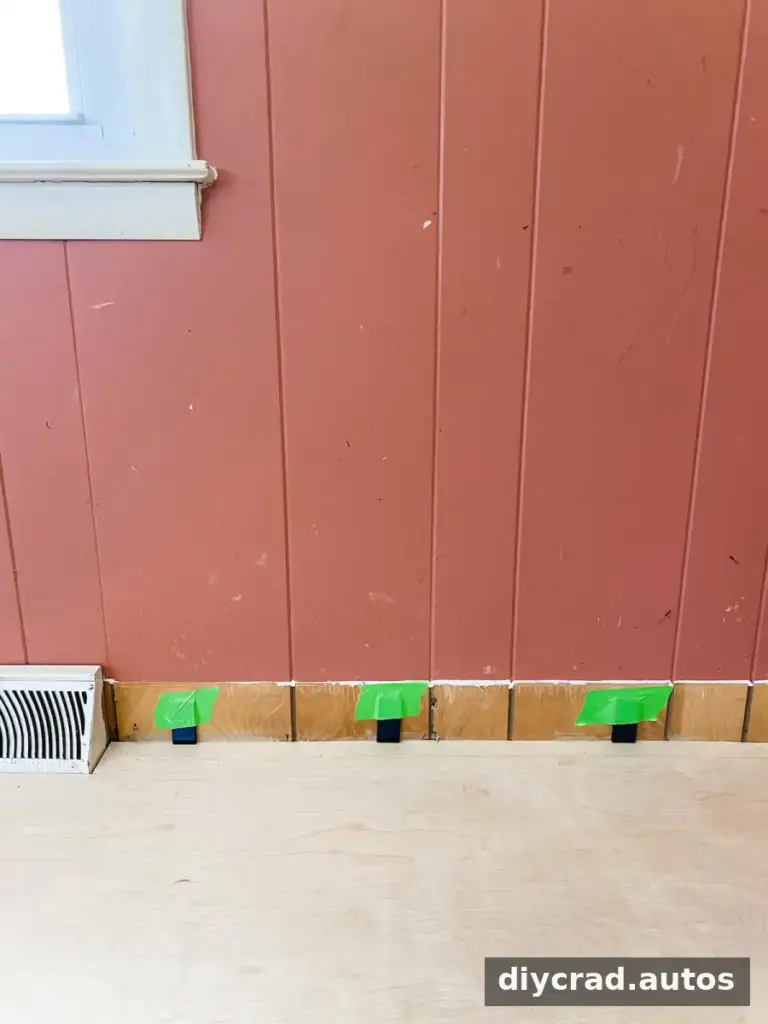
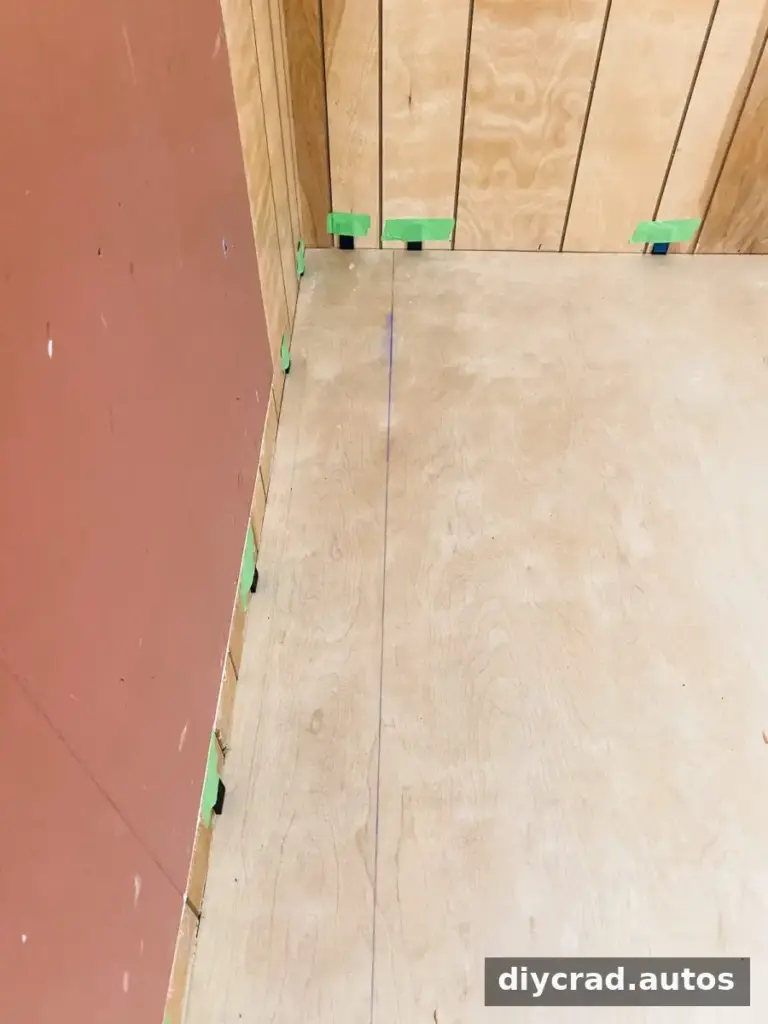
4. Set the expansion gap. Place spacers around the room’s perimeter and secure them with painter’s tape if needed. The gap allows the floating floor to move; use the spacing specified in the flooring instructions rather than guessing.
5. Mark a straight starting line. Walls may not be perfectly straight. Use a chalk line to mark the first row on the subfloor, adjusting plank widths as needed to follow the layout.
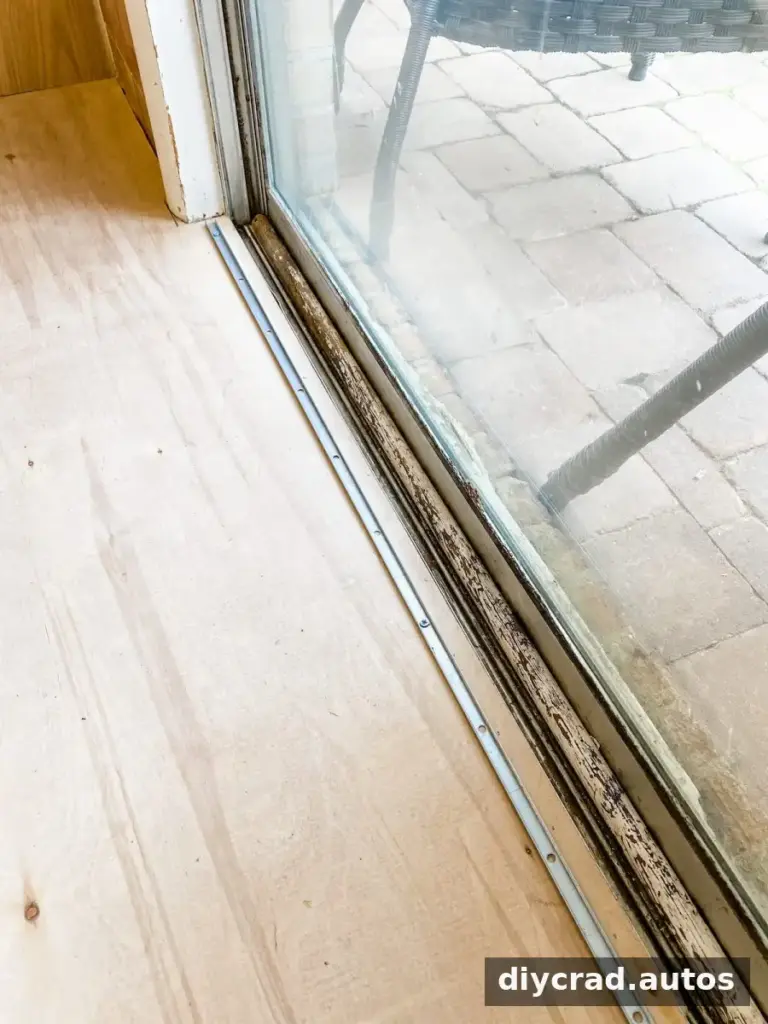
6. Prepare doorways. Install the metal component for the transition strip at each doorway where required. The finished transition strip will be fitted after the planks are in place.
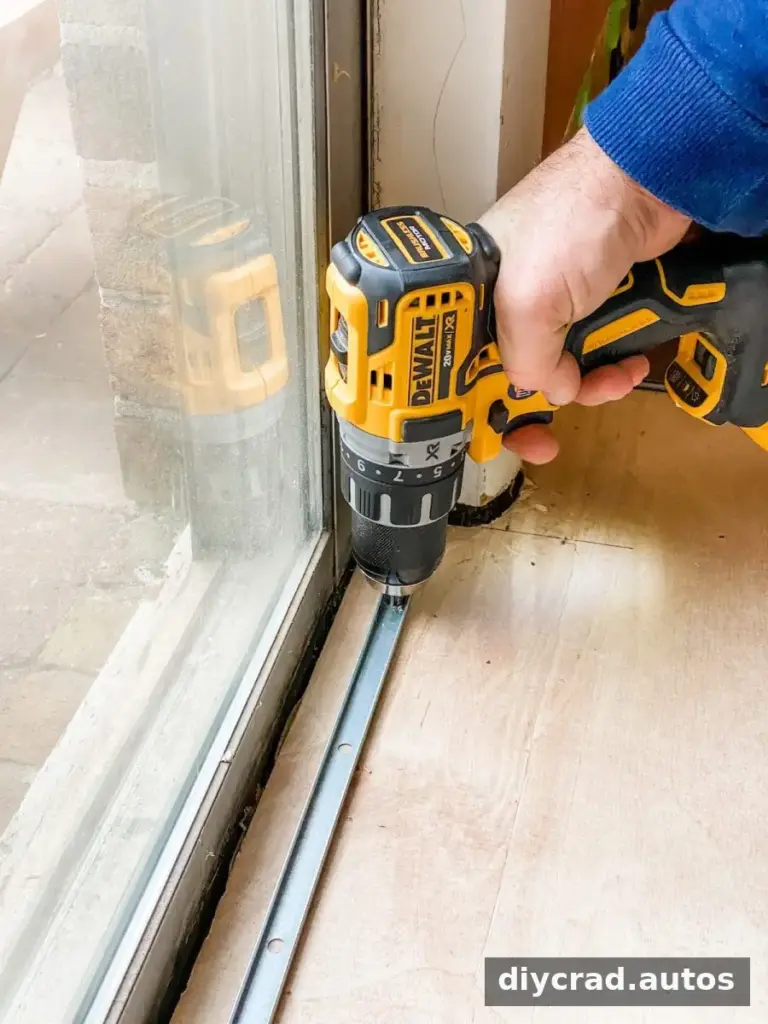
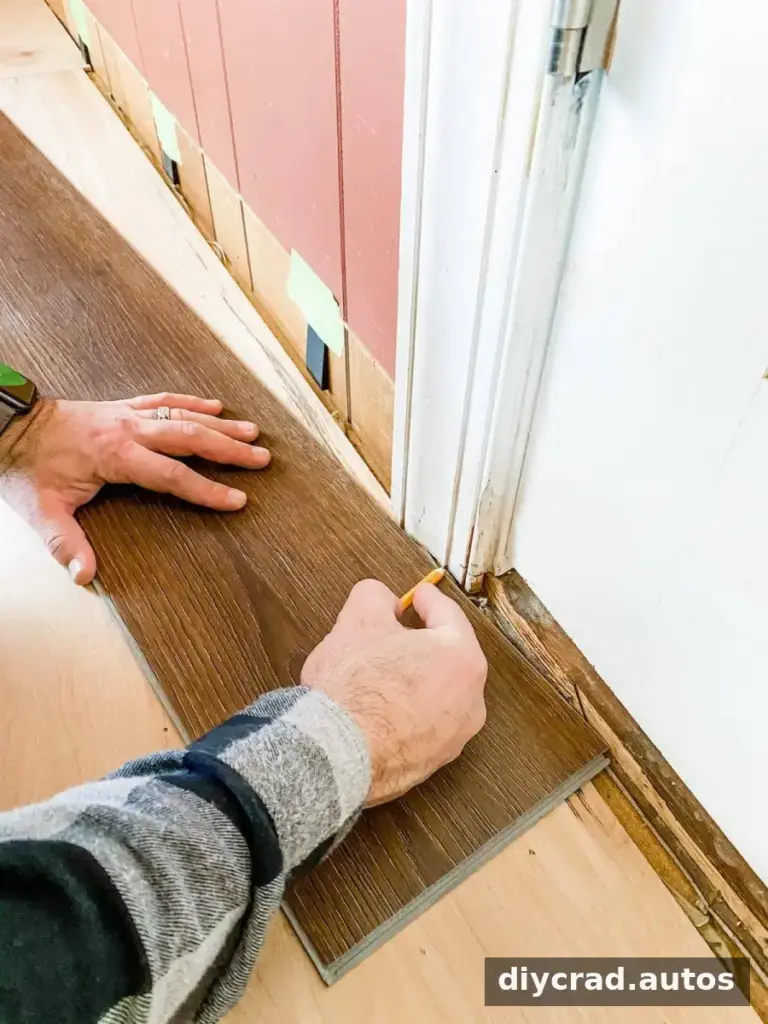
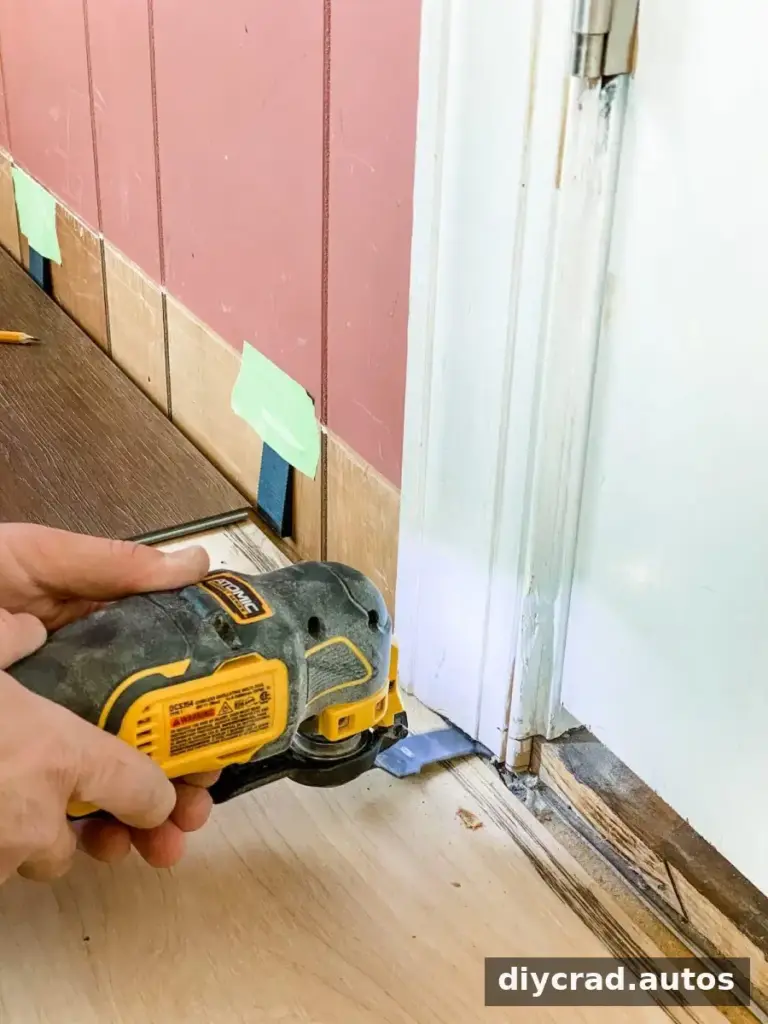
7. Undercut door jambs. Use an oscillating multi-tool to trim the bottom of the jamb so flooring can slide underneath. Clear away wood debris with a utility knife or putty knife, taking care not to damage the surrounding trim.
Luxury Vinyl Plank Flooring Installation
Trim the first-row planks to the planned width and adjust individual measurements if the starting wall is uneven. Check the fit against the chalk line before locking the row together.
8. Cut straight sections. For suitable planks, score along a straight edge several times with a utility knife, then bend the plank to snap it. Follow the product’s cutting guidance and protect your hands while working.
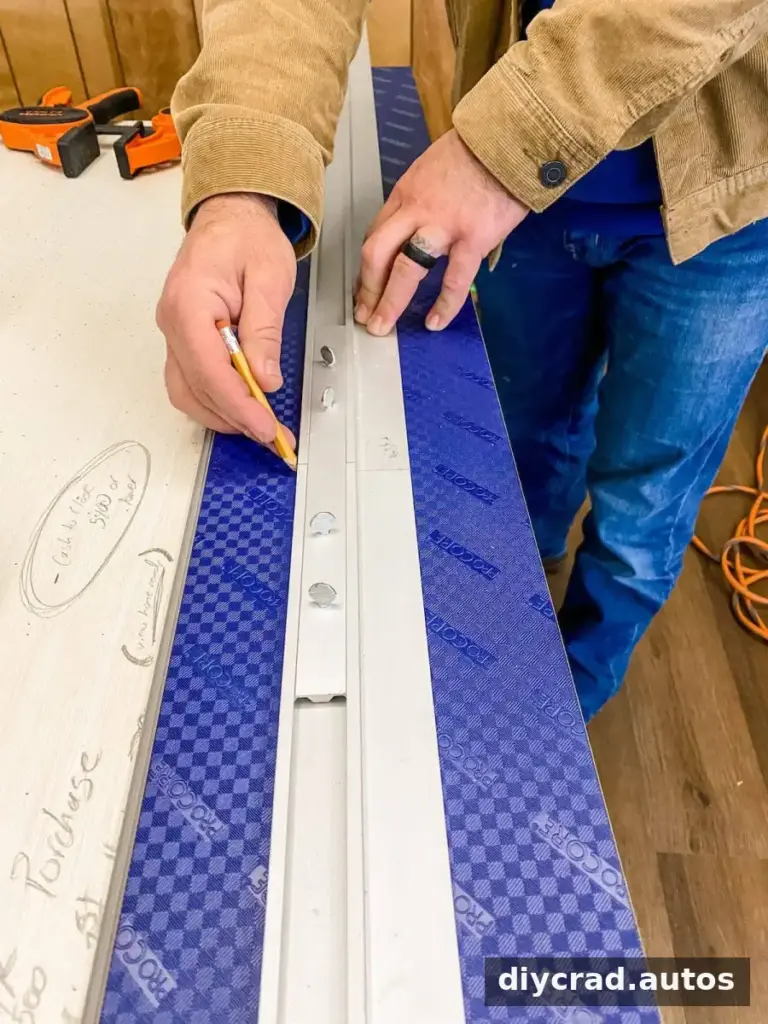
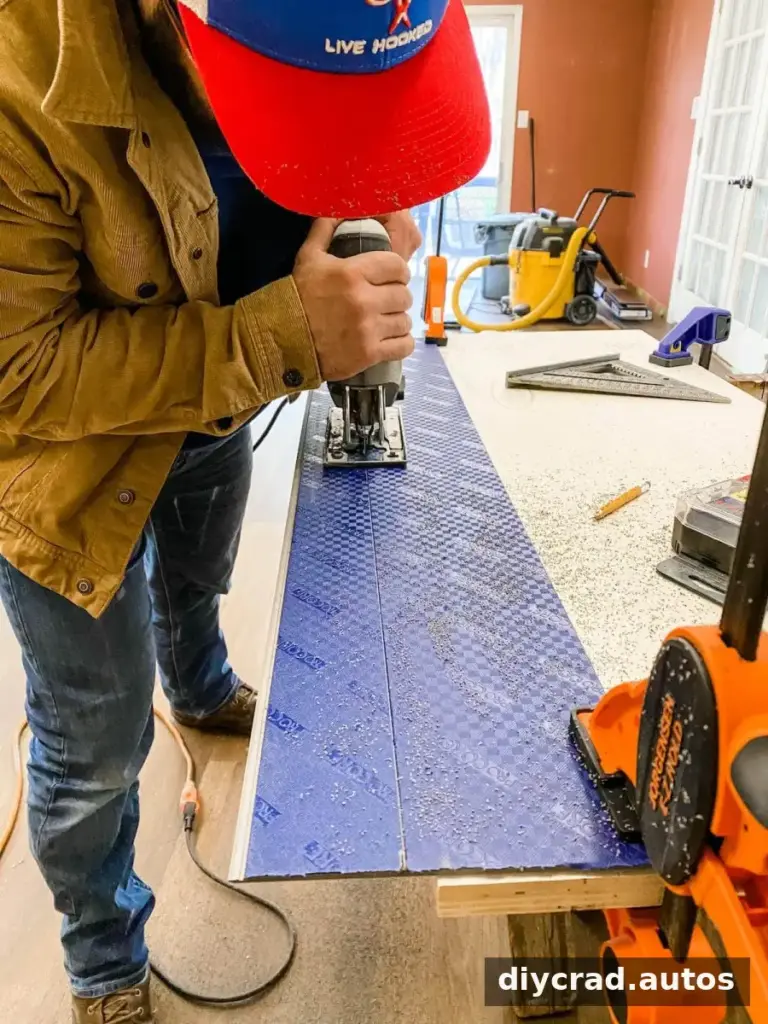
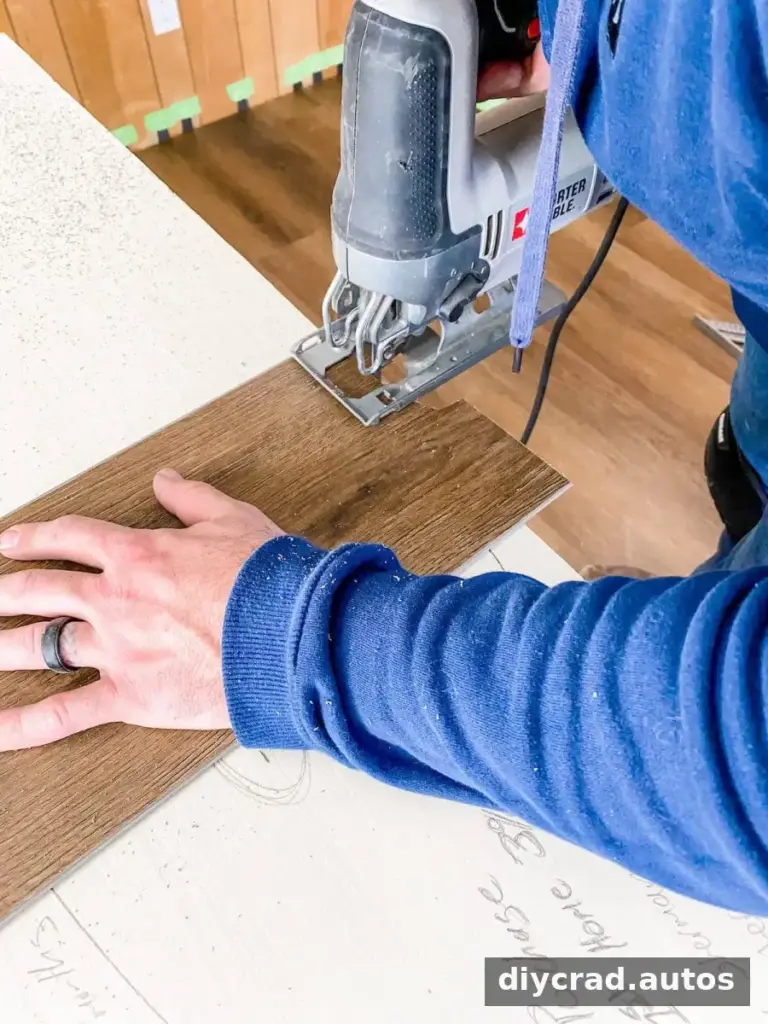
For curved or more complex cuts, mark the shape with a pencil and straight edge, then use a jigsaw with a carbide blade.
9. Start at the left corner. Position the first plank so its locking mechanism is exposed on the right side, as in this installation. Confirm the orientation against the specific flooring system before proceeding.
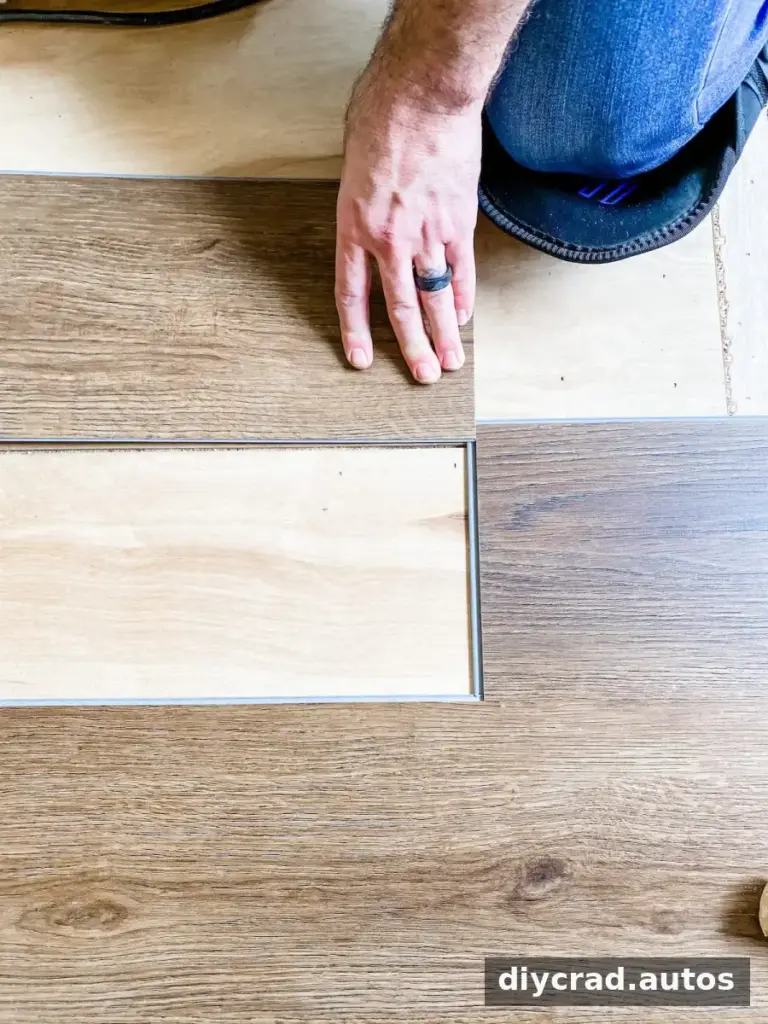
10. Connect the short ends. Fit the next plank’s joint into the first plank and press until the connection clicks into place.
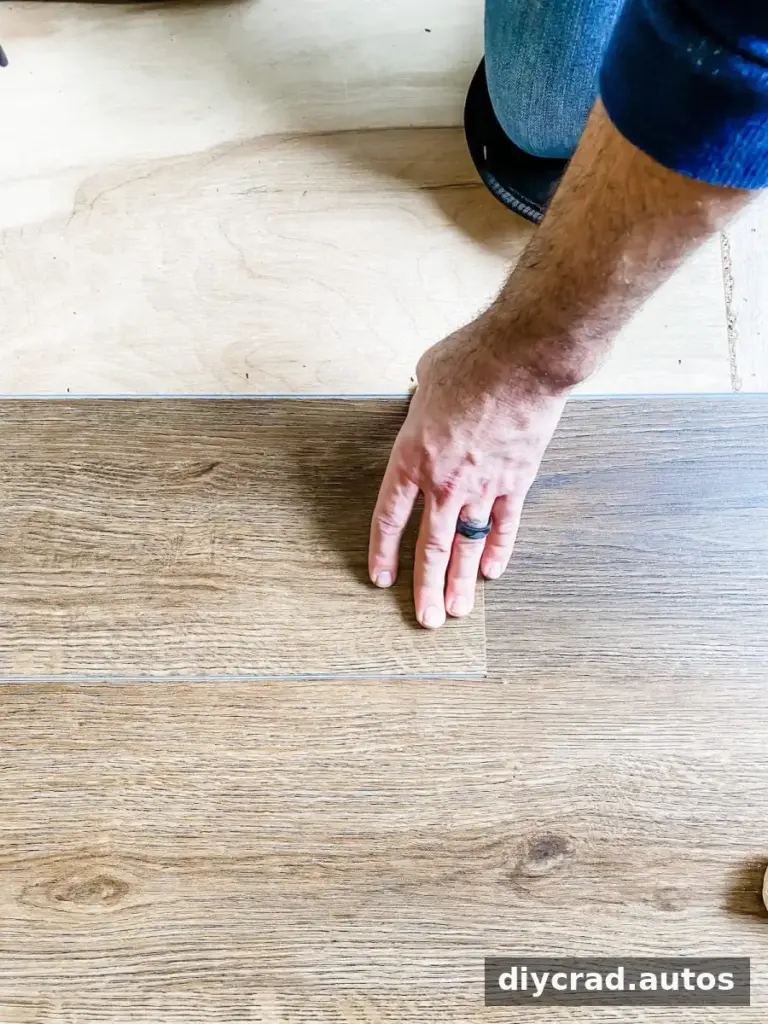
11. Lock the long edges. Angle the long edge slightly to engage it with the neighboring plank, following the locking system’s recommended technique.
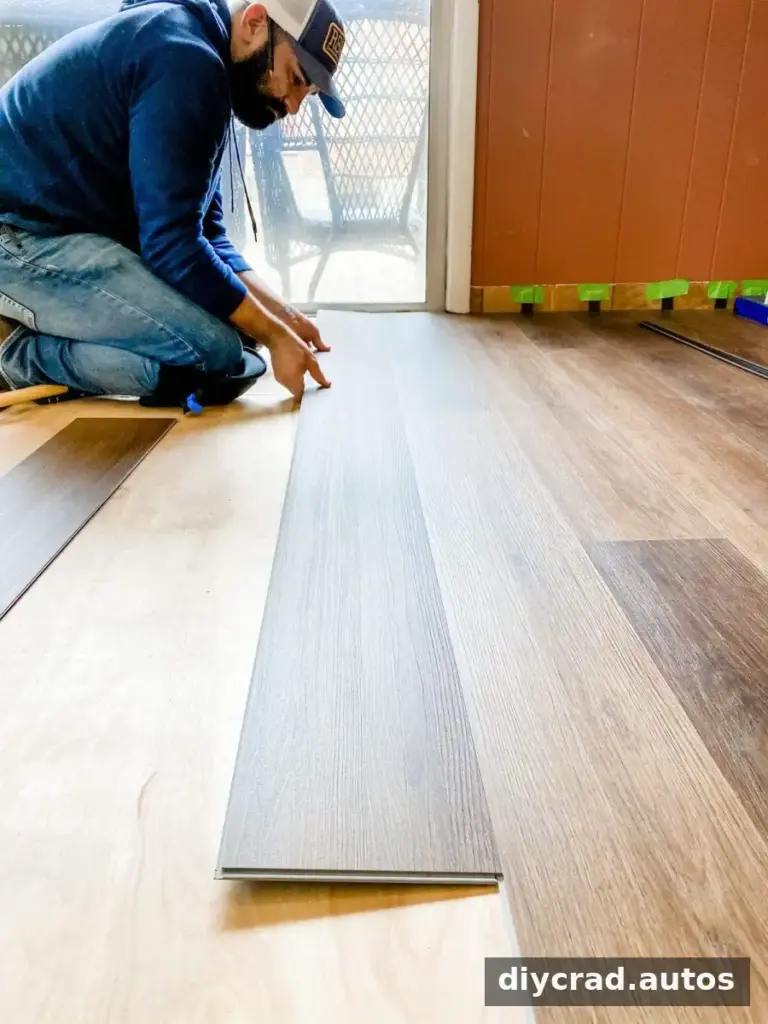
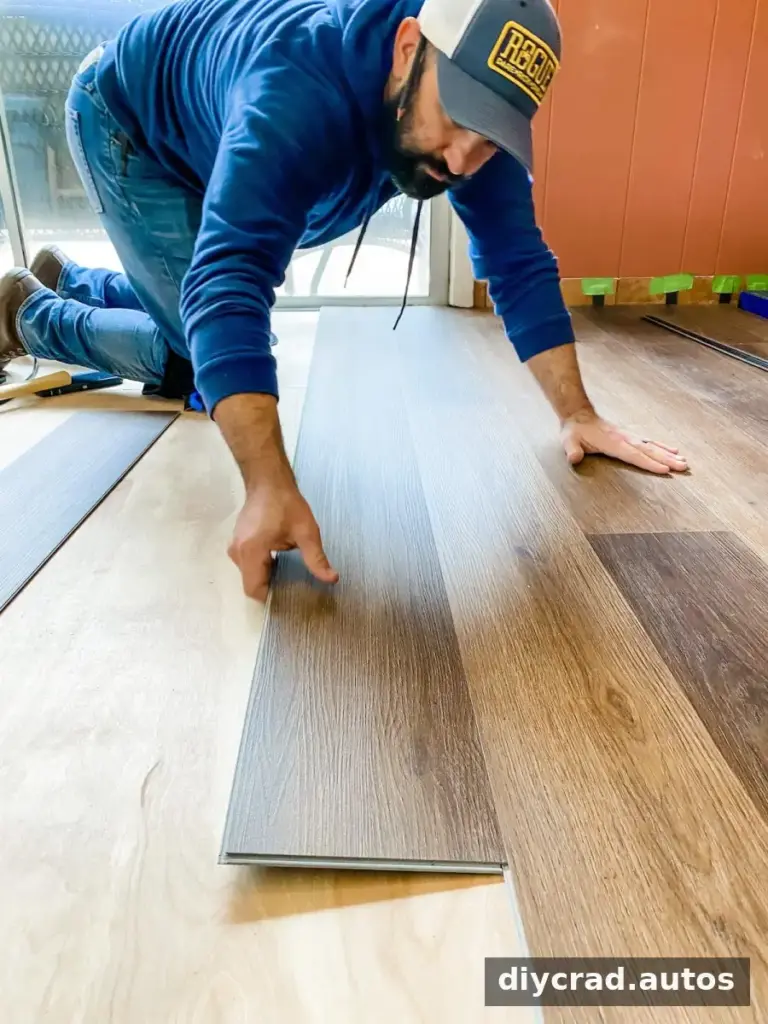
12. Tighten the joints gently. Use a tapping block and rubber mallet where needed to bring planks together. Avoid striking the plank edges directly, since this can damage the locking profile.
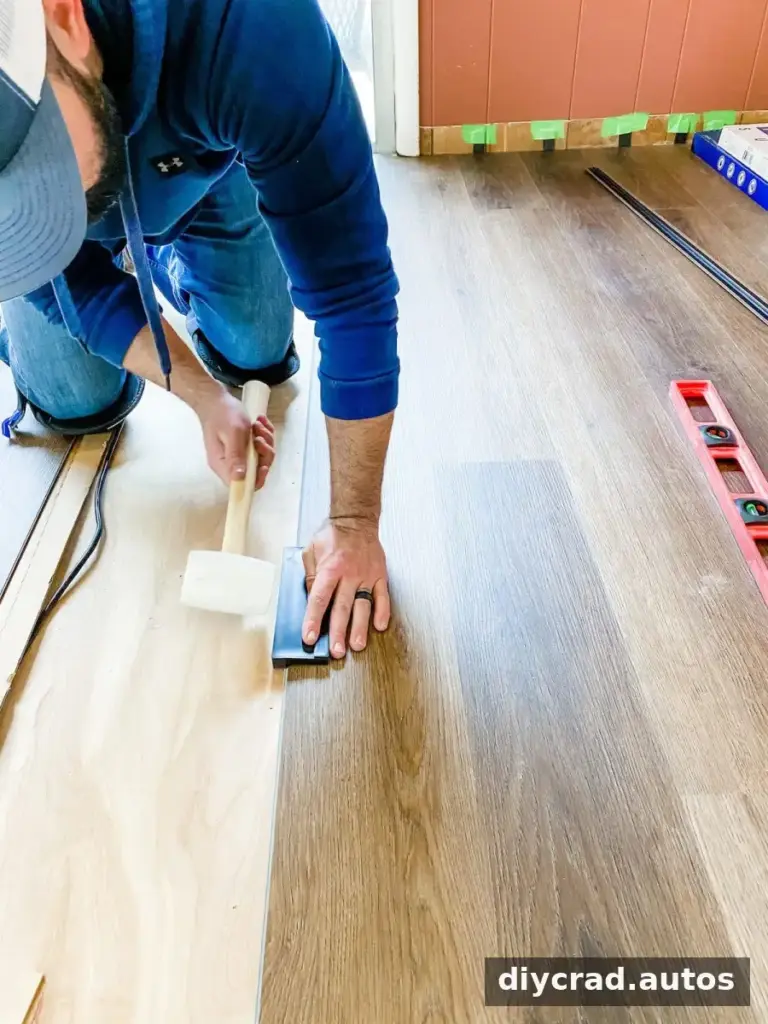
Check that seams are fully engaged as you work. If a joint does not sit correctly, review the plank’s position instead of forcing it.
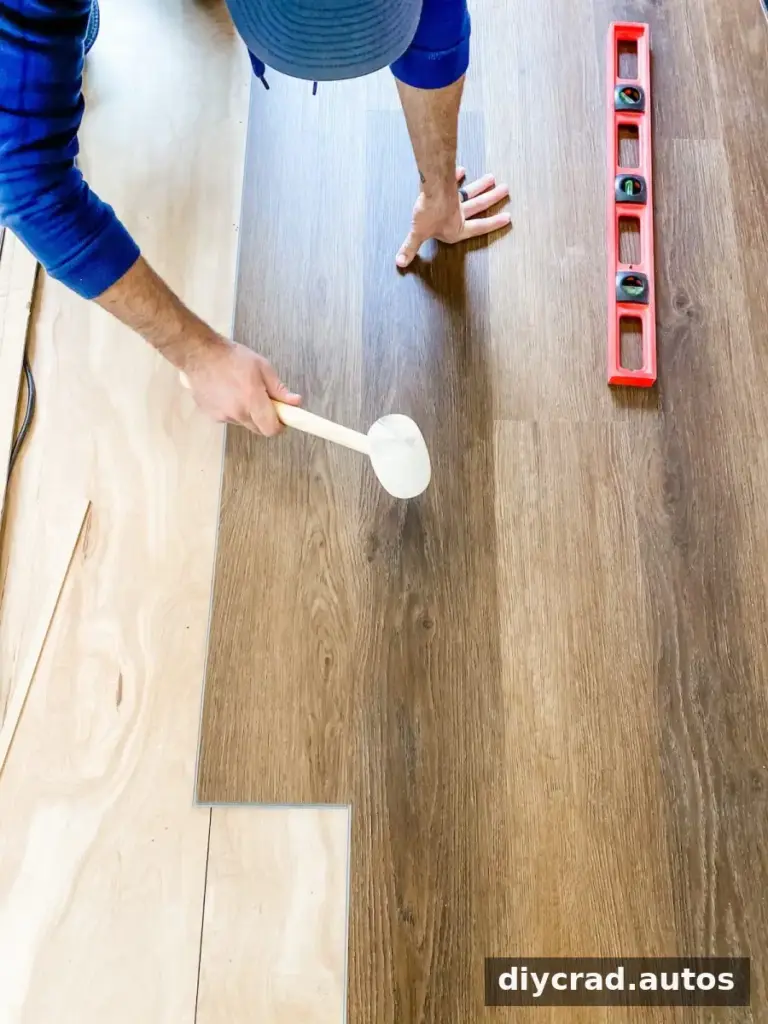
Keep the Layout Balanced
Mix planks from four or five boxes at a time to avoid repeating similar colors or markings in one area. Aim for a natural-looking arrangement, keep plank ends at least 8 inches apart, and avoid lining up the end joints in neighboring rows. Lay out each row before clicking it into place so you can spot accidental patterns and awkward cuts.
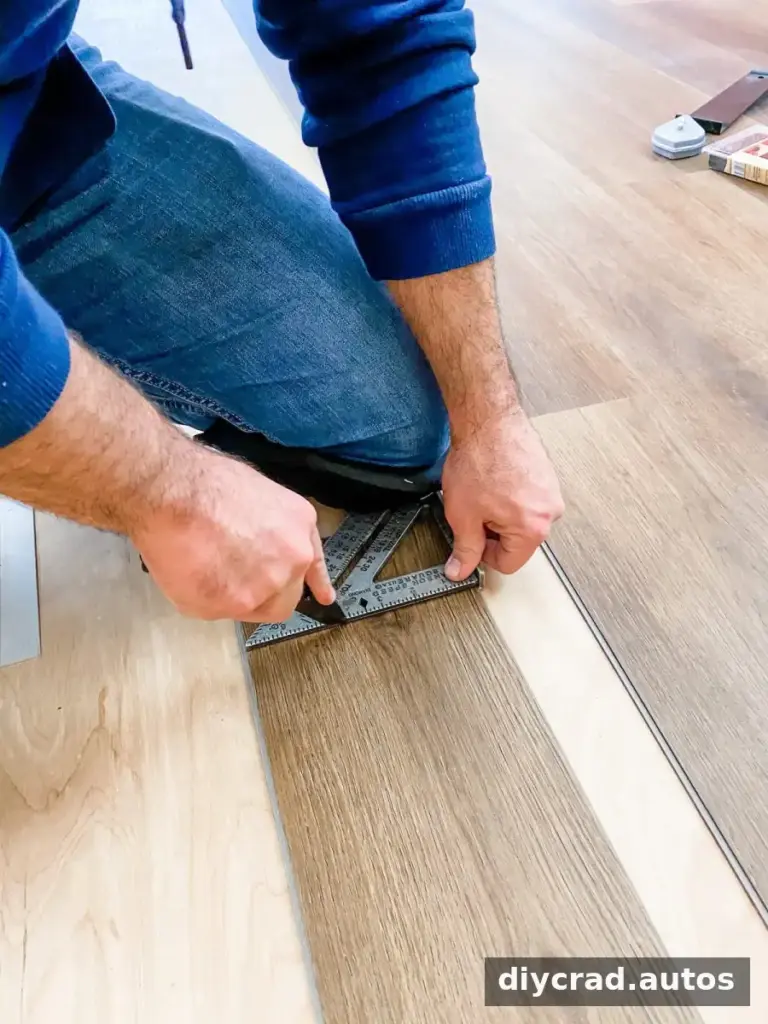
13. Cut around obstacles. For an unusually shaped obstacle, press a contour gauge against it to copy its outline. This can help transfer the shape accurately to the plank.
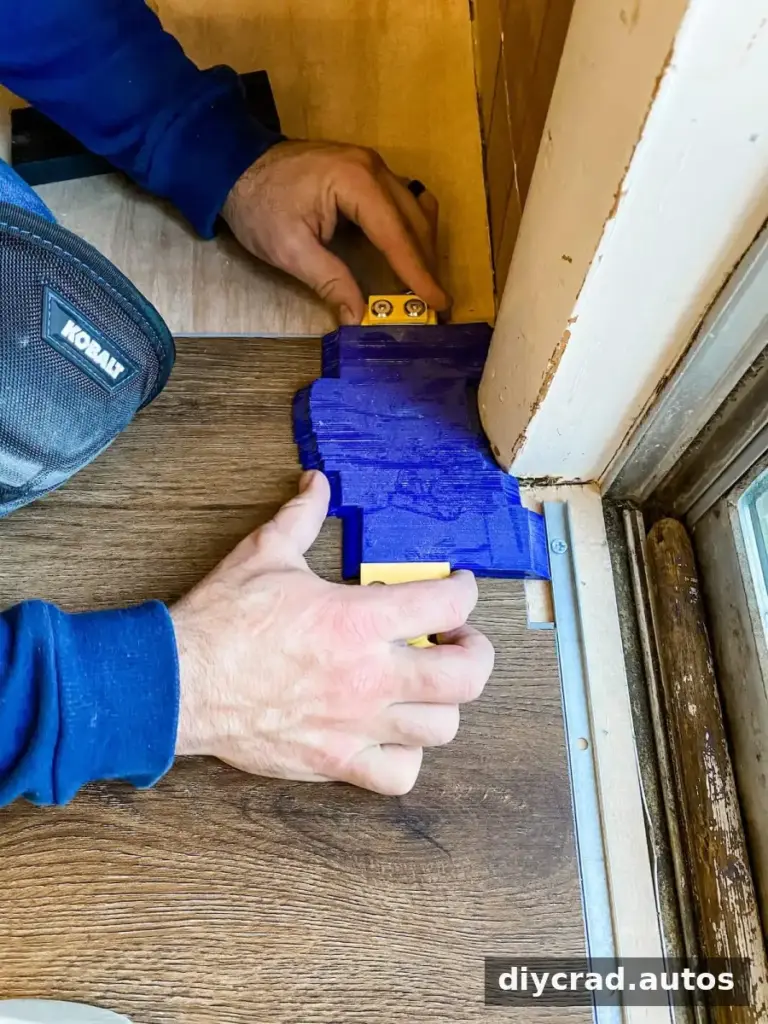
14. Mark and cut the shape. Trace the outline onto the plank and cut it with a jigsaw. Leave the required expansion space around the obstacle, following the product instructions.
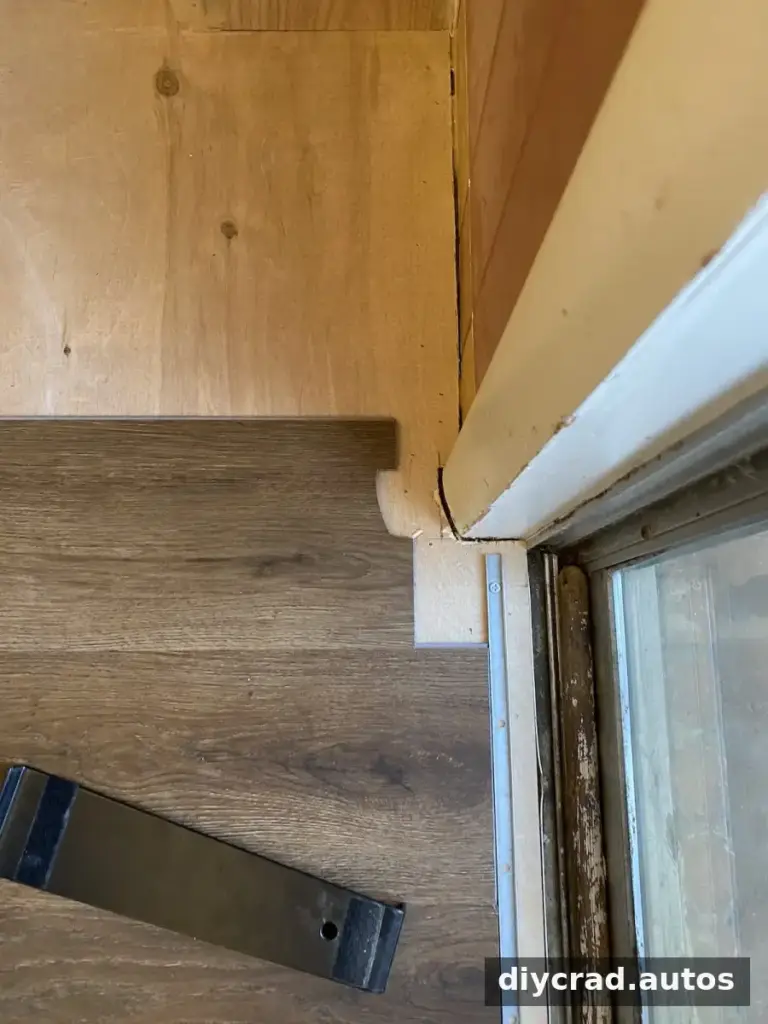
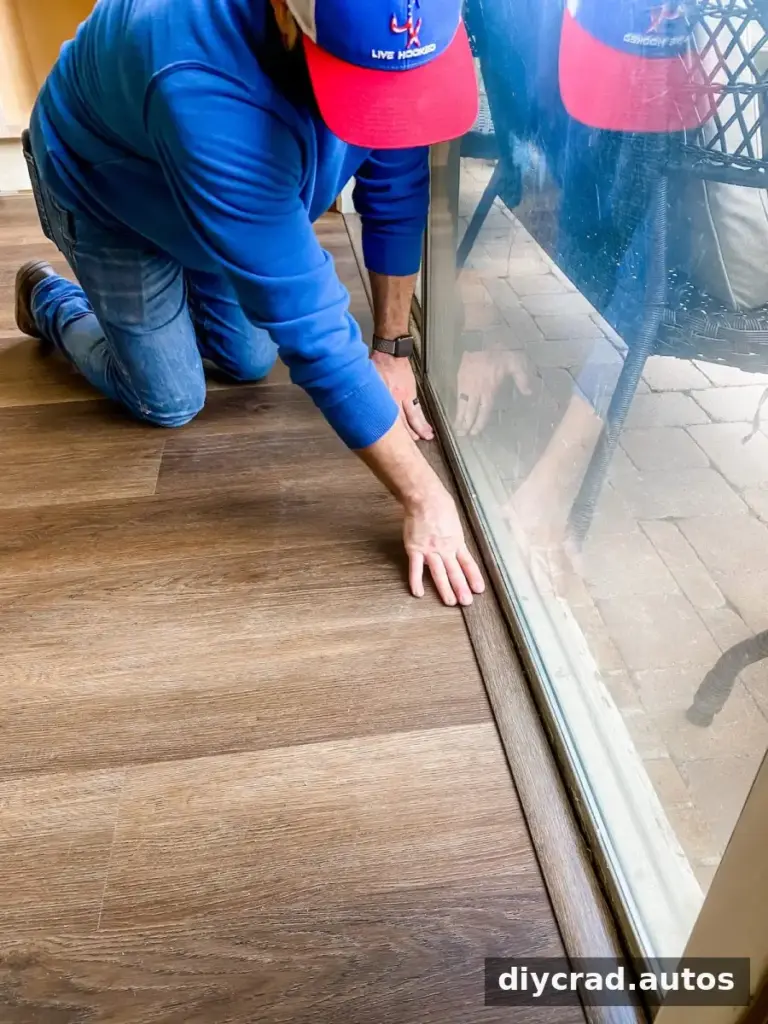
15. Fit the transition strip. When the floor is complete, snap the transition strip into its metal base at the doorway, if that system is being used.
Finish and Protect the Floor
Reinstall the baseboards or add shoe molding over the perimeter gap if the baseboards were left in place. Use a miter saw for angled cuts and a coping saw to fit corners. Caulk visible gaps and fill finishing-nail holes with wood filler.
To reduce surface damage, use sliders when moving heavy furniture and place felt pads under chair and table legs. Avoid dragging sharp or rough objects across the floor, and follow the flooring manufacturer’s cleaning and maintenance guidance.
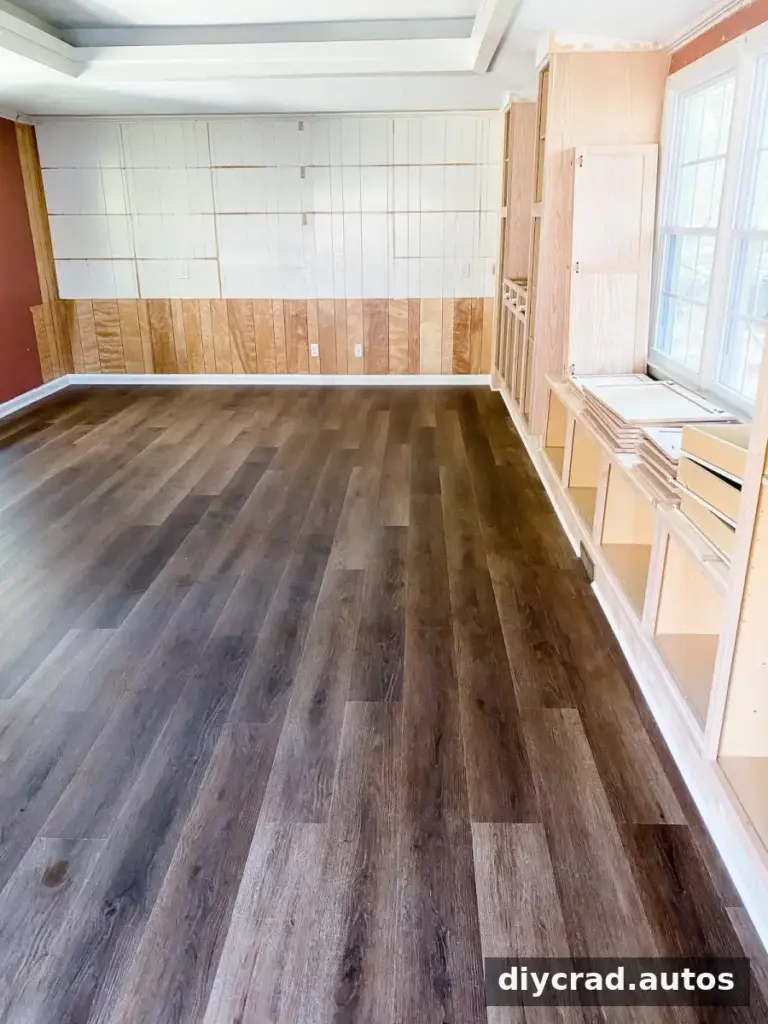
With the planks, transitions, and trim installed, the room is ready for its next finishing steps. Careful measuring, an even prepared subfloor, and a balanced plank layout are the keys to a clean result.

Luxury vinyl plank flooring installation is most straightforward when the product instructions guide the preparation, expansion spacing, and locking technique. Take time to plan the first and last rows, check each seam as you go, and protect the finished surface during the rest of the project.

