

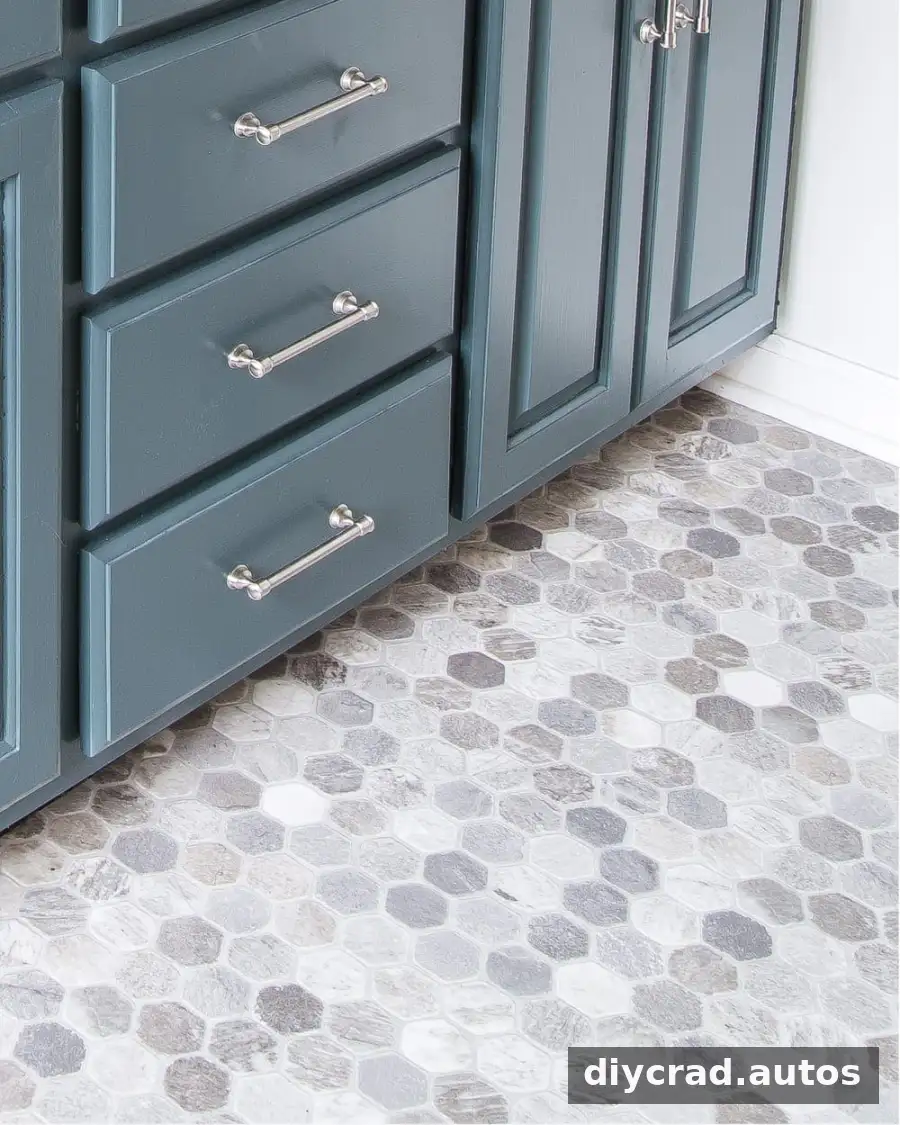
Learning how to install sheet vinyl flooring over tile can offer a quick, lower-cost way to refresh a room while you plan a more permanent renovation. This approach works best as a temporary update when the existing tile is stable and can be made smooth enough to support the new flooring. Careful preparation matters: cracks, loose tiles, and grout lines may show through the vinyl or affect how it sits.
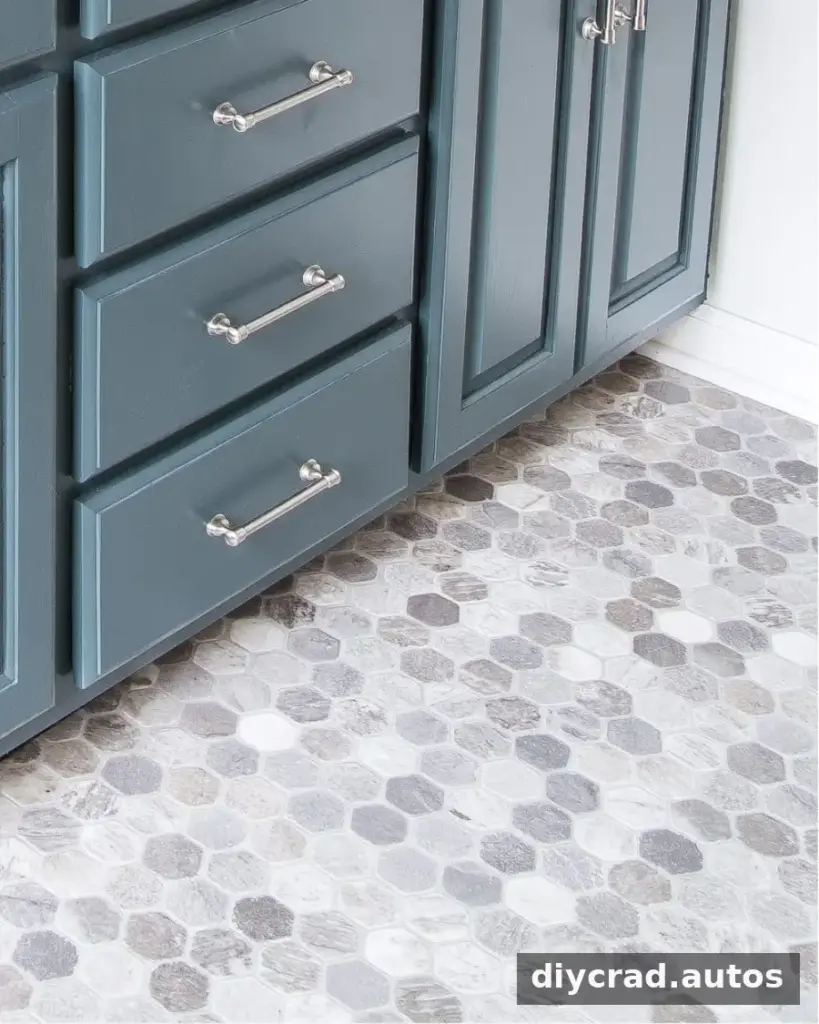
Sheet vinyl can change the look of an older floor without removing the tile. Before starting, inspect the floor and read the vinyl manufacturer’s installation instructions. Flooring products differ, especially on whether they require adhesive and how their edges should be secured.
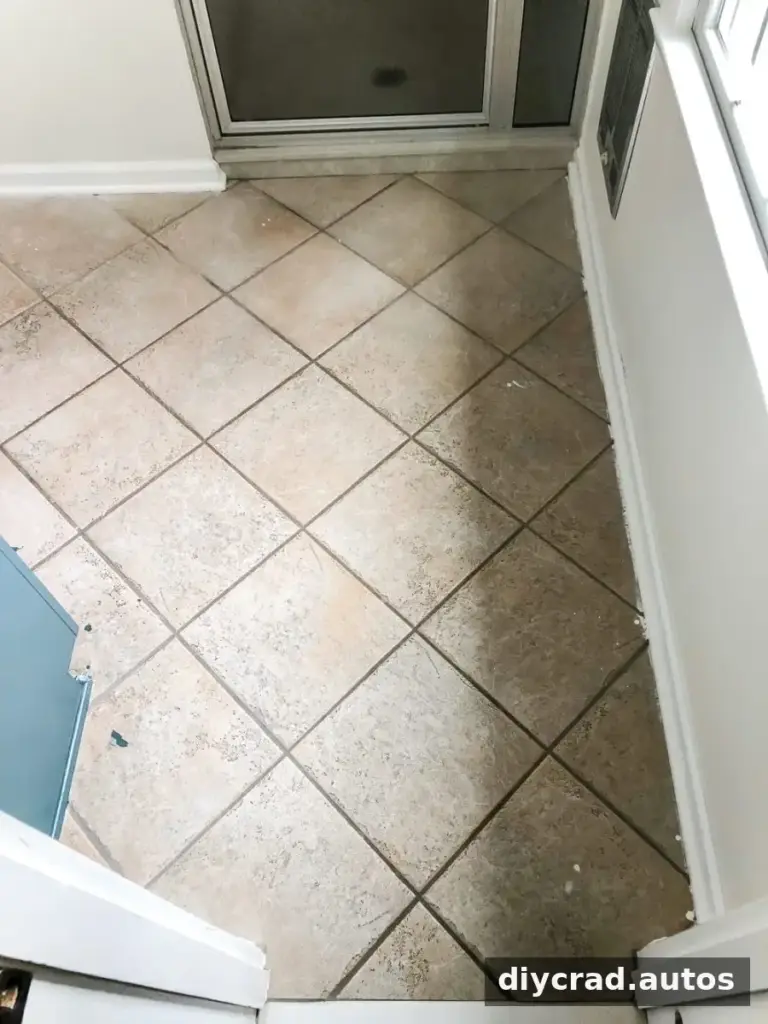
This method may suit a room where a full renovation is not yet practical. It is not a substitute for correcting serious damage or preparing a floor according to the requirements for a permanent installation.
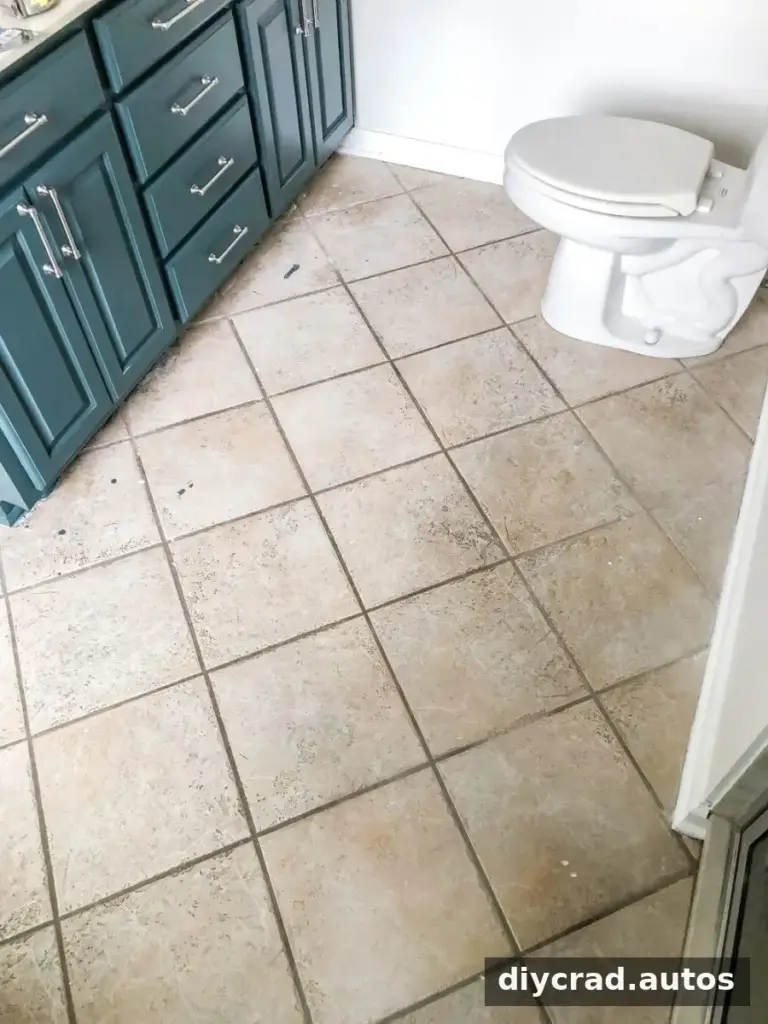
Can You Install Sheet Vinyl Flooring Over Tile?
In some cases, sheet vinyl can be installed over ceramic or stone tile, as well as other hard, stable flooring such as hardwood, engineered wood, concrete, linoleum, or existing vinyl. Carpet is not a suitable surface for this method.
Check for loose tiles, large cracks, and uneven areas before proceeding. The existing floor should be firm and smooth; otherwise, the condition beneath the vinyl can affect the finished result. Adding flooring also raises the floor height, so check door clearance and transitions to adjoining rooms.
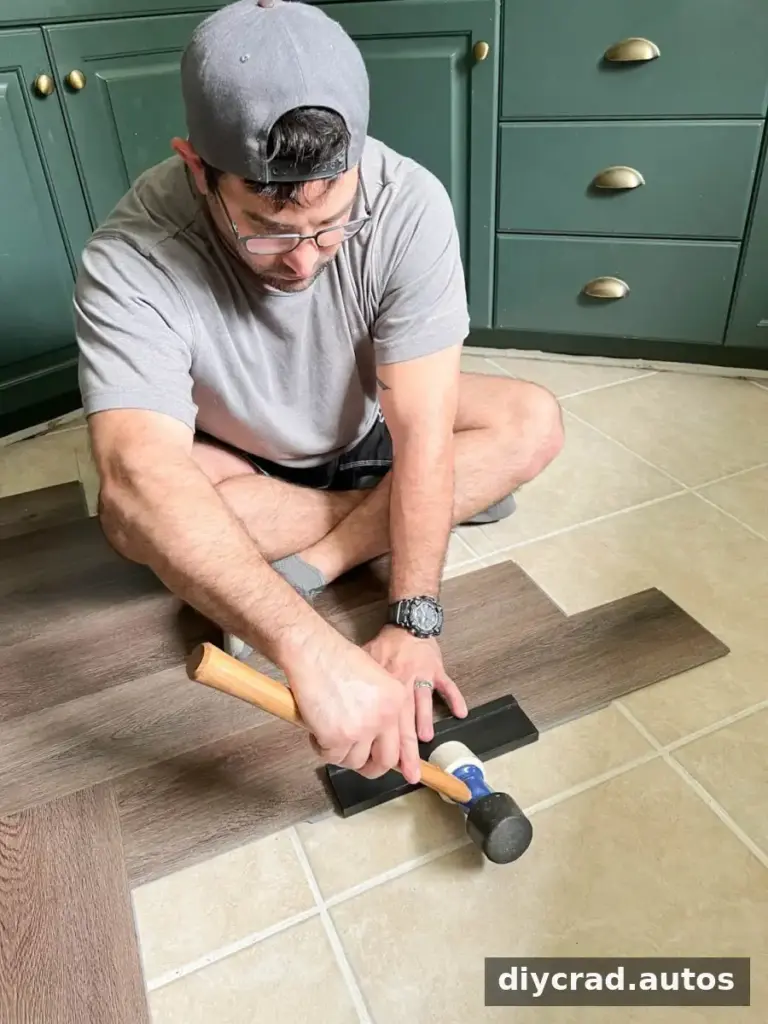
For a long-term renovation, follow the flooring manufacturer’s complete subfloor and installation requirements. If the tile is badly damaged or the surface cannot be made even, address the underlying floor rather than covering it.
Supplies for Installing Sheet Vinyl Over Tile
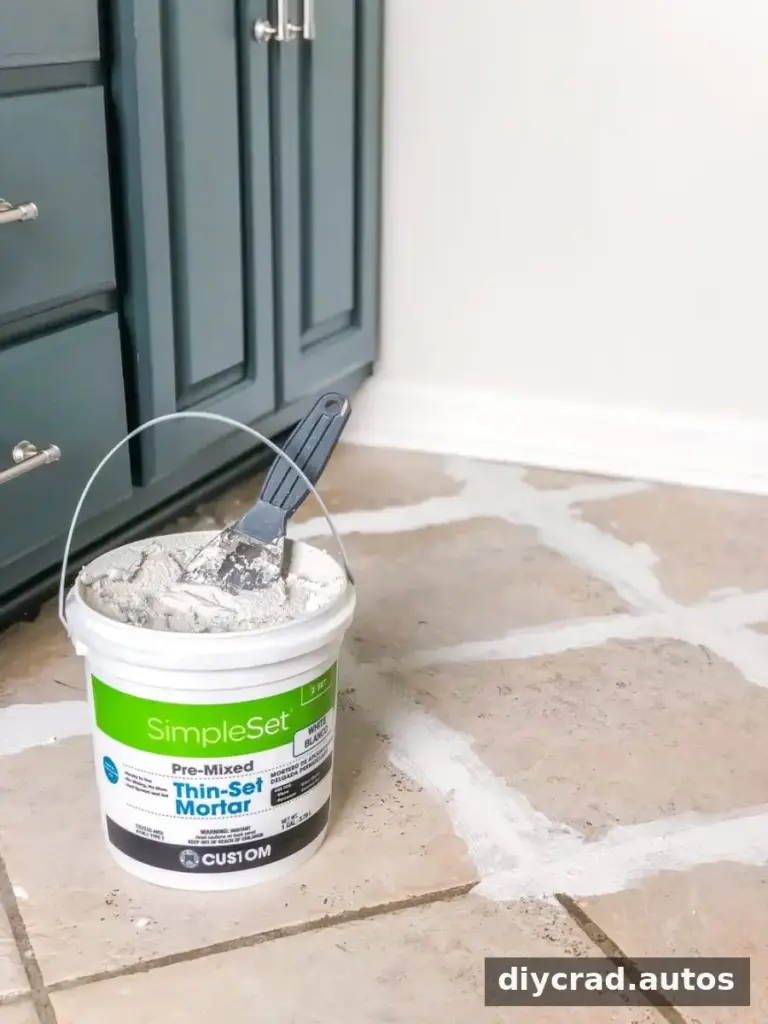
- Thin-set mortar
- Putty knife
- Medium-grit sandpaper
- Broom and dustpan
- Pry bar and mallet or hammer
- Sheet vinyl flooring
- Vinyl flooring adhesive, if required by the manufacturer
- Tape measure
- Pencil or pen and paper
- Sharp scissors or a utility knife
- Chalk line
- White silicone caulk and caulk gun
- Brad nailer
Gather everything before you begin measuring and cutting. Confirm the product’s installation instructions first, since adhesive and edge-securing requirements vary between flooring products.
How to Install Sheet Vinyl Flooring Over Tile
1. Fill the grout lines
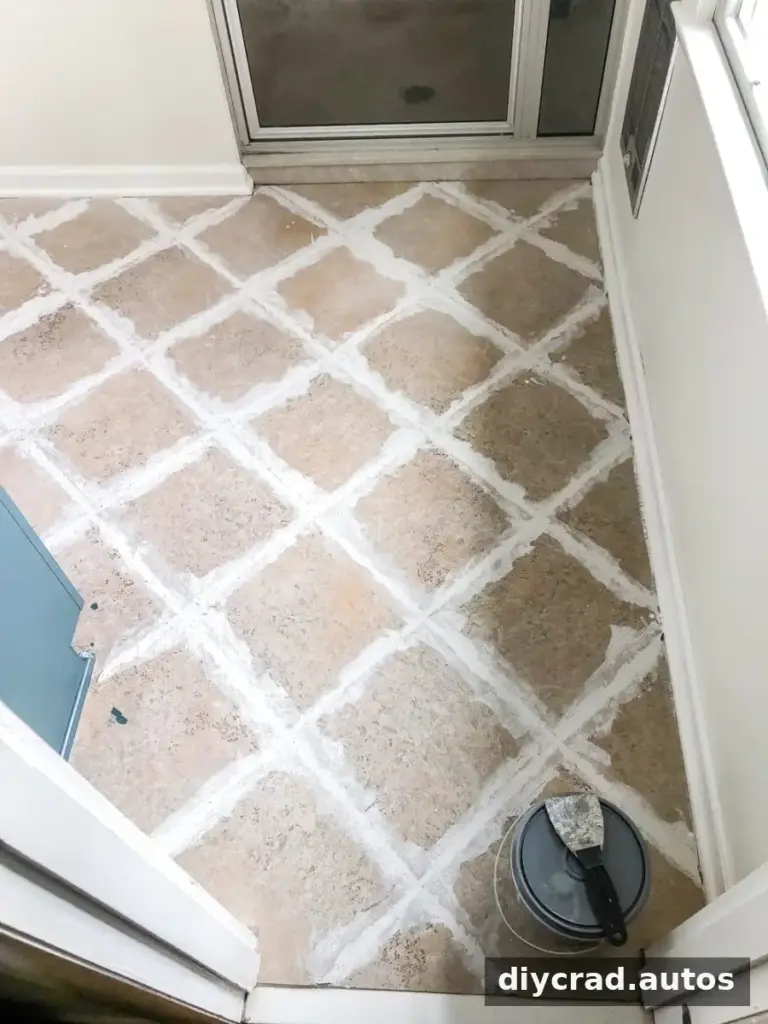
Use thin-set mortar and a putty knife to fill large grout lines and create a smoother surface. Work carefully to keep the mortar as even as possible; grooves left underneath may become visible in the vinyl over time.
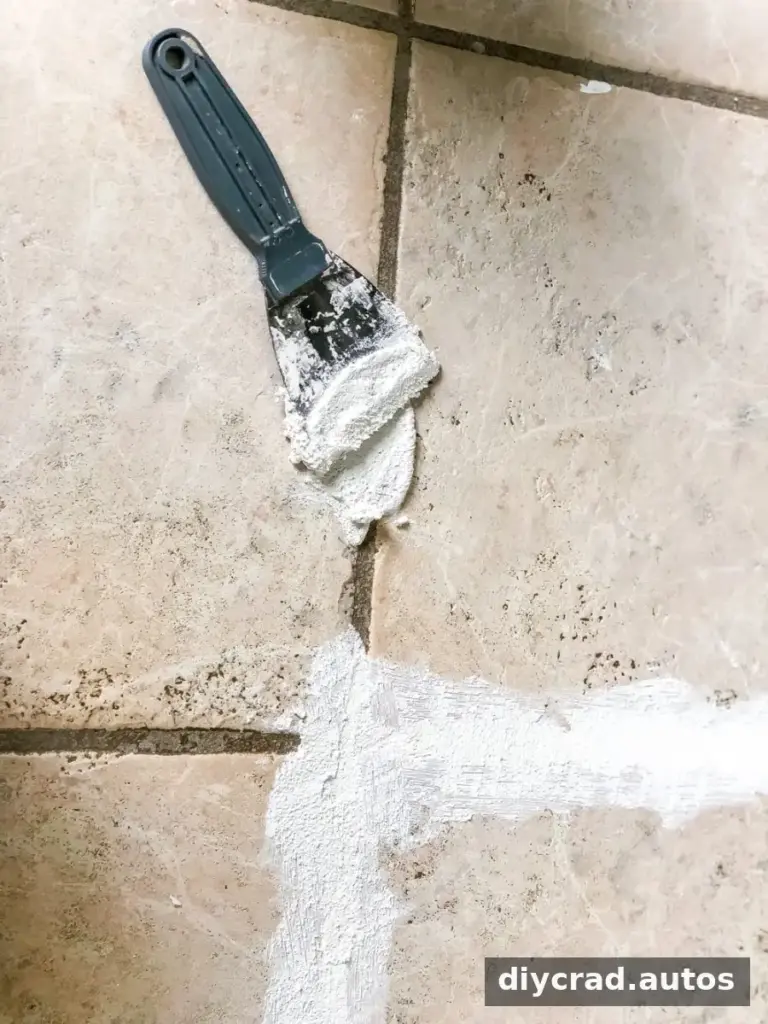
Follow the mortar instructions for drying time before sanding. Do not move on while the patched areas are still damp.
2. Sand the dried mortar
Once the mortar has dried, generally in about 24–48 hours, use medium-grit sandpaper to smooth rough spots. Keep the surface level rather than sanding away more material than needed.
3. Remove dust and debris
Sweep the floor and collect the remaining debris with a dustpan. A clean surface helps prevent particles from being trapped beneath the sheet vinyl.
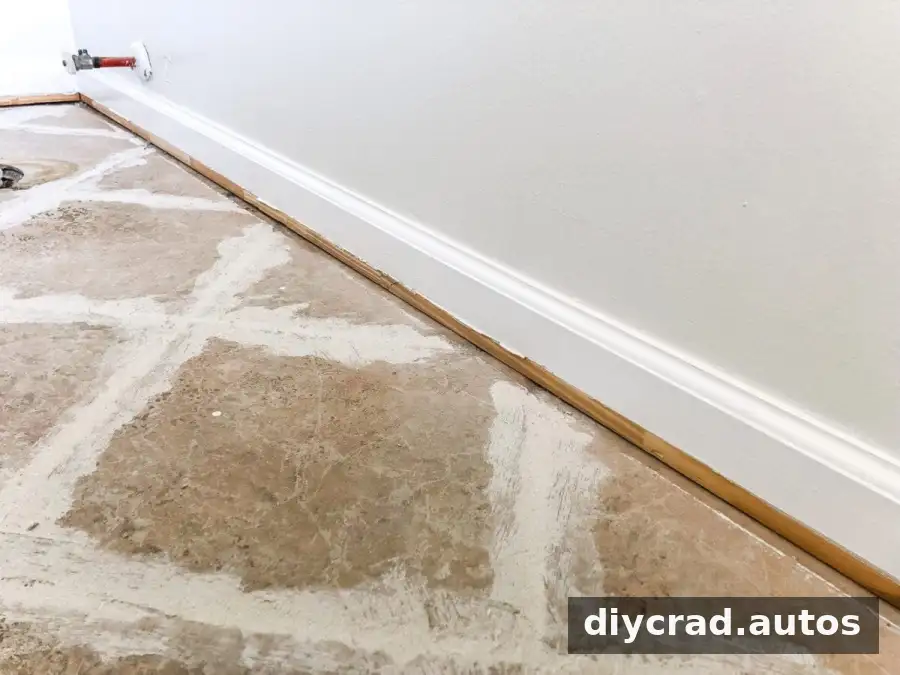
4. Remove the baseboards
Carefully remove the shoe molding and baseboards with a pry bar and mallet or hammer. Set aside pieces that are in good condition so they can be reinstalled after the flooring is in place.
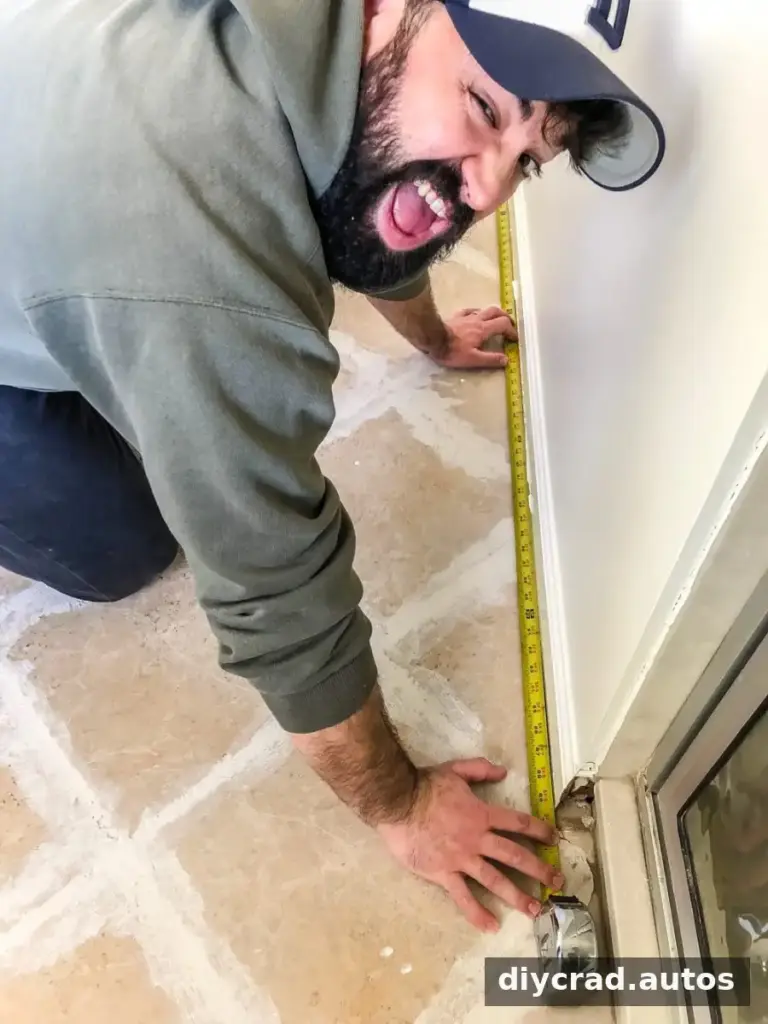
5. Measure the room and draw a diagram
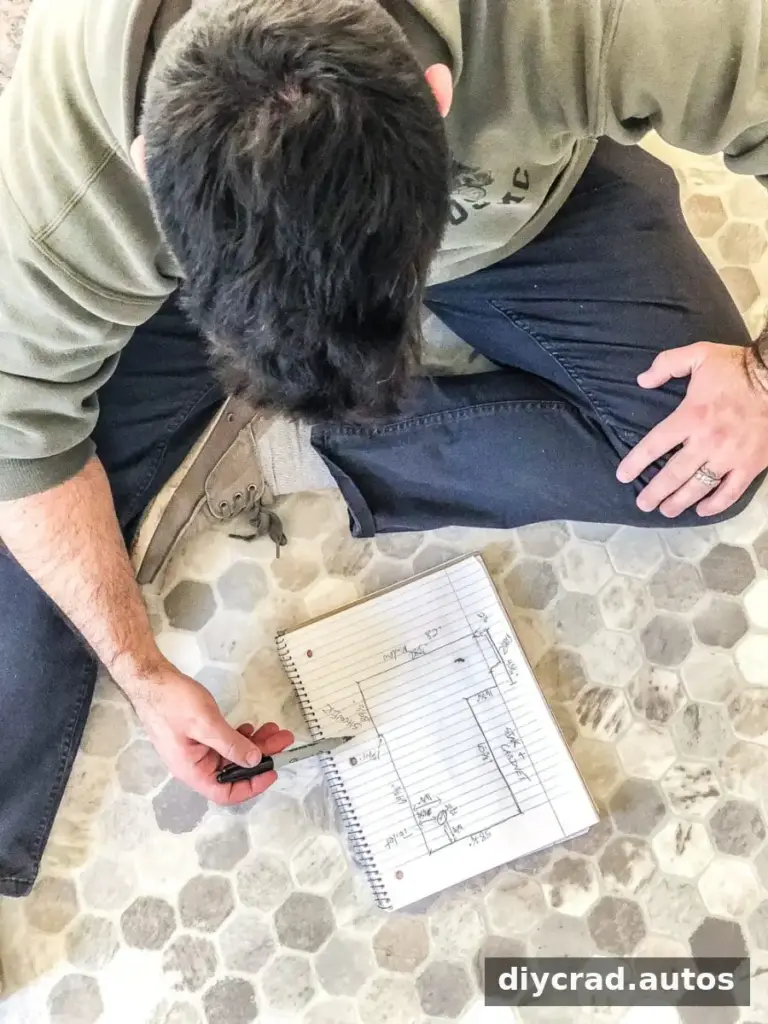
Measure each edge of the room and sketch a simple diagram with the dimensions. Include obstacles and cutouts, such as pipes or toilet openings, so they can be marked on the vinyl later. Measure each feature from a consistent reference point and record the numbers clearly.
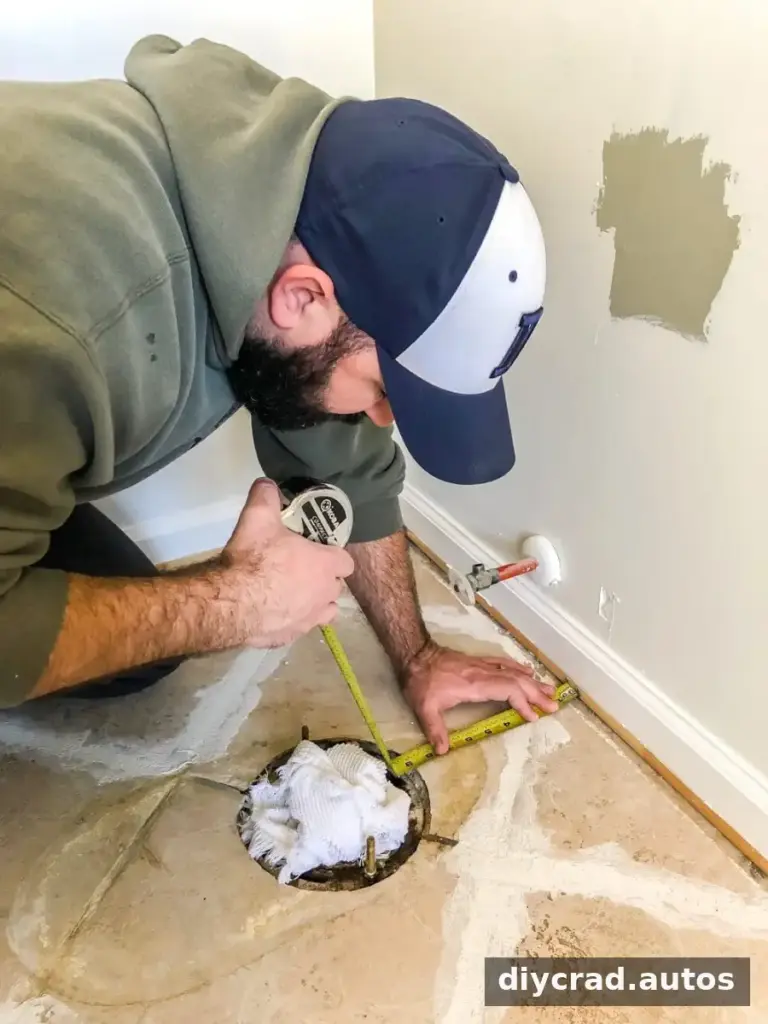
6. Check your measurements
Review the diagram and measure the room again before cutting. Double-check the positions and dimensions of openings; a mistake in the template can be difficult to correct once the sheet has been cut.
7. Unroll the sheet vinyl
Unroll the flooring in the room or another suitable space. Keep it right-side up while measuring and marking, and allow it to lie flat enough to work with according to the product instructions.
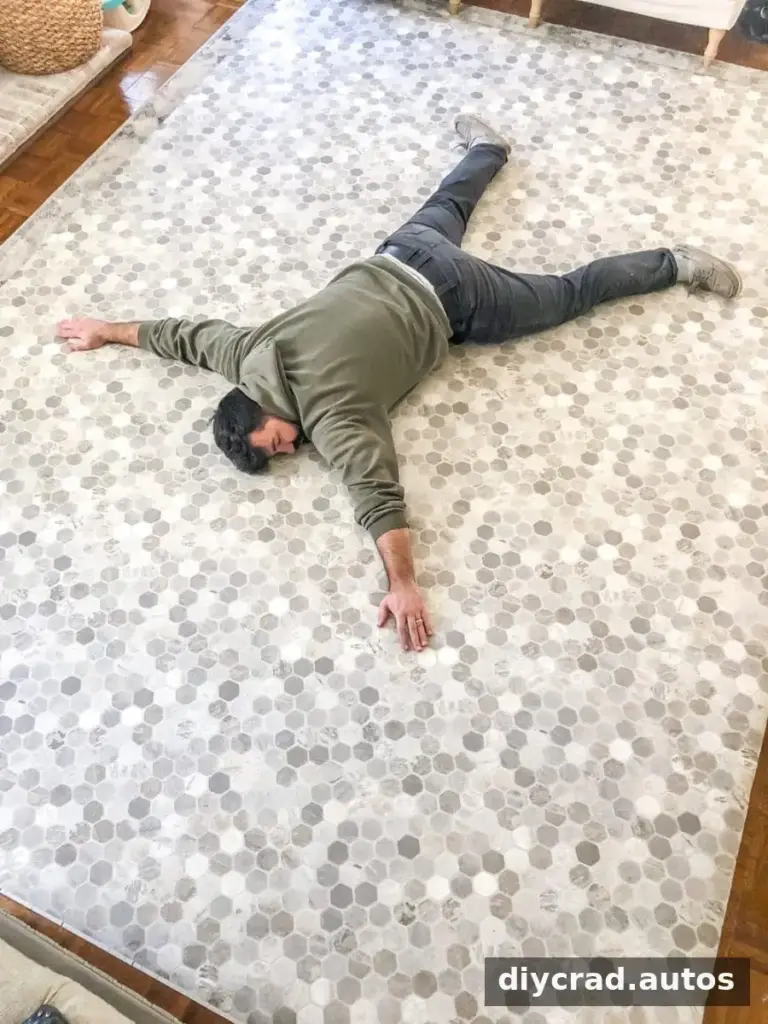
8. Transfer the measurements
Use the room diagram and tape measure to mark the dimensions along the edges of the sheet. Take time with corners and cutouts so the template reflects the shape of the room.
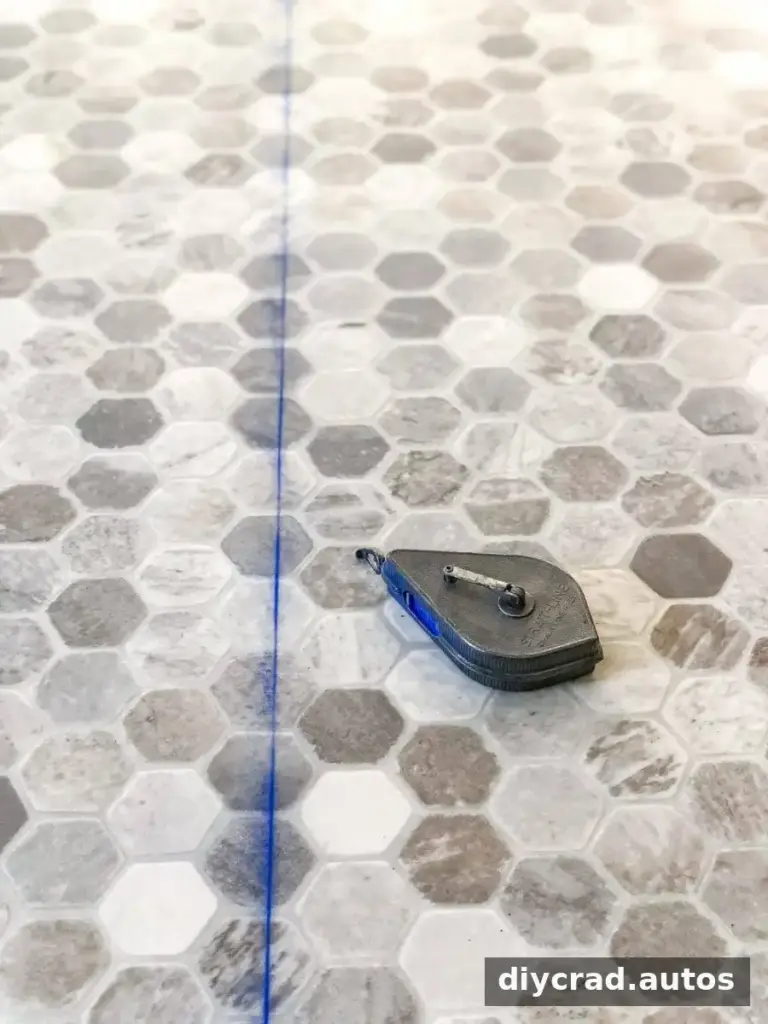
9. Mark the cutting lines
Use a chalk line to connect the marks and define the room’s perimeter on the vinyl. Check that the lines match your diagram before cutting.
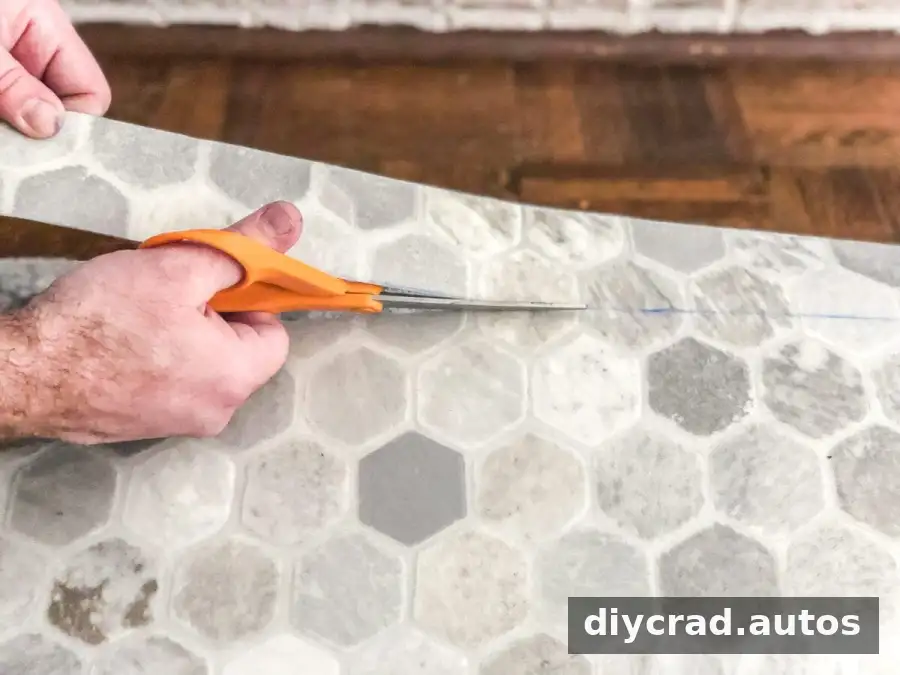
10. Cut the sheet
Cut along the marked lines with sharp scissors or a utility knife. Work steadily and avoid cutting beyond the line; small adjustments can be made during fitting. Wipe away chalk residue before placing the flooring.
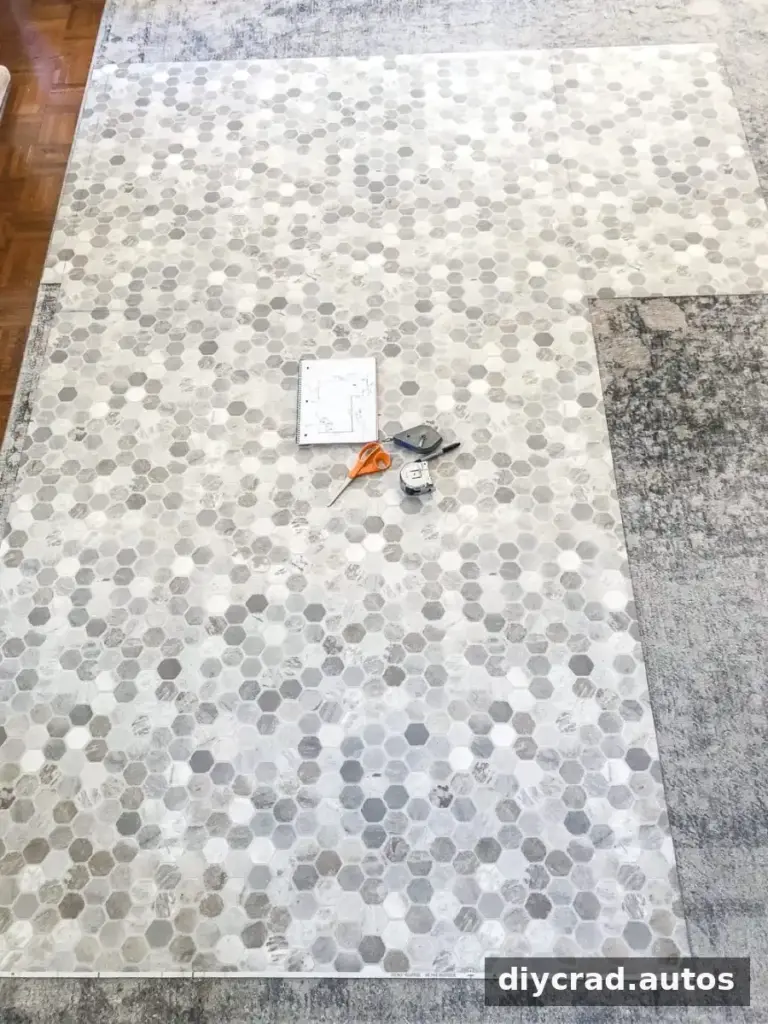
11. Test the fit
Carry the cut sheet into the room and roll it out over the tile. Check how it fits around the perimeter and any openings before securing the flooring.
12. Position and trim
Position the sheet and carefully trim any areas that need adjustment with a utility knife. Make small cuts and test the fit as you go to avoid removing too much material.
13. Reinstall the baseboards
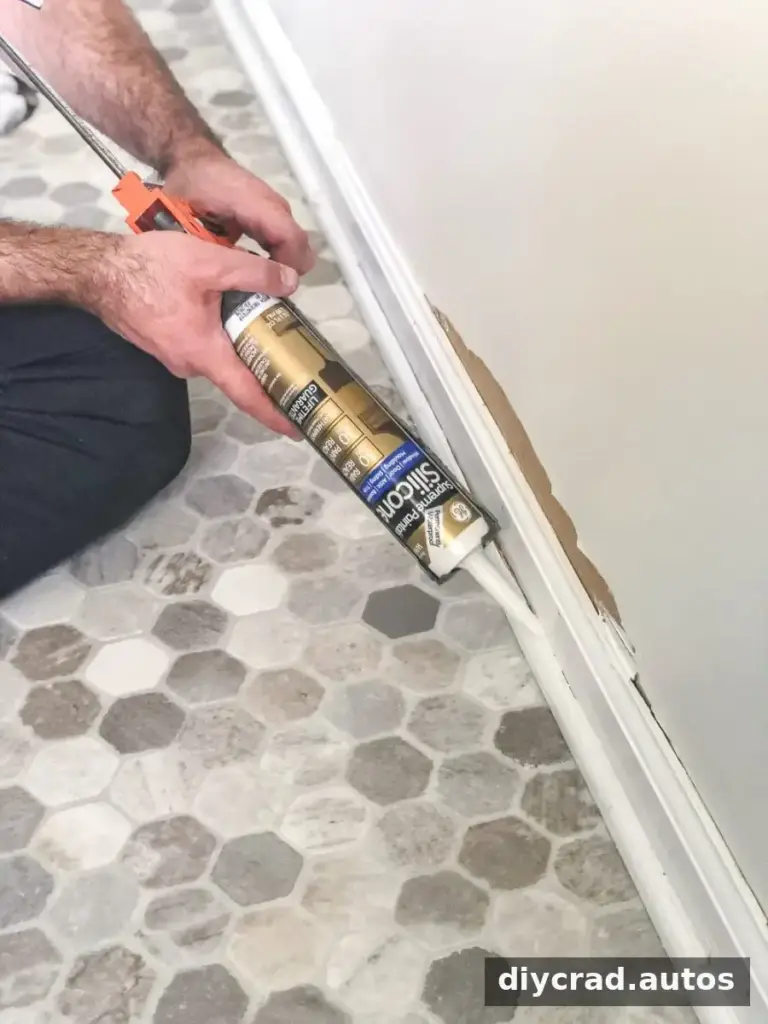
Reinstall the baseboards and quarter-round trim with a nail gun if the flooring manufacturer’s instructions allow this method. Some products require adhesive, while others specify a different installation approach. Follow the instructions for the exact flooring being used.
14. Finish the edges
Apply white silicone caulk where appropriate to fill gaps along the reinstalled trim. Use suitable edging where the vinyl meets a shower, tub, or doorway, following the product’s requirements for those transitions.
What to Expect From the Finished Floor
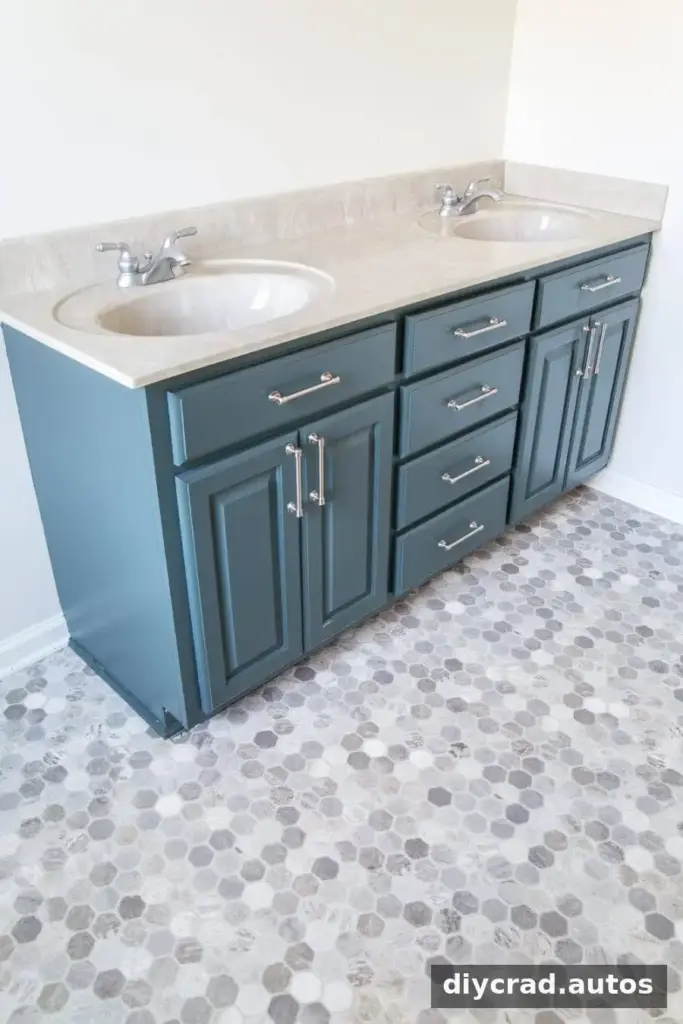
Sheet vinyl can make an older tiled room look cleaner and more current without removing the original flooring. The result depends on the condition and smoothness of the tile beneath it, so preparation is an important part of the project.
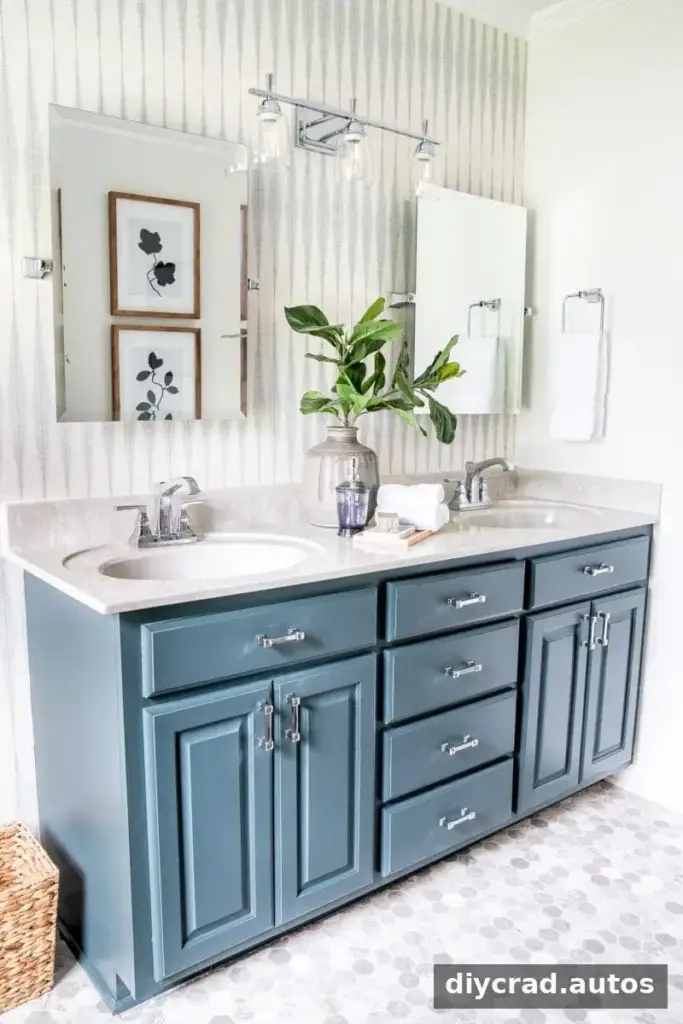
Consider this a practical refresh rather than a permanent fix. If the existing tile is unstable or the room needs a full renovation, plan to address the floor properly when that work is undertaken.
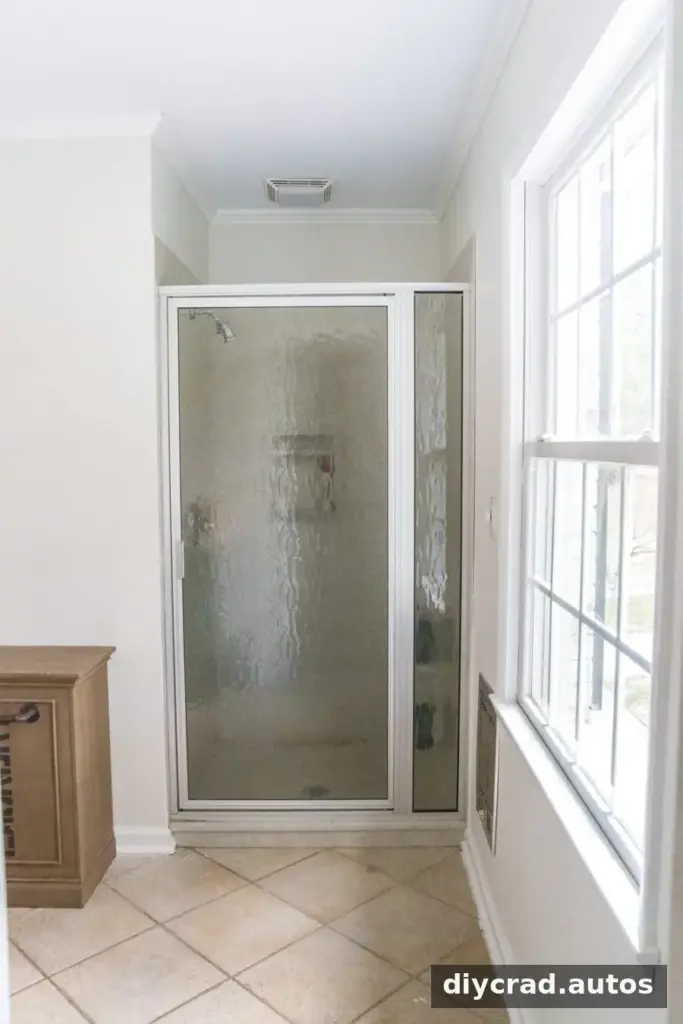
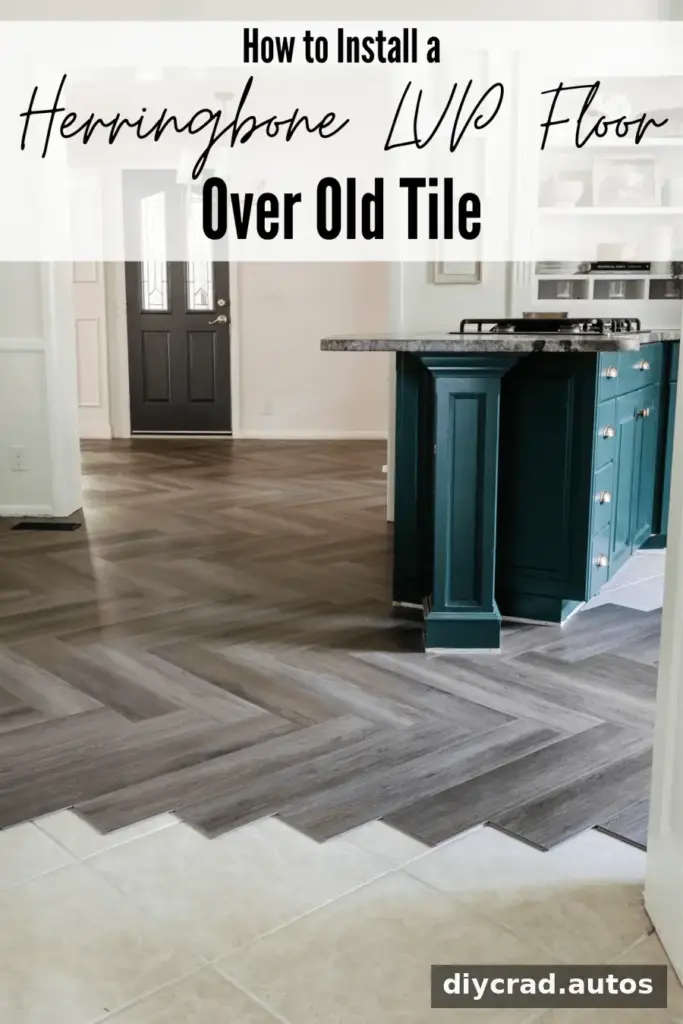
Other Vinyl Flooring Options Over Tile
Luxury vinyl planks and vinyl tiles may also be options for covering tile, depending on the condition of the existing surface and the product instructions. Compare installation requirements and finished floor height before choosing a material.
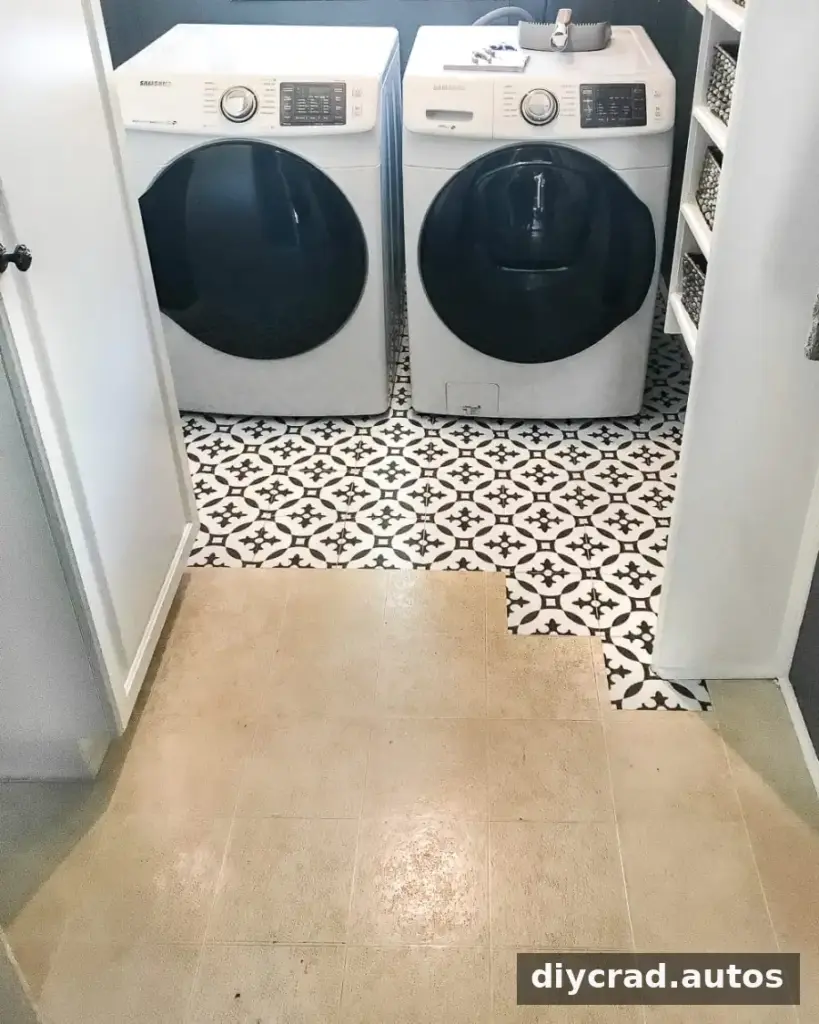
Peel-and-stick vinyl tiles are another format to consider. As with sheet flooring, the tile surface must be suitable for the product, and preparation instructions should be followed for a reliable fit.
Frequently Asked Questions
What flooring can go over tile?
Depending on the condition of the tile and the product’s requirements, options may include laminate, engineered wood, vinyl, cork, carpet, or another layer of ceramic tile. Each material has specific preparation and installation needs, and adding a layer raises the floor height.
Is sheet vinyl the cheapest flooring to install yourself?
Sheet vinyl is often among the less expensive flooring choices for a DIY project, though total cost depends on the product, room size, preparation materials, and any adhesive or trim required.
Can sheet vinyl cover cracked or loose tile?
Do not assume it can. Loose tiles, large cracks, and uneven areas can prevent the vinyl from lying smoothly. Inspect and prepare the existing floor first, and avoid covering damage that needs repair.


Conclusion
To install sheet vinyl flooring over tile successfully, start with a stable, clean surface, fill grout lines where needed, and measure carefully before cutting. Treat the project as a temporary update, check floor height and transitions, and follow the flooring manufacturer’s instructions for adhesive, trim, and edge finishing.

