

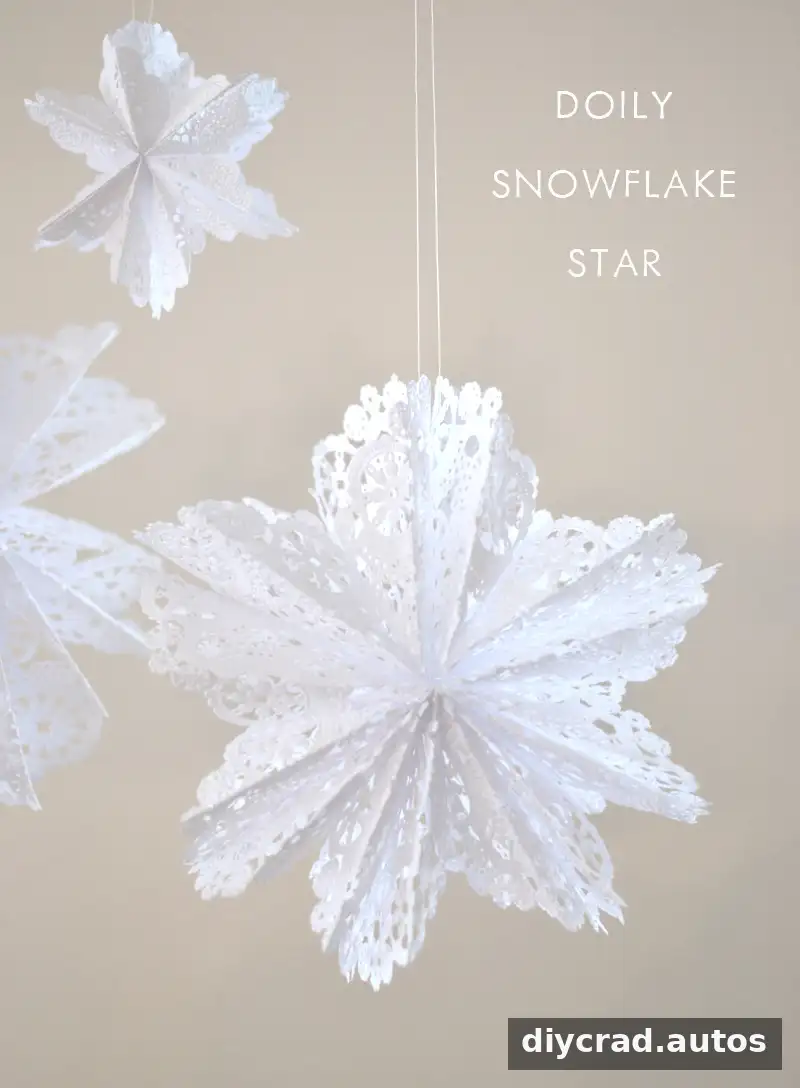
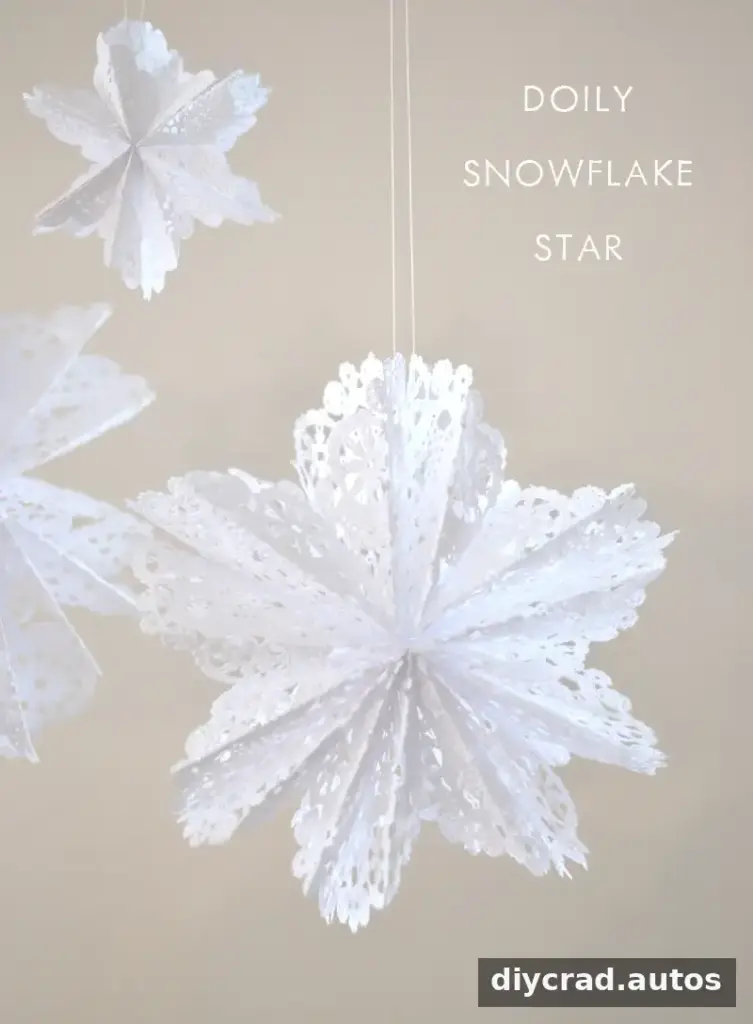
Doily Snowflake Stars turn simple paper doilies into delicate, three-dimensional decorations. This beginner-friendly project uses folding and glue to create a fan-shaped star with lace-like edges. The idea adapts the paper-bag star concept originally credited to SITS Girls, using doilies to add a lighter, intricate look. With a glue stick and seven doilies, you can make a decoration for a window, wall, or seasonal display.
The original project used 8-inch and 10-inch doilies, but other sizes can work too. Choose matching doilies for an even-looking star, and use a glue stick rather than liquid glue to help avoid soaking the paper or clogging its cut-out details.
Supplies for Doily Snowflake Stars
- Seven paper doilies. The examples used 8-inch and 10-inch sizes; other sizes may also be suitable.
- A glue stick.
Work on a clean, flat surface so the folded pieces stay neat while you assemble them. If the doilies are delicate, press each crease gently instead of rubbing hard, which can tear the paper.
How to Make Doily Snowflake Stars
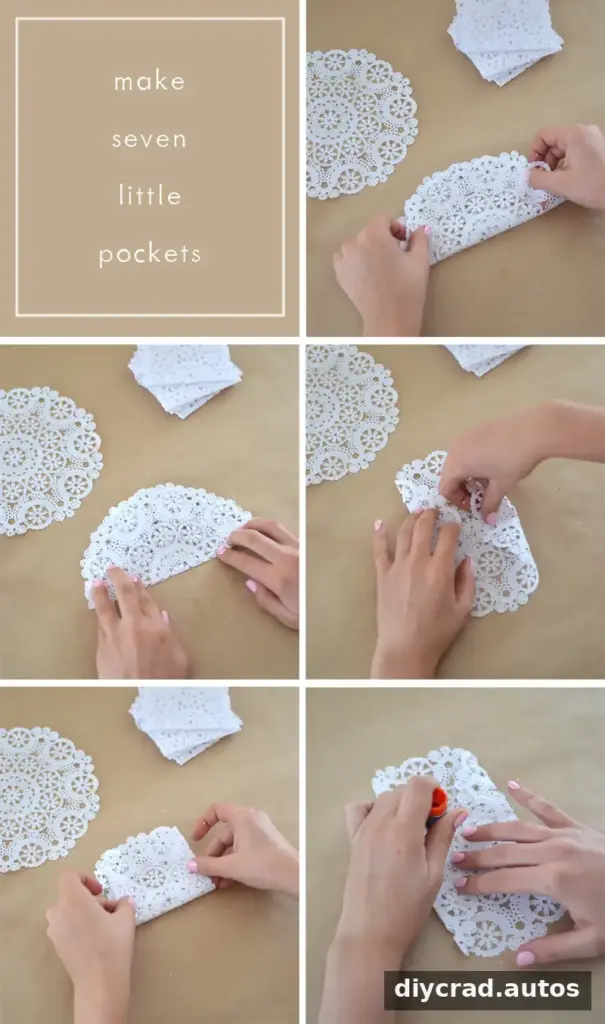
Fold each doily into a pocket
- Fold one doily in half and press lightly along the crease.
- Open it, then fold the outer edges inward so they meet at the middle. Gently flatten the new folds.
- Fold the doily back up into a small square and press lightly to set the shape.
- Open the folded piece. Apply glue to the inside folds near the rounded edge, working toward the center. Keep the glue on the solid paper rather than the cut-out areas so the doily does not become overly sticky.
Repeat these folds with the remaining doilies. Keeping the pieces folded in the same direction helps the finished star open out evenly.
Join the seven pieces
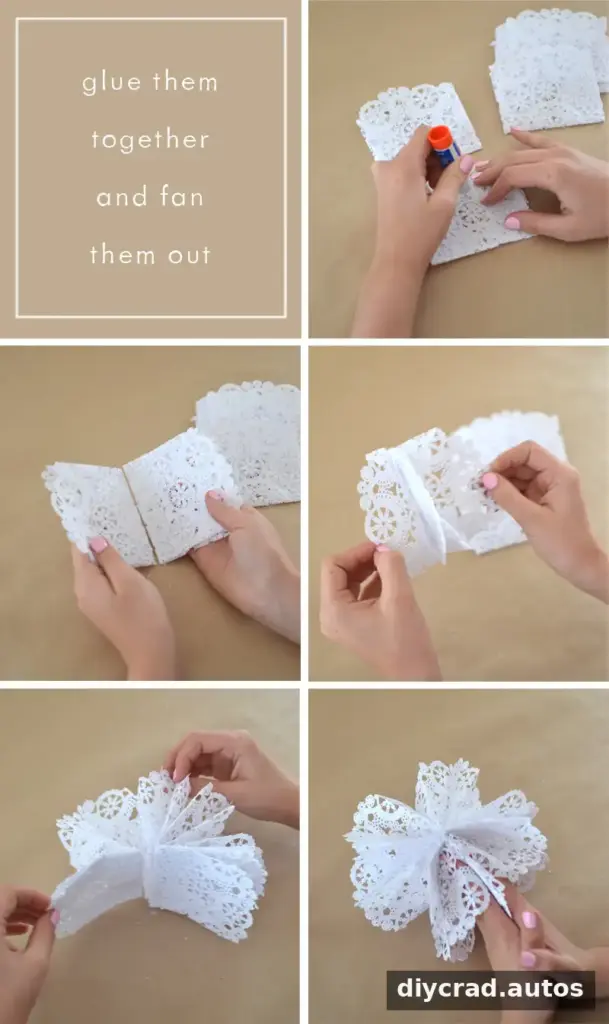
- Apply glue down the middle and along the bottom edge of one folded piece, making an upside-down T shape. Add glue to the matching area on the next piece.
- Join the first two pieces, checking that both pockets remain open.
- Continue gluing the pieces together in the same way until all seven are connected.
- Apply glue to the first and last pieces. Fan the connected sections outward, then bring the ends together to form the star.
- Adjust the pockets gently until they sit as evenly as possible.
Allow the glued joins to set before hanging or moving the decoration. If the star looks uneven, make small adjustments to the folds and pockets rather than pulling sharply on the delicate paper.
Tips for a Neat, Decorative Finish
The cutwork on a doily is part of the finished design, so use small amounts of glue and keep it away from the open lace sections. Press the glued areas together gently and give them time to hold before spreading the star into its final shape.
For a colorful variation, paint the doilies before folding and assembling them. Let the paint dry completely first; damp paper can be harder to fold neatly and may tear more easily. A single color keeps the lace pattern prominent, while different colors can give each section its own look.
These folded stars can be made with children who are comfortable handling paper and a glue stick. An adult can help with applying glue, especially when the doilies are thin or heavily cut out. The project is also a useful way to practice careful folding and assembling repeating shapes.
Video and Assembly Help
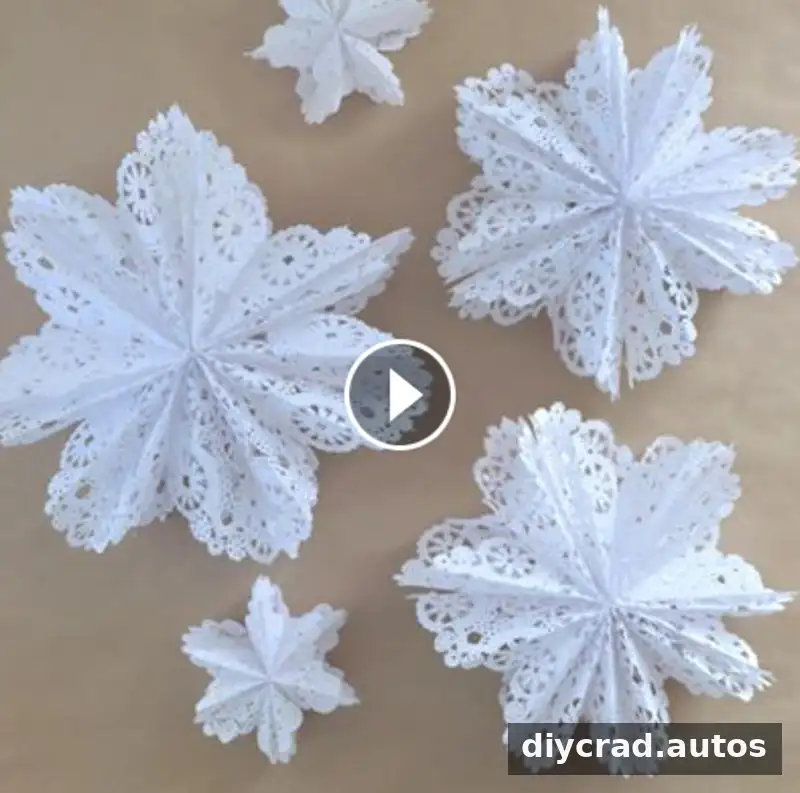
A demonstration can make it easier to see how the folded pockets fit together and how the seven sections fan out. Use the video provided with this project as a visual guide, particularly if the written folding steps are unfamiliar. Pause as needed while matching each fold and glue placement.
Final Thoughts
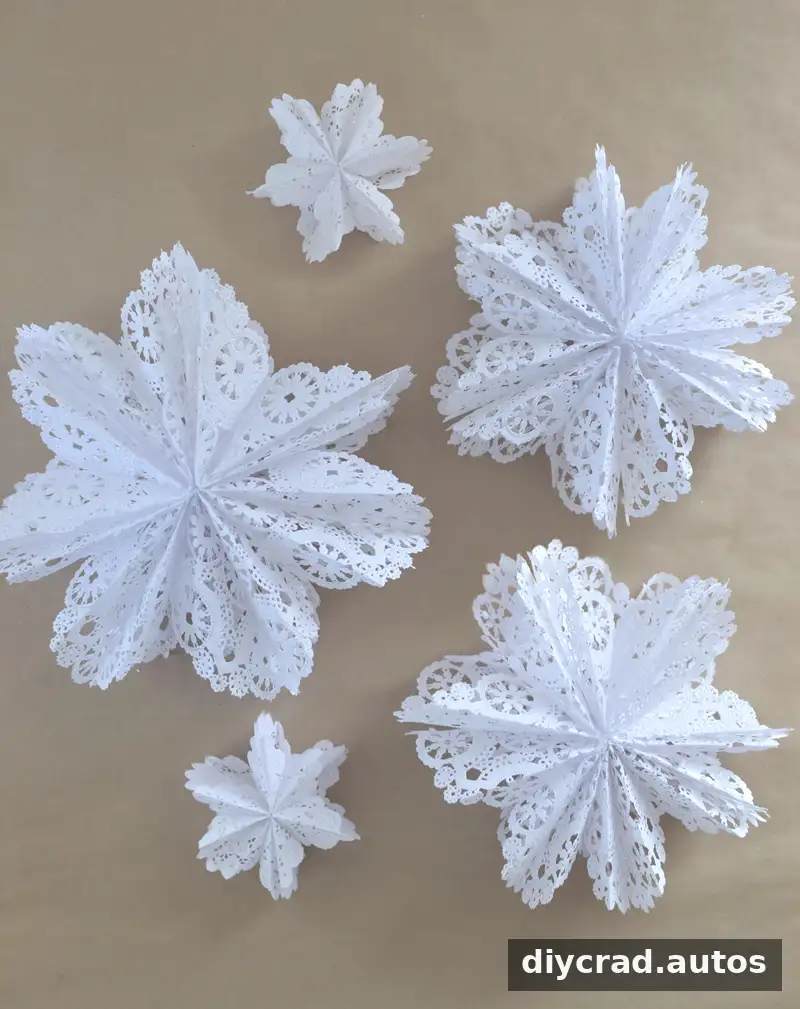
Doily Snowflake Stars are an accessible paper craft that transforms simple supplies into a dimensional decoration. Fold seven doilies into pockets, glue the sections together, and fan the ends into a star. Take care to keep glue on the solid paper and adjust the pockets gently for an even finish. The original article is by Bar, and the paper-bag star idea is credited to SITS Girls.

