
A neatly made bed can make a bedroom feel calmer and more inviting. Learning how to make a bed with layered sheets, a quilt, a duvet, and thoughtfully arranged pillows does not require expensive bedding. A few simple techniques can create a polished look while keeping the bed comfortable and practical for everyday use.

You can keep the routine simple on busy mornings or take a few extra minutes to arrange the layers for a more finished appearance. The steps below explain how to build that soft, layered look and adapt it to your bedding, room, and comfort preferences.
How to Make a Bed: 8 Simple Steps

Before you begin, check that your bedding is clean and fits the mattress. Smooth layers tend to sit better when sheets and covers are the right size, and choosing breathable materials can help you stay comfortable through the night.
1. Add a Bed Skirt If Needed
A bed skirt is optional. It can conceal a box spring, an exposed bed frame, or items stored beneath the bed. Choose a length that just skims the floor: a skirt that sits too high may reveal the space underneath, while one that pools can collect dust or get caught underfoot.
For a temporary guest setup, a bed skirt can also help an air mattress look more like a traditional bed. Make sure it is secured safely and does not interfere with the mattress or walking area.

A coordinated skirt and bedding can make a temporary sleeping area feel more considered. For guests using an air mattress, also check that the mattress is fully inflated and placed on a clear, level surface.

2. Use a Mattress Topper and Protector
A mattress topper can add softness or extra support when replacing a mattress is not practical. Choose one that suits your sleeping preferences and mattress size, and follow its care instructions to help it keep its shape.
A waterproof, zippered mattress protector helps shield the mattress from spills and everyday moisture. It can also create a barrier against dust and common household allergens. A washable protector is particularly useful in homes with children or pets; wash it as directed and make sure it is completely dry before putting it back on the bed.

3. Add the Sheets and Turn the Flat Sheet Upside Down
Fit the bottom sheet securely over the mattress, smoothing out wrinkles as you go. Lay the flat sheet on top and tuck its foot end under the mattress. Hospital corners can help keep the sheet tidy: fold the side fabric up onto the mattress, tuck the hanging section underneath, then fold the remaining fabric down and tuck it in.
If the flat sheet has a print or decorative trim along its top edge, place it with the finished side facing down. When you fold the top of the sheet back, the pattern or trim will then show.
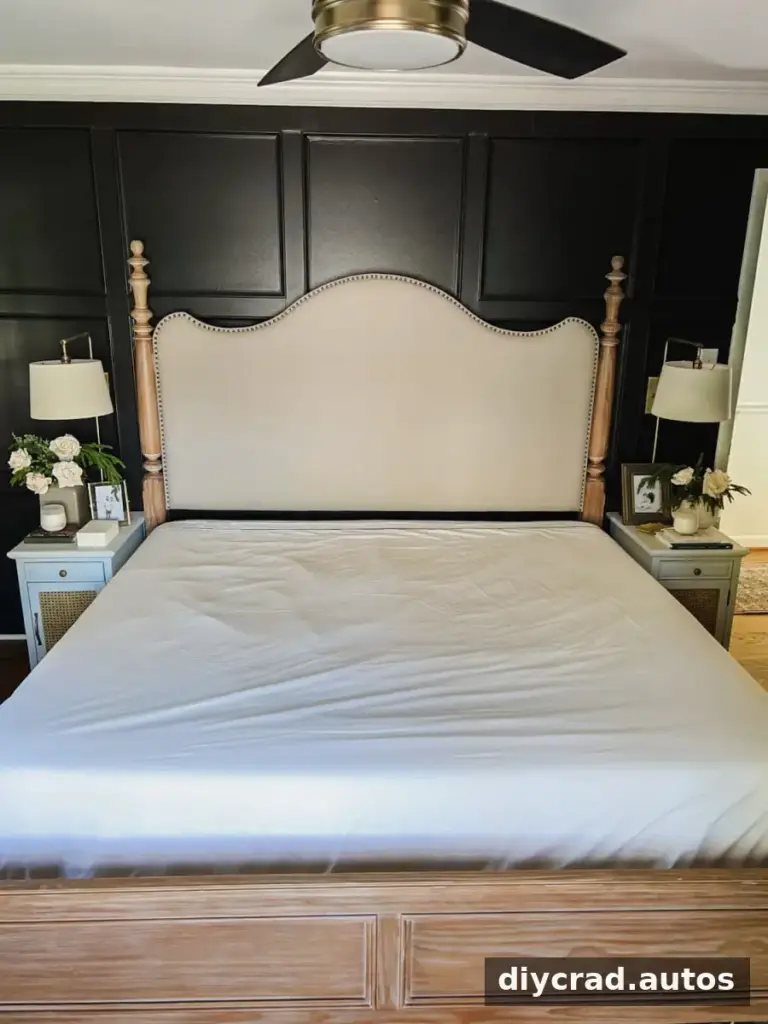
Pull the flat sheet toward the head of the bed and smooth it before adding the next layer. Leave enough fabric at the top to fold back neatly over the quilt or coverlet.
4. Layer a Coverlet or Quilt
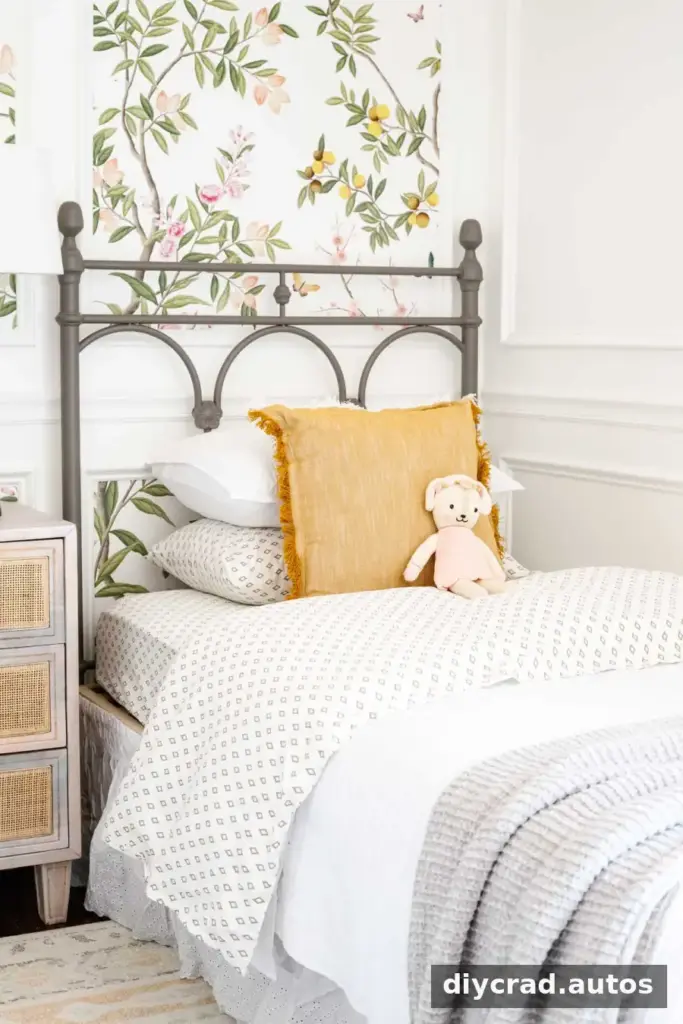
Spread the quilt or coverlet evenly over the flat sheet, bringing it close to the head of the mattress. Fold the top of both layers back by about a foot, then tuck the sides in if you prefer a crisp, tailored finish. Keeping the edges even on both sides makes the bed look balanced.
A lighter quilt is useful when you want a visible decorative layer without adding too much warmth. If you tend to sleep hot, consider a breathable fabric and avoid piling on layers you will not use.
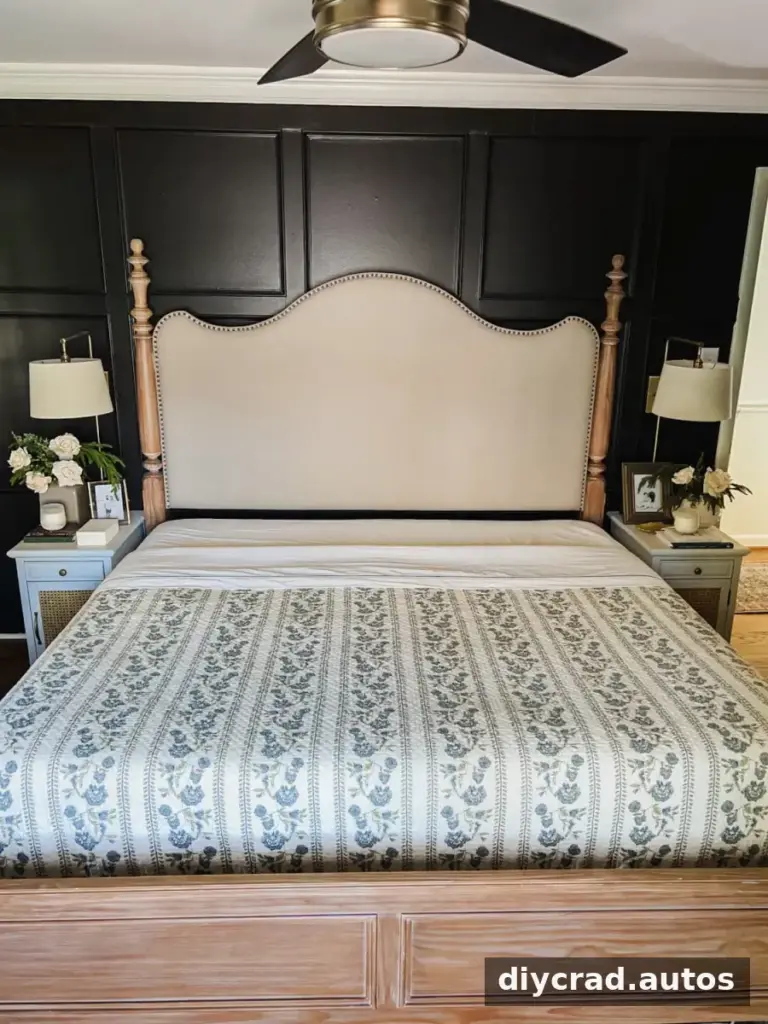
After tucking the sides, check that the quilt hangs evenly and that the folded top edge is straight.

5. Add and Fold a Duvet or Comforter
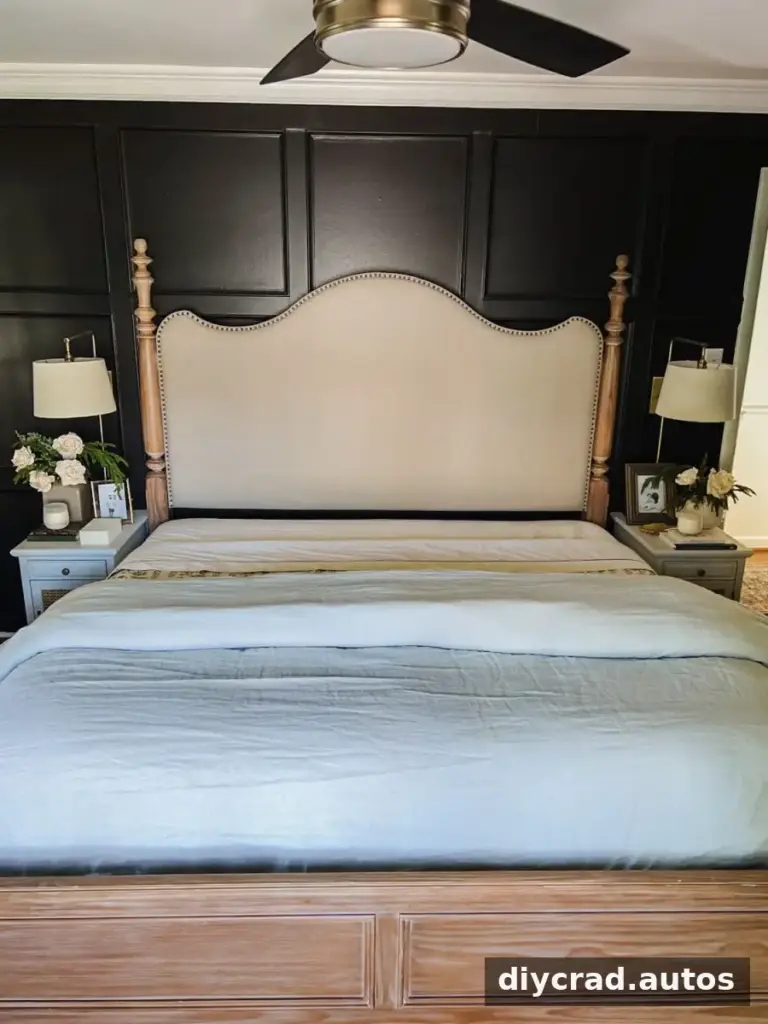
Place the duvet or comforter over the quilt, pulling it toward the head of the mattress. Fold it back halfway, then fold it in half once more to create a thicker band across the middle of the bed. This layered fold adds visual volume without requiring a larger comforter.
Think about temperature when choosing bedding. Cotton and linen are commonly chosen for their breathable feel, while heavier or plusher fabrics may retain more warmth. Use the combination that suits your room and personal comfort.
6. Arrange the Sleeping Pillows
Use pillow protectors beneath the pillowcases to help keep sleeping pillows clean. Before arranging them, shake and fluff each pillow so the fill is evenly distributed. Stand or stack the sleeping pillows against the headboard to create a tidy base for any decorative pillows.
Pillow height and firmness are personal choices. If you share a bed, each person can select a pillow that suits their preferred sleeping position rather than choosing a matching set simply for appearance.
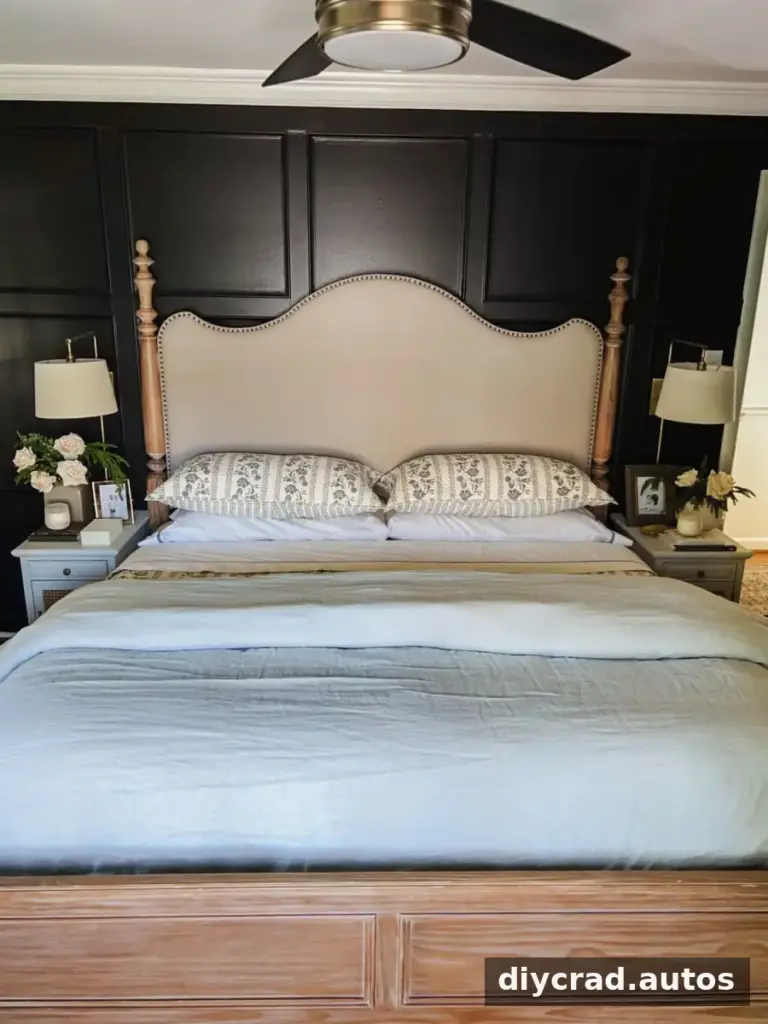
7. Add Decorative Pillows
Decorative pillows provide an opportunity to introduce color, texture, or pattern. Start with the pillows you already own and arrange them from largest at the back to smallest at the front. A few possible layouts include:
- A row of three Euro pillows.
- Two 22-inch-by-22-inch pillows with an oblong pillow in front.
- Two 24-inch-by-24-inch pillows with a 20-inch pillow in front.
- One simple accent pillow for a more minimal look.
Try different combinations until the arrangement looks balanced. Inserts that are slightly larger than their covers can make decorative pillows appear fuller, but avoid overstuffing them so they remain comfortable to handle.

8. Finish with a Throw Blanket
A throw blanket at the foot of the bed adds another layer and keeps an extra cover within easy reach. Fold it evenly across the bottom for a neat look, drape it loosely for a relaxed style, or place it diagonally for a more casual finish. Keep it clear of walkways so it does not become a tripping hazard.

A diagonal drape can soften the straight lines of neatly tucked sheets. Adjust the blanket so it looks intentional without covering too much of the bedding underneath.


Once the layers are in place, take a moment to straighten the top edge, smooth visible creases, and check that the pillows are centered. Small adjustments often make the finished bed look more polished.

Make the Bed Work for Your Routine
A magazine-inspired bed does not have to be arranged perfectly every day. On busy mornings, smoothing the duvet and setting the pillows in place may be enough. When you have more time, add the quilt, decorative pillows, and throw. Washing bedding regularly and following the care labels will help keep the layers fresh and in good condition.
The best method for how to make a bed is one that suits your space, sleeping temperature, and daily routine. Start with comfortable basics, use the layers you need, and finish with a simple arrangement that makes your bedroom feel inviting.