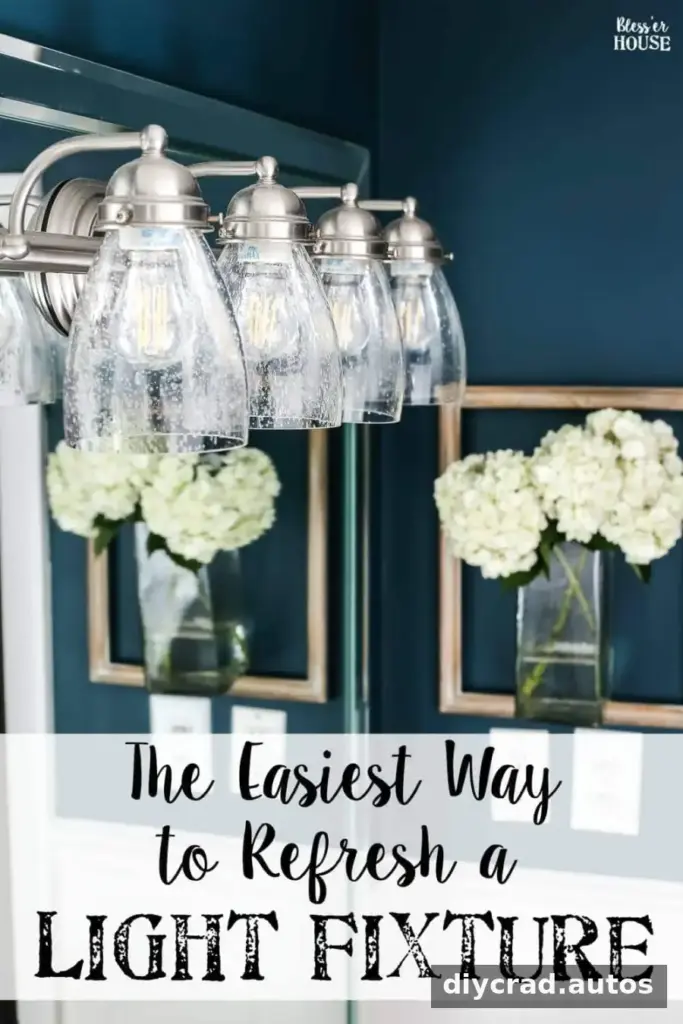
A light fixture refresh can make a bathroom feel brighter and more current without the cost or effort of replacing the entire fixture. When the existing vanity light is in good condition, changing its shades and bulbs may be a simple way to update the look while keeping a budget-friendly makeover on track.
Why a light fixture refresh can make a difference
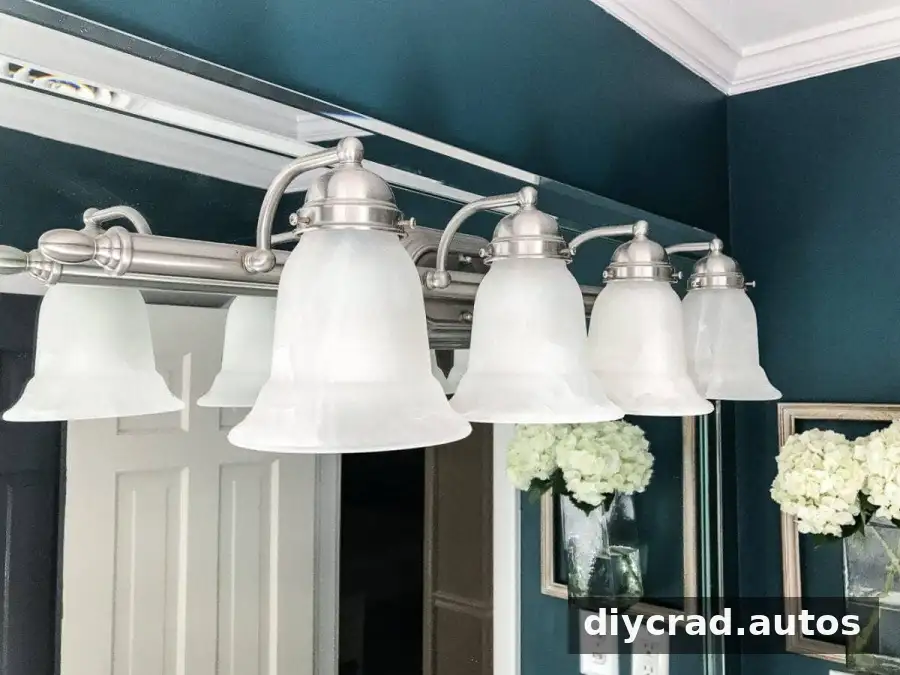
In this bathroom, the vanity light itself was still in good shape. The frosted shades were the detail that made it look dated and contributed to a dimmer appearance. Rather than remove the faucets and fixture to paint them an antique brass color, the makeover focused on smaller changes that required less work.
That approach is useful when a fixture is functional and its finish is still presentable. Before changing anything, check whether the fixture is secure, undamaged, and appropriate for the room. If it has loose wiring, corrosion, cracks, or other damage, replacing or having it inspected may be a better option than a cosmetic update.
Choose replacement shades that fit
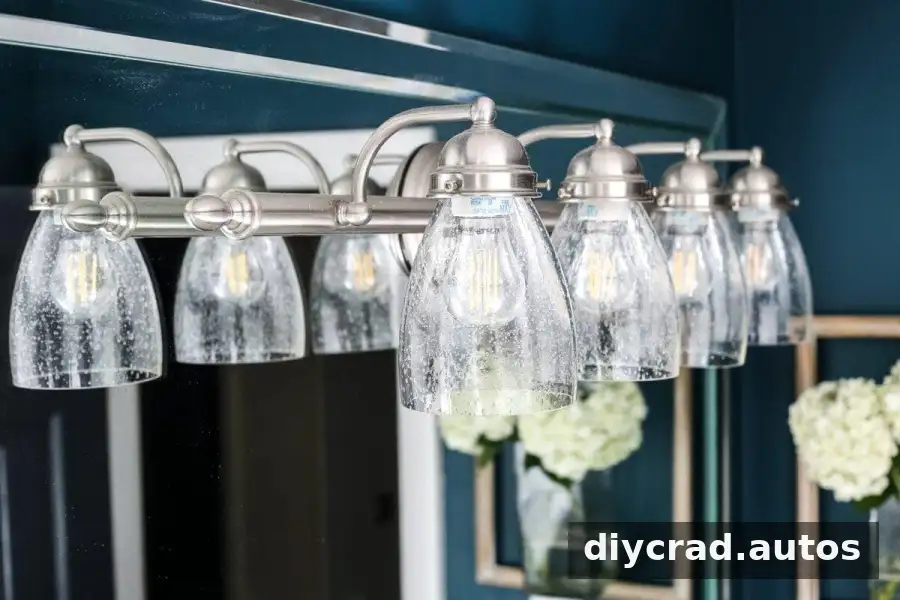
Clear seeded-glass replacement shades were selected to replace the existing frosted ones. Their transparent, textured glass changes the fixture’s appearance while allowing more light through than the old shades. The shades were found at Lowe’s; the same style had also been used in another bathroom update.
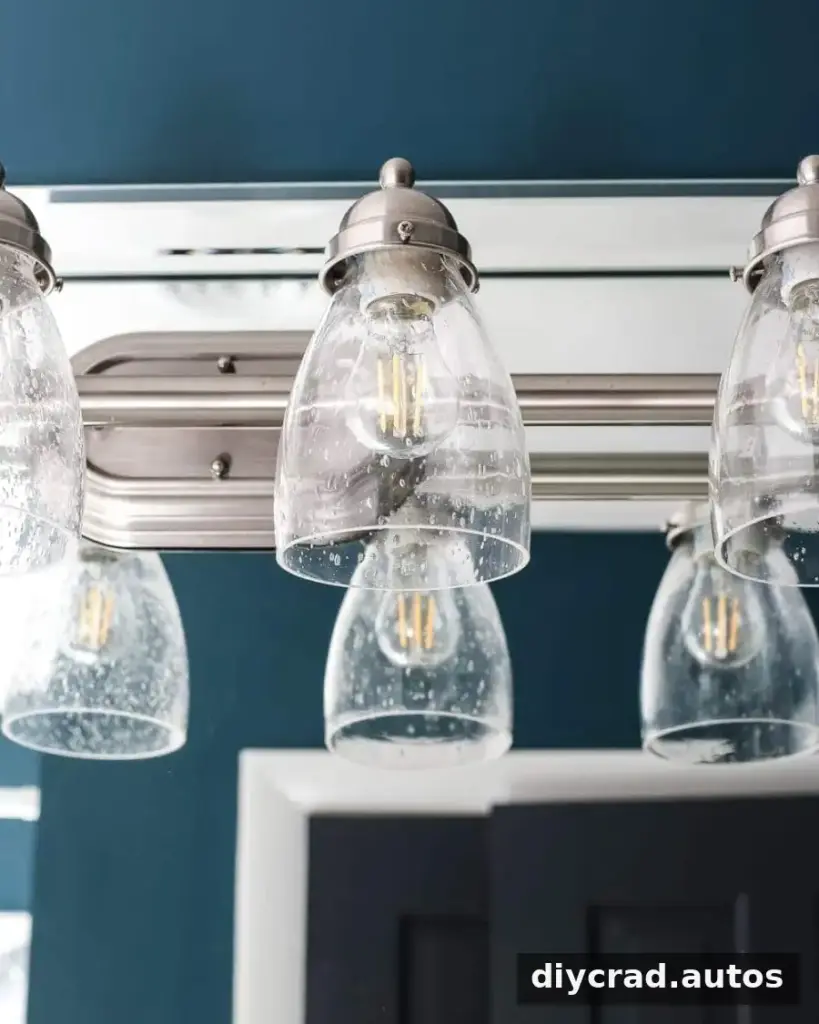
Replacement shades are not necessarily interchangeable, so check the attachment style and measurements before buying. Compare the new shade’s opening and dimensions with the fixture’s fitter or mounting hardware, and confirm that the glass is suitable for the fixture. If possible, take one of the old shades along when shopping or check the fixture manufacturer’s specifications.
Swap the shades and bulbs safely
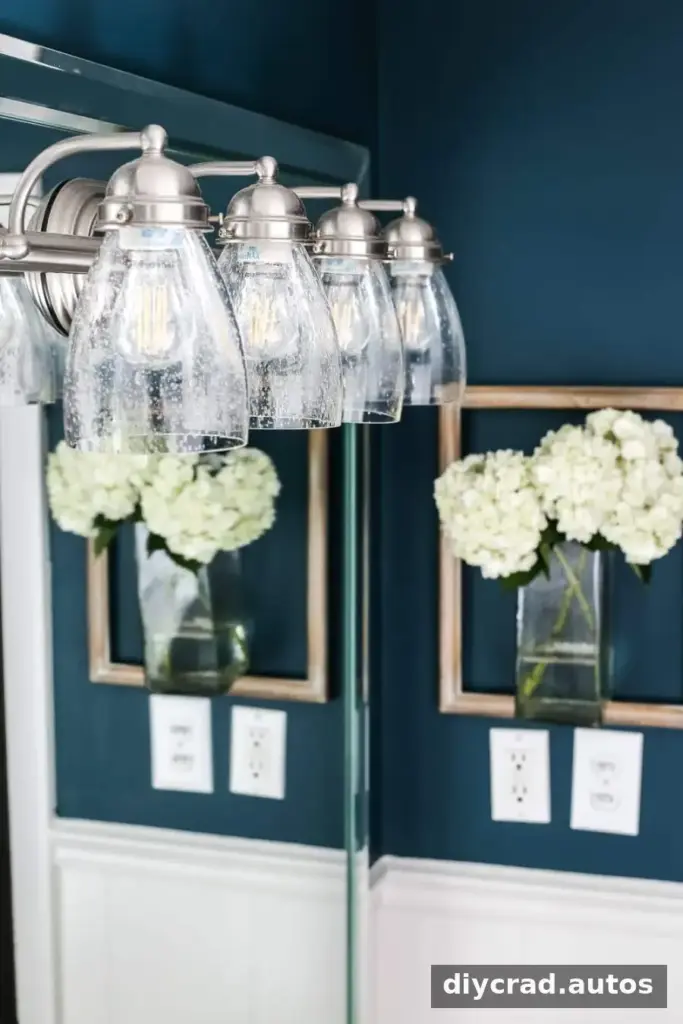
The update involved unscrewing the frosted shades, installing the clear seeded-glass replacements, and changing the regular bulbs to LED Edison-style bulbs. Together, these small changes gave the vanity light a fresher appearance and made the bathroom feel noticeably brighter.
- Turn off the power first: Switch off the light and, for added safety, turn off the relevant circuit at the breaker before working on the fixture. Let bulbs cool before handling them.
- Check bulb compatibility: Use bulbs with the correct base and a wattage within the fixture’s stated limit. For a bathroom, check product labels and fixture guidance for suitability in the room’s conditions.
- Handle glass carefully: Support each shade while loosening or tightening it, and avoid overtightening the hardware.
- Stop if anything seems uncertain: If the fixture needs electrical repairs or the wiring is exposed or damaged, consult a qualified electrician.
Keep the rest of the bathroom update manageable
The light change was one part of a larger bathroom makeover. The project plan included painting the walls Magnolia Home Weekend, the trim Benjamin Moore Simply White, and the doors Benjamin Moore Wrought Iron. It also included refinishing the sink and tub/shower with the Rustoleum Tub & Tile Refinishing Kit, painting the vanity cabinet and tile grout, and adding wall decor and other finishing touches.
- Paint walls Magnolia Home Weekend
- Paint trim Benjamin Moore Simply White
- Paint doors Benjamin Moore Wrought Iron
- Paint sink and tub/shower with Rustoleum Tub & Tile Refinishing Kit
- Refresh light fixture
- Paint vanity cabinet
- Paint tile grout
- Hang wall decor
- Decorate
For the floor, the plan was to clean it, freshen the grout, and add a bath mat rather than take on another painting task. Keeping some surfaces as they are can help limit the time, expense, and fumes involved in a renovation. When using refinishing products, follow the product label, ventilate the space as directed, and allow the specified curing time before using the surfaces.
Final thoughts on a light fixture refresh
A light fixture refresh is a practical option when the fixture is in good condition but its shades or bulbs make the room feel dated or dim. In this bathroom, clear seeded-glass shades and LED Edison-style bulbs updated the vanity light without replacing it. Measure and check compatibility before purchasing parts, and follow basic electrical safety precautions. Small, considered changes can help a bathroom makeover feel more complete while keeping the work focused and manageable.
Save this project idea for a future bathroom update: