

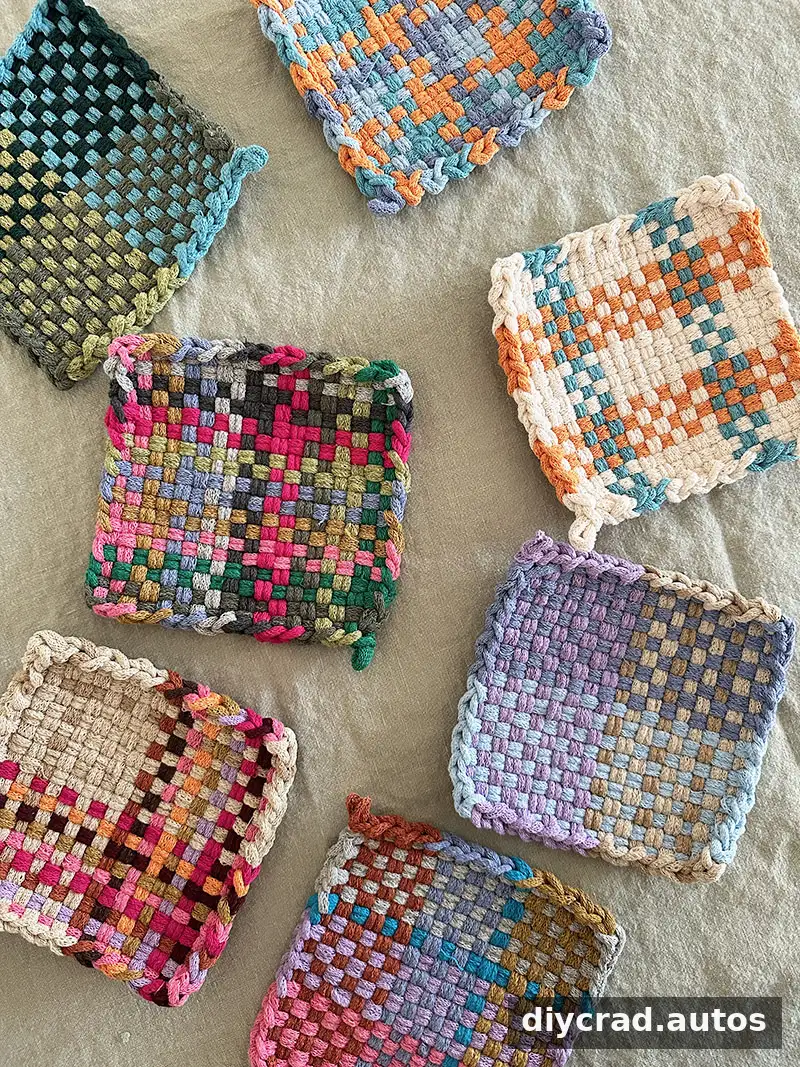
Potholder weaving with cotton loops is a straightforward craft project that turns a simple loom and colorful loops into a useful square textile. The process involves setting up the vertical loops, weaving horizontal rows through them, and finishing the edges by pulling the loops through one another. With a little attention to the over-and-under pattern and even tension, beginners can make a tidy potholder and become more confident with each project.
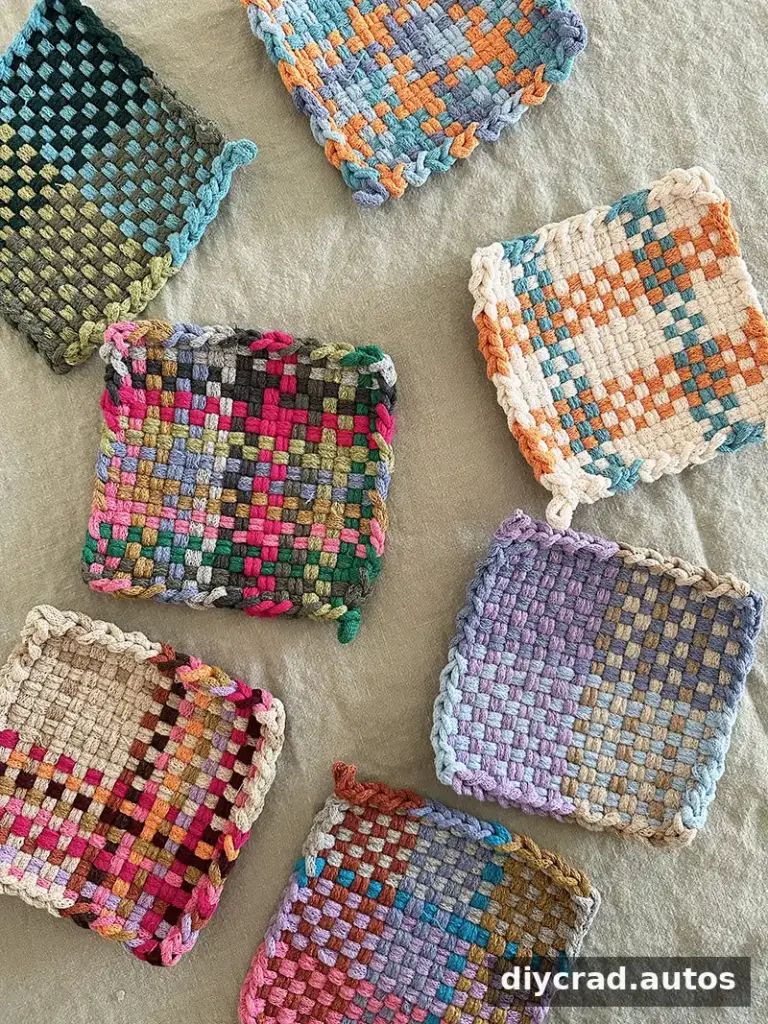
Cotton loops are available in single colors and assorted color packs, making it easy to plan a coordinated design or experiment with unexpected combinations. Before starting, choose a palette that suits your project: try warm or cool shades, a rainbow, earth tones, a two-color pattern, or a single color. Lay out the colors first if you want to preview the sequence before placing them on the loom.
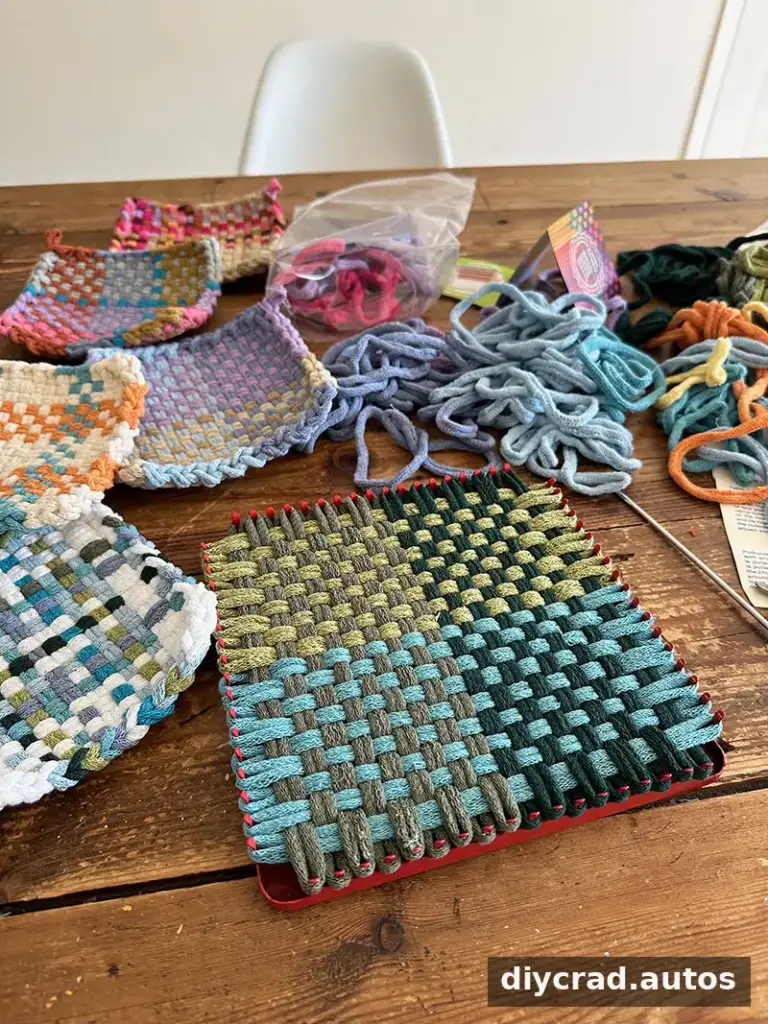
Materials for potholder weaving
Gather these basic supplies before you begin:
- A traditional 7-inch potholder loom or loom kit
- Cotton loops in your chosen colors
- A weaving hook, usually included with a loom kit
Check that the loops are suitable for the size of your loom and that you have enough to cover the loom in both directions. Keeping the colors separated and within reach can make the weaving process easier.
How to weave a potholder on a loom
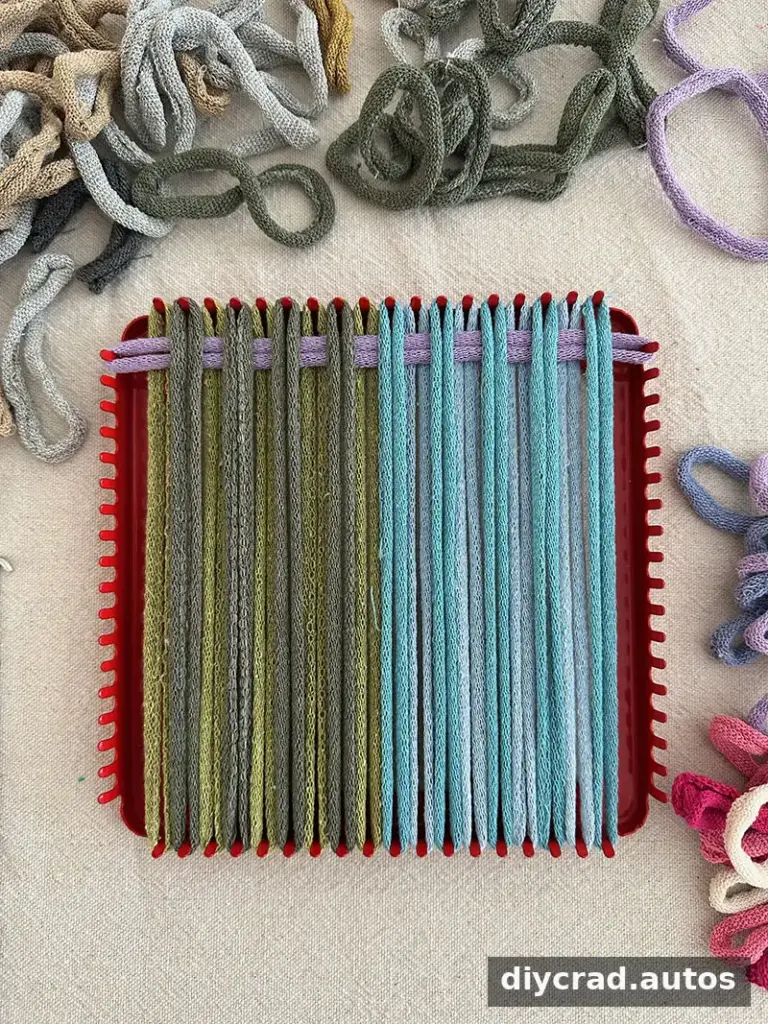
1. Set up the vertical loops
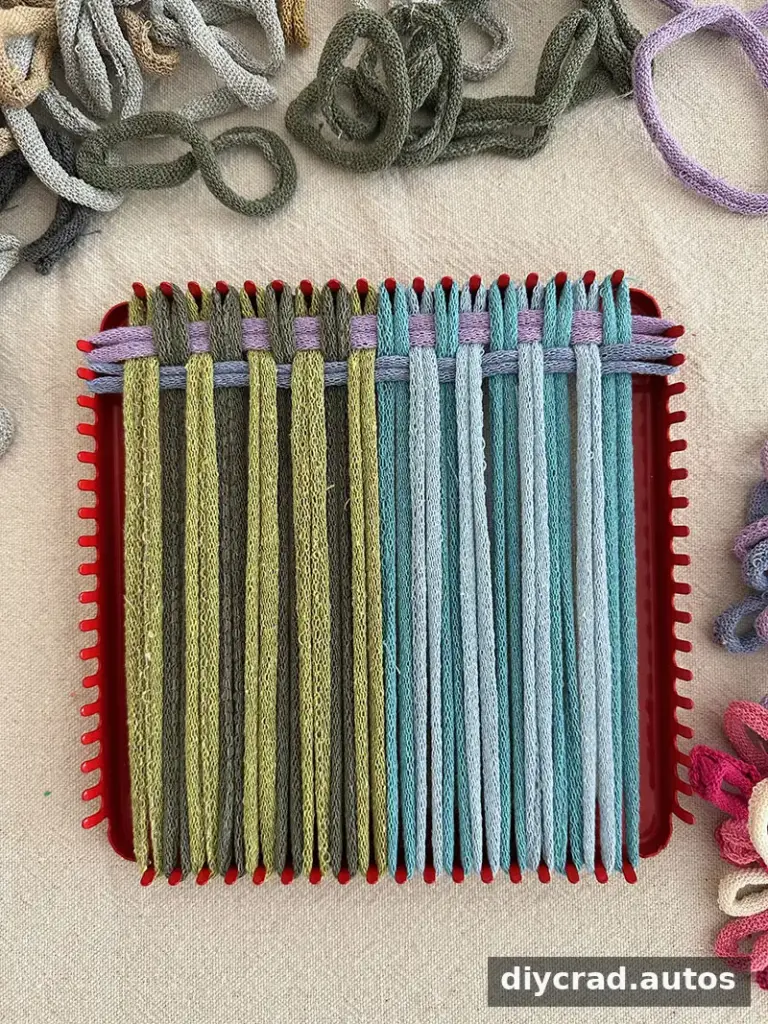
Choose your color arrangement, then stretch loops from top to bottom across the loom, attaching each end to the corresponding pegs. These vertical strands form the warp. Keep the loops aligned and evenly spaced so the finished weave has a consistent shape.
2. Weave the first horizontal row
Start near the top of the loom. Take a loop, hook one end onto a peg, and weave it across the vertical strands by passing over one strand and under the next. Attach the other end to the matching peg on the opposite side. Fingers are often convenient for the first rows; the weaving hook can help as the center becomes more crowded.
3. Alternate the pattern
For the next horizontal loop, reverse the sequence. If the first row goes over the first vertical strand, begin the second row by going under it. Continue alternating over and under with each row. This interlacing is what holds the woven piece together, so check the pattern before attaching each loop.
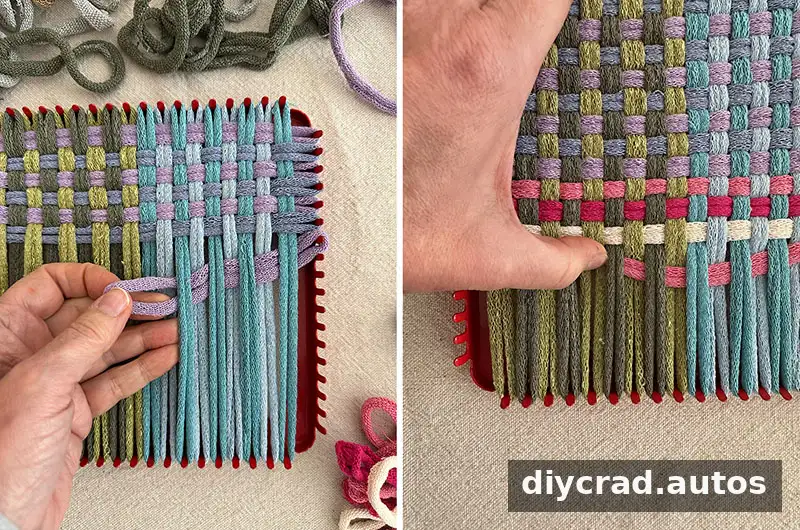
Tip: Work through the looser center area first, then use your fingers to push the loop toward the edge after it is attached on the other side. Adjust the rows as you go so the loops sit straight and the spacing stays even.
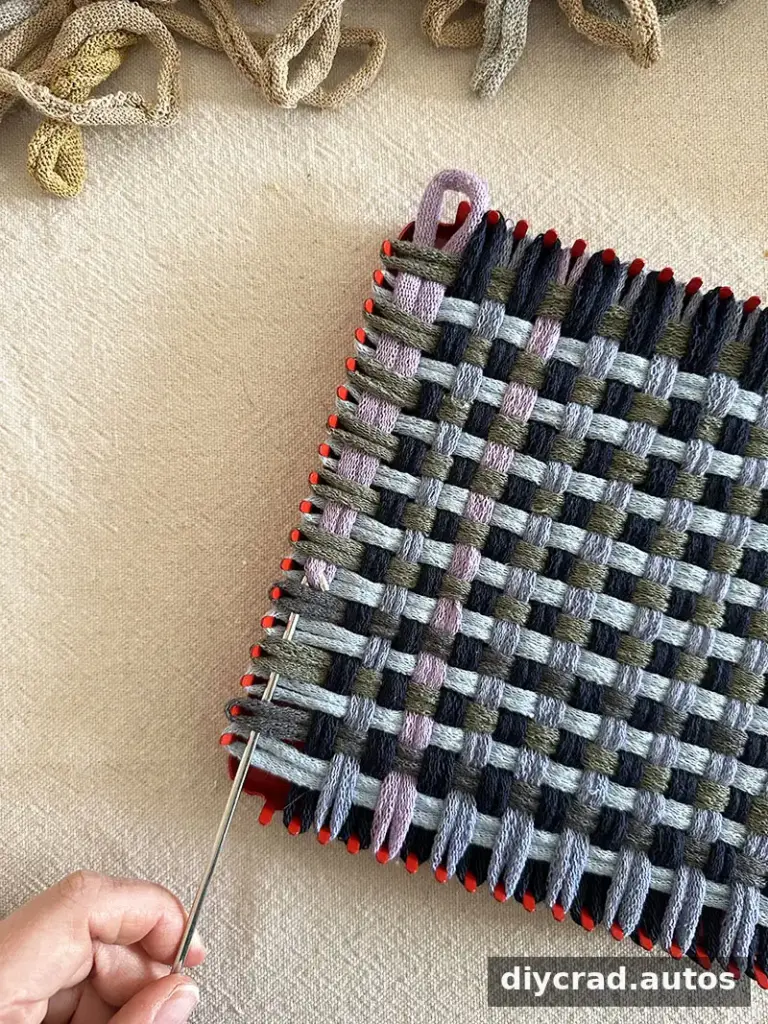
4. Use the hook for the final rows
The lower part of the loom can feel tighter as more loops fill the space. Guide the weaving hook over and under the strands across the loom, place a new loop over the hook, and pull it back through the row. Take care not to snag or stretch the cotton loops more than needed.
Finishing the potholder
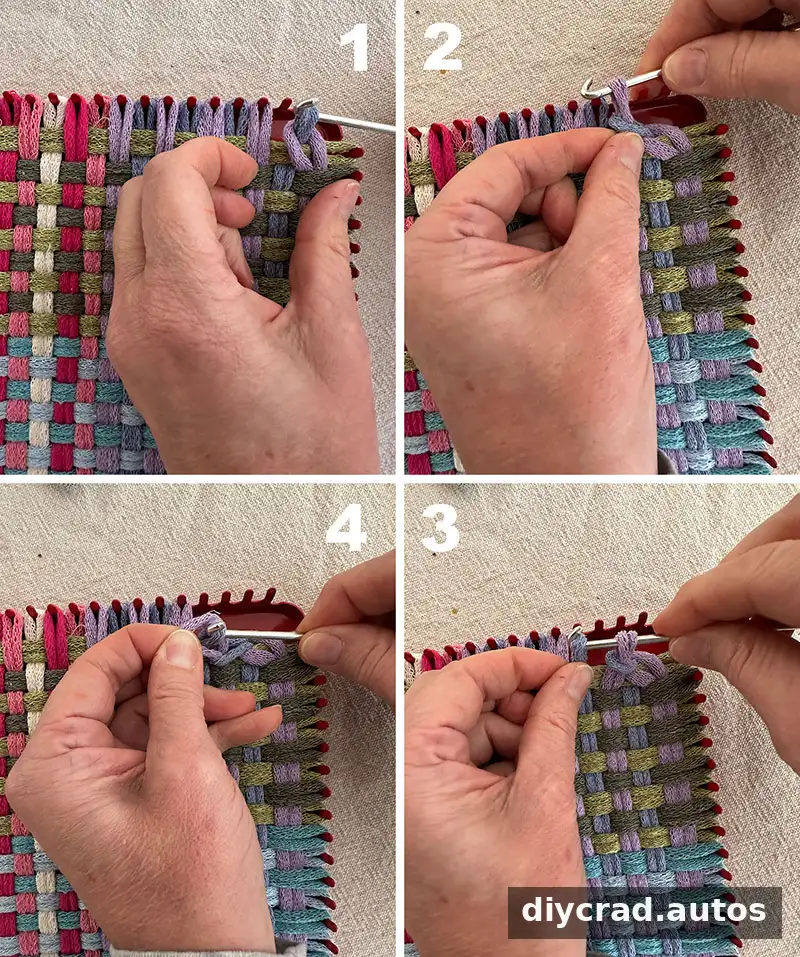
When the loom is full, the edge loops need to be linked together so the weave stays in place after it is removed. Work slowly around the loom, keeping one loop on the weaving hook as you form each new edge stitch.
5. Link the loops around the edge
Begin at a corner. Pass the weaving hook through the first loop, catch the next loop, and pull it through the first. Use your fingers to gently stretch the first loop if needed. Continue by catching the following loop and pulling it through the loop already on the hook. Repeat this process around the edge without dropping the working loop.
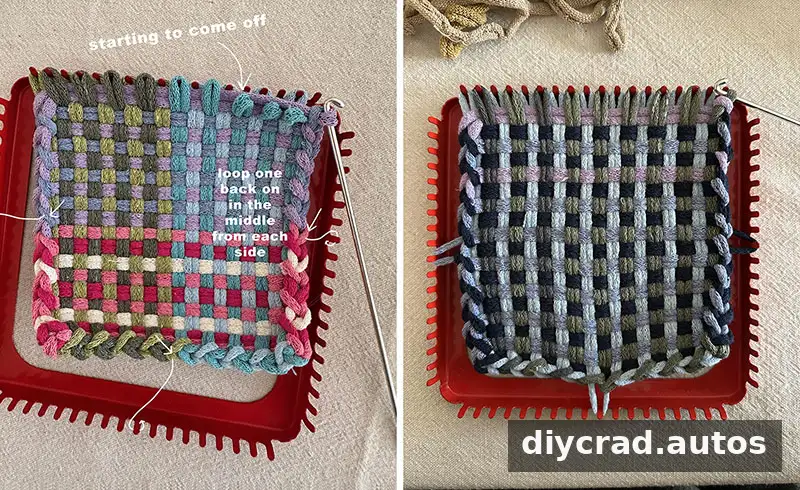
As you complete a side, temporarily place one finished stitch from the middle back onto the loom. This can help maintain tension and reduce the chance of loops slipping off while you work on the remaining sides.
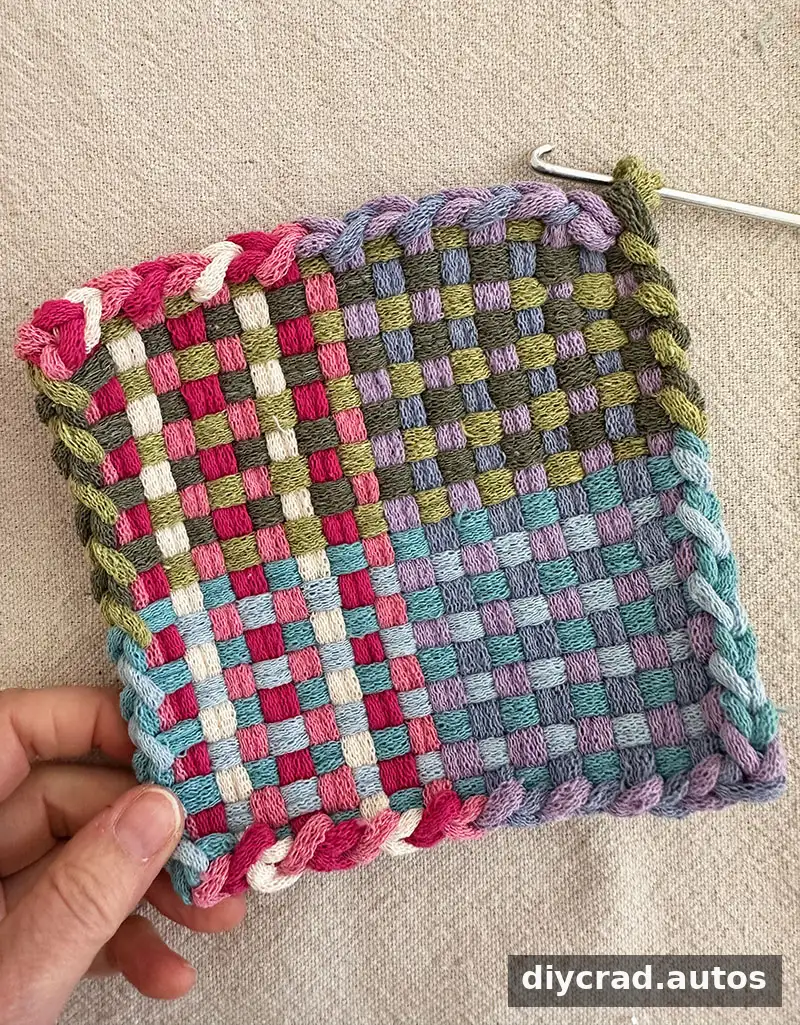
When only the final loop remains on the hook, leave it in place while gently adjusting the sides to even out the shape. Pull the last loop through itself to secure the edge, then check that the loops are linked and the rows are straight before removing the potholder from the loom.
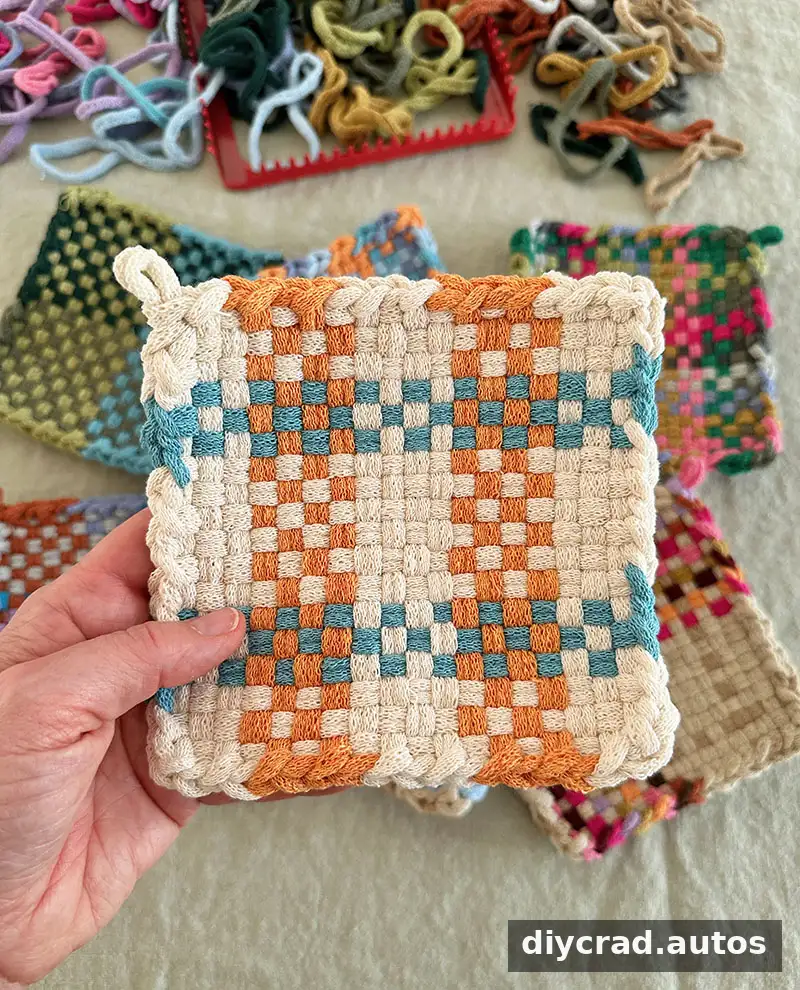
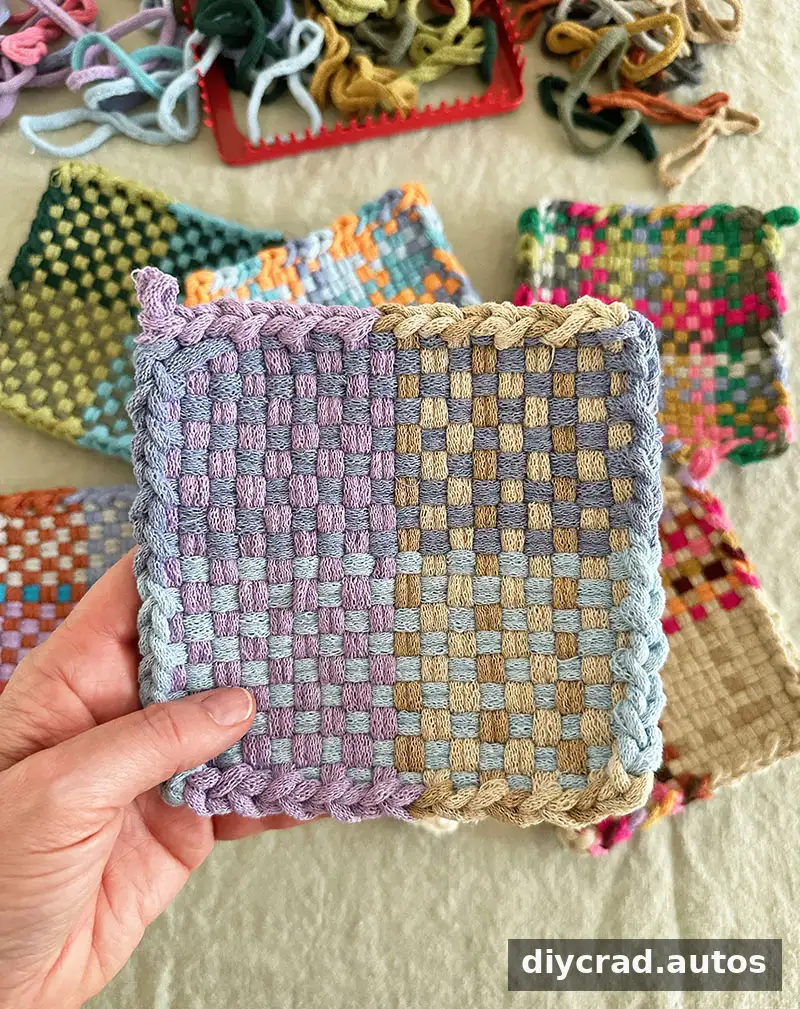
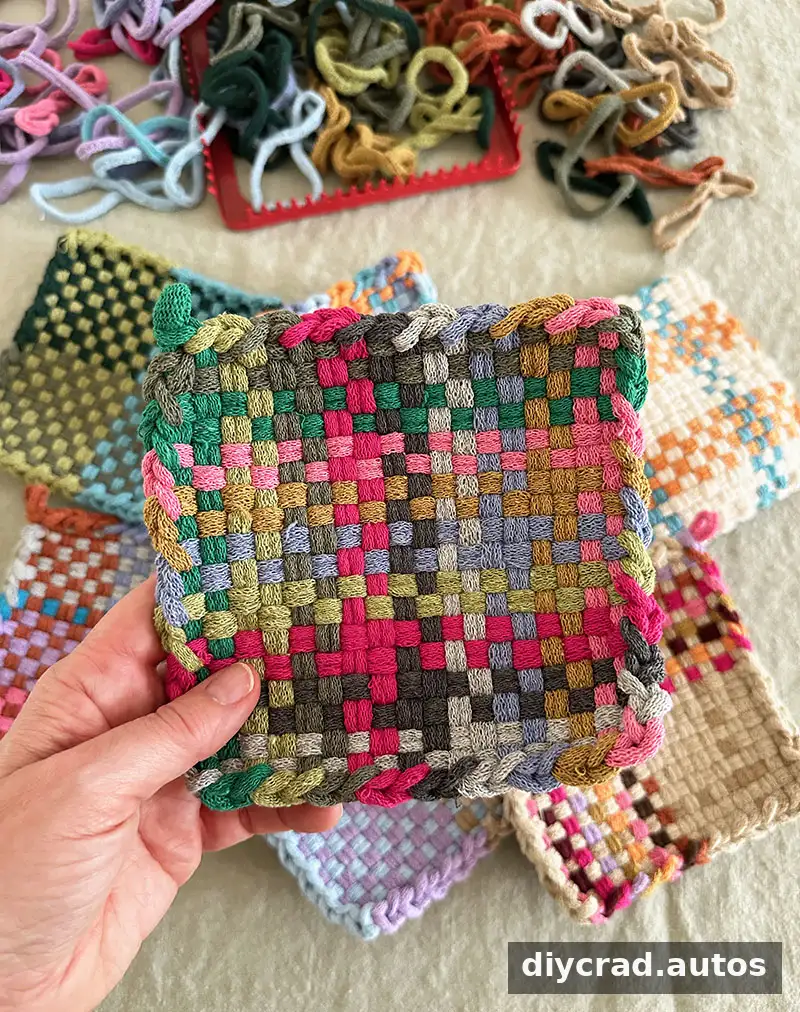
Your potholder is complete. The first project may take a little longer as you learn how the loops sit on the loom, but the sequence becomes easier with practice. Before using the finished piece as a hot pad, check that it is fully woven, securely finished, and appropriate for the heat and surface you intend it to protect.
Color choices do not have to be complicated: a simple repeat or a mix of available shades can both make an appealing result. If you are following a visual tutorial, use the images alongside the instructions to check how the rows and finished edge should look.
Bar
More weaving ideas
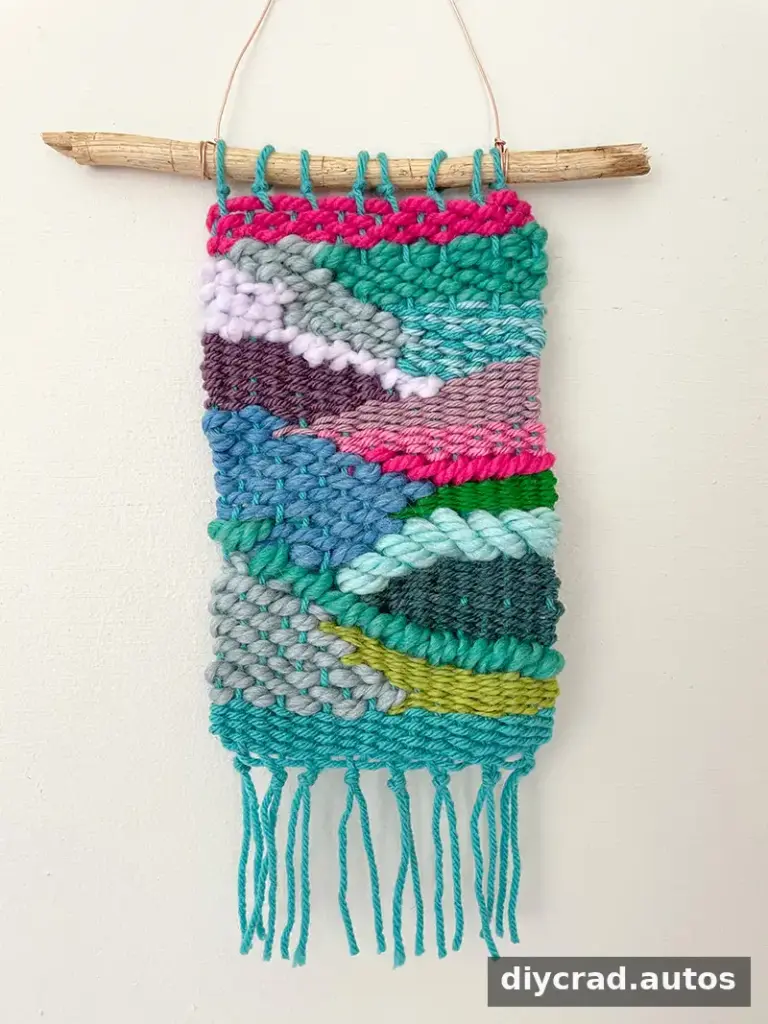
Doodle weaving with a cardboard loom
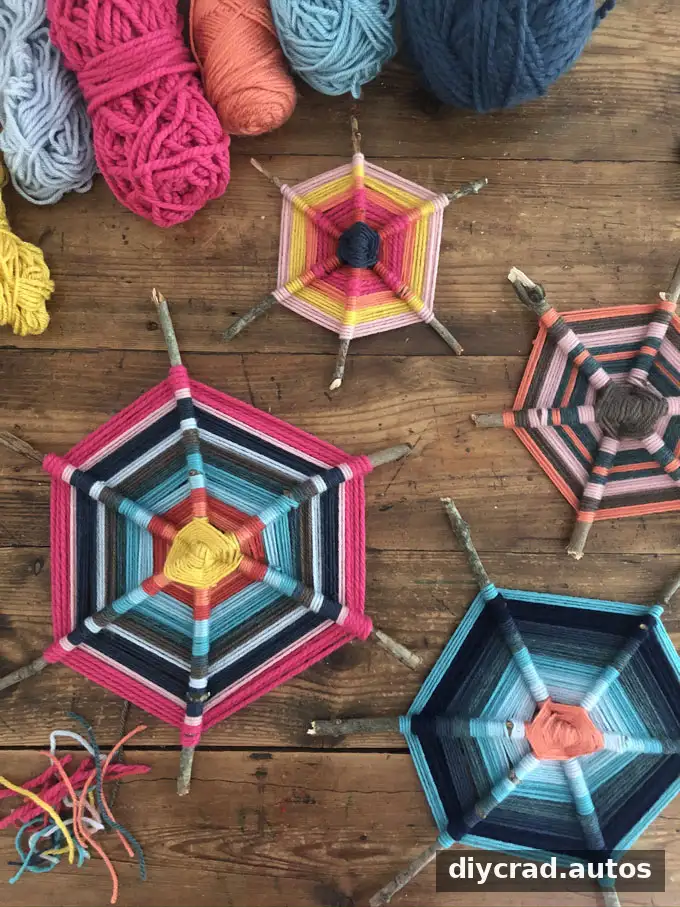
6-Point God’s Eyes with Sticks
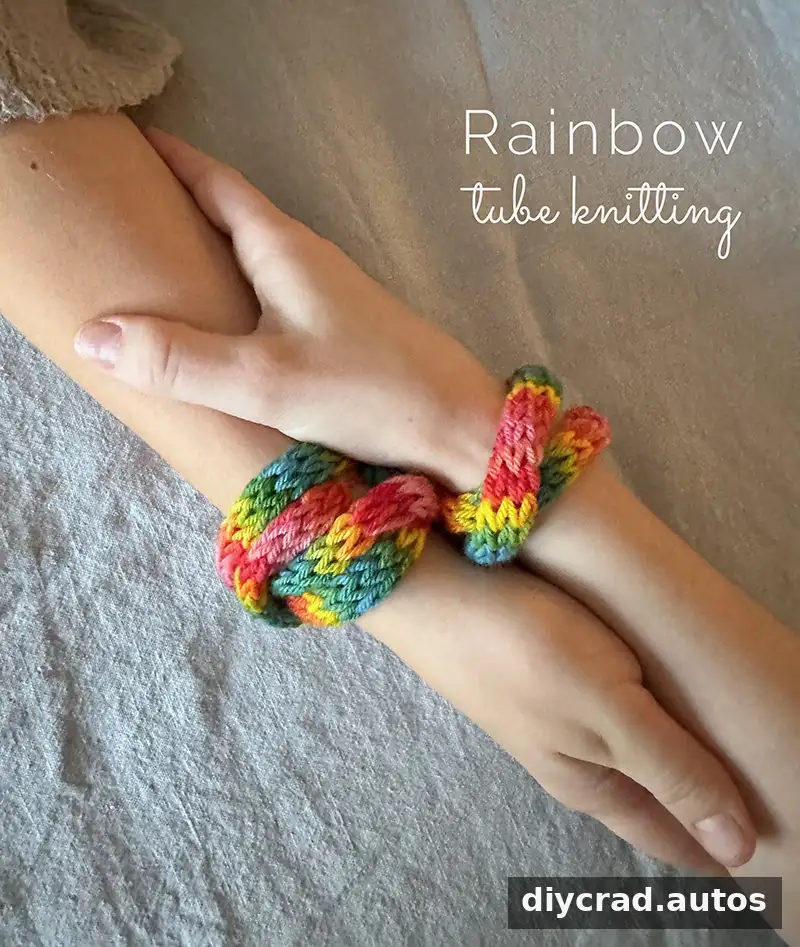
Rainbow Tube Knitting with a TP Roll Loom
With a traditional loom, cotton loops, and a little patience, potholder weaving is an accessible way to practice basic over-and-under weaving. Keep the rows alternating, adjust the tension as you work, and secure the edge carefully to finish a neat project.

