

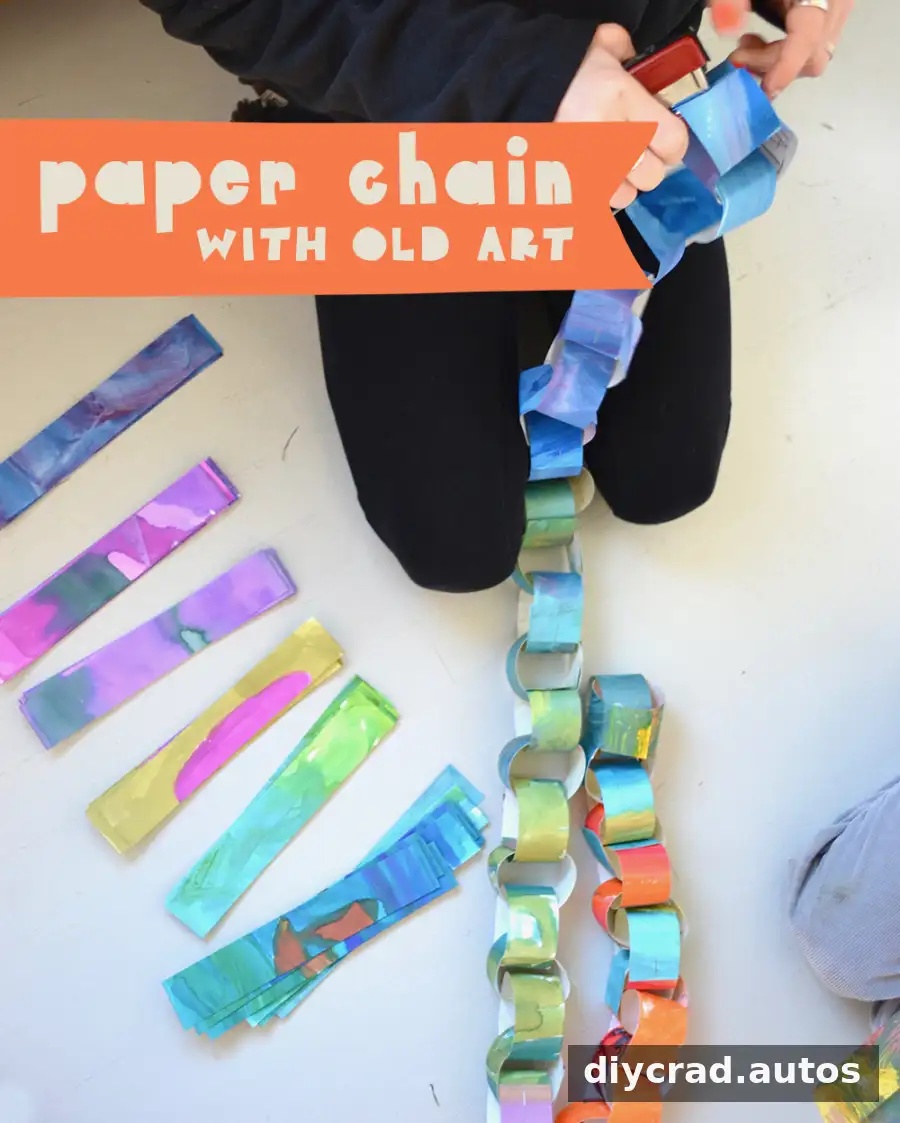
A paper chain from recycled art is a simple way to give old paintings and drawings a new purpose. Use artwork you already have, or make fresh watercolor paintings and turn them into colorful strips. This easy craft works for a range of ages and can be adapted to the paper and supplies on hand.
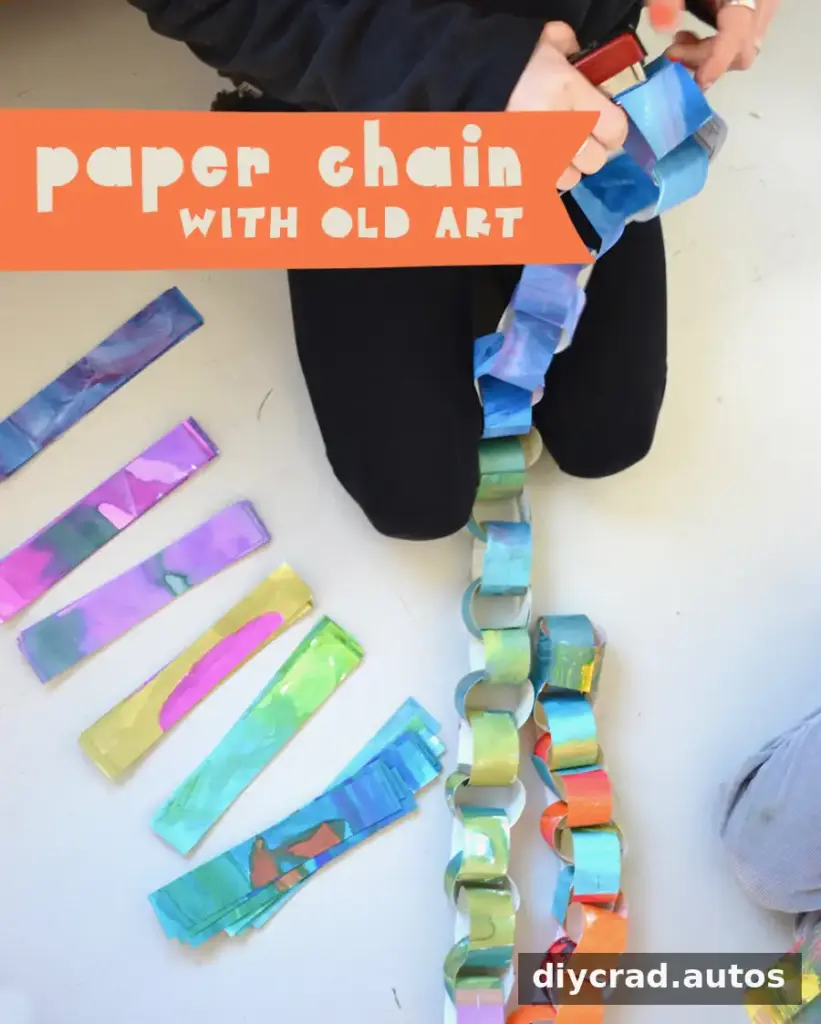
Before starting, gather the artwork, scissors, and either a stapler or a glue stick. If children are helping, an adult can handle the cutting and stapling as needed. Choose papers with colors or patterns that look appealing together; arranging the strips before joining them can help you plan the finished chain.
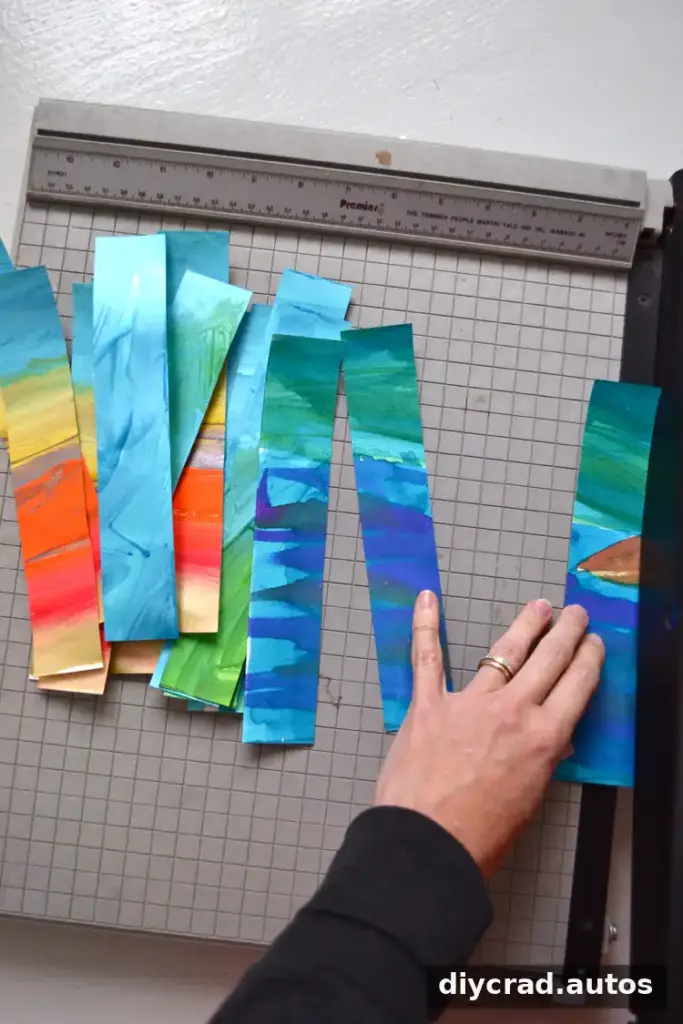
How to Make a Paper Chain from Recycled Art
You can use discarded artwork as it is, or create new paintings for the project. For fresh designs, spread sheets of paper out and paint them with liquid watercolor. Let the artwork dry completely before cutting so the strips are easier to handle and join.
1. Cut the artwork into strips
Cut the paper into strips, choosing a length and width to suit the style you want. Shorter, wider strips make a chunkier chain, while longer, thinner strips create a more delicate look. In this example, 9 x 12-inch paper is cut into 9 x 1.5-inch strips. Keeping the strips a similar size can help the links look consistent.
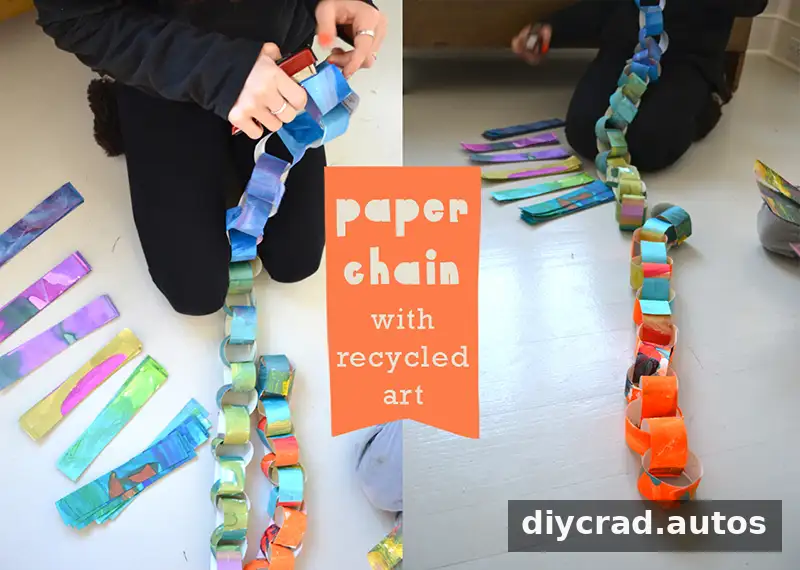
2. Join the strips into loops
Bend the first strip into a loop and secure its ends together with a staple. Thread a second strip through the first loop, then join its ends to form another loop. Continue adding strips in the same way until you have used the desired number. Each new strip should pass through the previous loop before its ends are fastened.
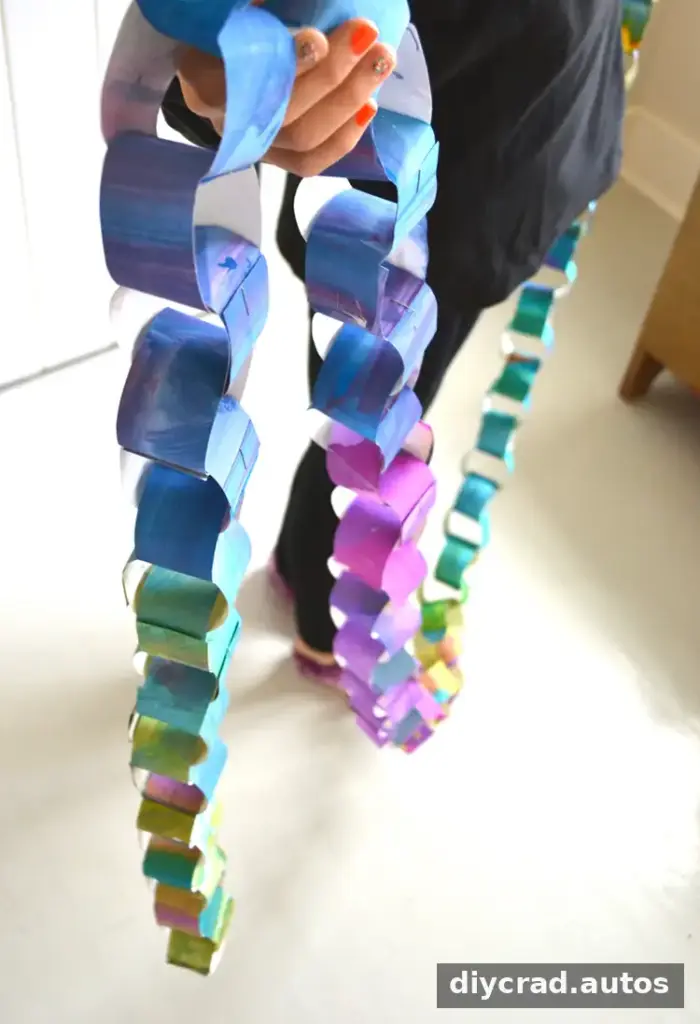
Choosing Paper and Fasteners
The weight of the paper affects how you assemble the chain. Thicker cardstock may be difficult to hold together with a glue stick, so staples can provide a firm join. For thinner paper, a glue stick may be enough. Apply adhesive carefully and allow it to set before handling the link or adding the next strip.
Paper from old paintings can vary in thickness, so test one loop before making the whole chain. If a strip cracks when bent, make the loop more gently or use a slightly wider strip. Keep the artwork intact where possible by cutting around its most interesting colors and marks.
Color and Display Ideas
For a coordinated look, sort the strips by color before assembling them. The artwork in this project was painted with liquid watercolor left out for a few days, giving the children a similar palette. Arranging the resulting colors in rainbow order created a soft ombre effect. You can also alternate contrasting colors or mix patterns for a more varied chain.
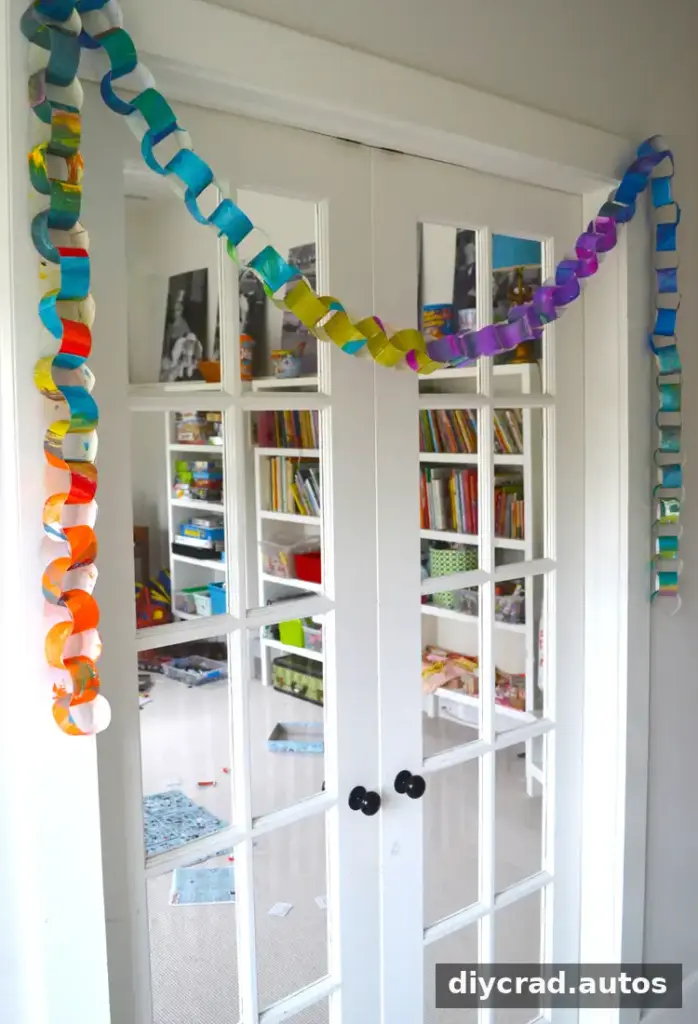
Once complete, hang the chain as a decoration or use it to add color to a party or creative space. Avoid placing paper decorations near open flames or other heat sources. Store the chain somewhere dry if you plan to use it again; paper can bend or weaken if it becomes damp.
More Paper Chain Ideas
Paper chains are easy to customize with different paper, colors, and shapes. For another variation, try a star-punched paper chain or a hearts paper chain. These options can complement the recycled-art version while using a similar loop-making method.
Making a paper chain from recycled art is a practical craft for turning spare drawings and paintings into a new decoration. Choose strip sizes that suit your paper, use staples for thicker cardstock or a glue stick for thinner sheets, and arrange the colors before linking them for a deliberate finish.
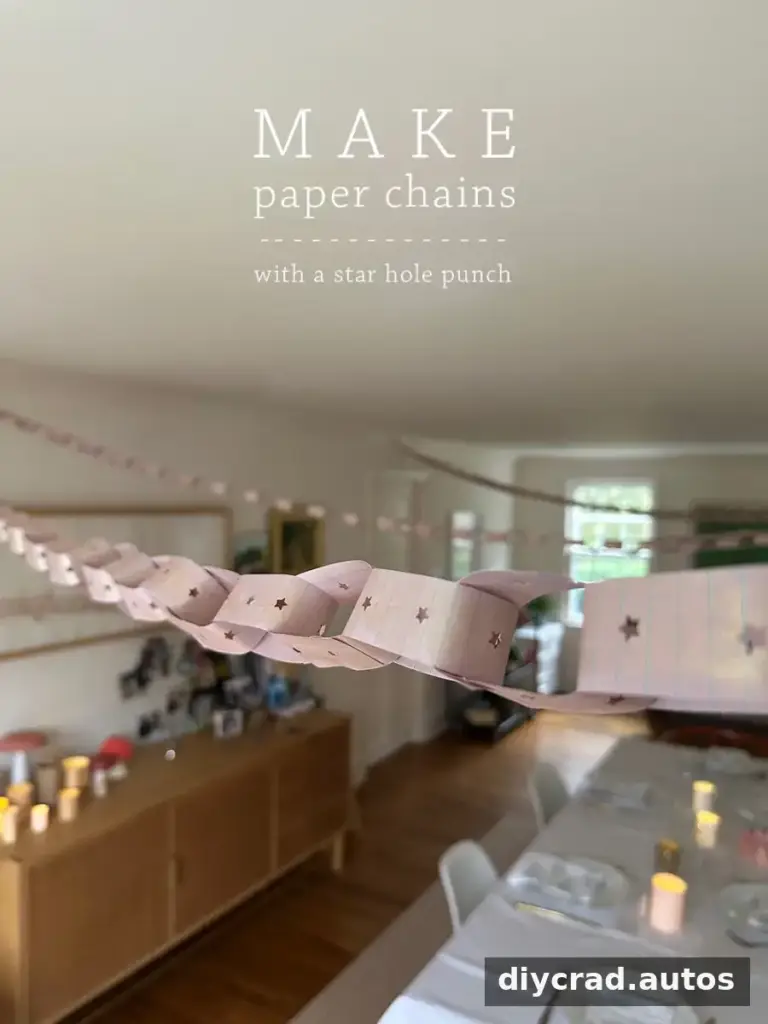
Star-Punched Paper Chain
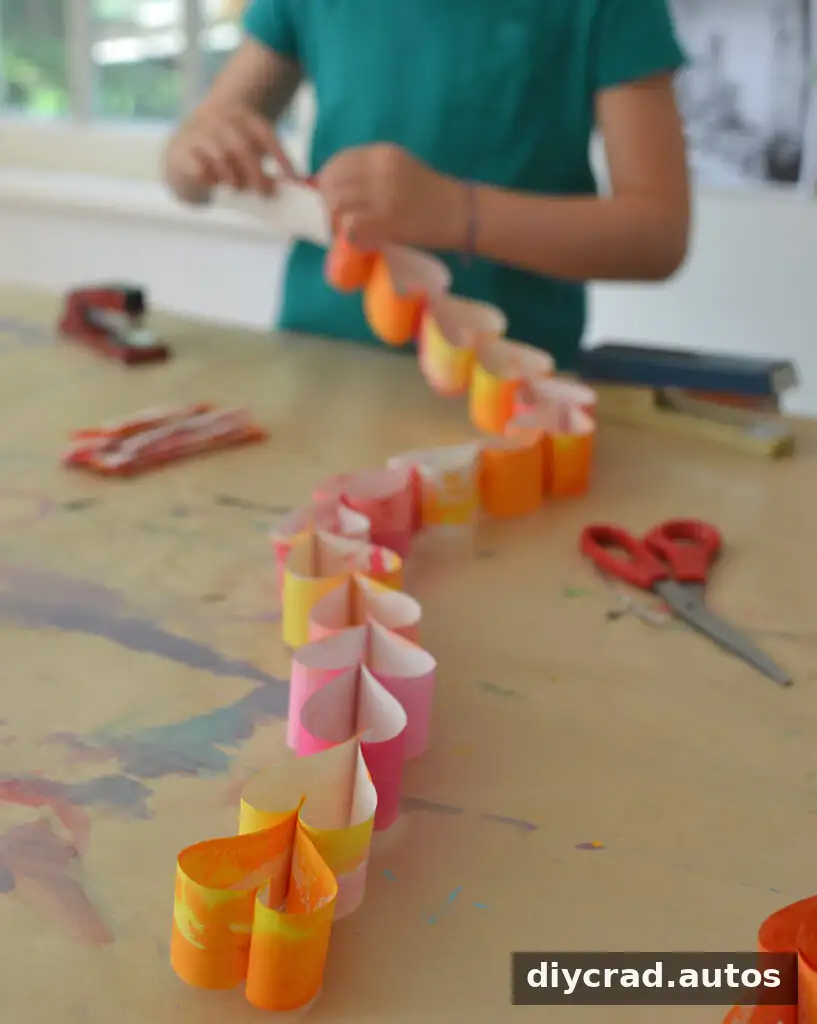
Hearts Paper Chain

