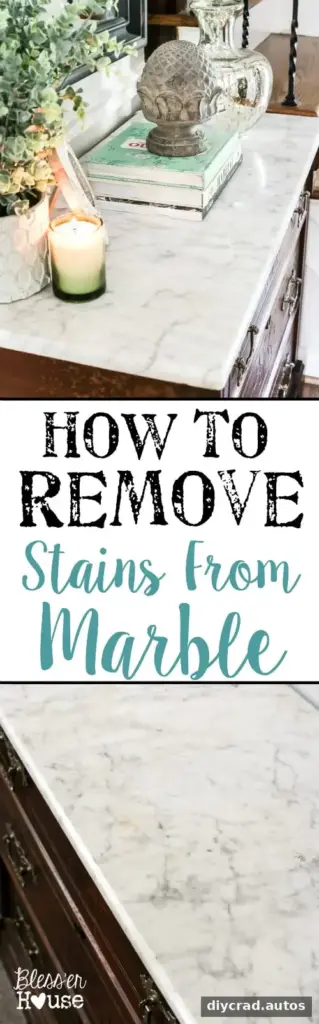
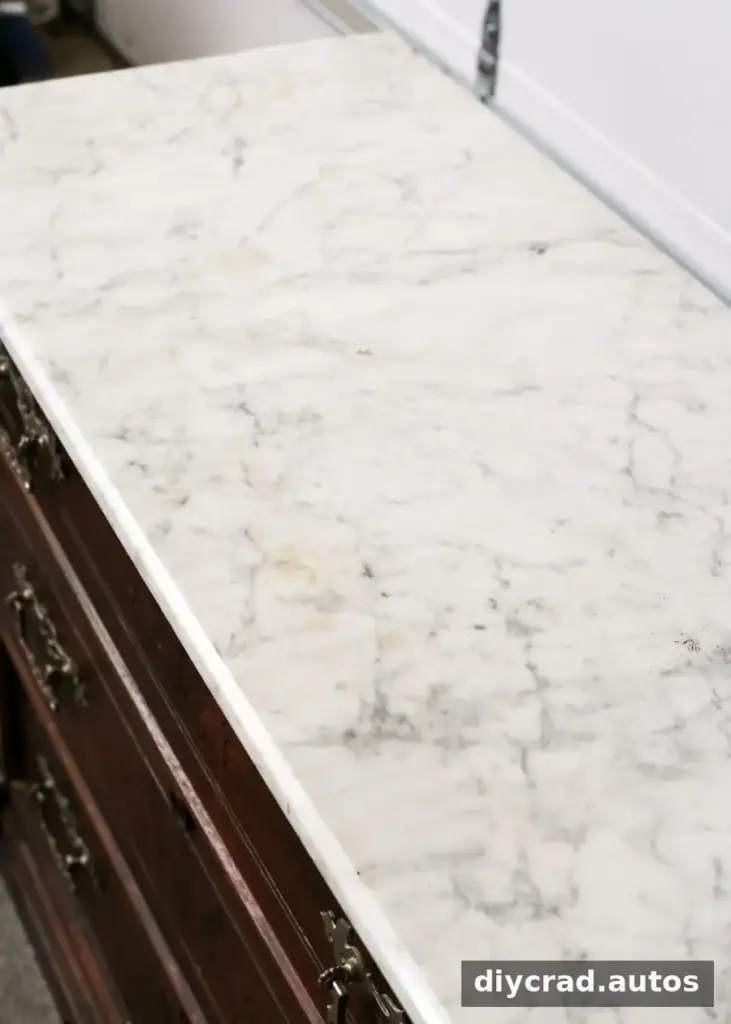
Knowing how to remove stains from marble can help revive a vintage piece without hiding its natural stone surface. In this foyer makeover, a Victorian chest with a carved wooden base and marble top was found for $125. The wood needed cleaning, and yellow-brown marks on the marble called for careful treatment. The approach below describes what was used and includes precautions to help protect delicate stone.
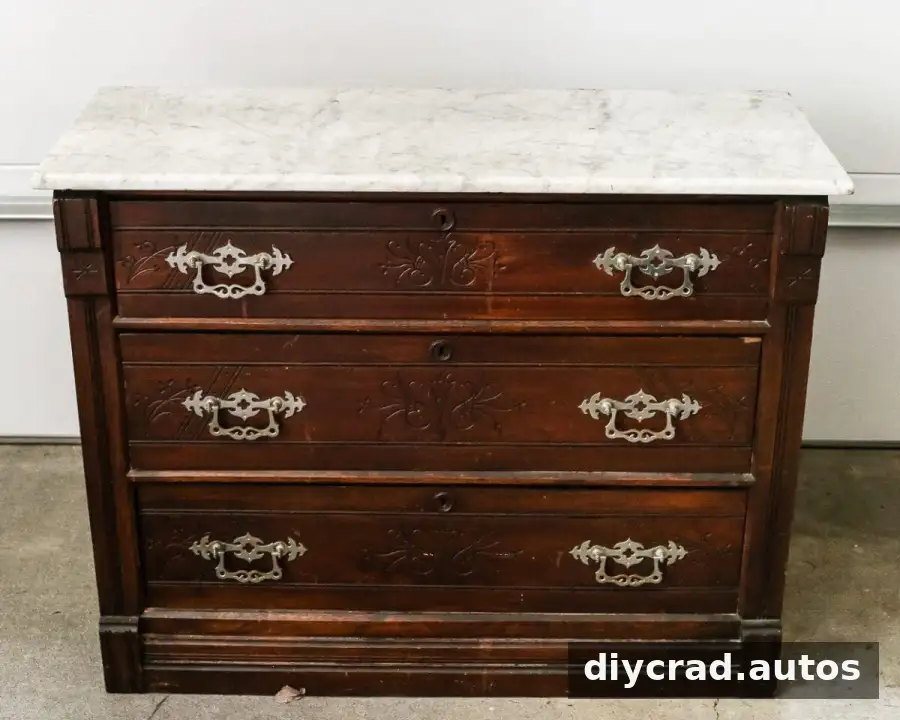
The chest had a few worn areas in its wood finish, but its carved details and marble top made it worth keeping. Because the type of staining was unknown, the treatment began with supplies already on hand and a gradual approach rather than aggressive scrubbing.
Supplies for Removing Stains from Marble
- Baking soda
- Water
- A cup or small bowl
- Hydrogen peroxide
- Plastic wrap
- A clean, soft cloth
- Cotton balls
- A wood-safe household cleaner for the chest
Marble is porous and can be sensitive to acids and abrasive cleaning. Before treating a stain, test any method in a discreet spot and check the stone’s care guidance if available. Avoid vinegar, lemon juice, and rough scouring pads, which can damage or dull the surface. Never combine cleaning products.
How to Remove Stains from Marble
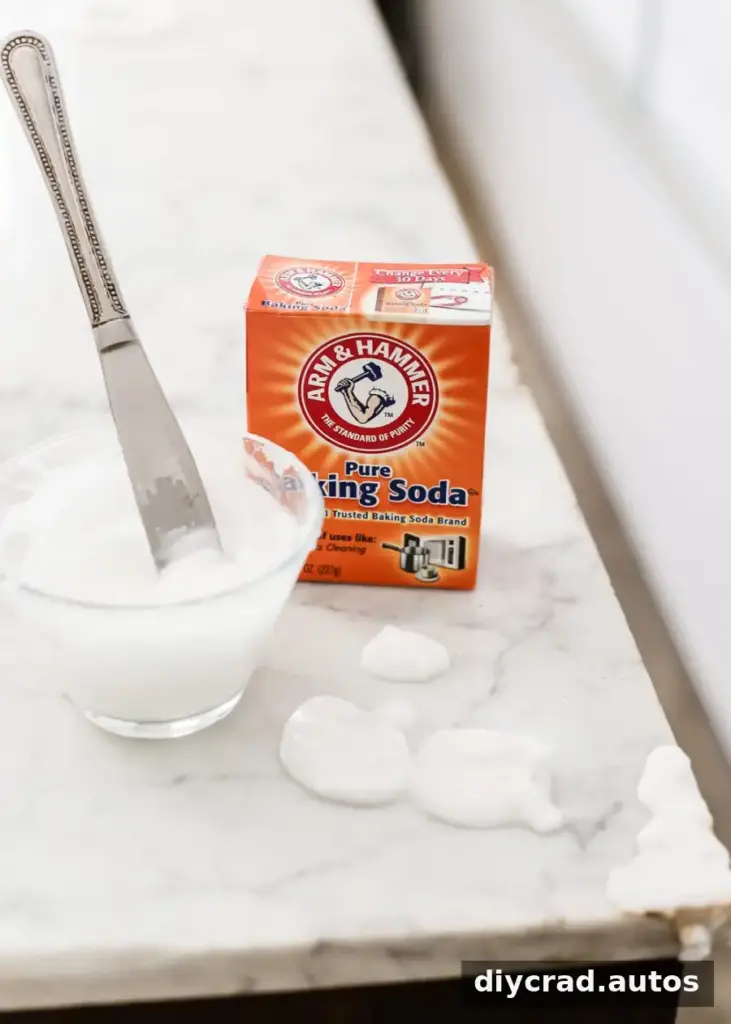
1. Apply a baking soda paste
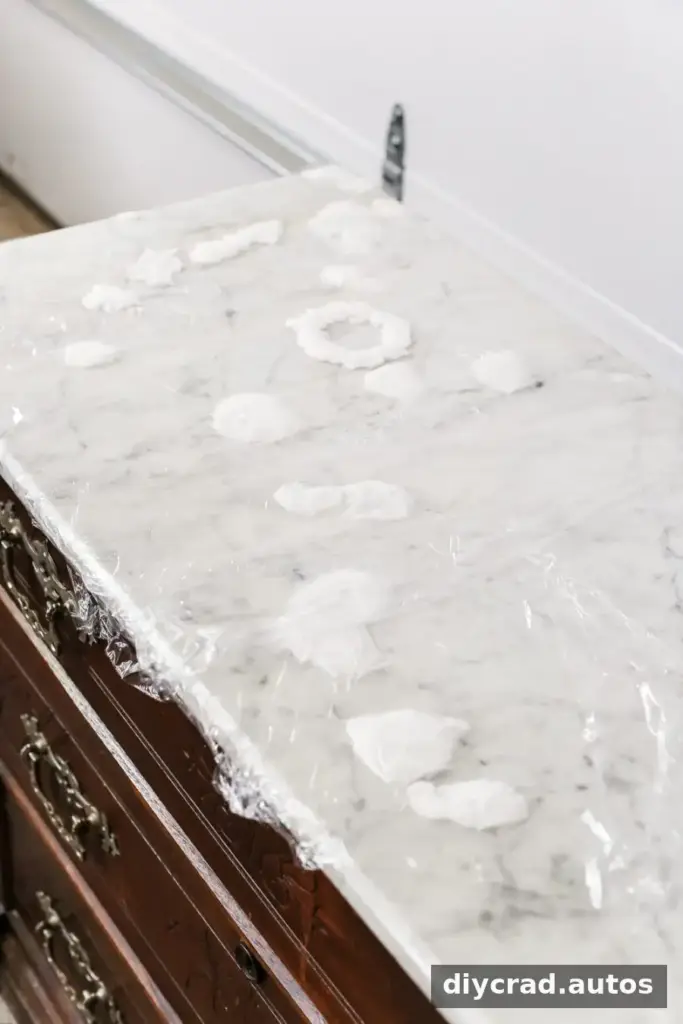
Mix baking soda with a small amount of water to make a spreadable paste. Apply a gentle layer over the stained area without rubbing it into the stone, then cover it with plastic wrap. The paste was left in place for 24 hours.
2. Check the result and treat any remaining marks cautiously
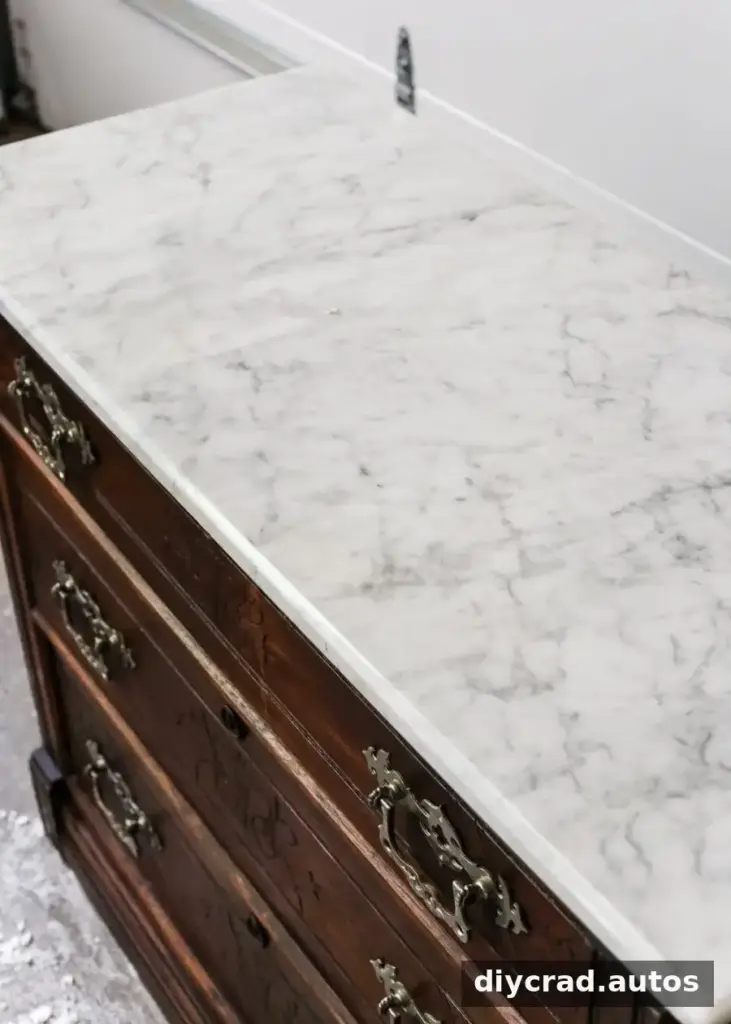
After 24 hours, remove the plastic wrap and wipe away the paste with a clean, damp cloth. In this case, the stains were much lighter, although faint marks remained in a couple of places. Cotton balls soaked in hydrogen peroxide were placed over those spots, covered again with plastic wrap, and left for another 24 hours.
The next day, the remaining marks were no longer visible. Results can vary depending on the marble and the type of stain. Hydrogen peroxide may affect some stones or nearby finishes, so test it first in an inconspicuous area and avoid letting it contact the wood.
3. Clean the wooden base separately
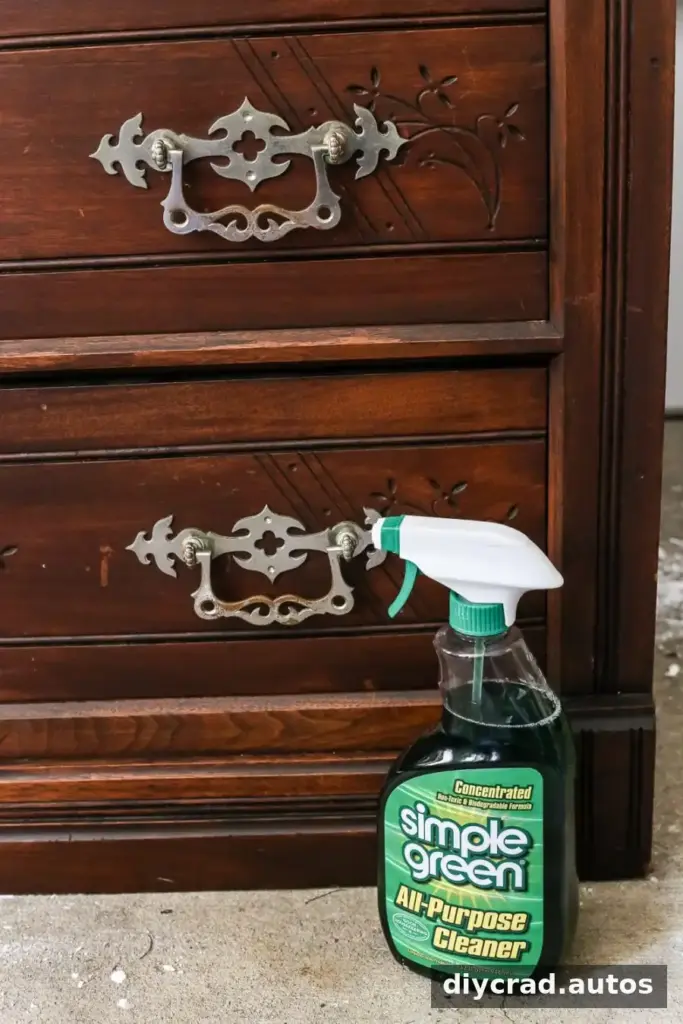
The wood was wiped down with a cleaner intended for wood. A few areas could still benefit from touch-up stain, but the carved finish was left unpainted to preserve its natural appearance. Use a soft cloth and avoid soaking the wood, since excess moisture can affect the finish.
Styling the Chest in the Foyer
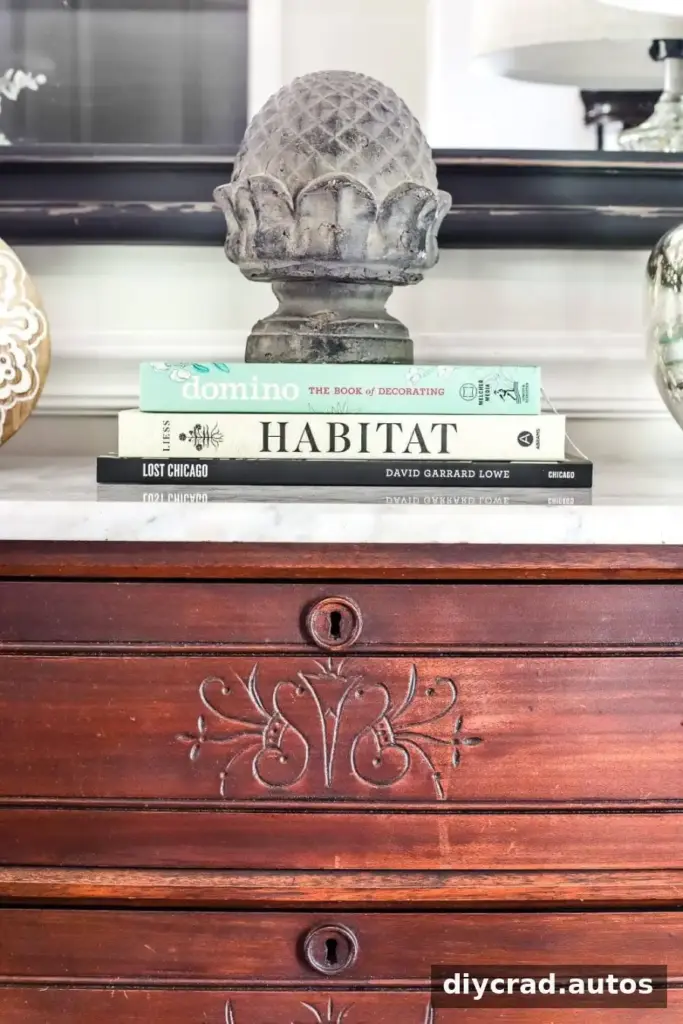
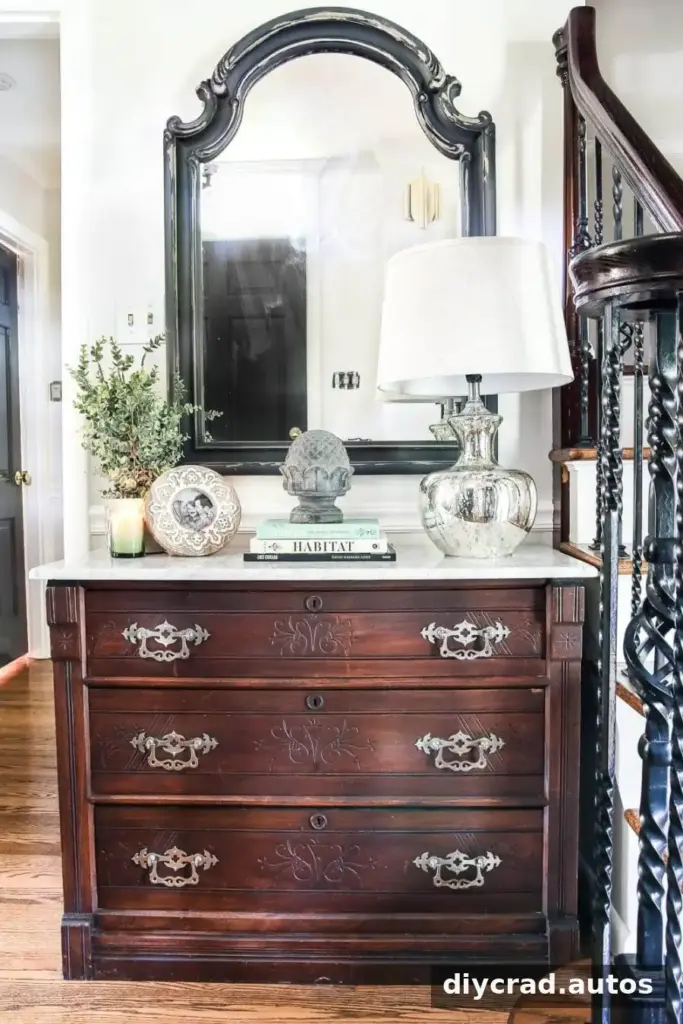
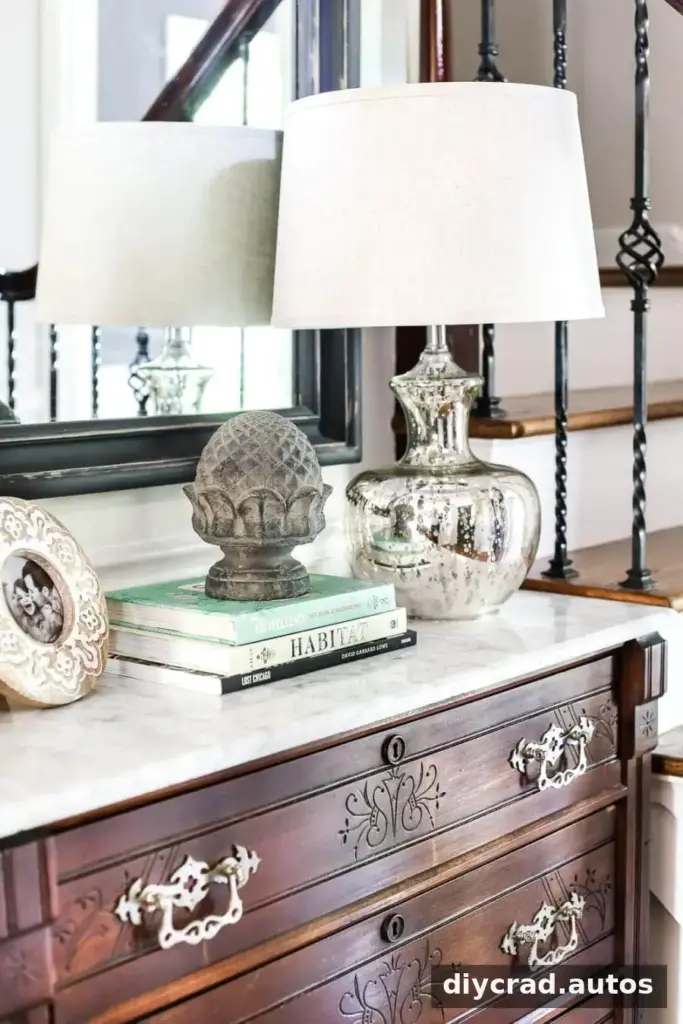
Once cleaned, the chest was placed in a nook beside the staircase in a freshly painted foyer. Its marble top provides a bright surface, while the detailed woodwork adds texture and character. A few books and a small concrete ornament were arranged on top, creating a simple display without covering the stone completely.
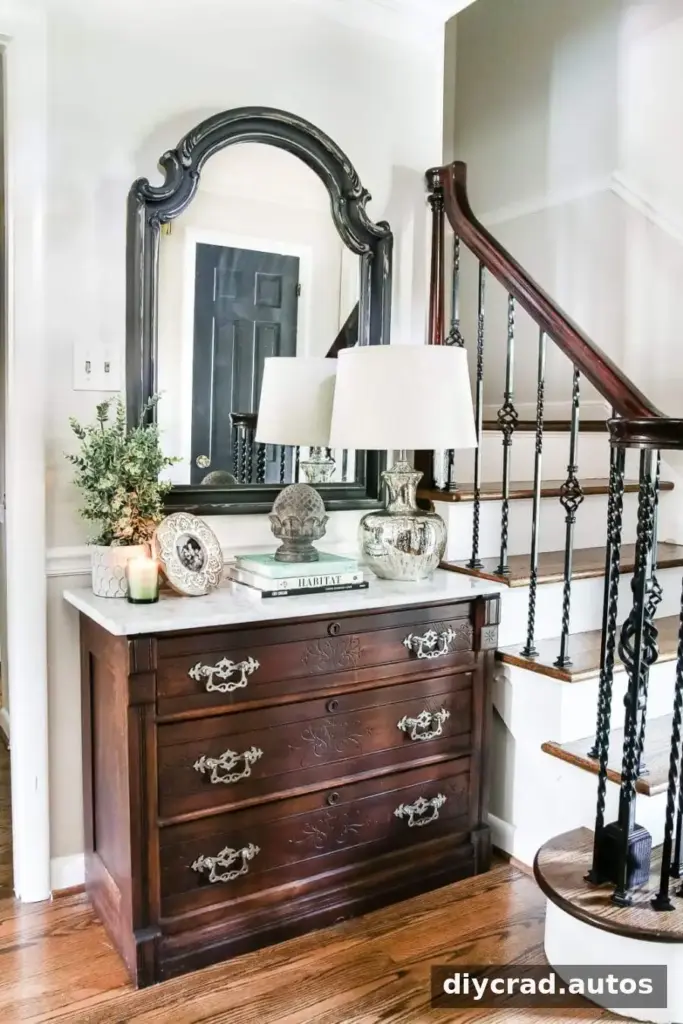
A secondhand mirror with a distressed charcoal finish was hung above the chest. Keeping decorative objects grouped and leaving some open space helps the furniture remain the focal point. The mirror also benefits from a quick clean before styling, so smudges do not distract from the refreshed marble.
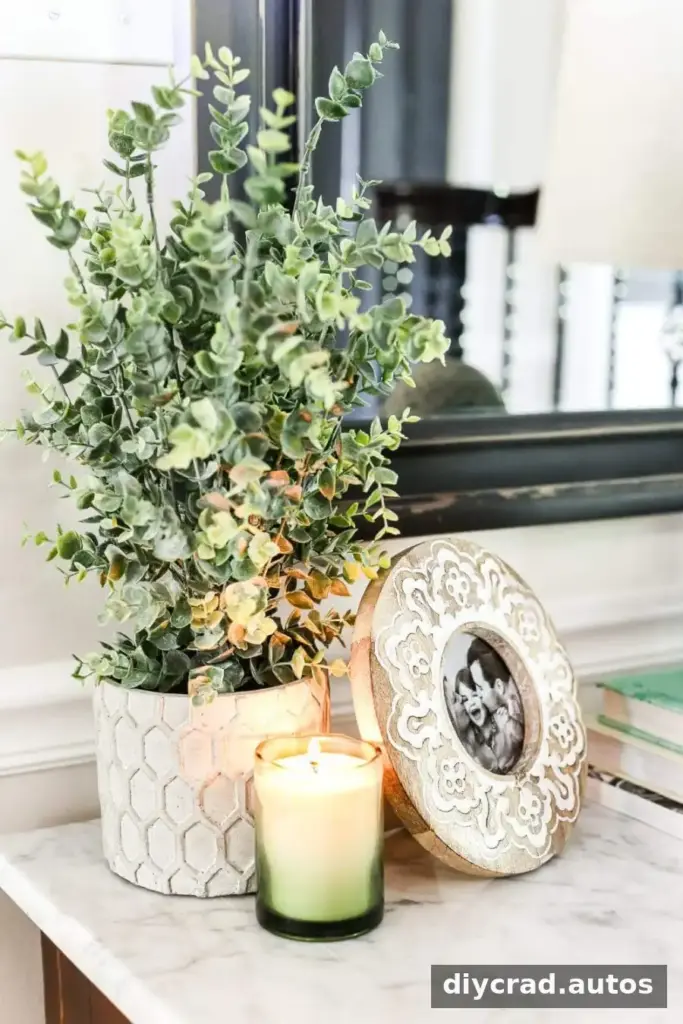
A lamp, an artificial plant, a picture frame, and a candle completed the arrangement. When decorating a narrow entryway, measure the available floor and tabletop space first. Leave a clear path through the foyer and keep lamps or ornaments positioned securely away from the edge.
Foyer Makeover Budget
The listed costs for the space came to $312.05, including three gallons of paint for the walls, trim, and ceiling. The breakdown was:
- Marble-top Victorian chest: $125
- Mirror: $10
- Concrete statuette: $2
- Mercury glass lamp: $36.09
- Linen lampshade: $19.99
- Artificial plant: $12
- Picture frame: $8
- Candle: $10
- Wall, trim, and ceiling paint: included in the stated total
The walls were painted pale gray, with white trim and a white ceiling. The listed total is the original project budget; it does not include any additional rug, lighting, or wall decor considered for a later update.
The chest made the foyer feel more complete, even though some electrical work and finishing details were still pending. One side of the wood had visible wear, while the side facing the staircase was in notably better condition. Restoring the worn area remains an option, but leaving the existing finish intact keeps the piece’s carved character visible.
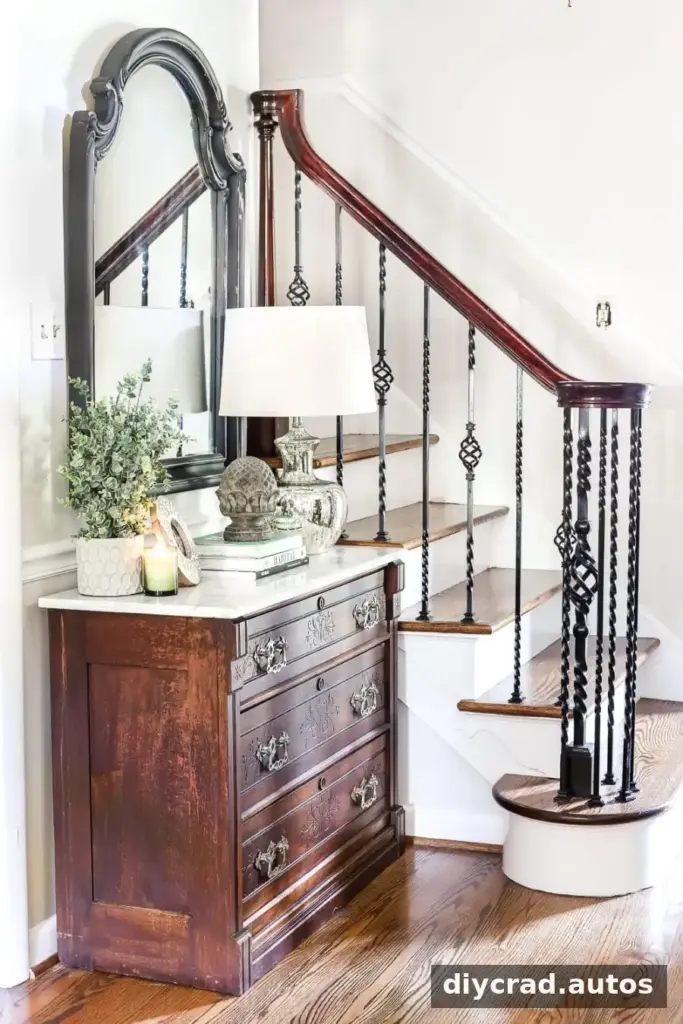
Future additions could include a rug, a different light fixture, or artwork along the stairs. A runner may also help balance the wood tones in the entryway. Planning these pieces gradually makes it easier to check proportions and avoid crowding the space.
After cleaning, the marble top looked bright and the carved wood details stood out. The makeover shows how a secondhand furniture find can anchor a foyer with a modest, itemized budget.
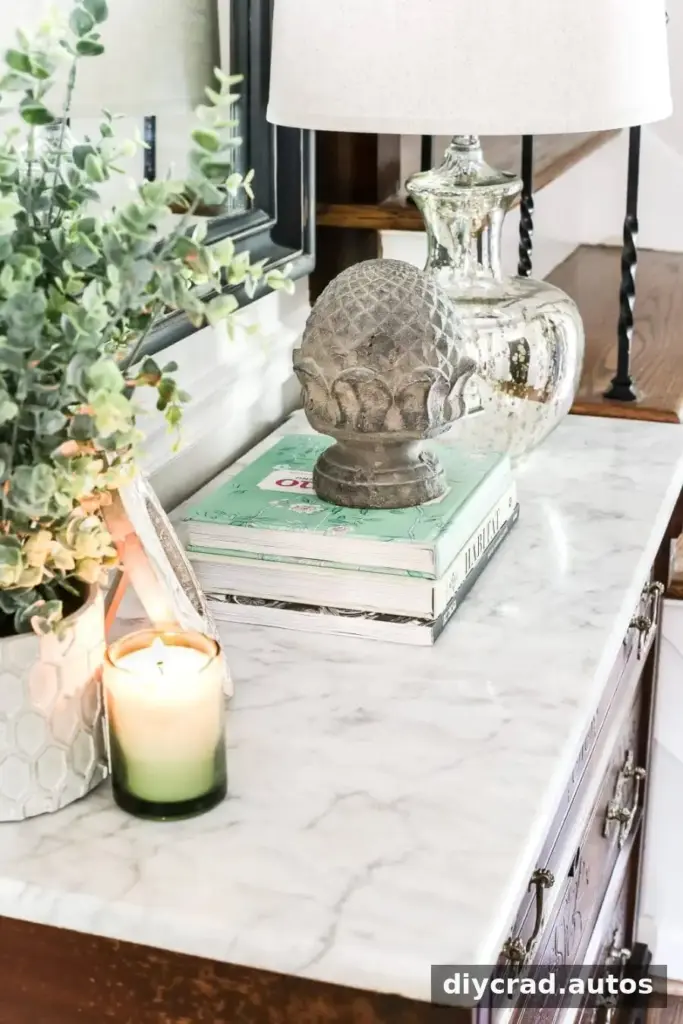
The chest was kept in its natural wood state rather than painted. That choice preserves the original detailing and offers contrast with the lighter marble and painted walls. For similar furniture, assess the condition of the wood before deciding whether to clean, repair, stain, or paint it.
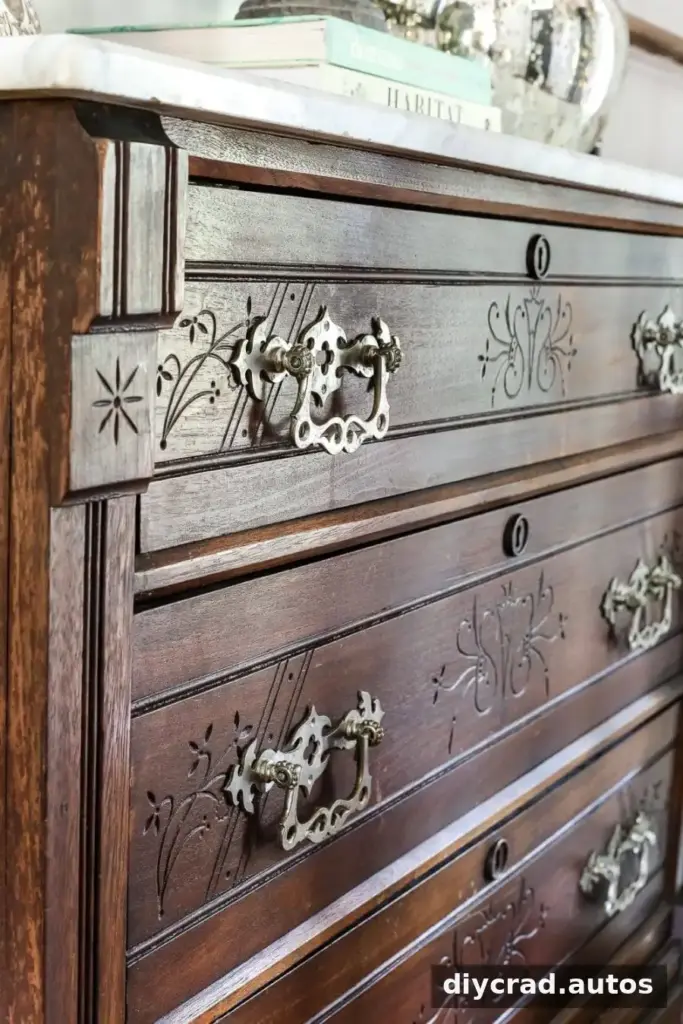
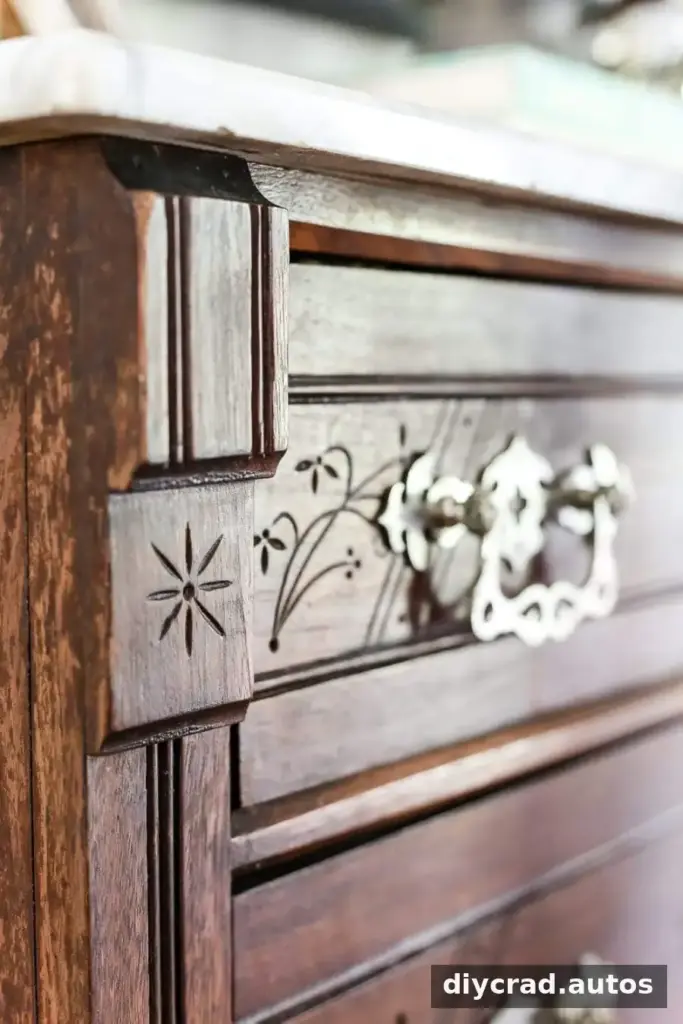
There is still plenty of room to refine the foyer with a rug or additional wall decor, but the chest gives the space a practical focal point. For anyone wondering how to remove stains from marble, the key lesson is to work gently, test treatments first, and give each step time before considering a stronger option.