Removing baseboards is a straightforward DIY task when you work slowly and separate the caulk before prying the trim away. A careful approach can help protect the drywall and keep the baseboards in good condition if you plan to reuse them during a renovation.
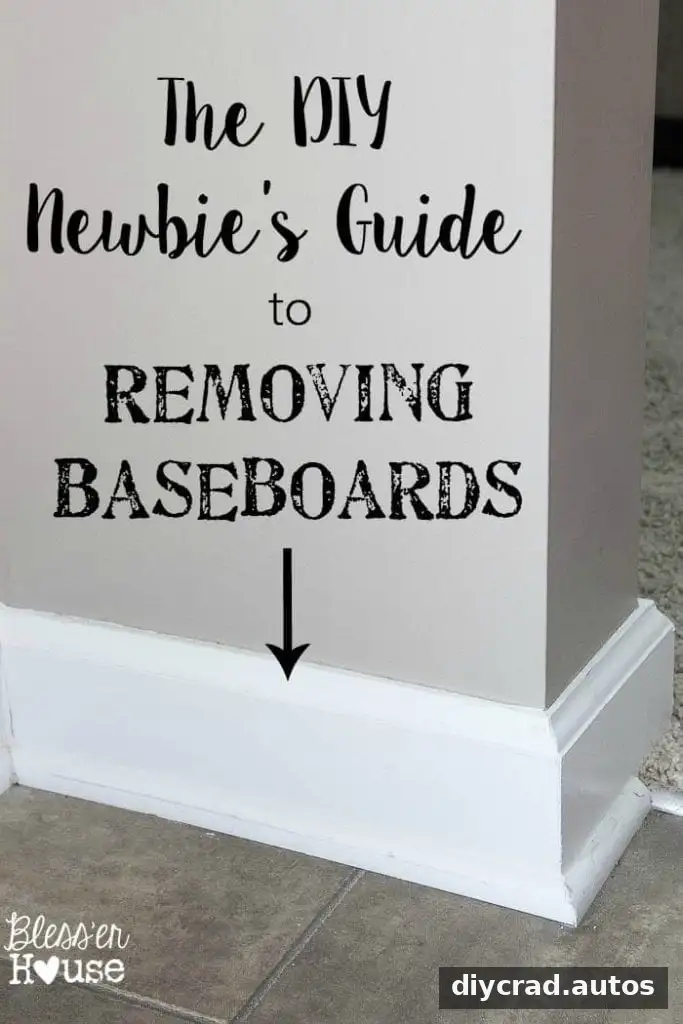
Tools for removing baseboards
Gather your tools before you begin so you can work steadily along the wall. You will need:
- A utility knife or box cutter with a sharp blade
- A small pry bar
- A hammer or mallet
- A metal file, if you need to smooth or adjust the pry bar’s contact edges
- Patience and a light touch
Wear eye protection and work gloves, and keep the knife pointed away from your hands. If the trim will be reused, set aside a clear place to store it once removed.
Removing baseboards without damaging the wall
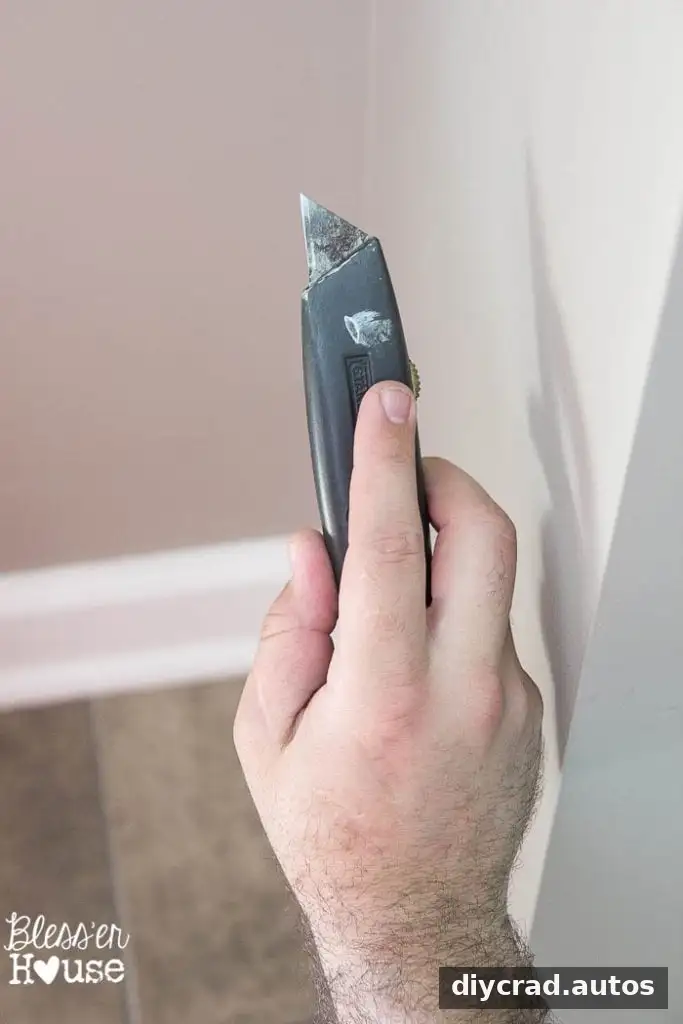
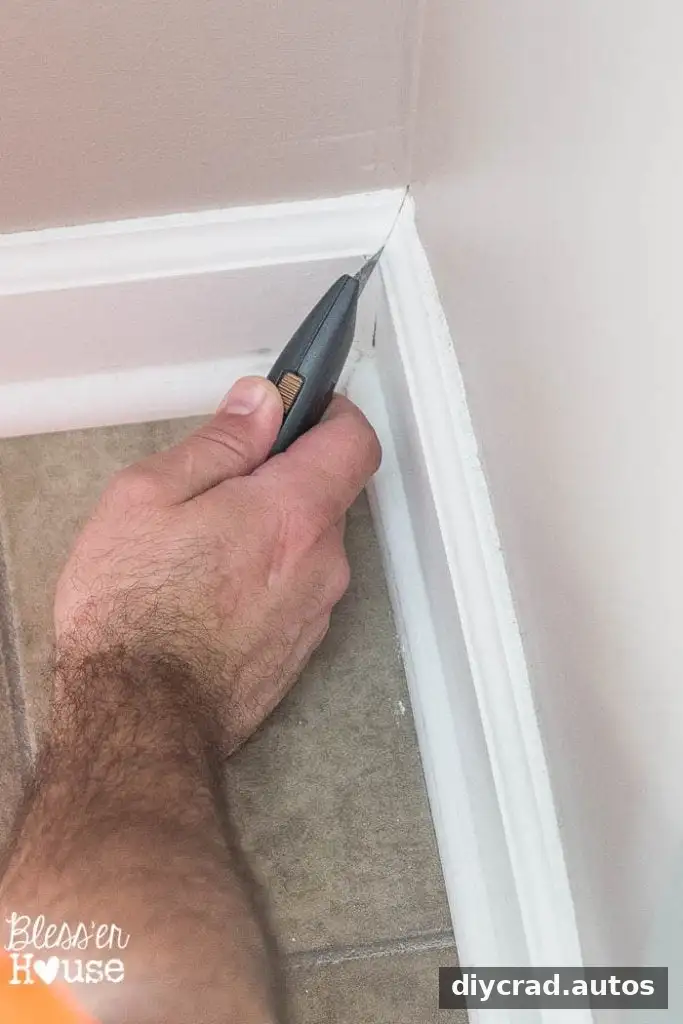
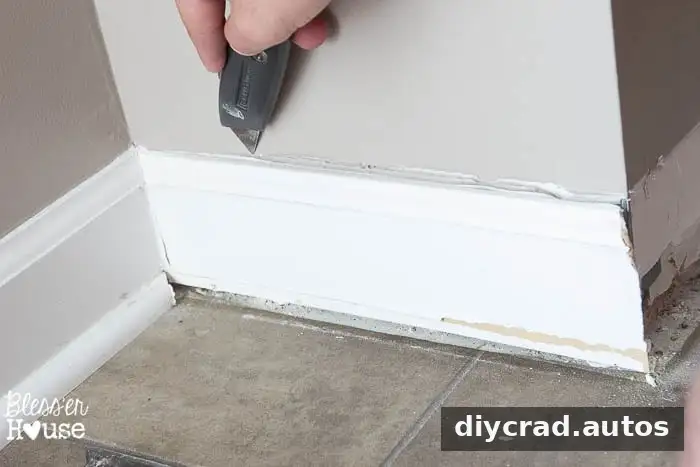
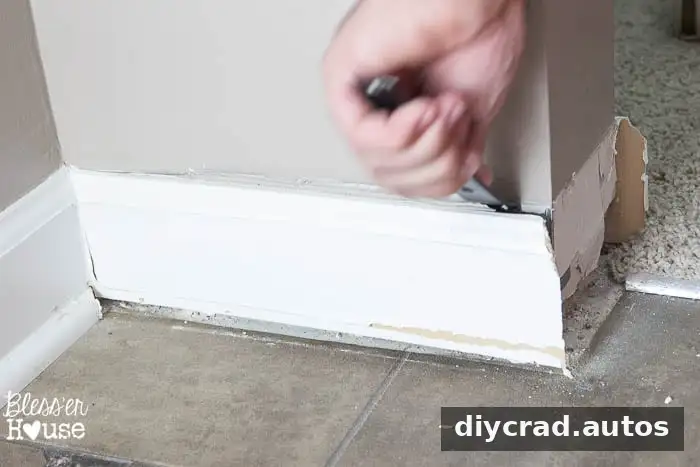
Baseboards are often sealed to the wall with caulk or paint. If you pry before cutting that bond, the finish may peel or drywall paper may tear. First, score the caulk line with the knife at the top edge of the trim and around any corners. Use controlled, shallow strokes rather than pressing the blade deeply into the wall.
1. Take off the quarter round
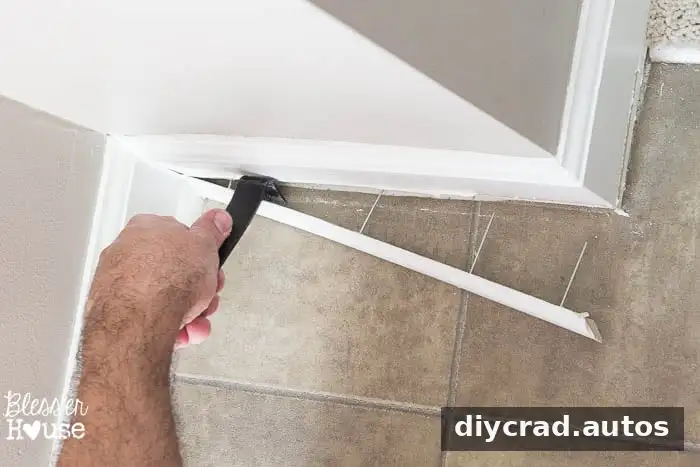
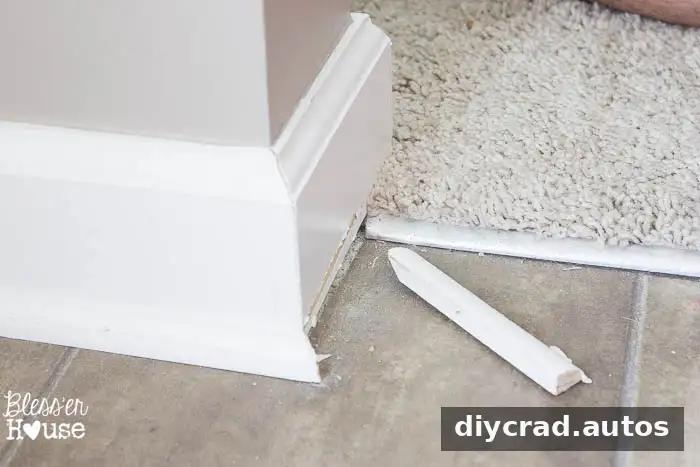
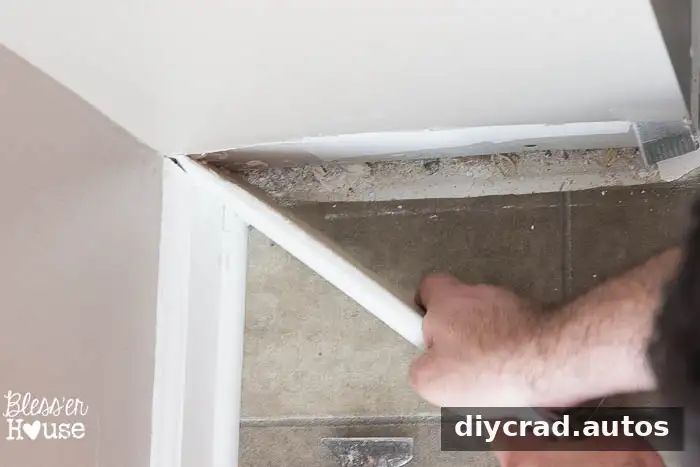
If there is quarter-round molding—a narrow strip attached along the bottom of the baseboard—remove it first. For trim you intend to save, use a pry bar with smooth contact edges to reduce the chance of leaving marks. A metal file can be used to smooth rough edges on the tool; handle the file and pry bar carefully.
Position the pry bar beneath the quarter round near the floor. Tap it gently with a hammer or mallet, then ease the molding away from the baseboard. Move along the length in small increments instead of pulling hard from one spot. This helps reduce bending and makes the piece easier to remove intact.
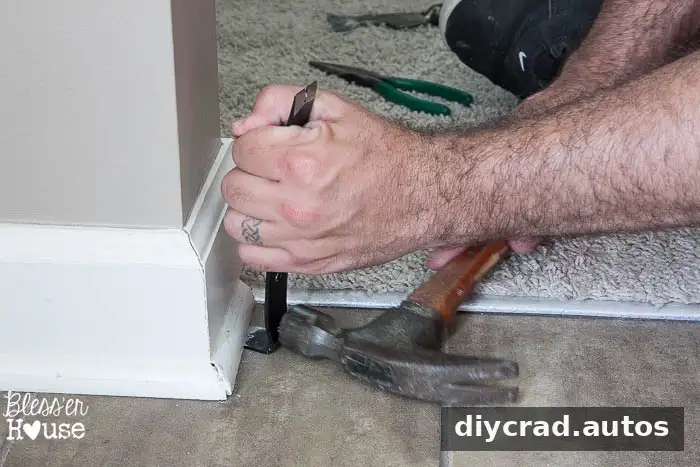
Take extra care at corners and joints, where the molding may be more firmly attached. If you are not planning to reuse the trim, preserving its finish may matter less, but slow, even pressure still helps prevent unnecessary wall damage.
2. Loosen and remove the baseboard
After the quarter round is off, score the caulk or paint line along the top of the baseboard. Check that the cut runs through the bond between the trim and the wall before you start prying.
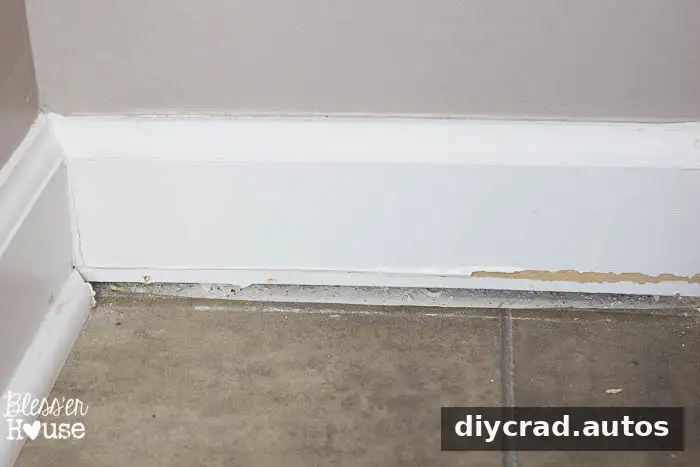
Place the pry bar between the baseboard and drywall at one end. If needed, tap it gently into position with the hammer. Work at several points along the board, loosening it a little at a time. Avoid levering sharply against one small section of drywall, which can dent the wall or damage its paper surface.
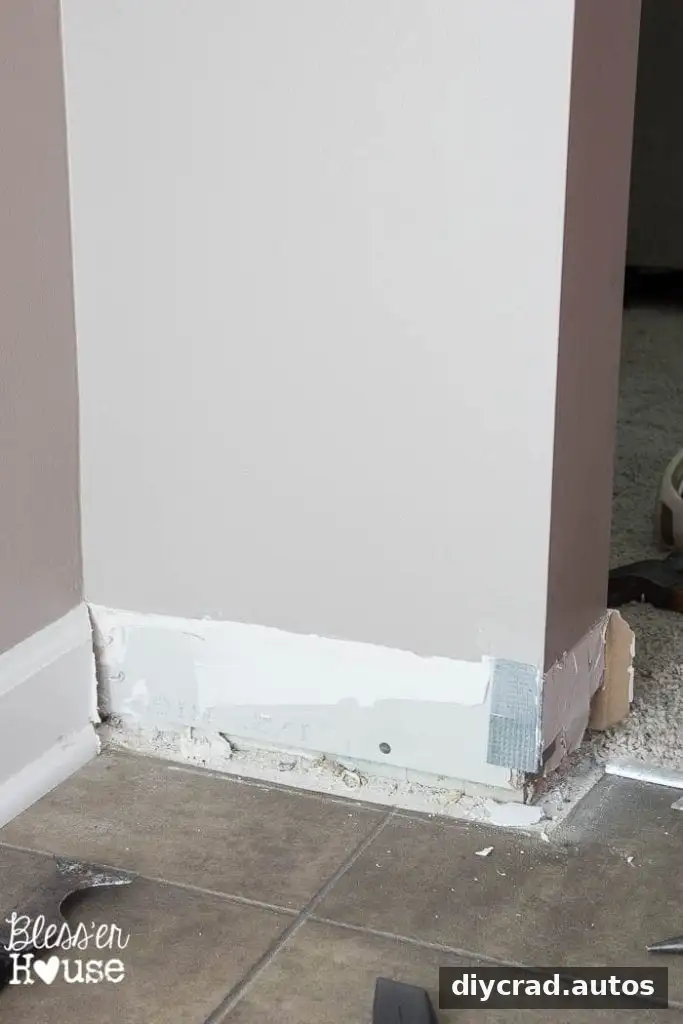
When the board begins to move, pull it away from the wall gradually and keep an eye on the drywall. If you feel strong resistance, stop and check for an uncut section of caulk or another fastener rather than forcing the trim. Remove the baseboard slowly so it does not tear away the drywall paper.
What to do after the trim comes off
Keep removed pieces in order if you plan to reinstall them. Labeling each section and noting which wall it came from can make fitting the trim back into the room easier. Store the boards flat in a protected area to reduce the chance of bending or accidental damage.
Before installing new materials or putting the trim back, inspect the exposed wall for loose drywall paper, leftover caulk, and protruding nails. Handle any repairs or preparation needed for the next stage of the project before reinstalling the baseboards.
Key tips for removing baseboards
- Score caulk and paint before prying to help protect the wall finish.
- Remove quarter-round molding before tackling the main baseboard.
- Use the pry bar at multiple points and apply gentle, gradual pressure.
- Take your time, especially if you want to reuse the trim.
With the right tools and a patient method, removing baseboards can be manageable even for a first-time DIY project. Cutting the caulk first and easing the trim away in stages are the most useful steps for protecting both the wall and the molding.