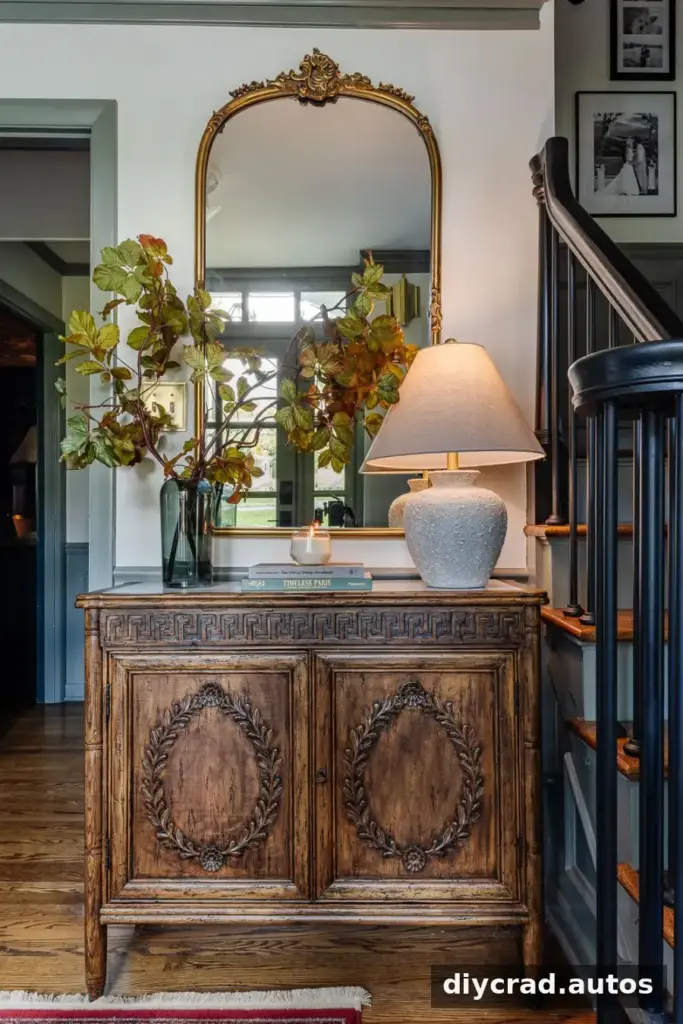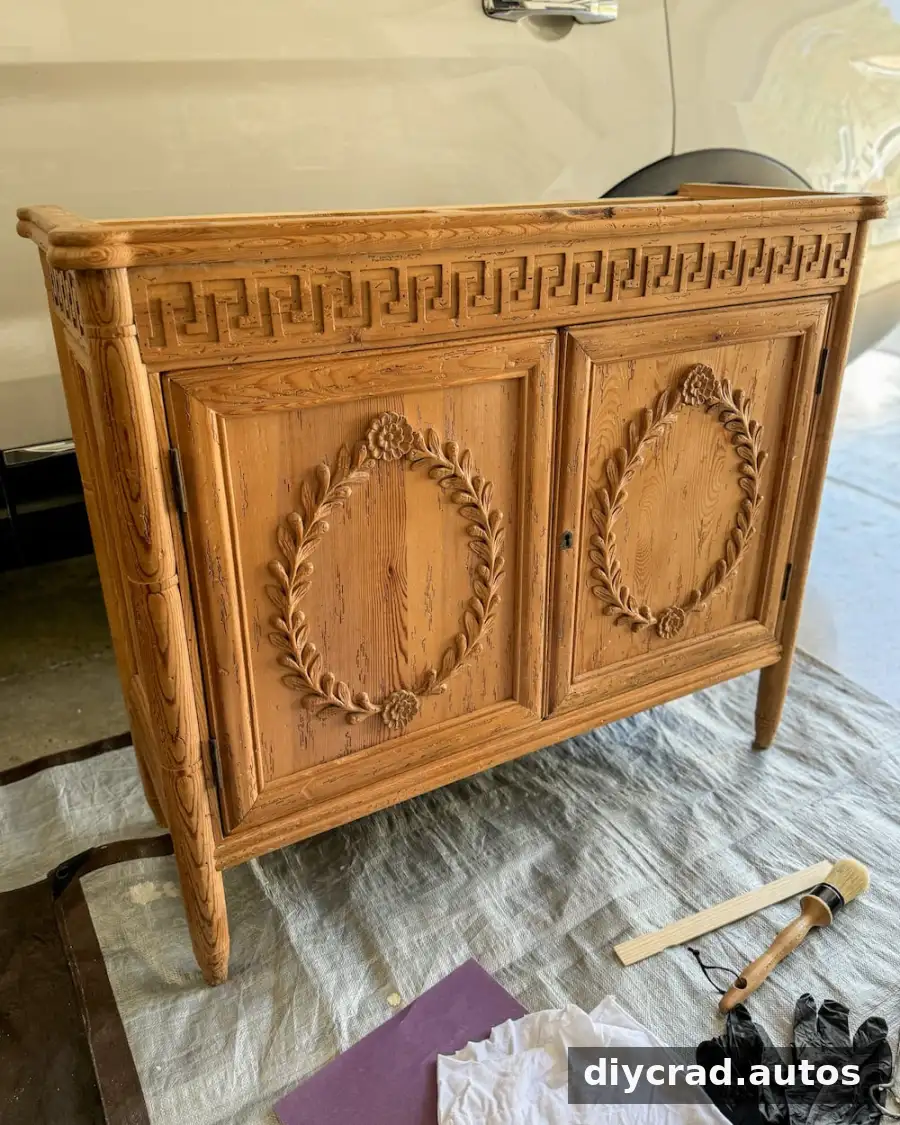
Want to update a dated wood finish without stripping the furniture down to bare wood? You can stain over stained furniture without sanding away the existing color by using gel stain and preparing the surface carefully. This approach can deepen the tone while allowing the wood grain to remain visible, provided the piece is in good condition and the new finish is compatible with the old one.
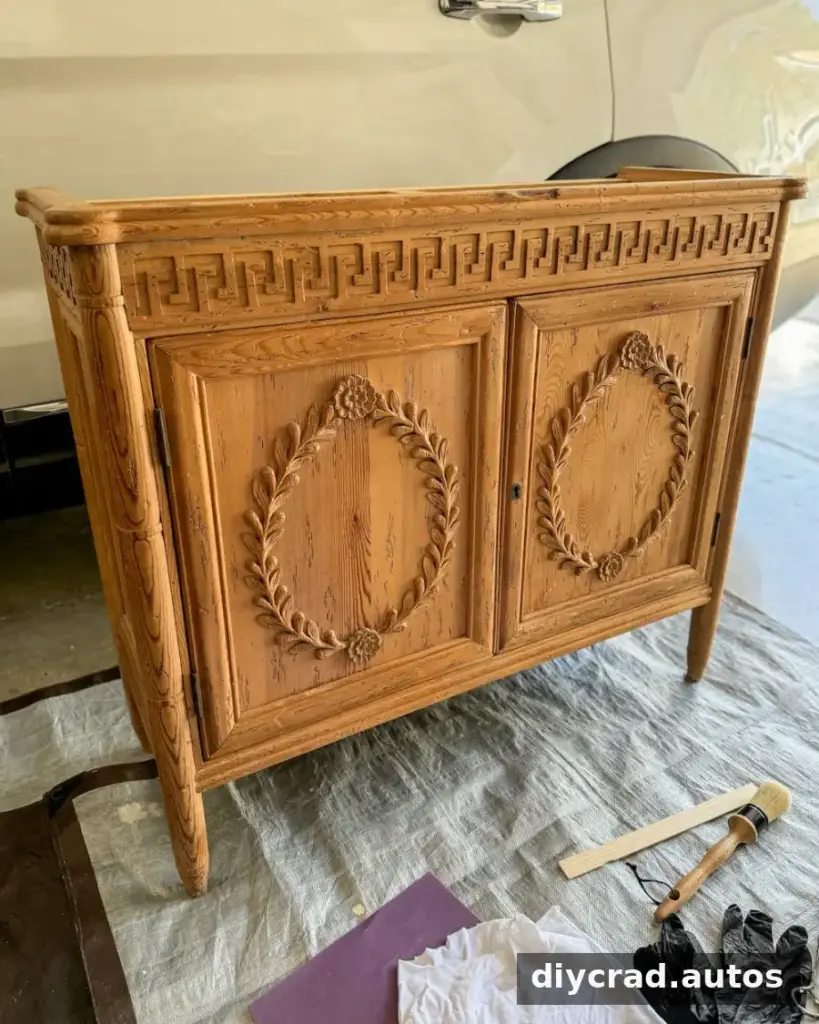
Gel stain is thicker than many traditional wood stains, so it can coat an existing finish rather than soaking into bare wood in the same way. The project still needs a clean, sound surface and patience between coats. “Without sanding” means you do not need to remove the old stain; a light scuff is optional but recommended to help the new finish adhere.
How to Stain Over Stained Furniture Without Sanding
This method can work on furniture and cabinets when you want to move from a lighter finish to a darker one. It may also be suitable for certain painted surfaces, but check the stain manufacturer’s directions and test a small, hidden spot first.
What to Know Before You Start
- Plan to go darker. A dark stain can cover a lighter finish, but a lighter result generally requires removing the existing finish first.
- Check the condition. Avoid applying gel stain over surfaces with water damage, peeling, cracking, or other failing finish. Repairing or removing damaged coatings may be necessary.
- Check compatibility. The existing finish and the new stain need to be compatible. If you know whether the old stain is oil-based or water-based, use a product system suited to it and follow the label instructions.
- Test before coating the whole piece. Apply the stain in an inconspicuous area to check adhesion and color. Existing finishes can change how the final shade looks.
A basic alcohol test: Dampen a cotton ball with rubbing alcohol and wipe a hidden area. If the finish appears slightly lighter after the alcohol evaporates, that can indicate a water-based stain; an oil-based stain may show no visible change. This is only a clue, not a definitive identification, so check product guidance when compatibility is uncertain.
Supplies
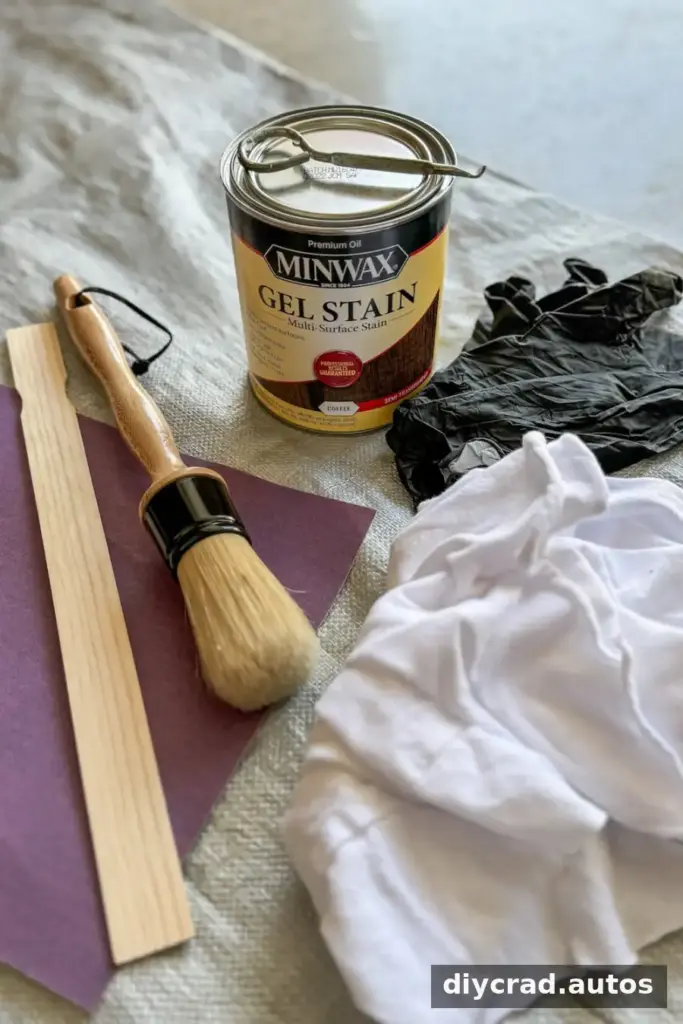
- Gel stain (the example project used the Coffee color)
- An all-purpose degreasing cleaner
- Fine-grit sandpaper for optional, light scuffing
- Clean, lint-free rags
- A quality staining brush, foam brush, or staining pad
- Chemical-resistant gloves
- Clear matte polycrylic for sealing
Step-by-Step Instructions
1. Clean the Surface
Remove grease, oil, and dirt with an appropriate degreasing cleaner, then wipe the furniture clean. Residue can interfere with adhesion, so let the surface dry before moving on. Follow the cleaner’s label, especially if the piece has a delicate existing finish.
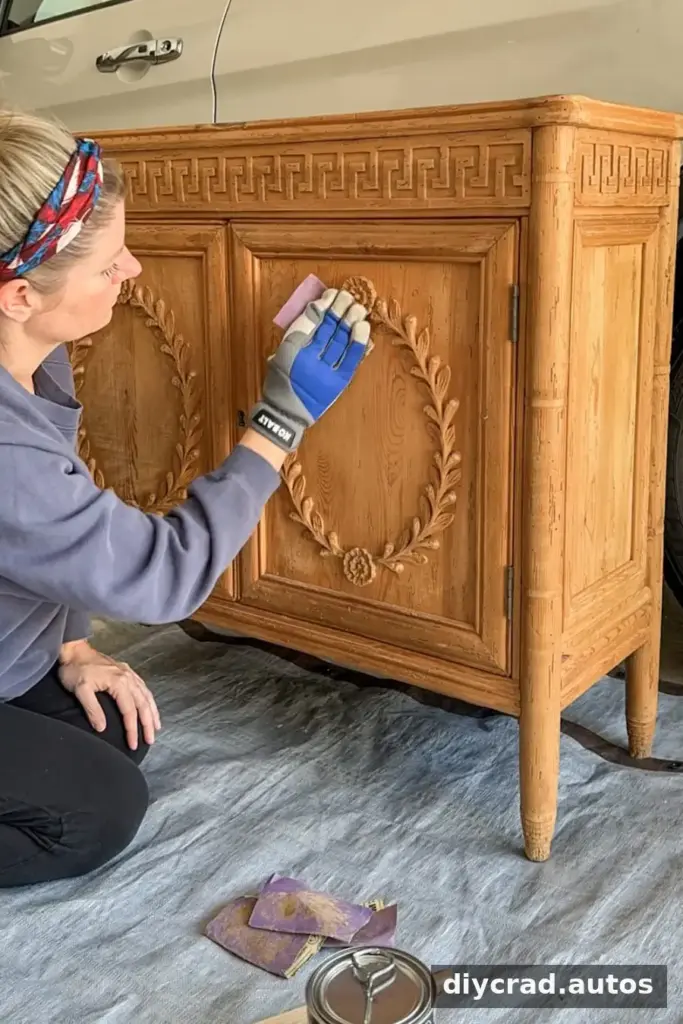
2. Lightly Scuff the Finish
You do not need to sand off the old stain. If the finish is sound, lightly scuff the surface with fine-grit sandpaper to create a little texture for the gel stain to grip. Keep the pressure gentle and avoid cutting through the finish to bare wood.
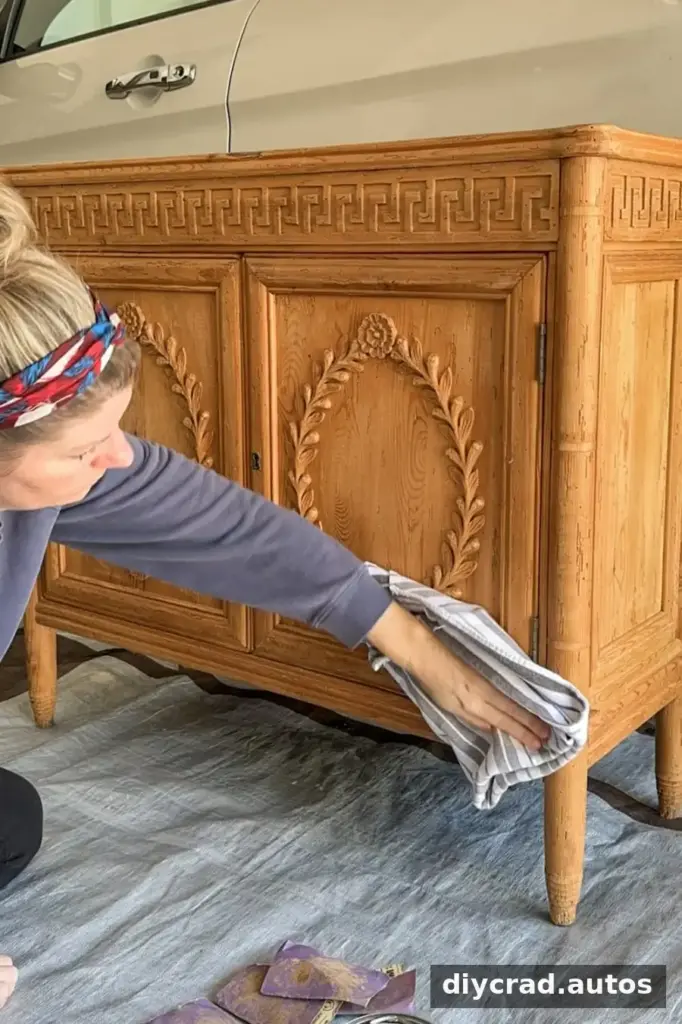
3. Remove Dust
Wipe away all sanding dust with a clean cloth. Dust left behind can become trapped in the coating and leave a rough appearance, so check corners, trim, and carved details as well.
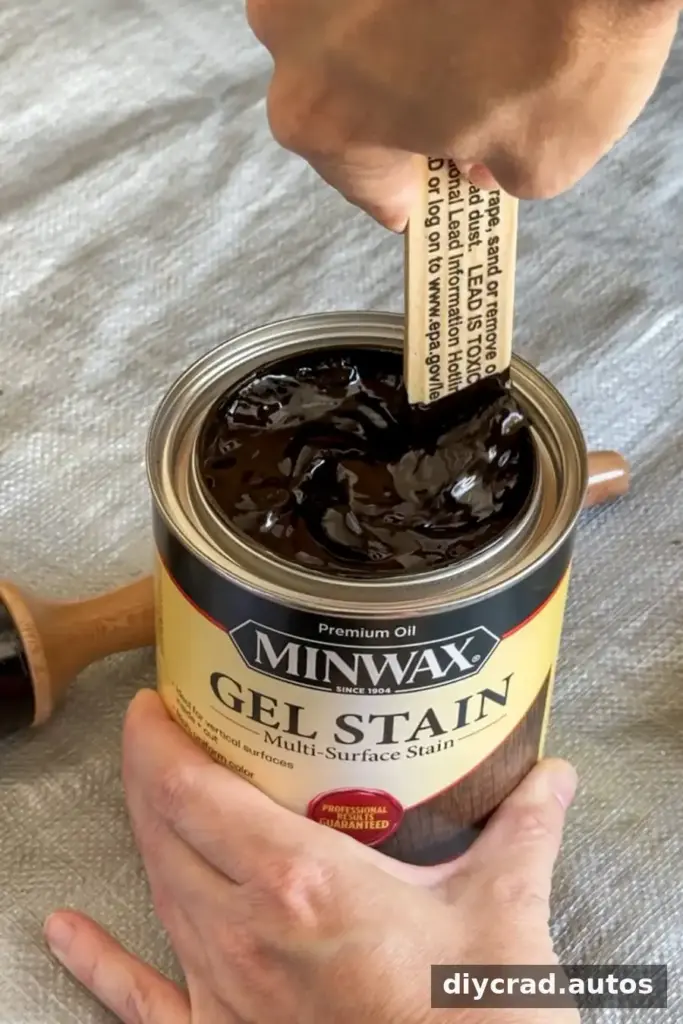
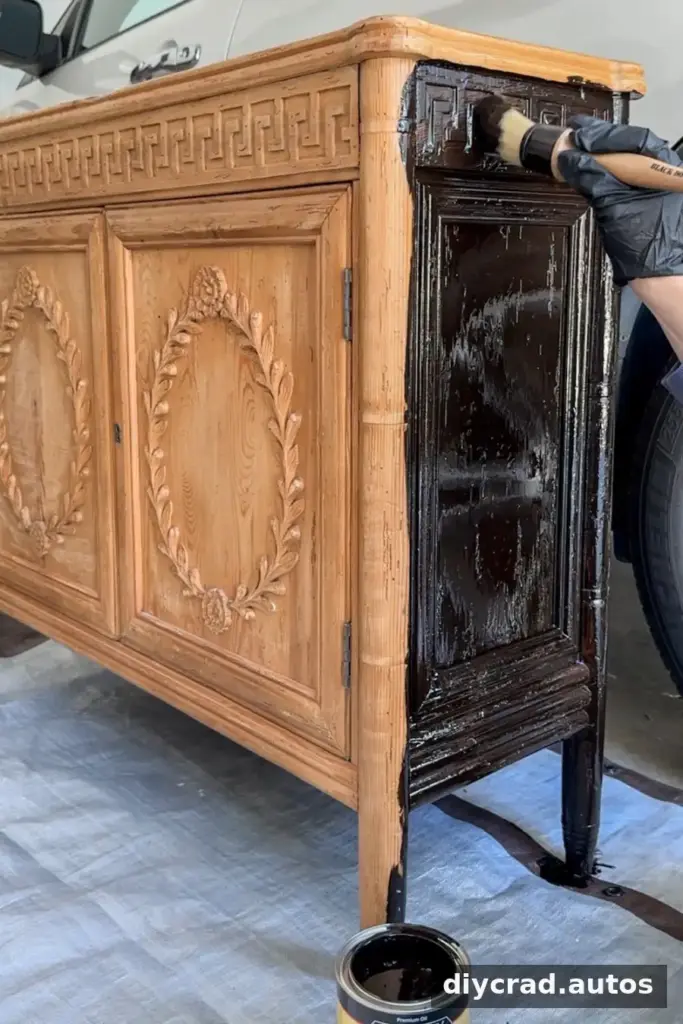
4. Apply the First Coat of Gel Stain
Stir the gel stain thoroughly; its thick, pudding-like consistency can settle in the can. Work on one manageable section at a time, applying a generous, even coat with a brush or staining pad. Avoid covering more area than you can wipe before the stain begins to dry.
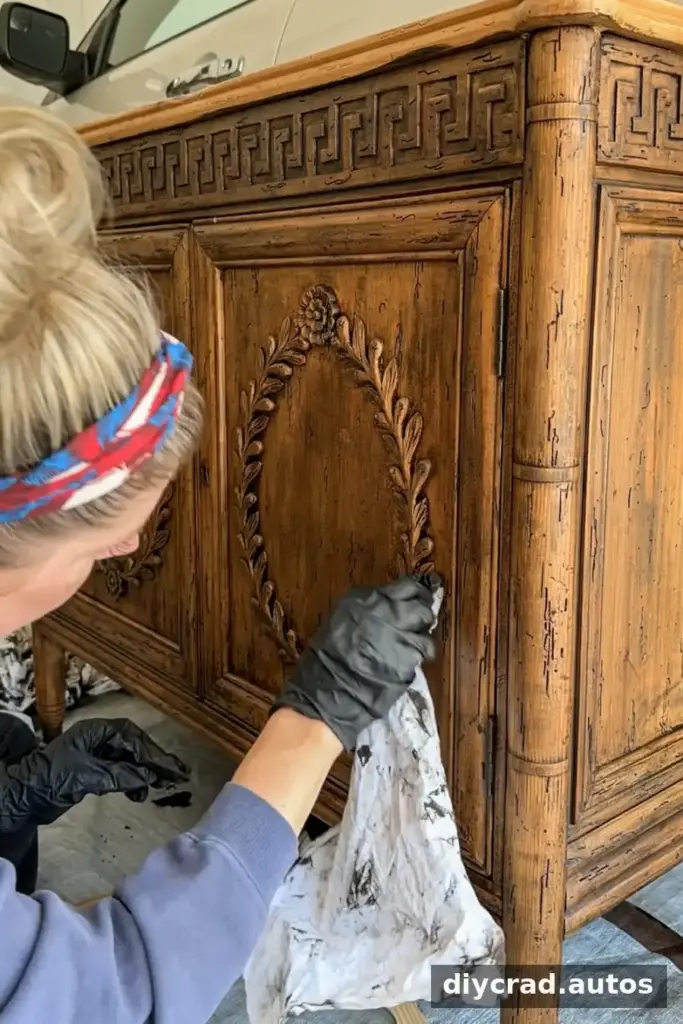
Let the stain sit for 2–3 minutes, then wipe away the excess with a clean, lint-free rag. Continue section by section, using fresh cloth areas as needed to prevent spreading excess stain back over the surface.
5. Add a Second Coat
For a deeper color, wait 8–10 hours before applying a second coat. Repeat the same process: work in sections, allow the stain to set for 2–3 minutes, and wipe off the excess. Drying times can vary with conditions, so follow the product label if it gives different instructions.
6. Seal the Finish
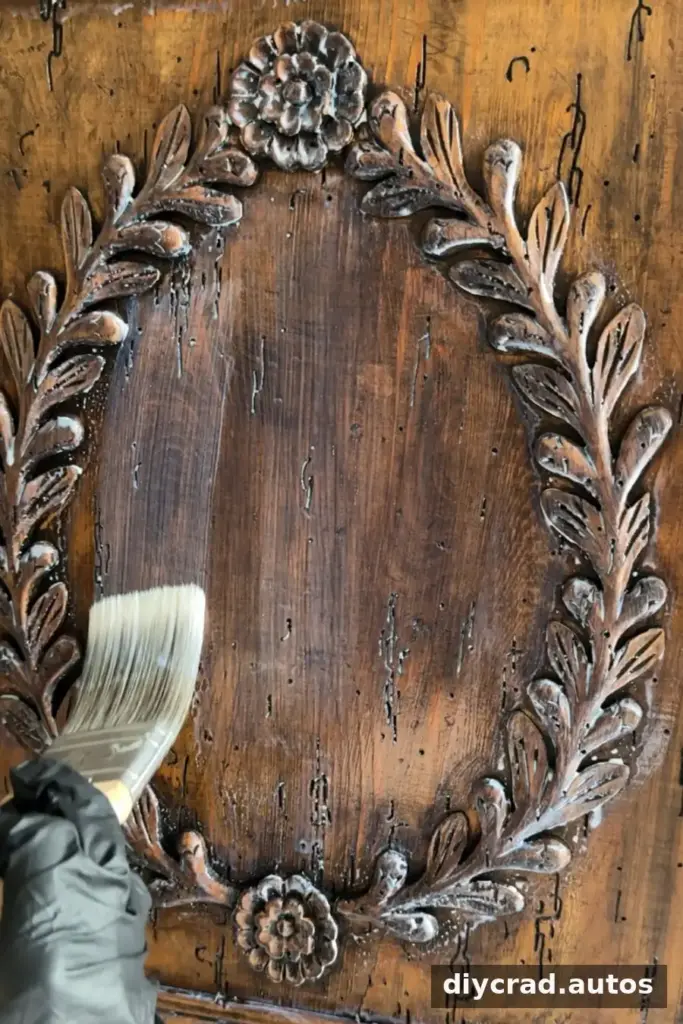
After the final coat, wait 24 hours before applying a clear matte polycrylic topcoat. Use a quality brush and apply an even layer. Wait at least two hours before adding a second coat, while also checking the sealer’s directions for its recommended recoat and curing times.
Wear chemical-resistant gloves and work in a well-ventilated area. Keep the piece protected from dust and everyday use while the stain and sealer dry and cure.
Final Result and Practical Tips
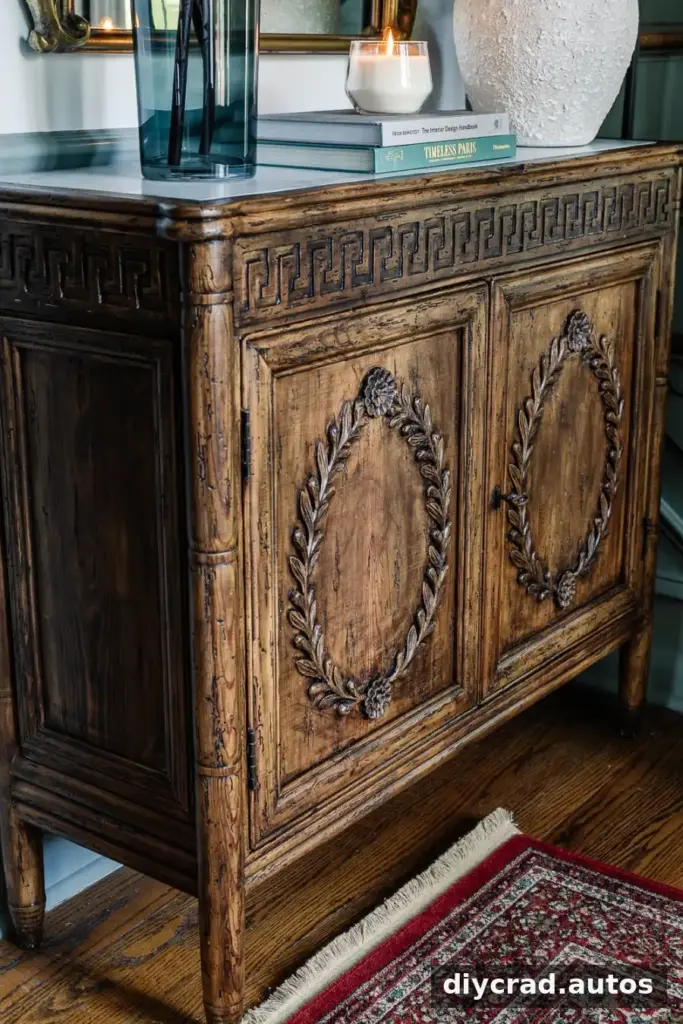
A darker gel-stained finish can give a dated cabinet or furniture piece a richer appearance while preserving visible wood grain. The most important steps are cleaning thoroughly, testing the color, applying the stain in manageable sections, and allowing enough drying time before sealing.
Stain over stained furniture without sanding by skipping the full removal of the old finish—not by skipping preparation altogether. A light scuff can still improve adhesion, and a test patch helps prevent surprises before you commit to the entire piece.