

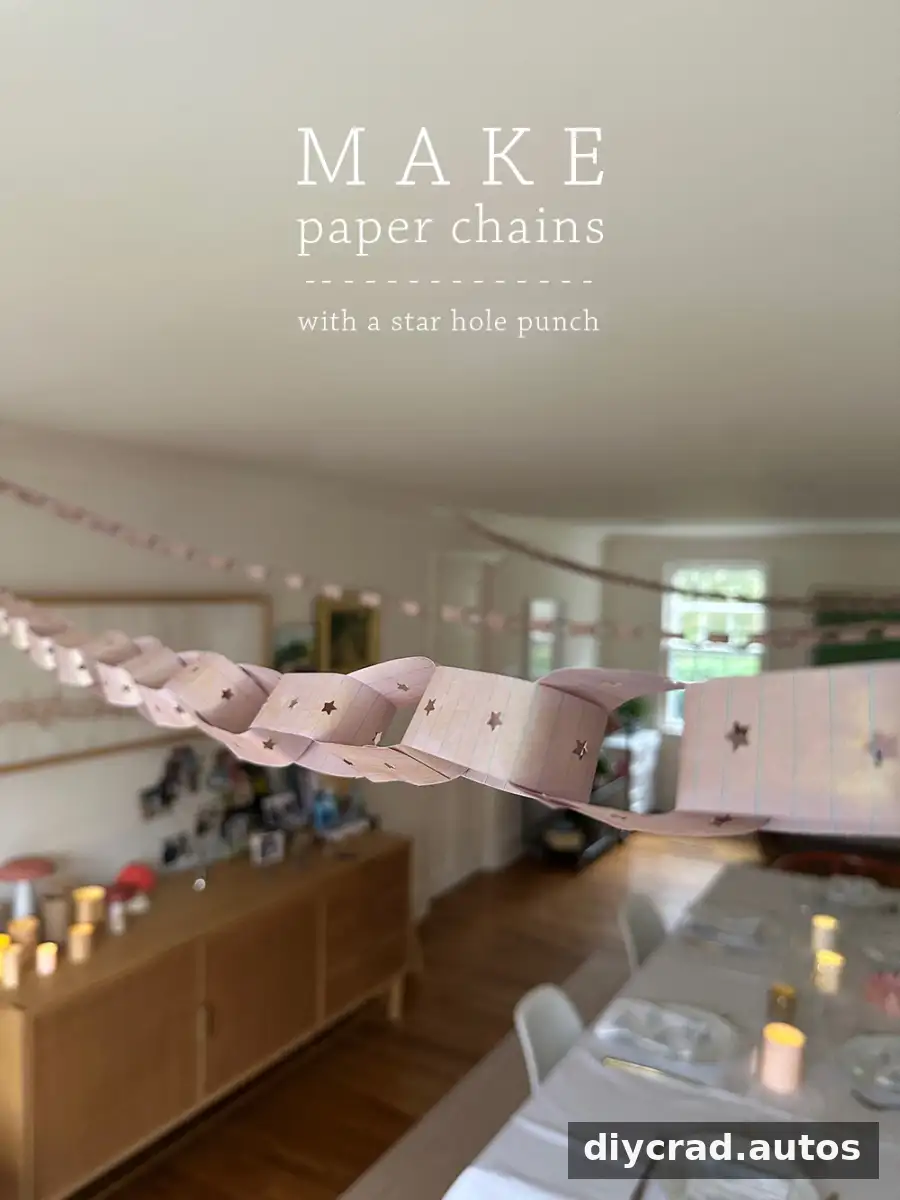
A star punched paper chain is an easy, festive decoration that can be made with everyday paper and a few basic craft supplies. This project combines punched star details with soft mauve paper and a light touch of gold paint. Paper chains are also a flexible group activity: try the star design, experiment with different materials, or invite everyone to contribute loops to a shared decoration.
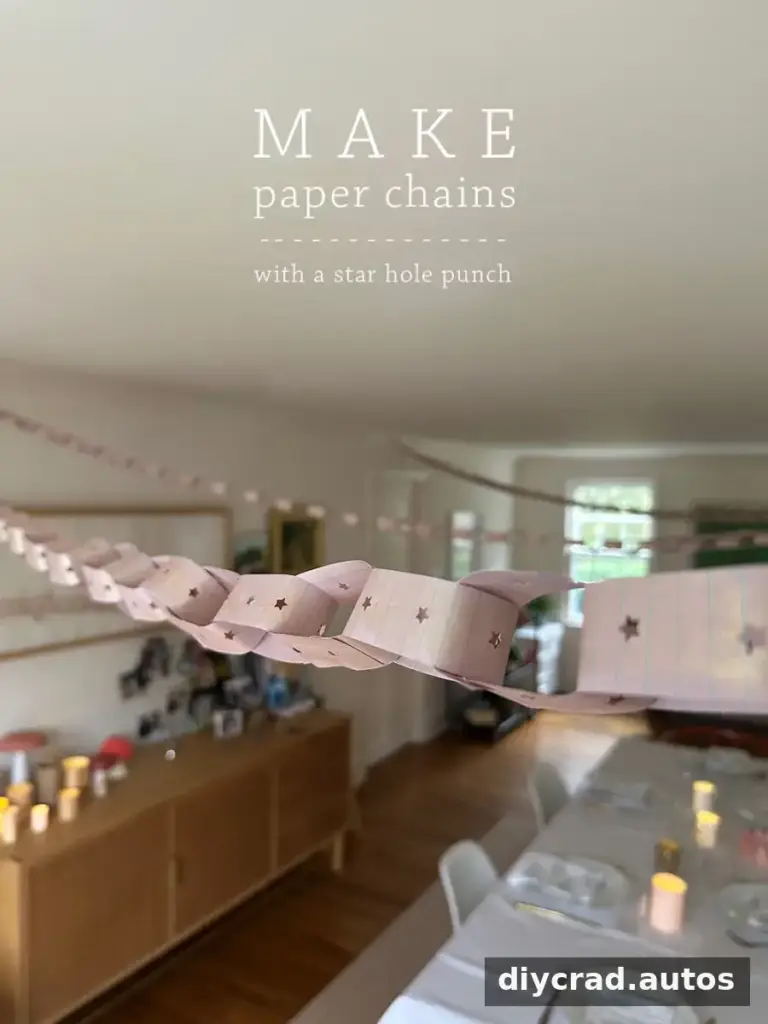
The muted paper gives the chain a subtle look, while the star shapes and brushed-on gold add a celebratory finish. For a similar effect, choose paper that is easy to cut and punch, then test the paint on a spare strip before decorating the finished chain.
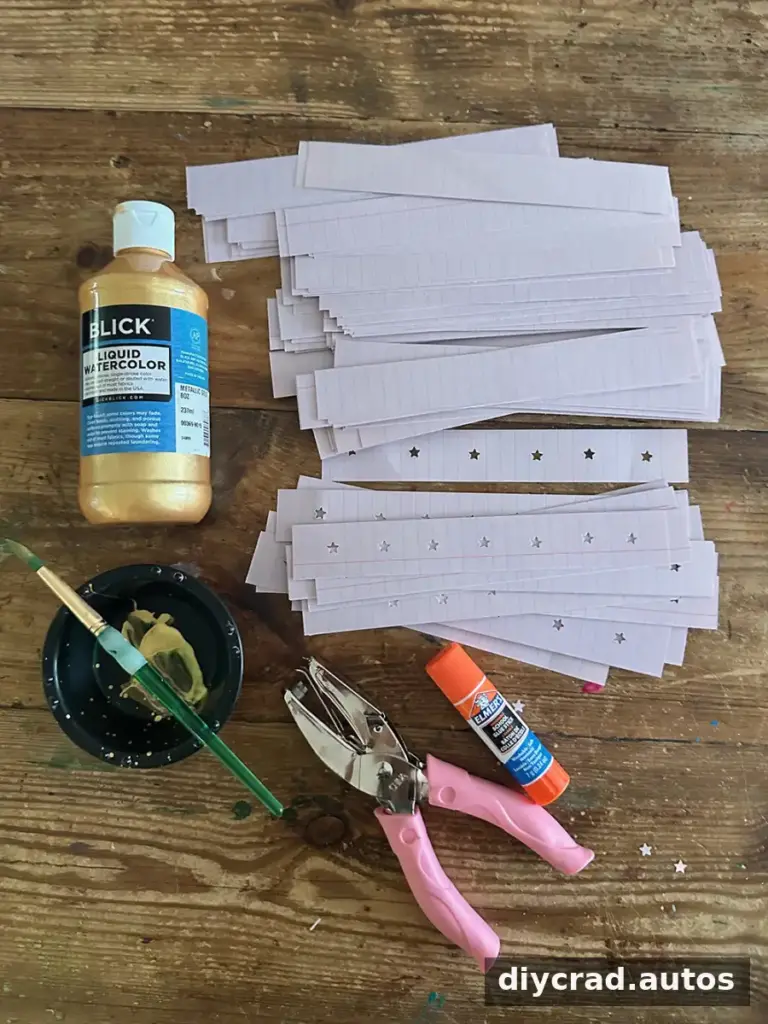
Supplies for a Star Punched Paper Chain
- Paper; mauve notebook paper was used for this example
- Paper cutter or scissors
- Star-shaped hole punch
- Glue stick
- Gold liquid watercolor
Thin paper is easy to fold into loops, but it can tear if handled roughly. If you use thicker paper, check that your punch can cut through it before making a large batch.
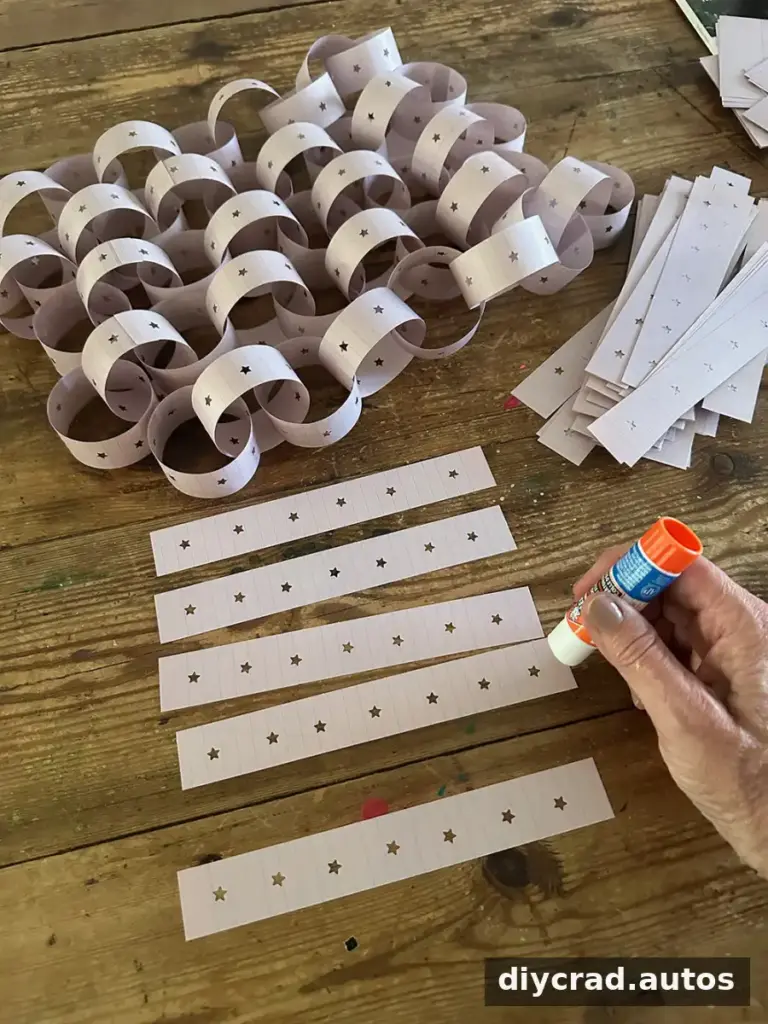
How to Make a Star Punched Paper Chain
- Cut the paper into strips. Cut strips measuring 7 inches long by 1 inch wide. Most of the strips in this example were cut across the width of the paper, with some cut lengthwise.
- Punch out the stars. The paper was punched three layers at a time, but the number of layers depends on the paper’s thickness and the punch. Test a small stack first. If the punch sticks when you release it, use fewer layers.
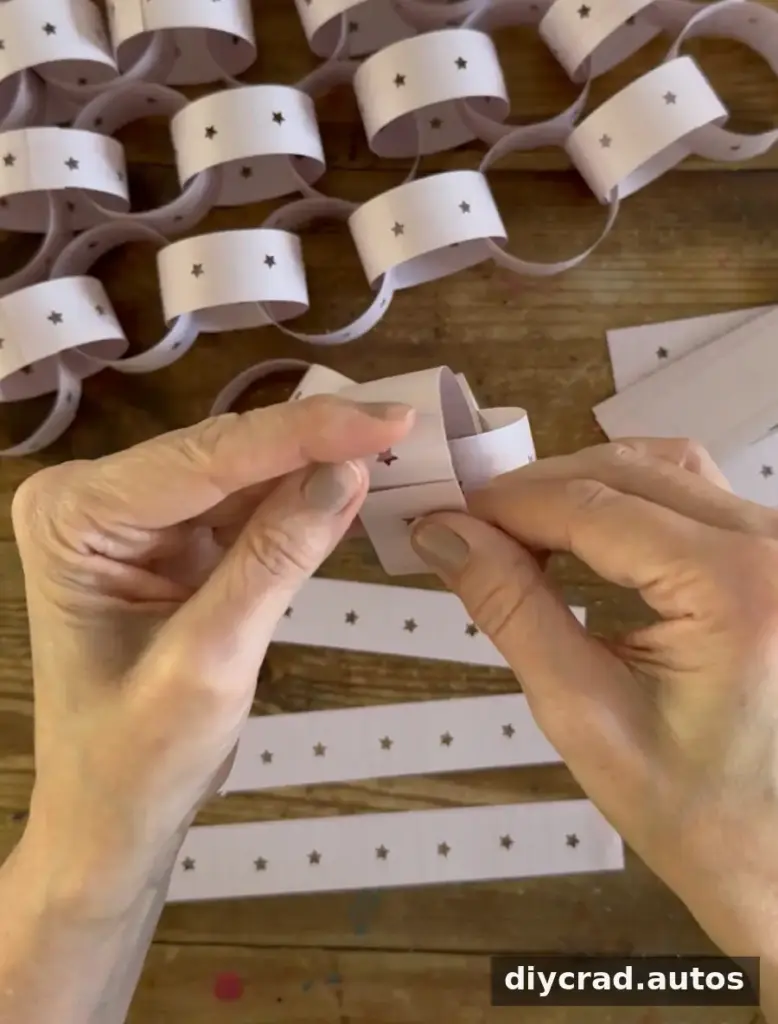
- Form and connect the loops. Apply glue to one end of a strip and overlap the ends to make a loop. Thread the next strip through the first loop before gluing it closed. Continue linking loops to build the chain. Making short sections of about 10 loops can make decorating and handling the chain easier.
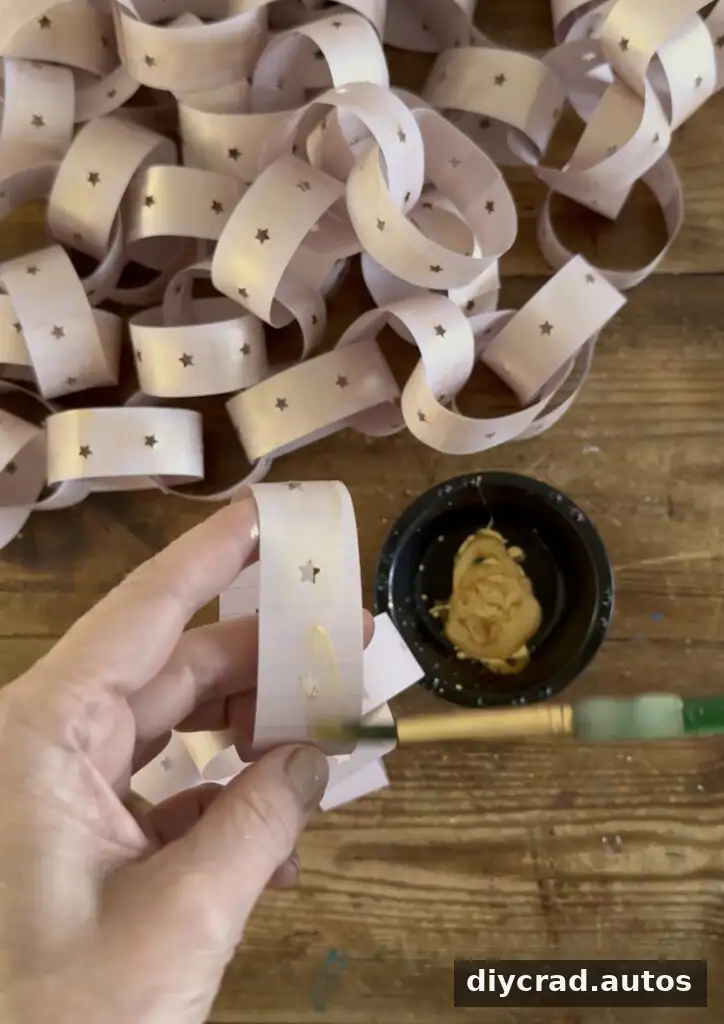
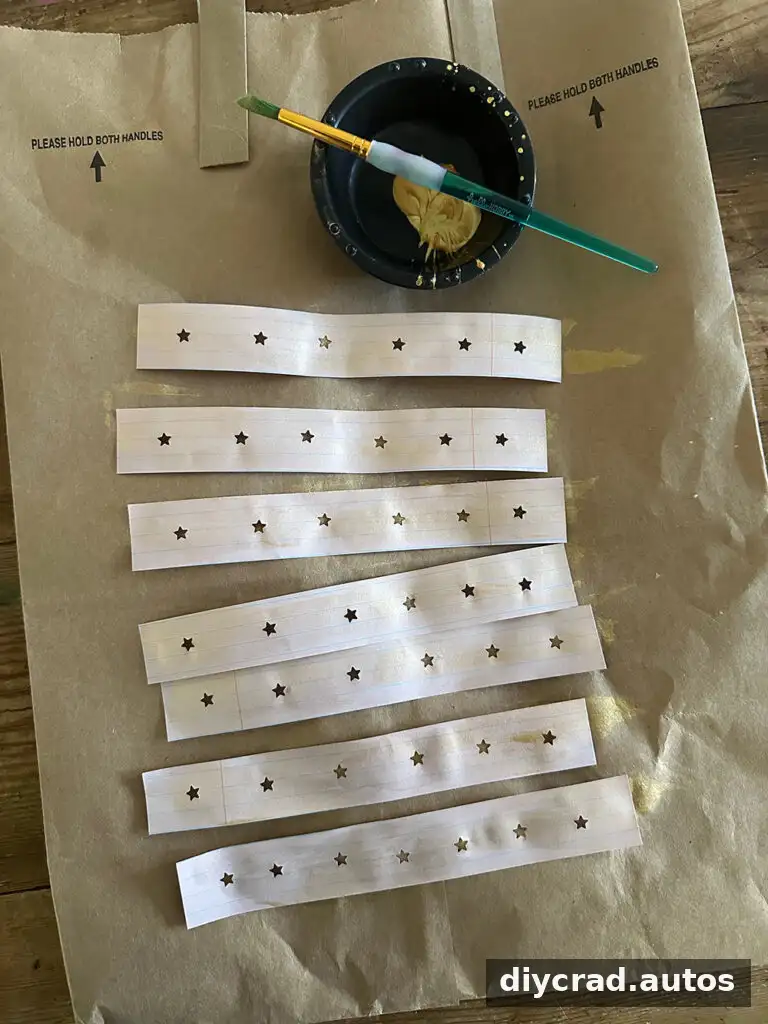
4. Add the paint and join the sections. Brush a small amount of gold liquid watercolor onto the finished loops. Painting the loops instead of the flat strips helps prevent curling while the paper dries. Once the short chains are dry, connect them with painted strips to create a longer decoration.
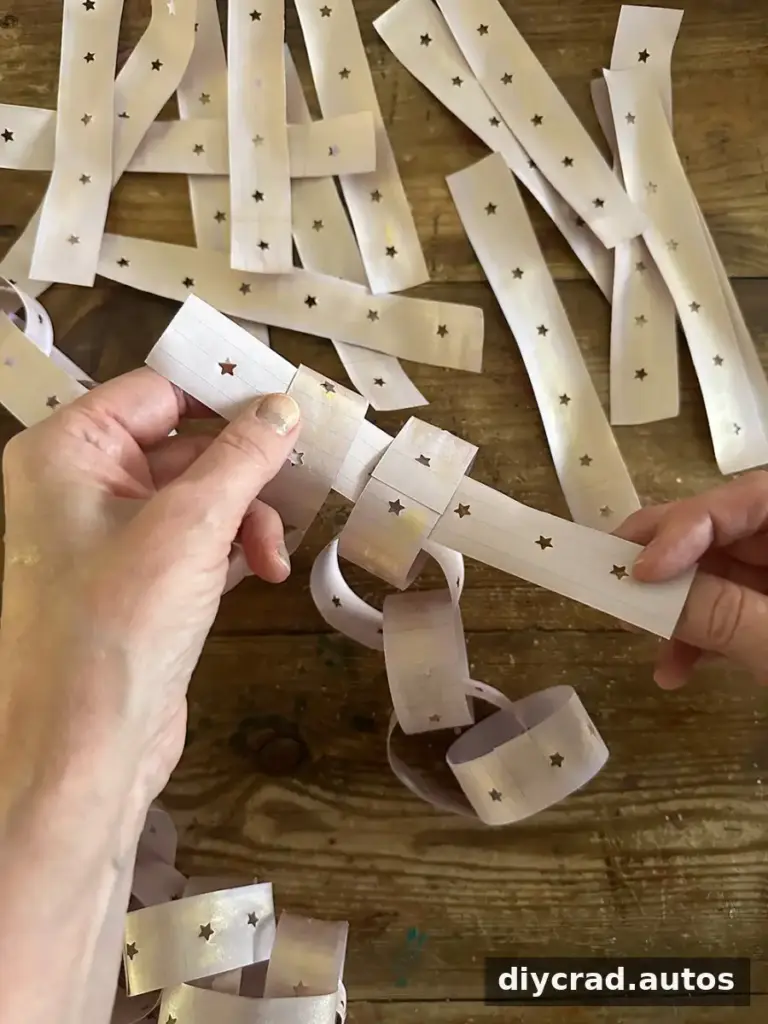
Working in short sections is helpful when table space is limited or when the project needs to be put away between sessions. Alternatively, make one long chain and paint it after assembly, but take care to keep the loops from tangling while the paint dries.
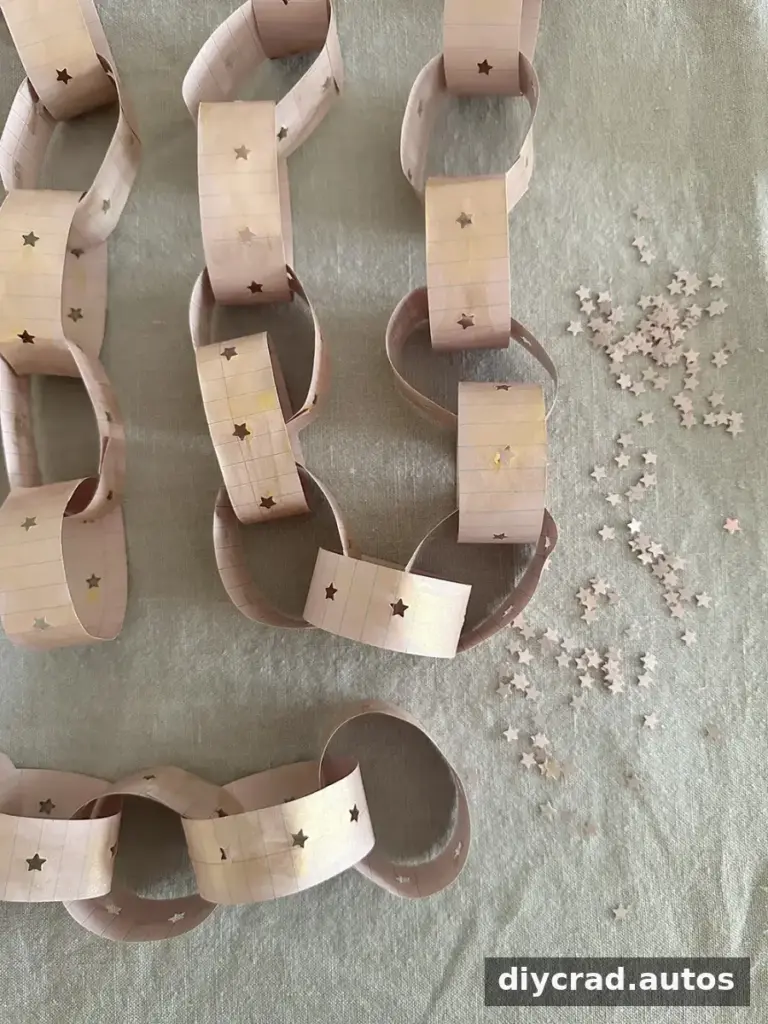
Apply the watercolor lightly. Thin paper can become misshapen when it gets too wet, so use a small amount of paint and let each section dry before moving or joining it. A scrap-paper test is a simple way to check how the color and paper respond.
Display and hanging tips
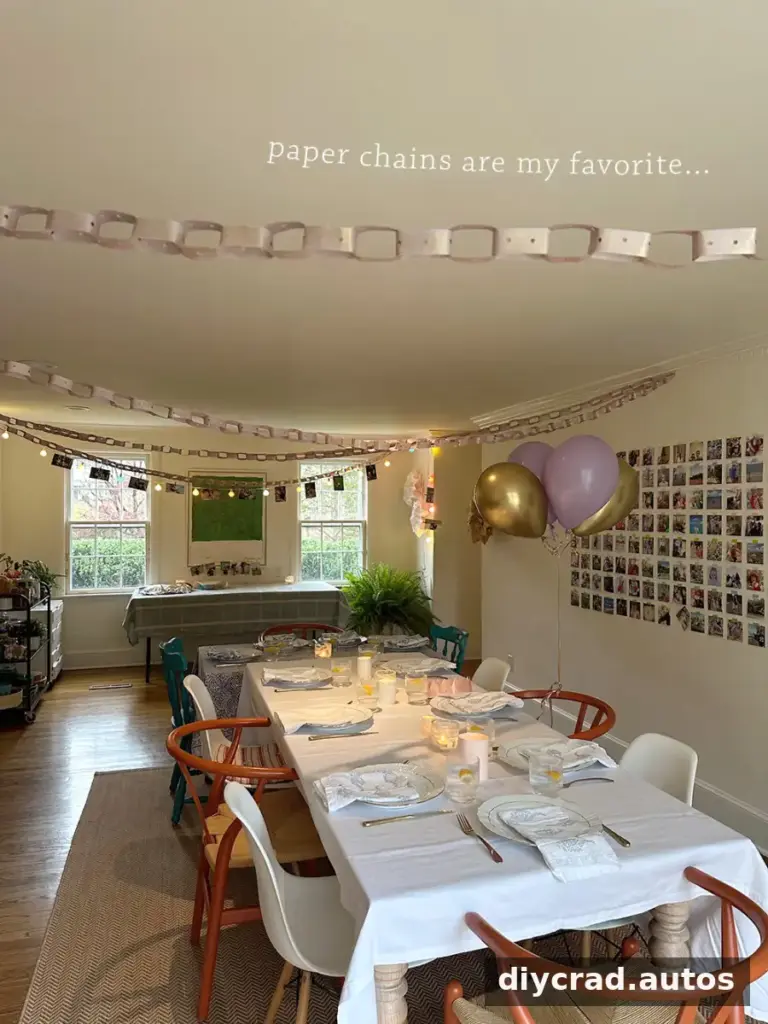
A paper chain can be hung in a straight line, draped around a doorway, or arranged as a ceiling feature. Before hanging it overhead, consider the chain’s weight and choose a secure method suitable for the surface. Avoid relying on tape if the decoration may fall or if it could damage the finish.
Paper Chain Ideas to Try
Paper chains can be adapted to different events, materials, and age groups. These variations offer starting points; choose materials that are easy for participants to handle and assemble.
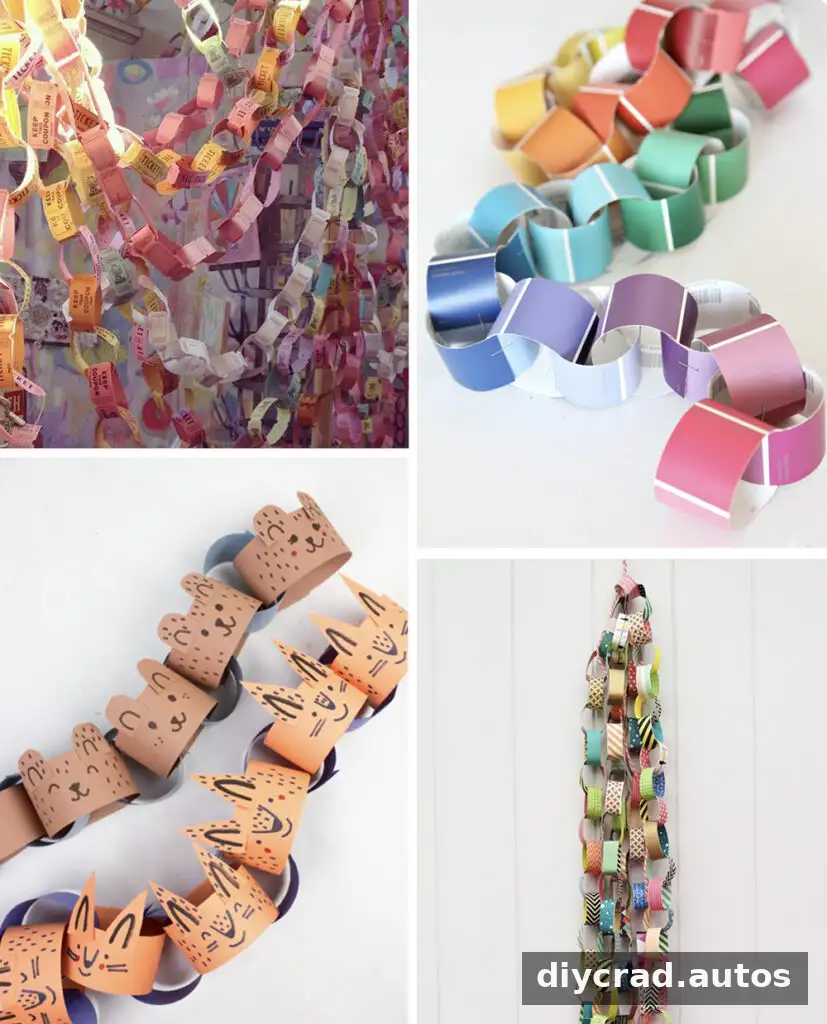
Ticket strips: Turn used or decorative tickets into loops for a theatre-inspired display or a movie-themed celebration. Make sure the tickets are no longer needed before cutting them, and use a glue stick to secure the ends.
Paint swatches: Color samples can create a coordinated chain with a range of related shades. Because these pieces may be thicker than notebook paper, test the punch and use staples if glue does not hold securely.
Drawn characters: Give children construction-paper strips and markers so they can add forest animals, faces, or other designs before joining the loops. Keep the strips wide enough to decorate without making the finished chain difficult to handle.
Patterned tape: Decorative tape can add color and pattern quickly. For a layered look, wrap tape around paper strips, leaving a different pattern or color visible on each side.
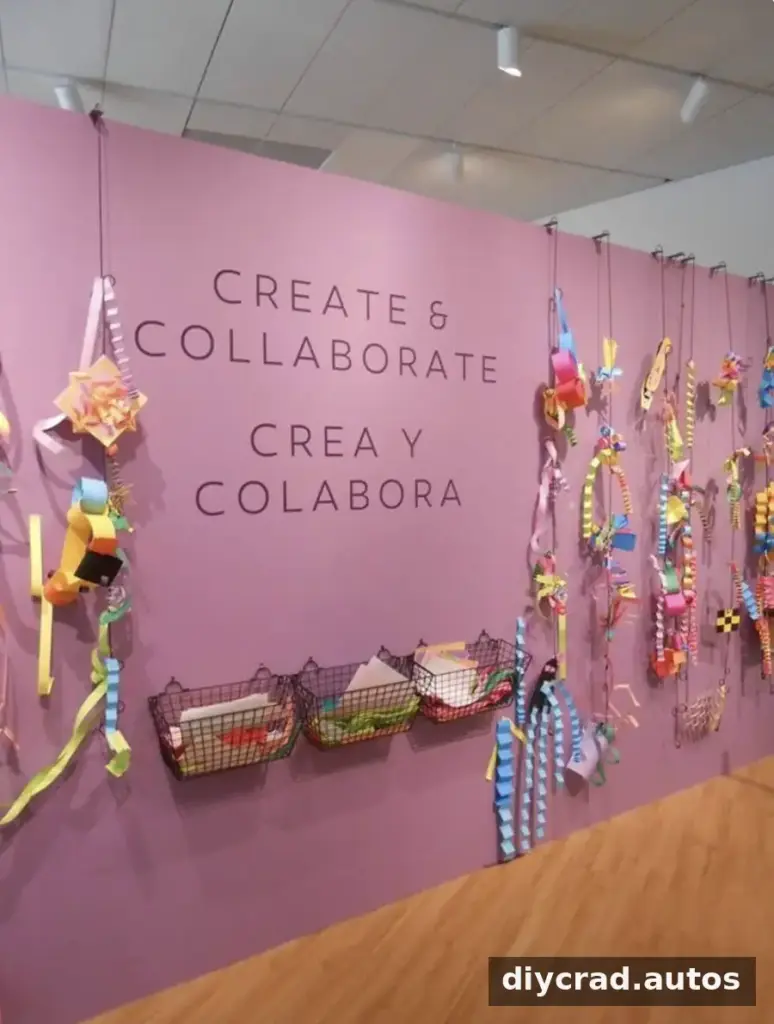
Collaborative installation: A shared paper-chain display can grow over time as people of different ages contribute loops. Set out a selection of paper and simple joining supplies, and agree on where the finished sections will be attached. This makes the project accessible while keeping the installation organized.
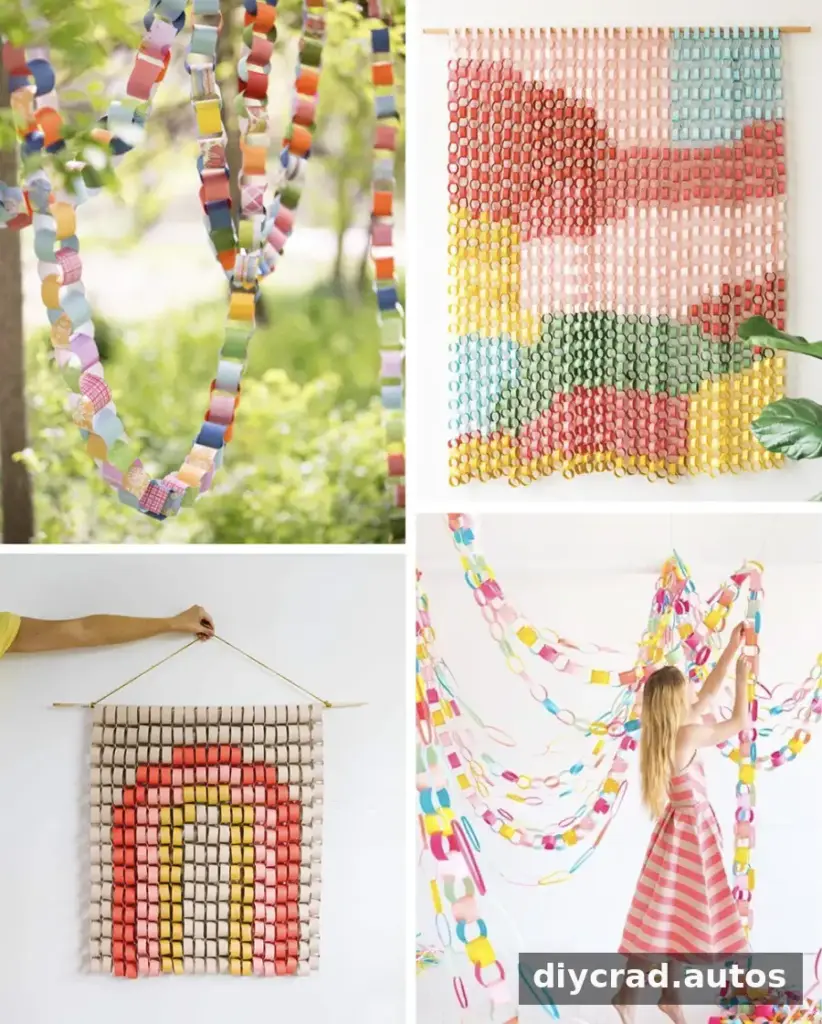
Mixed-pattern chains: Combine plain paper with patterned pieces for a more playful result. Varying the colors and prints adds visual interest without requiring extra tools.
Paper-chain wall hanging: Arrange connected chains as a backdrop or wall decoration. Sketch the layout first if you want a specific shape, and check that the hanging method is appropriate for the wall.
Different loop sizes: Pair thinner chains with wider ones to create contrast. Make a small sample before producing all the pieces so you can judge how the proportions look together.
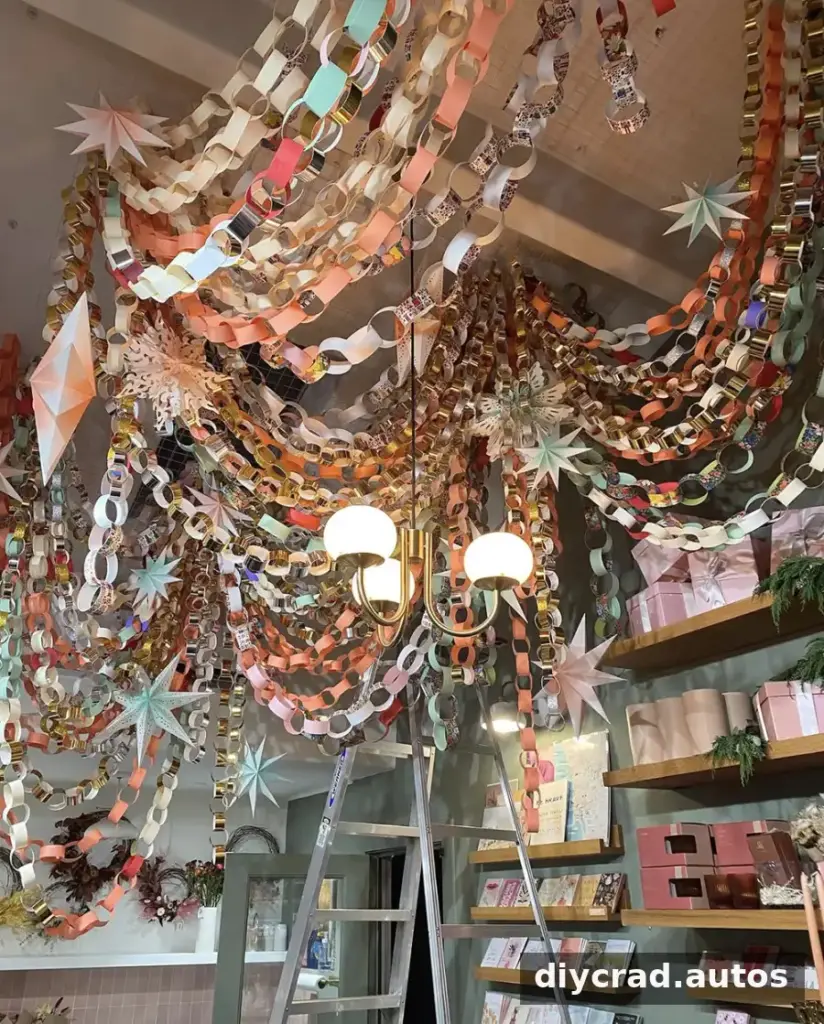
This large-scale installation by Ashley Renu shows how paper chains can be expanded into an immersive display. For a smaller version, make several sections in a limited color palette and arrange them in a planned pattern before hanging.
More Paper Chain Projects
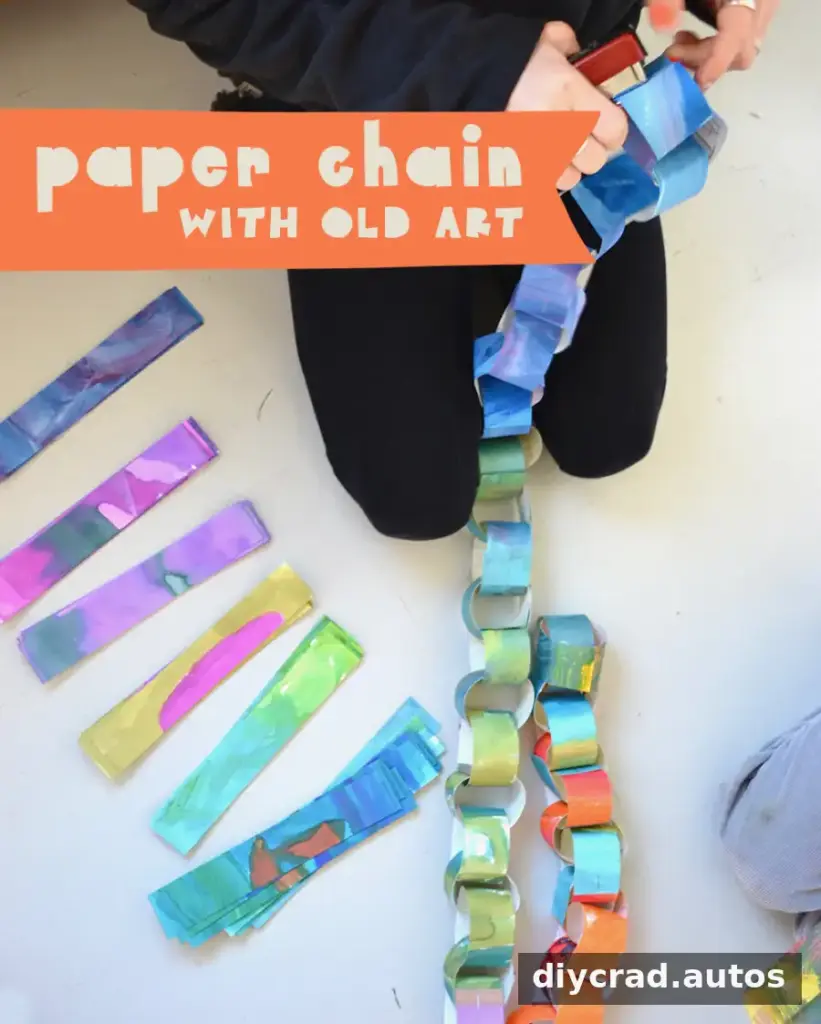
Recycled artwork can be cut into strips and turned into a chain, giving painted pages a second use. Paper with a cardstock-like thickness may be too sturdy for some punches or glue-only loops, so test the materials and use a stapler if needed.
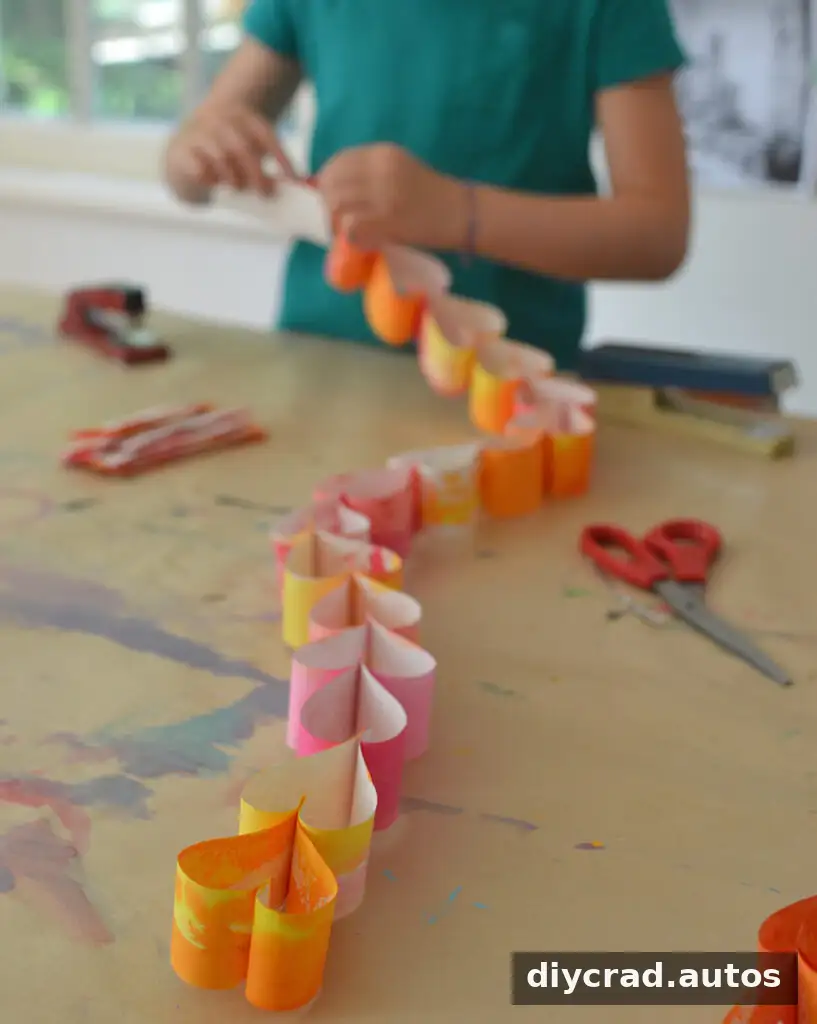
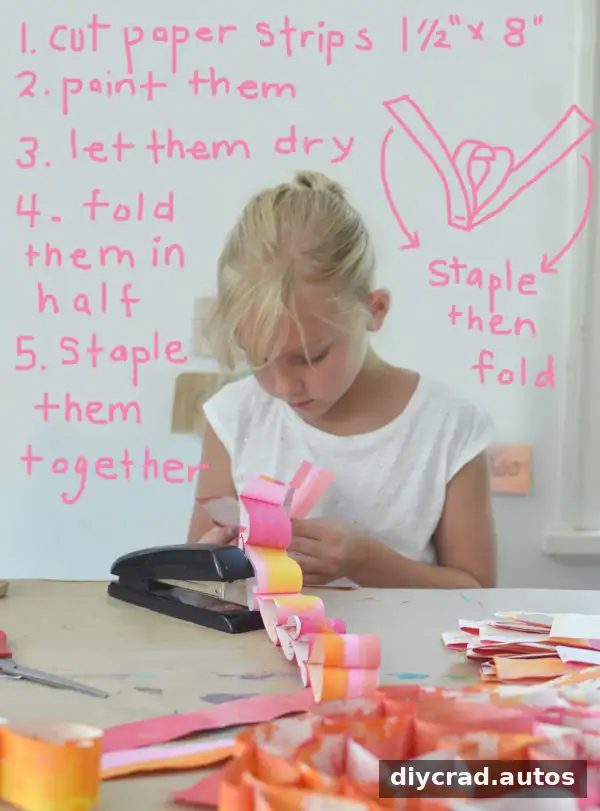
Heart-shaped paper chains are another option for seasonal decorations or celebrations. Cut the shapes from paper that folds cleanly, and connect the pieces carefully so the design remains visible.
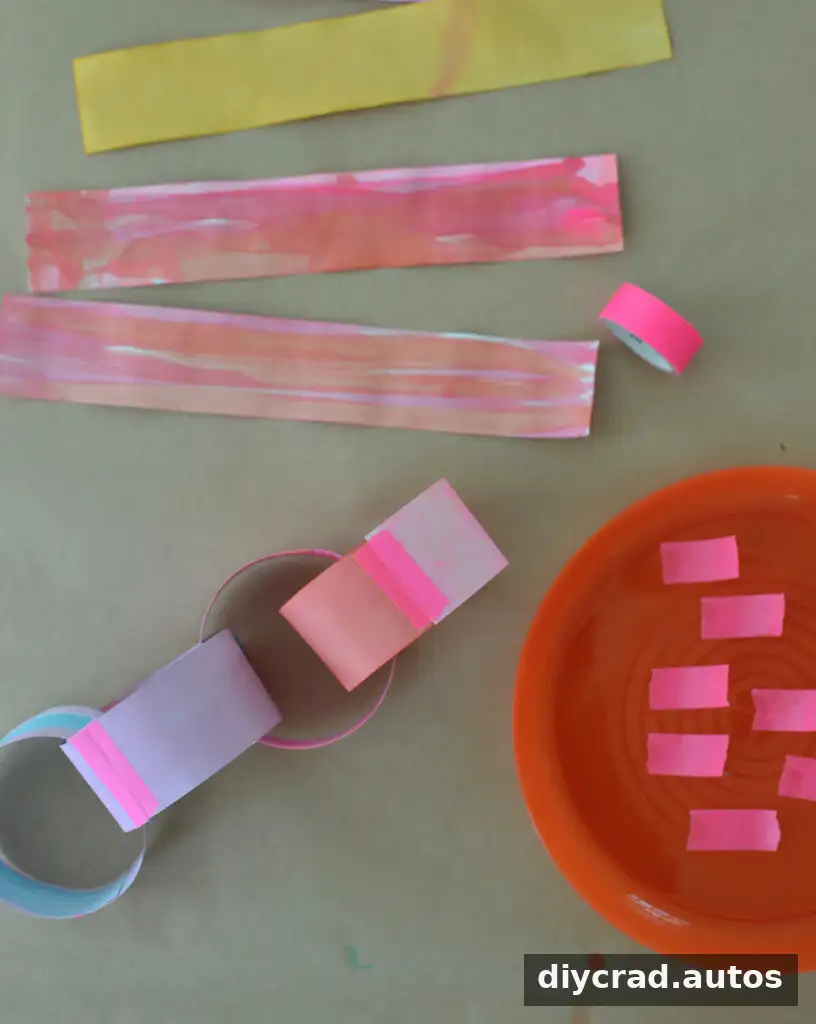
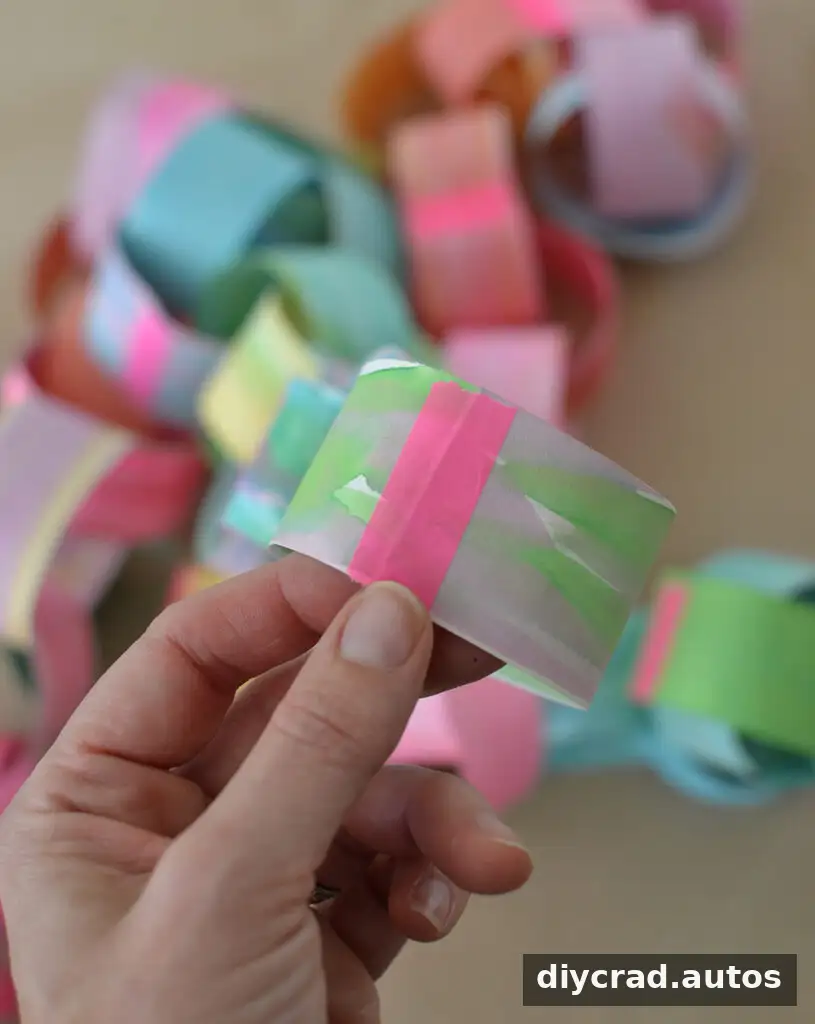
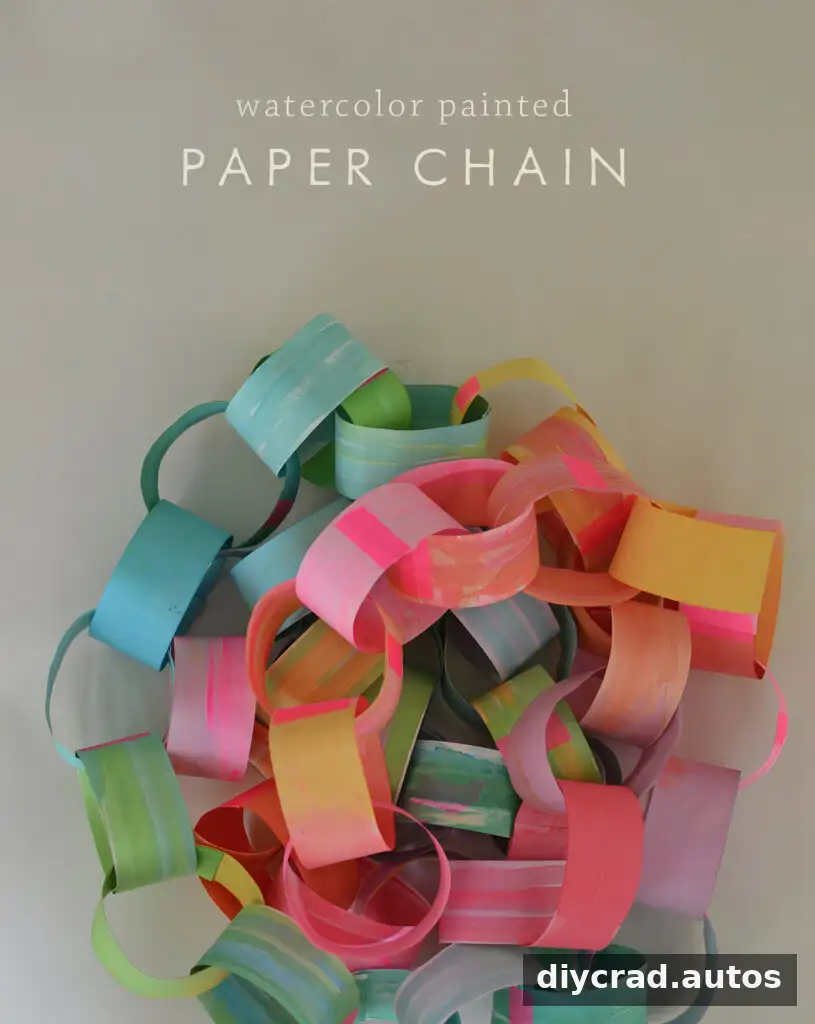
Watercolor-Painted Paper Chain
A painted paper chain can also be made by coloring both sides of the paper before cutting it into strips. Warm and cool color palettes create different moods, while bright tape can be used to secure the loops. Allow painted sheets to dry fully before cutting to reduce smudging and make assembly easier.
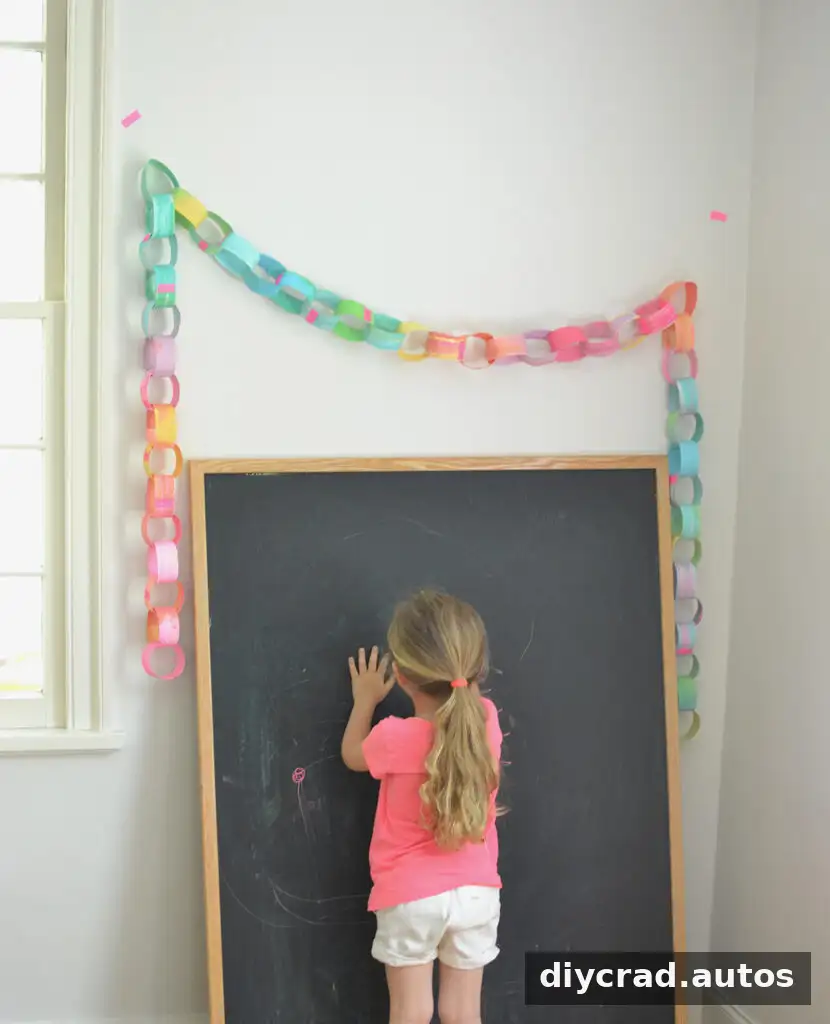
Whether you make a star punched paper chain, a painted version, or a design built from recycled materials, the basic method is adaptable and easy to share. Prepare the strips and supplies ahead of time, test unfamiliar paper or paint, and let each person contribute in their own way.
More Paper Craft Ideas
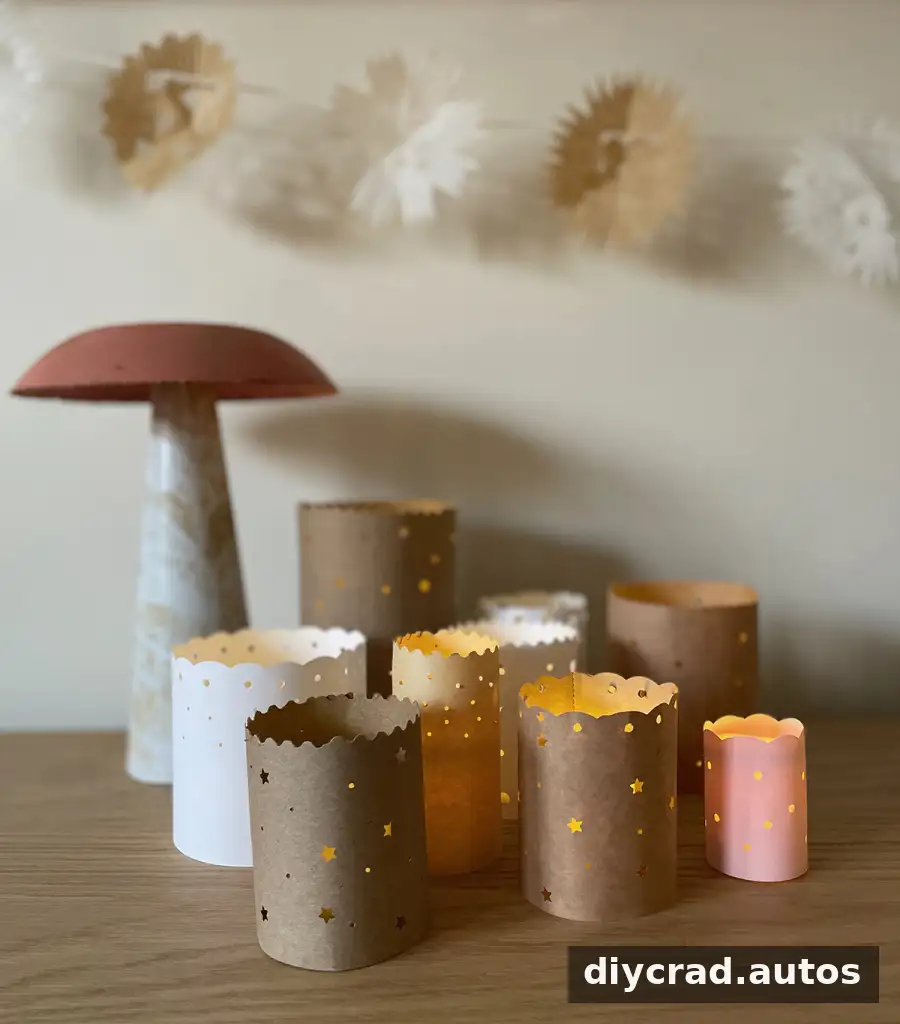
Paper luminaries for LED candles
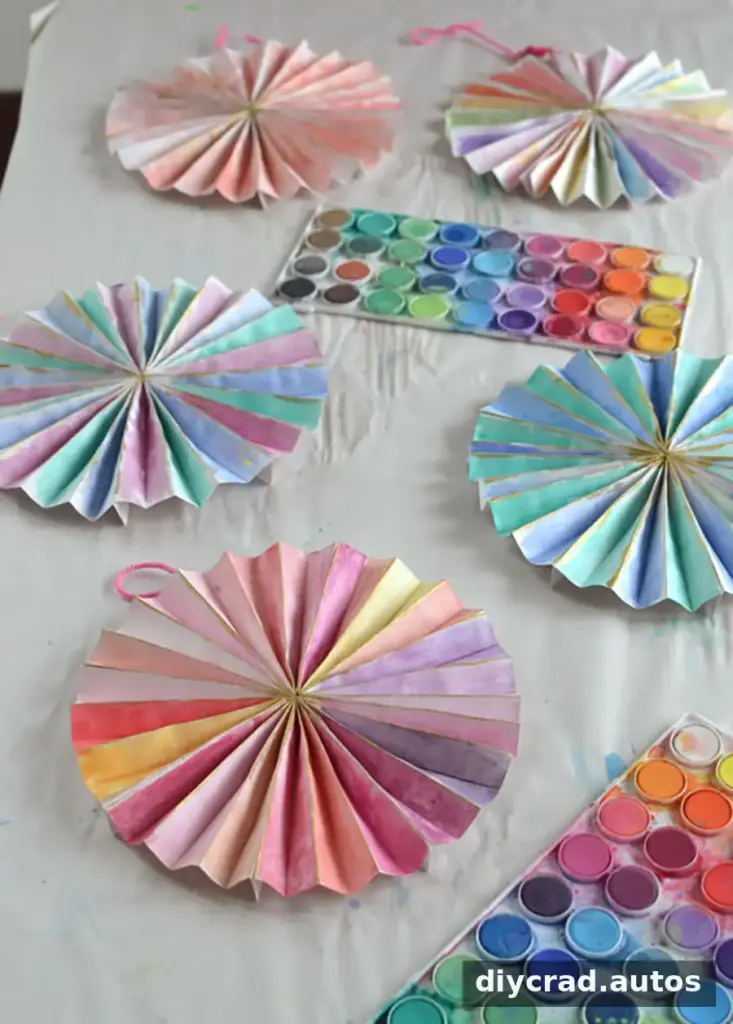
Painted paper pinwheels
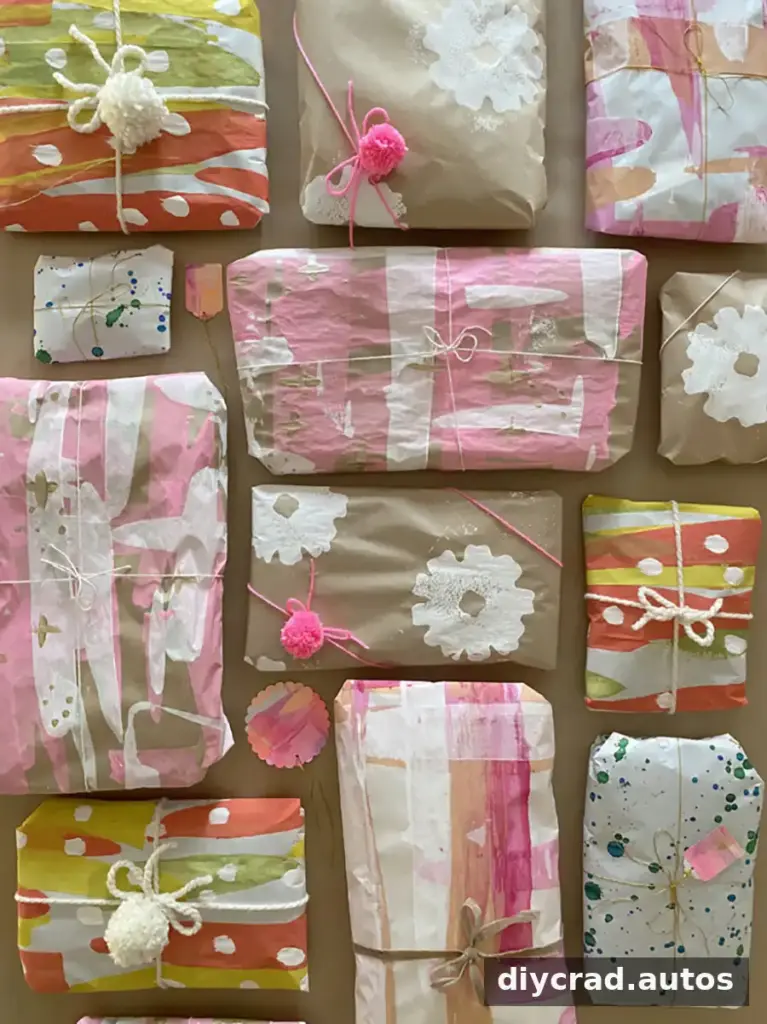
DIY wrapping paper

