

Harris Walz collagraph prints can be made at home with a simple foam printing plate, cardboard, printmaking paper, and ink. This typography-based project turns a design into a handmade print, while offering a practical introduction to basic relief-printing techniques. The key details to plan for are reversed lettering, careful cutting, and using only enough ink to coat the raised foam evenly.
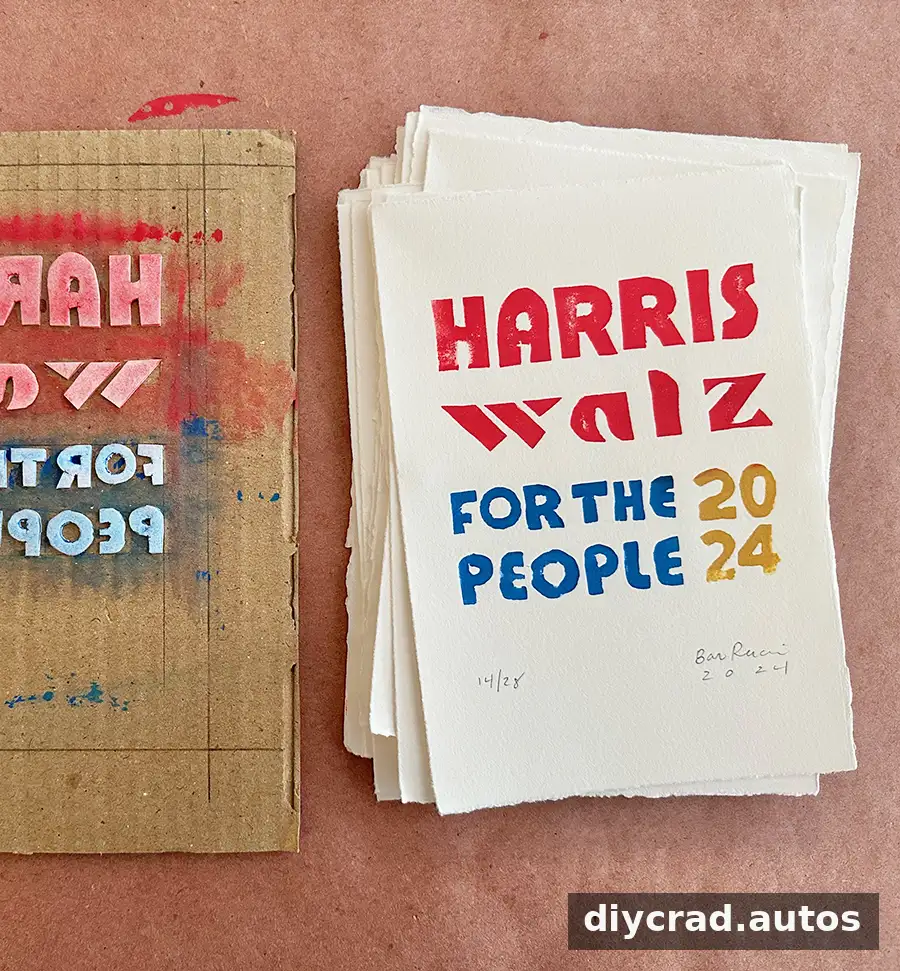
Supplies for Harris Walz collagraph prints
Gather the materials before you begin. A flat work surface and a little room to let prints dry will make the process easier.
- Sticky-back foam sheets
- Sharp scissors
- A craft knife for small details and letter interiors
- A piece of flat cardboard to use as the printing plate
- Printmaking paper
- Printmaking ink
- Brayers
- Non-porous trays or a non-porous surface for rolling out ink
Practical tip: Use a cutting mat and handle the craft knife carefully. Keep the paper and work area clean, especially if you want crisp edges without stray ink marks.
How to make typography-based collagraph prints
1. Plan the lettering as a mirror image
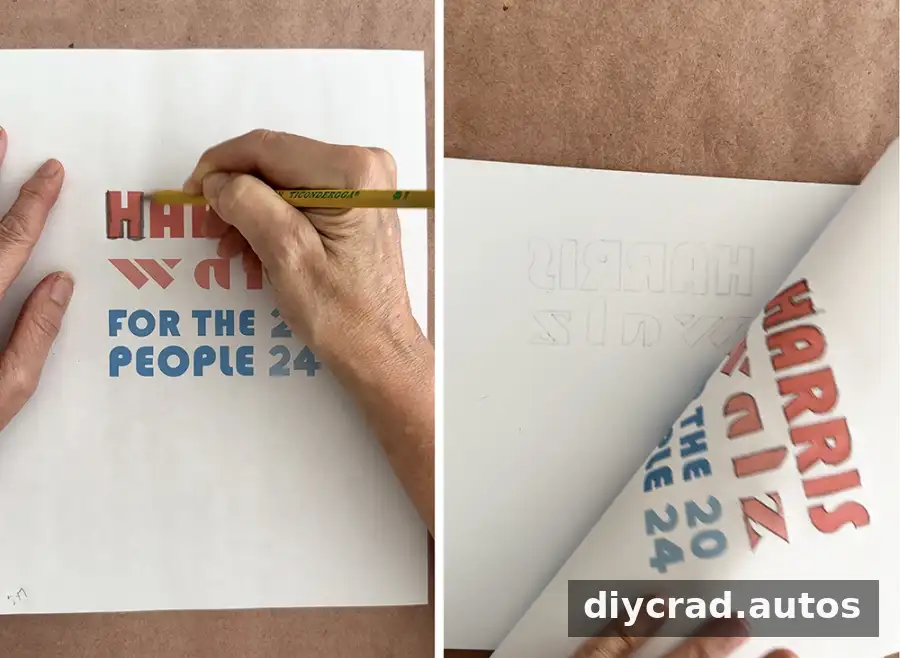
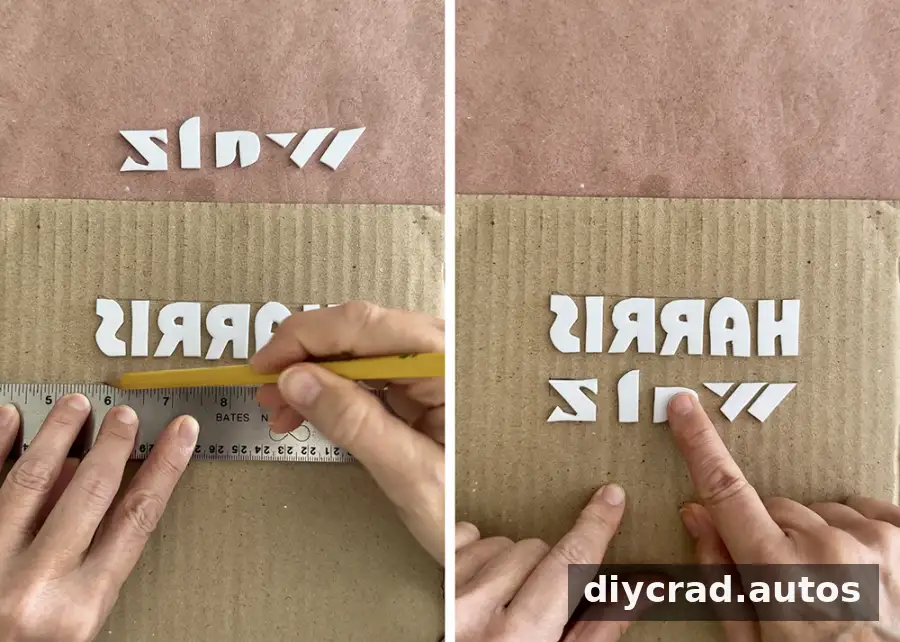
Printed letters will appear reversed because the design is pressed face down onto the paper. Arrange the words backward on the plate so they read correctly in the finished print. Check the spelling and letter order more than once before cutting; a reversed proof or a quick test print can help catch mistakes.
2. Draw and transfer the design
Create the typography on a computer or draw it by hand. Trace a thick outline around each letter with a pencil, then turn the paper over and transfer the shapes onto the foam. Make the outlines dark enough to see clearly while cutting.
3. Cut out the foam letters
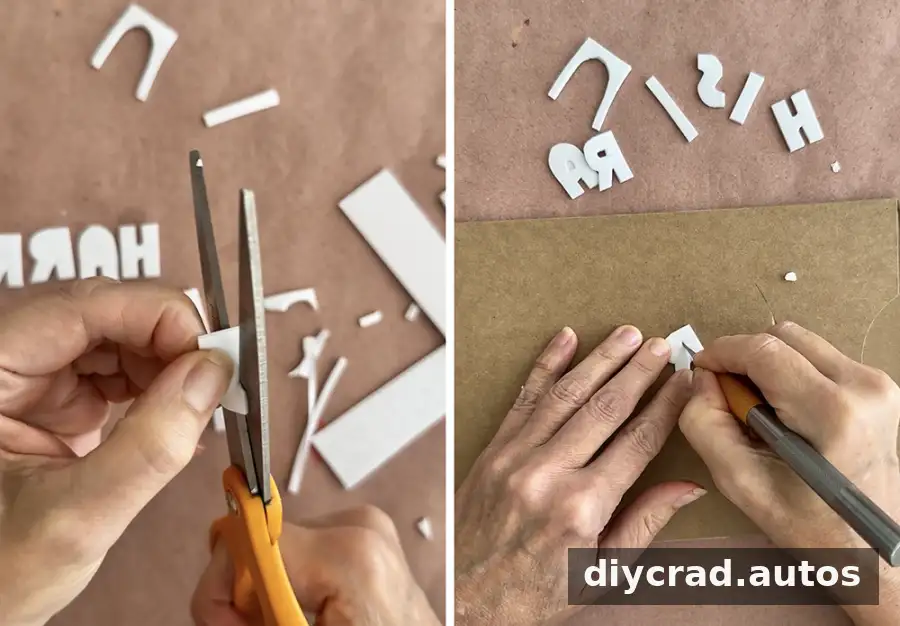
Cut the larger shapes with sharp scissors. Use a craft knife for small letters and to remove the inner spaces in letters such as “A,” “O,” and “P.” Work slowly around curves and corners so the foam edges remain as clean as possible.
4. Arrange the plate
Measure and mark the cardboard lightly in pencil before attaching the foam. Peel the backing from each piece and press the letters into place. Check the spacing and alignment before moving on, because the foam’s adhesive makes repositioning difficult once it is firmly stuck down.
5. Prepare the paper
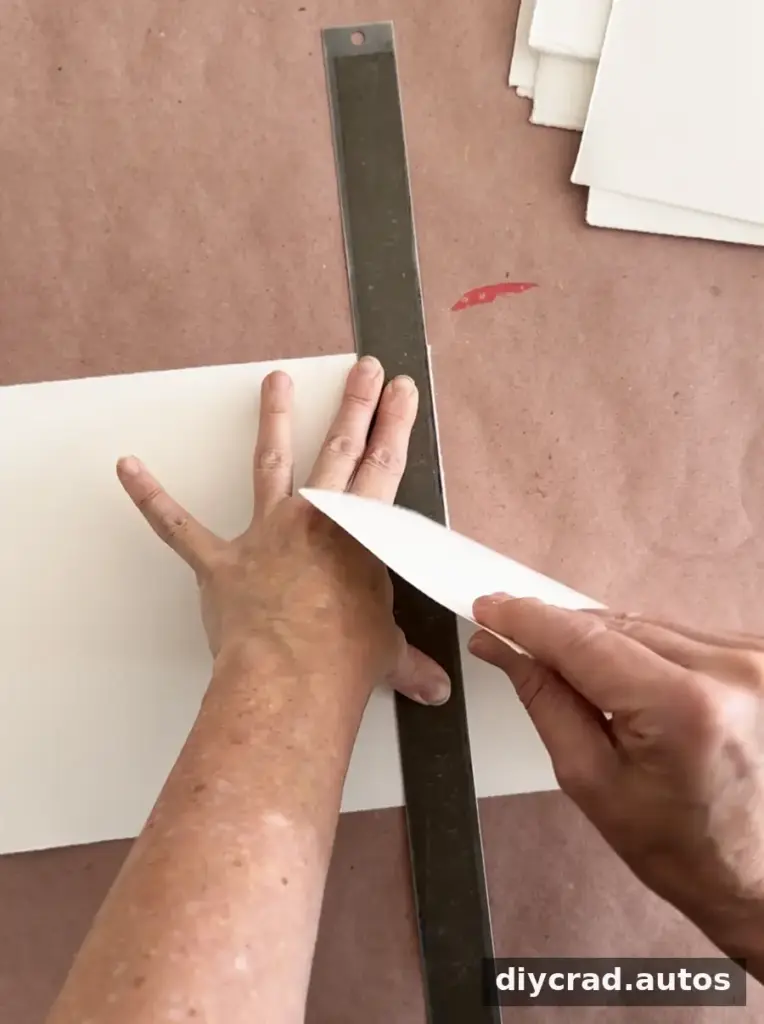
Cut or tear the printmaking paper to size. A heavy ruler can help create a deckled, torn edge, or you can use paper that is already cut. In either case, the sheet should be larger than the printing plate so it covers the whole design.
6. Roll out the ink
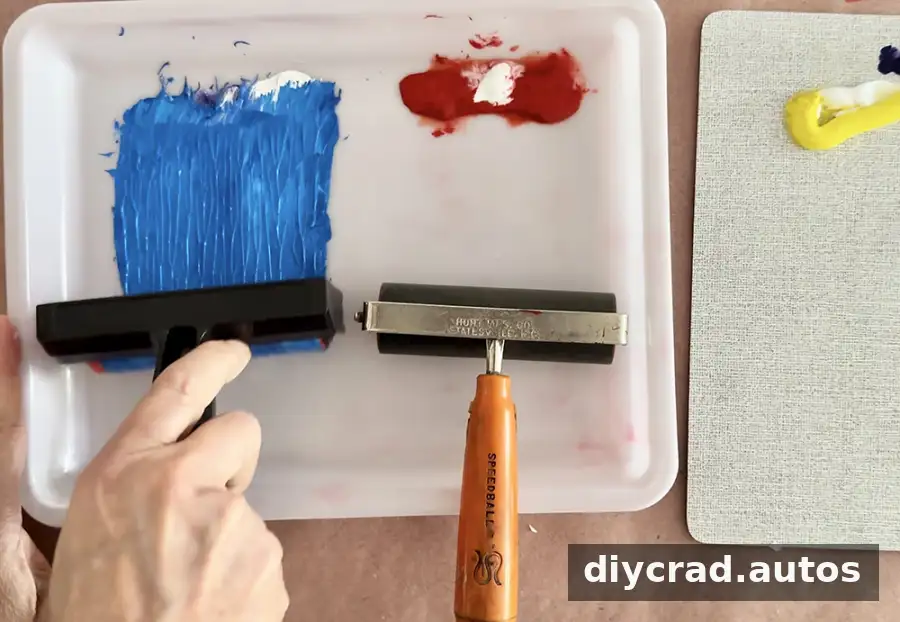
Use a brayer to spread ink across a non-porous surface until it forms an even layer. Add color gradually if you are mixing shades. The ink should make a slight tacky sound as the brayer rolls; a thick, slippery layer usually means there is too much. Remove excess ink before applying it to the plate.
7. Ink the foam plate
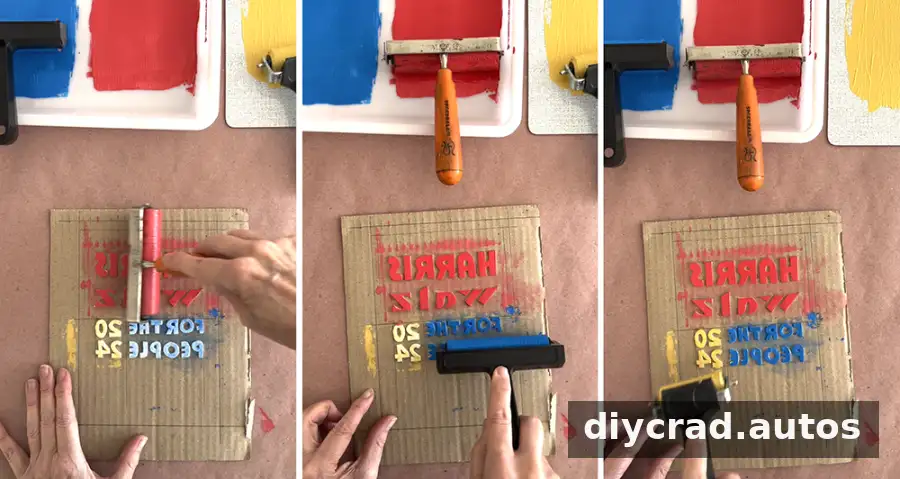
Roll the brayer over the raised foam, aiming for an even coat. Using one color is a straightforward way to begin; multiple colors take more control and may require separate passes. If the roller picks up ink from the cardboard around the foam, place a flat sheet of scrap paper over the exposed areas to reduce unwanted marks.
8. Press and lift the print
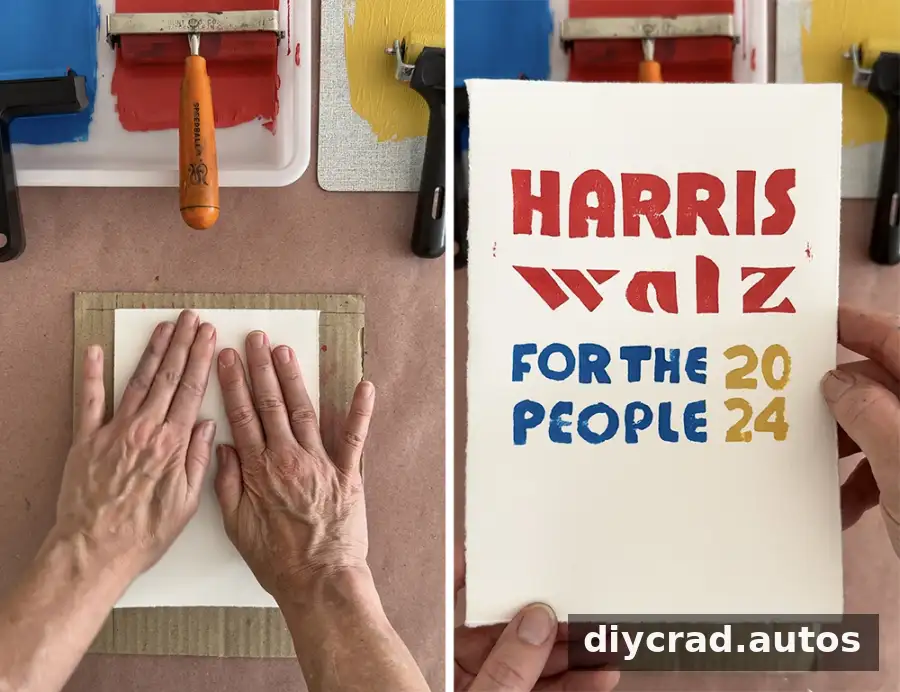
Position the paper over the plate using pencil registration marks or other guides, then lower it carefully. Rub the back of the paper gently and evenly so it makes contact with the raised letters. Lift one edge slowly to reveal the print. Early impressions may be uneven while you adjust the amount of ink and pressure, so test on scrap paper before using your chosen sheets.
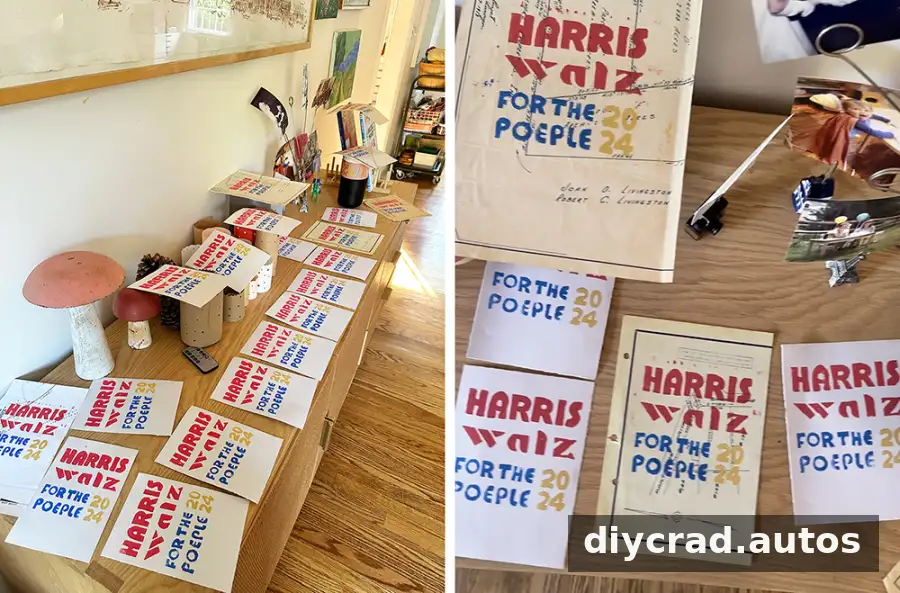
9. Try printing on reused paper
Once the main paper is printed, old maps or other suitable reused sheets can provide a different background and texture. Test the ink and paper combination first, and proofread the plate again before printing a full batch. Reused paper may vary in thickness and surface, which can affect how evenly the design transfers.
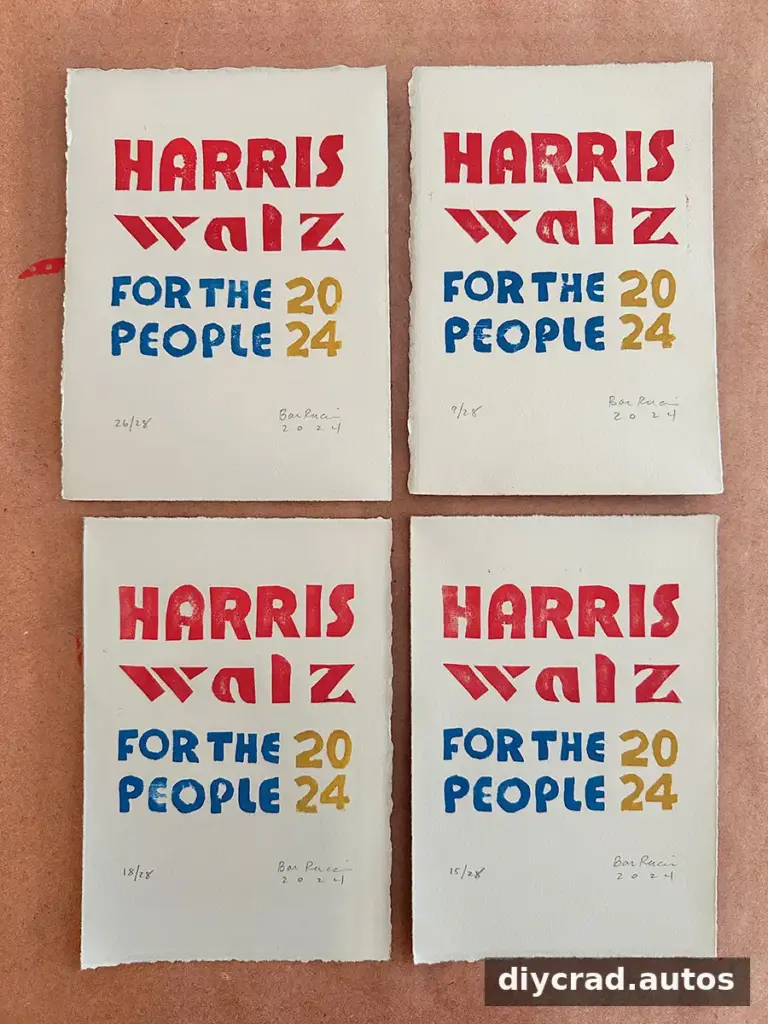
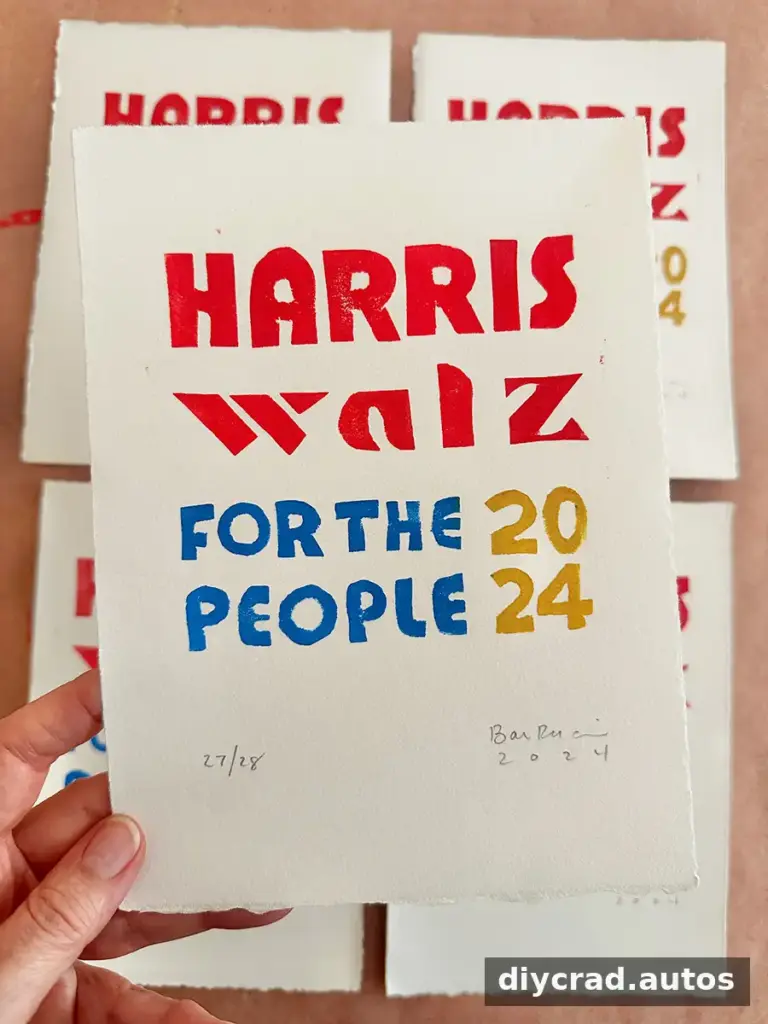
A short process reel accompanies the project. For consistent results, allow prints to dry fully before stacking or handling them.
Project by Bar.
More printmaking ideas
After trying foam-based collagraph printing, experiment with other accessible methods. Each material creates a different surface and impression, so make a small test print before preparing a larger set.
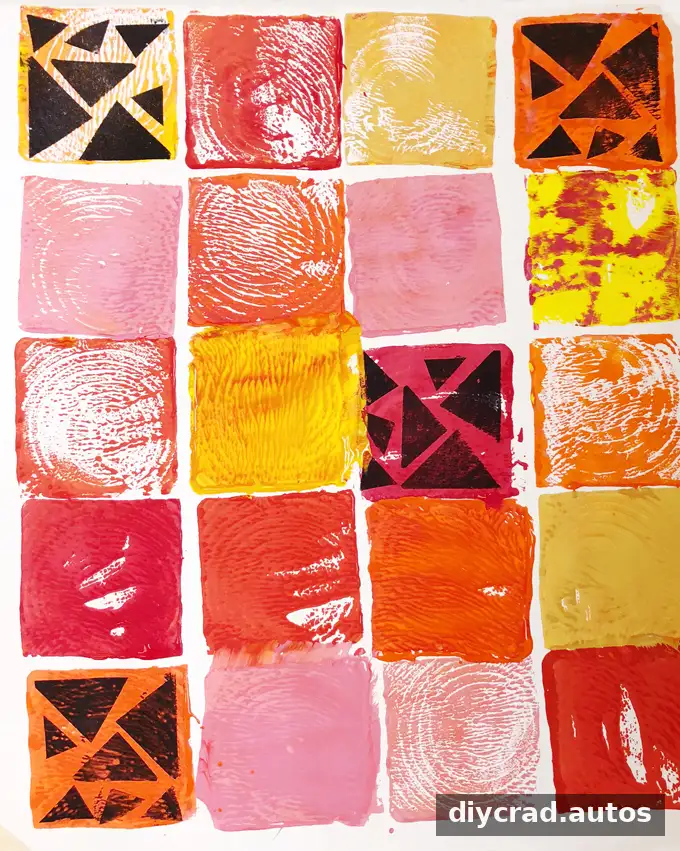
Printmaking with wooden blocks
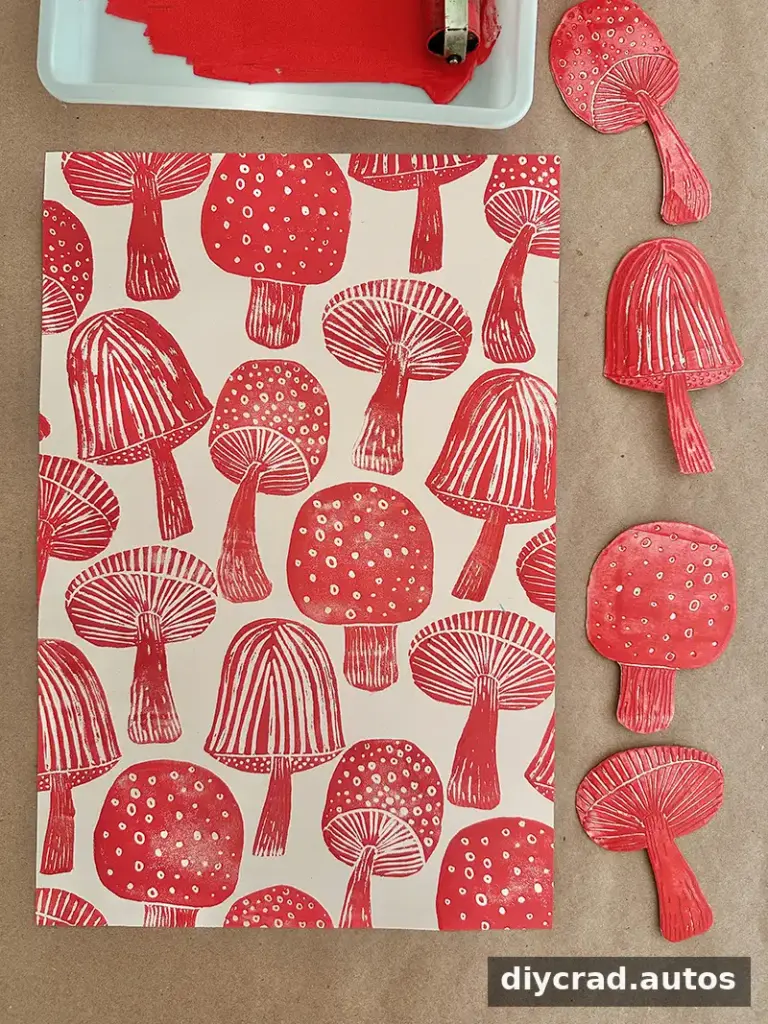
Block printing with styrofoam
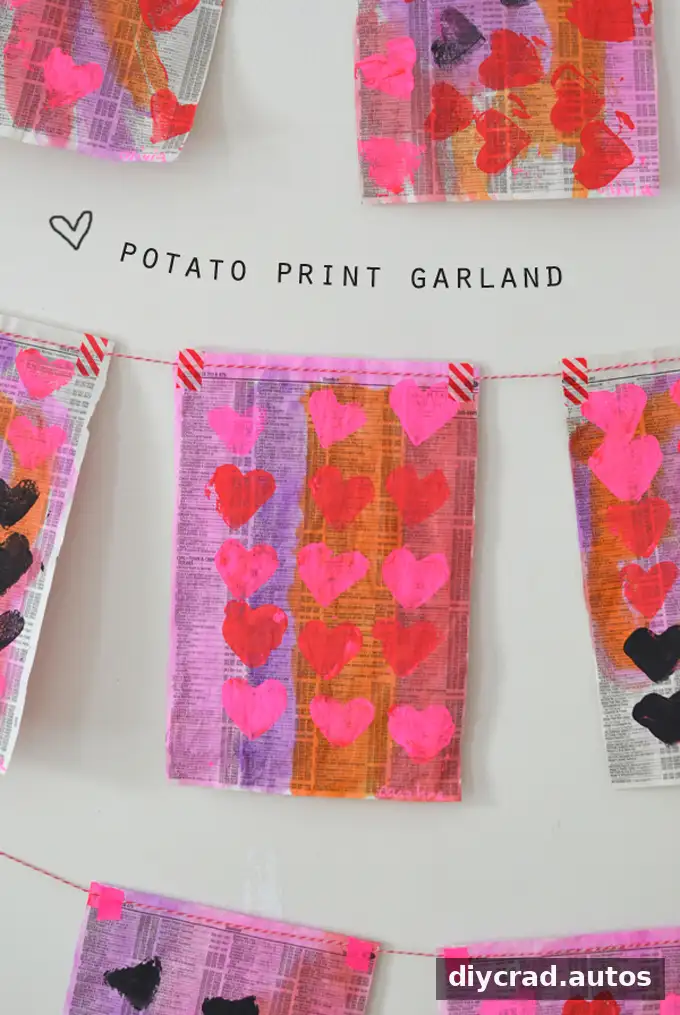
Potato printing
Conclusion
Harris Walz collagraph prints are a useful project for practicing reversed typography, foam cutting, ink control, and paper registration. The most important steps are checking the mirror-image lettering, applying a thin and even coat of ink, and testing the pressure on scrap paper. With those details in place, the same basic process can be adapted to new words, colors, and paper surfaces.

